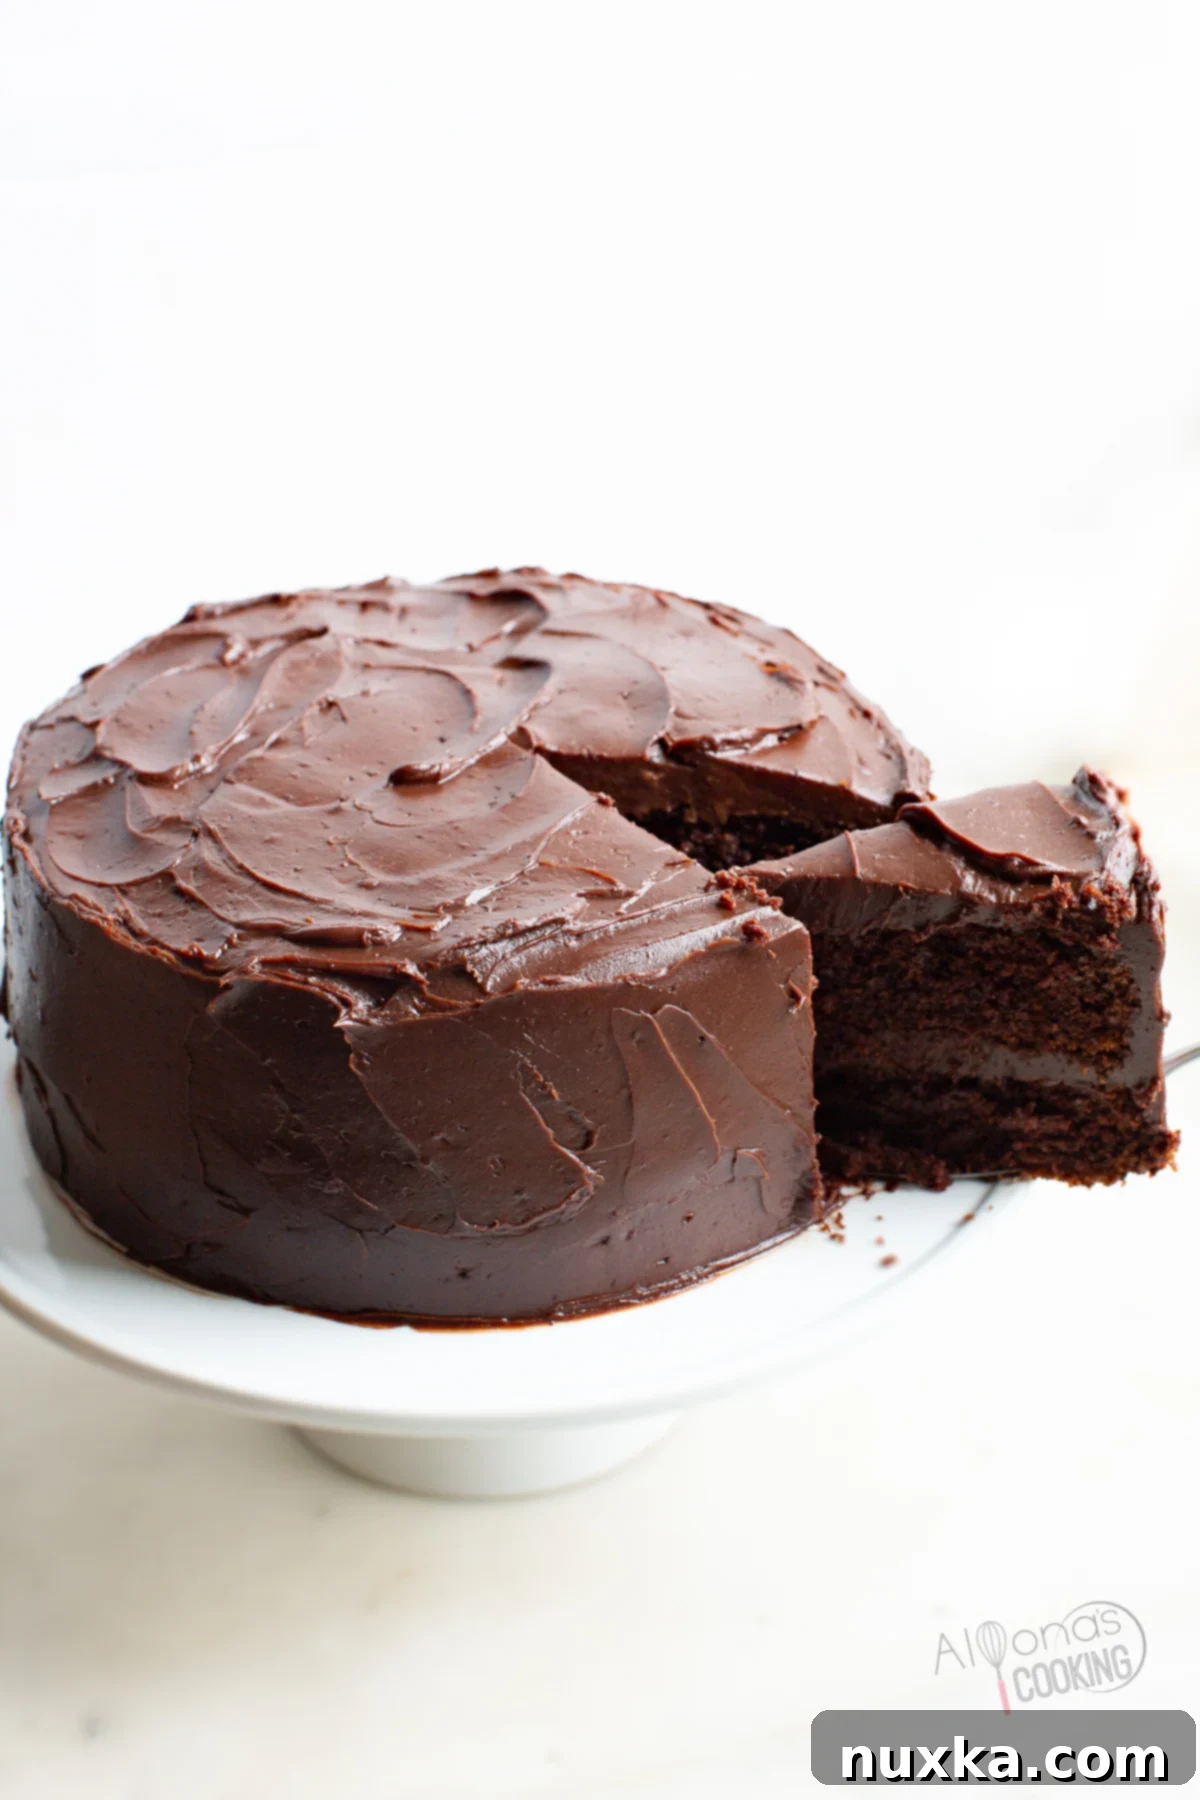
The Best Whole Wheat Chocolate Cake: Decadent, Moist, and Healthier with Freshly Milled Flour
Imagine a chocolate cake so rich, so moist, and so utterly delicious that you’d never guess it’s actually *good for you*. This incredible whole wheat chocolate cake recipe is a true game-changer, offering all the decadent flavors and tender crumbs of a classic dessert, but with the added benefits of wholesome grains. No one will ever suspect it’s made with freshly milled flour – it’s that good! Whether you’re planning a special celebration or just craving a healthier sweet treat, this recipe is designed for success. Plus, it’s perfect for making ahead, allowing you to assemble and enjoy a stress-free dessert whenever the mood strikes.
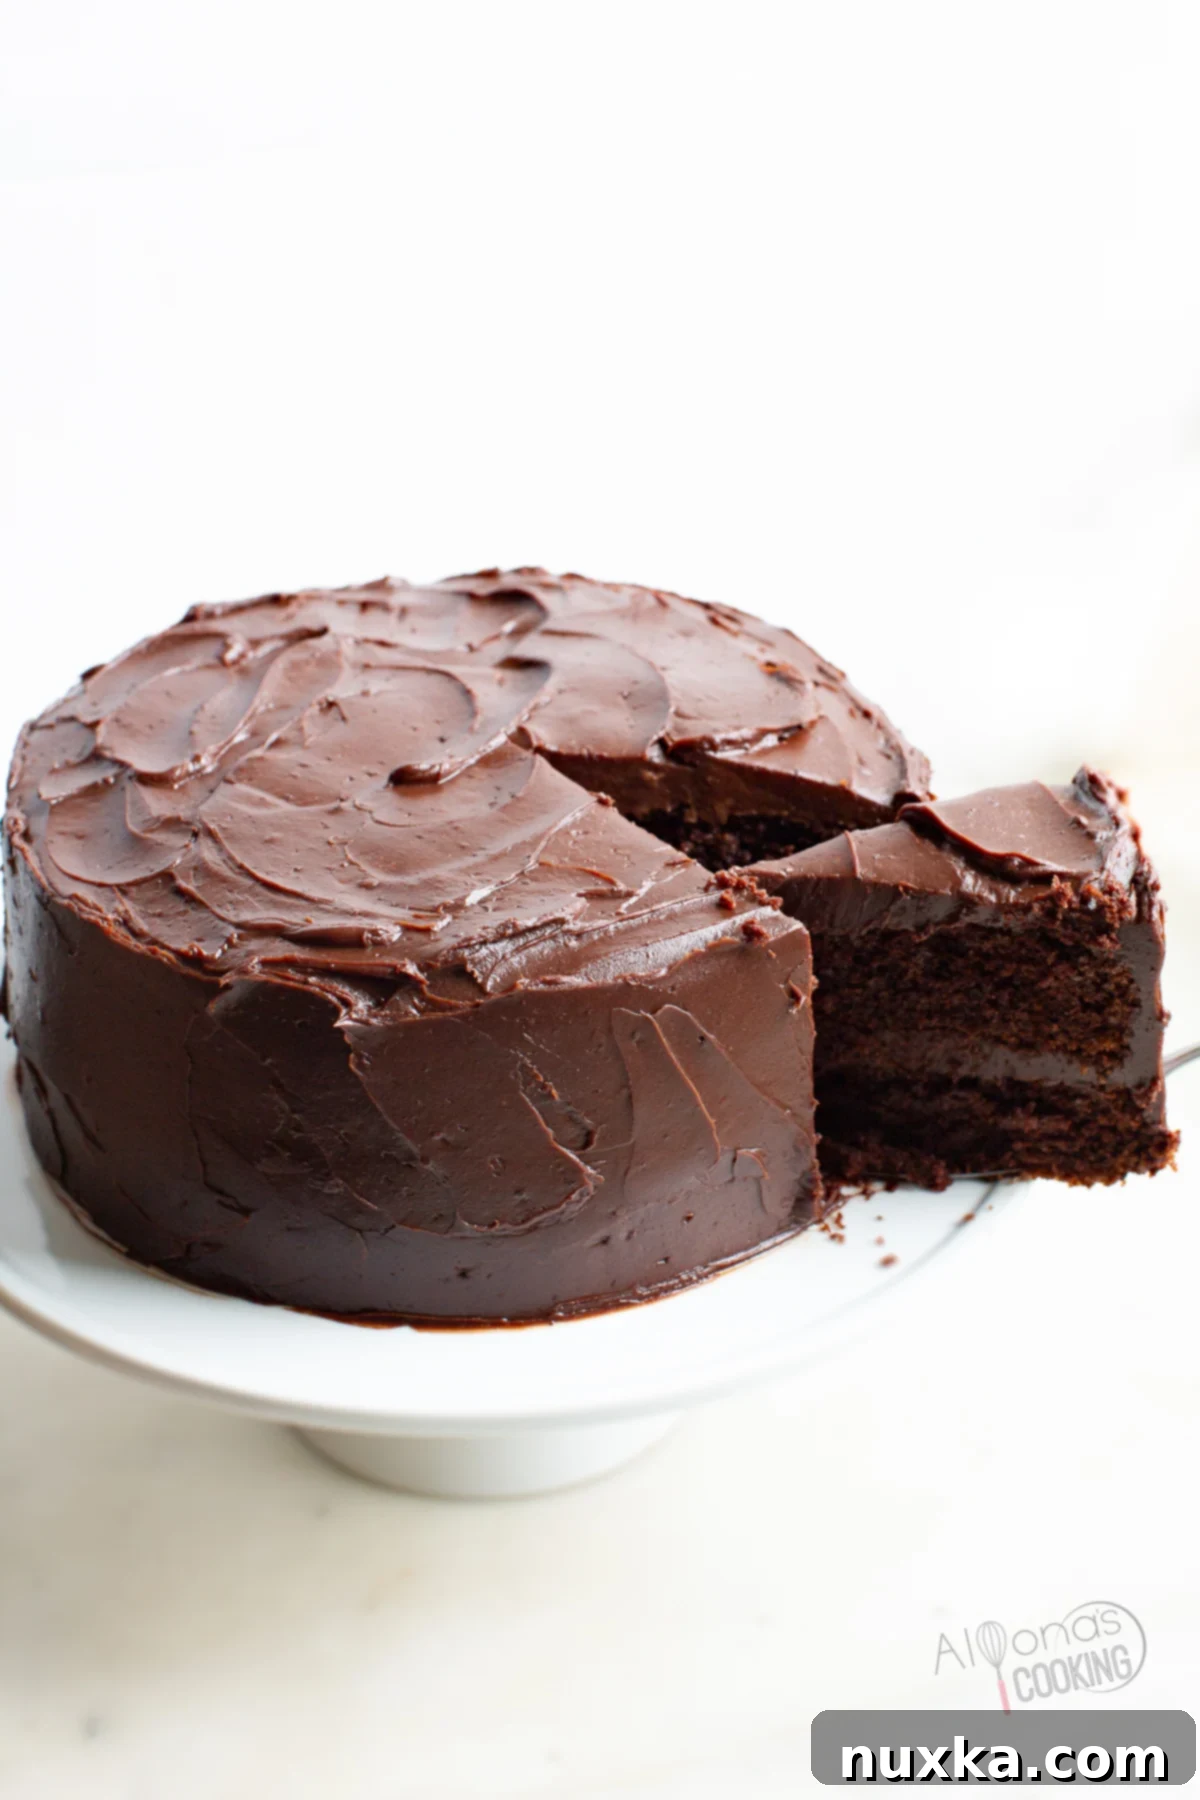
This recipe builds on our expertise in creating wonderfully moist and tender cakes, much like our popular Sour Cream Cake and German Chocolate Cake. The rich notes of chocolate pair beautifully with a variety of additions. For an extra special touch, consider adding fresh berries or a vibrant raspberry sauce between the cake layers for a delightful surprise and burst of fruitiness.
Elevating Your Chocolate Cake with Whole Wheat Flour
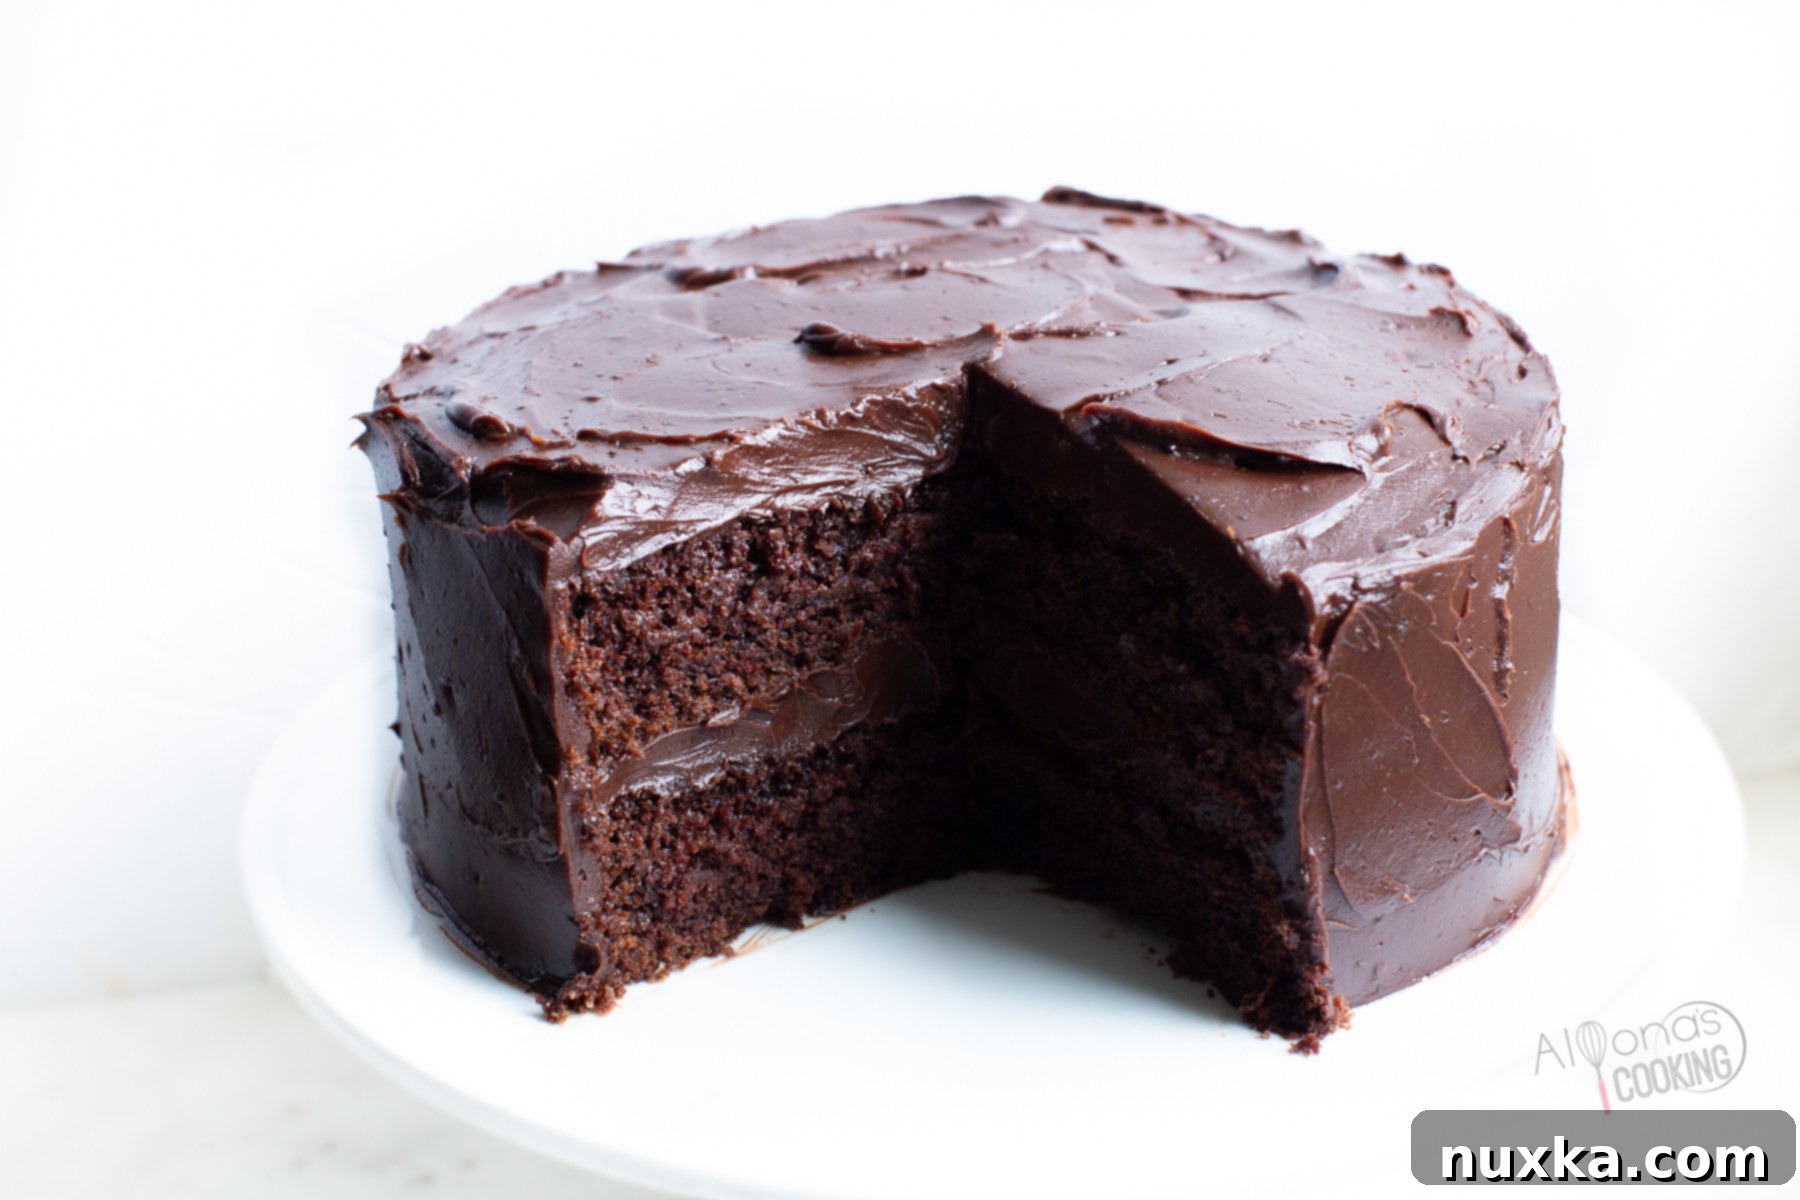
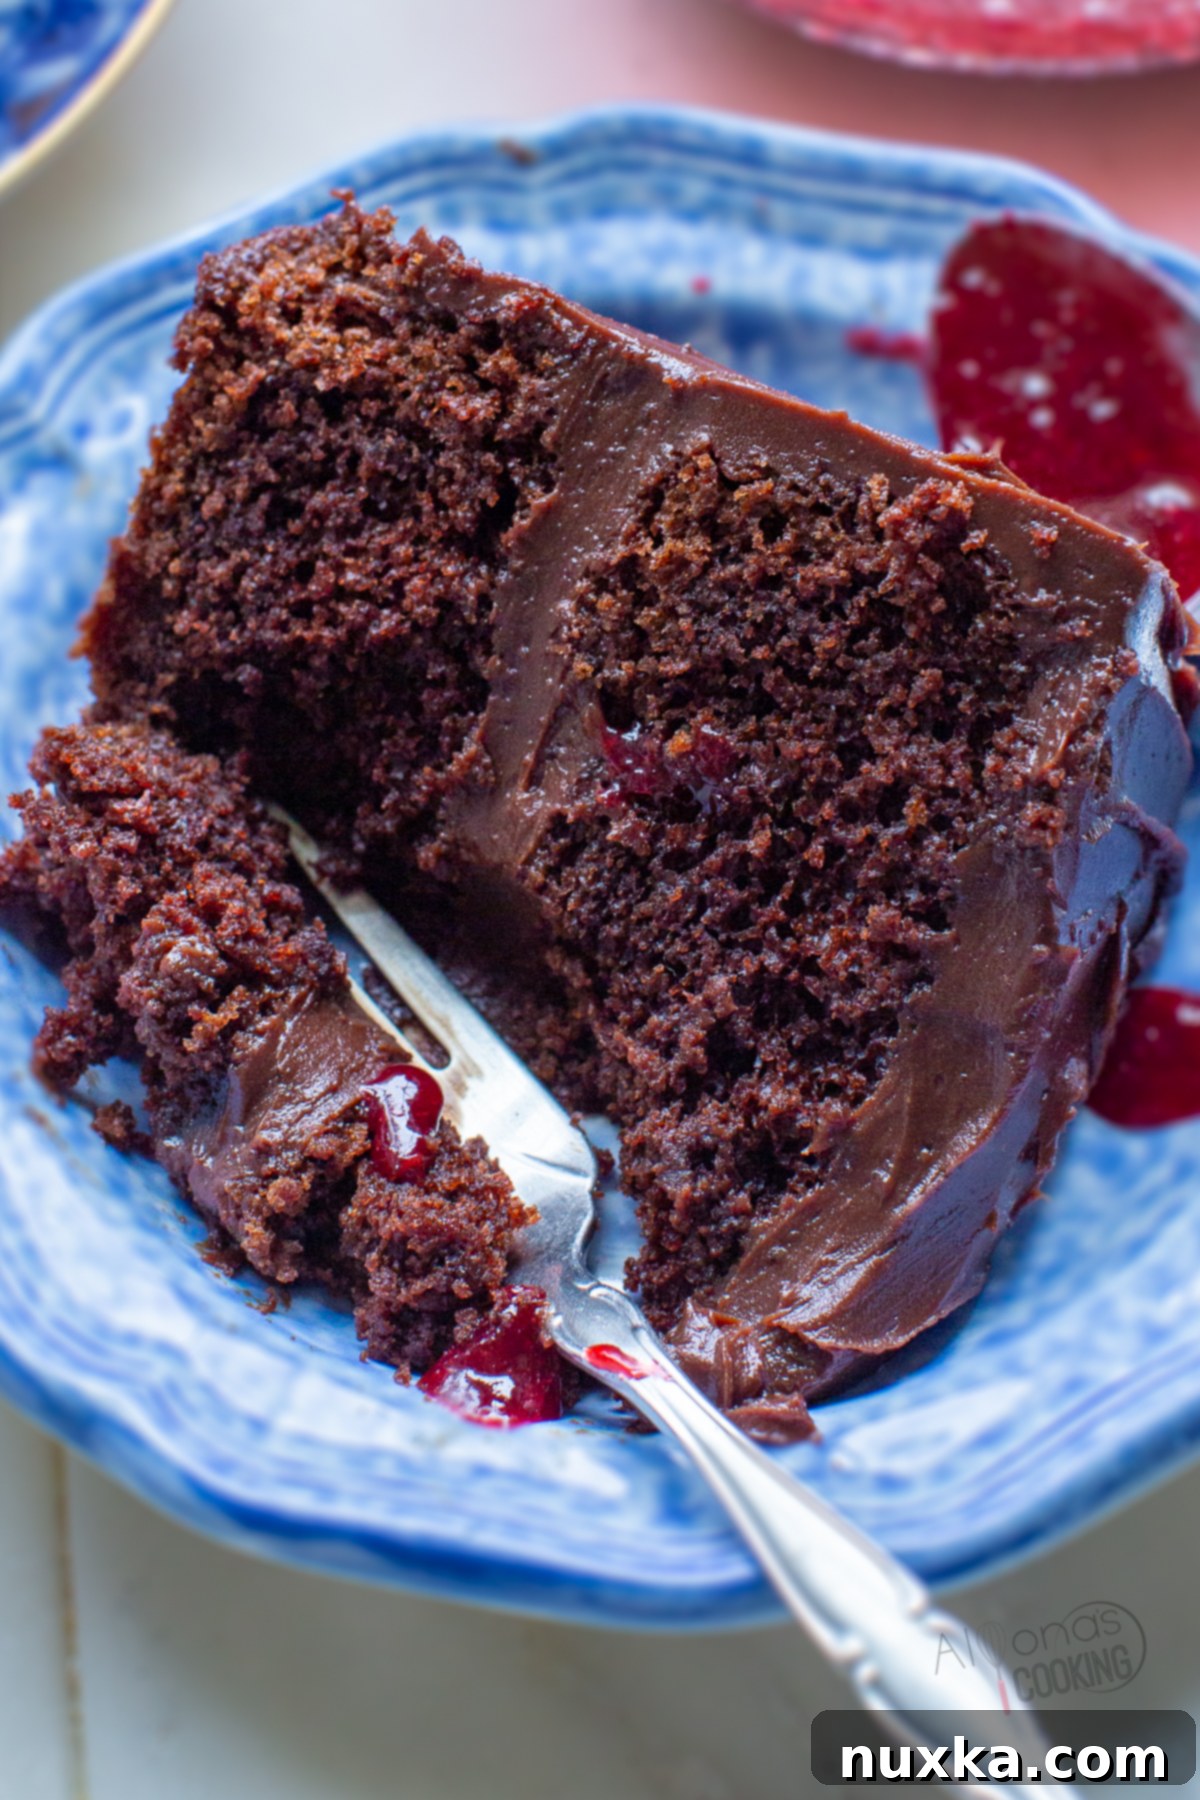
Chocolate lovers, prepare to rejoice! This rich chocolate cake, generously slathered with a luxurious fudge frosting, is the perfect centerpiece for any occasion, from festive holidays to casual weekend gatherings. What makes this light and fluffy layer cake truly exceptional is its healthier twist: it’s crafted using freshly milled whole wheat flour. Unlike conventional refined flours, whole wheat flour offers a wealth of nutrients, including fiber, vitamins, and minerals, making your dessert not just delicious but also more wholesome. And here’s the best part: when prepared correctly, a whole wheat chocolate cake can taste just as good, if not better, than its traditional counterpart. It’s all about harnessing the natural goodness of the grain.
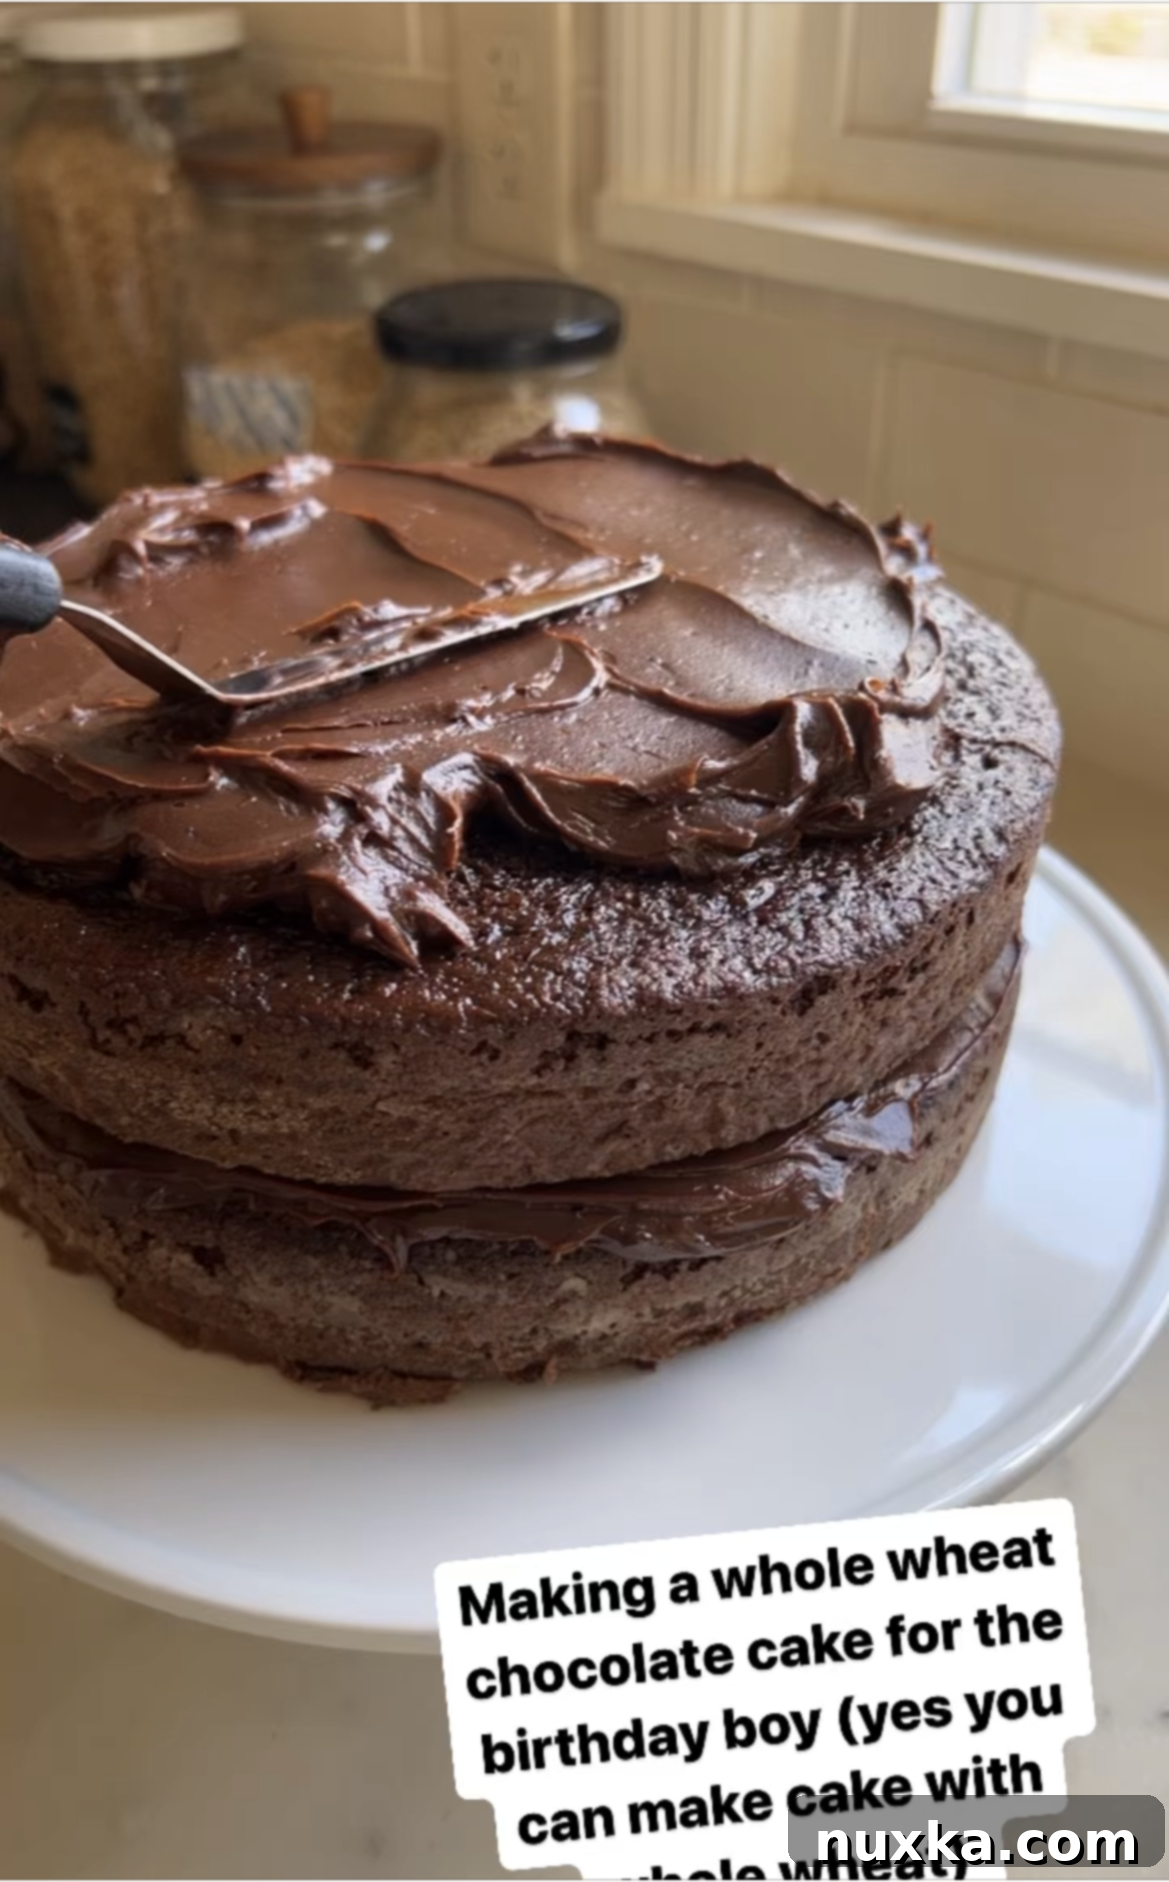
This whole wheat chocolate cake recipe was a huge hit, perfect for celebrating my boy’s special day! It’s truly one of the best cakes to prepare when you want minimal decoration fuss but maximal deliciousness and an incredibly moist crumb. I particularly appreciate its quick and easy preparation, and the convenience of baking the cake layers days in advance. This flexibility allows for stress-free assembly when you’re ready to serve.
But beyond convenience, this cake shines with its profound flavor profile. It’s wonderfully light and fluffy, perfectly balanced by the rich, indulgent fudge buttercream frosting that smothers every layer. Each bite of this chocolate masterpiece delivers pure joy, proving that layers of wholesome chocolate cake can indeed taste utterly divine.
Tips for Making a Healthier Chocolate Cake
Transforming a classic dessert into a healthier option doesn’t mean sacrificing flavor or texture. Here are some invaluable tips to enhance the nutritional profile of your chocolate cake while keeping it utterly delicious:
- For a Healthier Frosting: Create your own powdered sugar by blending organic cane sugar in a high-speed blender until it reaches a fine, powdery consistency. This gives you control over the quality of your sugar.
- Richness with Raw Milk Cream: If you have access to raw milk, using the cream that rises to the top will add an unparalleled richness and depth of flavor to your fudge frosting. It’s a secret ingredient for an extra luxurious touch.
- Mindful Chocolate Choices: For those with sensitivities or seeking higher quality, opt for soy-free semi-sweet chocolate chips. Many excellent brands are available from stores like Azure Standard that prioritize cleaner ingredients.
- Boost Digestibility with Sourdough: To make the cake even easier on your digestive system, try replacing 1/2 cup of oil with 1/2 cup of sourdough starter. This can be an active starter or sourdough discard. The fermentation process in sourdough can break down complex carbohydrates, making the cake lighter and more digestible.
- Natural Pan Preparation: Instead of traditional butter and flour, use coconut oil to grease and flour your cake pans. It’s a natural alternative that imparts a subtle, pleasant aroma and prevents sticking.
- Ultimate Versatility: This recipe is incredibly adaptable! Make it dairy-free by substituting buttermilk with coconut milk or almond milk. For a gluten-free option, use a reliable gluten-free flour blend. You can also experiment with your preferred healthy sweeteners. The robust flavor of cocoa powder is a wonderful ally here, expertly masking any subtle differences from ingredient substitutions, ensuring your cake remains a crowd-pleaser.
Essential Ingredients for Your Whole Wheat Chocolate Cake
Creating these remarkably moist and flavorful cake layers starts with a selection of simple, high-quality pantry staples. A crucial component for all my baked goods is soft white wheat, which I always keep on hand for milling fresh. For the most accurate and consistent results, always weigh your whole grains first before milling. This ensures you use the precise amount needed for the recipe, eliminating guesswork that often comes with cup measurements. Weighing the grains directly translates to the amount of flour you’ll need.
- For the Cake Layers: Our heavenly whole wheat chocolate cake layers are crafted from freshly milled soft white wheat, providing a tender crumb and rich flavor. We combine this with organic cane sugar for a balanced sweetness, rich cocoa powder, essential leavening agents like baking soda and baking powder, a pinch of salt to enhance flavors, and sunflower oil for moisture. Buttermilk adds tang and helps activate the baking soda, while eggs bind and add structure. Vanilla extract provides aromatic depth, and a touch of coffee amplifies the chocolate flavor without making the cake taste like coffee. I typically mix these in the given order using my trusty Kitchen-Aid stand mixer for effortless blending.
- For the Decadent Fudge Frosting: This irresistibly rich fudge frosting is a simple blend of unsalted butter, high-quality chocolate chips, additional cocoa powder for intense chocolate flavor, heavy cream for silkiness, powdered sugar for sweetness, a dash of salt to balance, and vanilla extract for warmth.
How To Craft Your Whole Wheat Chocolate Cake: A Step-by-Step Guide
Achieving a perfectly moist and flavorful whole wheat chocolate cake starts with the right approach and tools. For consistent results, I highly recommend using a kitchen scale to measure your grains. This recipe is designed for two 9-inch cake pans. While you can certainly use a hand mixer or even a whisk for the cake batter, I find my Kitchen-Aid mixer makes the process incredibly smooth and hands-off. The fudge frosting is surprisingly easy to make, as it simply involves melting the ingredients in a saucepan and then cooling to the perfect consistency.
- Prepare the Cake Pans: Begin by generously greasing and flouring two 9-inch round cake pans. This crucial step ensures your beautiful cake layers release easily after baking. Preheat your oven to 350°F (175°C).
- Mix the Cake Batter: In the bowl of your stand mixer (or a large mixing bowl if using a hand mixer), combine all the cake batter ingredients in the order specified in the recipe card below. Start with the dry ingredients, then gradually add the wet components. Mix on low speed until all the freshly milled flour is just incorporated. Be careful not to overmix, as this can lead to a tougher cake.
- Portion and Pour: Divide the rich chocolate batter evenly between your two prepared cake pans. Using a spatula to level the tops slightly will help them bake more uniformly.
- Bake to Perfection: Place the cake pans into the preheated oven and bake for 25-30 minutes, or until a wooden skewer or toothpick inserted into the center of a cake layer comes out clean. The exact baking time may vary slightly depending on your oven.
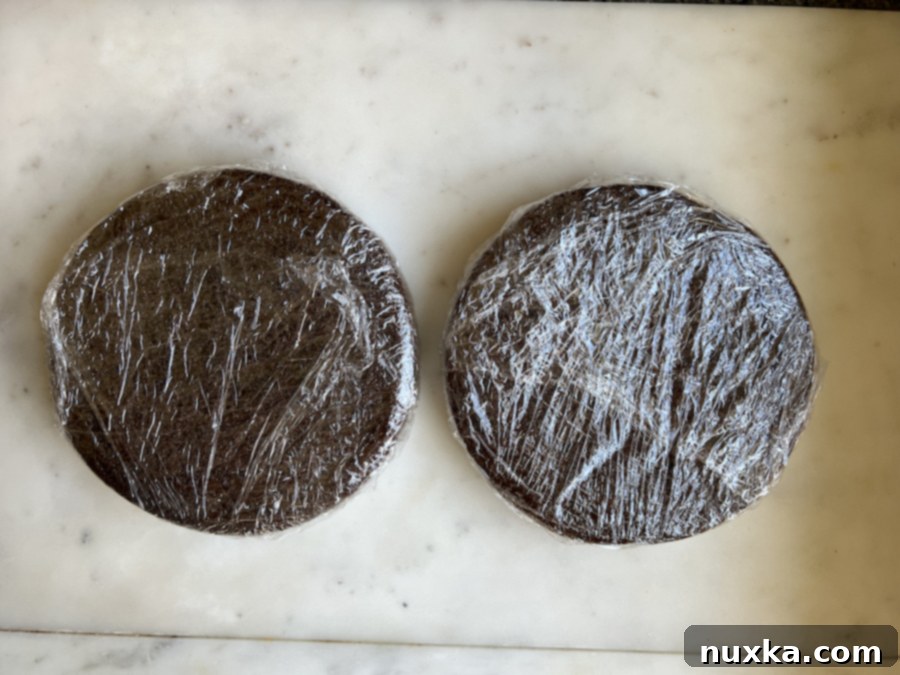
- Cooling Strategy: Once baked, remove the cakes from the oven and let them cool in their pans for about 10 minutes. This allows them to firm up slightly. Then, carefully invert them onto a sheet of parchment paper. Cooling on parchment rather than directly on a wire rack can prevent sticking and make the final transfer to a cake stand much easier. Allow them to cool completely. At this point, you can either frost them immediately or wrap them tightly in plastic wrap and freeze them for later assembly.
- Craft the Fudge Frosting: In a small saucepan, combine all the ingredients for the fudge frosting. Gently bring the mixture to a simmer over low heat, stirring continuously until the sugar is fully dissolved and the mixture is smooth and glossy. You’re aiming for a melted consistency, not a boil. Pour the hot frosting into a shallow 9×13 inch pan to cool. To prevent a “skin” from forming on top, place a piece of plastic wrap directly onto the surface of the frosting. Transfer to the refrigerator for about 30 minutes, or until the frosting has thickened to a spreadable consistency.
- Assemble and Frost: Once the cake layers are completely cool and the fudge frosting is set, you’re ready to assemble! Place a small dollop of frosting in the center of your serving plate or cake stand – this acts as an anchor. Place one cake layer on top, facing up (this prevents a domed top from making your cake uneven). Generously spread a layer of fudge frosting over the first cake layer. Carefully place the second cake layer on top. Finish by frosting the top and sides of the entire cake with the remaining decadent fudge.
How To Make Ahead and Store Your Whole Wheat Chocolate Cake
This whole wheat chocolate cake is an excellent make-ahead dessert, perfect for saving time when entertaining or simply preparing for future cravings. The un-frosted cake layers offer great flexibility:
- Room Temperature Storage: Cooled, un-frosted cake layers will stay fresh and moist at room temperature for up to 3 days if wrapped well with plastic wrap.
- Freezer Storage: For longer preservation, completely cool the cake layers, then double-wrap each layer tightly in plastic wrap. Place them on a large tray and flash freeze them until solid, typically a few hours. Once frozen, you can transfer them to a freezer-safe bag or container and store them for up to 2 months. Working with semi-frozen cake layers can actually be easier when frosting, as they are firmer and less prone to tearing or crumbling than very tender, freshly baked layers.
- Storing the Frosted Cake: Once you’ve assembled and frosted your cake, it’s best stored at room temperature under a cake dome for up to 3 days. While refrigerating will extend its life, it can also lead to a drier crumb and a harder frosting. If you do choose to refrigerate, remember to allow the cake to thaw at room temperature for a few hours before serving. This ensures the cake regains its signature moistness and the frosting softens to its creamy, indulgent best.
More Delicious Freshly Milled Flour Recipes:
Embracing the goodness of freshly milled flour has been a culinary revelation! I’ve been transforming most of my home-baked desserts using soft white wheat that I mill at home with my grain mill. The difference in nutrition, flavor, and aroma is truly remarkable. Freshly milled flour brings an unparalleled depth to your baking. If you love this whole wheat chocolate cake, you’ll definitely want to explore these other fantastic recipes that celebrate 100% whole grains:
-
Healthy Pancakes
-
Whole Wheat Tortillas
-
Whole Wheat Sourdough Bread (Boule)
-
Whole Wheat Blueberry Muffins
-
Whole Wheat Hamburger Buns
-
Whole Wheat Pelmeni
-
Whole Wheat Waffles with Freshly Milled Flour
-
Fluffy Whole Wheat Sandwich Bread Recipe
Frequently Asked Questions (Q&A) About Whole Wheat Chocolate Cake
Can I Use Store-Bought Whole Wheat Flour for This Recipe?
This particular whole wheat chocolate cake recipe is specifically developed and optimized for freshly milled flour. Store-bought whole wheat flour, while convenient, differs significantly from flour milled at home. Commercial whole wheat flour is typically made from hard wheat varieties like hard red or hard white, which have a higher protein content and create a denser texture, more suitable for breads. For our moist and tender cake, I use soft white wheat, which is a lower-protein “pastry flour” type of grain. This soft wheat is ideal for delicate baked goods like cakes and cookies, yielding a superior result. While you *could* attempt to use store-bought whole wheat flour, you would likely need to incorporate a portion of all-purpose flour to achieve a similar light and tender crumb, as 100% store-bought whole wheat flour might result in a denser cake.
What Benefits Does Freshly Milled Flour Bring to Cakes?
Think of freshly milled flour like freshly ground coffee or spices – the difference in flavor and aroma is profound. Milling your own flour just before baking provides a much stronger, fresher taste and a more vibrant aroma that translates directly into your baked goods. Beyond the sensory experience, freshly milled flour significantly enhances the nutritional value and digestibility of your cake.
The bran, which is removed in refined flours, is packed with essential fiber, aiding digestion and promoting gut health. The wheat germ, another component often stripped away in commercial processing, is a powerhouse of nutrients, rich in B vitamins (B6, folate, thiamin), zinc, magnesium, manganese, and vitamin E. Using the entire grain means you’re consuming all these vital elements. Furthermore, especially when using soft white wheat (my preferred grain for cakes), you won’t sacrifice taste. This freshly milled whole wheat chocolate cake is just as delicious, if not more so, than traditional versions, proving that healthy can indeed be incredibly flavorful and truly the best chocolate cake experience.
Expert Tips for Baking the Perfect Whole Wheat Chocolate Cake with Freshly Milled Flour:
- Embrace Freshly Milled Flour: The foundation of this exceptional cake is freshly milled flour. Invest in a good quality grain mill and whole grains. For desserts like crepes, cookies, and especially cakes, soft white wheat is my top recommendation due to its lower protein content, which yields a tender and delicate crumb.
- Mixing Made Easy: While you can absolutely prepare the cake batter with a wire whisk in a single bowl, using a stand mixer will make your life much easier. I prefer to operate it on a low speed, adding ingredients one by one in the specified order. This allows the machine to effortlessly mix the batter, freeing up your hands for other prep tasks.
- Coffee: Hot or Cold? Both hot and leftover cold coffee work wonderfully in this recipe. Coffee enhances the chocolate flavor without dominating it. If you need coffee quickly and don’t have any brewed, instant coffee granules dissolved in hot water are a perfect shortcut.
- Frosting Semi-Frozen Layers: For a smoother and cleaner frosting experience, try frosting your cake layers when they are semi-frozen. Because these cake layers are so tender and moist, the rich fudge frosting can be a little heavy and challenging to spread evenly on very soft layers. A slight chill provides more structure.
- Simplify Cleanup with Parchment: After baking, invert your warm cake layers directly onto parchment paper instead of a wire rack. This simple trick makes cleanup significantly easier, as wire racks can often be a hassle to scrub.
- Cooling Fudge Safely: When cooling the hot fudge frosting, always pour it into a stainless steel pan. Glass pans can be prone to cracking or breaking when exposed to sudden temperature changes from hot liquids.
Rate
Pin
Whole Wheat Chocolate Cake Recipe
Equipment
-
2 9-inch round cake pans
Ingredients
Ingredients for the Cake Layers:
-
2 3/4 cups freshly milled soft wheat flour (equivalent to 310 grams of soft white wheat berries before milling)
-
2 cups organic cane sugar
-
1/2 cup unsweetened cocoa powder
-
1 1/2 tsp baking soda
-
1 tsp baking powder
-
1 tsp fine sea salt
-
1 cup organic sunflower oil
-
1 cup buttermilk
-
2 large eggs
-
1 tsp pure vanilla extract
-
3/4 cup hot coffee
Ingredients for the Fudge Frosting:
-
315 grams unsalted butter (approximately 2 sticks + 6 tablespoons)
-
400 grams semi-sweet chocolate chips
-
1/3 cup unsweetened cocoa powder
-
1 1/3 cup heavy cream
-
1 1/3 cup powdered sugar
-
1/2 tsp fine sea salt
-
1 tsp pure vanilla extract
Instructions
-
 Preheat your oven to 350°F (175°C). Thoroughly grease and flour two round 9-inch cake pans. Set them aside until needed.
 -
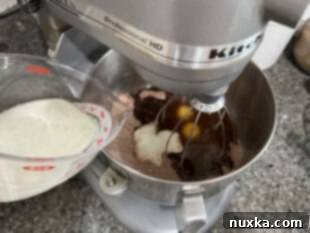 Using a stand mixer fitted with the wire whisk attachment, combine all cake ingredients in the order they are listed, starting with dry then wet. Mix on low speed just until all the flour is incorporated and the batter is smooth. Avoid overmixing.
 -
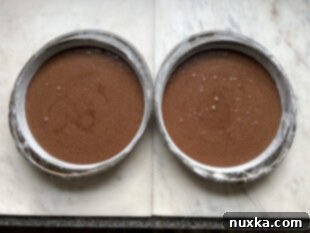 Pour the prepared cake batter evenly into the greased and floured pans. Bake for 30-35 minutes, or until a toothpick inserted into the center comes out clean.
 -
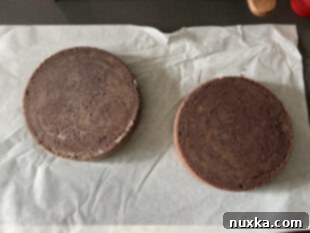 Allow the cakes to cool in their pans for 10 minutes. Then, gently run a knife around the edges to loosen and carefully invert them onto parchment paper. Let them cool completely to room temperature.
 -
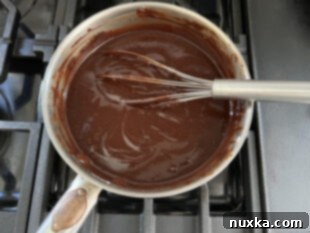 To Make the Fudge Frosting: In a small saucepan, combine all the fudge frosting ingredients. Heat gently over low heat, stirring constantly, until all ingredients are melted and the mixture is smooth. Ensure sugar is fully dissolved.
 -
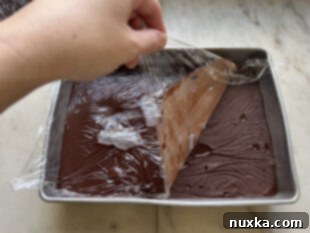 Pour the hot frosting into a stainless steel 8×12 inch pan and let it cool for about 15 minutes at room temperature. Then, cover the surface directly with plastic wrap to prevent a skin from forming and refrigerate for about 30 minutes, or until the fudge has thickened to a spreadable consistency.
 -
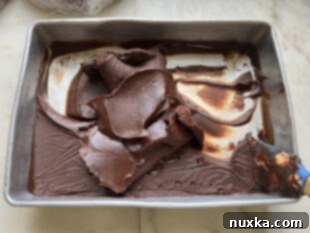 Once the fudge frosting has thickened, use a rubber spatula to gather it all to the center of the pan. This makes it easier to scoop and spread evenly.
 -
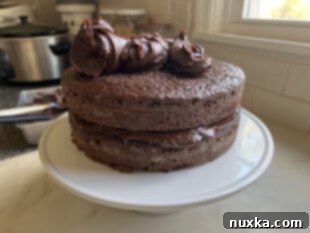 Spread a tablespoon of frosting in the middle of your desired cake platter to help secure the cake. Place the first cake layer onto the platter. Generously spread frosting over this layer, then carefully place the second cake layer on top. To ensure a flat top, I like to place my cake layers facing up. Finish frosting the top and sides of the entire cake using an offset spatula for smooth coverage. For best results, chill the cake briefly to allow the frosting to set.
 -
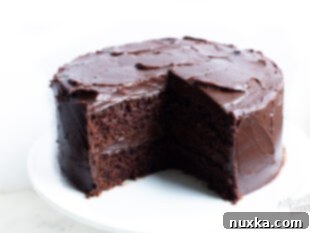 Store the finished cake in the refrigerator for extended freshness. However, for the best eating experience, allow it to thaw at room temperature for a few hours before serving. This will ensure the frosting softens beautifully and the cake layers are perfectly moist.
Nutrition per serving
