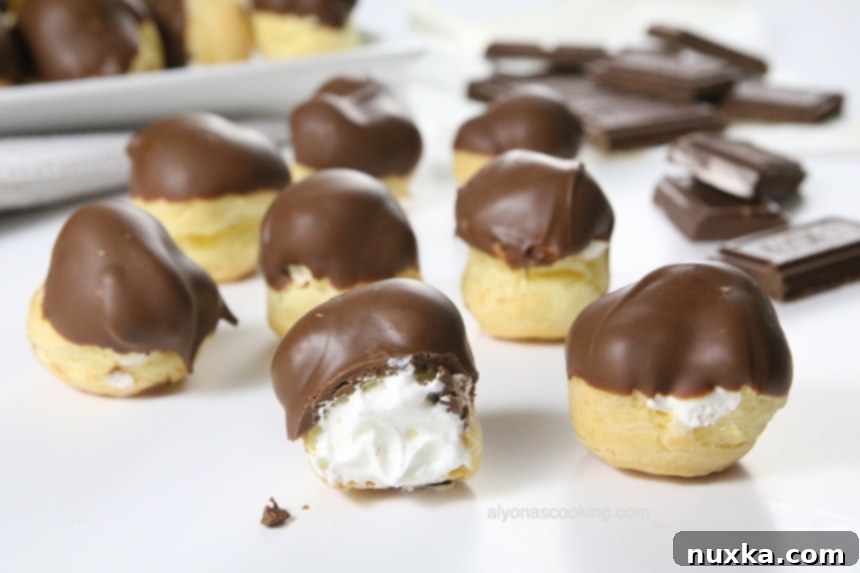
Master the Art of Easy Homemade Cream Puffs: Your Best Recipe Guide

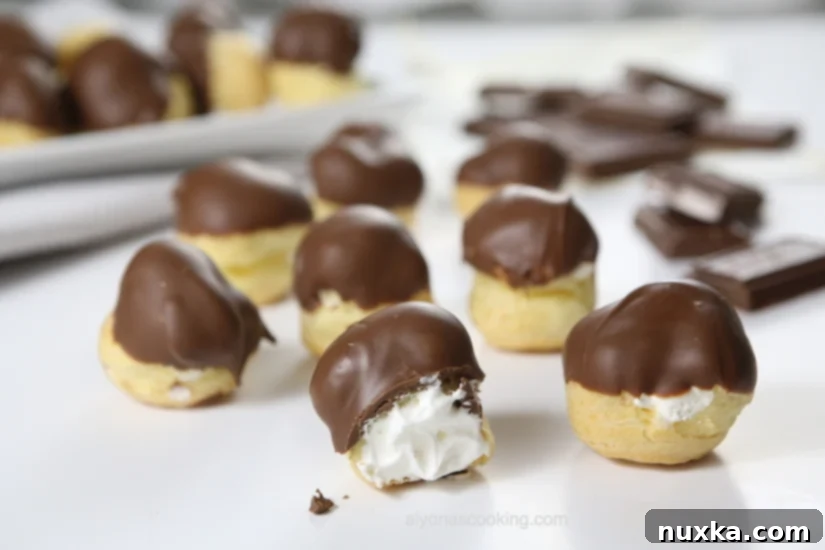
Discovering the perfect cream puff recipe can feel like striking gold, and this one truly is a treasure! Hailing from a cherished friend, this easy cream puffs recipe quickly ascended to the top of my all-time favorite desserts. Forget those dry, flavorless store-bought versions; these homemade delights are a revelation, boasting a light, airy shell and a rich, creamy filling that will melt in your mouth. You might think cream puffs are a complicated endeavor reserved for professional pastry chefs, but I’m here to tell you that couldn’t be further from the truth. With clear, step-by-step instructions and helpful photos, you’ll be amazed at how simple it is to create these elegant treats in your own kitchen. The magic happens with just a few basic ingredients and the oven doing most of the work. The only real challenge? Exercising enough self-control not to devour them all in one sitting! The ultimate testament to their deliciousness came when a complete stranger declared them the best cream puffs they had ever tasted. It’s time for this recipe to get the recognition it deserves, becoming a staple in your dessert repertoire for family gatherings, special occasions, or simply a delightful treat.
What Are Cream Puffs (Choux Pastry)?
At the heart of every great cream puff is a perfectly executed choux pastry (pronounced ‘shoo’). This seemingly simple dough, made from water, butter, flour, and eggs, is unique because it relies on steam to puff up dramatically in the oven, creating a hollow center ideal for filling. Unlike other pastries that use leavening agents like baking powder or yeast, choux pastry achieves its incredible lightness and characteristic hollow interior through the high moisture content of the dough, which turns into steam during baking. This steam then expands, pushing the dough outwards and forming a crisp, golden shell. Mastering choux pastry is a foundational skill in baking, and once you get the hang of it, a world of éclairs, profiteroles, and even savory gougères opens up. Don’t be intimidated; the process is straightforward, and the results are incredibly rewarding. The key to success lies in understanding the stages of cooking the dough on the stovetop and incorporating the eggs correctly. Follow our detailed steps, and you’ll soon be a choux pastry pro, creating treats that taste much better than anything you can buy!
Crafting the Perfect Choux Pastry: Step-by-Step
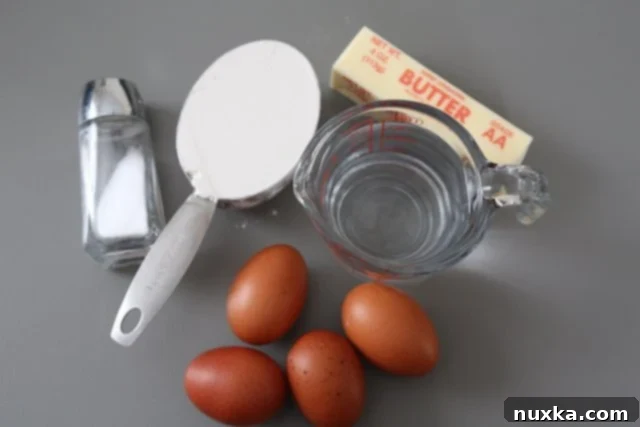
Ingredients for Homemade Cream Puffs:
- 1 cup water
- 1 stick unsalted butter (essential for controlling saltiness)
- Pinch of salt (enhances flavor and balances sweetness)
- 1 cup all-purpose flour (standard for choux pastry)
- 4 large eggs (binds the dough and provides structure)
Detailed Instructions for Cream Puff Shells:
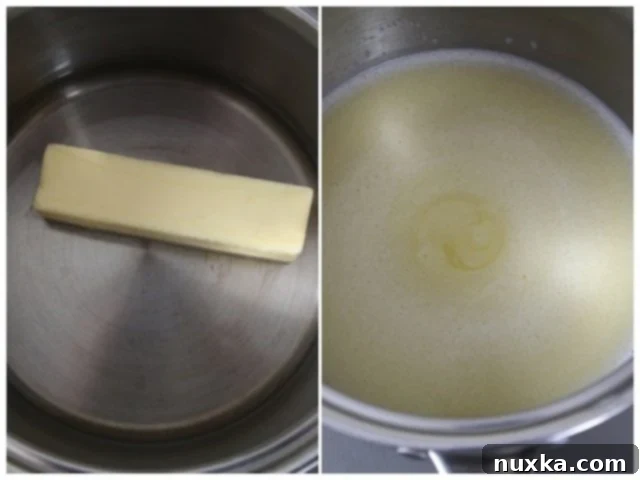
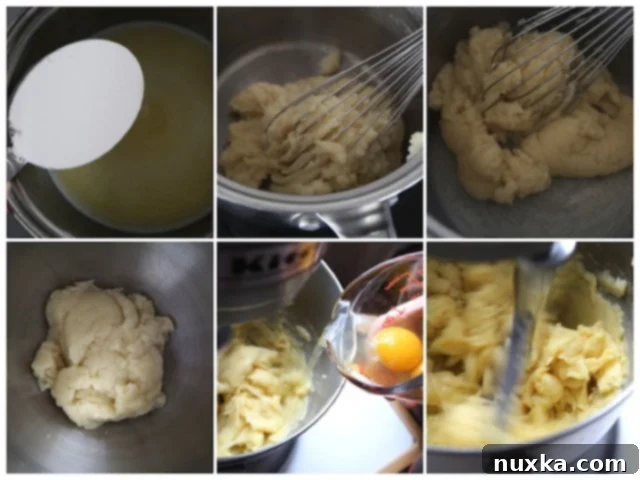
- Melt Butter and Water: In a medium saucepan, combine 1 cup of water, 1 stick of unsalted butter, and a pinch of salt. Place over medium-high heat and bring to a rolling boil. Ensure the butter is completely melted before moving to the next step, as this liquid base is crucial for the dough’s consistency.
- Add Flour and Cook: Once the mixture is boiling, immediately remove the saucepan from the heat and add 1 cup of all-purpose flour all at once. Quickly and vigorously whisk or stir with a wooden spoon until a thin film forms on the bottom of the saucepan and the batter comes together to form a cohesive ball. This cooking step, typically lasting 1-2 minutes, helps dry out the dough, which is vital for a light and airy puff.
- Cool the Dough: Remove the dough from the heat and transfer it into the bowl of a stand mixer. Let the dough cool for about 3 minutes. This cooling period is essential; if the dough is too hot when you add the eggs, they will scramble, ruining the texture of your choux pastry.
- Incorporate Eggs: Attach the paddle attachment to your stand mixer. Start beating the dough on medium speed for about 30 seconds to help release any remaining heat. Then, add 1 egg at a time, beating thoroughly after each addition until fully incorporated. The dough will look like it’s separating or curdling at first, but keep beating, and it will come back together. After the last egg is added, continue beating the dough for another 2 minutes. The final dough should be smooth, tacky, and creamy, falling slowly from the paddle attachment in a “V” shape.
- Prepare for Piping: Transfer the dough into a piping bag fitted with a large round tip (or simply cut a 1/2-inch opening at the corner of a sturdy Ziploc bag). While a specific tip helps create uniform shapes, a simple cut bag works perfectly well.
- Preheat Oven and Prepare Baking Sheets: Preheat your oven to 375°F (190°C). Line two large baking sheets with parchment paper. A useful tip: dab a tiny bit of the choux pastry dough onto the four corners of the baking sheet before placing the parchment paper. This will help secure the paper and prevent it from sliding around while you pipe.
- Pipe the Dough: Hold the piping bag in a downward direction, perpendicular to the baking sheet. Squeeze the batter out, holding the bag in one spot, and count to 5 seconds. Slowly move the bag upwards, then stop squeezing to release the dough. Use a wet finger to gently detach the dough without stretching it. Each piped puff should resemble a large Hershey’s Kiss, about 1.25 inches wide. Ensure adequate space between each puff as they will expand significantly during baking.
- Smooth and Bake: Dip your fingers into a bowl of water and gently smooth out any pointy tops on the piped dough. This prevents them from burning and ensures an even rise. Bake in the preheated oven for 25-30 minutes.


Important Note on Baking Choux Pastry:
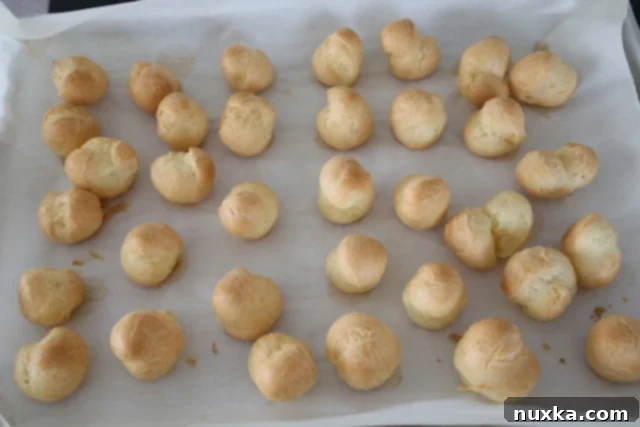
DO NOT OPEN THE OVEN DOOR during the baking process, especially in the first 20-25 minutes. Opening the oven door will cause the steam to escape, which is crucial for the puffs to rise and create their hollow interior. This can lead to deflated, soggy cream puffs. Trust the process! The puffs will rise dramatically during baking, becoming golden brown and crisp on the outside while remaining wonderfully hollow and slightly moist on the inside. Once baked, let them cool completely on a wire rack before filling. Proper cooling is key to maintaining their structure and preventing sogginess.
Creamy Filling and Decadent Chocolate Topping
Ingredients for the Irresistible Filling & Topping:
- 1 (8oz) container of Cool Whip (light or fat-free versions work just as well)
- 3 tbsp condensed milk (adds sweetness and creaminess)
- 3 tbsp whipped cream cheese (provides a subtle tang and stabilizes the filling)
- 2 (7 oz) Giant Size Hershey’s milk chocolate bars (for a classic, rich chocolate dip)

Preparing the Silky Filling:
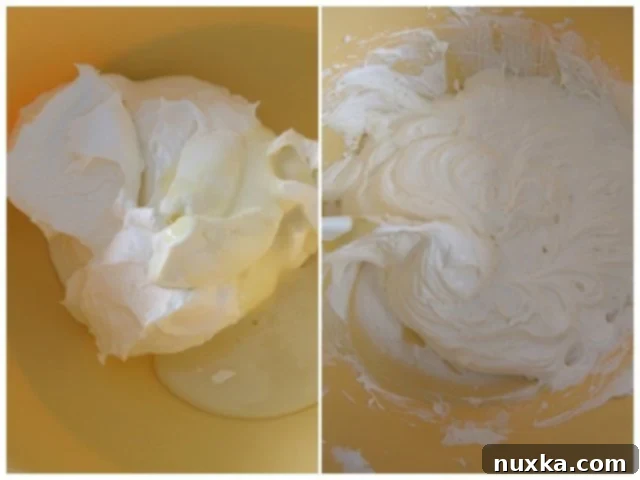
- In a large mixing bowl, combine the Cool Whip, condensed milk, and whipped cream cheese. Using a whisk or an electric mixer, beat the ingredients together until the mixture is completely smooth, creamy, and thick. The cream cheese helps to stabilize the Cool Whip, preventing it from weeping and ensuring a delightful texture.
- Once thoroughly combined, cover the bowl and refrigerate the filling until you are ready to assemble the cream puffs. Chilling will firm it up slightly, making it easier to pipe and enhancing its refreshing taste.
Melting Chocolate for a Glossy Finish:
- Break the Hershey’s chocolate bars into pieces and place them in a microwave-safe bowl. Microwave on high for 1 minute and 30 seconds, stirring thoroughly every 30 seconds. This intermittent stirring helps the chocolate melt evenly and prevents it from burning or seizing. Alternatively, you can use a double boiler for a gentler melting process, ensuring a smooth, glossy consistency.
- Once melted and smooth, set the chocolate aside briefly to cool slightly, making it easier to dip the cream puffs without melting the filling.

Assembling Your Masterpiece: Filling and Dipping:
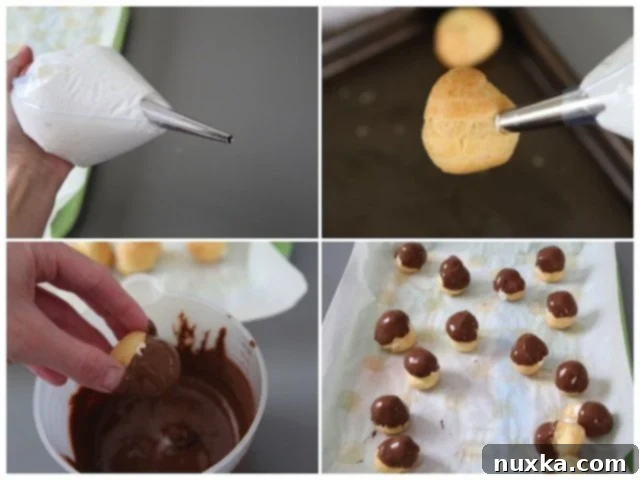
- Fill the Puffs: Transfer the chilled filling into a piping bag fitted with a narrow tip (or a smaller Ziploc bag with a tiny corner snipped off). Gently make a small hole on the side or bottom of each cooled cream puff shell and pipe the cool whip frosting inside until the puff feels adequately filled. Be careful not to overfill, as this can cause the puff to burst.
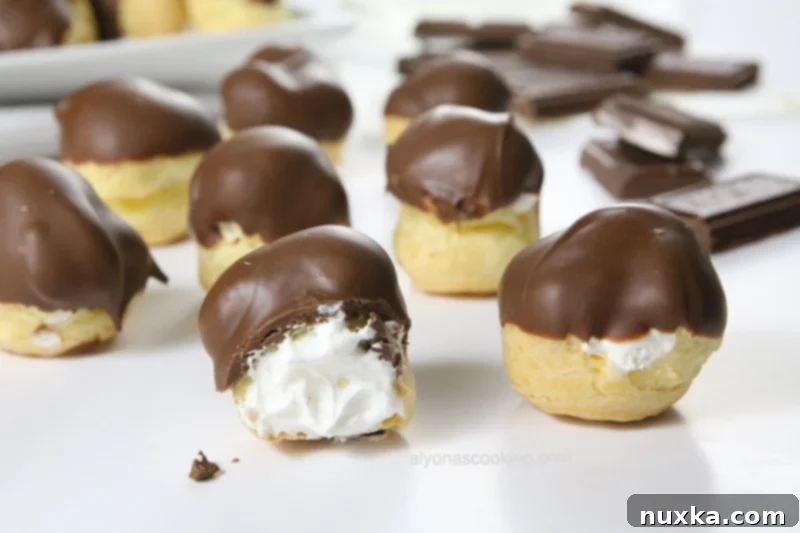
- Dip in Chocolate: Hold each filled cream puff by its base and dip the top into the melted chocolate, allowing any excess to drip off. Place the chocolate-dipped cream puffs onto a parchment-lined tray or plate.
- Chill and Serve: Refrigerate the assembled cream puffs for at least 30 minutes to allow the chocolate to set and the flavors to meld beautifully.
Serve these delightful homemade cream puffs cold and enjoy the exquisite balance of crisp pastry, creamy filling, and rich chocolate. They are truly an unforgettable treat!
Tips for Cream Puff Perfection
Achieving bakery-quality cream puffs at home is simpler than you think, especially with these helpful tips:
- Don’t Rush the Dough: Ensure the flour is properly cooked on the stovetop and the dough cools slightly before adding eggs. These steps are fundamental for the right choux pastry texture.
- Eggs One at a Time: Add eggs individually and beat thoroughly after each addition. This allows the dough to emulsify correctly and absorb each egg, resulting in the desired creamy consistency.
- Consistency is Key: The finished dough should be smooth, shiny, and tacky. It should hold its shape when piped but be soft enough to fall slowly from a spoon. If it’s too stiff, your puffs might not rise well; too runny, and they’ll spread.
- The Oven Door Rule: This cannot be stressed enough – do not open the oven door during baking. The steam is crucial for the puffs to rise and develop their hollow interior. A peek too early can lead to sad, deflated pastries.
- Proper Cooling: Always cool your baked choux shells completely on a wire rack. Cooling prevents condensation from making them soggy and ensures a crisp exterior.
- Freshness Matters: While Cool Whip is convenient and effective, you can certainly use freshly whipped cream for the filling for an even richer taste. Ensure it’s stabilized with a little powdered sugar or cream of tartar if you do.
- Even Piping: Try to pipe uniformly sized puffs for even baking. Consistency in size ensures all your cream puffs are perfectly golden at the same time.
Storage and Serving Suggestions
These easy homemade cream puffs are best enjoyed fresh, but they can be stored to extend their deliciousness:
- Storing Filled Puffs: Keep filled and chocolate-dipped cream puffs refrigerated in an airtight container for up to 2-3 days. The pastry may soften slightly over time, but they will still be delicious.
- Storing Unfilled Shells: If you want to prepare ahead, bake the choux pastry shells and cool them completely. Store them in an airtight container at room temperature for up to 2 days, or freeze them for up to 1 month. To refresh frozen shells, simply bake them in a 350°F (175°C) oven for 5-10 minutes until crisp. Fill just before serving.
- Serving Variations: While the chocolate dip is classic, feel free to experiment! Dust with powdered sugar, drizzle with caramel sauce, or serve with fresh berries for an extra touch of elegance. For the filling, consider adding a touch of vanilla extract, almond extract, or a swirl of fruit preserves for different flavor profiles.
- Party Perfect: Cream puffs are ideal for parties as they can be made in advance and assembled closer to serving time. Arrange them artfully on a platter for a show-stopping dessert that will impress all your guests.

Rate
Pin
Easy Cream Puffs Recipe
Ingredients
-
CREAM PUFFS:
-
1 cup water
-
1 stick unsalted butter
-
pinch of salt
-
1 cup all-purpose flour
-
4 eggs
-
FILLING & TOPPING:
-
1 8oz container of Cool whip
-
3 tbsp condensed milk
-
3 tbsp whipped cream cheese
-
14 oz Hershey’s milk chocolate bars melted
Instructions
-
Melt butter and salt in water over medium-high heat. Add flour and quickly whisk until a batter forms into a ball (1-2 min).
-
Transfer dough into a stand mixer with a paddle attachment and beat 30 seconds. Then add 1 egg at a time, beating well after each. Beat dough for 2 minutes after the last egg is added (dough will be tacky).
-
Place dough into a piping bag with a round tip.
-
Preheat oven to 375°F (190°C) and line two large baking sheets with parchment paper.
-
Hold the piping bag downwards, squeeze batter for 5 seconds, slowly moving upwards. Use a wet finger to smooth out pointy tops.
-
Bake for 25-30 minutes. DO NOT OPEN OVEN DOOR; this may cause puffs to deflate.
-
FOR FILLING: Beat cream cheese until smooth, then add Cool Whip and condensed milk. Chill until needed.
-
TO ASSEMBLE PUFFS: Stuff each puff with the cool whip frosting, inserting a narrow tip on the side.
-
Then dip the tops into the melted chocolate and place onto a tray. Keep refrigerated. Serve cold.
Notes
