Easy Cocoa Ganache Recipe: The Ultimate Non-Hardening Chocolate Topping for Your Desserts
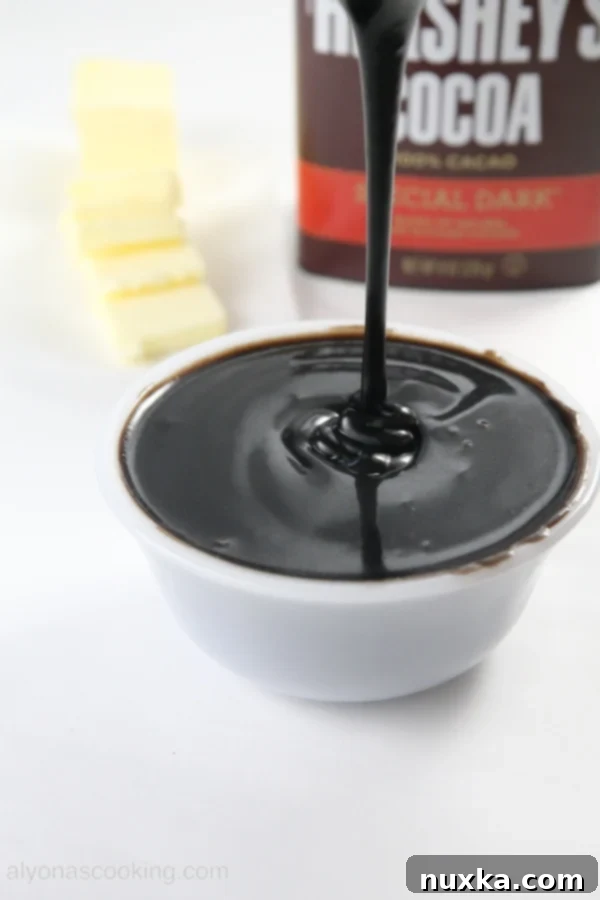
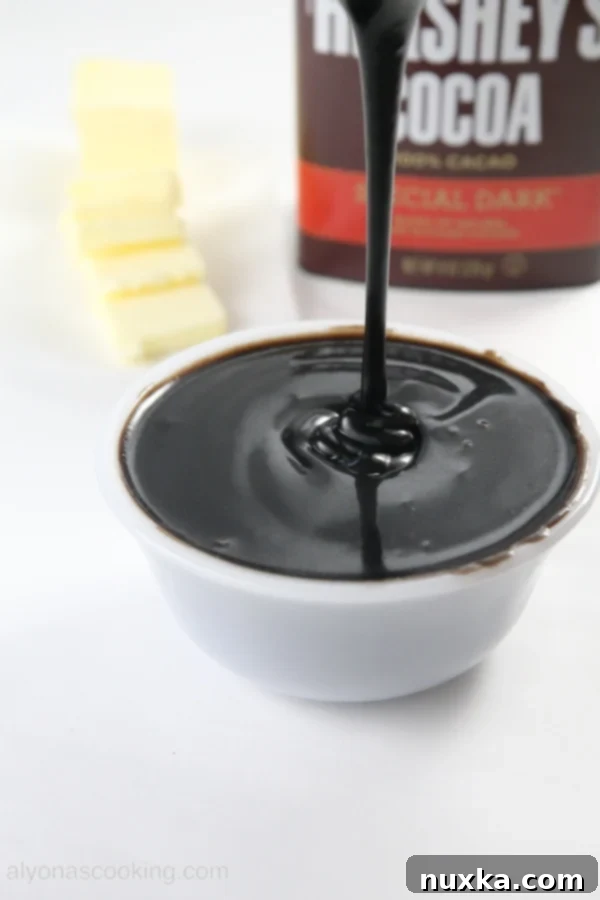
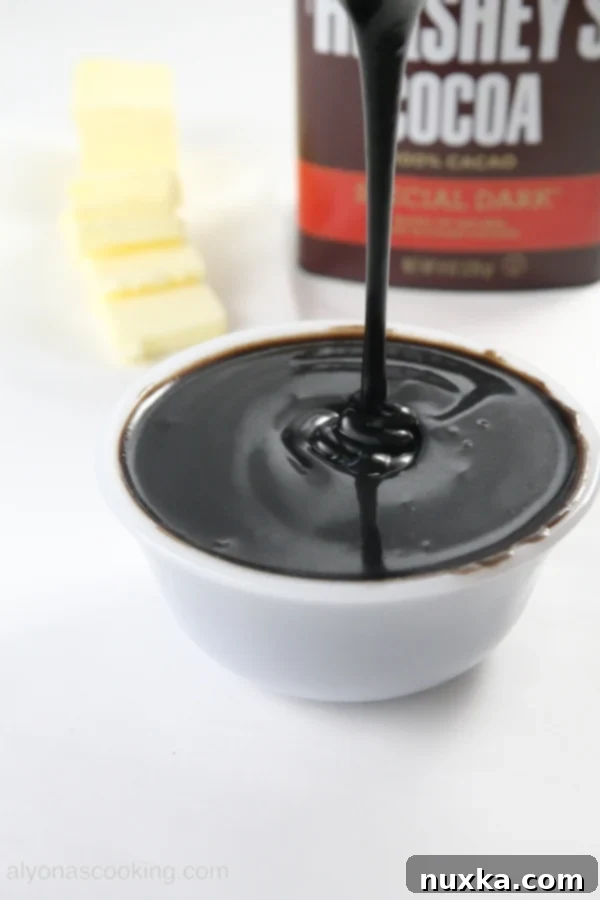
Welcome to the delightful world of homemade desserts, where a simple yet elegant topping can transform an ordinary treat into something extraordinary. This Cocoa Ganache Recipe is designed to be incredibly easy to make, and its unique property of *not hardening solid* after chilling makes it a true game-changer for any home baker. Unlike traditional ganache made with melted chocolate, this cocoa powder alternative offers a wonderfully delicious and sweet flavor profile, coupled with a semi-firm, luscious texture that remains pliable and smooth.
Imagine a chocolate topping that drapes beautifully over your cakes and cupcakes, yet stays soft and easy to cut or spoon. That’s precisely what this cocoa ganache delivers. Its consistency makes it an ideal cake topping, though patience is key: cooling it completely to room temperature is essential. Don’t worry about it becoming stiff; instead, it will form a thin “film” on top, which effortlessly disappears once you give the mixture a quick whisk. This simple step reactivates its silky smooth texture, ready for use.
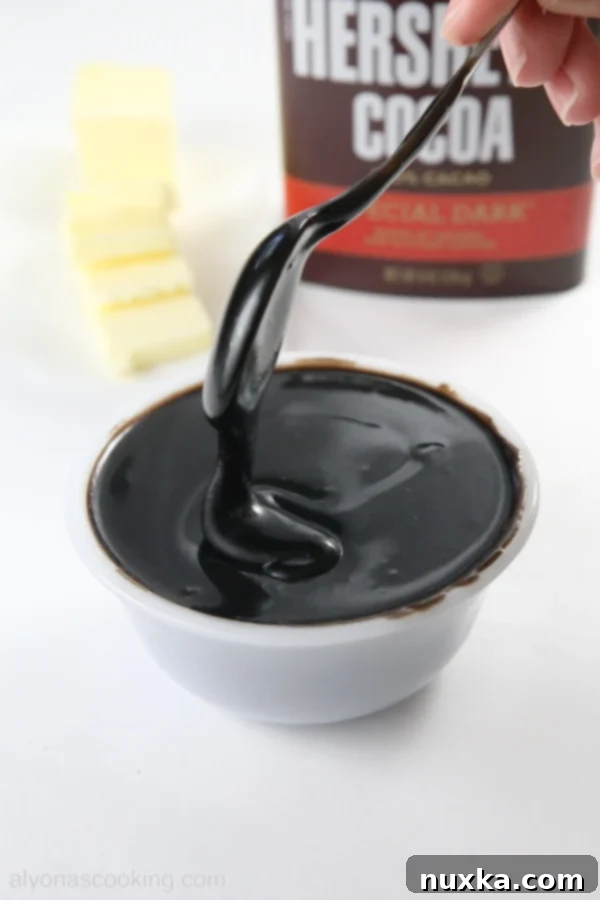
Furthermore, this ganache naturally thickens as it sits, allowing you to achieve your desired coating thickness. If you’re aiming for a richer, more substantial layer, simply let it cool for a longer period. And when it comes to ingredients, simplicity reigns. Regular unsweetened cocoa powder works perfectly, giving you the freedom to use your preferred brand and ensure consistent, delightful results every time.
Why Choose Cocoa Ganache Over Traditional Chocolate Ganache?
While classic chocolate ganache, made with melted chocolate and cream, is undeniably luxurious, cocoa ganache offers distinct advantages that make it a favorite for many.
- Simplicity and Accessibility: Cocoa powder is a staple in most pantries, often more readily available and less expensive than high-quality baking chocolate. This recipe simplifies the process, eliminating the need for precise chocolate melting and tempering.
- Consistent Softness: One of the most beloved features of this recipe is its non-hardening quality. Traditional ganache can become quite firm when chilled, making it challenging to cut through or leading to cracks. Our cocoa ganache maintains a beautiful, soft, and fudgy consistency, perfect for a smooth finish that won’t crack.
- Unique Flavor Profile: Cocoa powder, especially unsweetened varieties, brings a deep, rich chocolate flavor without the added sugars and fats often found in solid chocolate bars. This allows for a clean, intense chocolate taste that can be easily adjusted to your sweetness preference.
- Versatility: Its forgiving nature and soft texture make it incredibly versatile for various dessert applications, from glazing warm pastries to frosting cakes and filling tarts.
Essential Ingredients for Your Perfect Cocoa Ganache
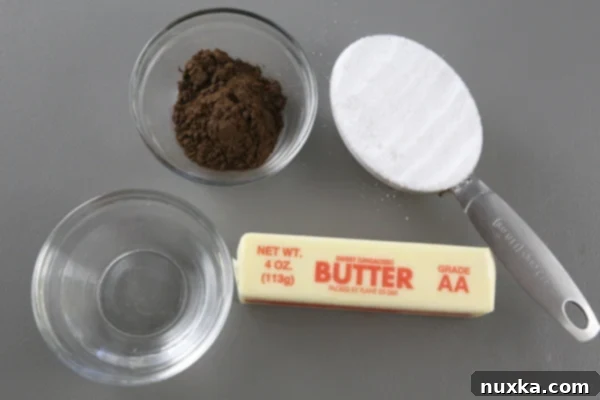
Crafting this delightful cocoa ganache requires just a few basic ingredients you likely already have on hand. The beauty of this recipe lies in its simplicity and the ability of these common components to create something truly special.
Ingredients for Our Perfect Cocoa Ganache:
- 1 stick of unsalted butter (8 tbsp): Unsalted butter gives you full control over the saltiness of your ganache. It provides richness and contributes significantly to the smooth, creamy texture.
- 3 tbsp water: Water helps to dissolve the sugar and create the base emulsion, ensuring a smooth, uniform consistency.
- 1/2 cup sugar: Granulated sugar adds the essential sweetness, balancing the bitterness of the cocoa. It also aids in the ganache’s texture and subtle sheen.
- 1 tbsp cocoa: The star of the show! Unsweetened cocoa powder is recommended for the most intense chocolate flavor, allowing you to adjust the sweetness to your liking with the added sugar. Feel free to use natural or Dutch-processed cocoa based on your preference; natural cocoa tends to have a more robust, slightly fruity chocolate flavor, while Dutch-processed is smoother and darker.
Step-by-Step Guide: Crafting Your Easy Cocoa Ganache
Follow these straightforward steps to create a beautiful, delicious, and versatile cocoa ganache that will elevate any dessert.
Step-by-Step: Crafting Your Cocoa Ganache:
-
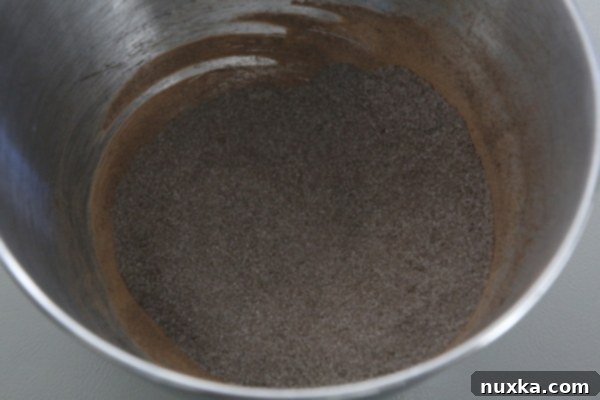
Prepare the Dry Ingredients: In a small bowl, combine the 1/2 cup of sugar and 1 tablespoon of cocoa powder. Whisk these dry ingredients together thoroughly. This preliminary step ensures that the cocoa powder is evenly distributed and prevents lumps when it’s added to the wet ingredients. Set this mixture aside.
-

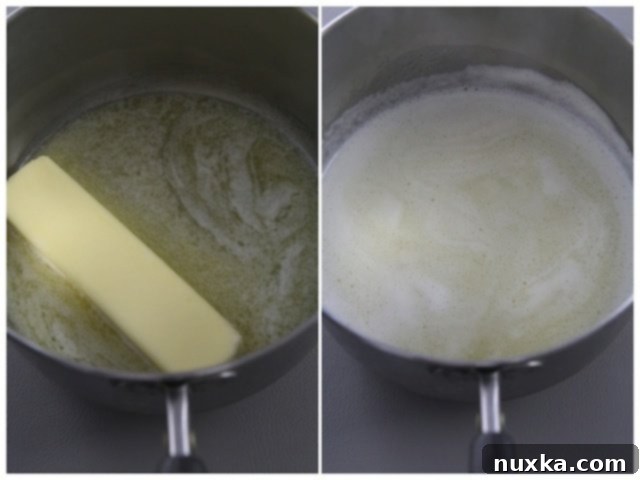
Melt Butter and Water: In a medium-sized saucepan, melt the entire stick of unsalted butter (8 tbsp) along with 3 tablespoons of water over medium-high heat. Stir occasionally to help the butter melt evenly and prevent it from browning. Continue heating until the butter is fully melted and the mixture just begins to simmer.
-

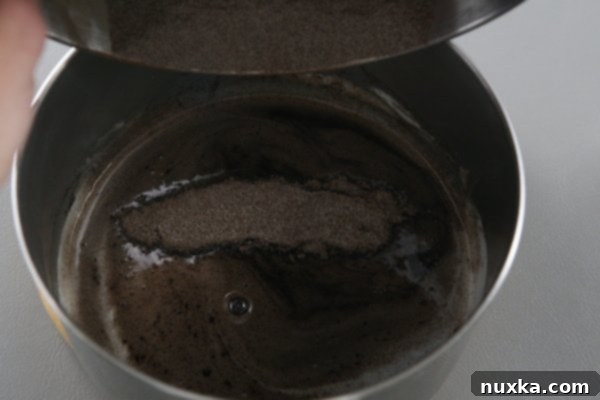
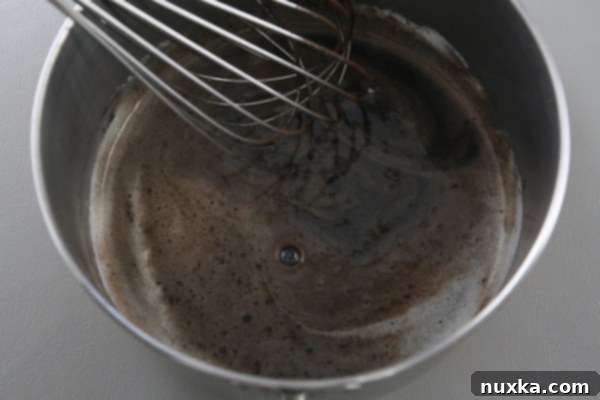
Combine and Dissolve: Once the butter and water are hot, gradually whisk in the prepared cocoa and sugar mixture. Continue whisking constantly for about 2-3 minutes. This continuous whisking is crucial to ensure that all the sugar granules completely dissolve into the liquid, preventing a gritty texture. You’ll notice the mixture becoming smooth and slightly thicker. As soon as the sugar is dissolved, remove the saucepan from the heat.
-


Cool and Whisk: Transfer the ganache to a heat-proof bowl and let it cool completely to room temperature. This is a crucial step for achieving the perfect texture. As it cools, it will thicken. Before using, give the ganache a good whisk to remove any surface film and restore its smooth, pourable, or spreadable consistency. If you desire a thicker ganache, a brief stint in the refrigerator (about 15-30 minutes) can help, but remember to whisk vigorously afterwards.
Tips for Success: Achieving the Perfect Ganache Consistency
Even with a simple recipe, a few expert tips can make all the difference in achieving a truly exceptional cocoa ganache.
- Ensure Sugar is Fully Dissolved: Gritty ganache is a common complaint. The key is to whisk the mixture thoroughly over medium-high heat until you no longer feel sugar crystals when rubbing a small amount between your fingers. Patience here prevents an unpleasant texture.
- Cooling is Crucial: Resist the temptation to use warm ganache for frosting, as it will be too runny. Cooling it to room temperature (or slightly cooler if you want it thicker) allows the butter to set slightly and the mixture to achieve its ideal semi-firm state. Refrigerating briefly is okay, but always bring it back to a workable consistency by whisking.
- The Power of the Whisk: After cooling, the ganache might seem a bit dull or have a slight film. A vigorous whisk for 30 seconds to a minute will re-emulsify it, making it glossy, smooth, and ready for action.
- Adjusting Thickness: If your ganache is too thick for drizzling, gently warm it over a double boiler or in the microwave for a few seconds, then whisk. If it’s too thin for frosting, chill it in the refrigerator for 10-15 minute intervals, whisking in between, until it reaches your desired consistency.
Rate
Pin
Cocoa Ganache Recipe
5 minutes
5 minutes
1
cup
Alyona’s Cooking
Ingredients
Cocoa Powder Ganache
-
1 stick of unsalted butter 8 tbsp
-
3 tbsp water
-
1/2 cup sugar
-
1 tbsp cocoa
Instructions
How to make Ganache from Cocoa Powder
-
In a small bowl, whisk together the sugar and cocoa and set aside.
-
In a medium sized saucepan melt the butter in 3 tbsp of water over med-high heat.
-
Whisk in the cocoa mixture until sugar granules dissolve (about 2-3 minutes) and remove from heat.
-
Cool completely and whisk before using.
Creative Ways to Use Your Homemade Cocoa Ganache
The versatility of this non-hardening cocoa ganache makes it a fantastic addition to almost any dessert. Here are some ideas to inspire your culinary creations:
- Cake and Cupcake Topping/Filling: Its primary and most popular use. Drizzle it over a warm cake, spread it as a luscious frosting layer, or use it as a rich filling between cake layers or inside cupcakes.
- Donut or Pastry Glaze: Dip freshly fried or baked donuts, croissants, or danishes into warm ganache for a simple, yet decadent glaze.
- Brownie Swirls or Topping: Swirl it into brownie batter before baking for a marbled effect, or pour it over cooled brownies for an extra layer of chocolatey goodness.
- Ice Cream Topping: A scoop of vanilla or coffee ice cream gets an instant upgrade with a generous drizzle of this rich ganache.
- Fruit Dip: Serve it alongside fresh fruit like strawberries, bananas, or apple slices for a delightful and easy dessert or snack.
- Tart Filling: Once cooled and slightly thickened, it can be spread into a pre-baked tart shell for a simple chocolate tart.
- Hot Chocolate Enhancer: Stir a spoonful into your hot chocolate for an extra boost of flavor and richness.
Troubleshooting Common Cocoa Ganache Issues
Even experienced bakers encounter hiccups. Here’s how to tackle common problems with your cocoa ganache:
- My Ganache is Too Thin/Runny: If your ganache is too liquid for your intended use (e.g., frosting), it likely needs more time to cool and thicken. Place it in the refrigerator for 15-30 minute intervals, whisking well after each interval, until it reaches the desired consistency. Be careful not to over-chill, as it can become too stiff.
- My Ganache is Too Thick/Stiff: If it’s too thick for drizzling or spreading, gently warm it. You can place the bowl over a saucepan of simmering water (creating a double boiler) and stir until it loosens, or microwave it in short 10-second bursts, stirring thoroughly after each. Add a tiny splash of water or milk if needed, a quarter teaspoon at a time.
- My Ganache is Gritty: This usually means the sugar didn’t fully dissolve. While difficult to completely fix once cooled, you can try gently reheating the ganache and whisking vigorously for a few more minutes to encourage dissolution. Prevention is key: ensure thorough whisking in step 3.
- My Ganache Looks Oily or Separated: This can happen if the mixture is overheated or not emulsified properly. Try whisking it vigorously. If that doesn’t work, gently warm it slightly and whisk constantly while adding a teaspoon of warm water or milk. This can sometimes bring it back together.
Frequently Asked Questions About Cocoa Ganache
- Q: Can I use salted butter?
- A: While unsalted butter is always recommended for baking to control the salt content, you can use salted butter. Just be aware that the ganache might have a slightly saltier taste. You won’t need to add any additional salt.
- Q: How long does cocoa ganache last?
- A: Stored in an airtight container in the refrigerator, this cocoa ganache can last for up to 1-2 weeks. Before using, allow it to come to room temperature and whisk until smooth again.
- Q: Can I add vanilla extract or other flavorings?
- A: Absolutely! For an extra layer of flavor, you can stir in 1/2 teaspoon of vanilla extract after removing the ganache from the heat. Other extracts like almond or peppermint would also work beautifully, depending on the dessert you’re pairing it with. A pinch of instant coffee granules can also enhance the chocolate flavor.
- Q: Is this ganache suitable for piping intricate decorations?
- A: Due to its non-hardening, semi-firm nature, this ganache is excellent for spreading and simple piping (like borders or swirls), but it might be too soft for very intricate, detailed piping that requires a stiff consistency. For such decorations, a stiffer buttercream or a traditional chocolate ganache with a higher chocolate-to-cream ratio might be more suitable.
- Q: What type of cocoa powder is best for this recipe?
- A: Unsweetened cocoa powder is ideal. You can use either natural unsweetened cocoa (like Hershey’s) or Dutch-processed cocoa (like Droste or Valrhona). Natural cocoa will yield a lighter color and a slightly fruitier, more acidic chocolate flavor. Dutch-processed cocoa will give a darker, milder, and less acidic chocolate flavor. Both work well, so choose based on your preference for the final taste and appearance.
Desserts That Shine with Cocoa Ganache
This delightful cocoa ganache pairs beautifully with a wide array of desserts, enhancing their flavor and presentation. Consider these pairings for your next baking adventure:
- Super Moist Smetannik Cake (Sour Cream Cake): The tartness of a sour cream cake provides a wonderful contrast to the sweet, rich ganache.
- Chocolate Eclair Cake: Elevate this classic no-bake dessert with an even richer chocolate topping.
- Vanilla Pound Cake: A simple vanilla cake becomes a showstopper with a glossy chocolate pour-over.
- Cheesecake: Drizzle over a cooled cheesecake for a touch of chocolate elegance.
- Banana Bread or Muffins: A little ganache can turn a breakfast item into a dessert!
- Chocolate Lava Cakes: For an ultimate chocolate experience, top with this soft ganache.
Final Thoughts on Mastering Your Cocoa Ganache
Making homemade cocoa ganache is a truly rewarding experience. With this easy recipe, you gain the ability to create a consistently soft, intensely flavored chocolate topping that stands apart from its traditional counterparts. Its simplicity in ingredients and preparation, combined with its impressive versatility, ensures it will quickly become a cherished staple in your baking repertoire. Don’t be afraid to experiment with slight flavor variations or different applications. Your homemade desserts are about to get a serious upgrade! Happy baking!
