Seamlessly Convert Any Recipe to Freshly Milled Flour: Your Ultimate Guide to Healthier Baking
Embark on a culinary journey to healthier, more flavorful baking by learning how to expertly convert any recipe to freshly milled flour. With our comprehensive guide and foolproof formula, you’ll unlock the incredible nutritional benefits and rich taste that whole grains offer, transforming your favorite dishes. Say goodbye to highly processed white flour and embrace the wholesome goodness of flour milled right in your own kitchen.
After years of experimenting and perfecting my methods, I’ve developed a reliable system for integrating healthy grains into virtually any recipe. This isn’t just about making a simple swap; it’s about understanding the unique properties of freshly milled flour and leveraging them for superior results. To make this transition as smooth as possible, I keep a handy conversion chart readily accessible, ensuring accurate measurements every time I bake.
I’ve been passionately milling my own flour for long enough to refine this foolproof conversion method! If you’re new to the exciting world of home flour milling, I highly recommend exploring my foundational guide on making Whole Wheat flour at home using whole grains. That post delves into distinguishing different grain types and provides insights into selecting and using your grain mill. Understanding these basics will set you up for success in converting recipes.
For me, making the switch from commercial white flour to freshly milled whole grains was a game-changer. What began as a desire for healthier alternatives quickly evolved into a family tradition. Now, when I bake, my children’s eager question is, “Mom, is this made with whole wheat?” They’ve grown to appreciate the wholesome taste and know how much joy it brings me when the recipes turn out perfectly – and often, even better!
Once you’ve experienced the superior taste and health benefits, returning to conventional white flour becomes incredibly difficult. I couldn’t be happier with this transition, and what’s more, integrating freshly milled flour into your recipes doesn’t have to be a time-consuming chore. Efficiency is key!
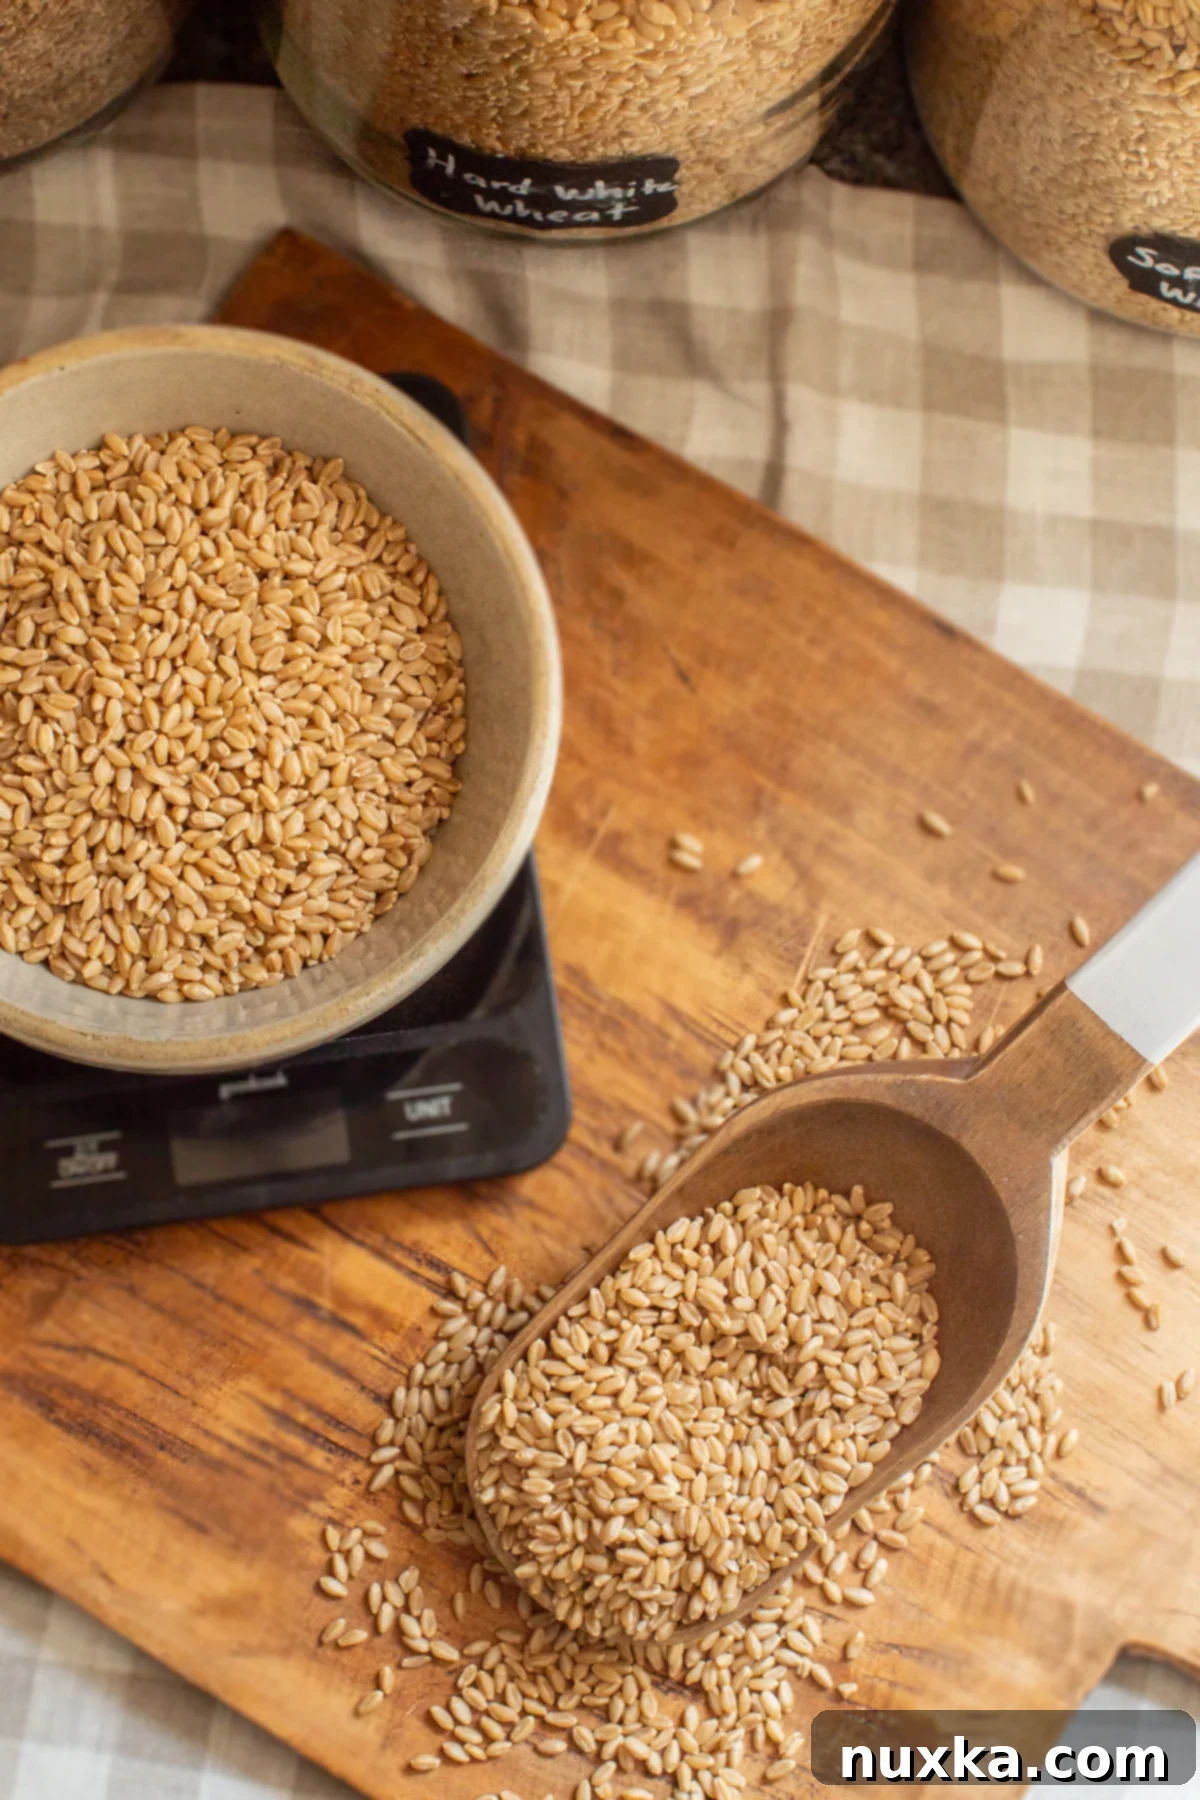
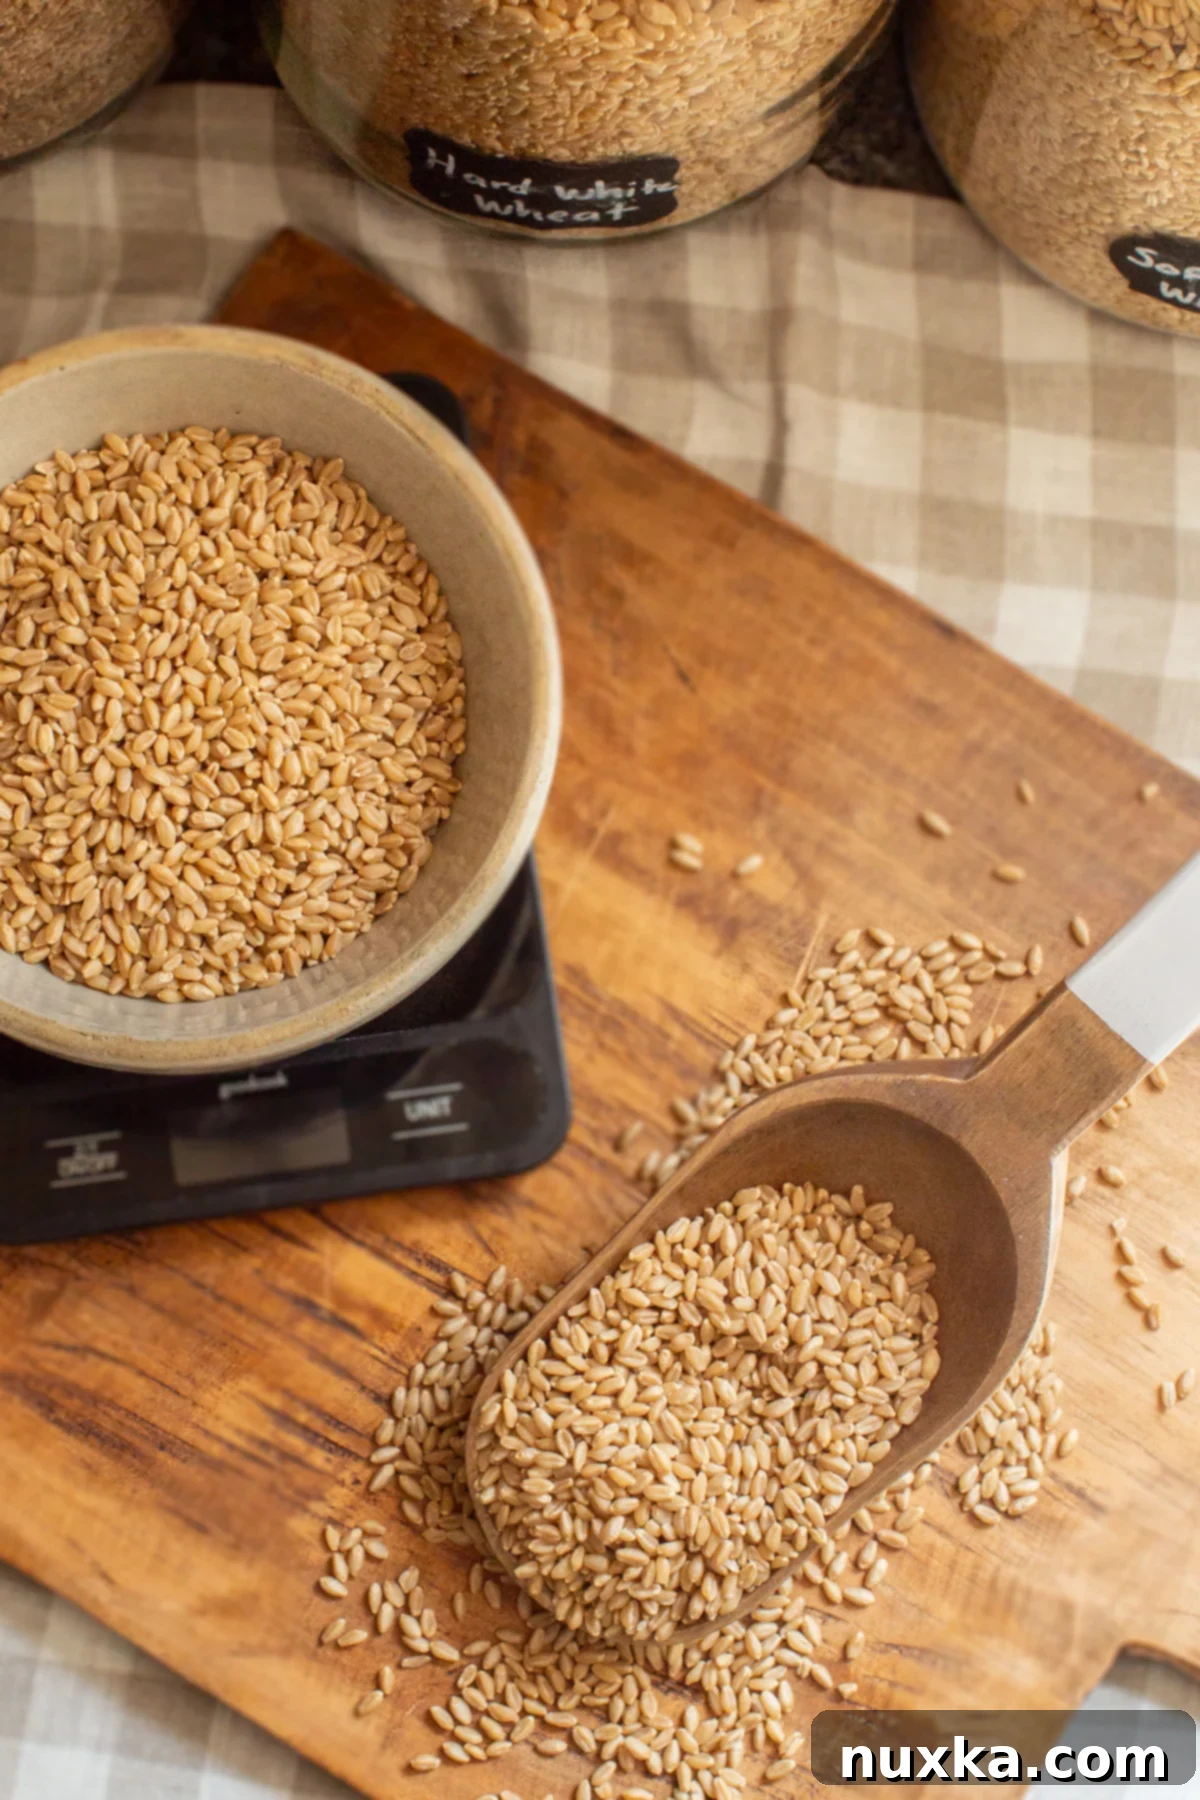
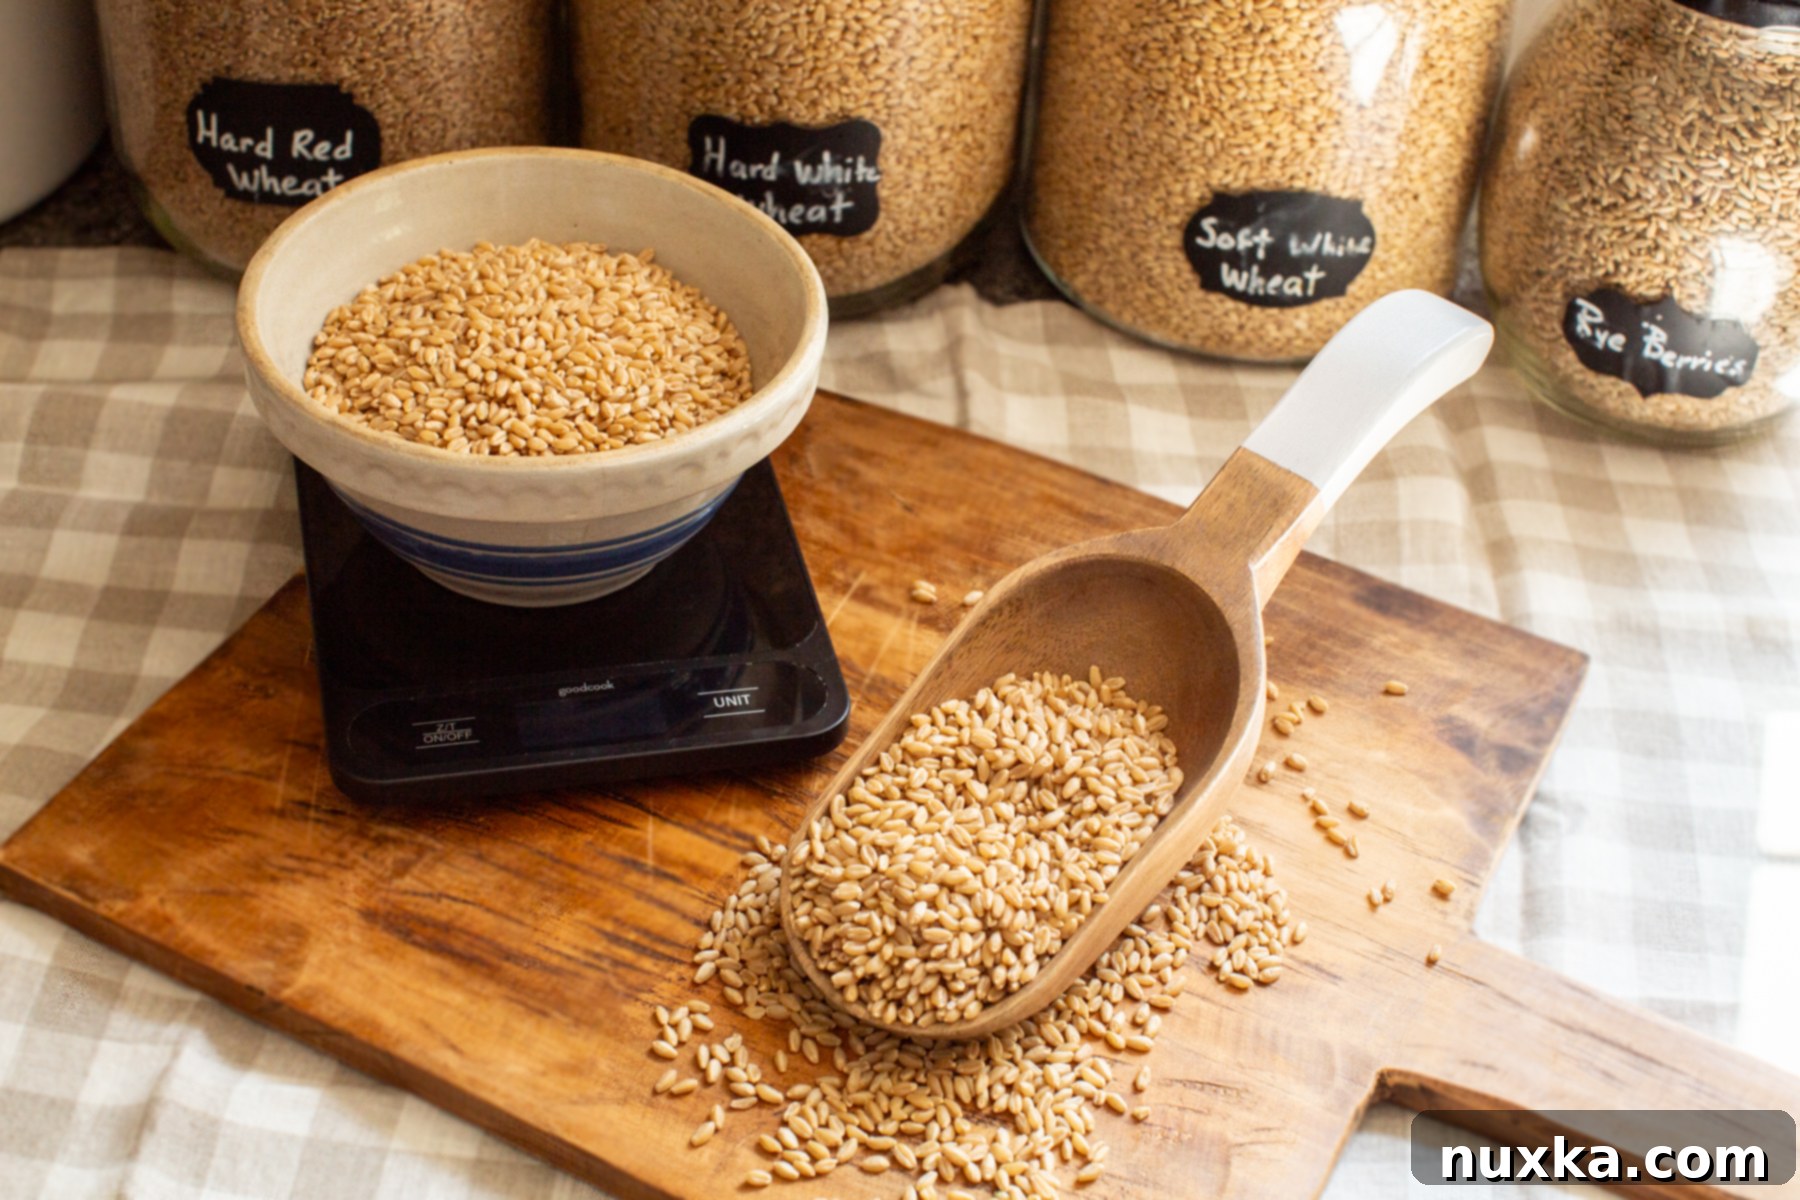
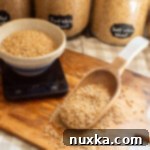
My system for making freshly milled flour a regular part of my baking routine involves keeping my grain mill permanently on the kitchen counter. Alongside it, I store my three primary grains: hard red wheat berries, hard white wheat berries, and soft white wheat berries. My reliable kitchen scale is always within easy reach in a nearby drawer. This setup minimizes friction; I can spontaneously decide to whip up a batch of cookies or bread without the hassle of retrieving equipment from storage. Having grains and a grain mill at the ready is crucial for making home milling a truly approachable and enjoyable experience.
The Cornerstone of Success: Using a Kitchen Scale for Precision
When it comes to converting recipes to freshly milled flour, a high-quality kitchen scale isn’t just helpful; it’s absolutely essential for achieving consistent and accurate results. While you might encounter advice suggesting adding an extra ¼ cup of freshly milled flour for every 1 cup of white flour, this method is often unreliable. It might work for certain soft wheat applications, but I’ve found it to be a hit-or-miss approach, particularly because home-ground flour has a different density than its commercial counterpart.
Freshly milled flour is less compact than white flour, making volumetric measurements (like cups) inherently imprecise. A cup of one type of freshly milled flour might weigh differently than a cup of another, and even the same type can vary based on how it’s scooped. Furthermore, freshly milled flour absorbs liquid more slowly. This means that if you’re relying on visual cues or dough consistency alone, you might prematurely add more flour, resulting in a dense or dry final product. Giving the flour time to hydrate fully, which happens more effectively with accurate weight measurements, is key.
Embracing baking by weight has undeniably simplified my life in the kitchen, making every freshly milled flour recipe a success story!
Why Make the Switch? The Irresistible Benefits of Freshly Milled Flour
Beyond just a baking technique, converting your recipes to freshly milled flour is a lifestyle choice that offers significant advantages:
- Unrivaled Health Benefits: Switching to whole grains is arguably one of the most impactful, nutrient-dense decisions you can make for your family’s health. Unlike commercial white flour, which has been stripped of its bran and germ during processing (losing vital nutrients in the process), freshly milled flour retains the entire grain kernel. This means it’s packed with essential vitamins, minerals, antioxidants, and a significant amount of dietary fiber. This comprehensive nutritional profile contributes to increased energy levels, improved digestion, and a sustained feeling of fullness, which can even help reduce sugar cravings, as a friend of mine happily discovered!
- Superior Flavor and Aroma: Milling your own flour introduces an incredibly rich, complex, and wholesome flavor to your food that pre-packaged flours simply cannot replicate. The subtle nuances of different grain varieties become pronounced, adding depth and character. In many recipes I’ve converted, the freshly milled version tastes noticeably better, offering a more robust and satisfying culinary experience. The aroma alone, as it bakes, is a delight!
The Journey to Conversion: From Trial-and-Error to a Reliable Method
When I first started my freshly milled flour journey, I was eager to incorporate it into all my cherished recipes. My initial approach was to simply add an extra 1/4 cup of freshly milled flour for every 1 cup of traditional white flour called for. However, I quickly realized this volumetric adjustment wasn’t consistently accurate, particularly failing me in bread recipes where precision is paramount.
While adding 1 ¼ cups of freshly milled flour for every 1 cup of all-purpose flour might yield acceptable results for non-yeast recipes like quick breads, pastries, or cookies – typically where soft white wheat is used – it falls short for recipes requiring the structure of hard wheat or the delicate balance of yeast. The fundamental issue lies in the density difference: freshly milled flour, being less compact, occupies more volume per unit of weight than commercial white flour.
It was a revelation when I discovered that baking by weight was the ultimate game-changer! This method provides the most accurate and consistent way to bake with freshly milled flour. Professional bakeries almost exclusively measure ingredients by weight, precisely because volumetric measurements like cups can be misleading and inconsistent, leading to variable outcomes. Once you adopt a kitchen scale, your baking will achieve a new level of precision and reliability.
How Do You Master Baking By Weight? Your Essential Conversion Chart
This meticulously crafted chart serves as your quick reference for converting traditional cup measurements of flour into precise gram weights suitable for freshly milled flour. My process involved weighing various metric measuring cups filled with standard white flour on a scale, recording the exact gram equivalent for each volume. This data then allowed me to create this simple, yet incredibly effective, conversion chart that you can use for any recipe.
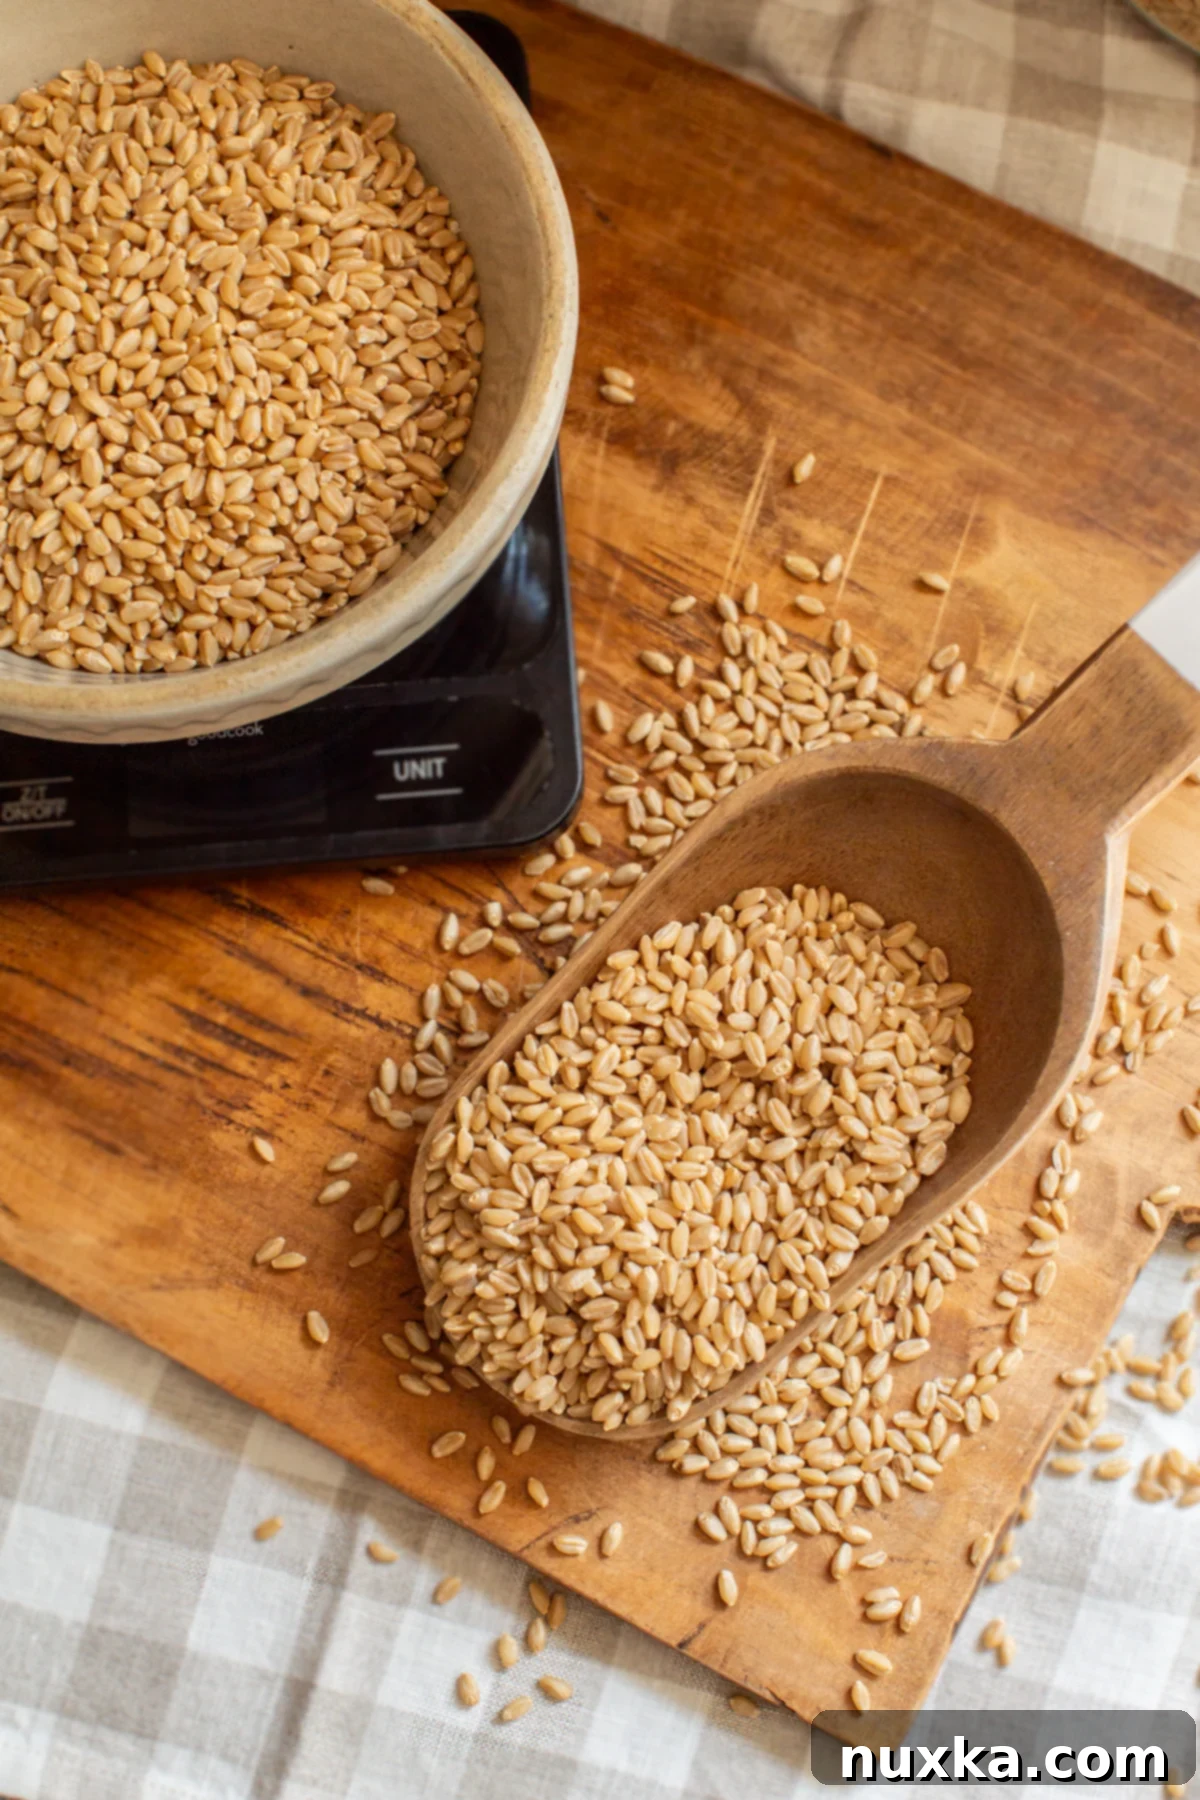
A crucial insight to remember: the weight of freshly milled flour is essentially the same as the weight of the wheat berries from which it’s milled. This means if your recipe requires 155 grams of freshly milled flour, you simply weigh out 155 grams of wheat berries, mill them, and you’ll have the exact amount of flour needed. The same principle applies if a recipe lists white flour by weight; that gram amount is precisely how much freshly milled flour you’ll need. This consistent weight relationship makes conversion incredibly straightforward and eliminates guesswork, leading to superior baking results every time.
Here’s My Essential Conversion Chart for Freshly Milled Flour:
- 1/4 cup of all-purpose or bread flour = 40 grams of freshly milled flour
- 1/3 cup of all-purpose or bread flour = 50g of freshly milled flour
- 1/2 cup of all-purpose or bread flour = 85g of freshly milled flour
- 2/3 cup of all-purpose or bread flour = 100g of freshly milled flour
- 3/4 cup of all-purpose or bread flour = 115g of freshly milled flour
- 1 cup of all-purpose or bread flour = 155g of freshly milled flour
- 1 1/4 cups of all-purpose or bread flour = 190g of freshly milled flour
- 1 1/2 cups of all-purpose or bread flour = 235g of freshly milled flour
- 2 cups of all-purpose or bread flour = 310g of freshly milled flour
- 3 cups of of all-purpose or bread flour = 458g of freshly milled flour
Note: Freshly milled flour weighs the same as the whole wheat berries from which it’s ground. Therefore, you can accurately weigh the desired amount of wheat berries first and then mill them to obtain the exact gram measurement of freshly milled flour required for your recipe.
Converting for Specific Recipe Types: Tips and Tricks
Quick Breads, Pastries, and Other Non-Yeast Recipes
Many quick bread recipes, as well as pastries and cookies, traditionally call for all-purpose or pastry flour. For these applications, soft white wheat berries are often your best bet, as they closely replicate the delicate crumb and tender texture desired. However, not all quick bread doughs thrive exclusively with soft wheat. For instance, if a recipe truly benefits from the characteristics of commercial all-purpose flour (which is typically a blend of both soft and hard wheat varieties), you might consider milling a combination of half soft white and half hard white wheat berries to achieve a similar balance of extensibility and structure.
I’ve found this approach to be excellent for items like flaky pie crusts, Homemade Crescent Dough, pliable Tortillas, and soft Unleavened Bread – recipes where you need a certain amount of stretch and tenderness without the leavening power of yeast. Substituting freshly milled flour for all-purpose in these contexts has consistently yielded fantastic results.
Mastering Yeast Recipes with Freshly Milled Flour
One of the most significant lessons I’ve learned when using freshly milled flour in yeast-based recipes is the paramount importance of sufficient kneading. The dough absolutely needs to be kneaded long enough to pass the “window pane test” – where a small piece of dough can be stretched thinly enough to see light through it without tearing. This indicates proper gluten development.
While dough enhancers like vital wheat gluten or lecithin can certainly reduce the required kneading time, if you’re aiming for a pure, freshly milled flour dough with basic ingredients, then prolonged kneading is non-negotiable. This is precisely where a stand mixer becomes an invaluable ally. For example, I will often run my KitchenAid mixer for 20-25 minutes when preparing pizza dough made with freshly milled flour.
The reason for this extended kneading is rooted in how freshly milled flour interacts with liquid. The bran and germ, which are intact in whole grain flour, act as tiny sponges and physical barriers, slowing down water absorption and gluten development compared to white flour. You must give the flour ample time to fully hydrate and for the natural gluten proteins to properly develop into a strong, elastic network. It can be incredibly tempting to keep adding more flour at the beginning because the dough might feel sticky or loose, but patience is key. Resist the urge! Trust the process; with enough kneading time, the dough will absorb the liquid, come together beautifully, and transform into an incredibly pliable and easy-to-work-with consistency.
Print My Conversion Chart Below:
How To Convert Any Recipe To Freshly Milled Flour
Print Recipe
Review
Ingredients
Conversion Chart:
-
1/4 cup all-purpose flour = 40 grams of freshly milled flour
-
1/3 cup all-purpose flour = 50 grams of freshly milled flour
-
1/2 cup all-purpose flour = 85 grams of freshly milled flour
-
2/3 cup all-purpose flour = 100 grams of freshly milled flour
-
3/4 cup all-purpose flour = 115 grams of freshly milled flour
-
1 cup all-purpose flour = 155 grams of freshly milled flour
-
1 1/4 cups all-purpose flour = 190 grams of freshly milled flour
-
1 1/2 cups all-purpose flour = 235 grams of freshly milled flour
-
2 cups all-purpose flour = 310 grams of freshly milled flour
-
3 cups all-purpose flour = 458 grams of freshly milled flour
Instructions
-
Weigh the grain using a kitchen scale to the amount of grams needed.
-
Mill in a grain mill and use in your favorite recipes! Print and keep this conversion chart in your cupboard for a quick reference.
Notes
- All-purpose flour refers to white all-purpose flour or white bread flour from the store.
Beyond the Basics: Essential Tips for Freshly Milled Flour Success
- Source High-Quality Grains: The quality of your whole grain berries directly impacts the flavor and performance of your freshly milled flour. Look for organic, non-GMO grains from reputable suppliers. Store them in a cool, dark, and airtight environment to maintain freshness.
- Adjust Hydration Gradually: Since freshly milled flour absorbs liquid slower and can vary slightly in its absorption rate compared to commercial flour, it’s often beneficial to start with slightly less liquid than the recipe calls for, or, conversely, be prepared to add a little extra liquid if the dough appears too stiff. You can always add more liquid drop by drop, but it’s harder to remove it!
- Understand Your Grain Mill: Familiarize yourself with your specific grain mill. Different mills produce different grinds (fine, medium, coarse). For most baking, a fine grind is ideal, but experiment to see what works best for your recipes and preferences.
- Don’t Be Afraid to Experiment: The world of whole grains is vast and exciting! Once you’re comfortable with the basics, try different types of wheat (e.g., Einkorn, Spelt, Rye, Kamut) or even non-wheat grains. Each offers a unique flavor and texture profile, opening up endless baking possibilities.
Converting your favorite recipes to freshly milled flour might seem daunting at first, but with the right tools and knowledge, it becomes a rewarding and incredibly simple process. By embracing a kitchen scale and understanding the nuances of whole grains, you’ll unlock a world of superior nutrition, richer flavors, and truly satisfying baking experiences. Keep this guide and the conversion chart close at hand, and prepare to elevate your baking to an entirely new level!
Happy milling and baking!
