Authentic Ukrainian Poppy Seed Cake (Ckazka) with Walnuts and Raisins: A Royal Dessert Recipe
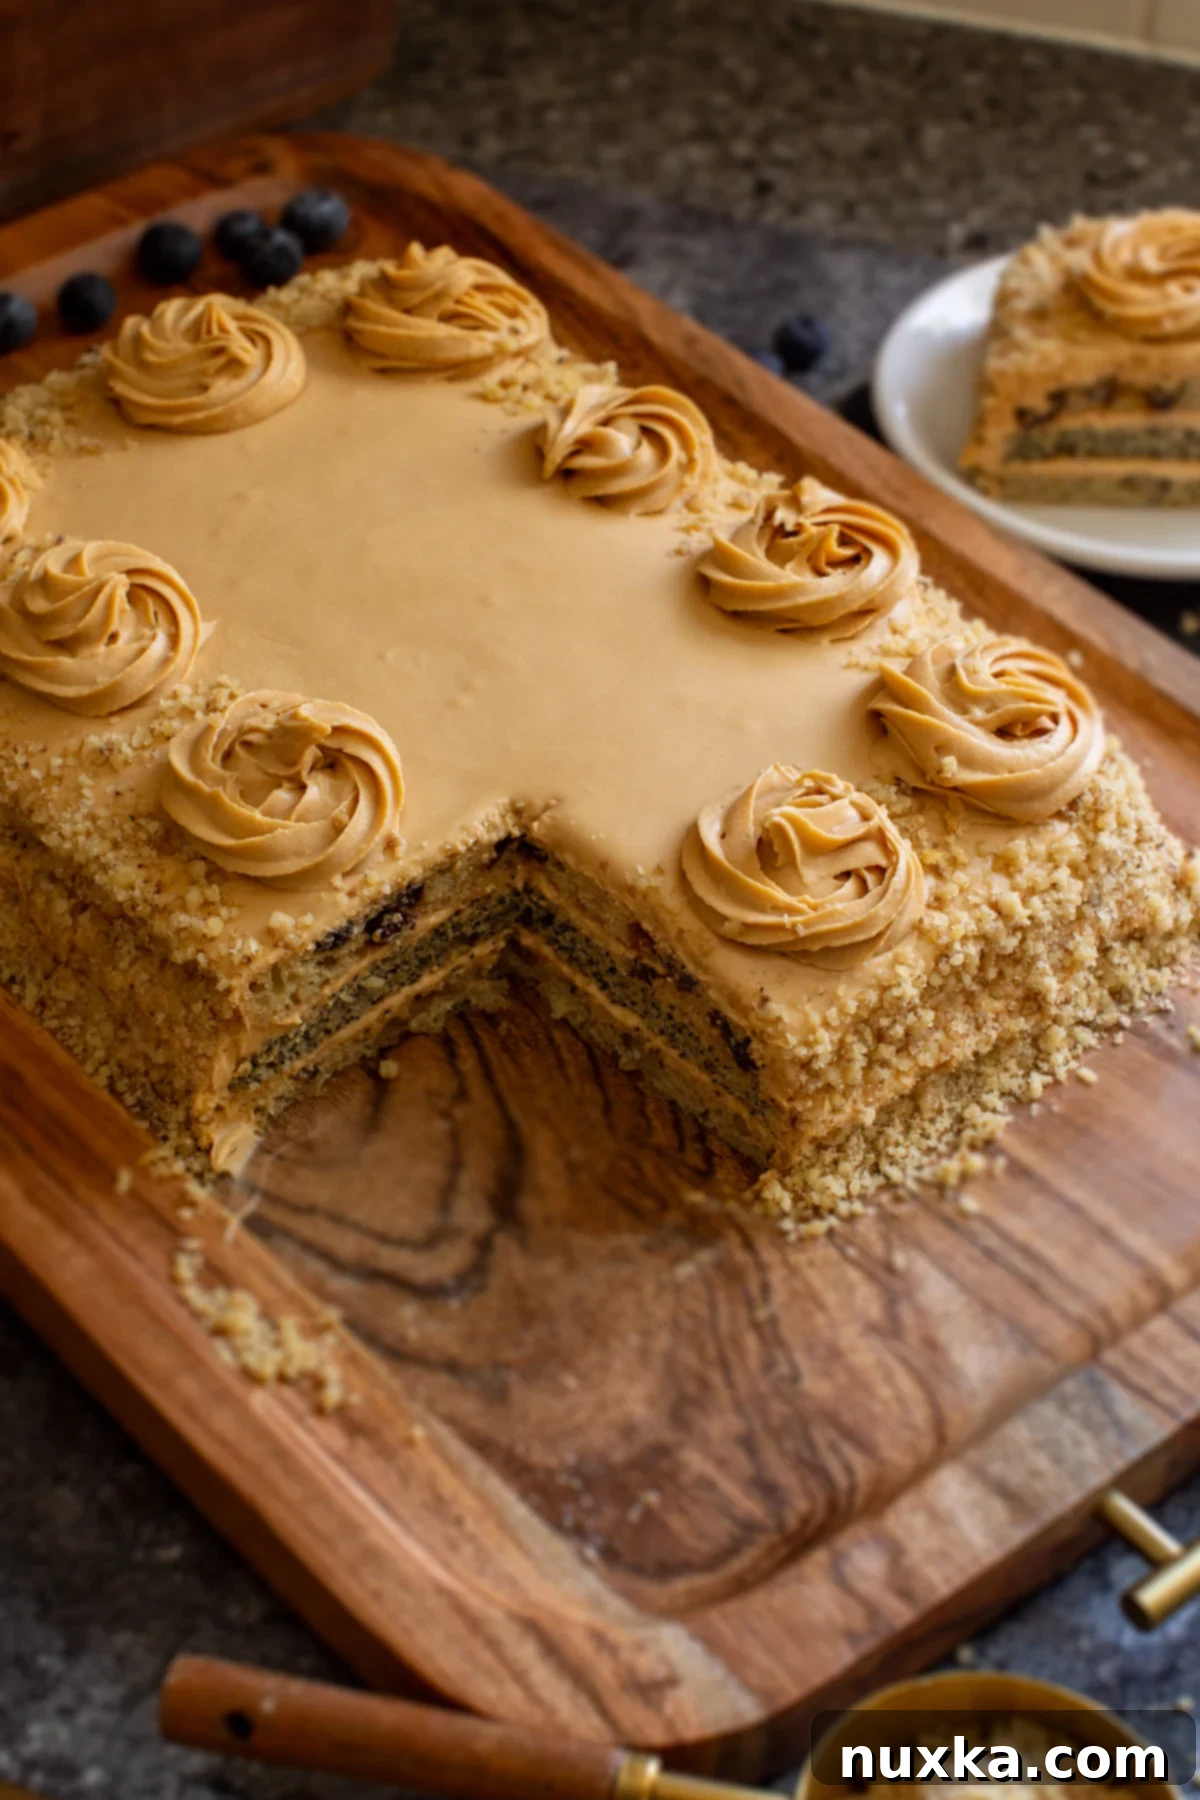
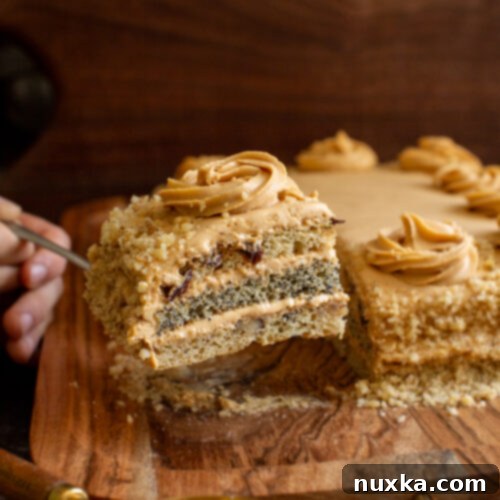
Prepare to fall in love with a truly exquisite dessert: the Ukrainian Poppy Seed Cake! This isn’t just any cake; it’s a culinary masterpiece known by many affectionate names in Ukraine, each hinting at its delightful nature. We call it “shenoschi premhe” (women’s whims), “Korolevsky” (King’s cake), “tort ckazka” (fairy tale cake), or “tre bohatera” (the three rich ones). No matter the name, the experience is consistently enchanting. Imagine a perfectly moist, three-layer sponge cake, each layer infused with a distinct texture and flavor: tender walnuts, earthy poppy seeds, and sweet, plump raisins. All these glorious layers are then generously smothered in a luscious, rich dulce de leche buttercream, creating a symphony of tastes and textures. This poppy seed cake recipe is destined to become a cherished family favorite, so be ready for countless requests for the recipe!
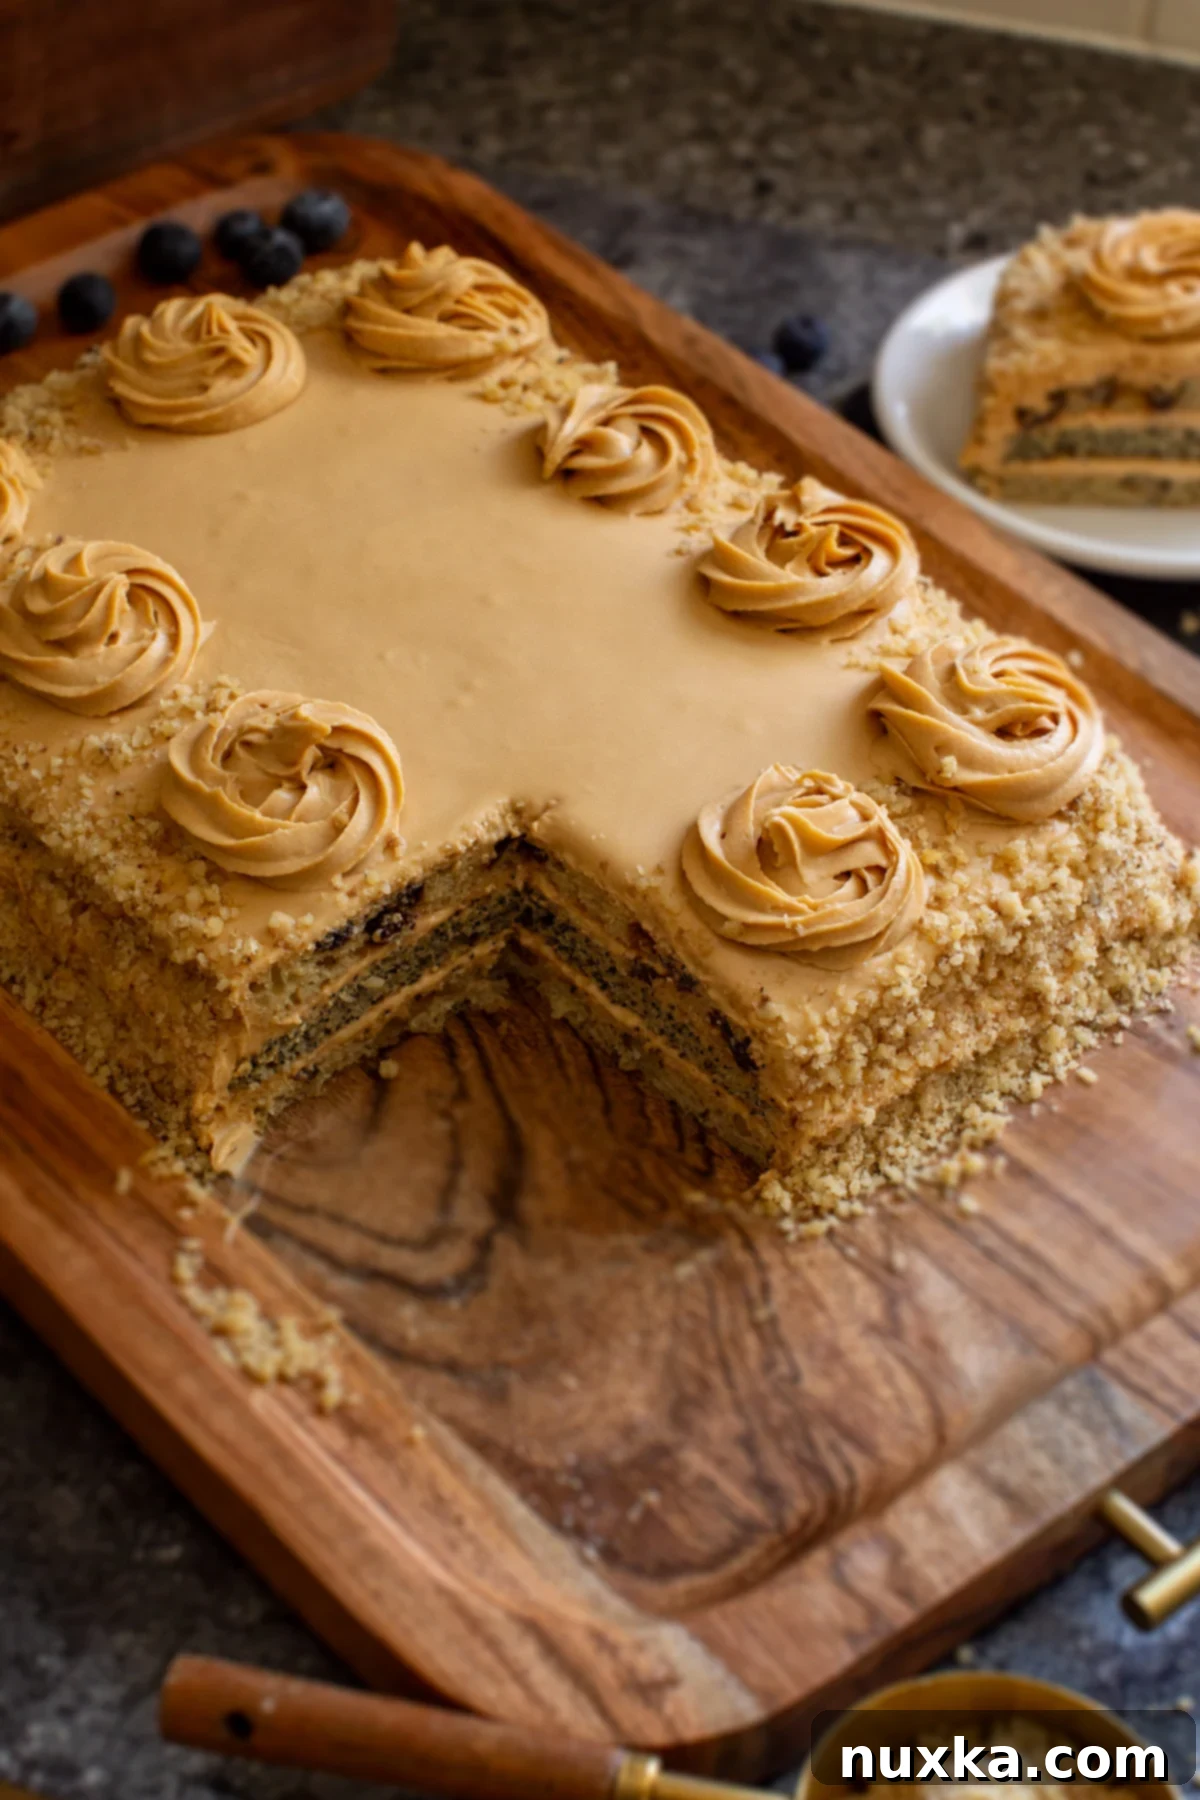
Ukrainian cakes are truly amazing, reflecting a rich culinary heritage filled with comforting and delicious desserts. We especially appreciate easy cake recipes that deliver spectacular results, and this poppy seed layer cake absolutely hits the spot! If you’re eager to explore more traditional Ukrainian treats, be sure to try our other popular desserts like the heavenly Honey Layer Cake (Medovik), its charming cousin the Medovik Roll, the incredibly moist Smetannik (Sour Cream Cake), and the visually stunning Chocolate and Vanilla Volcano Cake (Pancho Cake). Each offers a unique taste of Eastern European baking, but for many, this Poppy Seed Cake reigns supreme.
The Endearing Legacy of Ukrainian Poppy Seed Cake
Among the vast array of Ukrainian and Russian cakes, this particular poppy seed layer cake stands out as a personal favorite. Its delicate balance of textures and flavors makes it a true winner. While classics like Spartak, Napoleon, or Medovik are undoubtedly delicious, there’s something uniquely captivating about this “Ckazka” cake that I’d choose any day.
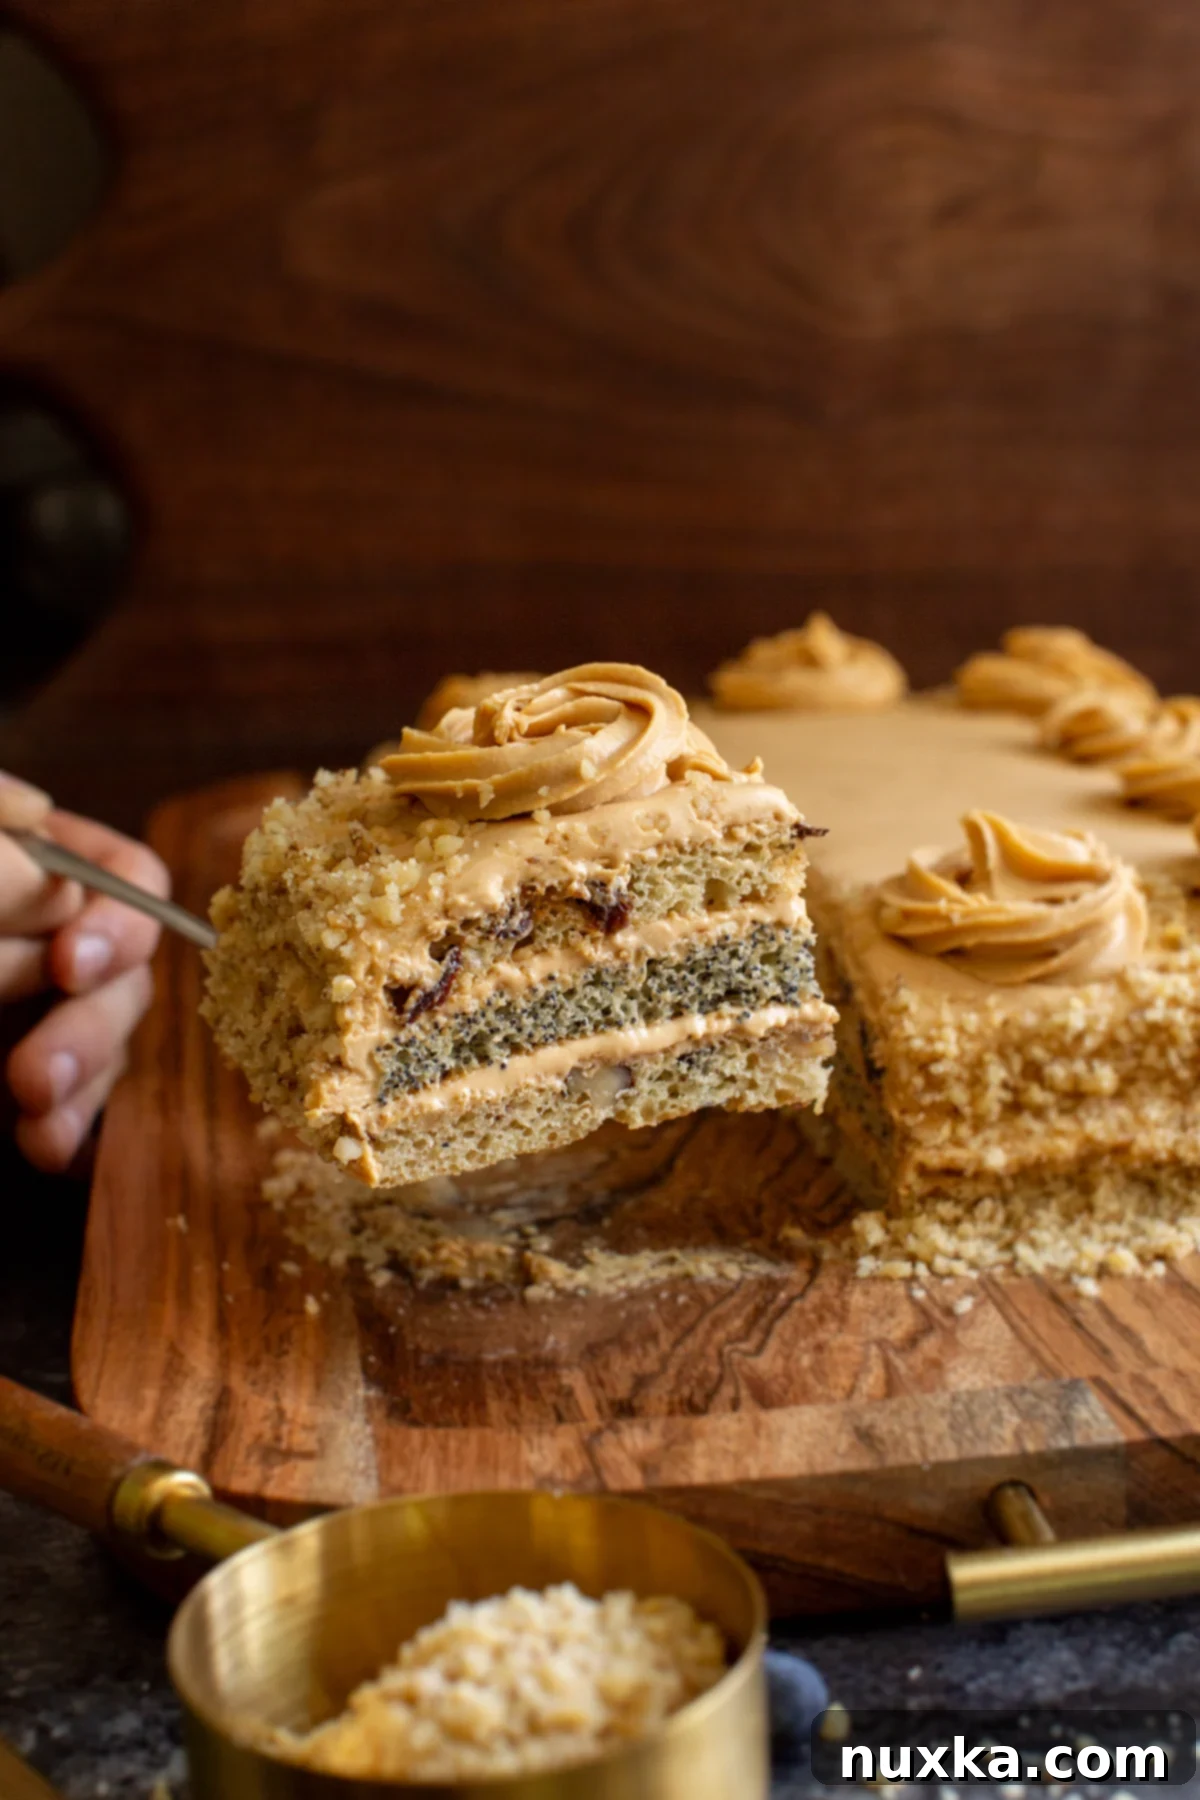
The inspiration for this particular recipe comes from a talented Ukrainian baker renowned for her custom sponge cakes, especially her famous “tort ckazka.” This poppy seed cake is a loving copycat of her version, simplified for the home baker without compromising on flavor or moistness. While her original might involve drizzling each cake layer with dulce de leche, I’ve opted for an easier, yet equally decadent, buttercream frosting. The core essence of her delightful creation is perfectly preserved.
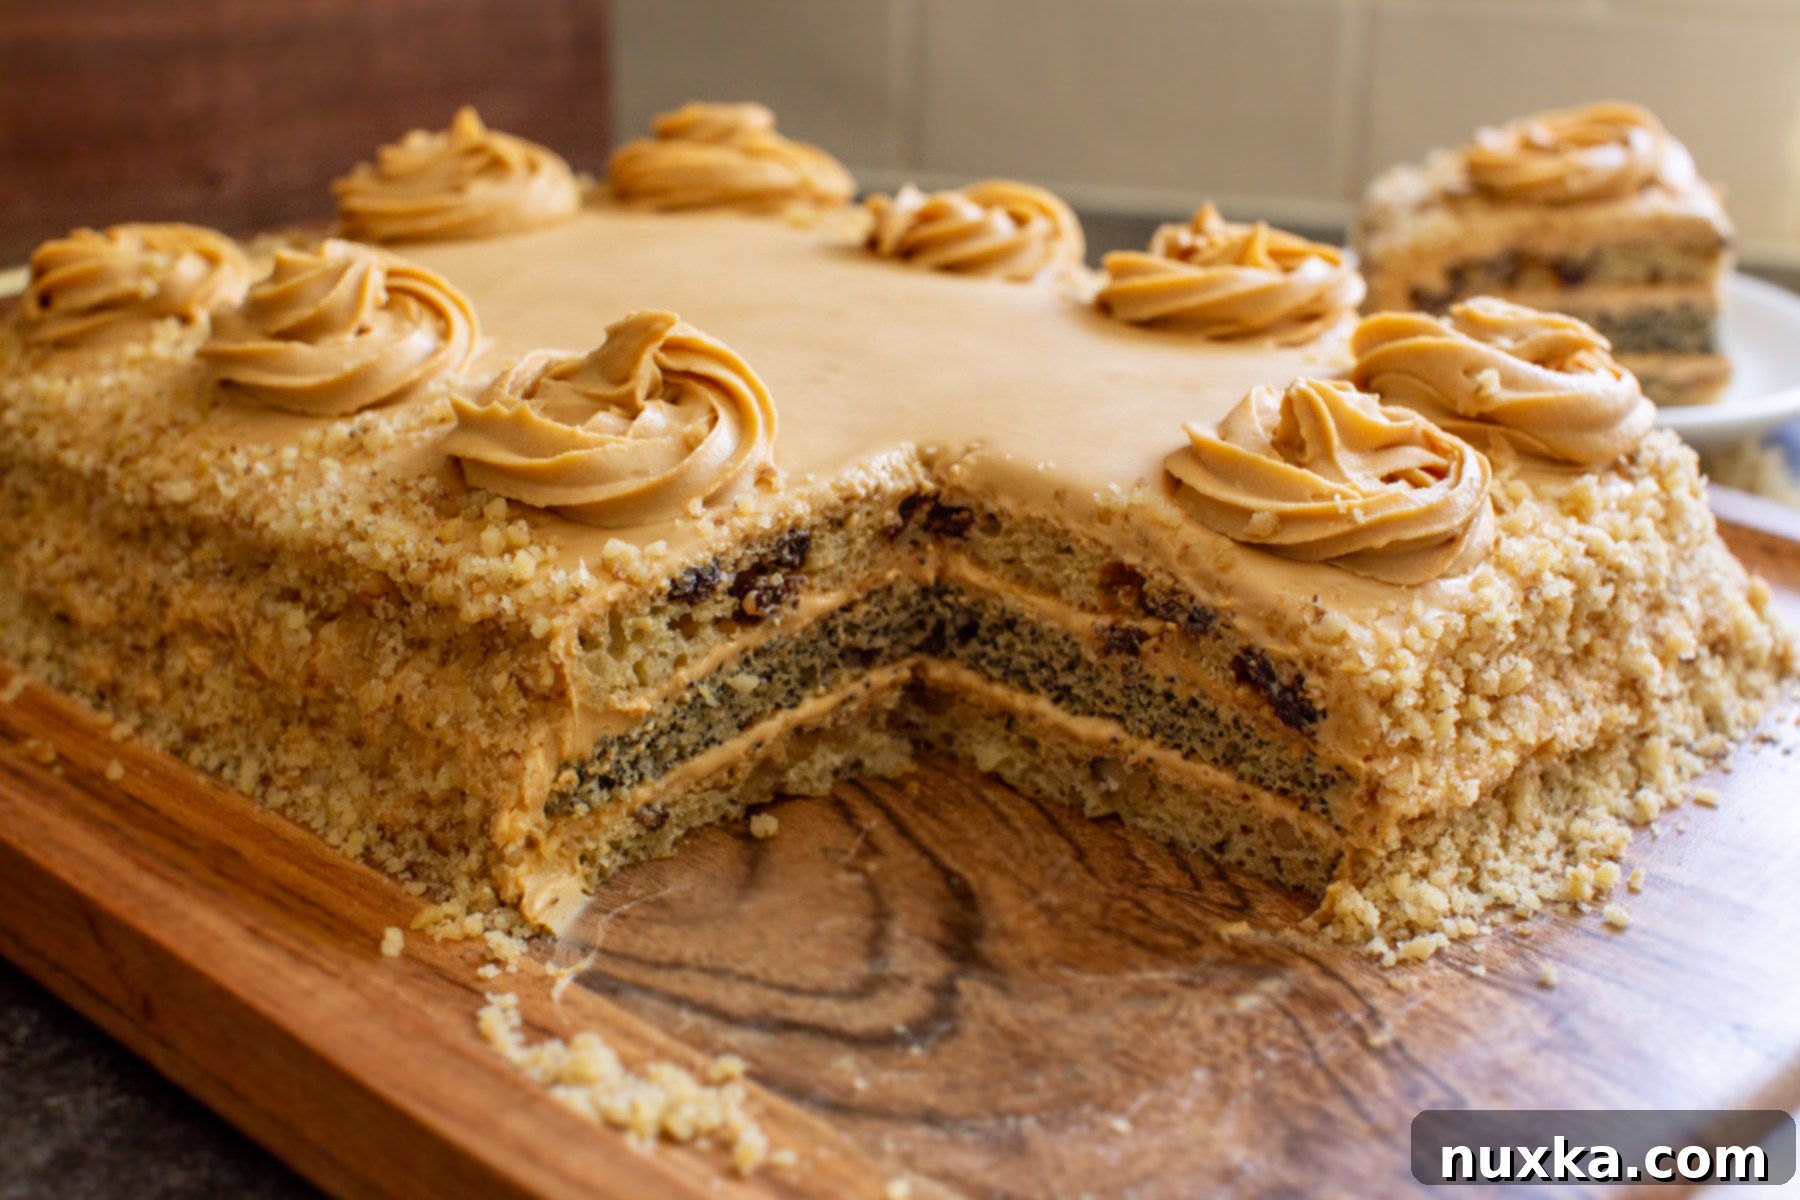
As I delved into naming this multi-layered cake, I quickly realized the abundance of variations and names it carries across different regions and families. Some affectionately call it “Royal Cake” (Korolevsky), while others might incorporate a chocolate layer, or simply keep it plain. However, the fundamental structure of this European sponge cake remains consistent: multiple delicate cake layers, with poppy seeds almost always being a central feature. If you’ve yet to experience this fluffy, incredibly soft, and richly flavored cake, you are in for an absolute treat!
I am utterly smitten with this multi-layer cake. It’s unbelievably moist and simply divine! What’s truly remarkable is that no soaking is required, yet the cake maintains a feather-light texture and profound tenderness. The secret lies in the quality of ingredients and the careful baking process. For the rich frosting, I typically prepare my own dulce de leche by cooking a can of condensed milk. Once combined with beautifully whipped butter, you achieve an easy, luxurious frosting that perfectly complements the cake’s flavors.
Tips for Achieving a Perfectly Moist Sponge Cake: The Secret is Sour Cream!
Creating a perfectly moist sponge cake, or “biskvit” as it’s known in Eastern Europe, often hinges on a few key techniques. For this recipe, the secret ingredient that elevates the moisture and tenderness to another level is sour cream. While many biskvit recipes share common ingredients, the method of preparation is crucial. It’s essential to beat the eggs until they become pale and thick, almost ribbon-like. This step incorporates a significant amount of air, which is vital for a light and airy cake structure. Following this, the leavening agent (baking soda), sour cream, and flour are gently incorporated. I also find that baking thinner layers helps them cook more quickly and evenly, contributing to a consistently moist crumb. The baking soda works wonders in making the cake light and airy, while the sour cream counteracts the typical dryness of some sponge cakes, infusing it with unparalleled moisture and a delicate tang that beautifully complements the other flavors.
Essential Ingredients You’ll Need for this Ukrainian Poppy Seed Cake
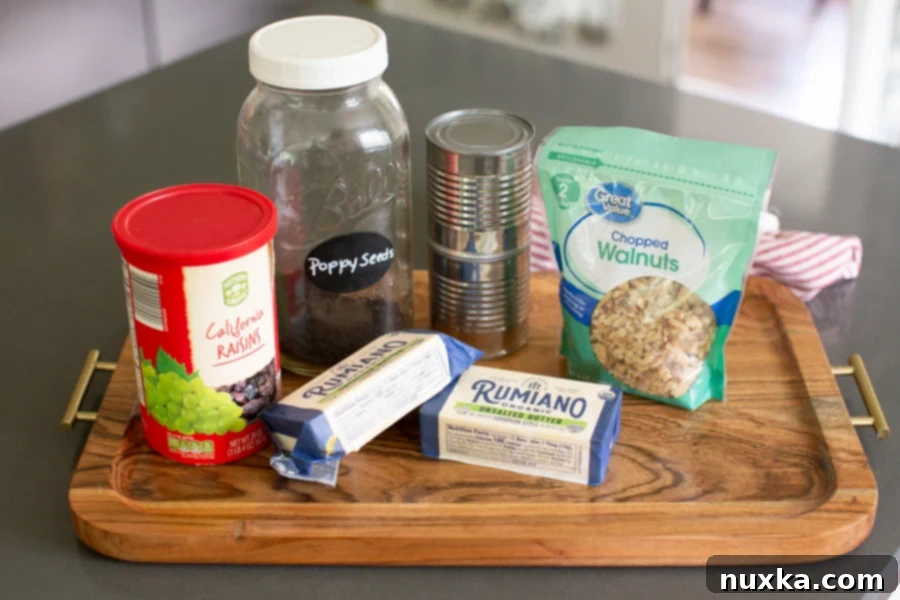
This delightful poppy seed sponge cake uses remarkably simple ingredients, most of which you likely already have in your pantry. Sourcing high-quality ingredients, however, can make a significant difference in the final taste and texture. For the star ingredient, the poppy seeds, I prefer to buy them from trusted sources like Azure to ensure freshness and flavor. For the nuts, while walnuts are traditional, I often use pecans because they grow right on our farm, adding a local touch. For the frosting, investing in European-style butter is highly recommended; its higher fat content and richer flavor will elevate your buttercream to professional levels.
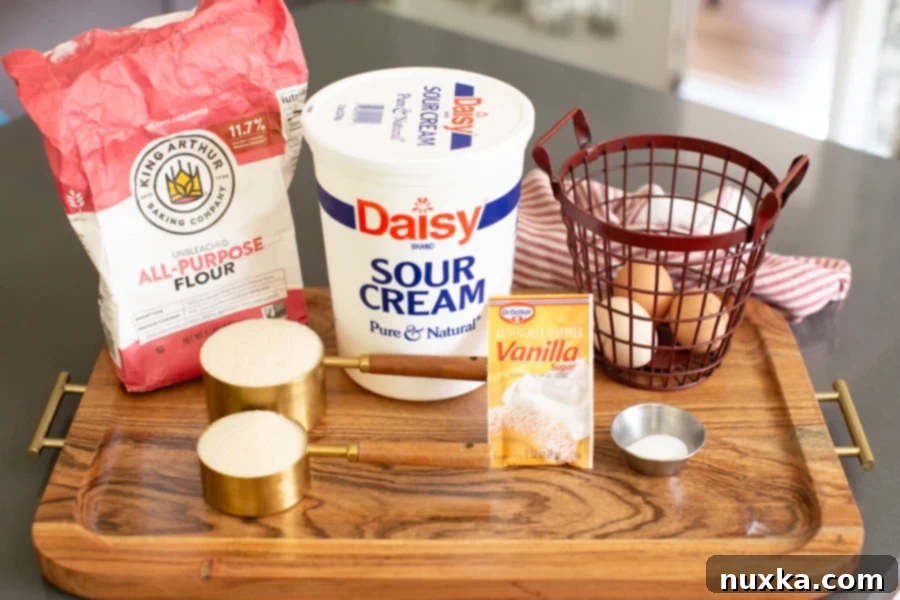
- Sponge Cake Layers: The base for our cake calls for standard baking ingredients such as all-purpose flour, leavening (baking soda), fresh eggs, and granulated sugar. However, it’s the addition of sour cream that truly makes these layers exceptionally moist and tender. For an extra aromatic touch, try using vanilla sugar; if it’s not available, a good quality vanilla extract will also impart wonderful flavor.
- Cooked Condensed Milk Frosting (Dulce de Leche Buttercream): This decadent frosting is simply homemade or store-bought dulce de leche whipped together with softened butter. I often prepare my own dulce de leche in an Instant Pot to achieve a deep, rich caramel color and flavor, following my Instant Pot Dulce De Leche instructions. Alternatively, you can find ready-made dulce de leche in most grocery stores, often in the Mexican or international aisle. The key is to ensure your dulce de leche is completely cooled before you incorporate it into the butter to prevent a soupy frosting.
Crafting the Distinct Sponge Cake Layers
The beauty of this Ukrainian poppy seed cake lies in its distinct, flavored layers. Once you’ve expertly whipped your sponge cake batter to a pale and thick consistency, the next crucial step is to divide it precisely. To ensure each layer is uniform in thickness and bakes evenly, I highly recommend using a kitchen scale. Measure the total mass of your batter in grams, then divide that number by three to get the exact amount of batter needed for each individual layer. For my recipe, this typically amounts to about 344 grams of batter per cake layer *before* incorporating the unique mix-ins.
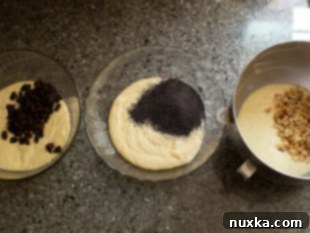
The delightful add-ins are straightforward: plump raisins, crunchy nuts (walnuts or pecans work beautifully), and aromatic poppy seeds. Gently fold one of these specific ingredients into each of your three divided batter portions. This careful separation ensures that every slice of your finished cake offers a wonderful surprise with each bite – a layer of tender raisins, followed by the satisfying crunch of nuts, and finally, the distinctive texture and flavor of poppy seeds, all harmoniously brought together by the rich buttercream.
Choosing the Right Pan Size for Your Poppy Seed Cake
For this recipe, I typically use two 13×9 inch rectangular cake pans, each meticulously lined with parchment paper. Since the recipe yields three distinct cake layers, I bake them in sequence. I simply leave one portion of the batter in a mixing bowl while the other two layers bake simultaneously. Once two layers are baked, I carefully remove one from its pan, quickly wash the pan with cold water to cool it down, and then line it again to spread and bake the final layer of batter. This quick cooling trick allows you to efficiently use just two pans for all three layers. Alternatively, you can certainly get by with a single 13×9 pan if you’re patient enough to bake each layer separately. A crucial tip: avoid letting the unbaked batter sit in parchment paper for too long, as it can sometimes stick. Keep the batter in its mixing bowl until it’s ready to be poured into the prepared pan and go into the oven.
Step-by-Step: How to Make Ukrainian Poppy Seed Cake
- Preparation is Key: Begin by preheating your oven to 350°F (175°C). Prepare your cake pans by lining three 13×9 inch rectangular cake pans with parchment paper. If you only have two pans, don’t worry, refer to the pan section above for a smart hack. Set the prepared pans aside.
- Whip the Sponge Cake Base: In the bowl of a Kitchen-Aid stand mixer fitted with the wire whisk attachment, combine the eggs, granulated sugar, and vanilla sugar (if using). Beat this mixture on high speed for approximately 20 minutes. You’ll notice the mixture becoming significantly pale, thick, and voluminous, creating a beautiful ribbon effect.
- Incorporate Wet and Leavening Agents: Once the egg mixture is pale and thick, reduce the mixer speed to low and gradually beat in the sour cream until just combined. Then, mix in the baking soda until it is fully incorporated.
- Gently Fold in the Flour: Turn off the mixer. Using a large wire whisk or a spatula, gently fold in the all-purpose flour. It’s crucial to stir in one direction and avoid vigorous mixing, as this can deflate the precious air you’ve incorporated into the batter, leading to a denser cake.
- Divide and Flavor the Batter: Carefully divide the prepared batter into three equal portions. For precision, I highly recommend using a kitchen scale to weigh the total batter in grams and then dividing that number by three. Each portion should weigh approximately 344 grams before the add-ins.
- Fold in the Signature Add-ins: Now, it’s time to create your distinct layers! Gently fold the walnuts into one portion of batter, the raisins into another, and the poppy seeds into the third. Ensure each add-in is evenly distributed within its respective batter portion. You should now have one batter with poppy seeds, one with nuts, and one with raisins.
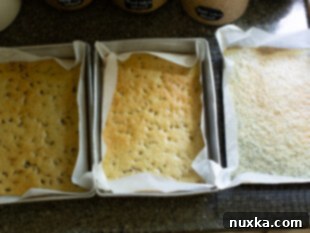
- Bake the Layers: Spread each flavored batter evenly into the prepared pans. Bake for 8-10 minutes, or until a wooden skewer inserted into the center comes out clean. The layers are thin, so they bake quickly! Once baked, allow the layers to cool completely on a wire rack before carefully peeling off the parchment paper.
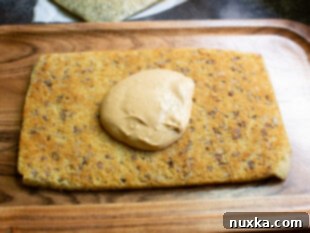
- Assemble and Frost: Once all cake layers are cool, it’s time to assemble your masterpiece! Prepare the frosting as instructed in the recipe card. Layer the cake in this specific order: first, a walnut layer, followed by a generous spread of cream; then the poppy seed layer, another layer of cream; and finally, the raisin layer, finished off with the remaining cream. Frost the top and sides of the entire cake evenly.
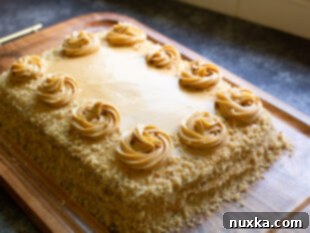
- Garnish and Chill: For an elegant finish, garnish the sides of the cake with unsweetened coconut flakes, chocolate shavings, or finely ground nuts. Allow the cake to sit at room temperature for at least 2 hours before serving. This allows the flavors to meld and the cake to soften beautifully. Alternatively, you can refrigerate it overnight for a firmer texture.
Optimal Storage Tips for Your Ukrainian Cake
Unlike many sponge cakes that rely heavily on syrups or delicate frostings to maintain their moisture, this Ukrainian Poppy Seed Cake is inherently baked moist right from the oven. This means you won’t need to endure a long waiting period before you can enjoy a slice. However, for the absolute best texture, I prefer to serve this cake at room temperature. The cake crumb becomes incredibly soft and yields perfectly when it’s not chilled. If your cake has been refrigerated, I highly recommend taking it out a couple of hours before serving to allow it to come to room temperature and achieve that ideal softness. If immediate serving isn’t planned, or for longer storage, simply keep it refrigerated to maintain its freshness and structural integrity.
Can I Prepare This Cake in Advance?
Absolutely, this recipe is quite versatile for make-ahead convenience! The individual biscuit (korzhi) layers can be baked ahead of time. Once they are completely cooled, wrap them tightly in plastic wrap to prevent them from drying out. You can then store them at room temperature for a day or two, or freeze them for up to a month until you’re ready to assemble the cake. When it comes to the frosted cake, once assembled and decorated, it will keep beautifully in the refrigerator for up to 6 days. This makes it an excellent choice for holidays, special occasions, or simply for enjoying throughout the week without the last-minute rush.
Pro Tips for a Flawless Poppy Seed Cake:
- The quantity of frosting ingredients provided is sufficient to generously frost the entire cake. Any additional garnish, such as coconut flakes, chocolate shavings, or extra cake crumbs for the sides, is entirely optional but adds a lovely touch. Feel free to get creative with your decorations!
- For a truly rich and luxurious flavor in your buttercream, opt for high-quality European-style butter. Its higher fat content and distinct taste make a noticeable difference.
- Sour cream is a beloved ingredient in Eastern European baking for a reason. In this recipe, it plays a vital role in making the cake layers exceptionally soft, tender, and incredibly moist. Don’t skip it!
- When baking multiple layers, especially with thin sponge cakes, ensure your oven temperature is accurate. An oven thermometer can be a baker’s best friend.
- Do not overmix the flour into the batter. Overmixing develops gluten, which can lead to a tough cake rather than a light and airy one. Gentle folding is key.
More Irresistible Russian and Ukrainian Desserts to Try:
Cakes hold a significant place in Ukrainian culture. They are more than just desserts; they are symbols of hospitality, celebration, and comfort, frequently baked for Sunday gatherings, holidays, or to welcome friends and relatives. A beautifully crafted cake is a staple at weddings and the perfect accompaniment to a hot cup of tea at home. We invite you to explore these wonderful cake recipes and bring a piece of Eastern European warmth into your kitchen.
-
Poppy Seed Roll
-
Ukrainian Bulochki (Filled Sweet Buns)
-
Easy Sweet Cheese Buns (VIDEO)
-
Cappuccino Cake
-
Bird’s Milk Cake (Ptichye Moloko)
-
Ukrainian Chocolate Cherry Cake
-
Russian Tea Cake (Curly Boy)
-
Russian Honey Cake (Medovik)
Rate
Pin
Ukrainian Poppy Seed Cake with Walnuts and Raisins (Ckazka)
Equipment
-
1 Stand Mixer
-
3 13×9 cake pans
Ingredients
Sponge cake Layers:
-
1 1/2 cups all-purpose flour (or 235 grams of freshly milled soft white wheat)
-
1 1/2 cups granulated sugar (300 grams)
-
3 large eggs
-
1 1/2 cups sour cream (350 grams)
-
1 1/2 tsp baking soda (9 grams)
-
1 tsp vanilla sugar (4 grams, optional)
Mix-ins for The Cake Layers:
-
1/2 cup raisins
-
1/2 cup walnuts (or pecans, chopped)
-
1/3 cup poppy seeds
Main Frosting:
-
300 grams softened European-style butter (2 sticks and 5 Tbsp)
-
500 grams dulce de leche (approximately a 15 oz can, cooled)
Optional Garnish:
-
187 grams softened European-style butter (13 Tbsp)
-
275 grams dulce de leche (remaining from a second 15 oz can)
-
1 cup walnuts (coarsely ground or unsweetened coconut flakes)
Instructions
Directions:
-
 Prep: Preheat the oven to 350°F (175°C). Line three 13×9 inch cake pans with parchment paper. If you only have two, simply bake in batches using the cooling method described above. Set aside.
 -
 Make the Sponge Cake Layers: In a stand mixer with the wire attachment, combine the eggs, granulated sugar, and vanilla sugar. Beat over high speed for 20 minutes until the mixture is pale, thick, and forms ribbons.
 -
 Beat in the sour cream until just combined. Then mix in the baking soda until fully incorporated. Turn off the mixer and, using the wire whisk attachment or a spatula, gently stir in the flour, moving in one direction only to avoid deflating the batter.
 -
 Divide the batter into three equal portions (approximately 344 grams each). Gently fold the add-ins (walnuts, raisins, and poppy seeds) into each cake layer. You should have one layer with poppy seeds, one with nuts, and one with raisins.
 -
 Spread each flavored batter into the prepared pans. Bake for 10-15 minutes, or until golden and a toothpick comes out clean. Cool completely on a wire rack, then carefully peel off the parchment paper.
 -
 Make the Main Frosting: In the clean bowl of your stand mixer, beat the softened butter over high speed until it is light, thick, and fluffy. Gradually add the cooled dulce de leche and continue beating until combined well and smooth. Use this to assemble the cake layers (walnut, cream, poppy seed, cream, raisin, cream) and frost the top and sides.
 -
 For the Garnish (Optional): If making the optional garnish, beat the additional butter until pale and thick, then mix in the remaining dulce de leche. Apply additional cream to the cake where needed, and pipe out decorative swirls over the edges using a Wilton 1M piping tip. Coat the sides of the cake with coarsely ground walnuts or unsweetened coconut flakes and sprinkle some around the piped swirls on top. Allow the cake to set for a few hours at room temperature or chill before serving.
Notes
- Pans: If you don’t have three 13×9 inch cake pans, you can bake each layer one at a time. I suggest leaving the unbaked batter in its mixing bowl until you’re ready to spread it and bake. This prevents the batter from potentially seeping into the parchment paper and sticking later.
- Garnish is optional: The main frosting ingredients are enough to frost the entire cake generously. The optional garnish provides extra cream for more elaborate decorations, such as piping designs, and allows for coating the sides with nuts or coconut for an enhanced presentation. It’s a great way to use up a second can of dulce de leche if you have it!
- European-style butter is highly recommended for its superior richness and flavor, contributing to a more decadent buttercream.
- For perfectly even layers, use a kitchen scale to divide the batter into three equal portions, aiming for approximately 344 grams per portion before adding the mix-ins.
- This recipe has been successfully tested using 100% freshly milled soft white wheat, yielding excellent results for those who prefer to bake with freshly ground flour.
- For the best flavor development, let the cake sit at room temperature for at least two hours before serving. If refrigerating, take it out an hour or two before serving.
Nutrition per serving
