Homemade Whole Wheat Sandwich Bread: Soft, Fluffy & Made with Freshly Milled Flour
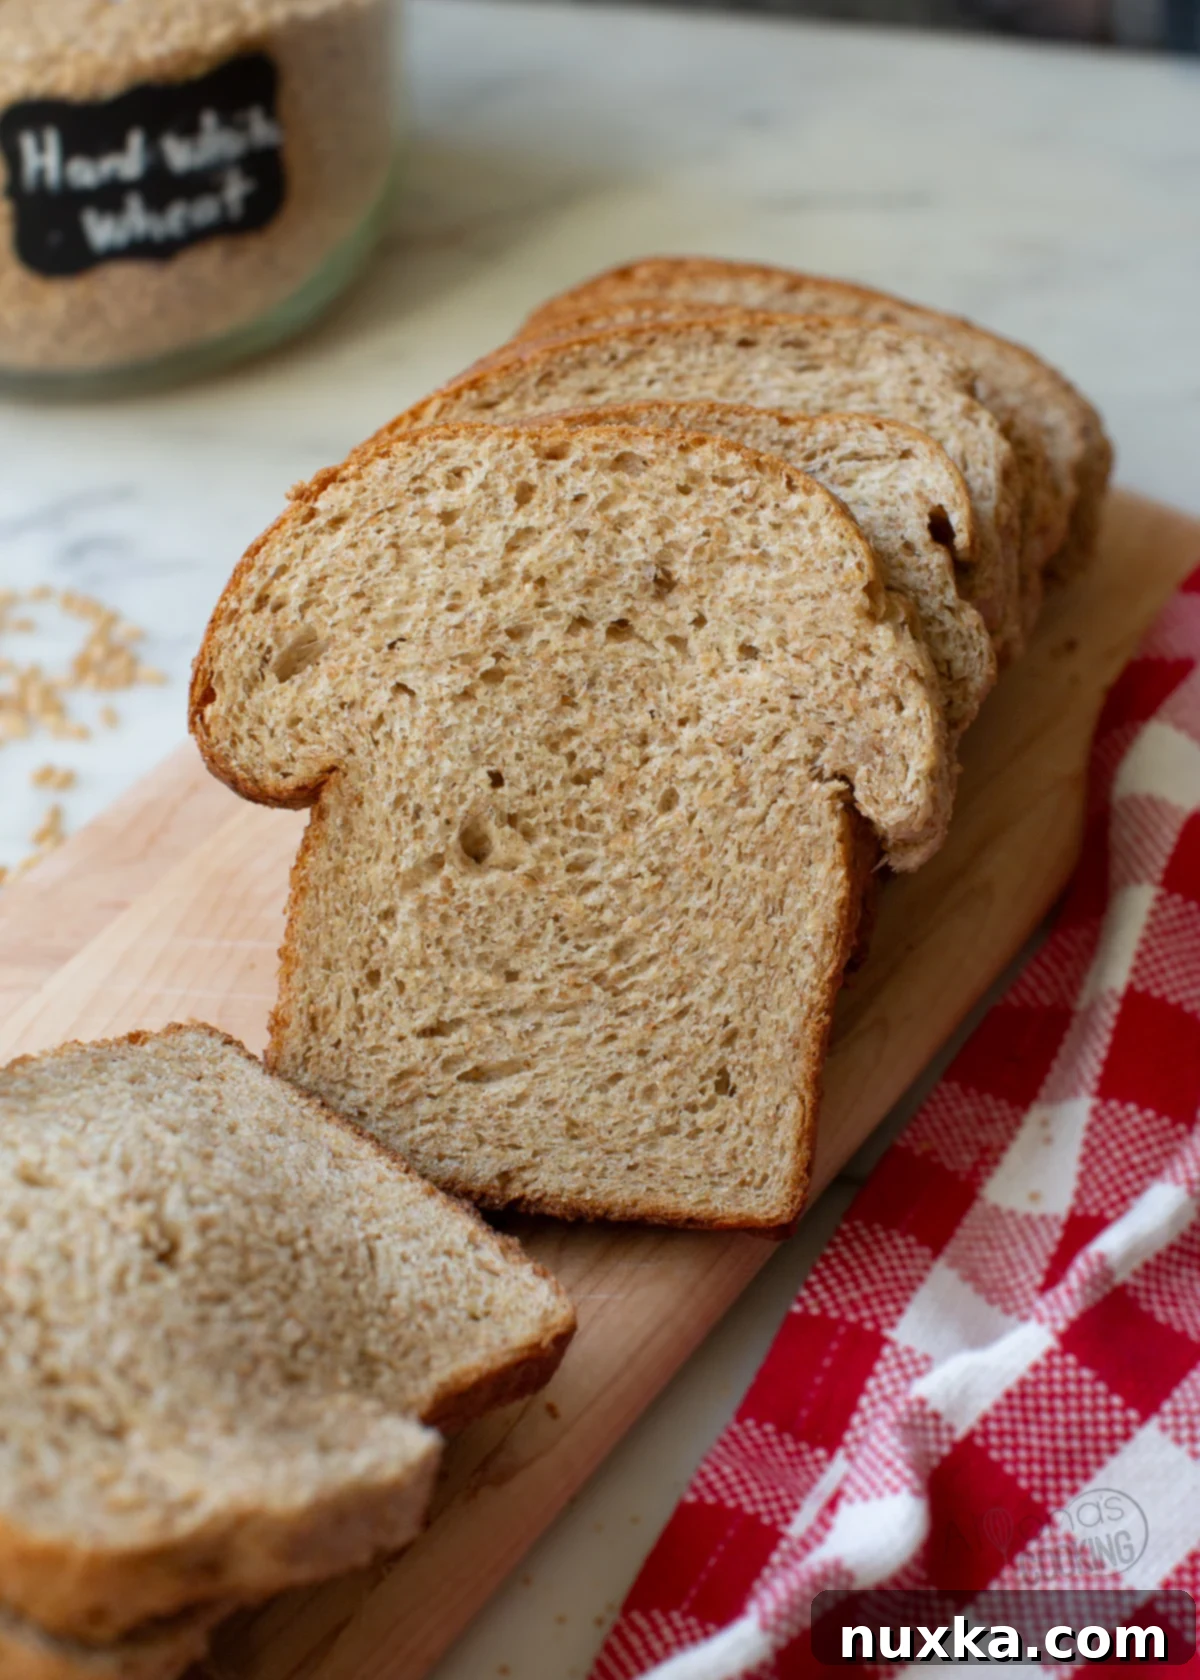
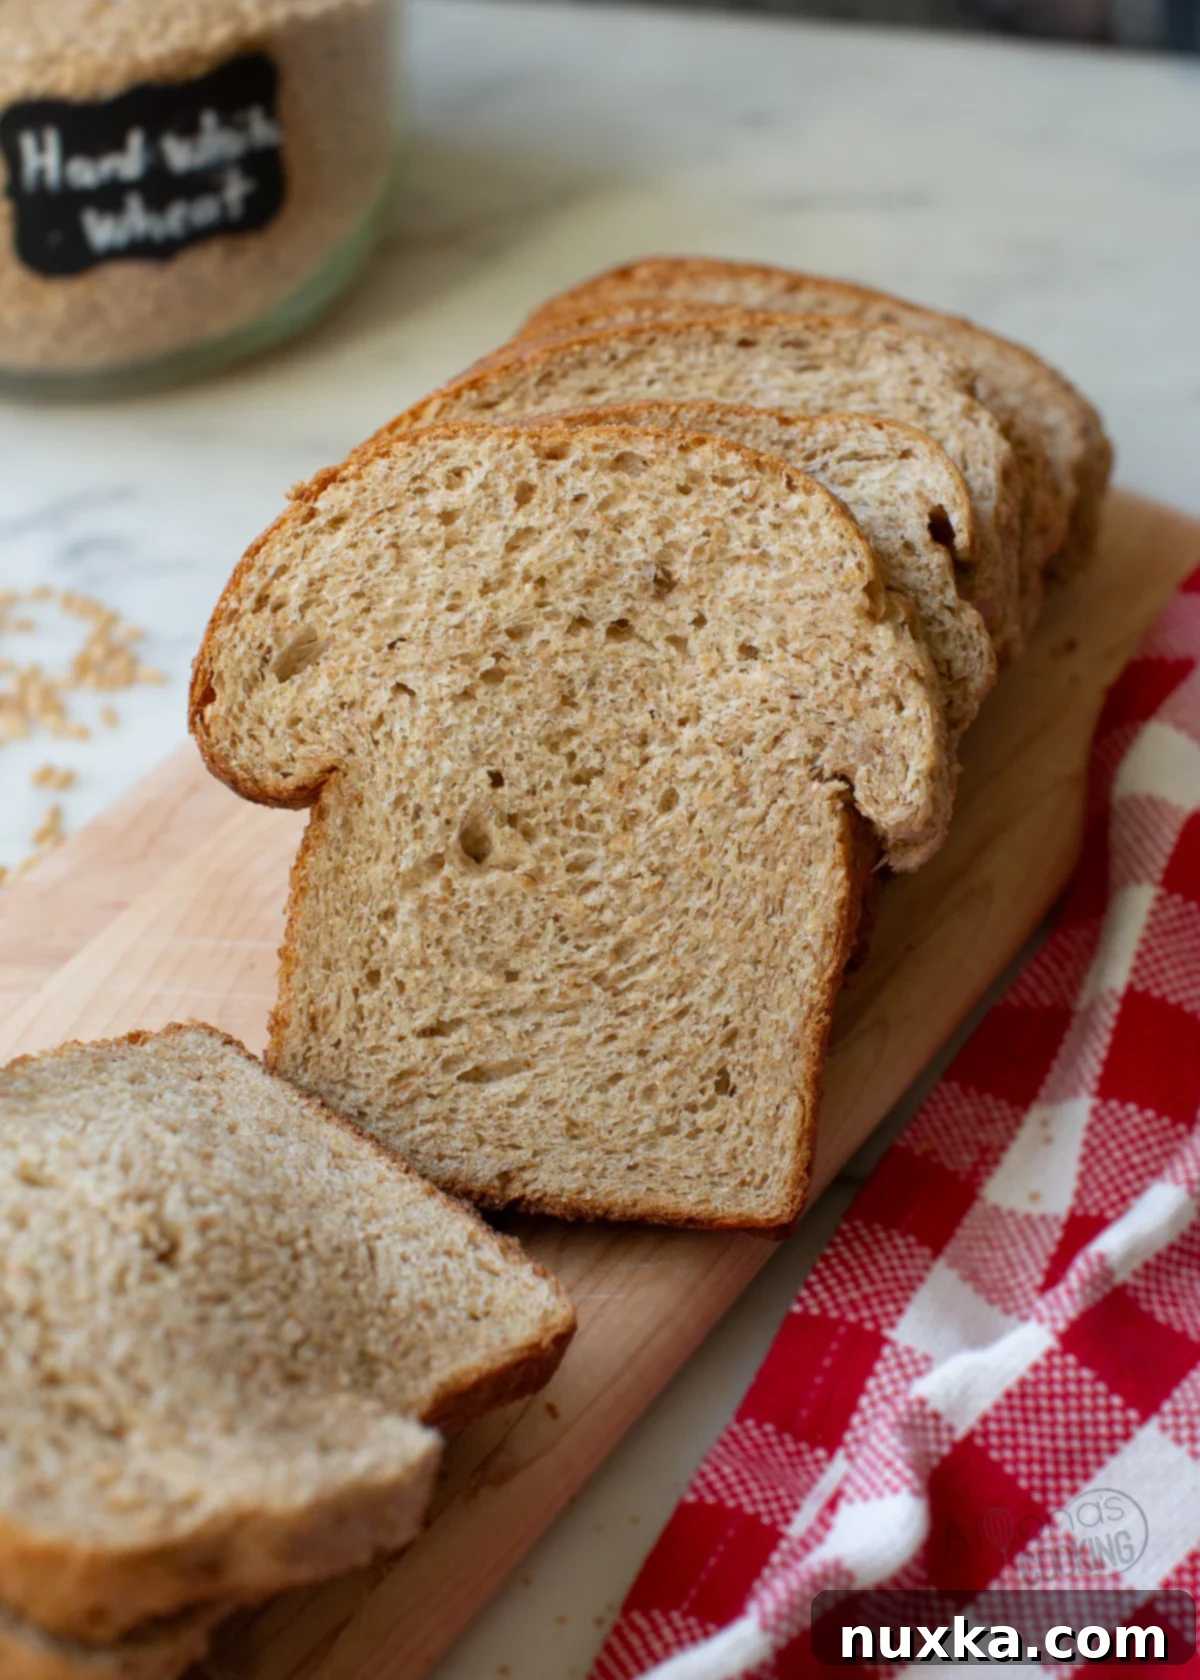
Discover the ultimate recipe for homemade Whole Wheat Sandwich Bread that rivals your favorite store-bought loaves in softness and fluffiness! This isn’t just any bread; it’s a wholesome, nourishing staple crafted entirely from 100% freshly milled whole wheat flour, ensuring you get the full nutritional benefits of whole grains in every delicious slice. Perfect for daily sandwiches, morning toast, or any meal in between, this recipe makes it easy to enjoy healthy, wholesome bread without compromise. Say goodbye to preservatives and hello to superior flavor and texture!
Once you try this incredible whole wheat bread, you’ll want to bake it regularly. Its delightful texture makes it ideal for slicing and freezing, so you always have a healthy option readily available. It’s truly a family favorite that brings the joy of homemade baking to your kitchen, offering a nutritious alternative to conventional white bread and processed options.
Why Choose Homemade Whole Wheat Sandwich Bread?
Opting for homemade bread, especially one made with freshly milled whole wheat flour, offers numerous advantages over store-bought alternatives. Beyond the incredible taste and texture, there are significant health and practical benefits that make baking your own worthwhile:
- Superior Nutrition: Freshly milled flour retains all parts of the wheat kernel – the bran, germ, and endosperm. This means your bread is packed with fiber, essential vitamins, and minerals that are often lost in commercially processed flours.
- No Unwanted Additives: When you bake at home, you control every ingredient. You can avoid the artificial preservatives, high-fructose corn syrup, and unhealthy fats often found in supermarket breads.
- Unmatched Freshness and Flavor: There’s nothing quite like the aroma and taste of warm, freshly baked bread. The nuanced flavors of whole wheat truly shine through, making every bite a delight.
- Economical: Baking bread from scratch can be more cost-effective in the long run, especially if you buy wheat berries in bulk.
- Family-Friendly: This particular recipe is so soft and delicious, even picky eaters (yes, even toddlers!) will love it. It’s a fantastic way to introduce more whole grains into your family’s diet.
If you’re already enjoying the benefits of freshly milled flour, you’ll love integrating this recipe into your repertoire. For more whole grain adventures, be sure to check out our no-knead whole wheat bread loaf, whole wheat pizza dough, and whole wheat tortillas!
The Secret to Soft & Fluffy Whole Wheat Sandwich Bread
If you’re a fan of whole grain foods and seeking a whole wheat bread recipe that will win over even the pickiest eaters, look no further! This homemade sandwich bread delivers a perfectly soft and fluffy texture, making it undeniably the best bread for sandwiches, toast, and more. What sets this recipe apart is its ease of preparation combined with expert tips to ensure your baking success. I’m here to guide you through every step, helping you feel confident working with yeast and achieving bakery-quality results right in your own kitchen.
Among all my bread recipes, this loaf consistently earns rave reviews for its delightful texture and wholesome appeal. It’s significantly better than any white bread counterpart, offering a rich, satisfying flavor while being incredibly healthy. I often use this versatile dough to make homemade buns and sandwich rolls, providing immense satisfaction in knowing I’m serving nutritious bread crafted from wholesome ingredients. This recipe was lovingly adapted from Sue Becker’s basic dough recipe, specifically designed for freshly milled flour. If you haven’t yet explored their “real bread talk” on whole grain bread, I highly recommend watching that video for invaluable insights into baking with whole grains. The Bread Beckers offer a wealth of knowledge, from yeast bread recipes and muffins to desserts, sourdough, and comprehensive baking classes, all centered around the goodness of whole grains. Follow my step-by-step recipe in the card below to master this wholesome homemade sandwich bread.
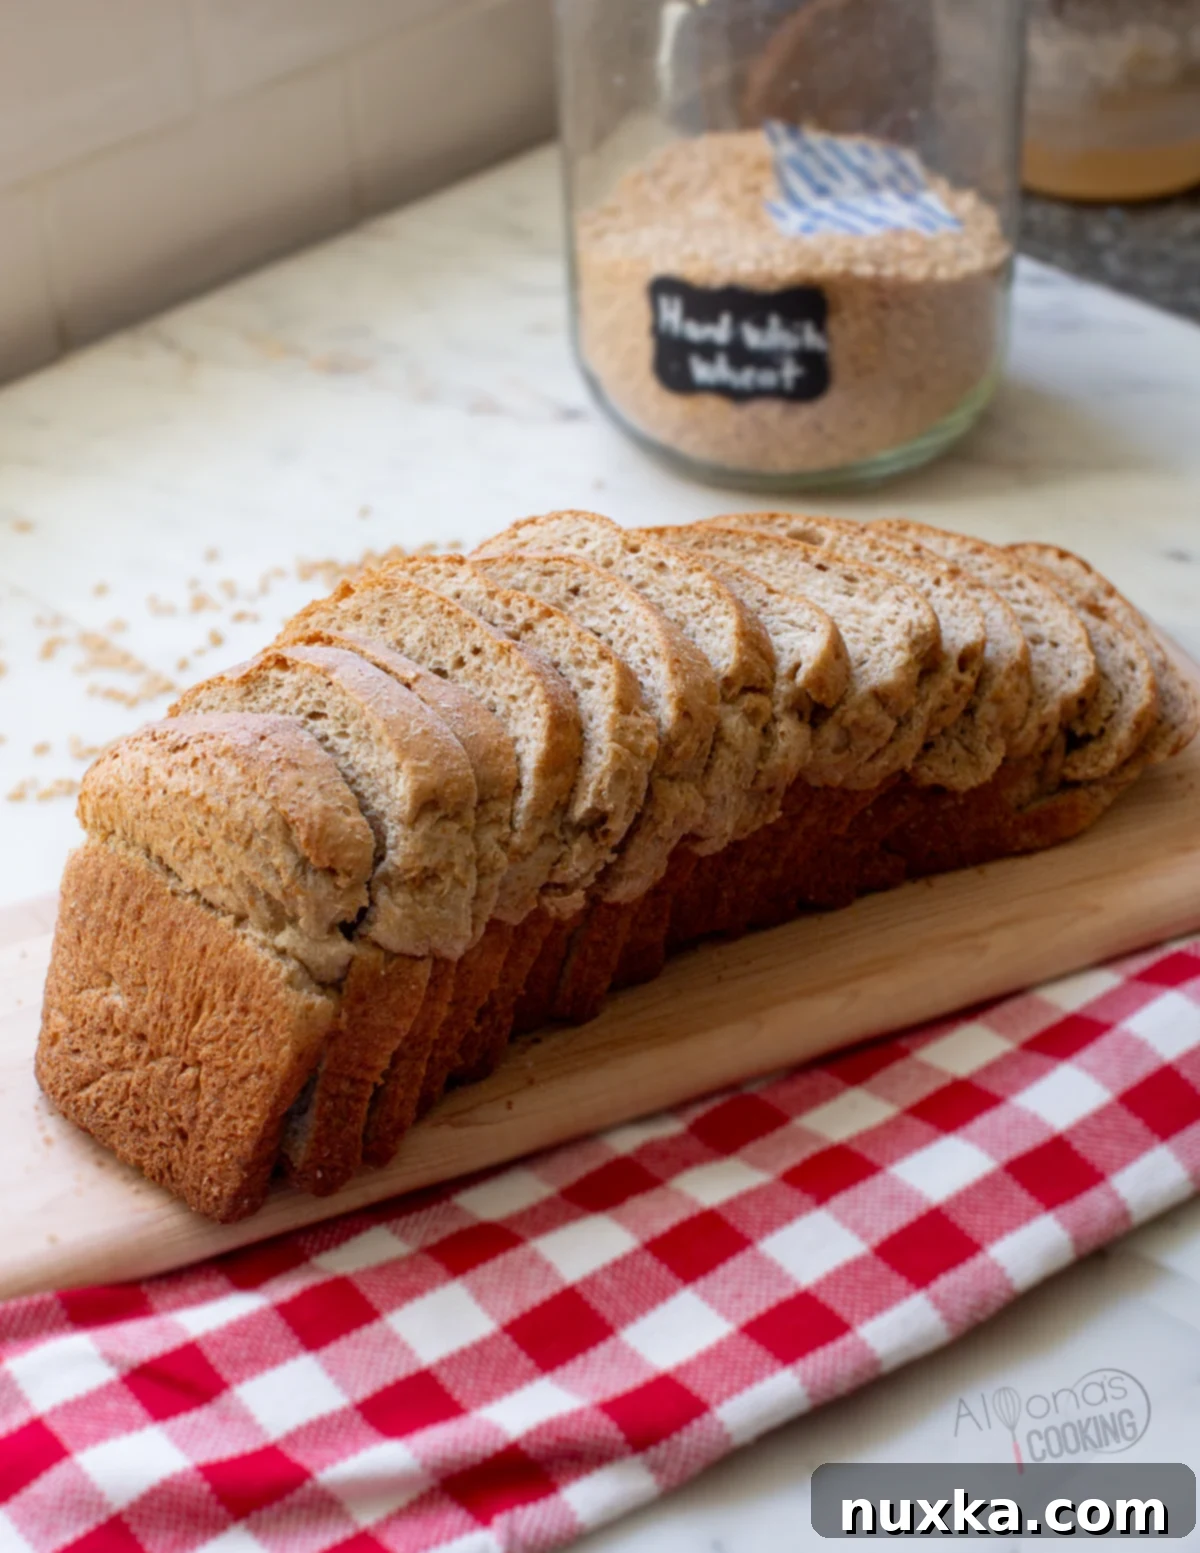
Essential Ingredients for Your Whole Wheat Sandwich Bread
Creating truly exceptional whole wheat sandwich bread starts with understanding each ingredient and its vital role. This recipe is designed to produce two beautiful, wholesome loaves, and it’s adaptable to your preferences regarding grain types and optional enhancers. Here’s a closer look at what you’ll need:
Choosing Your Whole Grains: Hard White vs. Hard Red Wheat
For this yeast bread recipe, you have the option of using two primary types of wheat grains: hard white wheat or hard red wheat. Both are excellent choices for yeast breads due to their high gluten content, which is essential for developing a strong, elastic dough and a good rise. I personally love to use a combination of both for a balanced flavor and texture, simply running them through my grain mill to create fresh flour. While sunflower lecithin and vital wheat gluten are recommended for achieving superior light and fluffy loaves, you can also enrich the dough with milk or additional eggs for similar benefits.
Detailed Ingredient List:
- Warm Water: The ideal temperature range for proofing dry yeast is between 105°F and 115°F (40°C and 46°C). This warmth activates the yeast, allowing it to begin the fermentation process effectively.
- Extra Virgin Olive Oil: Beyond adding a subtle richness, olive oil is crucial for creating a soft crumb and helping the bread retain moisture for longer periods. Its robust flavor pairs beautifully with hearty whole grains, making it an excellent fat choice for baking.
- Honey: As a natural, wholesome sweetener, honey not only provides food for the yeast but also adds a delicate sweetness and a lovely golden hue to the crust. Opt for a mild-flavored variety like clover or Tupelo honey to avoid overpowering the natural wheat flavors.
- Sea Salt: Essential for balancing flavors and controlling yeast activity. Always choose a natural, minimally processed sea salt for the best results. If using coarse salt, dissolving it in the warm water first can help with even distribution.
- Eggs: Rich in lecithin, eggs contribute significantly to a soft, smooth dough. They also aid in the bread’s rise and impart a beautiful golden-brown color to the crust, enhancing its overall appeal.
- Lecithin (Optional, but Recommended): This incredible emulsifier helps to blend ingredients smoothly, resulting in a bread with a remarkably soft and smooth texture, much like what you’d find in commercially baked bread. I prefer using sunflower lecithin, but soy lecithin works just as well. Add 1 tablespoon per loaf for optimal results.
- Vital Wheat Gluten (Optional, but Recommended): This ingredient significantly improves the bread’s structure, ensuring a robust rise and contributing to a much softer, more elastic loaf. It’s particularly beneficial when working with whole wheat flour, which can sometimes be denser. Do not exceed 1 tablespoon of gluten per recipe to prevent a rubbery texture.
- Freshly Milled Whole Wheat Flour: This is the star ingredient! Made from either hard red or hard white wheat berries, freshly milled flour provides unparalleled flavor, nutrition, and a superior baking experience. Hard wheat varieties are favored for yeast breads due to their high protein content, which translates to higher gluten and better structure.
- Dry Active Yeast: My go-to yeast for this recipe. If you prefer, instant yeast can also be used. Remember that dry active yeast typically needs to be proofed in warm liquid first, while instant yeast can be mixed directly with the flour.
How to Achieve Soft and Fluffy Homemade Sandwich Bread: A Step-by-Step Guide
The journey to a perfect loaf of whole wheat sandwich bread is all about technique, especially when it comes to kneading and rising. These steps are crucial for developing the gluten structure that gives your bread its signature soft and fluffy texture. This dough, made with freshly milled flour, might seem a bit sticky at first, but trust the process – it will transform into a smooth, elastic dough as you work it.
The Art of Kneading: Building Gluten Strength
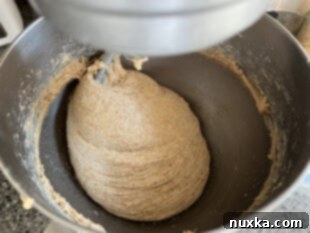
Kneading is the bedrock of good bread. It develops and strengthens the gluten network, making the dough elastic and stretchy, which is vital for shaping and allowing the bread to rise beautifully. Whether you choose to knead by hand for a more tactile experience or use a stand mixer for quicker, more efficient results, the goal is the same: a well-developed dough. When you first start kneading, particularly with freshly milled flour, the dough will be quite sticky. This is normal! Continue kneading for at least 5 minutes. If, after this initial period, the dough is still excessively sticky and clings to the sides of the bowl, add freshly milled flour a tablespoon at a time until it begins to pull away cleanly. Remember, over-flouring can lead to a dry loaf, so be conservative.
Important Note on Freshly Milled Flour: Whole wheat sandwich bread dough made with freshly milled flour often remains slightly sticky to the touch even after proper kneading. Don’t be tempted to add too much additional flour at this stage. As the dough rests and undergoes its first rise, the flour will continue to absorb the liquids, resulting in a more workable and less sticky texture. Patience is key!
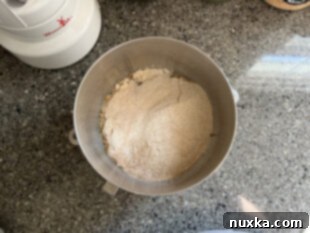
- Combine and Knead the Dough: Begin by combining all your ingredients in the bowl of your stand mixer (or a large mixing bowl if kneading by hand). Mix on low speed until everything is just incorporated, then increase to medium-high for 5-6 minutes. A stand mixer is excellent for minimizing added flour, which contributes to a fluffier final product.
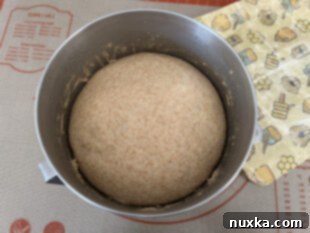
- First Rise (Proofing): Once kneaded, transfer the dough to a lightly greased bowl. Cover it loosely and let it rise in a warm, draft-free place until it has doubled in size. This usually takes about 1 hour, but can vary depending on your kitchen’s temperature.
- Shape the Dough: Gently punch down the risen dough to release the air. Transfer it to a lightly floured surface and knead it briefly into a smooth ball. Flatten the ball into an oval shape, about 9 inches long. Tightly roll the dough up from the widest end, jelly-roll style, then pinch the seams and ends firmly to seal. This shaping technique is vital for giving the loaf its structure and helping it rise evenly.
- Second Rise & Preheat: Carefully place the shaped dough into a lightly greased 12-inch bread pan. Allow it to rise again, covered, for about 30 minutes, or until the dough dome reaches just above the rim of the pan. During this time, preheat your oven to 350°F (175°C). Using a long bread pan helps to achieve that familiar, uniform slice shape, similar to store-bought bread.
- Bake to Golden Perfection: Bake your beautiful loaf in the preheated oven for 25-30 minutes, or until it’s golden brown on top and sounds hollow when tapped on the bottom.
- Cool and Slice: Once baked, let the bread cool in the pan for 10 minutes before carefully transferring it to a wire rack to cool completely. This cooling process is essential for the internal structure to set. For perfectly even slices, consider using an electric knife. Store your freshly baked bread in bread bags at room temperature for a couple of days, or freeze any extra loaves for future enjoyment.
Can I Use a Bread Machine for This Recipe?
Absolutely! This versatile whole wheat sandwich bread recipe yields two generously sized one-pound loaves, making it suitable for various bread machine applications. If you own a large, two-pound capacity bread machine, you can likely bake the entire recipe directly in it. Alternatively, for smaller bread machines, you can utilize the dough setting to do all the kneading and first rise. Once the dough cycle is complete, simply transfer the risen dough to your prepared bread pans, let it undergo its second rise, and then bake it in a conventional oven as directed in the recipe.
Storing Your Homemade Whole Wheat Sandwich Bread for Maximum Freshness
Proper storage is key to extending the life and freshness of your delicious homemade whole wheat bread. The best method for preserving its quality is by storing it in bread bags. While a loaf can certainly sit on the counter for a day or two if you plan to consume it quickly, for optimal freshness, it’s best to freeze your bread on the very same day it was baked. I often double the recipe on my baking days specifically to keep an ample supply on hand, which is a fantastic way to significantly reduce (or eliminate!) your need to buy sandwich bread from the store.
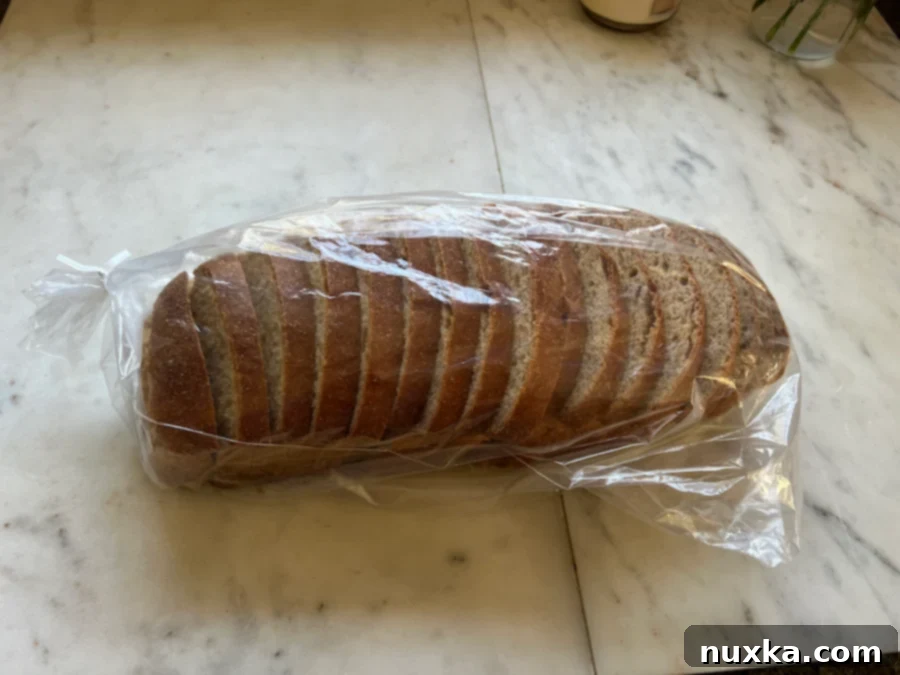
How to Freeze Sandwich Bread:
Freezing homemade bread is a simple and effective way to extend its shelf life. After baking, allow your loaves to cool completely on wire racks for several hours. Once thoroughly cooled, place them into bread bags. You can then transfer the bagged loaves directly to the freezer. Homemade sandwich bread can be safely frozen for up to 3 months, ready to be thawed and enjoyed whenever you need a fresh slice.
Creative Ways to Use Your Delicious Homemade Sandwich Bread
Your freshly baked whole wheat sandwich bread is incredibly versatile and can be used in countless delicious ways. Don’t let a single crumb go to waste! Here are some creative meal ideas and tips to help you enjoy every slice:
- Gourmet French Toast: Slice the bread into thick pieces and transform them into indulgent French Toast for a weekend brunch. The sturdy texture of whole wheat holds up beautifully.
- Homemade Croutons: Dice any leftover or slightly stale bread into bite-sized cubes, toss with olive oil and seasonings, then bake until crispy for irresistible Homemade Croutons to add to salads and soups.
- Quick Open-Faced Pizzas: A perfect solution for a quick lunch or dinner, especially with kids! Simply spread slices with marinara sauce, sprinkle with your favorite cheese, add pepperoni or other toppings, and bake until the cheese is bubbly and melted.
- Hearty Breakfast Casserole: Use cubed leftover bread as the base for a savory breakfast casserole. It absorbs all the flavors beautifully and adds a wonderful texture.
- Classic Salami Sandwiches: Build a delicious, satisfying sandwich with ham, salami, a smear of mayo, yellow mustard, a slice of cheese, fresh lettuce, and thinly sliced onions. Serve it alongside some crunchy pretzels for a complete meal.
- Bread Pudding: Transform day-old bread into a comforting and sweet bread pudding.
- Toasted with Avocado: A simple yet satisfying breakfast or snack, topped with creamy avocado and a sprinkle of everything bagel seasoning.
Q&A: Common Questions About Whole Wheat Sandwich Bread
Can I Omit the Lecithin or Vital Wheat Gluten?
Both lecithin and vital wheat gluten are optional ingredients, and you can certainly make this bread without them. However, they significantly contribute to the exceptionally soft and fluffy texture that mimics store-bought bread. If you choose to omit them, I recommend a slight modification to your process:
- Create a Sponge: Begin by combining the yeast, 1 cup of freshly milled flour, and the warm water. Allow this mixture to sit for about 20 minutes until it becomes foamy and sponge-like. This extra proofing time helps activate the yeast and build some initial structure.
- Add Extra Egg: To compensate for the softness and richness that lecithin and vital wheat gluten provide, consider adding an extra egg to your dough. Eggs contain natural lecithin and contribute to a tender crumb and improved rise.
While the bread will still be delicious without these enhancers, these tips will help you achieve a softer loaf when they are left out.
Essential Tips for Baking the Best Whole Wheat Bread:
- Cool Your Freshly Milled Flour: When using an electric grain mill, the milling process can generate heat, warming the flour and making your dough stickier. For easier handling, mill your flour an hour or two in advance and allow it to cool to room temperature before beginning your bread recipe.
- Trust the Kneading Process: Whole wheat flour, especially freshly milled, absorbs liquid differently than refined white flour. Your dough may appear stickier initially. Resist the urge to add too much extra flour during the first 5 minutes of kneading in a stand mixer. The dough will become smoother and more manageable as it continues to absorb moisture during the kneading and rising periods.
- Embrace Freshly Milled Flour: For the most nutrient-dense, fiber-rich, and flavorful whole wheat sandwich bread, freshly milled flour is unsurpassed. It allows you to control the quality of your ingredients and ensures you’re getting all the benefits of the whole grain.
- Versatile Dough: This basic whole wheat dough recipe is incredibly versatile! Beyond sandwich loaves, use it for creating delicious cinnamon rolls, soft hamburger buns, mini sliders, and more. Its balanced sweetness makes it suitable for both savory and slightly sweet applications.
- Easy Clean-Up: When it comes time to shape your dough, working on a large pastry silicone mat can make clean-up a breeze. It provides a non-stick surface and contains any errant flour.
- Adjust Kneading for Batches: If you double or triple the recipe, remember to increase the kneading time. Add an additional 2 minutes of kneading for every extra batch of dough you prepare to ensure proper gluten development.
- Store Extra Milled Flour: If you mill more flour than you need, store the excess in a zip-lock bag in the refrigerator. This preserves its freshness and nutrients until your next baking session.
- Dissolve Coarse Salt: If your recipe calls for coarse sea salt, it’s a good practice to dissolve it in the warm water first. This ensures it’s evenly distributed throughout the dough and prevents concentrated pockets of salt.
- Honey-Measuring Hack: To easily get sticky honey out of a measuring cup, measure your olive oil first. The oil coats the cup, allowing the honey to slide out effortlessly.
More Wholesome Whole Wheat Bread Recipes:
The best bread recipes are often those that come in their most wholesome form! Here are more delicious and nutritious whole wheat recipes to inspire your baking:
-
Whole Wheat Sourdough Bread (Boule)
-
Whole Wheat Hamburger Buns (Copycat Chick-fil-A Multigrain Bun)
-
Simple Whole Wheat Hamburger Buns
-
Moist Whole Wheat Bread Loaves Recipe
Rate
Pin
Whole Wheat Sandwich Bread Recipe
Equipment
-
1 5-quart stand mixer (with hook attachment for kneading)
-
1 2-cup measuring cup (and measuring spoons)
-
1 12-inch bread pan (for store-bought loaves)
Ingredients
Ingredients:
-
1 1/2 cups water (about 105°F)
-
1/3 cup olive oil
-
1/3 cup honey
-
2 tsp salt
-
1 egg
-
2 Tbsp sunflower lecithin
-
1 tsp vital wheat gluten
-
4 1/2 cups freshly milled whole wheat flour** (590 grams) of hard red or hard white wheat*
-
1 Tbsp dry active yeast
Instructions
Directions:
-
 Combine the dough ingredients in the order given into the bowl of your stand mixer. Mix over low speed until combined.
 -
 Knead the dough for 5-6 minutes over medium-high speed until it no longer sticks to the sides. (The dough will be tacky and sticky and will absorb the flour better after rising.)
 -
 Place the dough into a greased bowl and allow it to rise covered for 1 hour (or until doubled).
 -
 Transfer the dough onto a well-floured surface and knead it into a ball.
 -
 Pat the dough to a 9-inch oval shape and roll it up from the widest end, jelly-roll style. Pinch down the ends and place into a lightly greased 12-inch bread pan.
 -
 Let it rise for 30 minutes or until it reaches the rim of the pan.
 -
 Bake in a preheated 350°F for 25-30 minutes.
 -
 Cool loaf in the pan for 10 minutes then remove and cool on a wire rack for 1-2 hours. Slice and store in a bread bag at room temperature for 1-2 days or freeze.
Notes
- This recipe yields one 12-inch loaf or two standard 8×4 bread pans.
- Freshly milled flour refers to whole grains that are ground into whole wheat flour using a grain mill. Hard red or hard white wheat varieties are ideally suited for yeast bread due to their higher protein content.
- To omit the lecithin or gluten, you can create a “sponge” by combining 1 cup of freshly ground flour, the yeast, and the water. Allow this mixture to sit for about 20 minutes to proof before adding and kneading in the remaining ingredients. Additionally, incorporating an extra egg will help contribute to a softer loaf without the use of lecithin or gluten.
- While dry active yeast is specified, instant yeast can also be used. If using dry active yeast, ensure it is dissolved in liquid first. Instant yeast can be mixed directly with the dry flour without prior activation. For convenient storage or freezing of your finished bread, consider purchasing specialized bread bags.
- Should you mill more flour than immediately needed, simply place the excess into a freezer bag and store it in the refrigerator or freezer. This reserve flour is also excellent for flouring your work surface when shaping dough.
- When doubling or tripling this recipe, extend the kneading time by an additional 2-4 minutes per batch to ensure proper gluten development and an optimal dough consistency.
