Perfect Homemade Sushi Rice: Sticky, Flavorful, and Essential for Authentic Rolls
Creating delicious sushi at home starts with one crucial component: perfectly cooked and seasoned sushi rice. This Japanese-style sushi rice recipe delivers a sticky, perfectly seasoned, and incredibly flavorful foundation for all your homemade sushi endeavors. Forget store-bought sushi; once you master this essential element, the world of fresh, customizable sushi rolls and bowls opens up right in your own kitchen.
I’ve honed this easy sushi rice method over a decade, ever since the magic of sushi swept through kitchens worldwide. It’s the undisputed base for any exquisite sushi rice bowl and enables you to craft countless homemade sushi rolls and more for a mere fraction of the cost you’d typically pay at a Japanese restaurant. The secret lies in simple ingredients and a precise technique that ensures every grain is just right.
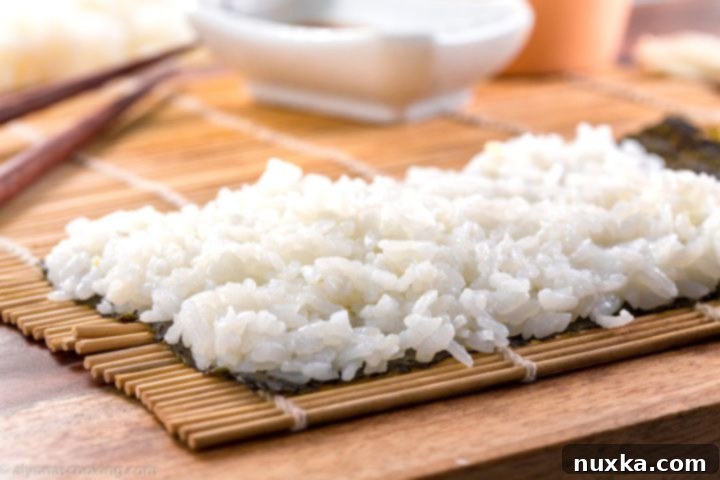
Our family’s absolute favorite ways to enjoy this sushi rice are in these crowd-pleasing Philadelphia Rolls and vibrant Spicy Tuna Rolls! The texture and flavor of homemade sushi rice truly elevate these dishes, making them taste even better than takeout.
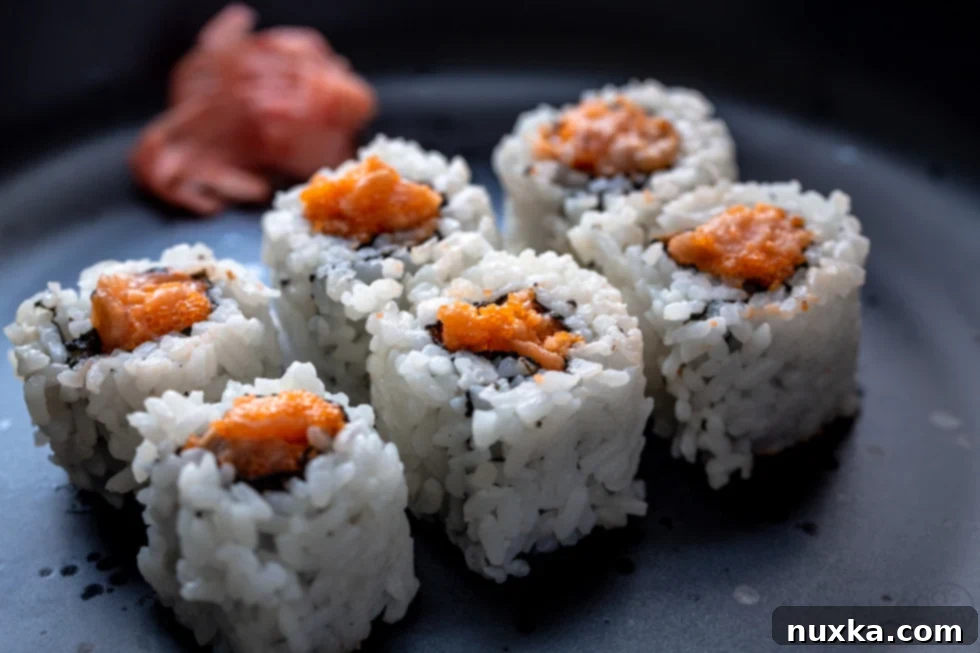
Beyond traditional rolls, I’ve recently fallen in love with making a Sushi Bake. This innovative dish layers the perfectly prepared sushi rice with all your favorite sushi toppings into a casserole dish, offering an incredibly easy hack that mimics the rich flavors of a deep-fried roll without the fuss. It’s a fantastic way to enjoy sushi flavors in a communal, family-style meal.
Our family’s love for sushi runs deep! There have even been times when I realized I was out of rice vinegar mid-recipe. Resourcefulness led me to discover a reliable Rice Vinegar Substitute using apple cider vinegar, and I can confirm, it works beautifully and maintains the authentic flavor profile!
What is Sushi Rice?
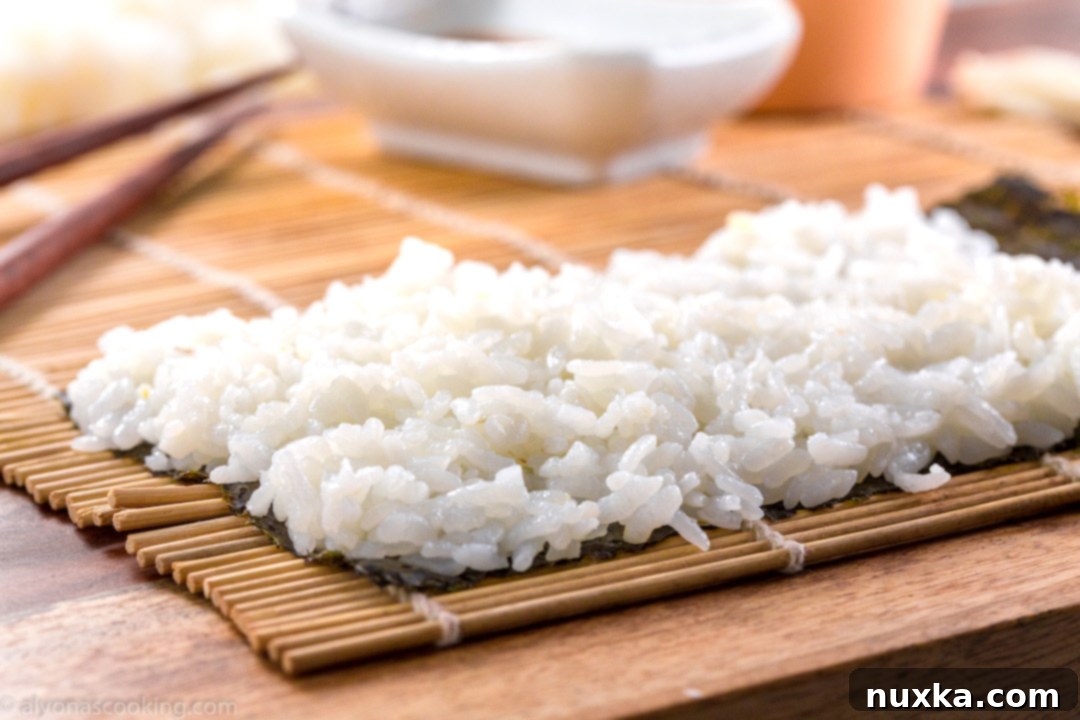
If you’ve ever savored sushi at a Japanese restaurant, you’ve undoubtedly experienced sushi rice. But what exactly is it? Sushi rice, or sumeshi, is not just any sticky rice. It’s specifically a short-grain Japanese rice that has been carefully cooked and then seasoned with a vinegar-based dressing (sushi-zu), typically made from rice vinegar, sugar, and salt. This unique seasoning gives the rice its distinctive sweet, salty, and tangy flavor profile, which is crucial for balancing the often rich and savory ingredients of sushi. Its inherent stickiness is also vital, allowing it to hold together when rolled or pressed into various forms like sushi rolls, Sashimi Rolls, and rice bowls.
The seasoning for my sushi rice is intentionally basic yet incredibly effective. I use a simple blend of salt, sugar, and either traditional sushi rice vinegar or apple cider vinegar, depending on what I have readily available. The inherent stickiness, which is paramount for sushi, primarily comes from the type of rice you select, rather than the seasoning itself.
Best Rice for Sushi: The Secret to Perfect Stickiness
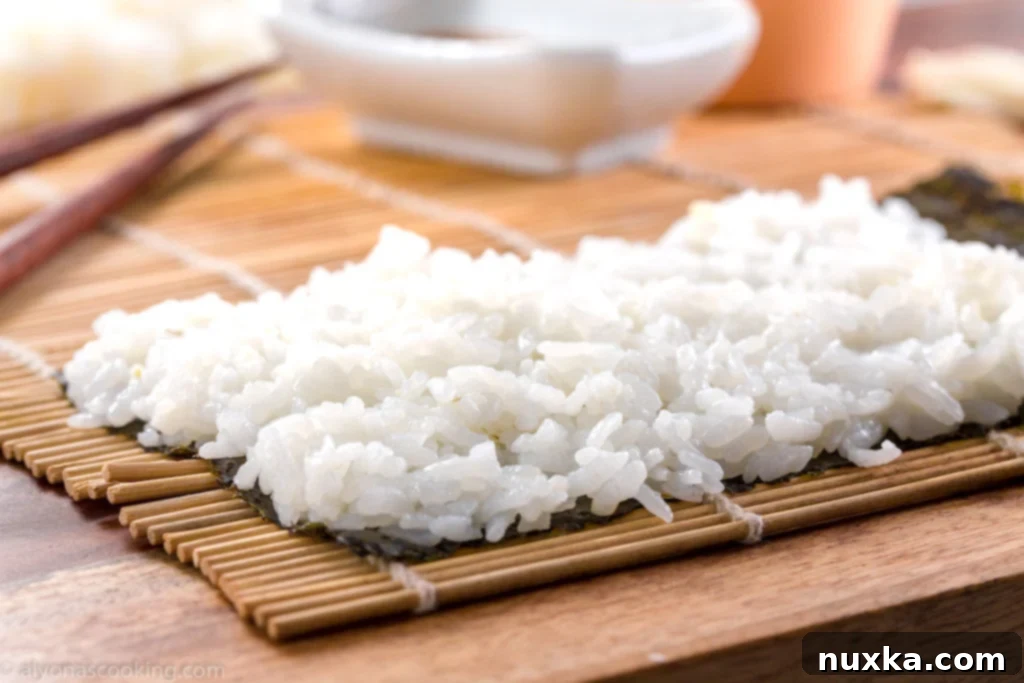
The foundation of truly great sushi lies in choosing the right rice. Through years of experimentation, I’ve consistently found that the best sushi rice doesn’t require a specialty Asian grocery store; often, it can be conveniently purchased at a regular supermarket like Walmart! Calrose rice, a type of medium-grain rice that behaves very much like short-grain, has been my go-to for making sushi at home for over a decade. Its excellent balance of stickiness and chewiness makes it ideal.
While Calrose is my preferred choice, any good quality Japanese short-grain rice, like Japonica rice, is perfect for sushi. Short-grain rice varieties naturally contain more amylopectin starch, which is responsible for their characteristic sticky texture when cooked. Don’t stress too much about specific sushi rice brands; as long as it’s a short-grain or medium-grain variety known for its stickiness, you’re on the right track. For a whole-grain alternative, Lundberg brown rice can be used, but keep in mind that brown rice requires a significantly longer cooking time and may result in a slightly different texture compared to white sushi rice.
How To Cook Sushi Rice?
Are you feeling overwhelmed by the various cooking techniques—Instant Pot, stovetop, rice maker? Don’t be! While I initially perfected this recipe on the stovetop, I’ve since discovered that the Instant Pot offers the easiest, most hassle-free way to achieve perfectly cooked sushi rice. I don’t own a dedicated rice cooker, but I find the Instant Pot functions very much like one, delivering consistent results with minimal effort.
Instant Pot Sushi Rice: The Ultimate Convenience
If you’re lucky enough to own an Instant Pot, preparing this sushi rice recipe becomes incredibly simple! I’ve even taken a “lazy” approach by adding the seasonings directly into the water with the uncooked rice, and it still turns out well. However, for truly optimal flavor and texture, it is generally preferred to season the rice *after* it cooks.
Making sushi rice in the Instant Pot is a breeze: simply combine the rinsed, uncooked short-grain rice and the specified amount of cold water in the Instant Pot. Close the lid, set the valve to sealing, and press the “Rice” button (or cook on Manual/Pressure Cook for 5 minutes at high pressure, followed by natural release). Once cooking is complete, allow it to naturally depressurize for 15 minutes before opening. Fluff the rice gently with a wooden spatula and then fold in your prepared sushi rice seasoning – it’s as easy as that, delivering consistently perfect sticky rice every time!
How To Season Sushi Rice: The Art of Sushi-Zu
The magic of sushi rice truly comes alive with its seasoning, known as sushi-zu. First, focus on perfectly cooking your short-grain rice. While the rice is cooking or steaming, you simply need to prepare the seasoning mixture. The key is to gently heat the rice vinegar with the sugar and salt until these granules completely dissolve, creating a clear, balanced liquid. This ensures even distribution of flavor throughout the rice without crunchy sugar or salt crystals.
How much rice vinegar for sushi? A reliable rule of thumb for this essential seasoning is to use approximately 1/3 cup of sushi vinegar mixture for every two cups of uncooked short-grain rice. This ratio provides the perfect balance of sweet, salty, and tangy notes, transforming plain steamed rice into the distinctive, flavorful sushi rice you know and love from your favorite Japanese restaurants.

Mise en Place: Gathering Your Sushi Rice Essentials
Equipment for Sushi Rice:
- Medium to large pot with a lid (for stovetop cooking) or an Instant Pot/Rice Cooker.
- Fine mesh sieve or colander for rinsing rice.
- Wooden spatula or rice paddle for fluffing and mixing.
- Large mixing bowl (preferably non-reactive like ceramic or plastic) for seasoning the rice.
- Small saucepan for preparing the sushi vinegar mixture.
Key Sushi Rice Ingredients:
- Short-grain Japanese rice: This is the most critical ingredient. I consistently use Calrose rice due to its perfect stickiness and widespread availability, making it an excellent choice for Japanese-American cuisine and homemade sushi. Many experienced Japanese Chefs also recommend specific varieties like Japonica rice; regardless of the brand, the water-to-rice ratio generally remains consistent.
- Cold water: My ideal sushi rice-to-water ratio is 1:1.33, meaning slightly more water than rice (e.g., 1 cup rice to 1 1/3 cups water). This ensures a soft, sticky texture without being overly wet. Don’t be afraid to add a quarter cup more water than the recipe calls for if your rice tends to cook drier; it’s quite forgiving!
- Essential Seasoning (Sushi-zu): To achieve that authentic Japanese restaurant flavor, you’ll need:
- 1/3 cup rice vinegar: The primary tangy component.
- 3 tablespoons granulated sugar: Balances the acidity and adds a subtle sweetness.
- 1 teaspoon salt: Enhances all the flavors and provides necessary salinity.
Pro Chef Tip: Mastering the Water Ratio

Pro-Tip: A good starting point for the water to rice ratio (by volume) is 1:1. This is slightly less than the typical 1.2:1 ratio often used for regular steamed rice. Sushi rice benefits from being slightly drier initially, as it needs to absorb the additional moisture from the vinegar-based seasoning without becoming mushy or excessively wet. Adjust slightly based on your specific rice and cooking method.
How To Make Sushi Rice: Detailed Instructions
Making sushi rice at home is simpler than you might think, requiring just a few basic pieces of equipment. All you truly need to begin is a medium saucepan or pot with a tight-fitting lid (if cooking on the stovetop) and a wooden spatula or rice paddle for mixing. I’ve often tripled or quadrupled this recipe for larger gatherings, and it consistently yields perfect results every time.
- Rinse the rice thoroughly: Place the short-grain rice in a fine-mesh sieve or colander and rinse it under cold, running water. Agitate the rice gently with your hand until the water runs mostly clear. This step is crucial for removing excess starch, which prevents the rice from becoming overly sticky or gummy.
- Combine rice and water: Transfer the rinsed and well-drained rice into a heavy-bottomed pot. Add the measured cold filtered water. Starting with cold water allows the rice to absorb moisture gradually as the temperature rises, resulting in more even cooking.
- Cook the rice: Bring the water to a rolling boil over medium-high heat. Once boiling, immediately reduce the heat to the lowest setting, cover the pot tightly with a lid, and let it simmer for 15-20 minutes. Avoid lifting the lid during this process to keep the steam trapped inside, which is essential for proper cooking.
- Steam and rest: After the cooking time, remove the pot from the heat but keep the lid on. Allow the rice to steam undisturbed for another 10-15 minutes. This resting period allows the remaining moisture to be absorbed, firming up the grains and making them perfectly tender and distinct.
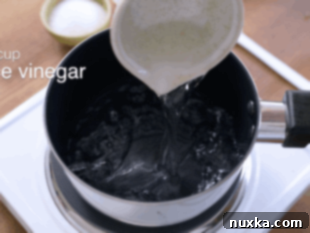
- Prepare the sushi vinegar mixture: While the rice is resting, combine the rice vinegar, granulated sugar, and salt in a small saucepan. Heat this mixture gently over low to medium heat, stirring until the sugar and salt are completely dissolved. Do not boil the mixture; you just want to warm it enough to dissolve the solids. Set it aside to cool slightly.
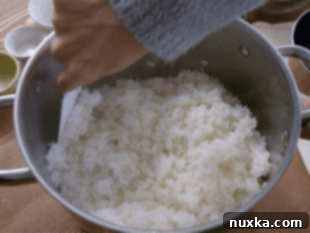
- Season the rice: Carefully transfer the cooked and steamed rice into a large, wide bowl (a traditional wooden hangiri is ideal for this, but a large ceramic or plastic bowl works too). Gradually pour the prepared rice vinegar mixture over the hot rice. Using a wooden spatula or rice paddle, gently fold and cut through the rice to distribute the seasoning evenly. Avoid stirring vigorously, as this can crush the grains. Continue to gently mix until all the rice is coated.
- Cool the sushi rice: Spread the seasoned sushi rice into a thin layer in the bowl to help it cool down quickly to room temperature. Using warm sushi rice can cause the Nori seaweed sheets to become soggy and tear when rolling. If possible, fan the rice gently with a hand fan or a piece of cardboard while mixing to speed up the cooling and enhance the glossy texture.
Pro Chef Tip: Check Your Rice Vinegar Label

Pro tip: Always ensure you are using unseasoned rice vinegar for your sushi-zu mixture. Some “sushi vinegars” sold in stores are already pre-seasoned with sugar and salt. If you use a pre-seasoned vinegar and then add the sugar and salt from this recipe, you risk oversweetening or oversaliating your sushi rice. Always read the ingredient labels carefully to avoid over-seasoning!
Q&A: Your Sushi Rice Questions Answered
Is Calrose Rice Sushi Rice?
Yes, Calrose rice is a versatile medium-grain rice that cooks to a delightfully sticky texture, making it perfectly suitable for preparing sushi. While technically a medium-grain, its culinary properties are very similar to traditional short-grain Japanese sushi rice, making it a popular and excellent choice for homemade sushi.
How To Make Sticky Rice for Sushi?
The key to sticky rice for sushi lies in using the correct type of rice. Short-grain (or certain medium-grain like Calrose) rice varieties naturally contain more starch that breaks down during cooking, creating that desirable sticky, clump-together texture. Additionally, rinsing the rice to remove excess surface starch, using the correct water-to-rice ratio, and allowing it to steam after cooking all contribute to achieving the perfect stickiness required for sushi.
Is Sushi Rice Gluten-free?
In general, rice in its natural form is inherently gluten-free. This includes short-grain rice varieties like Calrose rice, which I use for making sushi. However, if you are highly sensitive to gluten, always double-check the packaging for any potential cross-contamination warnings, especially for seasoned rice vinegars or other additives, though plain rice vinegar is also typically gluten-free.
Pro Tips for Perfect Sushi Rice Every Time:
- Keep water handy: Sushi rice is incredibly sticky, which is great for rolls but can make working with it messy. Always keep a bowl of cold filtered water nearby to dip your hands in when handling the rice. This prevents it from sticking to your fingers.
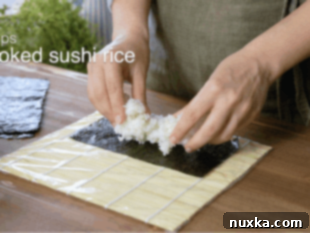
- Easy cleanup for bamboo mats: For effortless cleanup, place your bamboo sushi mat inside a gallon-sized freezer bag or wrap it tightly in clear plastic wrap before you start rolling. This protects the mat from sticky rice and fillings.
- Rice vinegar substitute: No rice vinegar on hand? No problem! An equal amount of apple cider vinegar works as a fantastic substitute. While it might slightly tint the rice depending on its color, the taste will be remarkably similar and still delicious.
- Automate cooking for ease: To simplify the cooking process and avoid “babysitting” a stovetop pot, consider using a rice cooker or an Instant Pot. These appliances consistently deliver perfectly cooked rice with minimal effort, freeing you up to prepare other sushi components.
- Freshness is key: Sushi rice is best used on the same day it’s prepared. Leftover rice tends to dry out and harden significantly when refrigerated, losing its desirable texture. Plan to make all your sushi rolls or bowls on the day you prepare the rice, then you can refrigerate any leftover *rolls* without compromising the rice quality.
- Fan for optimal seasoning absorption: When mixing the seasoning into the hot rice, turn on a fan nearby (or manually fan with a flat object). The gentle airflow helps cool the rice quickly, allowing the vinegar mixture to be absorbed more efficiently, resulting in a glossy, perfectly seasoned finish.
- Enhance umami with Kombu: For an extra layer of deep, savory umami flavor in your sushi vinegar mixture, prepare it a day in advance with a small piece of Kombu (dried edible seaweed). Simply add a strip of Kombu to the vinegar mixture while it gently heats, then remove it before mixing with the rice.
How to Prepare Sushi Rice: Recipe Card
Rate
Pin
Sushi Rice Recipe
Equipment
-
1 medium or large pot (with lid, for stovetop or rice cooker)
-
1 wooden spatula or rice paddle
-
1 large mixing bowl (ceramic or plastic, for seasoning)
-
1 small saucepan (for making the rice vinegar seasoning)
-
1 sieve or colander (to rinse the rice)
Ingredients
Ingredients:
-
3 cups short-grain rice (such as Calrose rice or Japonica rice)
-
3 1/4 cups cold water
-
1/3 cup rice vinegar (unseasoned, see substitute in notes)
-
3 TBSP granulated sugar
-
1 tsp salt
Instructions
Directions:
-
 Place the rice in a large fine mesh sieve or colander. Rinse the rice under cold water, gently agitating it, until the water runs mostly clear. This removes excess starch.
 -
 Put the rinsed and drained rice into a large pot and add the cold water. Bring it to a boil over medium-high heat. Once boiling, reduce the heat to low, cover tightly with a lid, and cook for 15-20 minutes.
 -
 Once the rice is cooked, turn off the heat and leave the rice to steam, still covered, for an additional 10-15 minutes. This rest is essential for the perfect texture.
 -
 Meanwhile, in a small saucepan, combine the rice vinegar, sugar, and salt. Heat over low-medium heat, stirring until the sugar and salt completely dissolve. Do not boil. Set aside to cool slightly.
 -
 Transfer the cooked rice to a large, wide bowl or dish (a traditional Japanese hangiri works best). Pour the seasoned vinegar mixture evenly over the hot rice and quickly fluff and fold it with a wooden spatula or rice paddle to coat every grain without mashing.
 -
 Spread the seasoned sushi rice into a thin layer and allow it to cool completely to room temperature before using it in any sushi roll or bowl recipes. Enjoy your perfectly homemade sushi!
Notes
- Rice vinegar substitute: If you don’t have rice vinegar, you can use an equal amount of unseasoned apple cider vinegar with hardly any noticeable difference in taste. Depending on the color of your apple cider vinegar, it may impart a very slight tint to the rice, but the flavor profile will remain excellent.
- This recipe yields approximately 5 cups of perfectly cooked and seasoned sushi rice.
- Cooling is crucial: Always cool the sushi rice completely to room temperature before attempting to use it in sushi rolls. Using warm rice will make your nori seaweed sheets soggy and difficult to work with, leading to torn or collapsed rolls. To speed up the cooling process, spread the sushi rice into a wider, shallower dish.
- Start with cold water: For consistent and even cooking, always begin the rice cooking process with cold water. This allows the rice grains to hydrate gradually as the water heats up, preventing some grains from being undercooked while others are overcooked.
Nutrition per serving
Conclusion: Your Journey to Sushi Mastery Begins Here
Mastering sushi rice is an art, but it’s an accessible one that truly elevates your homemade sushi experience. This comprehensive guide provides you with all the knowledge, tips, and a trusted recipe to create perfectly sticky, seasoned, and flavorful Japanese sushi rice right in your own kitchen. From understanding the best rice types to mastering cooking methods and essential seasoning techniques, you’re now equipped to embark on a delicious culinary adventure. Enjoy the process of crafting authentic sushi and impress your family and friends with your newfound skills!
