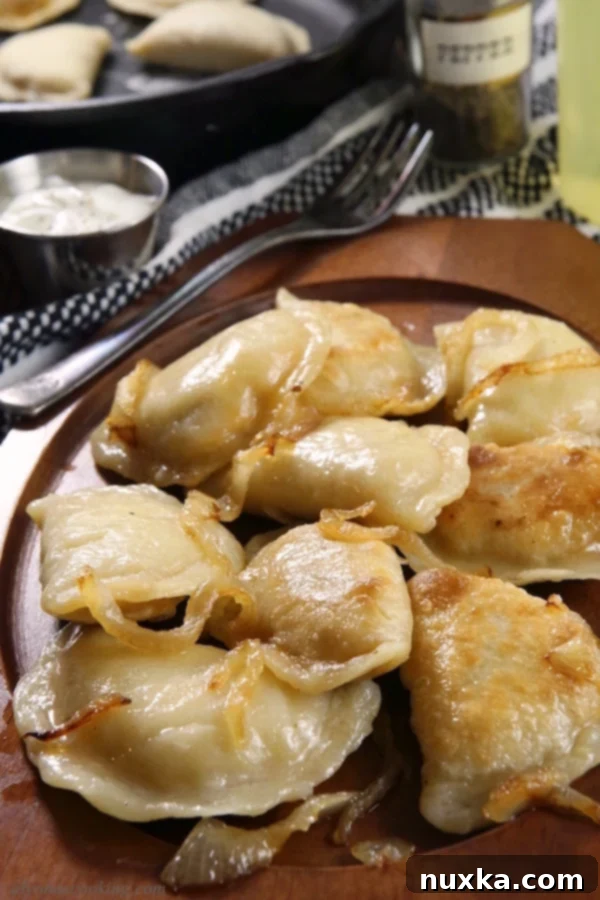
Authentic Homemade Polish Pierogi Recipe: Easy, Traditional & Freezer-Friendly
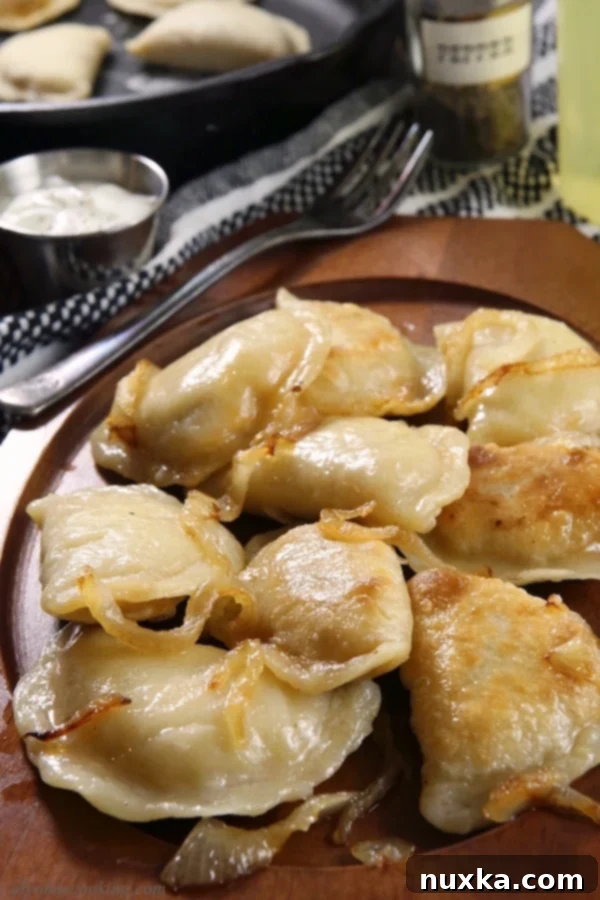
Embark on a culinary journey to Poland with this truly authentic pierogi recipe. This treasured family recipe comes directly from a beloved Polish grandma, passed down through generations. These homemade pierogi offer a taste of tradition that simply can’t be matched by store-bought versions. Whether you choose the comforting classic mashed potato filling or the savory tang of braised cabbage, these tender dumplings promise a delightful experience.
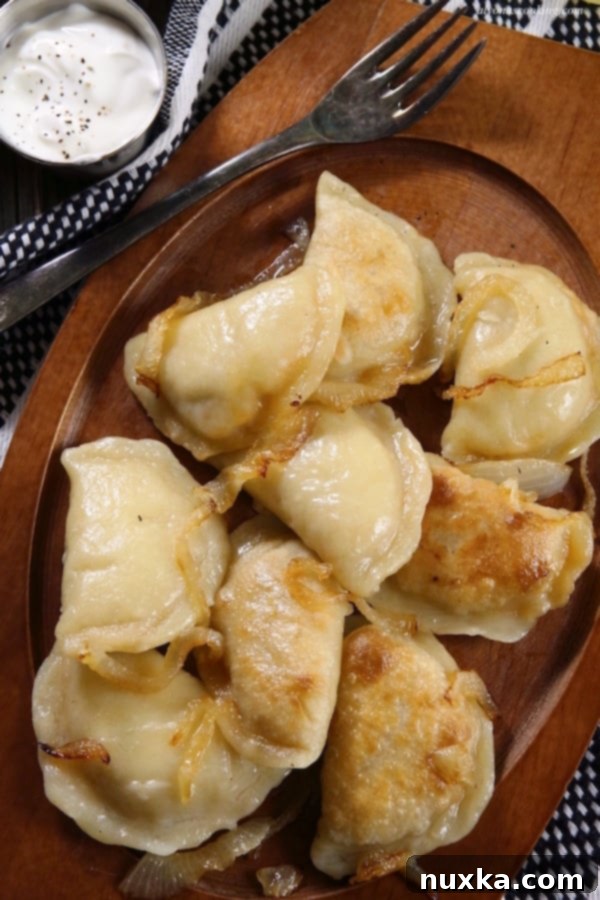
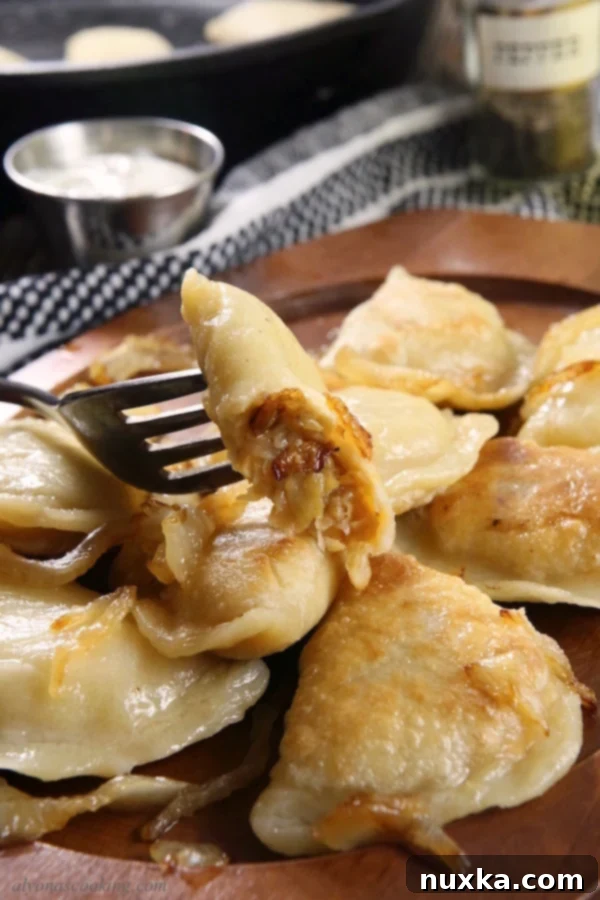
What makes homemade pierogi so special? It’s the fresh, pliable dough and the ability to customize your fillings to perfection. This recipe is designed to be freezer-friendly, making it ideal for meal prepping or preparing large batches to enjoy whenever a craving strikes. In fact, the pierogi pictured here were prepared straight from the freezer, proving how well they hold up! Traditionally served with a dollop of cool sour cream, these pierogi are a heartwarming meal for any occasion.
What Are Pierogi? A Quick Introduction
Pierogi are filled dumplings of Central and Eastern European origin, most notably associated with Polish cuisine. Made from unleavened dough, they are typically boiled and then often pan-fried. Fillings can vary greatly, ranging from savory options like potatoes, cheese, sauerkraut, and meat, to sweet varieties with fruits. They are a staple of Polish culture, enjoyed as a comfort food, a holiday dish, and a delicious everyday meal.
Why Make Homemade Pierogi?
While frozen pierogi are widely available, nothing compares to the taste and texture of a freshly made, homemade batch. Crafting pierogi from scratch allows you to control the quality of ingredients, customize your fillings, and achieve that perfect balance of tender dough and flavorful center. It’s a rewarding process that connects you to culinary traditions and results in a truly superior dish that your family will adore. Plus, it’s surprisingly simple once you get the hang of it!
Mastering the Pierogi Filling: Tips for Perfection
What’s the Easiest Way to Fill Pierogies?
Filling pierogi can seem daunting, but with a few simple tricks, it becomes much easier. The key is to manage your filling’s consistency and placement. If you’re filling with mashed potatoes, ensure they are completely cooled. Cold mashed potatoes are firmer and easier to handle, preventing a mushy mess and making the sealing process smoother. For consistent pierogi sizes, use a small teaspoon scoop to measure out your filling. Make sure to place the filling right in the center of your dough circle, leaving enough margin around the edges for a secure seal. If the filling is too close to the edge, the pierogi may not seal properly, potentially opening during cooking.
How Do You Make the Mashed Potato Filling from Mrs. T’s Frozen Pierogies?
Many people love the creamy, distinct flavor of Mrs. T’s frozen pierogies’ mashed potato filling. The secret ingredient for replicating this at home is surprisingly simple: cream cheese! Just add a small amount of cream cheese to your plain mashed potatoes. This addition will give your homemade mashed potato filling that wonderfully rich, tangy, and smooth texture that many associate with their favorite store-bought pierogi.
Freezing and Storing Your Homemade Pierogi
Can You Freeze Pierogies?
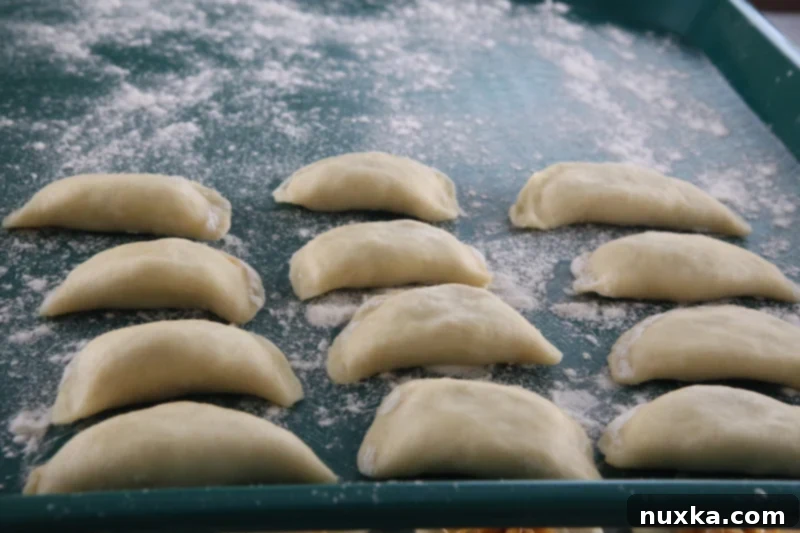
Absolutely! Homemade pierogi freeze exceptionally well, making them an excellent candidate for batch cooking. Freezing allows you to enjoy the taste of fresh pierogi anytime without having to go through the entire preparation process each time. To freeze them properly, arrange the freshly formed (unboiled) pierogi in a single layer on a floured baking sheet. Place the sheet in the freezer until the pierogi are solid, typically a few hours. Once frozen solid, transfer them to airtight freezer bags or containers. This prevents them from sticking together and helps maintain their shape and flavor for several months.
Can You Keep Pierogies Warm in a Slow Cooker?
While slow cookers are great for many dishes, they are generally not recommended for keeping pierogi warm. The prolonged heat can cause the pierogi to dry out, lose their delicate texture, and become tough. For the best flavor and texture, pierogi are always best served fresh from the skillet after being boiled, or directly from the pot if simply boiled. If you need to keep them warm for a very short period, a covered dish in a very low oven might work, but it’s best to cook them just before serving.
Ingredients for Authentic Polish Pierogi Dough and Filling
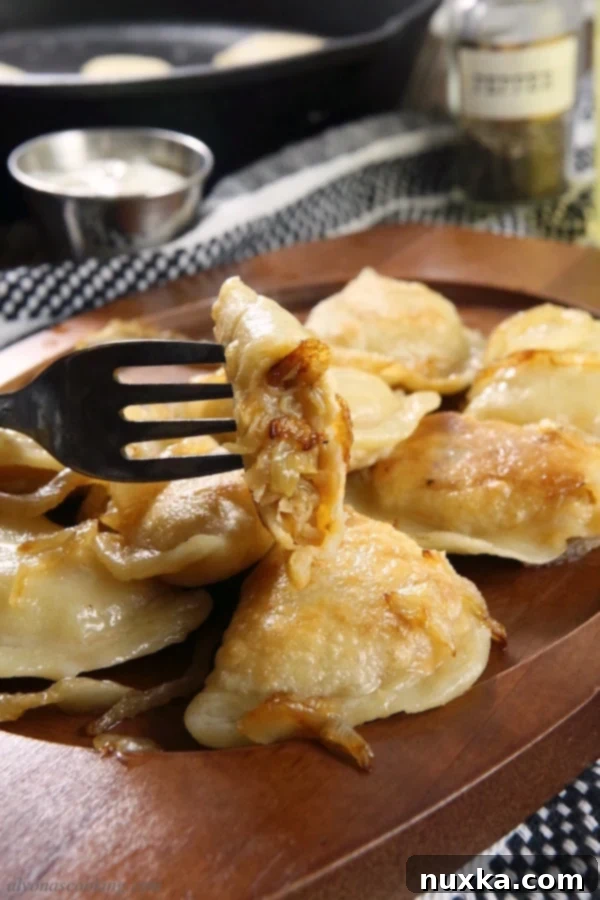
Crafting the perfect pierogi begins with the right ingredients. For the dough, we’ll use a simple yet effective combination that yields a tender, easy-to-work-with wrapper. For the filling, you have the choice between classic mashed potatoes or a savory braised cabbage. Both are equally delicious and authentic.
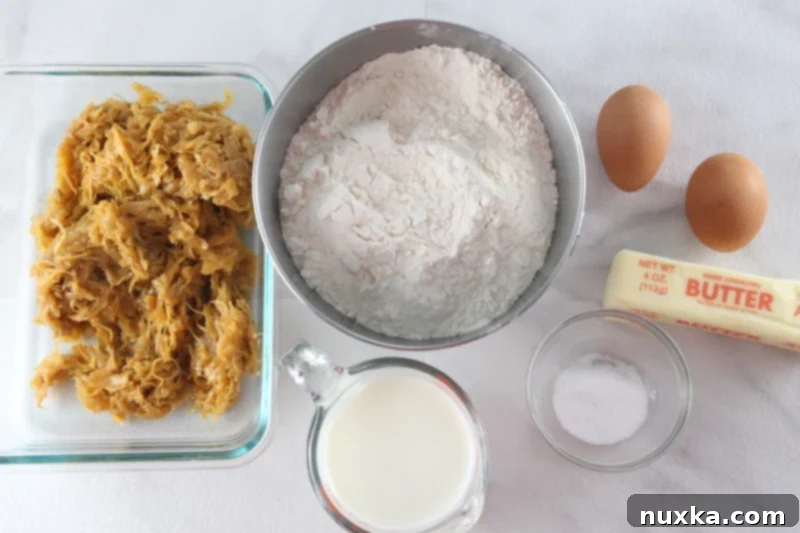
Ingredients for Polish Pierogies:
- 4 cups all-purpose flour
- 2 large eggs
- 8 tbsp (1 stick) unsalted butter, softened
- 1 tsp salt
- 1 cup warm milk
- 2 cups prepared filling (braised cabbage or mashed potatoes)
How to Make Polish Pierogies: A Step-by-Step Guide with Photos
Follow these detailed steps to create delicious homemade pierogi. Each stage is crucial for achieving that perfect traditional taste and texture.
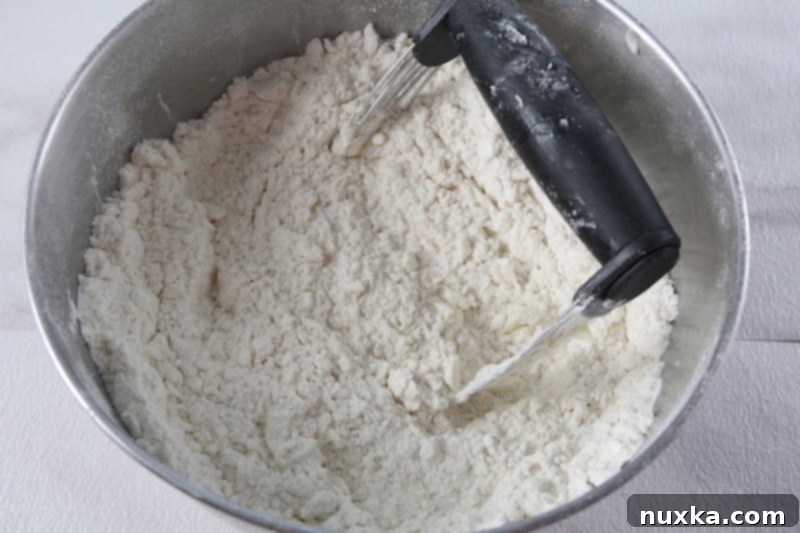
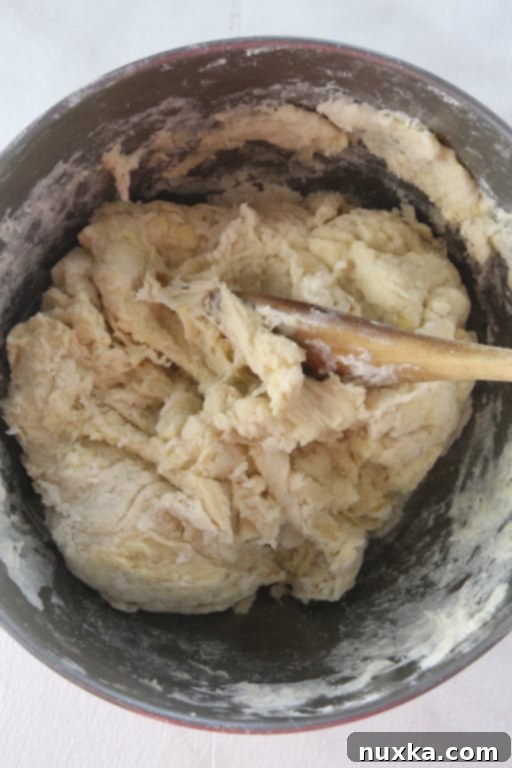
- Prepare the Dough: In a large mixing bowl, combine the flour and salt. Add the softened butter and cut it into the flour mixture using a pastry blender or your fingertips until the mixture resembles coarse crumbs. This step helps create a tender dough. Next, crack in the eggs and pour in the warm milk. Stir everything together with a sturdy wooden spoon until the ingredients come together to form a shaggy, cohesive dough.
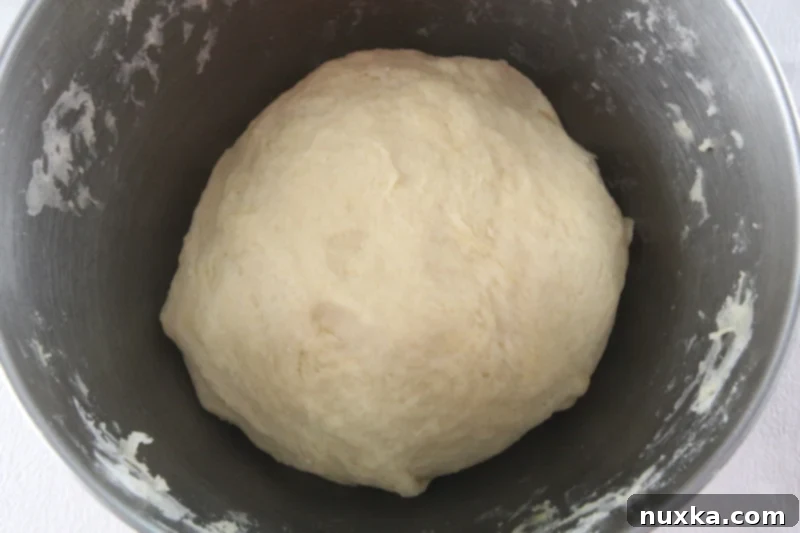
- Knead and Rest the Dough: Lightly knead the dough directly in the bowl for a few minutes until it becomes smooth and uniform. Avoid over-kneading, as this can make the dough tough. Once smooth, cover the bowl with a clean kitchen towel or plastic wrap and let the dough rest at room temperature for at least 30 minutes. This resting period allows the gluten to relax, making the dough easier to roll out.
- Roll Out the Dough: Lightly flour a clean work surface. Take a portion of the dough (you may need to divide it in half if your workspace is small) and roll it out evenly to about 1/8 inch thickness. The thinner the dough, the more delicate your pierogi will be, but ensure it’s not so thin that it tears easily.
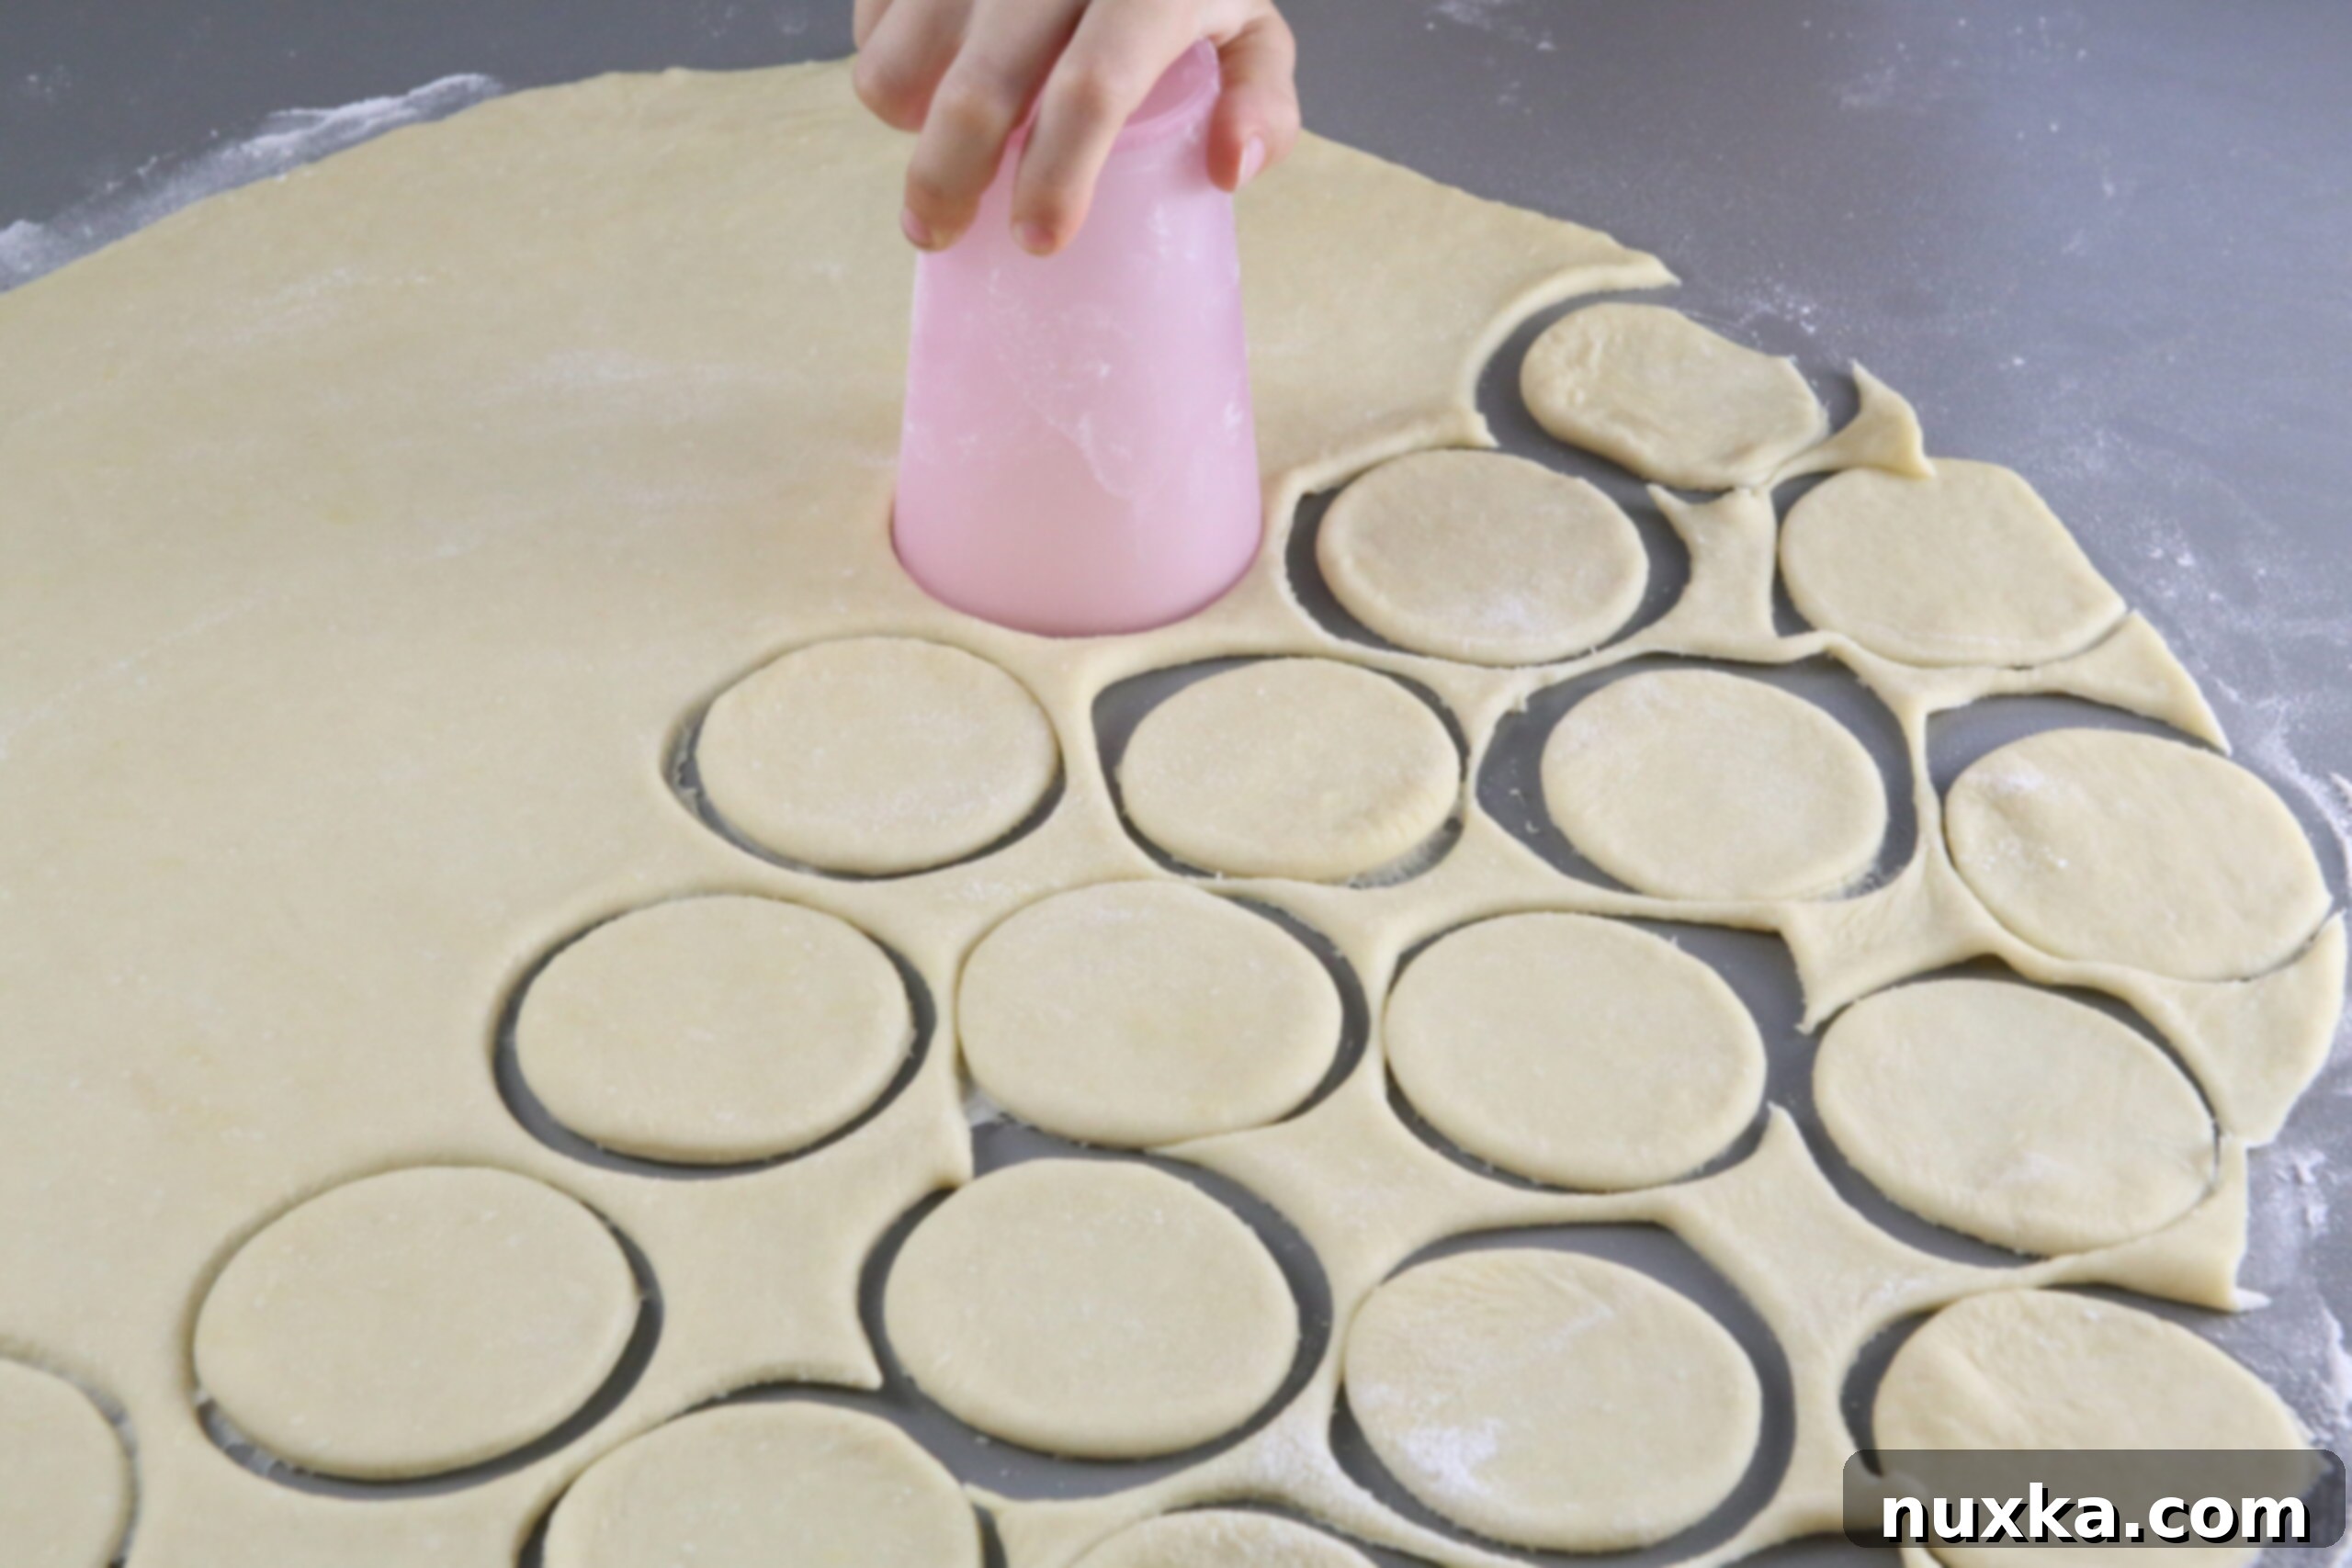
- Cut Out Circles: Using a 3-inch diameter cup or round cookie cutter, cut out circles from the rolled-out dough. Gather the dough scraps, lightly knead them together, and re-roll to cut out more circles, minimizing waste.
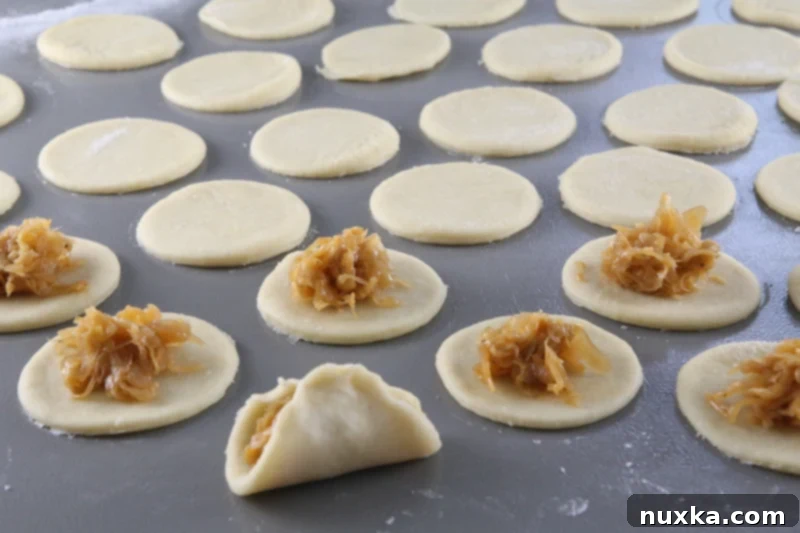
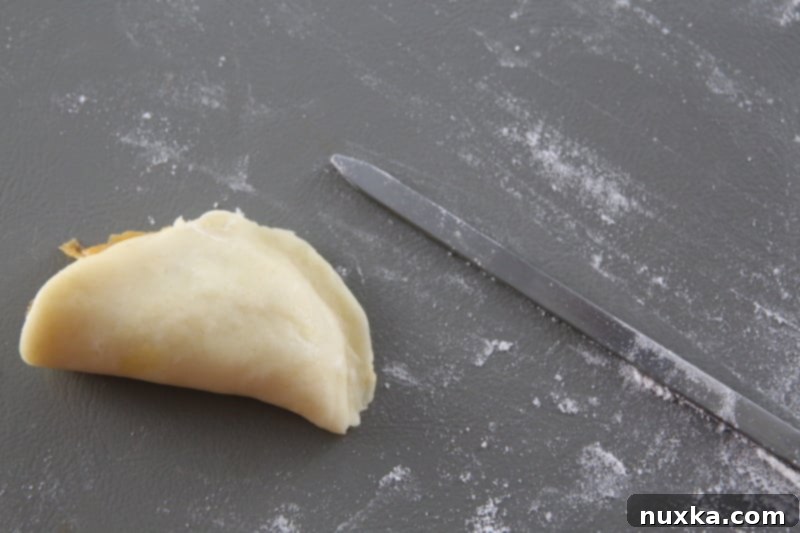
- Fill and Seal Pierogi: Place about a heaping teaspoon of your chosen filling (mashed potatoes or braised cabbage) into the center of each dough circle. Be careful not to overfill. Fold one side of the dough over the filling to meet the other side, forming a semi-circle. Press the edges firmly together to seal. For a deeper, more decorative seal, use a flat utensil like the end of a skewer or the tines of a fork to crimp the edges. Transfer the sealed pierogi to a floured tray to prevent sticking while you work on the remaining dough.
- Cook or Freeze: At this point, you have two options:
- To cook fresh pierogi: Bring a large pot of salted water to a rolling boil. Carefully drop the pierogi into the boiling water, ensuring not to overcrowd the pot. Cook for about 3 minutes, or until they float to the surface and are tender.
- To freeze pierogi: Follow the freezing instructions mentioned earlier. Arrange them on a floured tray and freeze until solid, then transfer to freezer bags.
- Cooking Frozen Pierogi: If cooking from frozen, drop the pierogi into boiling water and cook for 3-4 minutes, or until they float and are heated through. For an extra layer of flavor and texture, remove them from the water, drain well, and then sauté in a skillet with a tablespoon of butter until nicely seared and golden brown on both sides (about 2-3 minutes per side).

Serving Suggestions for Your Delicious Pierogi
Pierogi are incredibly versatile and can be served with a variety of toppings to enhance their flavor. The most traditional accompaniment is a generous dollop of sour cream, which provides a lovely contrast to the savory filling. Other popular options include caramelized onions, crispy bacon bits, or a sprinkle of fresh dill or chives. For a richer flavor, you can also melt some butter and drizzle it over the pierogi before serving. Experiment with different combinations to find your favorite!

Rate
Pin
Homemade Polish Pierogies Recipe (Freezer Friendly)
Ingredients
Dough:
-
4 cups all-purpose flour
-
2 large eggs
-
8 tbsp unsalted butter (1 stick), softened
-
1 tsp salt
-
1 cup warm milk
Filling:
-
2 cups braised cabbage or mashed potatoes
Instructions
How to make Polish Pierogies:
-
Stir the flour and salt in a large bowl. Cut in the butter until mixture looks crumbly. Add in the eggs then milk and stir with a wooden spoon until mixture holds together.
-
Lightly knead in the bowl to smooth out any rough looking parts. Set aside to rest for at least 30 minutes.
-
Roll dough out to 1/8″ thickness (you may need to divide the dough in half and roll dough out at a time if your working area is small.)
-
Cut out circles using a cup 3″ in diameter.
-
Place about a heaping teaspoon of filling in the centers and seal pierogies. Transfer to a floured tray and continue to work on the dough rolling out the scraps. (Tip: use a flat utensil like the end of a skewer to get deep looking seals.)
-
Freeze or boil in water for 3 minutes.
-
To cook frozen: Boil in water for 3-4 minutes then sauté in butter until nicely seared (about 2-3 minutes per side.)

