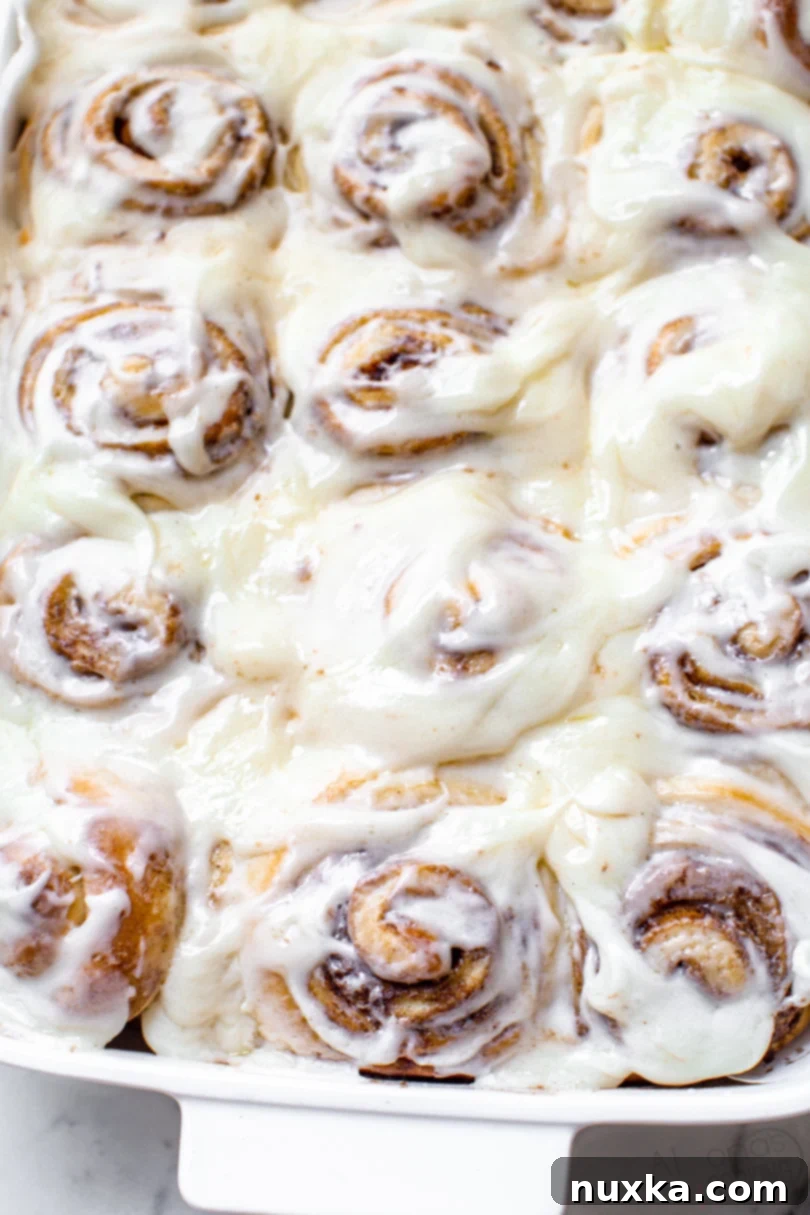
The Ultimate Guide to Baking Fluffy, Cinnabon-Style Homemade Cinnamon Rolls
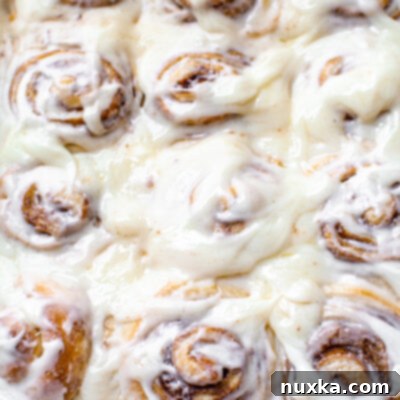
There’s nothing quite like the irresistible aroma of freshly baked cinnamon rolls wafting through your kitchen. That warm, sweet, spicy scent promises pure comfort and indulgence. If you’ve been dreaming of creating those iconic, gooey, Cinnabon-style cinnamon buns right in your own home, you’ve come to the right place. This recipe delivers everything a perfect cinnamon roll should have: a rich, tender dough, a generous brown sugar cinnamon swirl, and an incredibly decadent cream cheese icing. Prepare to impress your family and friends with these truly extraordinary, best-ever homemade cinnamon rolls!
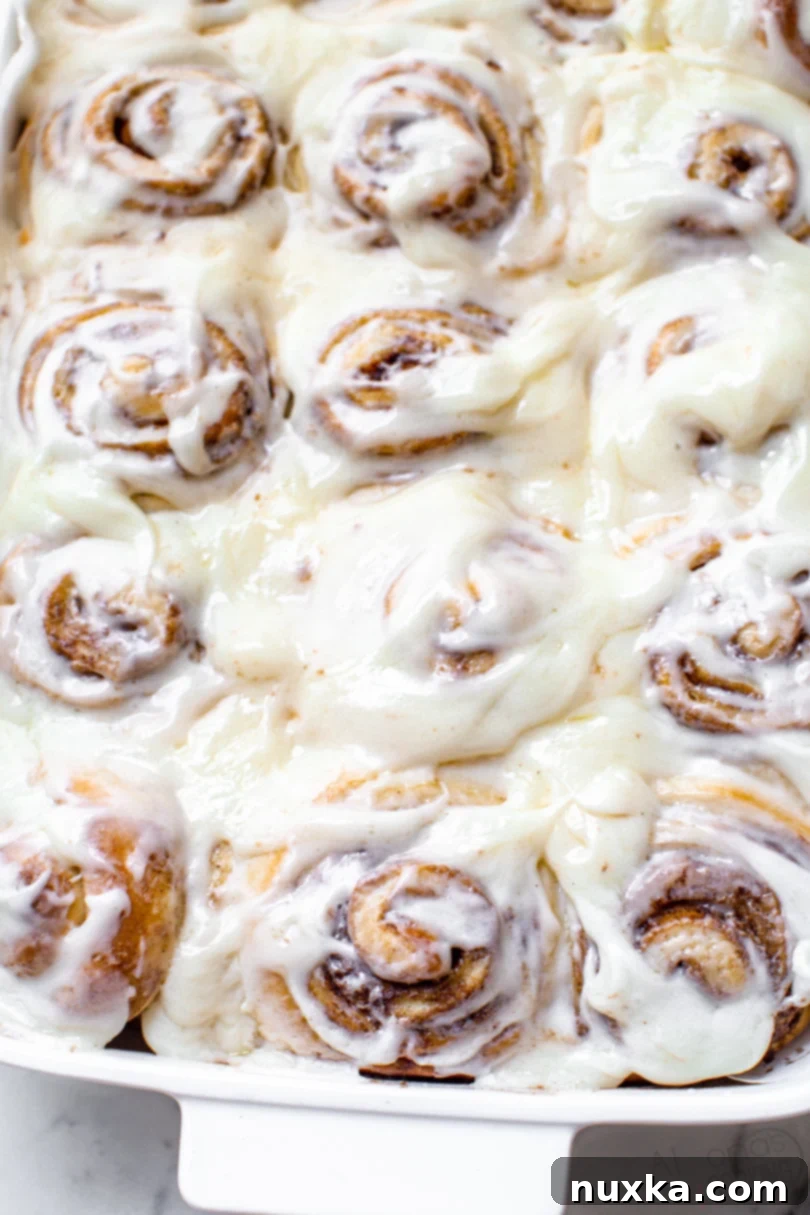
Why This is Your New Go-To Cinnamon Roll Recipe
Our family has a deep appreciation for sweet yeast breads, making them a regular staple in our kitchen. From our beloved Poppy Seed Rolls to popular choices like Paula Deen’s Cinnamon Rolls and our newly cherished Cheese Buns, we’re always experimenting to find the very best. After countless trials, including various copycat recipes and well-known versions like Paula Deen’s Cinnamon Rolls, we’re confident that this recipe stands out as the absolute best of the best.
Achieving Bakery-Quality Cinnamon Rolls at Home
What makes these cinnamon rolls truly exceptional? It’s not about complex ingredients or an intimidating list of steps. We’ve simplified the process while enhancing the flavor and texture. Unlike some recipes that call for heavy cream (which we’ve tried!), our secret lies in a special technique that transforms a regular cinnamon bun into something extraordinary. The result is a roll that’s wonderfully soft, perfectly spiced, and generously covered in a tangy, sweet cream cheese icing – a true rival to those famous bakery treats.
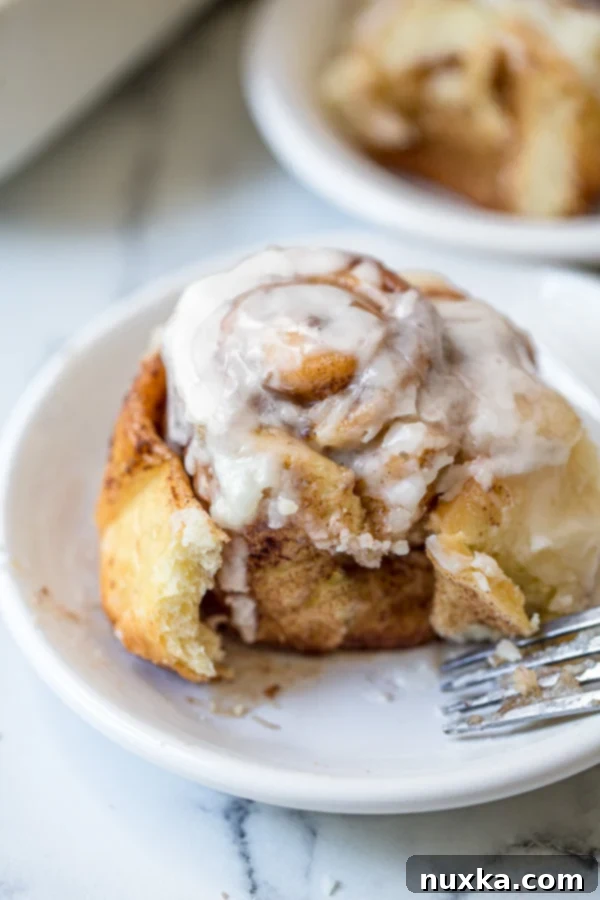
Surprisingly Easy and Quick to Prepare
Despite their gourmet appeal, these are incredibly easy cinnamon rolls to make. You can even think of them as our “30-minute active prep” cinnamon rolls! The dough only requires about 7 minutes of kneading, followed by a quick 20-minute rise. Then, with just another 10 minutes of hands-on time before they hit the oven, you’ll be well on your way to cinnamon roll bliss. Preparing the luscious cream cheese frosting and spreading the cinnamon filling is equally quick and straightforward, fitting seamlessly into the overall timeline. This recipe proves that you don’t need to spend hours in the kitchen to achieve bakery-quality results.
The Cinnabon Connection: Achieving That Signature Swirl and Texture
Many aspire to recreate the magic of Cinnabon’s famous cinnamon rolls at home. So, are these compatible with Cinnabon’s recipe? Absolutely! These sweet yeast rolls are designed to be freshly baked with the same tender, fluffy interior and irresistible swirl you’d find in a Cinnabon bakery. If you’ve ever watched how a Cinnabon employee rolls their dough, you’ll notice a distinct technique and a relatively thin dough. We’ve incorporated a very similar rolling and filling method to achieve that characteristic Cinnabon look and feel.
Homemade vs. Store-Bought: A Clear Winner
There’s simply no comparison between homemade cinnamon rolls from scratch and the canned Pillsbury versions. While convenient, the tube rolls lack the depth of flavor, tender texture, and rich filling that a homemade batch offers. Our recipe guarantees a superior experience from start to finish. The cream cheese-based frosting is another game-changer – it’s perfectly whipped, ultra-creamy, and boasts a delightful tang that balances the sweetness of the rolls. While you could technically skip the cream cheese, this thick, opaque frosting clings beautifully and doesn’t disappear into a translucent glaze, a common pitfall of simpler icings.
The Secret to Unbelievably Soft and Fluffy Cinnamon Rolls
The true magic behind achieving incredibly soft, fluffy, and perfectly structured cinnamon rolls lies in our unique rolling technique. While it’s tempting to simply slather on the cinnamon sugar and roll the dough, our “folding the dough” method creates an internal structure like no other. By folding the dough in half and then rolling it out again, you introduce layers that result in a more defined, airy interior, much like those delicate layers found in genuine Cinnabon rolls. Skipping this crucial step often leads to a “Big Texas Style” cinnamon roll – still fluffy, but often squarer in appearance and with a bread-like texture if over-risen. Embrace the fold, and you’ll unlock the secret to bakery-perfect buns!
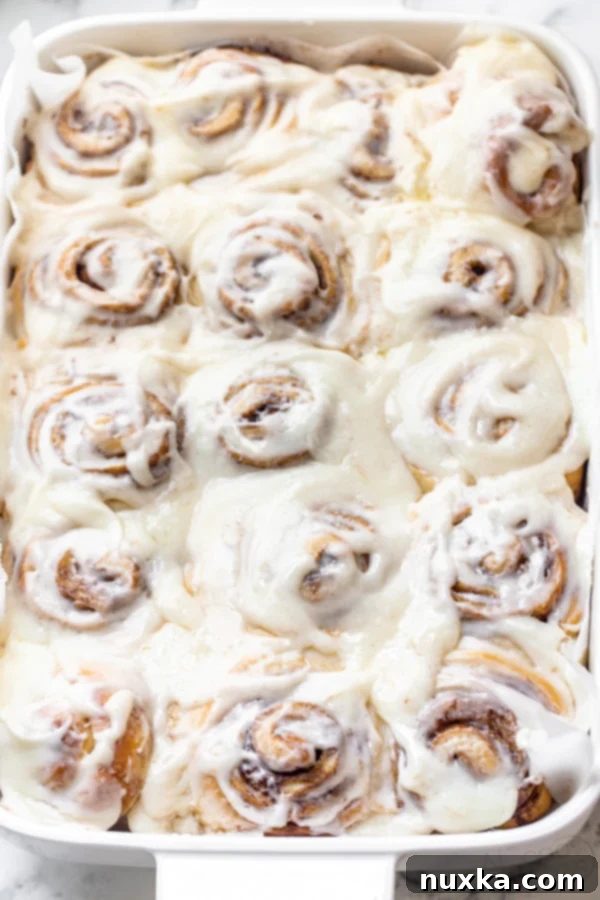
How to Make Cinnamon Rolls: Step-by-Step Recipe
Let’s dive into the delicious details. Here’s your complete recipe for making these sensational homemade cinnamon rolls, complete with ingredients, instructions, and even nutrition information.
Rate
Pin
Cinnamon Rolls
Ingredients
Cinnamon Rolls:
-
1 cup milk
-
1/2 cup unsalted butter
-
1/3 cup sugar
-
2 1/2 tsp dry yeast
-
2 eggs
-
4 cups flour
-
2 tsp salt
Filling:
-
1 cup brown sugar
-
1 stick unsalted butter
-
2 Tbsp Cinnamon
Cream Cheese Frosting:
-
2 oz cream cheese
-
2 oz butter
-
1 1/2 cups powdered sugar
-
1 tbsp heavy cream
Instructions
How to Make Cinnamon Rolls:
-
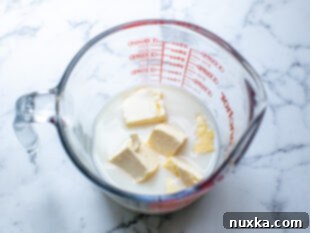 In a microwave-safe bowl or measuring cup, microwave the milk and butter for 1 minute and 30 seconds. Whisk until the butter is completely melted and the mixture is warm (not too hot, ideally between 105-115°F to activate the yeast).
 -
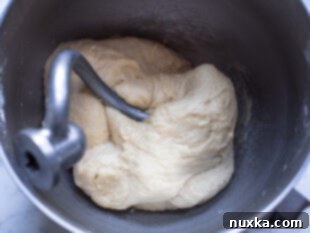 To the warm milk and butter mixture, whisk in the sugar, dry yeast, and 1/4 cup of the flour. Let it sit for 5-10 minutes until foamy, indicating the yeast is active. Then, add the eggs and mix thoroughly. Transfer this mixture to the bowl of a stand mixer fitted with a dough hook. Stir in the remaining flour and salt. Knead on medium speed for 7 minutes until the dough is smooth and elastic. Cover the bowl with plastic wrap or a clean kitchen towel and let it rise in a warm place for 20 minutes.
 -
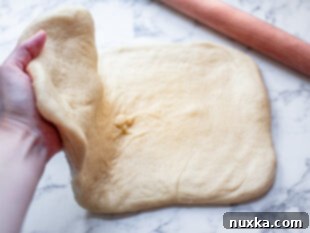 Once risen, transfer the dough onto a lightly floured working surface. Gently pat it into a rough rectangle. Now, for the secret technique: fold the dough in half. This creates internal layers that will result in a more structured, fluffier cinnamon roll.
 -
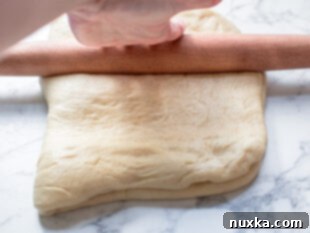 Using a rolling pin, roll the folded dough into a large rectangle, approximately 23×15 inches. Aim for an even thickness across the entire surface.
 -
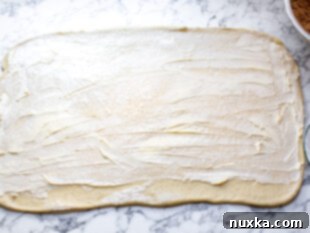 Evenly spread the softened stick of unsalted butter over the entire surface of the rolled-out dough, leaving a small border (about 1/2 inch) along one of the longer bottom edges. This border will help seal the roll later.
 -
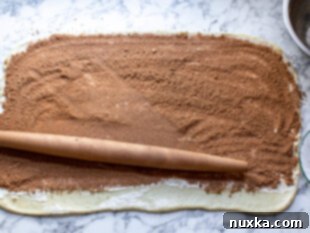 In a small bowl, combine the brown sugar and cinnamon. Sprinkle this delicious mixture generously over the butter-covered dough, ensuring an even coating. Then, gently roll your pin over the top of the cinnamon sugar filling to slightly compress it into the butter and dough. This helps prevent the filling from oozing out during baking.
 -
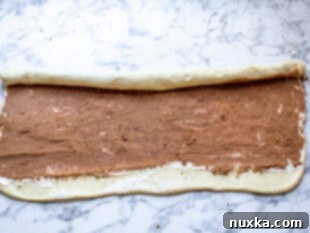 Starting from the longest side opposite the unfilled border, tightly roll the cinnamon dough into a log. Work carefully to keep the log uniform. Once you reach the unfilled edge, pinch the edges shut to seal the roll securely.
 -
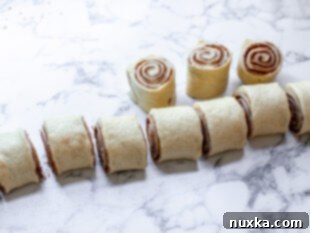 Using a sharp knife or unflavored dental floss, slice the log into 2-inch thick pieces. Arrange these individual rolls cut-side down into a lightly greased or parchment-lined 9×13 baking dish. Leave a little space between each roll, as they will expand. Allow the rolls to rise for an additional 10 minutes in a warm spot. Meanwhile, preheat your oven to 350°F (175°C). Bake for 25 minutes, or until golden brown and cooked through.
 -
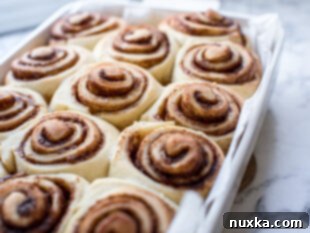 While the cinnamon rolls are baking, prepare your cream cheese frosting. In a medium bowl, beat together the softened cream cheese, butter, powdered sugar, and heavy cream until smooth and fluffy. As soon as the cinnamon rolls come out of the oven, spread the frosting generously over the freshly baked, warm rolls. The warmth of the rolls will slightly melt the icing, creating that signature gooey glaze. Serve immediately and enjoy!
Nutrition per serving
Frequently Asked Questions About Cinnamon Rolls
What Ingredients are found in the Best Homemade Cinnamon Rolls?
Crafting the perfect cinnamon roll begins with selecting the right ingredients. Here’s a breakdown of what you’ll need and why each component is crucial:
- Milk: We typically use whole milk for its richness, which contributes to a more tender dough. However, low-fat milk or even non-dairy alternatives like almond milk can be successfully substituted, though they might slightly alter the final texture.
- Butter: Unsalted butter is our preference as it allows for precise control over the salt content in the recipe. If you only have salted butter, simply reduce the amount of added salt by about a teaspoon to maintain balance.
- Yeast: For this recipe, we recommend Red Star Dry Active Yeast. It performs beautifully, yielding a consistent rise. Don’t worry if you have quick-rise or instant yeast; these can also be used effectively, with slight adjustments as detailed in our FAQ below.
- Eggs: Eggs are vital for enriching the dough, adding moisture, flavor, and contributing to the soft, cake-like crumb that defines a great sweet yeast bread.
- Flour: While all-purpose flour can work, bread flour is highly recommended for cinnamon rolls. Its higher gluten content provides exceptional elasticity, making the dough easier to handle and contributing significantly to the desired chewy-yet-fluffy texture. Bakeries often rely on bread flour for this very reason.
- Brown Sugar: Whether you choose dark or light brown sugar, this is the ideal choice for the filling. Its molasses content not only provides a deeper, more robust sweetness but also creates that signature gooey, caramelized cinnamon swirl that makes these rolls so addictive.
- Cinnamon: The undeniable star of the show! A good quality ground cinnamon is essential for that warm, inviting, and spicy flavor that defines a perfect cinnamon roll.
- Salt: A pinch of salt is crucial for balancing the sweetness, enhancing the overall flavor profile, and regulating yeast activity in the dough.
The Icing: Our cream cheese frosting is anything but average! It’s wonderfully simple to make, requiring just cream cheese, butter, powdered sugar, and a touch of heavy cream. This combination creates a fluffy, tangy frosting that provides the perfect counterpoint to the sweet rolls and melts beautifully into the warm buns.
What’s the difference between dry active yeast and instant yeast, and which should I use?
Navigating the world of yeast can indeed be a bit perplexing for home bakers. The good news is that both dry active yeast and instant yeast (often called quick-rise or rapid-rise) can be used for most recipes, including these cinnamon rolls, as long as you understand one key difference: activation.
All dry yeast needs to be “activated” to ensure it’s alive and ready to make your dough rise. This is typically done by dissolving it in warm liquid (usually water or milk) with a bit of sugar. The sugar acts as food for the yeast, helping it to wake up and start bubbling, forming a foamy layer on top. This process, often called “proofing the yeast,” is a crucial step for dry active yeast.
Instant yeast, on the other hand, is milled into finer particles and contains enzymes that allow it to activate much more quickly. Manufacturers often claim it can be mixed directly with the dry ingredients without prior proofing. While this might save a few minutes, we still recommend proofing it, especially when making something as special as cinnamon rolls. Why? Because proofing gives you confidence that your yeast is alive and well, ensuring a successful rise and avoiding the disappointment of a flat dough. Taking that extra step ensures a robust rise and perfectly fluffy results every time.
Do you have to use bread flour for Cinnamon Rolls?
While you can certainly make cinnamon rolls with all-purpose flour, using bread flour makes a noticeable difference and is highly recommended for the best results. The primary reason is bread flour’s higher protein content, which translates to a higher gluten content.
This increased gluten creates a more elastic dough that is easier to knead and roll without tearing. More importantly, it contributes to the signature chewy yet tender texture and better structure that you find in professional bakery goods. This elasticity allows the dough to hold its shape better during rising and baking, resulting in those beautiful, airy layers.
If you opt for all-purpose flour, you might find the dough a bit stickier or less resilient, and you may need to adjust the amount of liquid slightly. Factors like humidity and your elevation can also influence how much flour your dough requires. Look for bread flour under various names like Patent flour, High Gluten Flour, or Occident Flour. Brands like King Arthur’s Unbleached Bread Flour are widely available in most major grocery stores and are excellent choices. It’s truly worth seeking out for that superior cinnamon roll experience!
How to make Overnight Cinnamon Rolls?
Preparing overnight cinnamon rolls is a fantastic option for those who want a warm, fresh-baked treat without the early morning hustle. The overnight method allows the dough to slowly ferment and develop deeper flavors in the refrigerator. Here’s how to do it:
To prepare them overnight: After you’ve completed all the steps up to making and slicing the cinnamon rolls (steps 1-7 in the main instructions), arrange them in your baking pans as you would before baking. Instead of letting them fully rise, cover the pans tightly with plastic wrap or foil and allow them to rise only slightly at room temperature for about 10-15 minutes. Then, immediately transfer the covered pans to the refrigerator. The cold temperature will significantly slow down the yeast activity, allowing them to proof gradually overnight.
When you’re ready to bake in the morning: Remove the rolls from the refrigerator. For the best rise and texture, proof them in a warm environment. A great trick is to place them in a cold oven, set it to 200°F (95°C) for 5 minutes, then turn the oven OFF. Let the rolls sit in the warm, turned-off oven for 25-30 minutes. This gentle warmth will bring the dough to a perfect proofing temperature without over-proofing. After this resting period, remove them from the oven, preheat the oven to 350°F (175°C), and then bake for 25 minutes as directed in the recipe. This method ensures maximum fluffiness and flavor for your morning treat!
How to Freeze Cinnamon Rolls?
Freezing cinnamon rolls is an excellent way to prepare ahead or enjoy them over a longer period. You can freeze them either before or after baking:
To Freeze before baking (for fresh-baked convenience):
After you have sliced the rolls and arranged them in your baking dish (as per step 7), allow the dough to rise for about 30 minutes at room temperature. This initial rise is important for texture. Then, tightly cover the baking dish with plastic wrap and then with foil (or use disposable foil pans with lids, readily available at dollar stores or supermarkets). Place the covered rolls in the freezer. They can be stored for up to 1-2 months. When you’re ready to bake, thaw the frozen rolls overnight in the refrigerator, or for a few hours at room temperature, until they are soft and somewhat risen. Once thawed and fully proofed (they should look puffy), bake them as directed in the recipe (step 8).
To Freeze after baking (for quick defrost & serve):
Allow the baked cinnamon rolls to cool completely before attempting to freeze them. This prevents condensation and ice crystals from forming. Once cooled, you can either wrap individual rolls tightly in plastic wrap and then foil, or place them in freezer bags or airtight containers. Unglazed cinnamon rolls can be frozen for up to 3 months. To serve, simply defrost them at room temperature, then warm them gently in the oven (at 300°F/150°C for 10-15 minutes) or microwave until heated through. If you froze them unglazed, you can then frost them just before serving. The cream cheese icing is also freezer-friendly, so you can freeze frosted rolls, though the texture of the icing might be slightly softer upon thawing.
Essential Tips for Making the BEST Cinnabon-Style Cinnamon Rolls:
Achieving bakery-level perfection is easier than you think with these key tips:
- Embrace the Dough Fold: This is our game-changing secret! Fold the dough in half after the first rise and before rolling it into a rectangle. This technique builds structure and creates those irresistible thin, fluffy layers, ensuring your buns are perfectly structured, just like Cinnabon’s.
- Spread Softened Butter Generously: Don’t skimp on the butter for the filling! Spreading properly softened butter (not melted, not too hard) evenly over the dough is crucial for that rich flavor and gooey texture. This is exactly how professional bakeries achieve their signature rolls.
- Compress the Cinnamon Sugar Filling: After sprinkling your brown sugar and cinnamon mixture, gently roll your pin over the top. This presses the filling into the butter and dough, preventing it from leaking out during baking and ensuring a distinct, beautiful swirl in every bite.
- Slice for Success: Cut your cinnamon roll log into consistent 2-inch thick pieces. This optimal thickness ensures that each roll bakes evenly and maintains its impressive size and form, mirroring the generous proportions of authentic Cinnabon cinnamon rolls.
- Warm Up Your Yeast Properly: Ensure your milk and butter mixture is warm (105-115°F or 40-46°C) but not hot, to properly activate your yeast. Too cold, and the yeast won’t activate; too hot, and you risk killing it. A kitchen thermometer is your best friend here!
- Don’t Over-Flour: While a lightly floured surface is necessary for rolling, avoid adding too much extra flour to your dough. Excess flour can lead to dry, tough rolls. The dough should be soft and slightly tacky.
- Frost While Warm: The magic of the cream cheese icing happens when it meets a warm cinnamon roll. The heat slightly melts the frosting, allowing it to seep into every crevice, creating that irresistible gooey, shiny glaze that’s impossible to resist.
By following these detailed instructions and expert tips, you are now equipped to create the most delicious, fluffy, and perfectly frosted homemade cinnamon rolls imaginable. Get ready to indulge in a truly bakery-worthy experience, right from your own kitchen!
