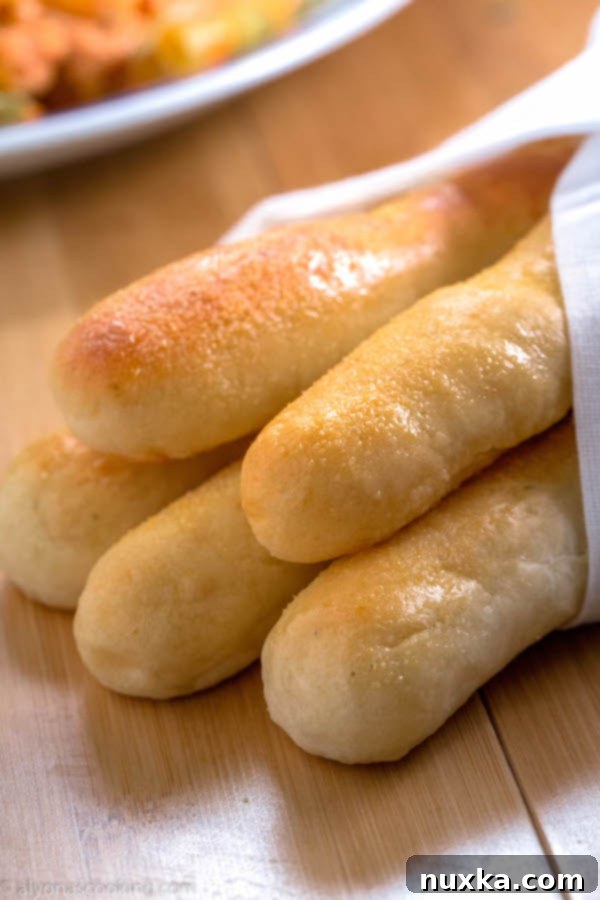
The BEST Homemade Olive Garden Breadsticks Copycat Recipe: Fluffy, Garlicky, and Irresistible!
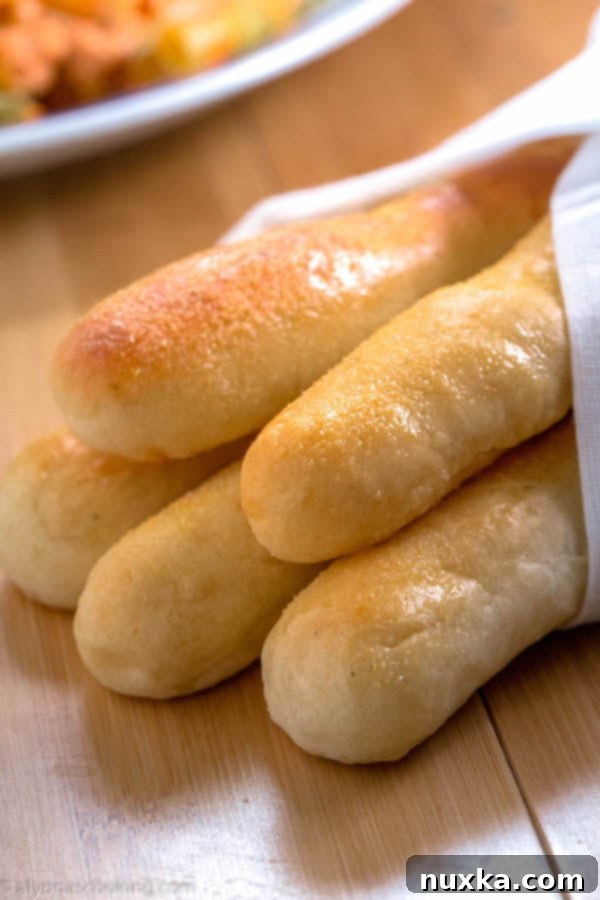
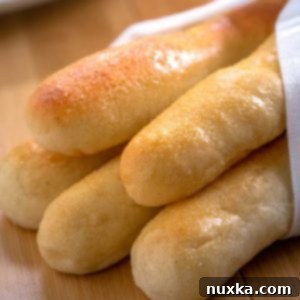
If you’ve ever savored the warm, garlicky, and incredibly soft breadsticks at Olive Garden, you know what true comfort food tastes like. The good news? That delightful experience is no longer limited to restaurant visits! I’ve embarked on countless culinary adventures trying to replicate those iconic Olive Garden breadsticks at home, and after many attempts, I’ve finally perfected a copycat recipe that not only meets but exceeds expectations. This isn’t just a recipe; it’s a revelation. If you adore Olive Garden’s breadsticks, prepare to be amazed by this homemade version – they are, without a doubt, the best breadsticks I have ever made!
Unlock the Secret to Perfect Copycat Olive Garden Breadsticks at Home
My journey to creating the ultimate homemade Olive Garden breadsticks began with a craving. Just yesterday, I decided to whip up some Five-Cheese Ziti al Forno, and naturally, it felt incomplete without a side of those irresistibly soft breadsticks. My previous attempts at recreating them had been, well, less than stellar. They were decent, but they lacked that distinct chewiness and perfectly balanced garlic-butter finish that makes Olive Garden’s version so addictive. I was determined to develop a recipe that truly captured their essence.
This quest led me to combine elements from several trusted recipes. I drew inspiration from my tried-and-true Italian loaves recipe, the sturdy foundation of my crusty pizza dough, and even a time-honored recipe from a Mennonite cookbook. It was a fascinating fusion of techniques and ingredients, aiming to strike that perfect balance between fluffy interior and slightly crisp exterior. After careful experimentation, adding an egg for richness and adjusting the proportions of other key ingredients, a truly remarkable breadstick recipe was born. The result? Chewy, tender, and absolutely amazing breadsticks that will make you wonder why you ever bought them elsewhere.
Why This Olive Garden Breadstick Recipe is a Game-Changer
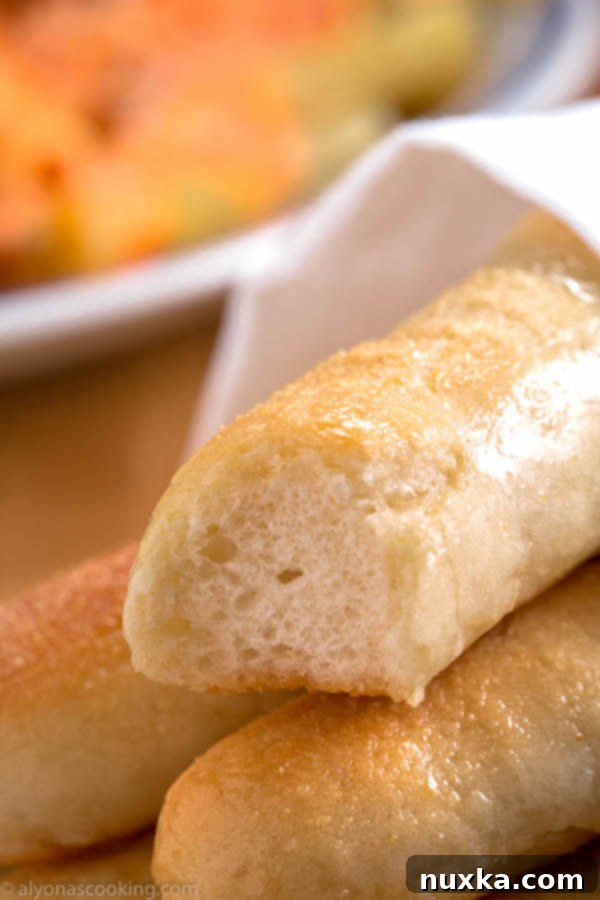
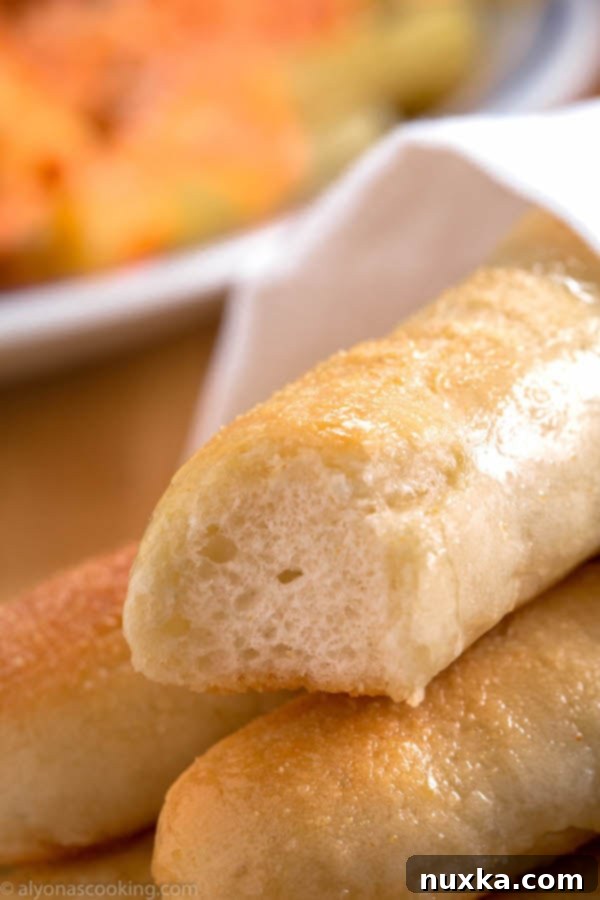
What makes this copycat Olive Garden breadsticks recipe stand out? It’s the unique combination of ingredients and method that yields a breadstick with an incredible texture and flavor profile. The addition of an egg contributes to a richer, softer crumb, while the baking powder gives a subtle lift, ensuring they’re light and airy, yet wonderfully chewy. The secret to their authentic taste lies not just in the dough, but in the final garlic salt and melted butter (or olive oil) brush, applied generously right after baking. This step is crucial for achieving that signature restaurant-quality finish that brings back memories of endless breadstick baskets.
These breadsticks are not only delightful fresh out of the oven but also reheat beautifully, making them perfect for meal prep or enjoying leftovers. Simply reheat them, brush with a little oil or melted butter, and sprinkle with a touch more garlic salt just before serving. They’ll taste just as delicious as the first batch! Serve them alongside your favorite Italian pasta dish, a hearty soup, or a fresh salad for a complete and satisfying meal. Once you try these, you’ll agree they are truly the best homemade breadsticks you’ll ever sink your teeth into.
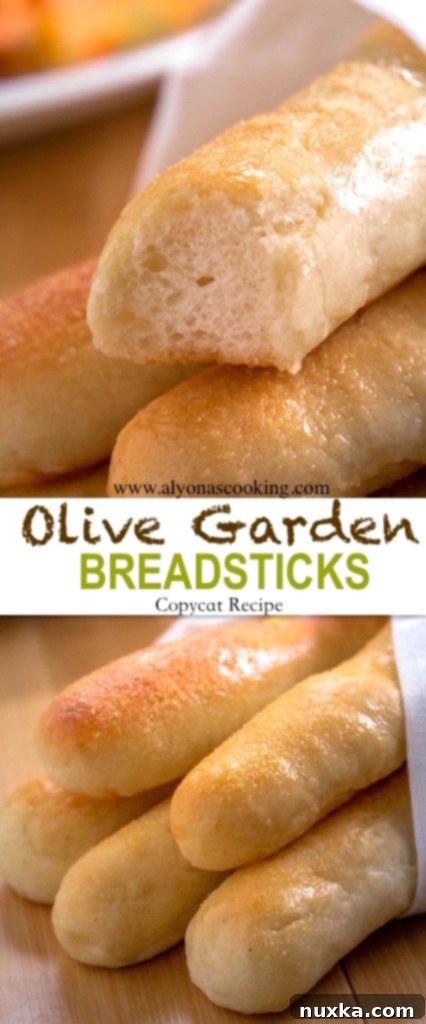
Ingredients for Your Homemade Olive Garden Breadsticks
Gathering the right ingredients is the first step to delicious breadsticks. You’ll likely have most of these staples in your pantry!
- 2 cups warm water (around 105-115°F or 40-46°C, crucial for yeast activation)
- 1 tsp dry yeast (active dry or instant yeast will work)
- 2 TBSP sugar (feeds the yeast and adds a touch of sweetness)
- 5 cups all-purpose flour (for that classic breadstick texture)
- 1 tsp garlic salt (provides savory flavor within the dough)
- 1 tsp baking powder (for extra lift and tenderness)
- 1/3 cup grated Parmesan cheese (adds a subtle cheesy depth)
- 5 TBSP oil (vegetable or canola oil, for moisture and texture)
- 1 egg (contributes to richness and chewiness)
Step-by-Step Directions to Master Olive Garden Breadsticks
Follow these detailed instructions to create perfectly fluffy and flavorful breadsticks every time. Precision is key!
-
Activate the Yeast: In a large bowl, combine the warm water, dry yeast, and sugar. Give it a gentle stir. Let this mixture sit for 5-10 minutes until it becomes foamy or “poofy.” This indicates that your yeast is active and ready to work its magic. If it doesn’t foam, your water might be too cold or too hot, or your yeast might be expired. Start again with fresh yeast and correct water temperature.
-
Prepare the Dough: While your yeast is activating, place the dry ingredients – all-purpose flour, garlic salt, baking powder, and grated Parmesan cheese – into a separate large mixing bowl or the bowl of your bread machine. Once the yeast mixture is foamy, pour it into the dry ingredients. Add the egg and the 5 tablespoons of oil. Gently stir all ingredients together with a wooden spoon or your hands until a shaggy dough forms. If using a bread machine, set it to the dough cycle and let it do the kneading for you. If kneading by hand, transfer the dough to a lightly floured surface and knead for about 5 minutes until the dough is smooth and elastic. Place the kneaded dough in a lightly oiled bowl, cover it with plastic wrap or a clean kitchen towel, and allow it to rise in a warm place until it has doubled in size. This usually takes about 1 hour, depending on the warmth of your kitchen.
-
Shape the Breadsticks: Once the dough has risen, gently punch it down to release the air. Transfer the dough onto a lightly floured surface. Evenly divide the dough into 4 equal pieces. Take each of these 4 pieces and cut it into 8 smaller, equal portions, resulting in 32 pieces in total. Roll each small piece into a 7-inch stick. Aim for consistency in thickness for even baking. Arrange the breadsticks into well-greased baking pans. Using oil to grease the pans is crucial here, as it helps create a lovely golden and slightly crispy crust on the bottom of the breadsticks. Cover the pans lightly and allow the shaped breadsticks to rise for another 20 minutes. This second rise will make them even fluffier.
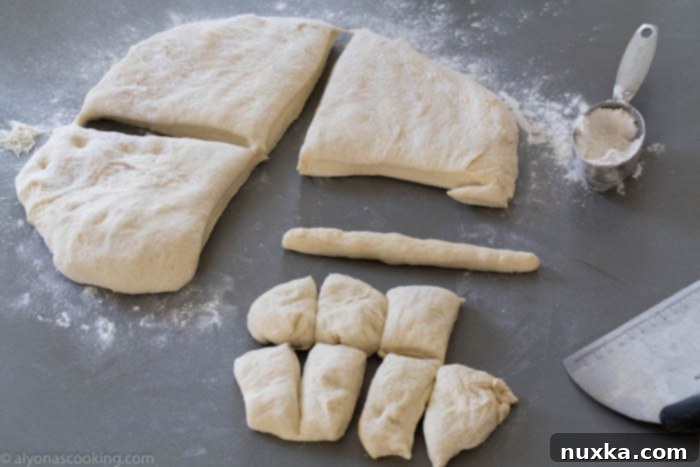
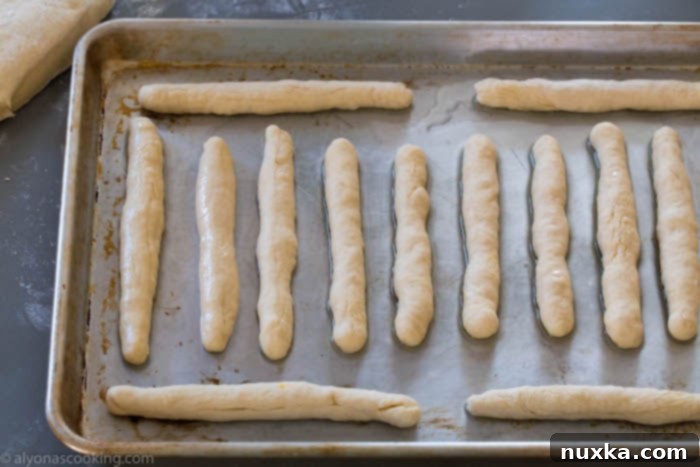
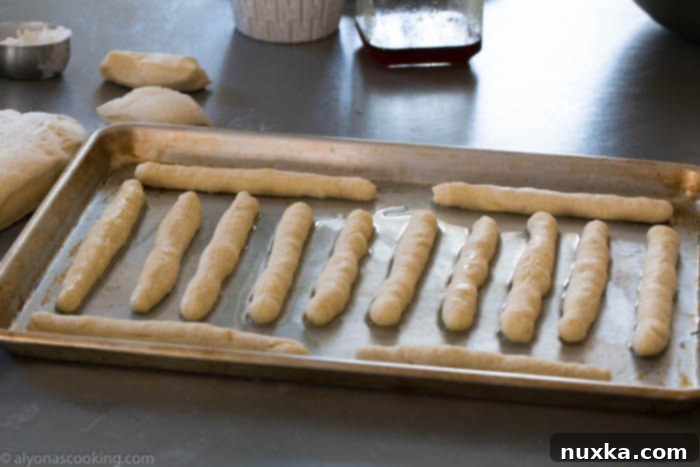
-
Bake and Finish: Preheat your oven to 425°F (220°C). Brush the tops of the risen breadsticks with a little oil before baking. This helps create a beautiful golden-brown color and a slightly crispy top crust. Bake in the preheated oven for 8-10 minutes, or until they are golden brown and cooked through. Keep a close eye on them as oven temperatures can vary. Once out of the oven, immediately brush the hot breadsticks generously with melted butter or a good quality olive oil. Finish by sprinkling a liberal amount of garlic salt over each breadstick. Serve them warm and enjoy the taste of Italy right in your home!
Tips for Achieving Bakery-Quality Breadsticks Every Time
Creating perfect breadsticks is an art, but these tips will help you master it:
-
Yeast Activation is Key: Ensure your water temperature is just right (105-115°F). Too hot will kill the yeast; too cold won’t activate it. Your yeast mixture should be visibly foamy after 5-10 minutes.
-
Don’t Skimp on Kneading: Whether by hand or machine, proper kneading develops the gluten, which is essential for that signature chewy texture. A well-kneaded dough will be smooth and elastic.
-
Warm Rising Environment: Dough rises best in a warm, draft-free place. If your kitchen is cool, you can place the covered bowl in a slightly warm (but turned off) oven or near a sunny window.
-
Even Shaping: Try to make your breadsticks as uniform in length and thickness as possible. This ensures they all bake evenly, preventing some from being overdone while others are still soft.
-
Grease Those Pans: The oil in the pan isn’t just to prevent sticking; it contributes significantly to the delicious crispy bottom crust that contrasts beautifully with the soft interior.
-
Watch Your Oven: Baking times can vary. Start checking your breadsticks at the 8-minute mark. They should be golden brown. Overbaking can make them dry.
-
The Finishing Touch: Brushing with butter/oil and sprinkling with garlic salt immediately after baking is non-negotiable. The heat helps the butter melt into the breadsticks and the garlic salt adhere, infusing them with flavor.
Serving Suggestions & Perfect Pairings
These versatile homemade Olive Garden breadsticks are the perfect accompaniment to a wide array of meals. They are, of course, a quintessential partner to any Italian feast. Pair them with my Five-Cheese Ziti al Forno for an authentic Olive Garden dining experience at home. They also shine alongside hearty pasta dishes like spaghetti and meatballs, creamy fettuccine Alfredo, or rich lasagna. Don’t limit them to just pasta; these garlicky breadsticks are fantastic with a fresh garden salad, a comforting bowl of minestrone or Zuppa Toscana soup, or even as a delightful side for a weeknight roasted chicken. Their soft, chewy texture and savory garlic flavor complement virtually any savory meal.
Storage and Reheating Your Delicious Breadsticks
If you happen to have any leftover breadsticks (a rare occurrence!), you can easily store and reheat them to enjoy later. To store, place cooled breadsticks in an airtight container or a Ziploc bag at room temperature for up to 2-3 days. For best results, to reheat, preheat your oven to 350°F (175°C). Place the breadsticks on a baking sheet and warm for 5-7 minutes, or until heated through and softened. Alternatively, you can use a toaster oven or even a microwave for a quicker reheat, though the texture might be slightly different. Remember to brush them with a little extra melted butter or olive oil and a sprinkle of garlic salt after reheating to bring back that fresh-baked flavor and moistness. You can also freeze baked breadsticks for up to a month. Thaw at room temperature and then reheat as directed above.
Frequently Asked Questions About Homemade Breadsticks
-
Can I use instant yeast instead of active dry yeast? Yes, absolutely! Instant yeast can typically be mixed directly with the dry ingredients. However, for this recipe, the activation step with warm water and sugar helps ensure the yeast is active and contributes to the overall rise and texture.
-
What if my dough isn’t rising? Several factors could be at play: your yeast might be old/inactive, the water temperature might have been too hot or too cold, or your rising environment isn’t warm enough. Always check yeast expiration dates and ensure proper water temperature. A warm, draft-free spot is crucial for rising.
-
Can I make these ahead of time? Yes! You can prepare the dough up to the first rise, then punch it down, cover it tightly, and refrigerate for up to 24 hours. When ready to bake, let it come to room temperature for about 30-60 minutes before shaping and proceeding with the recipe.
-
Can I freeze the dough or baked breadsticks? You can freeze the shaped, unbaked breadsticks on a baking sheet until solid, then transfer them to an airtight freezer bag for up to 2-3 weeks. Thaw in the fridge overnight, then let rise at room temperature before baking. As mentioned above, baked breadsticks also freeze well and can be reheated.
-
How can I make them even more garlicky? For an extra garlic punch, you can add 1/2 teaspoon of garlic powder to the dough mixture, or incorporate a small amount of finely minced fresh garlic into your melted butter/oil brush for the post-baking finish.
Rate
Pin
Olive Garden Breadsticks (Copycat Recipe)
Ingredients
-
2 cups warm water
-
1 tsp dry yeast
-
2 TBSP sugar
-
5 cups all-purpose flour
-
1 tsp garlic salt
-
1 tsp baking powder
-
1/3 cup grated Parmesan cheese
-
5 TBSP oil
-
1 egg
Instructions
-
Combine the water, yeast, and sugar and allow it to poof while preparing other ingredients.
-
Place the dry ingredients (flour, salt, baking powder, and Parmesan cheese) into a large bowl or bread machine. Stir in the egg and oil and pour in the yeast mixture. Gently stir until dough comes together. Knead by hand for 5 minutes or if using a bread machine set on dough settings. Allow dough to rise until doubled (up to an hour after kneading.)
-
Transfer dough unto a lightly floured surface and evenly divide the dough into 4 equal pieces. Cut each piece into 8 pieces and roll each piece out to a 7-inch stick. Place breadsticks into well-greased pans (oil is key for a nice crust) and allow to rise 20 minutes.
-
Brush breadsticks with oil and bake in a preheated 425° F oven for 8-10 minutes. Brush hot breadsticks with melted butter or olive oil and generously sprinkle garlic salt over each breadstick before serving.
