Easy Homemade Whole Wheat Bread Recipe: Soft, Chewy & Wholesome
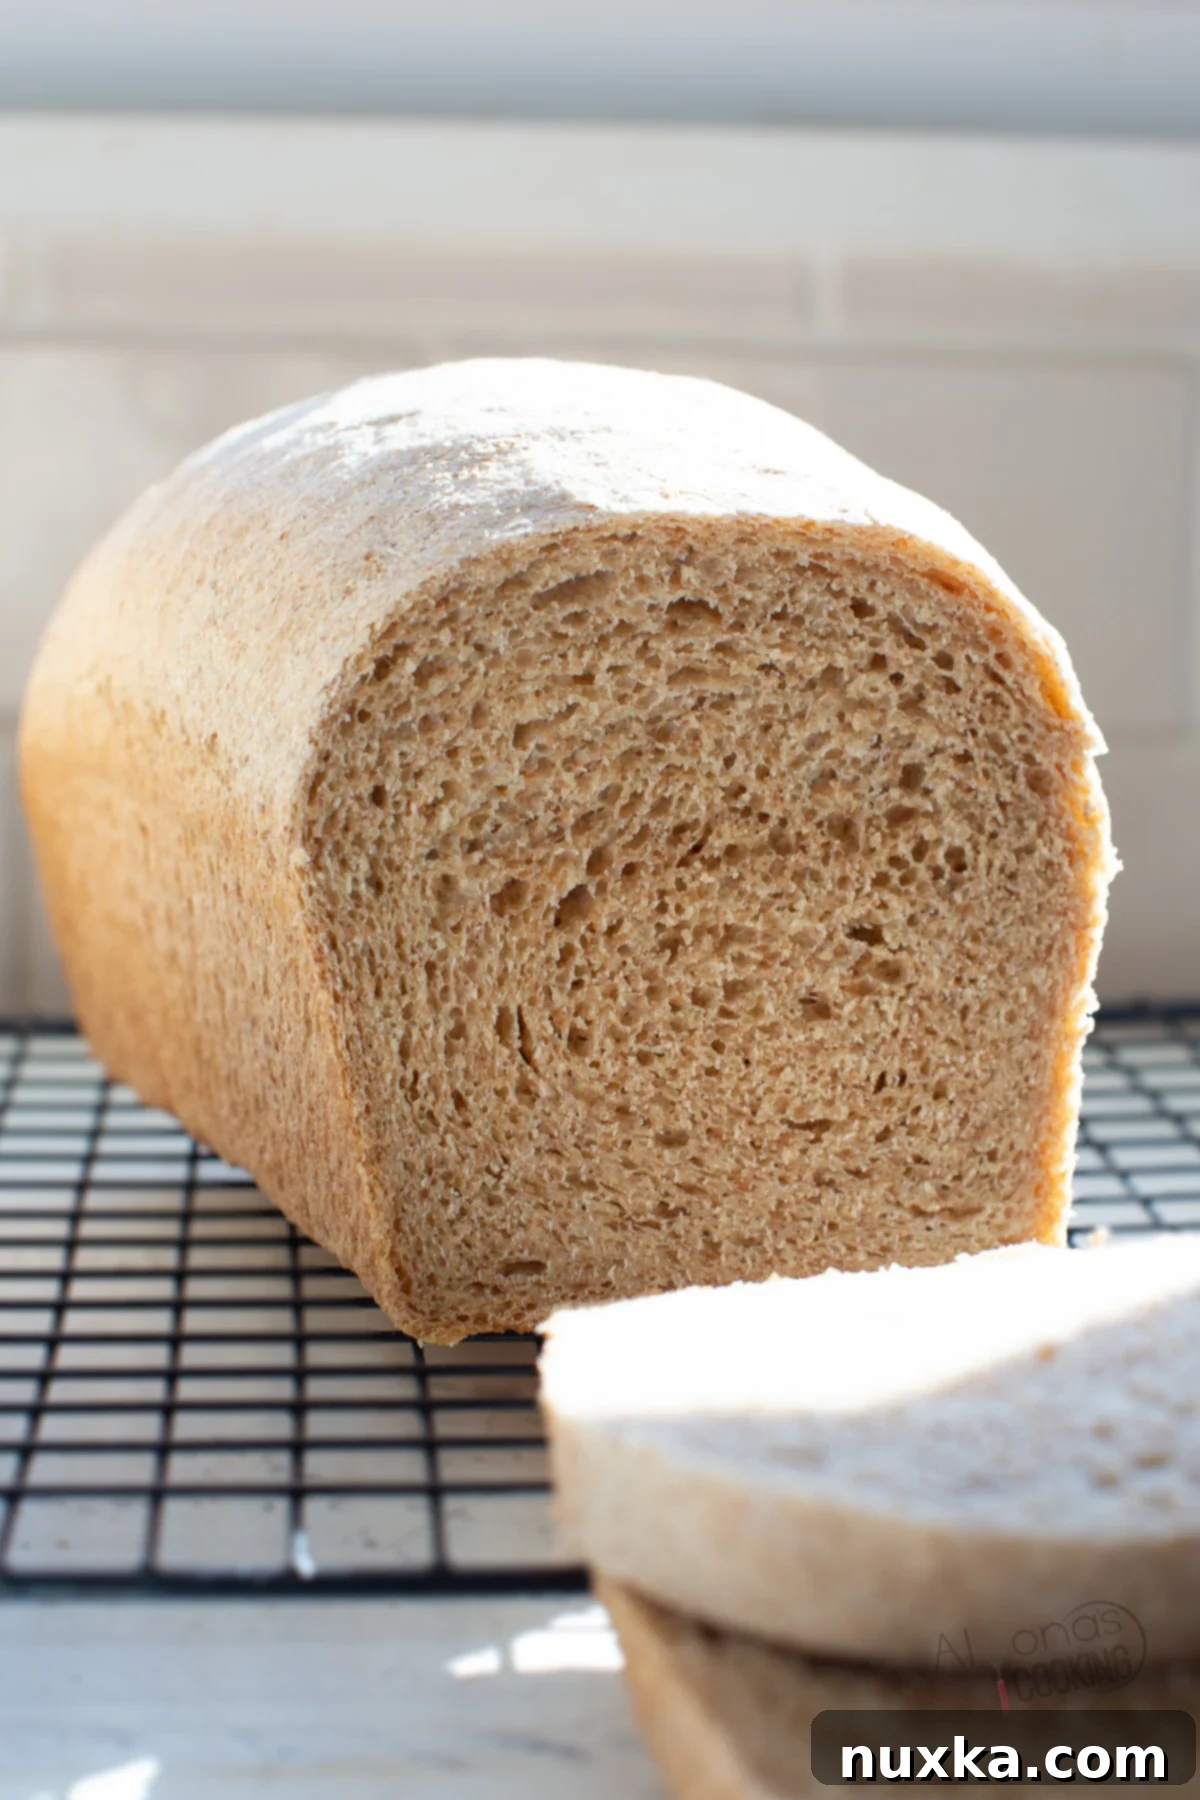
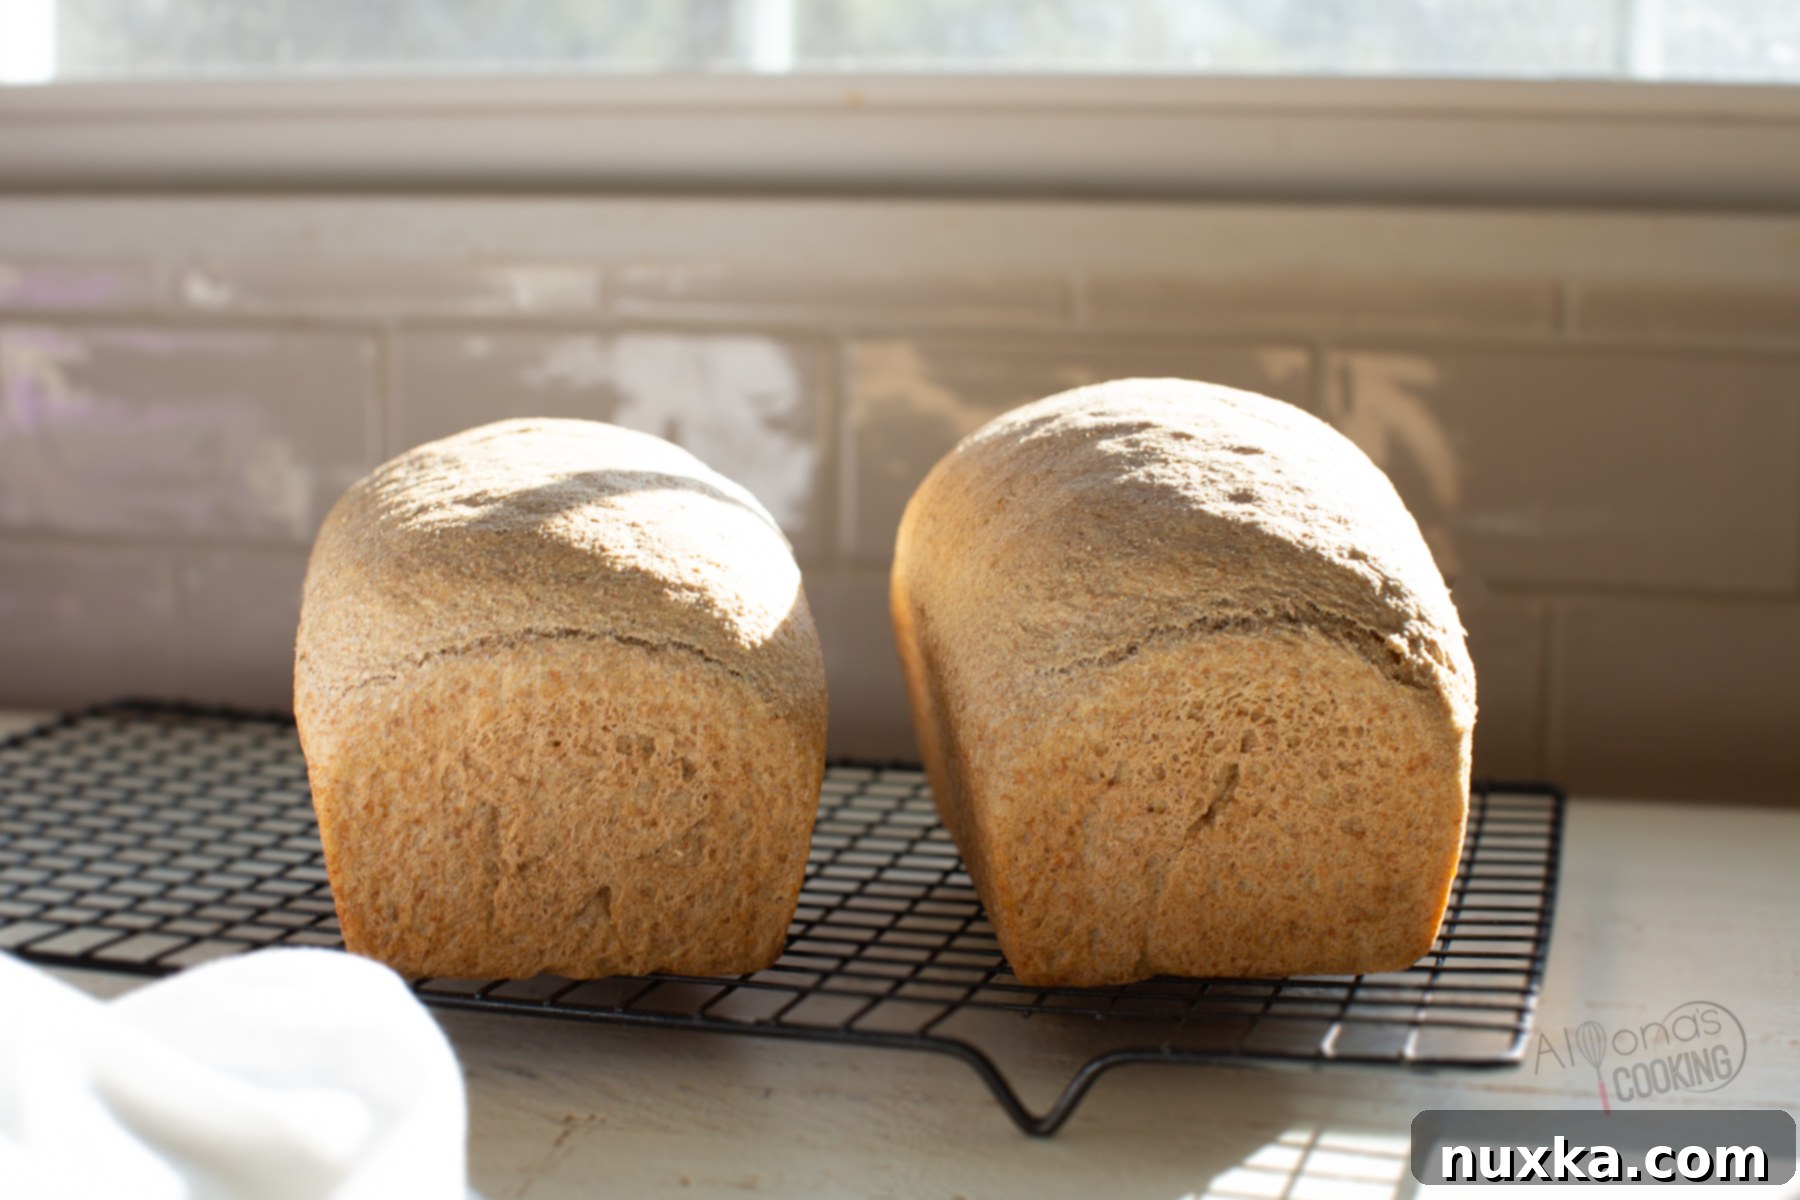
There’s a unique satisfaction that comes from baking your own bread, and this Whole Wheat Bread recipe delivers that joy with minimal effort. Crafted with just a handful of staple ingredients—water, yeast, salt, and whole wheat flour—this recipe is designed to be one of your go-to easy bread solutions. You’ll be delighted by its incredibly chewy and moist texture, a common desire for any homemade loaf. What makes this recipe even more appealing is its flexibility: you can prepare the dough in advance and refrigerate it, ready to bake a fresh loaf whenever the craving strikes.
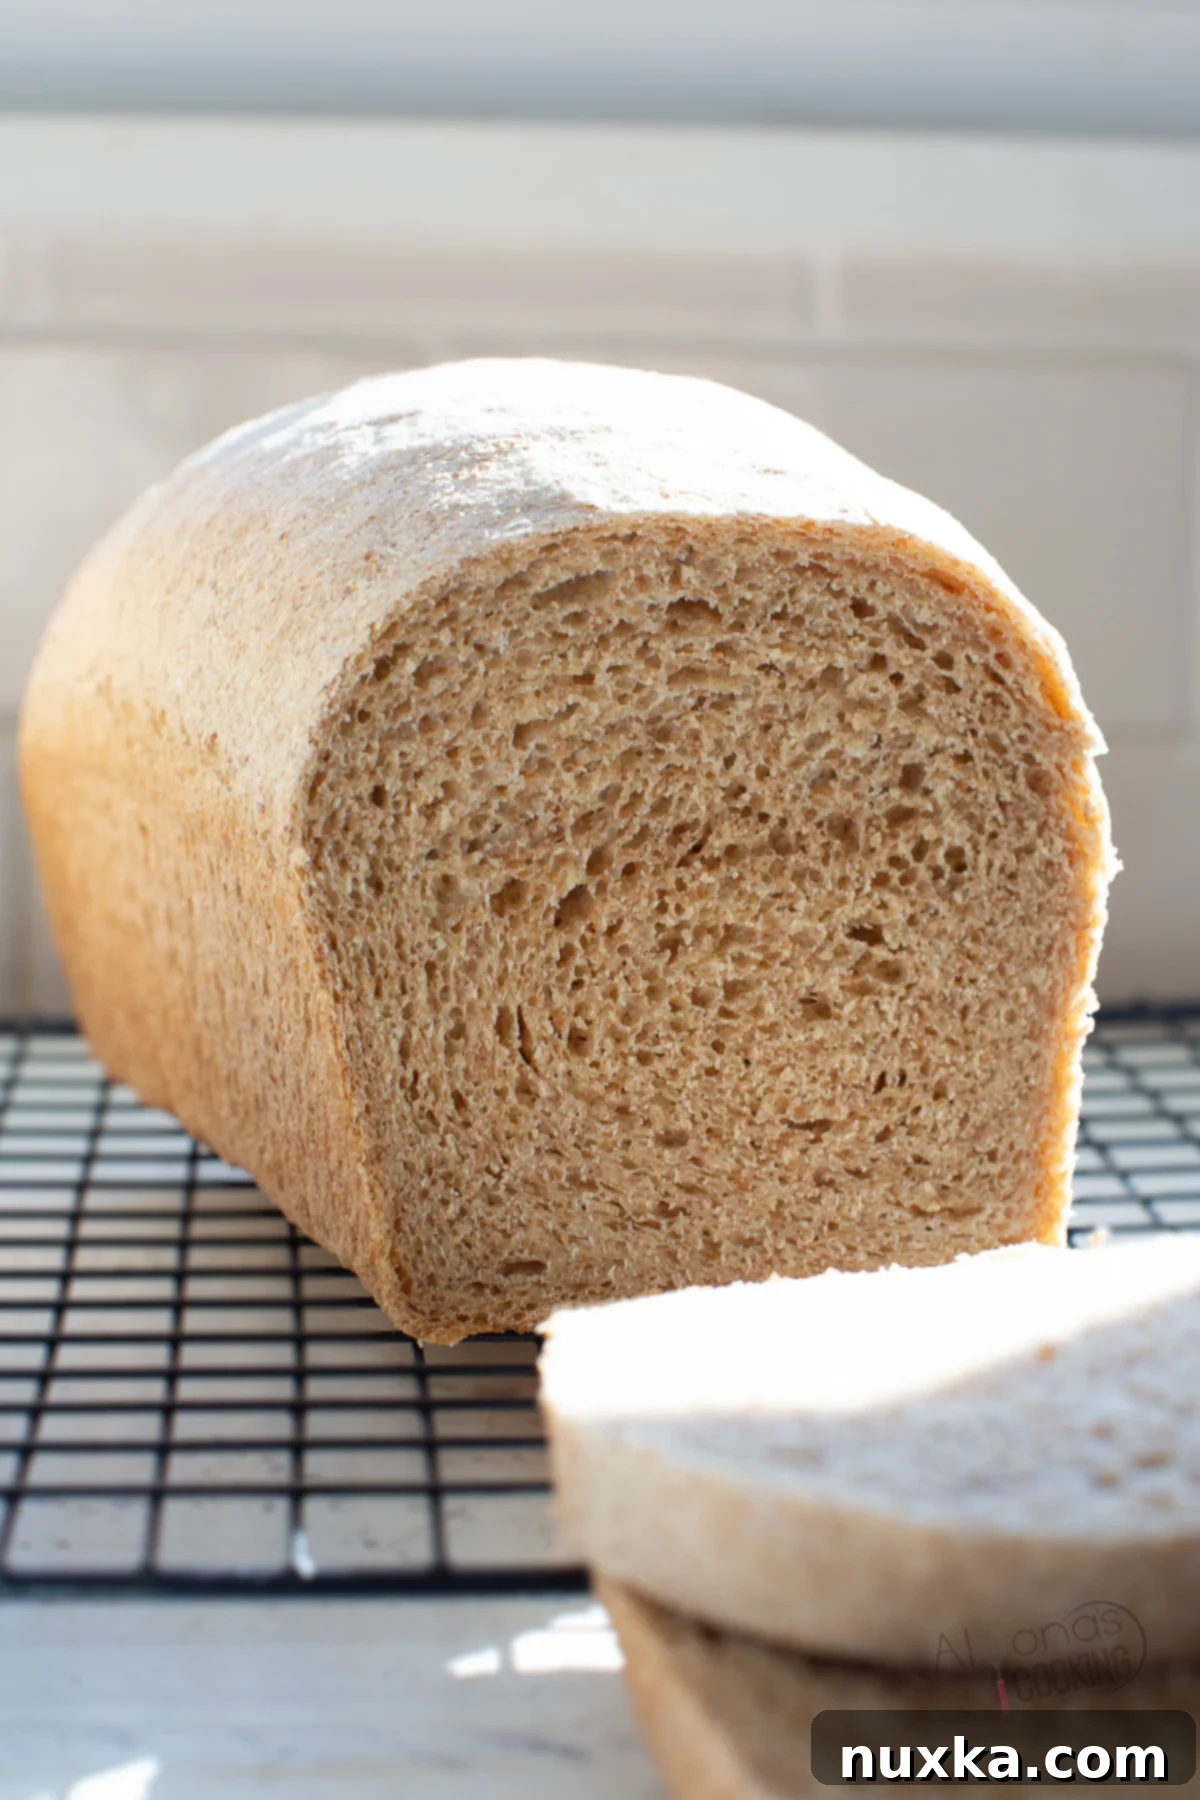
For those new to the world of whole grain baking, or simply looking to expand their repertoire, we delve into everything you need to know. From understanding how to make whole wheat flour at home (even pastry flour variations) to exploring the diverse types of bread you can create from whole grains, this guide has you covered. Beyond this fantastic loaf, don’t miss our other favorite whole wheat flour recipes, including a hearty whole wheat sourdough bread, versatile Whole Wheat Tortillas, and delicious homemade hamburger buns. You can even adapt your beloved white flour recipes, from pizza dough to fluffy whole wheat pancakes, by using freshly ground whole wheat flour for an enhanced nutritional profile and richer flavor.
Is Whole Wheat Bread Truly Healthy?
The question, “Is whole wheat bread good for you?” is a common one, and the answer is a resounding yes. Wholesome bread, particularly that made from whole grains, has been a dietary staple for humanity for thousands of years. Grains form a fundamental part of the food pyramid, essential for maintaining a healthy diet. Whole wheat is a type of whole grain, meaning the entire kernel – the bran, germ, and endosperm – is used to produce the flour. This comprehensive approach retains all the natural nutrients, including fiber, vitamins, minerals, and antioxidants, which are often stripped away in refined white flour. These components contribute to better digestion, stable blood sugar levels, and sustained energy. You can learn more about the specific types of grain I utilize to create my homemade whole wheat flour and discover where I source premium whole grains for the best results.
Essential Ingredients for Homemade Whole Wheat Bread
Making delicious homemade bread doesn’t require a long list of exotic ingredients. This recipe relies on simple, basic components, reminiscent of the traditional bread my mother-in-law would hand-make in Ukraine, often baking a dozen loaves at once in an outdoor oven. You could even use 15 grams of fresh compressed yeast if preferred, though active dry yeast is widely accessible and effective.
- Dry Active Yeast: I typically begin by dissolving dry active yeast in warm water to rehydrate and activate it, ensuring it’s ready to work its magic. This initial proofing step is crucial for consistent results. If you plan to prepare the dough in advance and refrigerate it, using cooler water to hydrate the yeast will cause it to activate more slowly in the fridge, much like pizza dough during an overnight fermentation. However, for quicker proofing and baking on the same day, warm water is ideal. Rapid instant yeast, on the other hand, is designed to be mixed directly with dry ingredients and does not require pre-dissolving.
- Whole Wheat Flour: The heart of this recipe is high-quality whole wheat flour. We pride ourselves on making our own flour from whole grains. To achieve the perfect bread flour consistency at home, I grind a carefully selected mixture of hard red and hard white wheat berries. These varieties are rich in protein, which is vital for gluten development. Gluten is the protein network that provides dough with its essential elasticity and structure, allowing it to rise beautifully and maintain its shape during baking. It’s important to avoid using white pastry flour made from soft white wheat, as it is very low in protein and can lead to a dough that is difficult to handle and prone to tearing.
- Salt: A crucial ingredient for both flavor and function. High-quality sea salt not only enhances the taste of your bread but also plays a vital role in regulating yeast activity, preventing the dough from rising too quickly and ensuring a well-balanced crumb structure.
The Art of Measuring Whole Wheat Flour
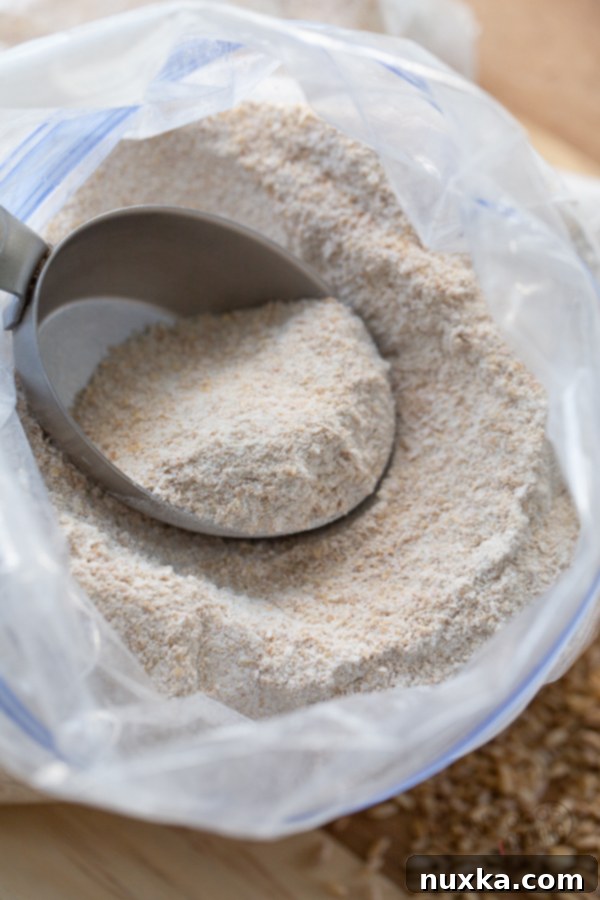
Properly measuring flour, especially freshly ground whole wheat flour, is key to successful bread baking. You might be accustomed to “fluffing up” white flour and spooning it into a measuring cup, but this technique doesn’t quite work with whole wheat. Because whole wheat flour contains the entire germ, bran, and endosperm, it has a naturally fluffier volume and takes up more space in a cup compared to denser white flour. To ensure accurate measurement and prevent over-flouring, it’s best to scoop the flour directly from your canister using the measuring cup. Then, gently shake off any excess flour rather than using a knife to scrape across the top, which can compact the flour and lead to an inaccurate measurement. This method helps maintain the flour’s natural aeration and ensures your dough achieves the right consistency.
Whole Wheat Flour vs. All-Purpose Flour: Understanding the Differences
When comparing whole wheat flour to all-purpose flour, understanding their fundamental differences is crucial for baking success. Recipes that measure ingredients by weight (grams) offer consistent results regardless of the flour type. However, when measuring by volume (cups), there’s a notable difference: one cup of white all-purpose flour typically weighs more than a cup of whole wheat flour. This disparity arises because white flour, being mostly composed of the endosperm, is more compact. Whole wheat flour, containing the bran and germ alongside the endosperm, is coarser and therefore less dense by volume. Nutritionally, whole wheat flour offers a significant advantage due to its fiber content and higher levels of vitamins and minerals. All-purpose flour, while versatile, lacks these vital nutrients that contribute to a healthier, more complex bread flavor and texture. For this recipe, using 100% whole wheat flour ensures you benefit from all the goodness of the whole grain.
How To Bake Delicious Whole Wheat Bread
This versatile bread recipe is designed to be baked in a standard bread loaf pan, yielding two perfectly shaped loaves. However, if you possess a 2-pound bread maker machine, you can conveniently bake it directly in the appliance, following its specific instructions. To effortlessly slice your freshly baked loaf, every baker will appreciate the precision of a high-quality bread knife. Making whole wheat bread is surprisingly straightforward, and this particular recipe guarantees a loaf that is far from dry. For those adventurous bakers, we’ve even successfully substituted 1 cup of active sourdough starter in place of the dry active yeast! Here’s a step-by-step guide to crafting this wholesome bread with natural ingredients:
- Dissolve Yeast: In a large mixing bowl, combine the dry active yeast with warm water (around 105°F, which feels comfortably warm to the touch). Allow the mixture to sit undisturbed for about 5 minutes. During this “proofing” time, the yeast will rehydrate and activate, indicated by a foamy or bubbly layer forming on the surface. This foam is a sign that your yeast is alive and ready to leaven your bread.
- Combine & Knead: Gradually add the whole wheat flour, one cup at a time, incorporating it thoroughly into the yeast mixture. This quick bread recipe requires minimal kneading, typically only 2-4 minutes by hand, until the dough comes together. The goal is a sticky, moistened dough that generally pulls away from the sides of the bowl but remains tacky to the touch. While a stand mixer can certainly be used, hand-kneading is perfectly effective for this recipe and allows you to feel the dough’s development. Approximately 6 1/2 cups of flour typically yield the perfect consistency for this bread.
- First Rise: Once kneaded, transfer the sticky dough to a lightly oiled bowl. Ensure the bowl is large enough to accommodate the dough doubling in size. Cover the bowl with plastic wrap or a clean kitchen towel and let it rise in a warm, draft-free place until it has visibly doubled in volume, which usually takes about 30 minutes. An oil spray bottle can be very handy for lightly greasing both the rising bowl and your loaf pans.
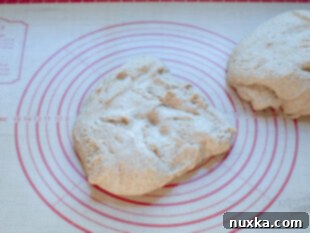
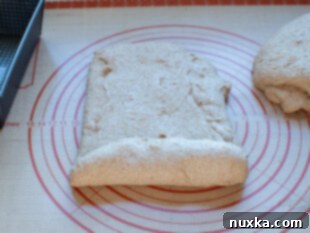
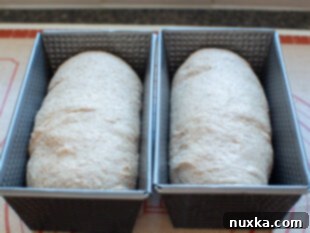
- Shape Loaves & Second Rise: Gently transfer the risen dough onto a silicone pastry mat or a lightly floured surface. Divide the dough into two equal pieces. Roll out each piece into an 11-inch oval shape. Starting from one of the shorter sides, carefully roll up the oval dough like a jelly roll. This shaping technique helps create a tight, even crumb and ensures the loaf maintains its structure, making it ideal for sandwich bread. Place each shaped loaf seam-side down into two greased loaf pans. Allow them to rise again for a second time while your oven preheats to 350°F.
- Prepare for Baking: As the dough undergoes its second rise in the pans, be mindful of their fragile state. When the loaves have risen sufficiently, gently place the pans on the oven rack, being careful not to jostle or drop them, which could cause the dough to deflate.
- Bake: Bake the loaves in the preheated oven for approximately 25 minutes. To ensure the bottoms do not become wet or soggy from condensation, it is crucial to remove the bread from the pans immediately after baking.
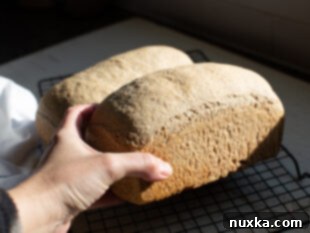
- Cool & Enjoy: Transfer the hot loaves to wire racks to cool completely. Cooling on a wire rack allows air to circulate around the entire loaf, preventing moisture buildup and ensuring a crisp crust. Once cooled, slice your homemade whole wheat bread and savor it with a generous spread of butter and your favorite jam.
Mastering Bread Storage: How To Keep Your Loaves Fresh
Once you’ve mastered the art of baking homemade bread, the next step is learning how to store it effectively to maintain its freshness. Knowing how to store bread properly ensures you can enjoy your delicious whole wheat loaf for as long as possible.
For immediate consumption, whole wheat bread is best stored at room temperature for up to 2 days. Keep it in an airtight container or a sealed bag to prevent it from drying out. While bread can technically last longer in the fridge, refrigeration paradoxically causes bread to go stale faster due to a process called retrogradation, where starch molecules recrystallize. If you do refrigerate bread and find it has turned a bit stale, the best way to revive it is to use it for toast, homemade breadcrumbs, or in a breakfast casserole where it will be reheated and softened again.
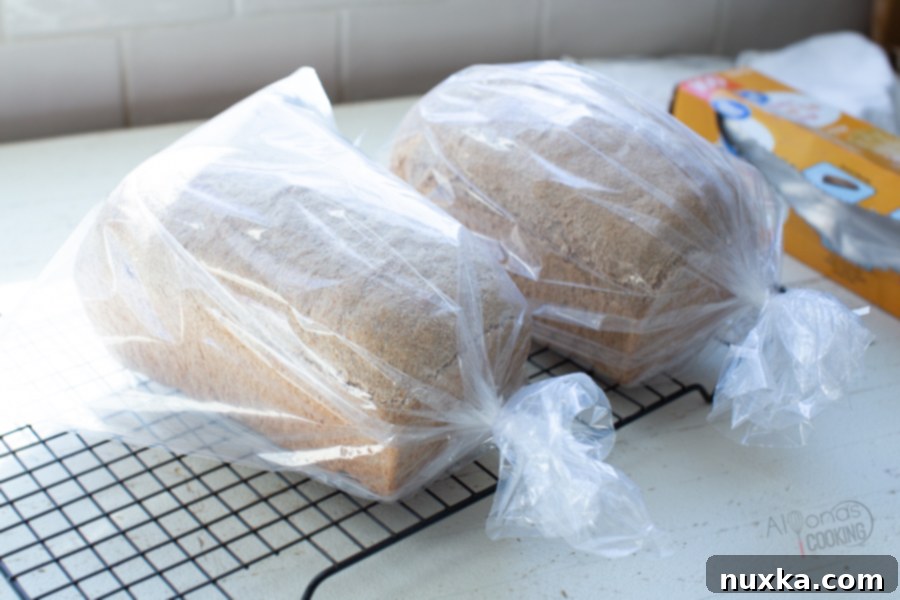
Once your freshly baked bread has cooled completely on a wire rack, transfer the loaves into twist-tie gallon bags, ensuring they are tightly sealed to minimize air exposure, which causes the bread to dry out. For longer storage, especially if you anticipate not consuming the bread within 2 days, freezing is the optimal method.
How Long Does Bread Last in the Fridge?
While whole wheat bread can last in the refrigerator for 2-3 days, it’s important to remember that chilling tends to accelerate the staling process. This makes refrigerated bread a good candidate for repurposing rather than simply eating fresh slices. Consider using it for flavorful bread crumbs, a batch of indulgent French toast, or as a hearty base for various casseroles, where its slightly firmer texture will be rehydrated and transformed.
Tips for Softening Your Baked Bread
To achieve a wonderfully soft loaf, especially with a tender crust, there are a few simple steps you can take. After baking your whole wheat bread, immediately remove the loaves from their pans and allow them to cool on a wire rack for about 15-20 minutes. While still warm, transfer them into twist-tie gallon bags, but leave the ends of the bags slightly open to allow any residual heat and steam to escape gradually. Once the loaves have cooled completely to room temperature, you can then tie the bags shut. For incredibly clean and even slices the next morning, an electric knife is highly recommended. If you won’t be enjoying it immediately, freeze the bread to preserve its texture. We personally enjoy a chewier crust, so we often skip the immediate bagging step for that desired texture. For a delightful savory twist, try our garlic bread suggestion: rub a fresh garlic clove directly onto the hot bread crust and sprinkle with sea salt. This is a traditional way my husband grew up enjoying bread in Ukraine, adding a pungent, aromatic kick to every bite.
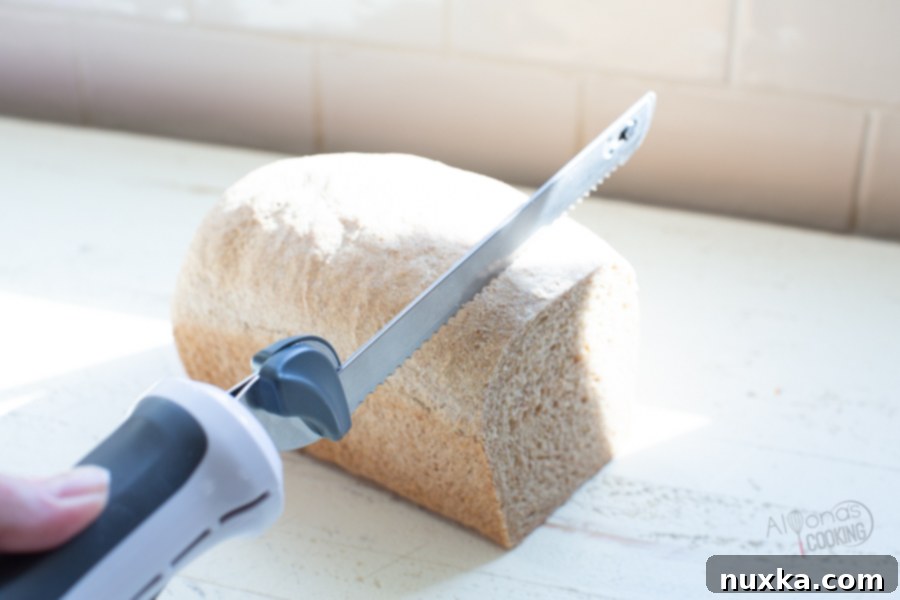
Can You Freeze Bread for Long-Term Freshness?
Absolutely! Freezing is an excellent method to extend the shelf life of your homemade whole wheat bread and lock in its fresh-baked quality for weeks, or even months. Whole wheat bread freezes exceptionally well, making it a convenient option for meal prep or ensuring you always have wholesome bread on hand.
How to Freeze Bread:
- Cool Completely: The most critical step is to ensure the bread loaves are completely cooled to room temperature on a wire rack before freezing. Freezing warm bread will trap moisture, leading to ice crystals and a soggy texture upon thawing.
- Wrap Thoroughly: Once completely cool, transfer each loaf into gallon freezer bags or sturdy twist-tie bags. Press out as much excess air as possible from the bags to minimize freezer burn.
- Double Wrap for Protection: For optimal freshness and to prevent frost accumulation, consider double-wrapping the loaves. You can either use a second freezer bag or wrap them tightly in aluminum foil before placing them in a bag.
- Freeze: Properly wrapped, whole wheat bread can be frozen for up to 3-6 months.
- Defrost: To defrost, you have a couple of options:
- Microwave: Place the frozen loaf in the microwave and use the defrost mode, checking periodically until thawed.
- Overnight Thaw: For a more gradual thaw, simply transfer the frozen bread from the freezer to the refrigerator overnight.
- Room Temperature: For quick thawing, you can also leave it at room temperature for a few hours.
How To Make Ahead Whole Wheat Bread: Ultimate Convenience
The make-ahead method is arguably the best way to prepare this whole wheat bread, offering incredible flexibility and convenience for your busy weeknights. This technique allows you to do the bulk of the prep work in advance, letting the dough slowly ferment in the refrigerator, which paradoxically enhances its flavor and texture. This slow, cold fermentation also works wonders for gluten development, making the dough even more pliable and robust. You can simply refrigerate the prepared dough in a large food container with a tight-fitting lid and pull out a portion of the dough whenever you’re ready to bake a fresh loaf. Because this is a naturally sticky dough, it refrigerates beautifully, developing a wonderful depth of flavor, much like artisanal French bread. This approach is also commonly known as a “no-knead” bread method, where time replaces intensive kneading to develop the gluten. When preparing dough for refrigeration, use cool to lukewarm water (around 78°F) to dissolve the yeast; this prevents the yeast from activating too quickly and ensures a slow, controlled rise in the fridge. You can bake one loaf fresh for immediate enjoyment and store the remaining dough in a smaller food container, ready for its next baking adventure.
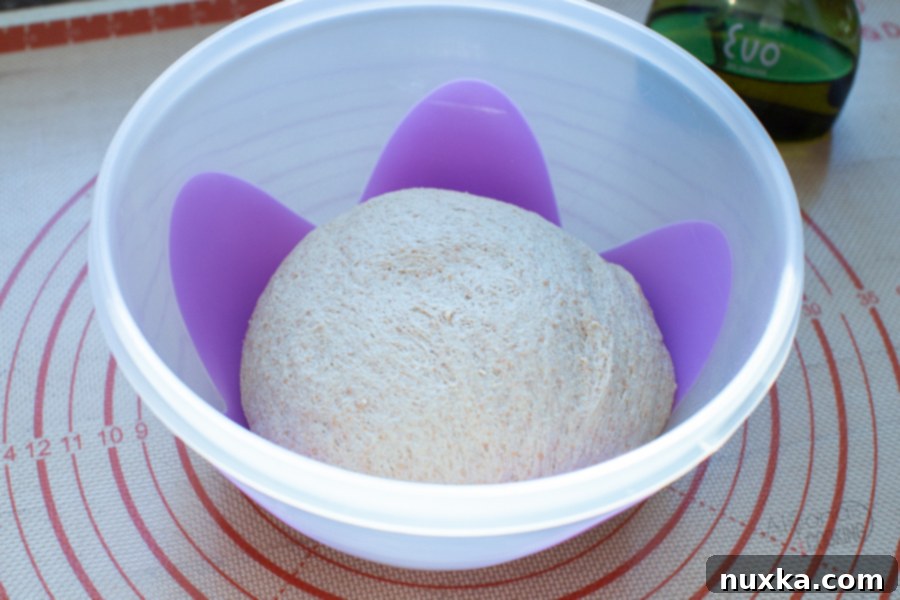
How to Prepare Make-Ahead Bread Dough for Baking:
Once you’ve stored your prepared dough in the fridge, the baking process is still quick and convenient:
- Remove the dough from the refrigerator about 2 hours before you plan to bake. This allows the dough to come closer to room temperature, ensuring a more even and efficient final rise.
- Gently shape the dough into loaves as desired (e.g., jelly-roll style for sandwich loaves).
- Place the shaped loaves into your greased loaf pans or onto a baking sheet, and let them rise for 30-40 minutes in a warm place. This is the final proof before baking.
- If you’re making Artisan-style bread, preheat your oven with a heavy Dutch oven pot inside. This creates a steamy environment that promotes a crusty exterior. Bake these loaves at 450°F (230°C) inside the closed Dutch oven. If you are baking in traditional bread loaf pans, preheat your oven to 350°F (175°C).
Optimal Baking Time for Whole Wheat Bread
Achieving a perfectly baked loaf of 100% whole wheat bread usually takes approximately 25-30 minutes. However, baking times can vary slightly depending on your specific oven, the type of pan used, and even the ambient humidity. The most accurate way to determine if your bread is thoroughly cooked is to use an instant-read thermometer. Insert the thermometer into the thickest part of the loaf; the bread is done when it registers an internal temperature of 190°F (88°C). This ensures a fully cooked interior with a wholesome, satisfying texture.
Creative Ways To Serve Your Wholesome Whole Wheat Bread
While a simple slice of bread with butter and jam is always a classic delight, homemade whole wheat bread offers incredible versatility for culinary exploration. Don’t limit yourself to the everyday; here are numerous smart and delicious ways to enjoy your fresh loaves:
- Flavorful Dinner Rolls: Elevate your meal by replacing the water in the recipe with milk to create soft, rich dinner rolls perfect for any gathering.
- Sweet Cinnamon Raisin Bread: For a delightful breakfast or snack, sprinkle cinnamon, sugar, and plump raisins over the rolled-out dough. Roll it up jelly-roll style before baking for a homemade cinnamon raisin bread that’s bursting with flavor.
- Repurpose Leftovers: Give leftover or slightly stale bread new life by transforming it into crunchy breadcrumbs, homemade croutons for salads, or a foundational ingredient in comforting casserole recipes.
- Savory Spreads: Enjoy a nutrient-rich snack or light meal by spreading creamy eggplant dip or fresh Avocado spread over a hearty slice.
- Accompaniment to Soups: Serve thick slices as the perfect side to a steaming bowl of traditional Red Borscht or any of your favorite comforting soups.
- Open-Faced Pizza Toast: For a quick and easy meal, top slices with your preferred pizza sauce, cheese, and toppings, then bake until golden and bubbly for delicious open-faced pizza.
- Elegant Tea Sandwiches: This bread is wonderfully suited for delicate tea sandwiches, especially when paired with savory fillings like kielbasa for a delightful bite.
Frequently Asked Questions (Q&A) About Whole Wheat Bread
Here are answers to some common questions you might have about baking and enjoying your homemade whole wheat bread.
How Many Slices of Bread in a Loaf?
A single loaf of bread, when baked in a standard 8×4 loaf pan and sliced to a reasonable thickness, typically yields about 12 generous slices of bread. This recipe makes two such loaves, offering a total of approximately 24 slices.
Expert Tips for Making Perfect Whole Wheat Bread:
Unlock the secrets to baking consistently delicious whole wheat bread with these valuable tips and tricks:
- Embrace the Stickiness: This bread recipe yields a remarkably chewy, soft, and moist loaf. The secret lies in its sticky dough. Remember, the stickier the dough, the moister your baked bread will be. As this is a somewhat “no-knead” whole wheat bread recipe, don’t be afraid of the wet texture; simply use wet hands when handling the dough if it becomes too challenging to manage.
- Artisan-Style Baking: For a rustic, crusty bakery-style loaf, especially if you desire a round shape, consider using a heavy Dutch oven or cast-iron pot. This recipe’s dough is robust enough to produce two round loaves. Baking in a preheated, enclosed vessel traps steam, which is essential for developing that desirable crispy crust.
- Flour Substitutions: While this recipe champions whole wheat flour, you can substitute it with 4 cups of white bread flour or all-purpose flour for a different texture. However, note that the nutritional benefits and unique flavor of whole wheat will be altered.
- Grind Your Own for Premium Flavor: Whole grain wheat is a powerhouse of nutrition. To truly experience premium flavor and maximize the health benefits, consider making your own whole wheat flour using a grain mill. Freshly ground flour retains all its natural oils and nutrients, contributing to an unparalleled taste and aroma.
- Enhance with Whey: For an added boost of flavor and tenderness, you can replace a portion of the water in the recipe with whey, the liquid byproduct from making butter or cheese. This not only adds a subtle tang but also introduces beneficial proteins and probiotics.
- Experiment with Rye: If you’re keen on exploring different flavor profiles, substitute 2 cups of the whole wheat flour with rye flour. This will result in a distinctively tangy pumpernickel rye bread, perfect for savory pairings.
- Roll for Structure: When shaping your loaves, rolling them up “jelly-roll style” is more than just a technique; it’s a structural advantage. This method creates tension in the dough and helps to distribute the air bubbles evenly, resulting in a strong, uniform crumb that holds up beautifully as a sandwich bread.
- Even Browning: To ensure your bread loaves achieve a golden-brown crust and bake evenly, place them on the center rack or the bottom rack of your oven. Avoid placing them too close to the top heating element, which can lead to over-browning on the top while the inside remains undercooked.
- Freeze for Freshness: The best strategy to preserve the freshness and flavor of this homemade bread is to freeze it on the day of baking, once it has cooled completely. This locks in the peak taste and texture, allowing you to enjoy fresh-tasting bread anytime.
- Water Temperature Matters: For make-ahead dough that will be refrigerated, use cool room temperature water (around 78°F) to dissolve the yeast. This slows down yeast activation, allowing for a longer, more flavorful cold fermentation. If you plan to bake fresh on the same day, use lukewarm water (around 105°F) to encourage faster yeast activation and proofing.
Whole Wheat Bread Recipe
Rate
Pin
Whole Wheat Bread Recipe
Equipment
-
1 grain mill (to make whole wheat flour)
-
1 large mixing bowl (to make bread dough)
-
2 8×4 loaf pans
Ingredients
Ingredients:
-
3 cups warm water (105°F)
-
1 1/2 tbsp dry active yeast
-
1 1/2 tbsp sea salt
-
6 1/2 cups whole wheat flour **
Instructions
Directions:
-
 In a large bowl, dissolve the yeast in warm water. Let it sit and proof for 5 minutes.
 -
 Add the flour and salt and mix well to form a sticky and wet dough. The dough should pull away from the sides and be tacky to the touch.
 -
 Cover and let the dough rise for 30 minutes until it has doubled in size.
 -
 Transfer the dough to a silicone mat and divide it in half.
 -
 Shape each piece to an 11-inch oval and roll up jelly-roll style.
 -
 Place into two greased 8×4 bread pans and allow to rise for another 30 minutes.
 -
 Bake in a preheated 350°F oven for 25 minutes. Remove from pans and cool on a wire rack before wrapping in storing bags.
Notes
- Whole Wheat Flour Substitute: can use 4 cups of white all-purpose flour or bread flour for the whole wheat flour.
- Each loaf makes 12 slices of bread. I use an electric knife for easy cutting.
- To Make-Ahead: use cool room temperature water of 78°F to dissolve the yeast and keep covered in the fridge until needed. Let come to room temp 2 hours before using.
Nutrition per serving
