The Ultimate Homemade Granola Recipe: Achieve Perfect Crunchy Clusters & Healthy Flavor
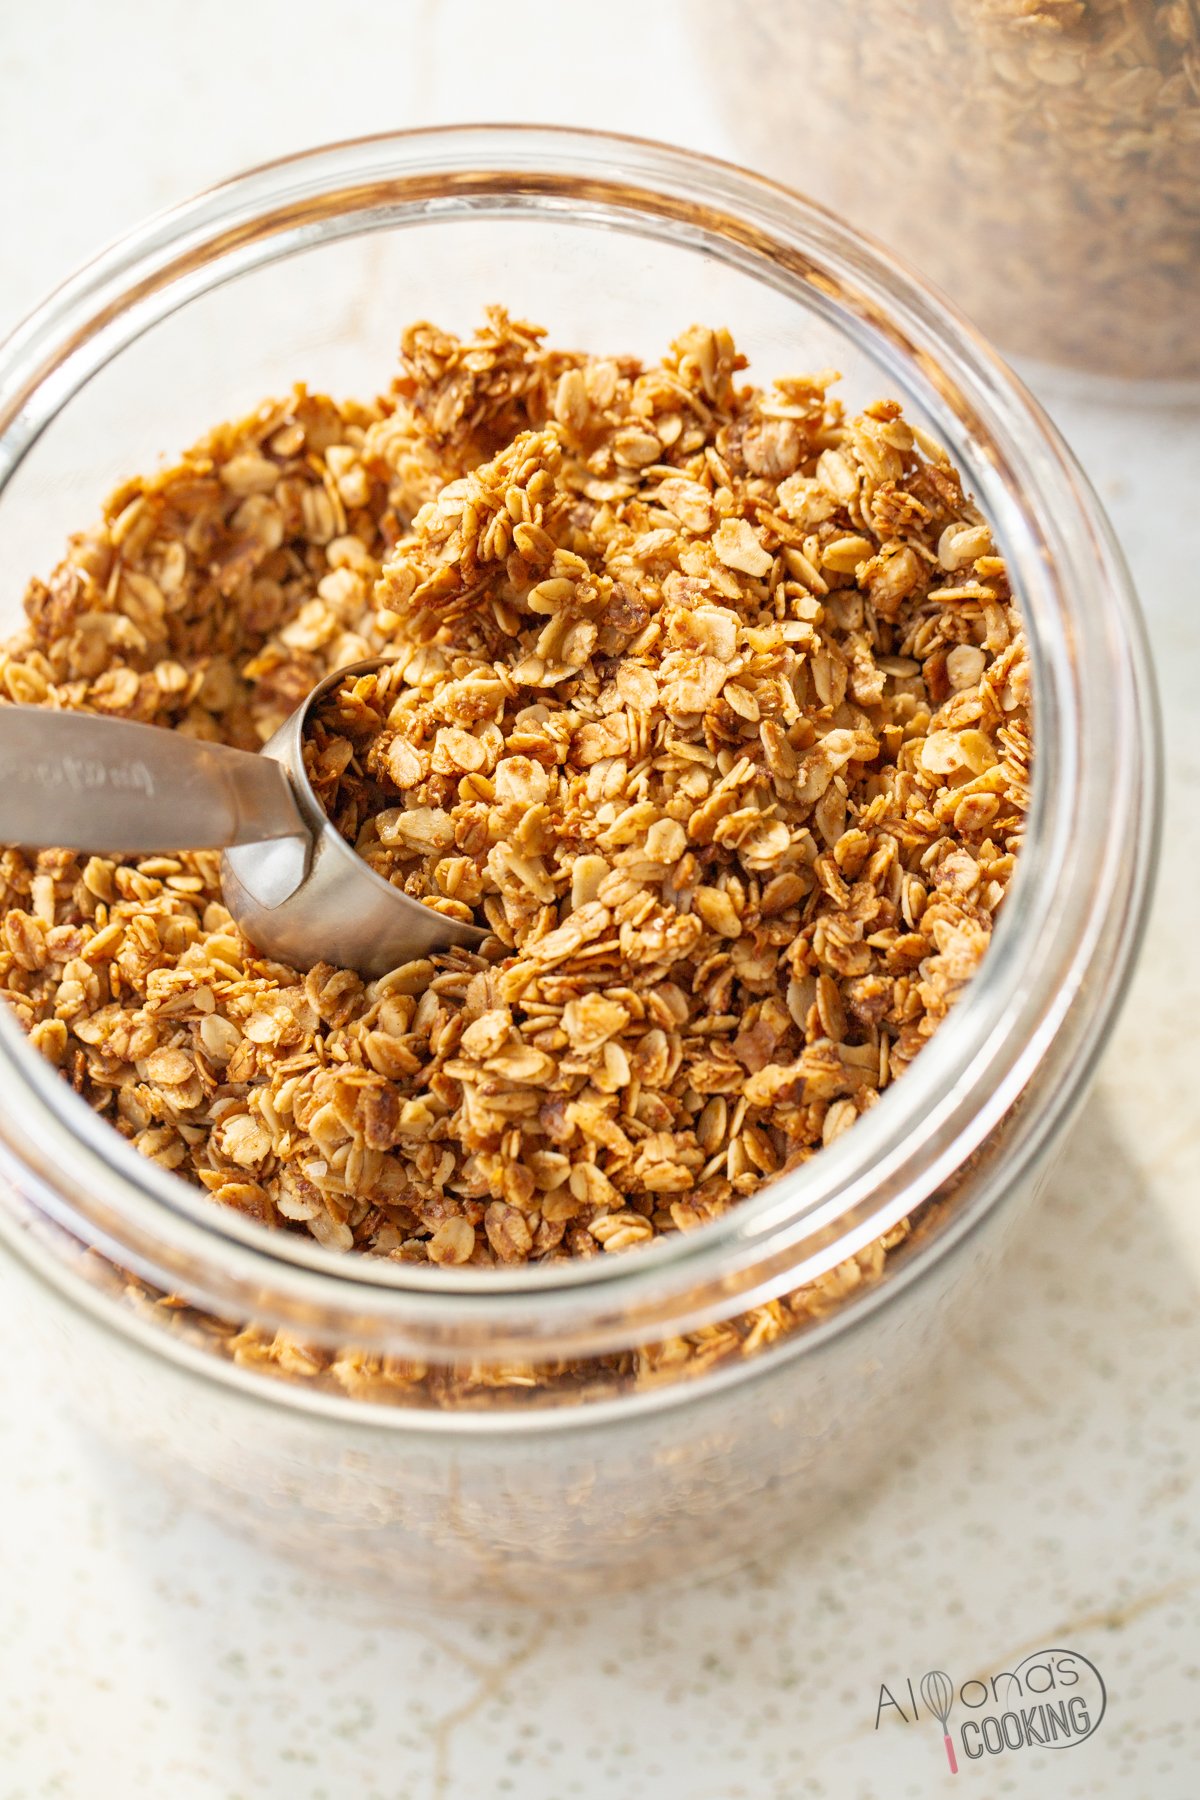
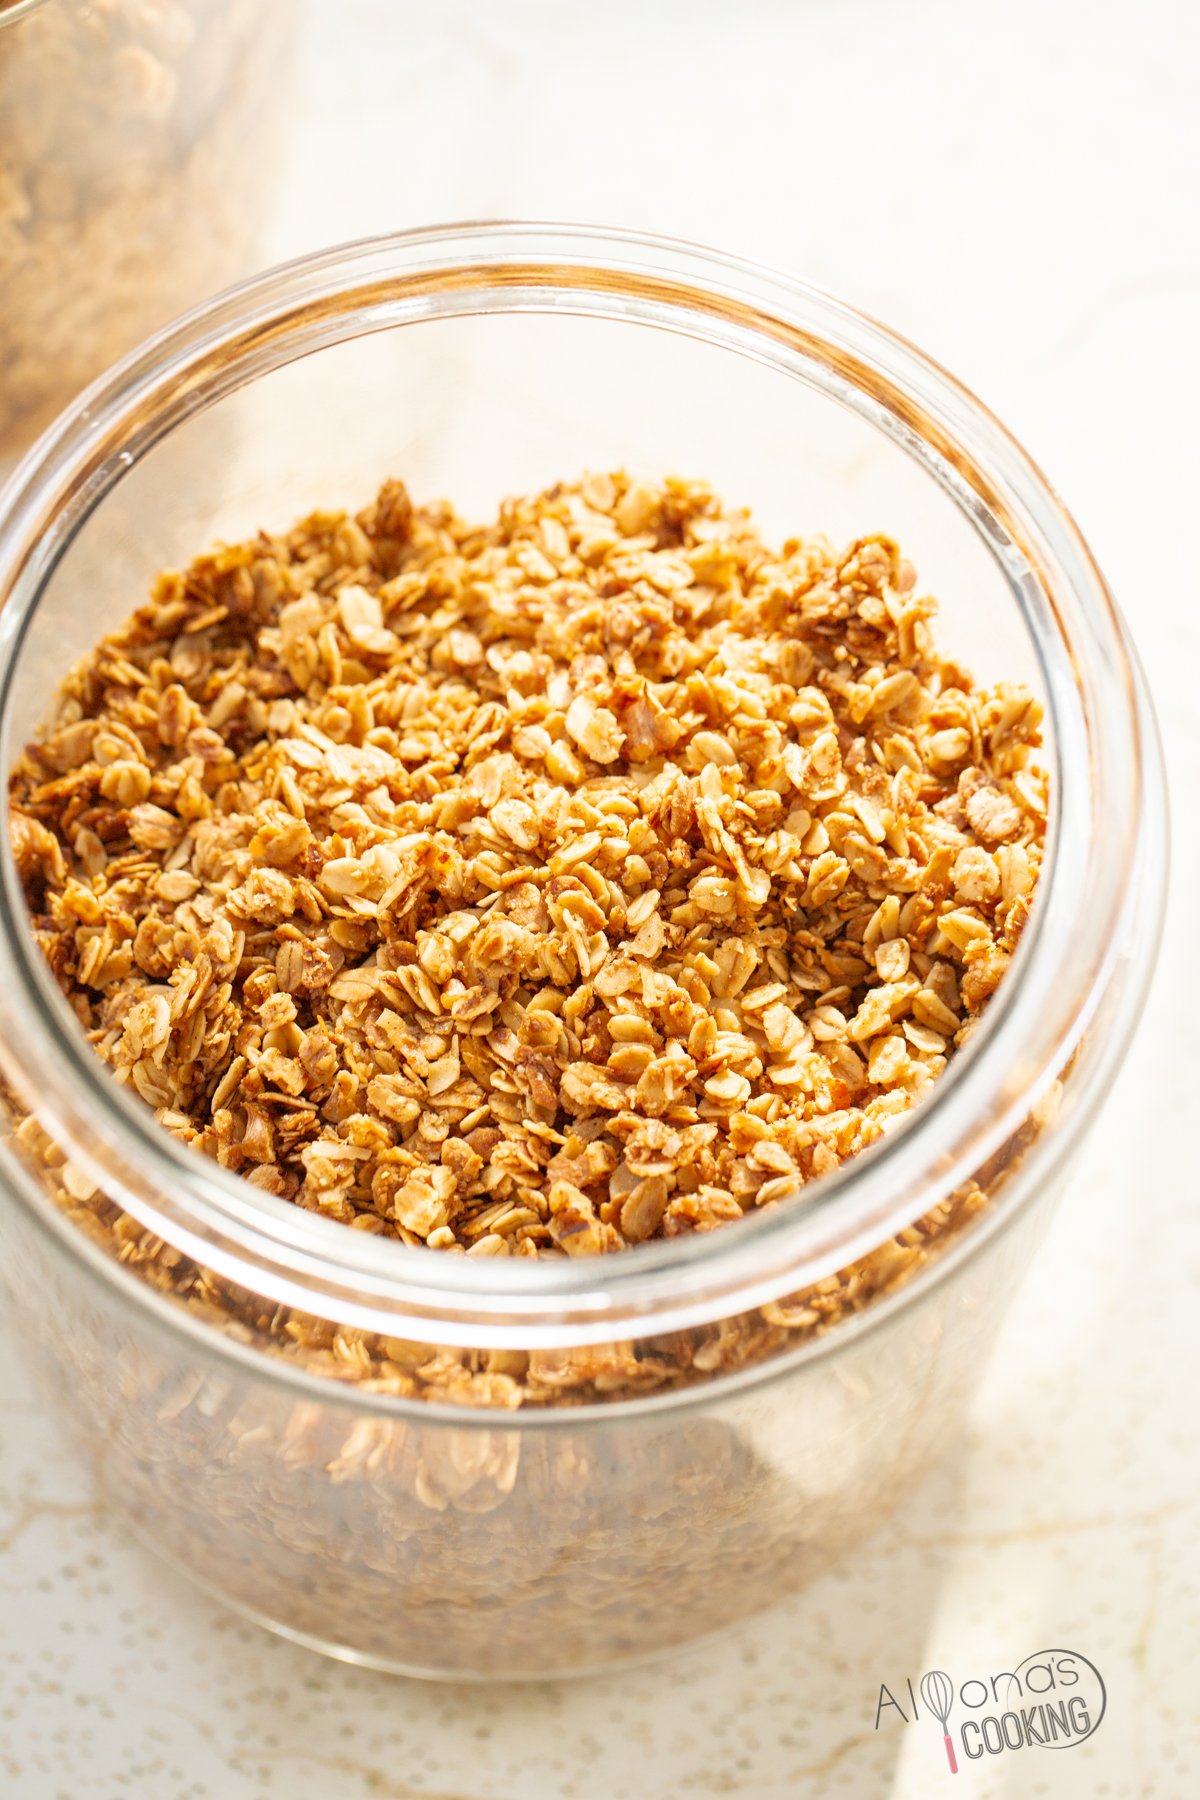
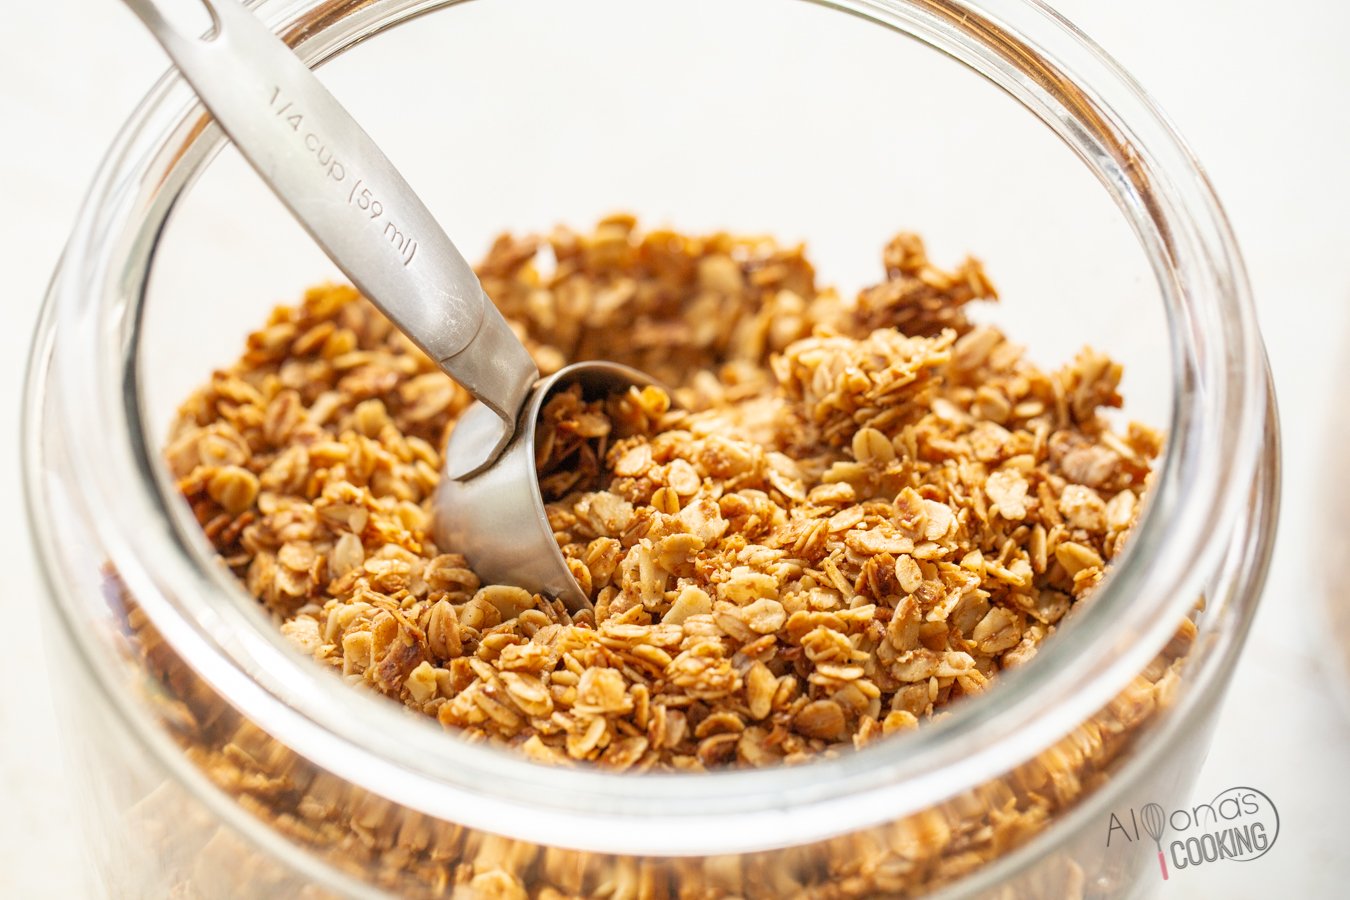
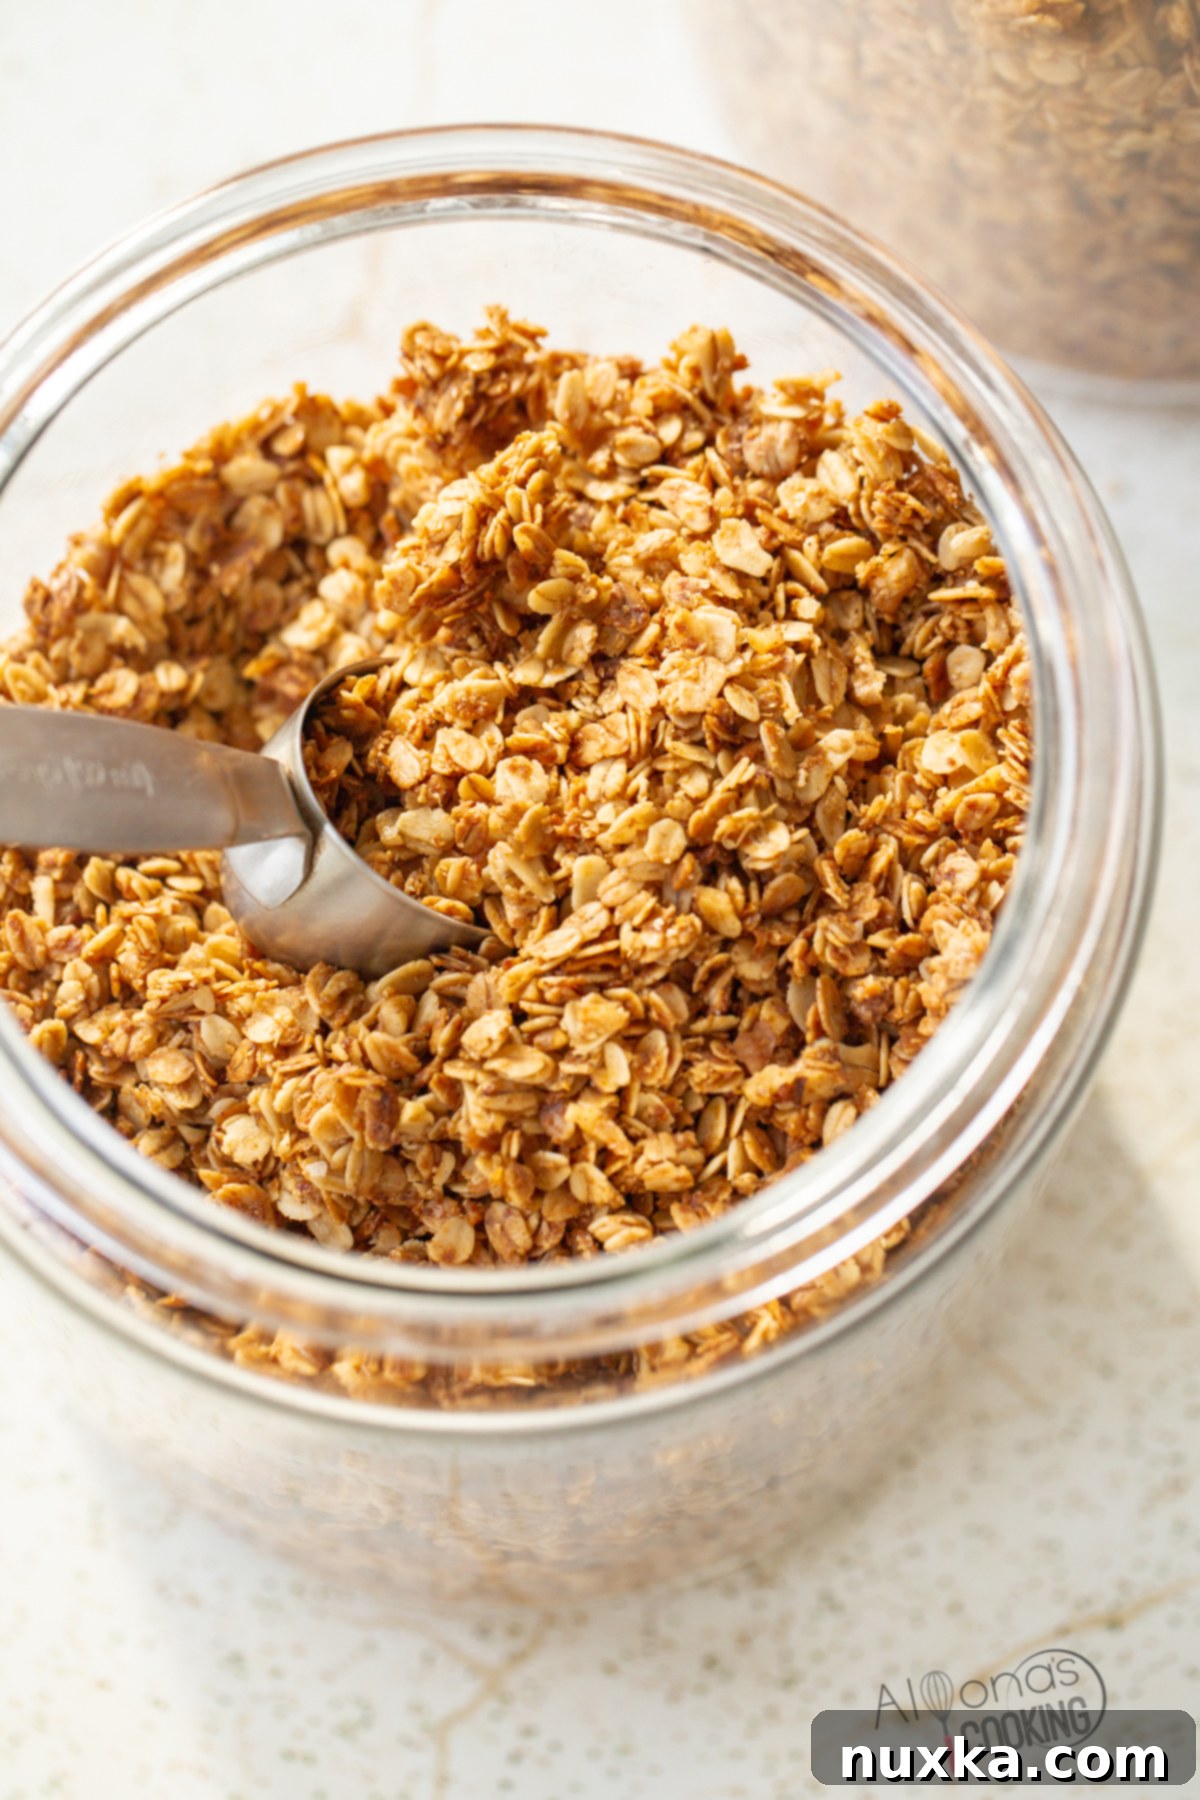
Imagine starting your day with a bowl of perfectly crunchy, golden-baked oats, bursting with natural honey flavor, warming cinnamon, and delightful coconut and nut textures. Our Homemade Granola recipe brings this dream to life, creating irresistible honey-flavored oat clusters that taste remarkably like your favorite Honey Bunches of Oats Cereal, but with the wholesome goodness of ingredients you control. Made with old-fashioned oats, a generous mix of nuts, aromatic cinnamon, and unsweetened coconut flakes, all bound together with a luscious melted butter and honey coating, this granola is designed for maximum crunch and flavor. It’s not just a delicious breakfast option; it’s a healthy way to add essential nutrition and whole grains to your morning routine, providing sustained energy without any unwanted preservatives.

Why Make Granola at Home? The Benefits of DIY Granola
Adding whole grains to your morning regime has never been easier or more delicious. This homemade oat mixture is not only super healthy but incredibly satisfying. Beyond its delightful taste, making granola at home offers several significant advantages over store-bought versions. You gain complete control over the ingredients, allowing you to choose organic oats, high-quality nuts, and natural sweeteners, effectively avoiding the artificial flavors, excessive sugars, and preservatives often found in commercial products. This control means you can tailor the granola to your dietary needs and preferences, making it truly a “good-for-you” snack.
Homemade granola is also incredibly versatile. It makes a substantial batch that can be stored for weeks, ensuring busy mornings are always covered with a healthy option. Enjoy it as a standalone snack, sprinkled over yogurt, added to smoothies, or simply with milk as a hearty cereal. If you’re looking to diversify your healthy breakfast options, be sure to explore other whole grain recipes like our Sourdough English Muffins (made with freshly milled white wheat berries) or our naturally sweet No-Bake Energy Balls, perfect for satisfying a sweet tooth with wholesome ingredients.
Achieving the Perfect Clumpy Granola: Secrets Revealed
This is how homemade granola *should* be made! We’re talking about perfectly flavored, gloriously crunchy oat clusters, slowly baked in the oven to achieve that ideal crisp, golden finish. It transforms into a fantastic cereal (you can even add cornflakes to stretch it out further) or makes an exquisite topping for your favorite Greek yogurt. My husband frequently snacks on it throughout the day, and honestly, who could blame him? It’s a healthy, crave-worthy snack that delivers on taste, mimicking the beloved Honey Bunches of Oats cereal, but without any of the artificial stuff.
So, how do you make granola with those highly sought-after clumps? The secret to achieving those chunky oat clusters we all adore in commercial cereals isn’t found in a magical ingredient, but rather in a specific baking technique. The key is to bake your honey-coated oats in the oven at a low temperature with minimal stirring. Stirring the oats too frequently during the baking process will break up the developing clusters, resulting in more individual, flakey oats rather than cohesive clumps. Additionally, baking granola at too high a temperature will cause the oats to brown too quickly on the outside before they’ve had a chance to fully dry out and crisp up internally. True clumpy granola requires a “low and slow” approach, allowing the oats to dehydrate and the sugars to caramelize gradually, leading to those perfectly crisp and golden clusters.

The Science of Crunch: How to Make Granola Clumpy
As mentioned, achieving those delightful clumps in your homemade granola isn’t about a fancy ingredient, but rather a disciplined baking method. The sugary syrup (honey and brown sugar in this recipe) acts as a binding agent. When baked at a low temperature, this syrup slowly caramelizes and hardens, gluing the oats and other dry ingredients together.
The crucial steps are:
- Low Temperature: Baking at 275°F (135°C) for an extended period allows the moisture to evaporate slowly without burning the oats. This gentle dehydration is essential for crispness.
- Minimal Stirring: Resist the urge to constantly stir! Stirring once or twice at most throughout the entire baking process is key. This allows the oat mixture to form a cohesive slab as the sugars begin to set. Each time you stir, you break these bonds.
- Cooling in the Oven: Once baking is complete, turn off the oven and let the granola cool down completely inside. This step is often overlooked but is vital. As the granola slowly cools within the residual heat of the oven, it continues to dry out and crisp up further, allowing the clusters to harden without over-browning. This is where the magic of “super crisp and clumpy” really happens.
- Pressing (Optional for bigger clumps): If you desire really large, bar-like clusters, you can gently press the granola mixture down onto the baking sheet before baking, similar to how you would for granola bars. Once cooled, you can then break it into your desired chunk size.
By following these simple steps, you’ll be rewarded with golden, crunchy, and beautifully clumpy homemade granola every time.

Frequently Asked Questions About Homemade Granola
What is Granola?
Homemade Granola is a versatile and healthy food typically made from rolled oats, nuts, and various optional additions like seeds, dried fruits, and spices. These ingredients are coated with a natural sweetener (like honey or maple syrup) and a healthy fat (butter or coconut oil), then baked until golden and crunchy. It’s designed to be a nutritious and energizing snack, breakfast cereal, or topping that can be customized endlessly to suit individual tastes and dietary needs.
Essential Granola Ingredients: What You Need
Crafting the perfect granola starts with a thoughtful selection of ingredients. Here’s a breakdown of what makes this recipe exceptional:
- Oats: We recommend Organic Regular Rolled Oats, which are similar to old-fashioned rolled oats but typically less processed, retaining more of their natural goodness. Avoid instant or quick oats as they tend to become mushy. For bulk buying, sources like organic bulk stores are excellent for high-quality, whole grain oats.
- Coconut Flakes: Unsweetened coconut flakes are preferred to avoid adding unnecessary sugar and to allow the natural sweetness of honey to shine. They add a wonderful texture and subtle tropical flavor.
- Nuts: This recipe calls for walnuts, but the beauty of granola lies in its adaptability. Feel free to use a combination of your favorites such as almonds, cashews, pecans, or even sunflower seeds. Each type of nut brings its unique flavor and nutritional profile.
- Salt: A crucial ingredient often underestimated in sweet recipes, salt balances the sweetness and enhances all the other flavors, making the granola truly “perfectly seasoned.”
- Cinnamon: Beyond its warm, inviting aroma, cinnamon is the secret ingredient that gives this granola a flavor reminiscent of Honey Bunches of Oats. It acts as a natural sweetener and deepens the overall taste.
- Wheat Bran: An excellent addition for extra nutrition, boosting the fiber content and making it an even healthier whole grain snack. If you mill your own wheat, you can use freshly ground whole wheat flour with its bran for maximum benefit.
- Sweetener: While the original recipe might suggest alternatives like xylitol, we’ve opted for brown sugar for its rich, molasses-like flavor that complements the honey beautifully. Natural sugar alternatives like stevia or coconut sugar can also be used.
- Butter: Essential for coating the oats evenly and contributing to that desirable crunchy texture. It also adds a rich, comforting flavor.
- Coconut Oil: Replacing olive oil from some traditional recipes, coconut oil truly enhances the flavor, making the granola incredibly tasty and adding a beneficial healthy fat. Choose a neutral-tasting oil if opting for other alternatives.
- Vanilla Extract: A splash of vanilla rounds out the flavors, adding warmth and depth to the honey and cinnamon.
Customizing Your Granola: Variations and Add-Ins
The beauty of homemade granola lies in its endless customization possibilities. The fundamental elements—oats, a sweetener, and a healthy fat—form a versatile base that you can adapt to your heart’s content. Here are some ideas to make your granola truly unique:
- Nut Varieties: Beyond walnuts, consider pecans, sliced almonds (a classic choice for that Honey Bunches of Oats feel), chopped cashews, or pumpkin and sunflower seeds for diverse textures and nutrients.
- Sweetener Swaps: Replace part or all of the honey with maple syrup or agave nectar for a different flavor profile. If omitting brown sugar, simply add an extra 1/2 cup of your preferred liquid sweetener. Other natural sugars like stevia or xylitol can also be used.
- Dried Fruits: For a burst of sweetness and chewiness, incorporate dried cranberries, raisins, chopped apricots, or even dried blueberries *after* the granola has finished baking and cooled slightly. Adding them during baking can make them tough or burnt.
- Spices: Enhance the flavor with a pinch of nutmeg, cardamom, or pumpkin pie spice for seasonal variations.
- Chocolate: For a delightful treat, mix in a handful of chocolate chips or chunks after the granola has cooled completely to prevent melting.
- Protein Boost: Add a tablespoon or two of chia seeds or ground flaxseeds to the dry mixture for an extra boost of omega-3s and fiber.
Remember, the base formula is forgiving, allowing you to experiment with different combinations while still achieving perfectly seasoned, delicious oats.
Is Homemade Granola Healthy?
Yes, with the right ingredients, homemade granola can be incredibly healthy and is generally a far better option than many factory-made granolas found on grocery store shelves. When you make it yourself, you dictate the quality and quantity of every component. You can choose whole grains, beneficial fats, and natural sweeteners, avoiding high-fructose corn syrup, artificial flavors, and excessive processed sugars. This control allows you to create a nutrient-dense, fiber-rich, and satisfying snack or breakfast. Cooking oats at home is a rewarding process that not only tastes superior but also makes you feel good about what you’re serving yourself and your family. Your children will love these wholesome oats!
What is the BEST Coating for Granola?
The ideal coating for granola is a carefully balanced mixture of fat and sweeteners. Healthy oils or butter provide the fat component, which is essential for toasting the oats evenly and contributing to their crisp texture. Natural liquid sweeteners like honey and maple syrup not only impart a delicious flavor but also act as the crucial binding agent that creates those desirable clusters. This recipe uses a fantastic combination of butter, coconut oil, honey, and a touch of brown sugar. The given proportions are meticulously designed for optimal flavor and crunch, leaning slightly more towards sweetness to ensure a delightful taste. Balancing these elements is key to a perfectly coated and flavored granola. If this recipe yields too large a batch for your needs, you can easily reduce it by a third, using proportionate amounts like 1/2 cup of honey, corresponding coconut flakes, and so on.
How to Get Clumpy Granola?
The secret to clumpy granola isn’t about special ingredients, but rather a specific baking technique. The key lies in minimizing disturbance during the baking process. Stir the oats only once or twice at most throughout the entire baking time. This allows the honey-butter mixture to set and bind the oats together into natural clumps. The less you “mess with” them, the more cohesive they’ll become.
For truly large, substantial clumps, after spreading the oat mixture on the baking sheets, gently press it down tightly, similar to how you’d prepare granola bars. Once baked and completely cooled, you can then break it into your desired, satisfyingly large chunks. It’s a surprisingly simple process that makes achieving that perfect clumpy texture even easier!
Can I use Different Sweeteners?
Absolutely! This recipe is quite flexible when it comes to sweeteners. Agave syrup, maple syrup, or various types of honey (clover, wildflower, buckwheat) all work wonderfully as natural sweeteners, each imparting a slightly different flavor profile. You can use all maple syrup if you prefer, completely omitting the small amount of brown sugar called for. Other granulated sugars like stevia, xylitol, or coconut sugar can also be used in place of brown sugar, allowing you to tailor the sweetness and glycemic impact to your preference. Just ensure that if you’re swapping a liquid for a granulated sweetener, or vice-versa, you maintain a similar overall liquid-to-dry ratio for proper coating and clumping.
When is Granola Done?
Determining the exact “doneness” of granola can be a bit tricky because it doesn’t emerge from the oven perfectly dry and crisp. It actually continues to dry and crisp up significantly as it cools, which is a key part of the process. The most important factor is baking the oat mixture at a low temperature to slowly dehydrate the oats without browning them too quickly. You want to avoid over-baked granola, as it can develop an undesirably deep, robust, and sometimes even burnt flavor (which can also intensify the saltiness).
A good indicator is when the edges of the granola on the pan have turned a light golden-brown, and your home is filled with the delightful aroma of toasted honey. Once you reach this point, turn off the oven and, ideally, allow the granola to cool completely inside the turned-off oven. This gentle, slow cooling further dries out the oats and allows the clusters to harden without any additional baking, ensuring maximum crispness.
Can I Add Dried Fruit?
Yes, absolutely! Dried fruits such as raisins, dried cranberries, chopped apricots, cherries, or even finely diced dates are wonderful additions to granola. However, it’s crucial to incorporate them *after* the granola has fully baked and cooled. Adding dried fruits before or during baking can cause them to become hard, rubbery, or even burn due to their already dehydrated state and sugar content. Stir them into the cooled granola for a burst of chewy texture and natural sweetness that complements the crunchy oats perfectly.
How Long Does Granola Last?
While store-bought granola often boasts a shelf life of up to a year thanks to preservatives and heat sealing, homemade granola, being free of artificial additives, has a shorter but still substantial storage period. Proper storage is paramount to maintain its freshness and prevent spoilage, particularly mold formation from moisture.
Storing: To maximize shelf life, always ensure your granola is completely cooled before storing. Transfer it to an airtight container or a heavy-duty freezer bag. Glass jars with tight-fitting lids are ideal. Avoid introducing any moisture; for instance, avoid reaching into the container with wet hands. Properly maintained, homemade granola can last fresh for up to 4 months at room temperature. For even longer storage, some people opt to freeze granola, though this recipe focuses on ambient storage. Always use fresh, in-date ingredients to begin with.
Creative Ways to Serve Homemade Granola
Granola isn’t just for breakfast! Its versatility allows it to be enjoyed at any time of day, as a snack, dessert, or even as an unexpected addition to savory dishes. Here are some inspiring ideas to use your delicious homemade granola:
- Classic Breakfast: Serve with milk (dairy or non-dairy) as a traditional cereal.
- Yogurt Parfaits: Layer with Greek yogurt, fresh fruit, and a drizzle of honey for a beautiful and nutritious parfait.
- Smoothie Topping: Sprinkle over your favorite smoothie bowls or blended smoothies for added crunch and texture.
- Oatmeal Enhancer: Stir into hot oatmeal for extra flavor and substance.
- Dessert Topping: Use as a crunchy topping for baked apples, fruit crumbles, pies, or cobblers.
- Salad Crunch: Add a savory twist by sprinkling a small amount over a fresh green salad for an unexpected texture and nutty flavor.
- With Cottage Cheese: A protein-packed snack! Pair granola with cottage cheese for a satisfying combination.
- Energy Bites: Incorporate it into homemade no-bake energy bites for a quick, portable energy boost.
- On Toast: Spread a thin layer of nut butter on toast, then sprinkle with granola for a delightful crunch.
Let your creativity guide you; the possibilities are truly endless with this wholesome and delicious treat!
Helpful Tips for Granola Success:
- Customize Your Mix: Feel free to mix and match any of the nuts, seeds, or spices mentioned in the variations section to create your signature granola blend.
- Embrace Honey: For a purely natural and healthy dessert-like granola, you can use all honey as your primary sweetener. Its distinct flavor and binding properties are excellent.
- Indulge a Little: For a special treat, fold in a handful of high-quality chocolate chips or chopped dried fruit (like cherries or apricots) *after* the granola has completely cooled.
- Low and Slow is Key: Always bake at a low temperature (around 275°F/135°C) to slowly dry out the oats and achieve that perfect crisp, golden finish without burning. Patience is a virtue when making truly delicious, clumpy granola.
Recommended Equipment:
- Large Baking Pans (18×13 inches): Essential for spreading the granola thinly and evenly, ensuring even baking and crispness.
- Air-tight Glass Jars: Ideal for storing your homemade granola, keeping it fresh and crunchy for longer.
- Granola Scoop: A handy tool for serving and transferring your granola without crushing the precious clusters.
- Silicone Mat: Prevents sticking and makes for easy cleanup. Parchment paper is also a great alternative.
- Saucepan: For melting and combining the liquid syrup ingredients.
Step-by-Step Granola Recipe Guide

Rate
Pin
Granola Recipe
5 minutes
1 hour
15 minutes
1 hour
20 minutes
20
cups
Alyona Demyanchuk
Equipment
-
18×13″ Sheet Pan (you’ll need two)
-
Large Mixing Bowl
-
Saucepan
-
Parchment Paper or Silicone Mats
Ingredients
Dry Ingredients:
-
12
cups
rolled oats -
1 1/2
cups
unsweetened coconut flakes -
3
cups
walnuts
(chopped, or other preferred nuts) -
1 3/4
tsp
salt -
1
TBSP
cinnamon
(heaping for best flavor) -
1 1/4
cups
wheat bran
(optional, for extra nutrition; can use freshly ground whole wheat flour with its bran)
Liquid Syrup:
-
1/2
cup
brown sugar -
1 1/2
cups
honey -
1
cup
unsalted butter -
3/4
cup
coconut oil -
1 1/2
tsp
vanilla extract
Instructions
Instructions:
-
In a very large mixing bowl, combine all the dry ingredients: rolled oats, unsweetened coconut flakes, chopped walnuts (or your chosen nuts), salt, cinnamon, and wheat bran (if using). Toss thoroughly to ensure everything is evenly distributed.
-
Meanwhile, in a medium saucepan, combine the brown sugar, honey, butter, and coconut oil. Heat over medium heat, stirring occasionally, until the butter and coconut oil are completely melted and the mixture just comes to a gentle boil. Remove from heat and stir in the vanilla extract. Pour this warm liquid syrup over the dry oat mixture in the large bowl. Toss everything gently but thoroughly until all the dry ingredients are fully coated.
-
Prepare two 18×13 inch sheet pans by lining them with parchment paper or silicone baking mats. Divide the granola mixture evenly between the two pans. Spread it into a single, even layer, making sure it’s not too thick. For bigger clumps, you can gently press the mixture down with the back of a spatula.
-
Bake uncovered in a preheated oven at 275°F (135°C) for 1 hour and 15 minutes. During this time, stir the granola very gently only once or twice (no more!) to help with even browning while preserving clumps. After the baking time, turn off the oven but leave the granola inside to cool down completely. This slow cooling process in the residual heat is essential for developing extra crispness and those desired large clusters. (I typically leave mine in for about 2 hours or until the oven is completely cool; they always turn out super crisp and clumpy.) Once completely cool, break the granola into chunks and transfer to an airtight container.
Recipe Notes
- Brown Sugar: The brown sugar adds a deep caramel note. It can be omitted entirely if preferred; simply add an additional 1/2 cup of honey or your favorite liquid sweetener to compensate.
- Nuts: Feel free to experiment with different nuts! Pecans, sliced almonds, sunflower seeds, cashews, or a custom mixture all work wonderfully and add unique flavors and textures.
- Dried Fruit: Always add dried fruits (like raisins, dried cranberries, chopped apricots) *after* the granola has fully baked and cooled. This prevents them from becoming tough or burning.
- Storage: Store your cooled granola in an airtight container at room temperature for up to 4 months. Ensure no moisture gets into the container to prevent spoilage.
Nutrition per serving
Calories: 625kcal
Carbohydrates: 73g
Protein: 12g
Fat: 37g
Saturated Fat: 18g
Polyunsaturated Fat: 10g
Monounsaturated Fat: 6g
Trans Fat: 1g
Cholesterol: 24mg
Sodium: 293mg
Potassium: 488mg
Fiber: 14g
Sugar: 28g
Vitamin A: 290IU
Vitamin C: 1mg
Calcium: 68mg
Iron: 5mg

