Delicious Whole Wheat Raspberry Honey Cake: A Wholesome Eastern European Delight
Prepare to be enchanted by this incredibly easy and wholesome honey cake recipe! Featuring irresistibly fluffy sponge cake layers, vibrant fresh raspberries, and the most delectable sour cream-whipped filling, this dessert is a true masterpiece. Honey cakes, often known as Medovik in Eastern Europe, hold a special place in culinary traditions, and this moist raspberry rendition is guaranteed to delight everyone who takes a bite.
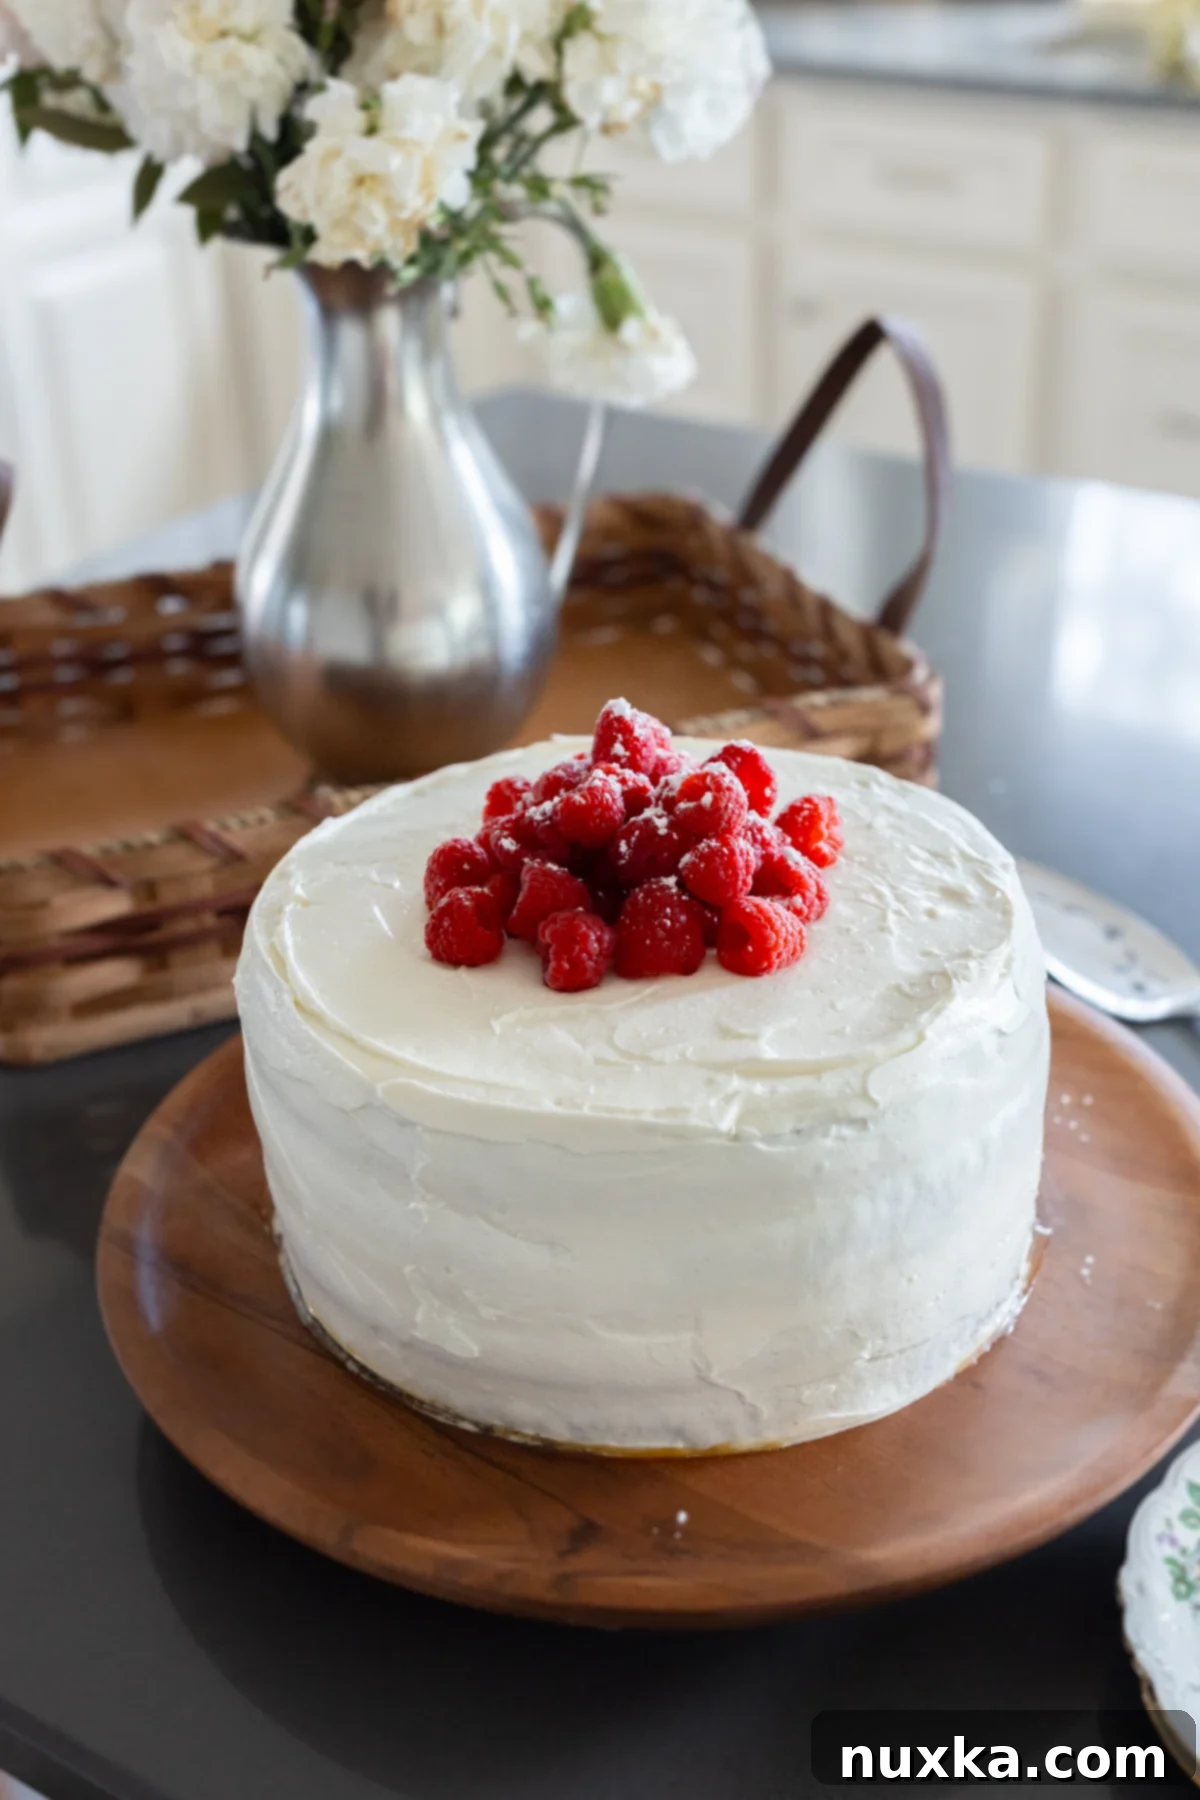
While many associate “honey cake” with the multi-layered, thin-crusted Medovik, this particular recipe offers a simpler approach without sacrificing any of the iconic flavor. In fact, it shares a delightful kinship with my popular Honey Cake Roll in taste, but presents itself as an elegant layered cake, made even more special with a luscious cream cheese frosting. This whole wheat raspberry honey cake is perfect for those seeking a less intricate baking project with equally impressive results.
Embrace the Goodness: Whole Wheat Raspberry Honey Cake
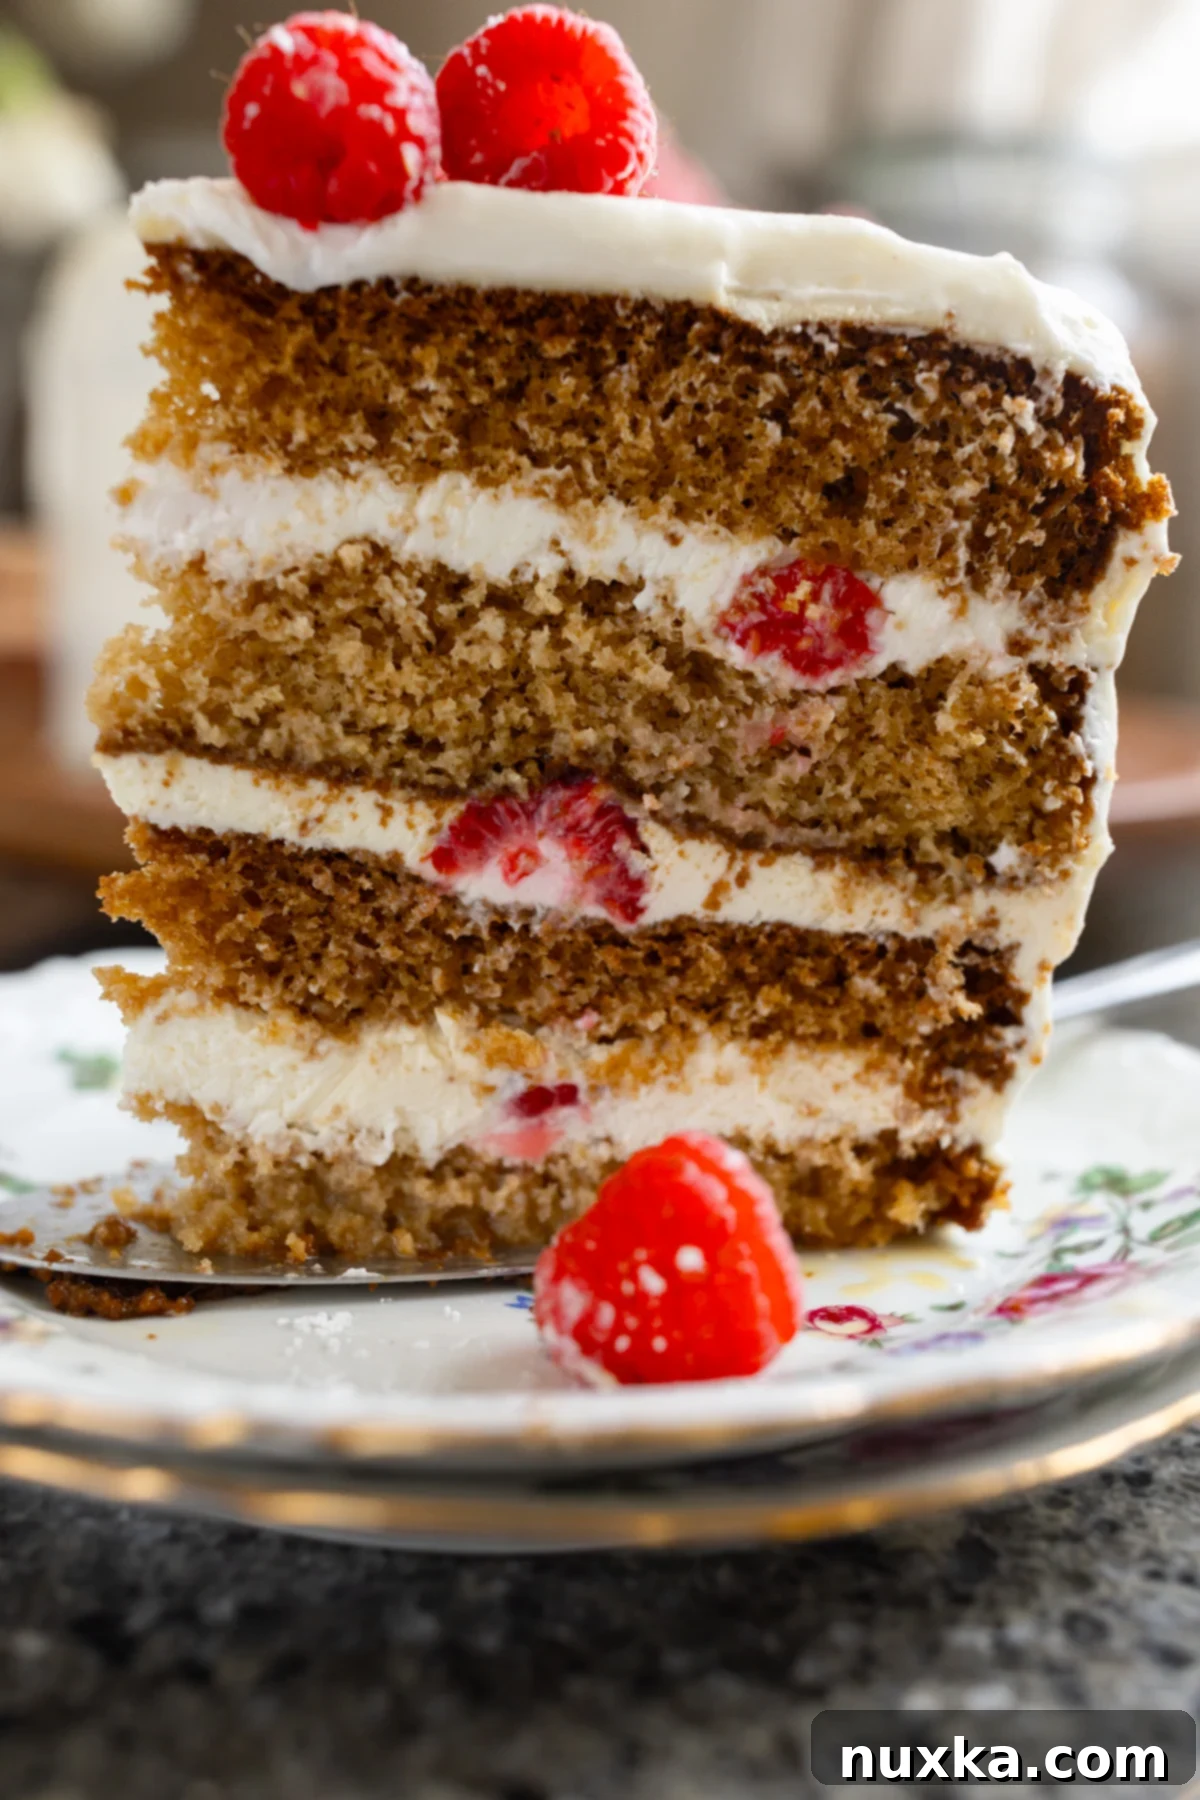
The magic of honey in baking extends far beyond its role as a mere sweetener. In this cake, honey imparts a distinctive, deep flavor profile that, once baked, transforms into a rich, almost toffee-like essence. This warm, golden note pairs exquisitely with the bright, tartness of fresh raspberries. What truly elevates this cake is the tangy sour cream frosting. Its subtle sweetness perfectly balances the richness of the cake layers, and its unique texture allows it to absorb beautifully into the sponge, creating unbelievably soft and moist results.
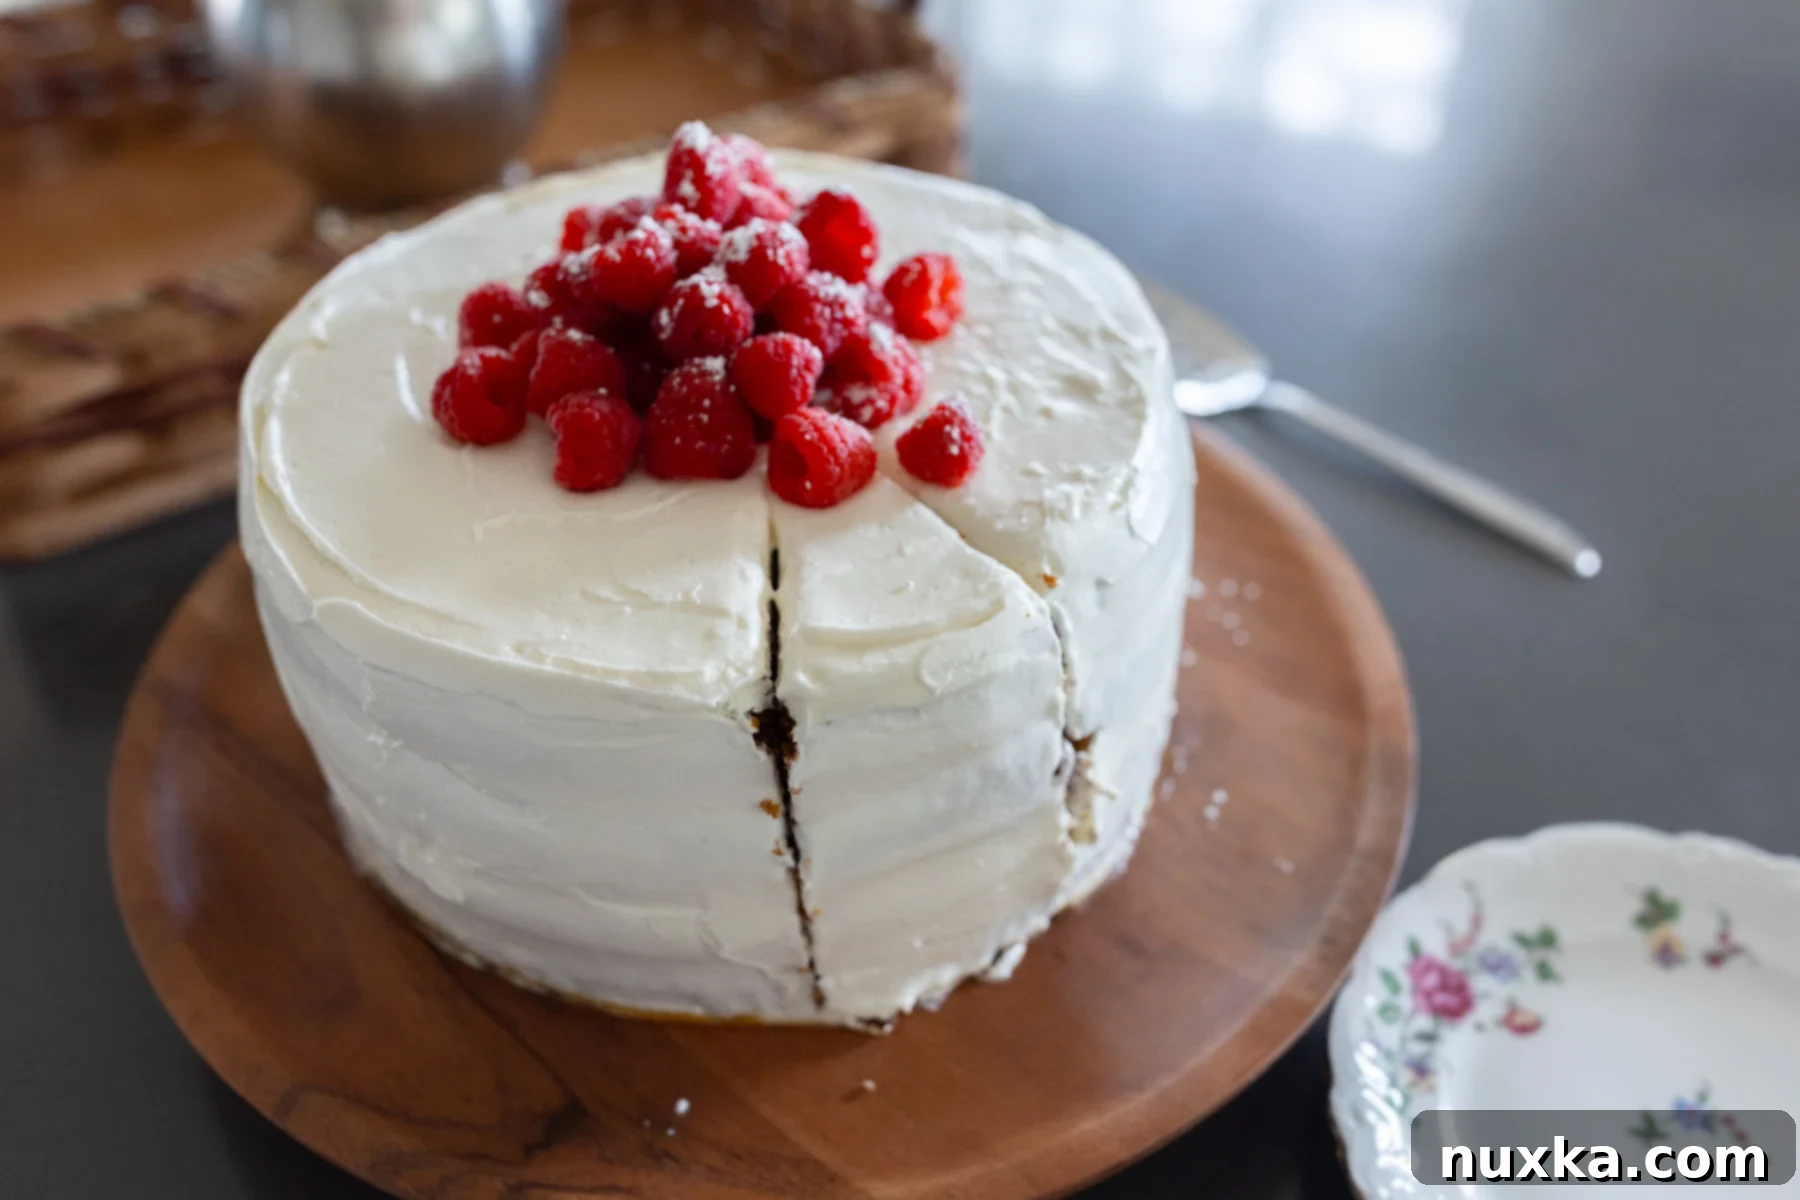
To put it simply, this is one of the softest, most luscious, and utterly delightful cakes I have encountered in a long time! The recipe for this exquisite raspberry honey cake came from a dear friend during a recent playdate. Her family, like many Ukrainians, cherishes dessert or cake with hot tea after every meal, and this particular creation garnered rave reviews from everyone present. I was truly amazed by its incredible flavor and immediately knew I had to recreate it. Since then, it’s become a beloved staple in my own kitchen, baked countless times to perfection.
Initially, I found that relying solely on the sour cream frosting for the entire cake resulted in the frosting seeping extensively into the cake layers, causing the sponge to peek through in a less-than-ideal presentation. While still undeniably delicious, it wasn’t the most visually appealing. This led to a key discovery: the addition of a thick, firm cream cheese frosting for the exterior. This outer layer acts as a wonderful “glue,” holding the entire cake together and providing structural integrity. Don’t misunderstand; the sour cream filling remains absolutely essential for its incredible moistening properties and tangy flavor within the layers, but the cream cheese frosting provides the perfect finish.
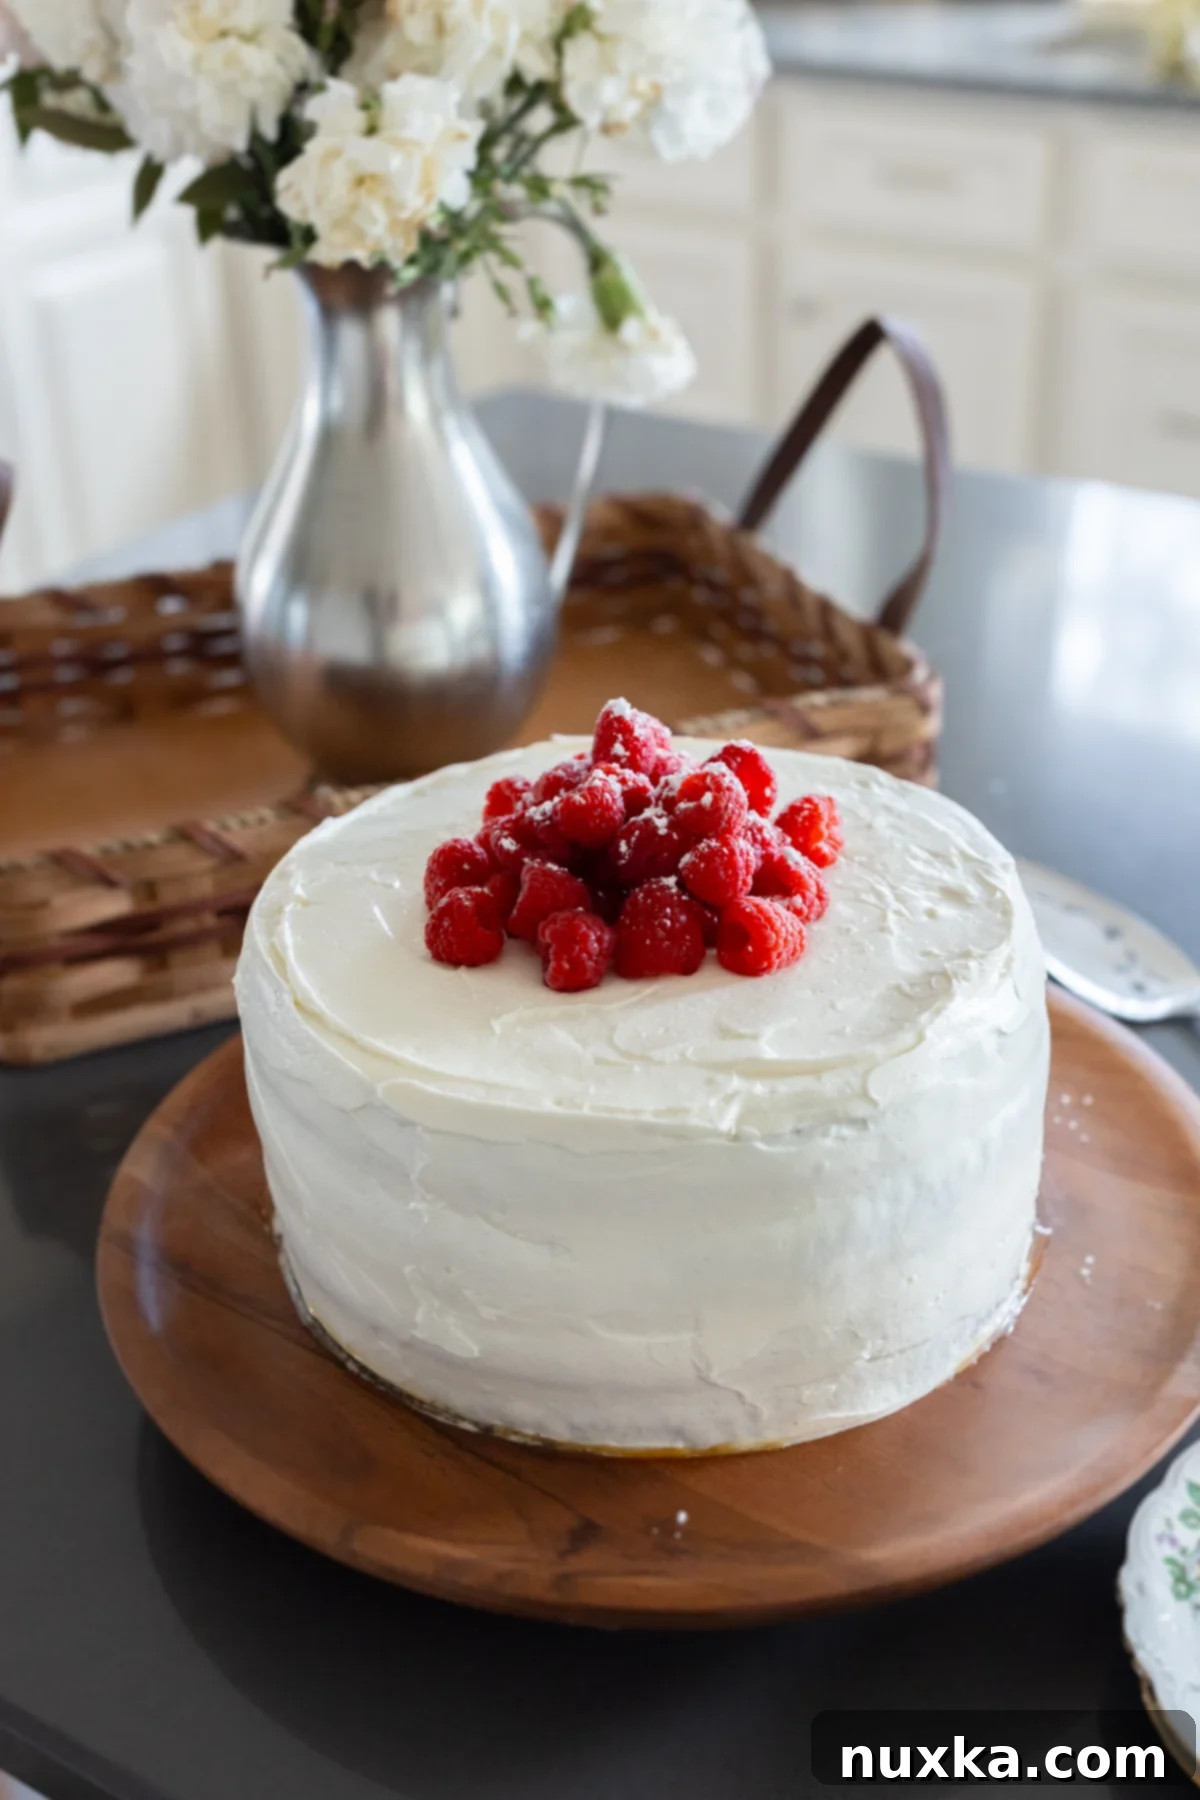
As a busy mom, intricate cake decoration isn’t always my strongest suit or my priority. That’s why I absolutely adore how elegantly simple the decorating process is for this raspberry honey cake. Despite its straightforward approach, the finished cake always looks beautifully put together and effortlessly charming. You will undoubtedly fall in love with this simple honey cake recipe. It makes a magnificent dessert for any celebration, or simply to elevate an ordinary day. From a taste perspective, it has easily secured a spot in my top five favorite cakes to bake!
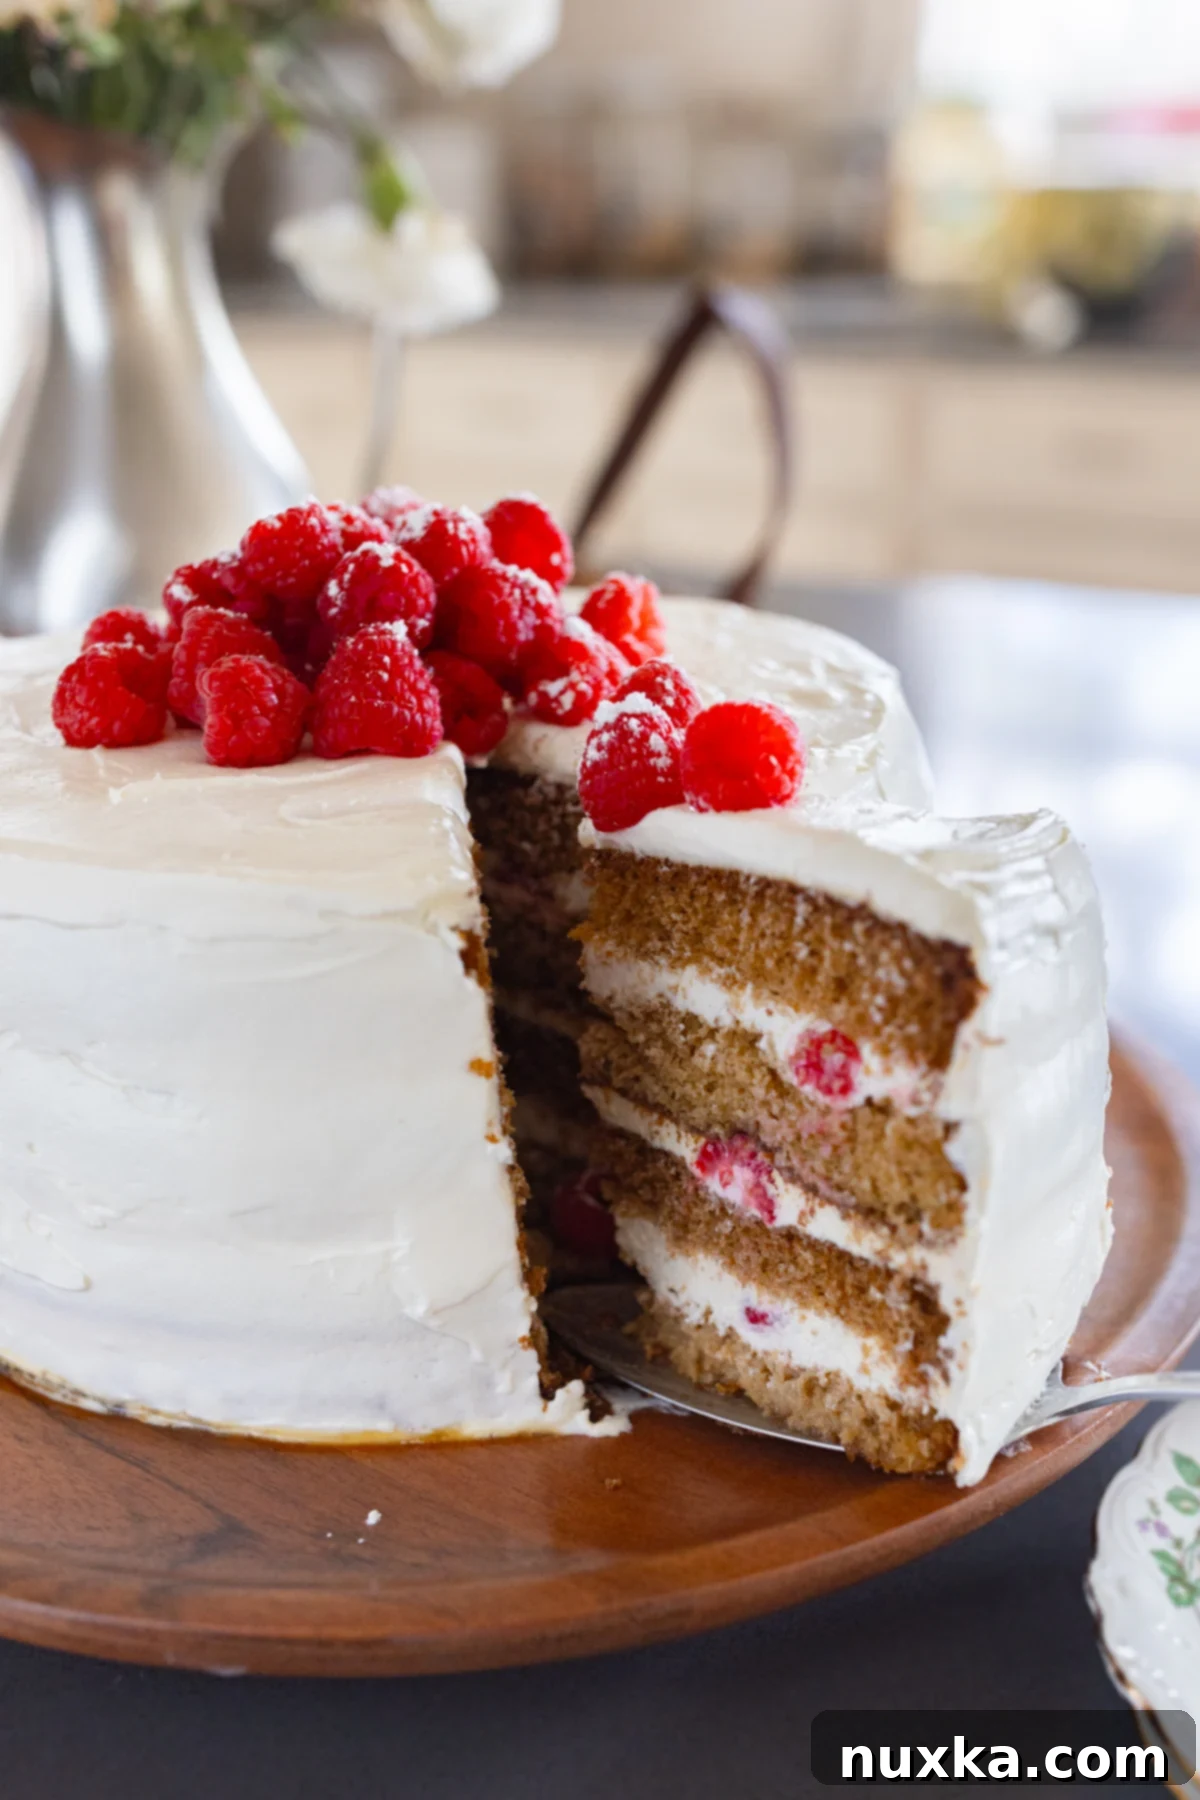
The Wholesome Advantage: Golden Honey Cake with Freshly Milled Flour
One of the distinctive aspects of this recipe, and indeed my recent baking journey, is the shift to using freshly milled flour. While the original recipe called for 2 cups of all-purpose white flour, I’ve found that incorporating whole grains elevates the cake significantly. The beauty is, this cake can be successfully made with either flour, so don’t hesitate if you don’t have a grain mill yet!
What truly surprised me was how much lighter and fluffier the sponge layers became with freshly milled soft white wheat. This observation comes from someone who doesn’t even sift out the bran or germ of the wheat kernel – a testament to the quality of freshly milled grains. To achieve this, you simply need a grain mill and soft white wheat berries to create your own fresh pastry flour. I’ve successfully converted most of my recipes using a reliable conversion chart, and the results for all my baked goods have been consistently outstanding!
Using whole grains, especially when freshly milled, is far less complicated than it might seem. My top tip for seamlessly incorporating whole grains into your baking routine is to establish a dedicated “milling station.” This means having your grain mill and a supply of grains readily accessible, making it incredibly convenient to mill flour whenever a recipe calls for it. I delve deeper into the benefits and setup of a Milling Station in my video, if you’re interested in making fresh ground flour more often for its incredible health benefits and superior taste.
Essential Ingredients for Your Ukrainian Honey Cake (Medovyk Style)
This Medovyk-style cake is distinguished by its light, airy, and deeply flavorful honey sponge layers. While soft white wheat is used here for a taste profile remarkably similar to all-purpose flour, you could experiment with a portion of buckwheat flour for a more earthy undertone if you desire. Here’s a breakdown of the key components:
- Sponge Cake Layers: These are the foundation of our cake. You’ll need six eggs, which can be cold or at room temperature (room temperature eggs generally whip to a greater volume), organic cane sugar for clean sweetness, freshly ground whole wheat flour (or all-purpose as a substitute), rich raw honey for that distinctive flavor, and baking soda to react with the honey and create a beautiful lift and tender crumb.
- Sour Cream Filling: This is where the magic happens for moisture and tang. We use four cups of thick sour cream (smetana), with Daisy brand being a personal favorite for its consistency and flavor. Powdered sugar sweetens it perfectly, and heavy whipping cream is beaten in to give it a wonderfully light, airy, and whipped texture, allowing it to soak into the cake layers like a dream.
- Outside Cream Cheese Frosting: This crucial element acts as a sturdy “glue” and provides a beautiful, firm exterior. Given that the sour cream filling is deliberately runnier to maximize absorption, a more robust frosting is needed to prevent the layers from sliding. This frosting requires a package of room-temperature cream cheese for easy blending, half a container of Cool Whip for lightness and stability, and 1/2 cup of powdered sugar for a balanced sweetness.
- Syrup (Optional but Recommended): My friend, a seasoned baker, wisely incorporates evaporated milk as a quick syrup to pre-moisten the cake layers. This is particularly handy if you plan to serve the cake on the same day, ensuring immediate moisture. You can easily substitute heavy cream for evaporated milk. If you’re preparing the cake a few days in advance, the sour cream filling will have ample time to thoroughly soak the layers, making the additional syrup optional.
- Fresh Raspberries: We use two 6oz containers of fresh raspberries. One container is generously distributed within the cake layers, providing bursts of fruity tartness in every slice. The second is reserved for a stunning and delicious top decoration, adding a final touch of freshness and color.
Crafting Your Honey Cake from Scratch: A Step-by-Step Guide
Creating these delightful honey cake layers is surprisingly straightforward! For the sponge layers, I rely on two round 9-inch cake pans. To keep everything neatly contained during the critical soaking phase, a cake collar is an indispensable tool. My beautiful wooden cake stand, a personal favorite, hails from Target.
- Prepare Your Cake Pans and Preheat Oven: Begin by preheating your oven to 325°F (160°C). Thoroughly grease and flour two round 9-inch cake pans, ensuring every surface is covered to prevent sticking. Set them aside.
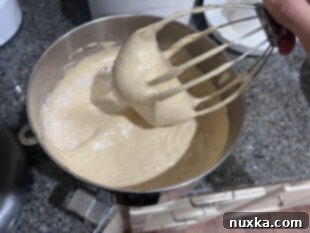
- Whip Eggs and Sugar: In the bowl of your stand mixer, combine the six eggs and one cup of organic cane sugar. Whip this mixture on high speed for a full 5 minutes. You’re looking for a pale, thick, and very fluffy consistency that holds ribbons when the whisk is lifted. This aeration is key to a light sponge.
- Activate Honey Mixture: While the eggs and sugar are whipping, gently heat 1/3 cup of raw honey in a small saucepan over medium-high heat until it’s hot but not boiling. Immediately whisk in two teaspoons of baking soda. The mixture will foam up and turn a beautiful golden brown within 30-45 seconds. This reaction creates air pockets, contributing to the cake’s tenderness. Remove the pan from the heat.
- Combine Honey and Egg Mixtures: With your mixer still running on a medium speed, carefully drop the hot honey mixture into the beaten eggs, one tablespoon at a time, allowing it to fully incorporate after each addition. Be cautious not to touch the whisk beater with your spoon. This gradual addition ensures the honey integrates without deflating the airy egg mixture.
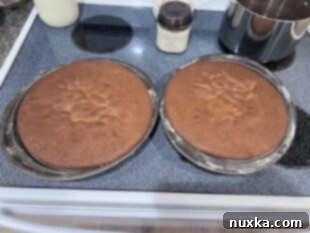
- Fold in Flour and Bake: Turn off the mixer and gently add the 310 grams of freshly milled whole wheat flour (or 2 cups all-purpose flour). Using the whisk attachment (or a spatula), gently stir the flour in a clockwise motion, folding it into the batter until just combined. Avoid overmixing, as this can develop the gluten too much, leading to a tough cake. Divide the cake batter evenly between your two prepared pans and bake for 30-45 minutes, or until a toothpick inserted into the center comes out clean. The cakes will be golden brown. Cool completely on a wire rack before attempting to fill and frost them.
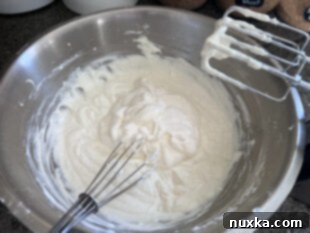
- Craft the Sour Cream Filling: In a separate medium bowl, beat the heavy cream until soft peaks form. In a large bowl, whisk together the four cups of thick sour cream and two cups of powdered sugar until smooth and creamy. Gently fold the whipped heavy cream into the sour cream mixture until fully combined. This creates a light, tangy, and rich filling.
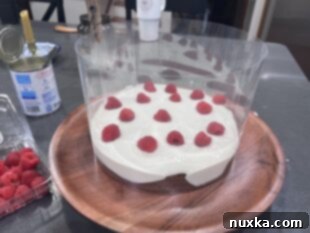
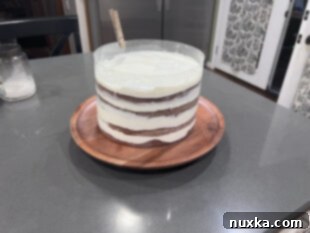
- Assemble Your Layered Masterpiece: Once the cake layers are completely cool, carefully slice each layer in half horizontally to create a total of four thinner cake layers. Place your first cake layer onto a serving plate or cake stand. If using, brush this layer with 3 tablespoons of evaporated milk for extra moisture. Wrap a cake collar around the first layer, securing it snugly. This is critical for holding in the generous, runny sour cream filling. Top this layer with about 1/4 of the sour cream filling, spreading it evenly, then dot with approximately 1 ounce of fresh raspberries. Repeat this layering process twice more, using the remaining cake layers, sour cream, and raspberries. Finish with the final top cake layer. Brush this top layer with 3-4 tablespoons of evaporated milk (if using) and apply a thin, even layer of the remaining sour cream filling.
- Allow to Soak and Chill: Let the assembled cake sit at room temperature for about 6 hours. This crucial step allows the sour cream filling to truly seep into and moisten the cake layers, creating that signature tender texture. After 6 hours, transfer the cake (still wrapped in its collar) to the refrigerator and chill overnight. This prolonged refrigeration sets the cake beautifully and deepens its flavors, resulting in a super moist and cohesive dessert.
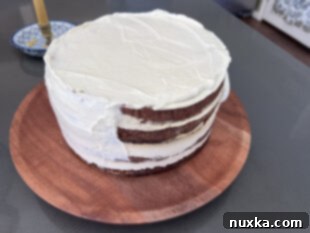
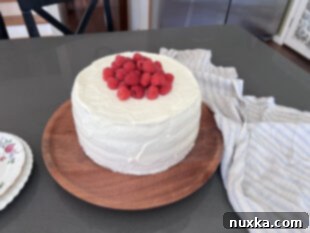
- The Finishing Touch: Cream Cheese Frosting and Garnish: The next day, prepare your cream cheese frosting. In a bowl, beat together the room-temperature cream cheese, 4 ounces of Cool Whip, and 1/2 cup of powdered sugar until light, fluffy, and well combined. Carefully remove the cake collar from your chilled cake. Now, using an offset spatula, frost the top and sides of the cake with the cream cheese frosting, creating a smooth and appealing finish. Arrange the remaining 6 ounces of fresh raspberries attractively in the middle of the cake and lightly dust with a sprinkle of powdered sugar for an elegant touch. Serve immediately, or keep refrigerated until you’re ready to enjoy this delightful treat!
Expert Baking Tips for Making Your Whole Wheat Honey Cake Shine
- Precision with Freshly Milled Grains: When working with whole grains, especially if you’re milling your own, using a digital kitchen scale is paramount. Weigh your soft white wheat berries (or any grain) first before running them through your grain mill. This provides unparalleled accuracy, ensuring your flour measurements are exact and eliminating any guesswork, which is crucial for consistent baking results.
- The Indispensable Cake Collar: Don’t skip the cake collar! This simple tool is a game-changer for this recipe. Because the sour cream filling is designed to be on the runnier side (to better soak into the cake layers), the collar provides essential support, keeping all those delicious layers intact. It prevents any unsightly sliding, oozing, or spilling of the filling, allowing the cake to set perfectly.
- Flavorful Variations to Explore: While the raspberry and honey combination is exquisite, this honey cake recipe is incredibly versatile. Feel free to experiment with other fillings or additions! Consider substituting the raspberries with chopped nuts (walnuts or pecans work wonderfully), plump raisins, tender dried prunes, a homemade berry sauce (like blueberry or cherry), or even luscious dulce de leche (caramel) for a different kind of sweet indulgence.
- Avoid Overbaking for Ultimate Tenderness: Pay close attention to your sponge layers during baking. Honey cakes tend to turn a deep golden to dark brown when baked, but it’s crucial not to let them go too far. Overbaking will result in dry, crumbly layers. The cake is perfectly done when a toothpick inserted into the center comes out clean, with no wet batter clinging to it.
- All-Purpose Flour Friendly: If you don’t have whole wheat flour or a grain mill, fret not! This recipe is adaptable. You can easily substitute the freshly milled whole wheat flour with 2 cups of regular all-purpose flour, and your cake will still turn out beautifully delicious and moist.
- Experiment with Frosting and Filling Styles: While this recipe features a sour cream filling and a cream cheese frosting, feel free to put your own spin on it. This is a wonderfully basic honey cake recipe that provides a fantastic canvas for creativity. Consider trying a classic buttercream frosting for a richer exterior, or a smooth custard cream filling for an even more decadent experience.
Frequently Asked Questions (Q&A)
How To Store Raspberry Honey Cake for Optimal Freshness?
After you’ve assembled this honey raspberry cake with its delicious sour cream filling, it’s beneficial to let it sit on your counter at room temperature for approximately six hours. This period allows the sour cream ample time to deeply moisten and tenderize the cake layers. It’s completely normal during this time to observe the cream filling beginning to seep into the cake, which is precisely what makes it so moist and flavorful. Following this initial room-temperature soak, transfer the cake to the refrigerator and chill it overnight. The next day, you can remove the cake collar and proceed with finishing the frosting on the outside of the cake. Garnish with fresh raspberries and a dusting of powdered sugar, then serve. The assembled and frosted cake can be safely refrigerated for up to 4 days. To maintain its freshness and prevent it from absorbing any unwanted fridge odors, ensure the cake is kept covered tightly in plastic wrap or stored within a plastic cake container.
Can You Freeze This Whole Wheat Honey Cake with Fresh Raspberries?
Absolutely! This honey raspberry cake freezes wonderfully, which is a fantastic option for meal prep or if you want to enjoy a slice later. My friend, who shared this recipe, often freezes the cake after it has been filled and allowed to soak (before applying the final cream cheese frosting). She finds that it tastes just as exquisite after thawing. To freeze, wrap the assembled (but unfrosted) cake tightly in several layers of plastic wrap, followed by a layer of aluminum foil to prevent freezer burn. It can be stored in the freezer for up to 2 months. When you’re ready to enjoy it, thaw the cake overnight in the refrigerator, then proceed with making and applying the cream cheese frosting and garnishing with fresh raspberries as directed. You can also freeze individual unfrosted cake layers wrapped in the same manner for even greater convenience.
Ready to Bake? Here’s the Full Recipe Card with Step-by-Step Instructions:
Rate
Pin
Whole Wheat Raspberry Honey Cake
Equipment
-
Digital kitchen scale
-
grain mill
-
Stand Mixer
-
2 round 9-inch cake pans
-
1 cake collar
Ingredients
Sponge Cake Layers:
-
6 eggs
-
1 cup organic cane sugar
-
1/3 cup honey
-
2 tsp baking soda
-
310 grams *Soft white wheat berries (freshly ground)
Sour Cream Filling:
-
4 cups sour cream (32 oz)
-
2 cups powdered sugar
-
1 cup heavy cream
Outside Cream Cheese Frosting:
-
8 oz cream cheese (softened)
-
4 oz Cool Whip (half a container of a standard pack)
-
1/2 cup powdered sugar
Syrup (optional) and Topping:
-
1/2 cup evaporated milk
-
12 oz fresh raspberries
Instructions
Directions:
-
 Preheat the oven to 325°F. Butter and flour two round 9-inch cake pans and set aside.
 -
 Make the sponge cake layers: In the bowl of a stand mixer, combine the eggs and sugar and beat over high speed for 5 minutes.
 -
 Meanwhile, heat the honey in a small saucepan over medium-high heat until hot (not boiling). Whisk in the baking soda and cook for 30-45 seconds until golden brown. Remove from the heat and carefully add a tablespoon at a time to the eggs while they are being whipped in the mixer.
 -
 Turn off the mixer and add the freshly milled wheat flour. Using the whisk attachment, whisk the flour in one direction until fully incorporated.
 -
 Divide the cake batter into the prepared pans and bake for 35-45 minutes until done. Cool for 10 minutes, then invert onto a cooling rack and cool completely.
 -
 To Make the Sour Cream Filling, beat the heavy cream in a small bowl until soft peaks form. In a large separate bowl, whisk the sour cream and powdered sugar until smooth. Beat in the cream mixture and set aside.
 -
 Assemble the cake: slice each cake layer in half, crosswise. Place one layer onto a cake stand and wrap it with the cake collar. Brush with 3 Tbsp of evaporated milk, a third of the sour cream filling, and about 2 oz of fresh raspberries. Repeat twice, ending with the last cake layer.
 -
 Brush the top cake layer with 3-4 Tbsp of evaporated milk, and the remainder of the sour cream filling (it should be a thin layer). Allow it to sit, and soak up the cream for 6 hours at room temperature. Then refrigerate overnight.
 -
 The next day*, beat together the cream cheese frosting. Remove the cake collar and finish frosting the sides and top.
 -
 Place a heaping pile of fresh raspberries (6oz) in the middle and dust the berries with powdered sugar. Serve.
Notes
- *Soft wheat berries should be weighed and then run through a grain mill. You could also weigh the flour after it has been milled. The weight stays the same.
- *You could refridgerate the cake in the cake collar for up to 2 days before frosting with the cream cheese frosting.
- Can substitute 2 cups of all-purpose flour for the whole wheat flour.
- You can freeze the sponge cake layers for up to 2 months. Wrap it in a plastic wrap, then in a piece of foil, and freeze. Thaw in the fridge overnight and proceed with assembling.
- The evaporated milk is optional. It helps soak the cake layers faster and can be substituted with heavy cream. If you are making this cake ahead of time, you can solely count on the sour cream filling to do the soaking.
