Ultimate 100% Whole Wheat Sourdough Sandwich Bread: Soft, Healthy & Easy for Beginners
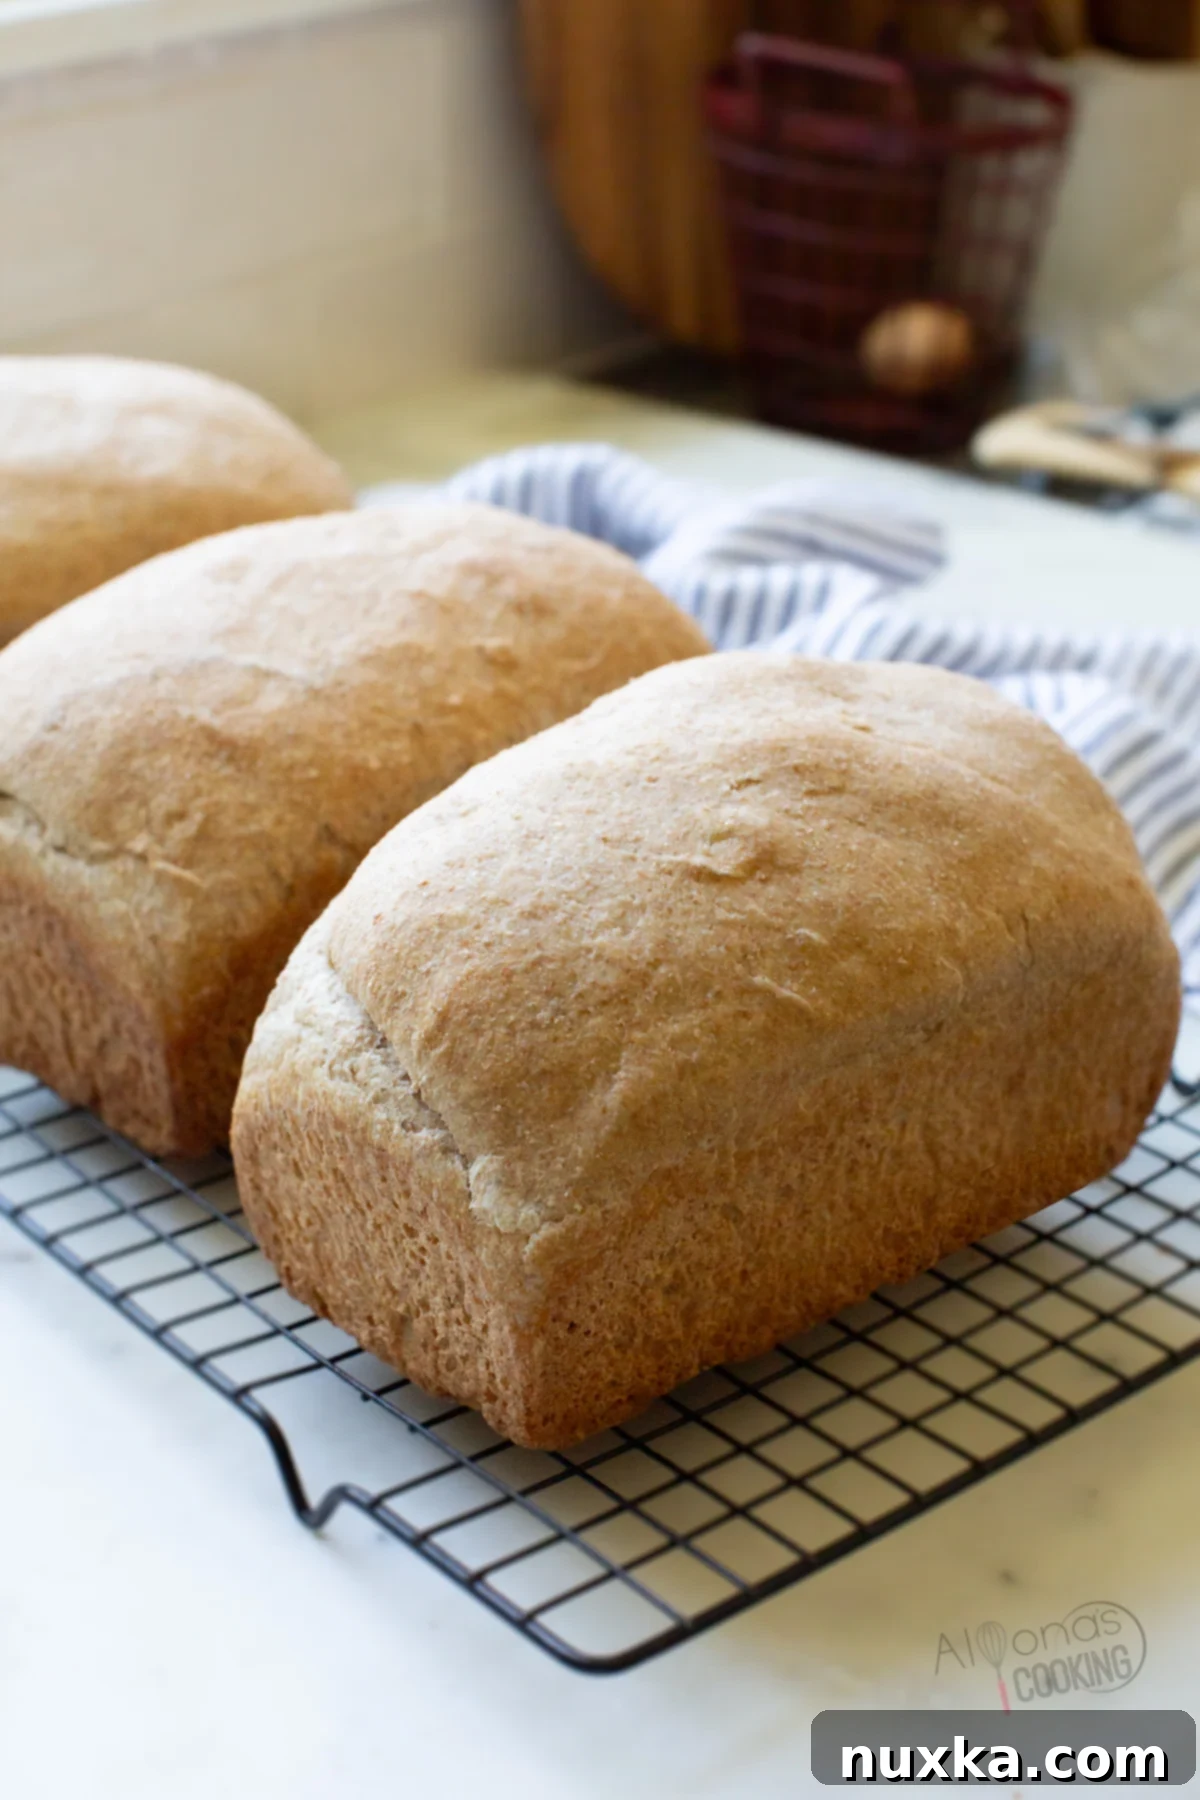
Imagine biting into a slice of perfectly soft, subtly tangy bread, knowing it’s packed with wholesome goodness. This is exactly what you get with our 100% Whole Wheat Sourdough Sandwich Bread! Crafted for both seasoned bakers and complete beginners, this recipe makes a soft, flavorful loaf ideal for sandwiches, toast, or even as a base for gourmet open-faced creations. What makes it truly special? It’s mixed and baked all on the same day, utilizing the incredible power of your sourdough starter and the superior quality of freshly milled whole wheat flour. Get ready to impress your family with this delightful and healthy homemade bread!
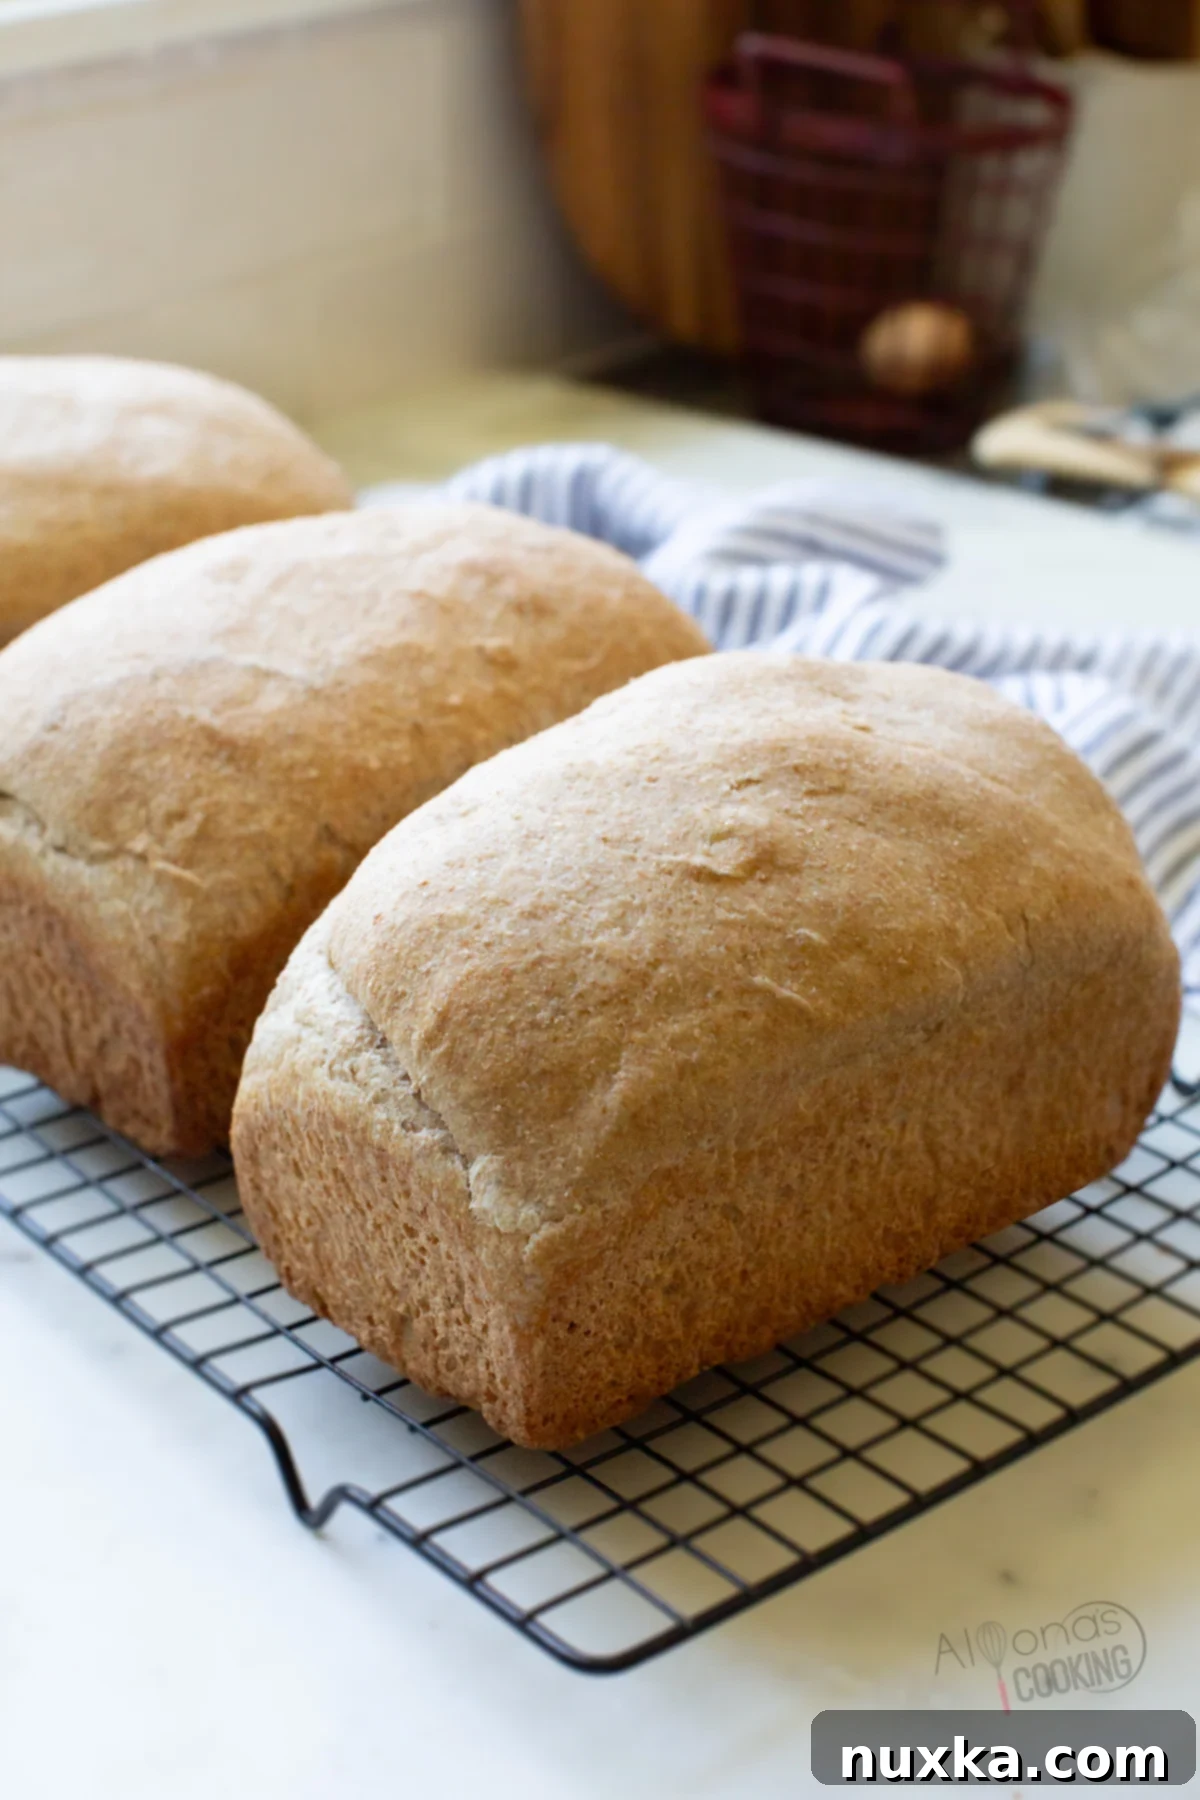
This bread isn’t just a recipe; it’s an experience. We absolutely adore it toasted to a golden crisp and slathered with rich butter, a spoonful of homemade strawberry jam, or alongside fluffy scrambled eggs for a truly satisfying breakfast. Its light texture and delicate tang make it a phenomenal choice for hearty grilled cheese sandwiches or as a sturdy base for open-face pizzas. Beyond its incredible taste and versatility, this bread stands out for its health benefits, offering a wholesome flavor that nourishes your body and soul.
Why This Sourdough Sandwich Bread Is a Family Favorite
This particular sourdough sandwich bread has quickly become an all-time staple in our home, and we’re confident it will in yours too. What sets it apart is its exclusive use of freshly milled whole wheat flour paired with an active sourdough starter. Forget the dense, heavy whole wheat loaves you might have encountered before. This recipe yields a bread with an incredibly soft and moist crumb, a texture that will genuinely surprise and delight you, all while offering that signature, ever-so-lightly tangy sourdough flavor.
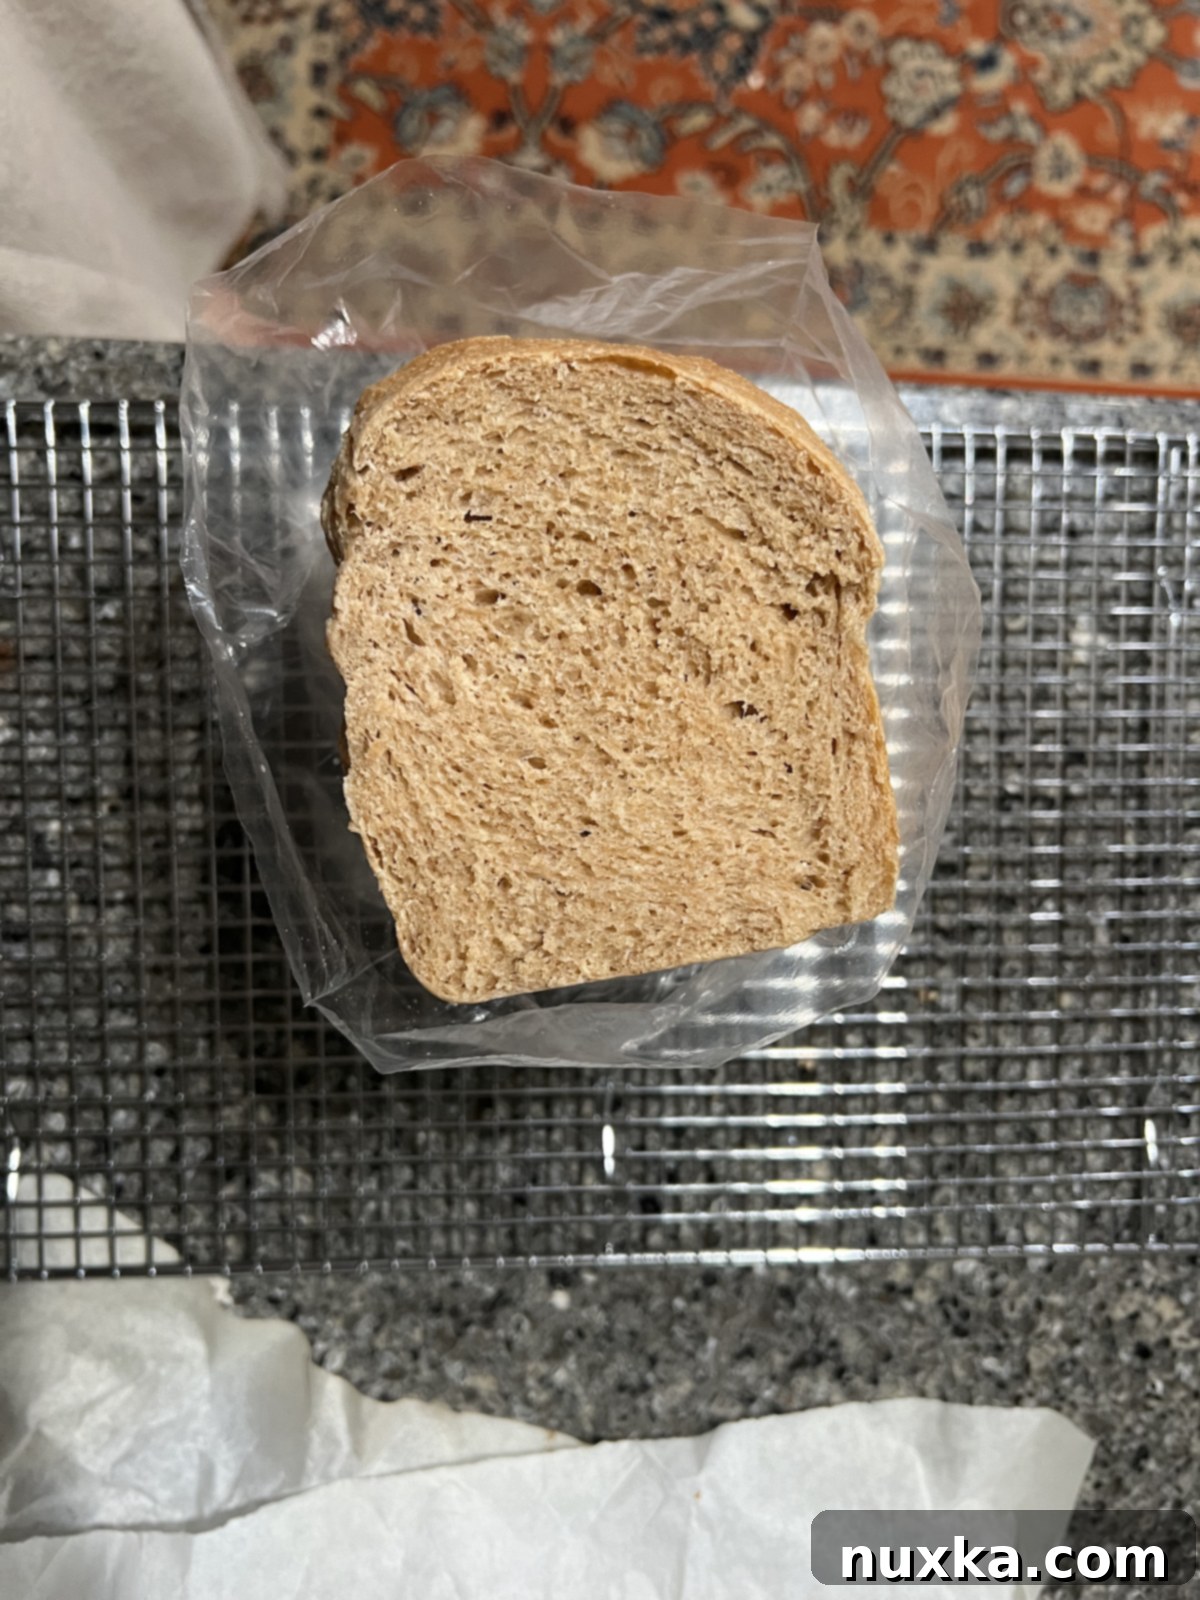
The beauty of this bread extends to its practicality: you can slice it thin for delicate sandwiches or thick for robust toast, and the extra loaves freeze beautifully for later enjoyment. It truly keeps well, making it a smart choice for meal prep. While artisan sourdough recipes like our No-Knead Artisan Loaf are wonderful, the ability to incorporate whole grains and natural yeast with such fantastic results is, in my book, a huge win! As a busy mom of six, “easy” is not just a preference, it’s a necessity. This recipe checks all the boxes: minimal equipment, straightforward preparation, and genuinely healthy ingredients. That’s why I’m all in!
I first encountered this wonderfully soft and fluffy sourdough sandwich bread at a friend’s house. She hosted our family for breakfast, serving this bread toasted alongside scrambled eggs, savory sausage, sweet jam, and roasted sweet potatoes. I was captivated by its chewy texture and delightful light tangy flavor – so much so that I genuinely thought it was a gourmet store-bought loaf. Imagine my surprise and delight when I learned it was made from scratch! I knew immediately I had to get the recipe and share it with all of you.

The Secret to the Best 100% Whole Wheat Sourdough Sandwich Bread
Unlike many sourdough recipes that blend white and wheat flours for a desirable texture, this recipe achieves extraordinary results using 100% whole wheat flour, primarily due to a specific and crucial process. The real secret to creating an incredible whole wheat dough that’s soft and easy to work with lies in giving it ample time to rest and naturally develop its gluten structure.
My method begins by mixing only the initial set of ingredients: water, starter, and flour. This allows the water to fully hydrate and absorb into the freshly milled grains. This initial resting period, often called an autolyse (though without the starter in a true autolyse), is vital because freshly milled flour absorbs liquids differently and often more slowly than commercially processed flour. At first, the dough will appear quite sticky, and you might be tempted to add more flour. Resist this urge! With time, the grains will fully hydrate, and the dough will transform into a more manageable, workable consistency.
As the dough rests and ferments throughout the day, its gluten network develops beautifully. While optional, performing a few gentle “stretch and folds” can further enhance this development, leading to an even more robust and airy crumb. The choice of grain also plays a significant role; using a high-gluten variety like Hard Red Wheat or Hard White Wheat berries is essential for achieving optimal gluten development and that coveted soft texture.
The flexibility of this recipe is another incredible advantage. There have been times when I’ve simply left the dough to bulk ferment overnight, and by morning, it was perfectly proofed and ready to be shaped into loaves, rise a final time, and then baked. This means you can easily integrate bread baking into your busy schedule, whether you prefer an active daytime approach or a more hands-off overnight method. You’ll wake up to beautiful, proofed dough awaiting its transformation into delicious bread!
Ingredients for the Perfect Sourdough Sandwich Bread
This whole wheat sourdough sandwich bread recipe boasts a clean, simple ingredient list, focusing on quality and natural flavors. Each component plays a vital role in achieving the perfect loaf:
- Water: Warm water is my go-to. It helps to activate the sourdough starter more effectively and aids in the initial hydration of the flour, kickstarting the dough-making process efficiently.
- Sourdough Starter: The heart of any sourdough bread, your starter must be active and bubbly. An active starter is one that has been recently fed and has risen to its peak, often indicated by floating when a small amount is dropped into water. If your starter isn’t quite ripe or vigorous, you might consider adding a touch of dry yeast, similar to how you would in a sourdough discard recipe, to ensure a good rise. A robust starter is key for success.
- Freshly Milled Wheat: This is a game-changer for flavor and nutrition. I use a carefully chosen combination of hard red wheat and hard white wheat grain. These varieties are known for their high protein content, which translates to better gluten development and a stronger, yet softer, bread structure. If you don’t own a grain mill, you can use commercially available 100% whole wheat bread flour that is already ground. While the original inspiration for this recipe used a mix of white and whole wheat, I successfully converted it to all whole wheat with truly fantastic results, proving that 100% whole grain can be both soft and delicious!
- Coconut Oil: This ingredient is crucial for achieving that wonderfully soft texture. It adds richness and keeps the crumb moist and tender, counteracting the potential dryness sometimes associated with whole wheat bread.
- Honey: Beyond adding a subtle sweetness that balances the tang of the sourdough, honey also contributes to the bread’s beautiful golden crust and helps retain moisture. I typically warm it gently with the coconut oil for easier and more even incorporation into the dough. For dietary preferences, honey can be swapped out with brown sugar or maple syrup for a similar effect.
- Salt: Good quality sea salt is essential not just for flavor, but also for controlling the fermentation rate and strengthening the gluten structure. It brings all the other flavors together, making the bread truly irresistible.
How to Make Whole Wheat Sourdough Sandwich Bread: Step-by-Step
Having the right tools is essential for consistent and successful baking. For precise measurements, always use a kitchen scale to weigh your ingredients, especially the flours and water, as this is far more accurate than measuring cups. I find a large plastic container with a lid incredibly useful for mixing and bulk fermentation. Once the dough has sufficiently fermented, a bench scraper helps with cleanly dividing and shaping the loaves. Finally, these bread pans are perfect for achieving the classic sandwich loaf shape. Here’s how to begin your delicious journey:
- Prepare Your Sourdough Starter: The night before you plan to make your dough (typically 10-12 hours in advance), feed your sourdough starter. A well-fed, active, and bubbly starter is paramount for a good rise and flavor. I usually feed mine around 9 PM.
- Initial Mix and Rest (Autolyse-style): In the morning, around 9 AM, combine the warm water, active sourdough starter, and all of your freshly milled wheat flours in your large container. Mix these ingredients thoroughly with your hands until just combined – don’t worry about developing gluten yet. Cover the dough and let it rest for 30 minutes. This resting period allows the flour to fully hydrate, making the dough easier to work with later.
- Add Remaining Ingredients: After the 30-minute rest, it’s time to incorporate the melted coconut oil, honey, and sea salt. Mix everything in thoroughly with your hands until the oil and honey are fully integrated into the dough. The dough might still feel a bit sticky, which is normal for high-hydration whole wheat dough.
- Bulk Fermentation & Optional Stretch and Folds: Cover the dough with a lid and allow it to bulk rise in a warm spot. This process typically takes 6-8 hours, but the exact time can vary depending on your kitchen’s ambient temperature (warmer temperatures speed up fermentation). During this period, I recommend performing 4-5 sets of “stretch and folds” throughout the day. This involves gently stretching a portion of the dough up and folding it over itself, then rotating the bowl and repeating. This technique helps to build gluten strength without extensive kneading. Let your dough rise until it has expanded by about 50% in your container after the last stretch and fold.
- Shape the Dough: Once bulk fermentation is complete, gently transfer the dough onto a lightly floured large silicone pastry mat. The mat prevents sticking and minimizes the need for excess flour, which can dry out the dough. Divide the dough into 3 equal parts. For each part, gently pat it into a rectangle, then fold the dough in half lengthwise. Starting from one end, roll the folded dough into a tight log shape. Repeat with the other two dough portions.
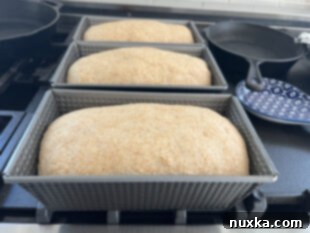
- Second Rise (Proofing): Place each shaped dough log seam-side down into three lightly greased 8×4 inch bread pans. Cover the pans loosely and allow the loaves to rise until they reach the top of the pans. This final proofing stage usually takes 1-2 hours in a warm environment. Keep an eye on them; they should look noticeably puffy and lighter.
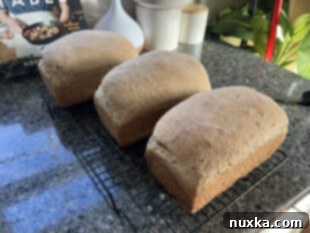
- Bake to Perfection: Preheat your oven to 350°F (175°C). Once preheated and the loaves have fully risen, place the bread pans into the oven and bake for 25-30 minutes, or until the crust is a beautiful golden brown and the internal temperature reaches around 200-210°F (93-99°C).
How to Store and Freeze Your Sourdough Sandwich Bread
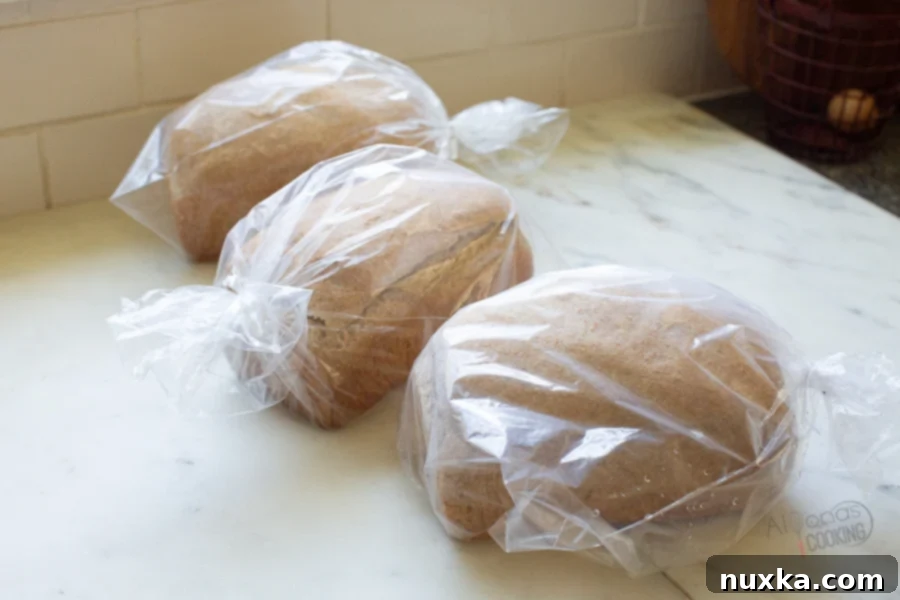
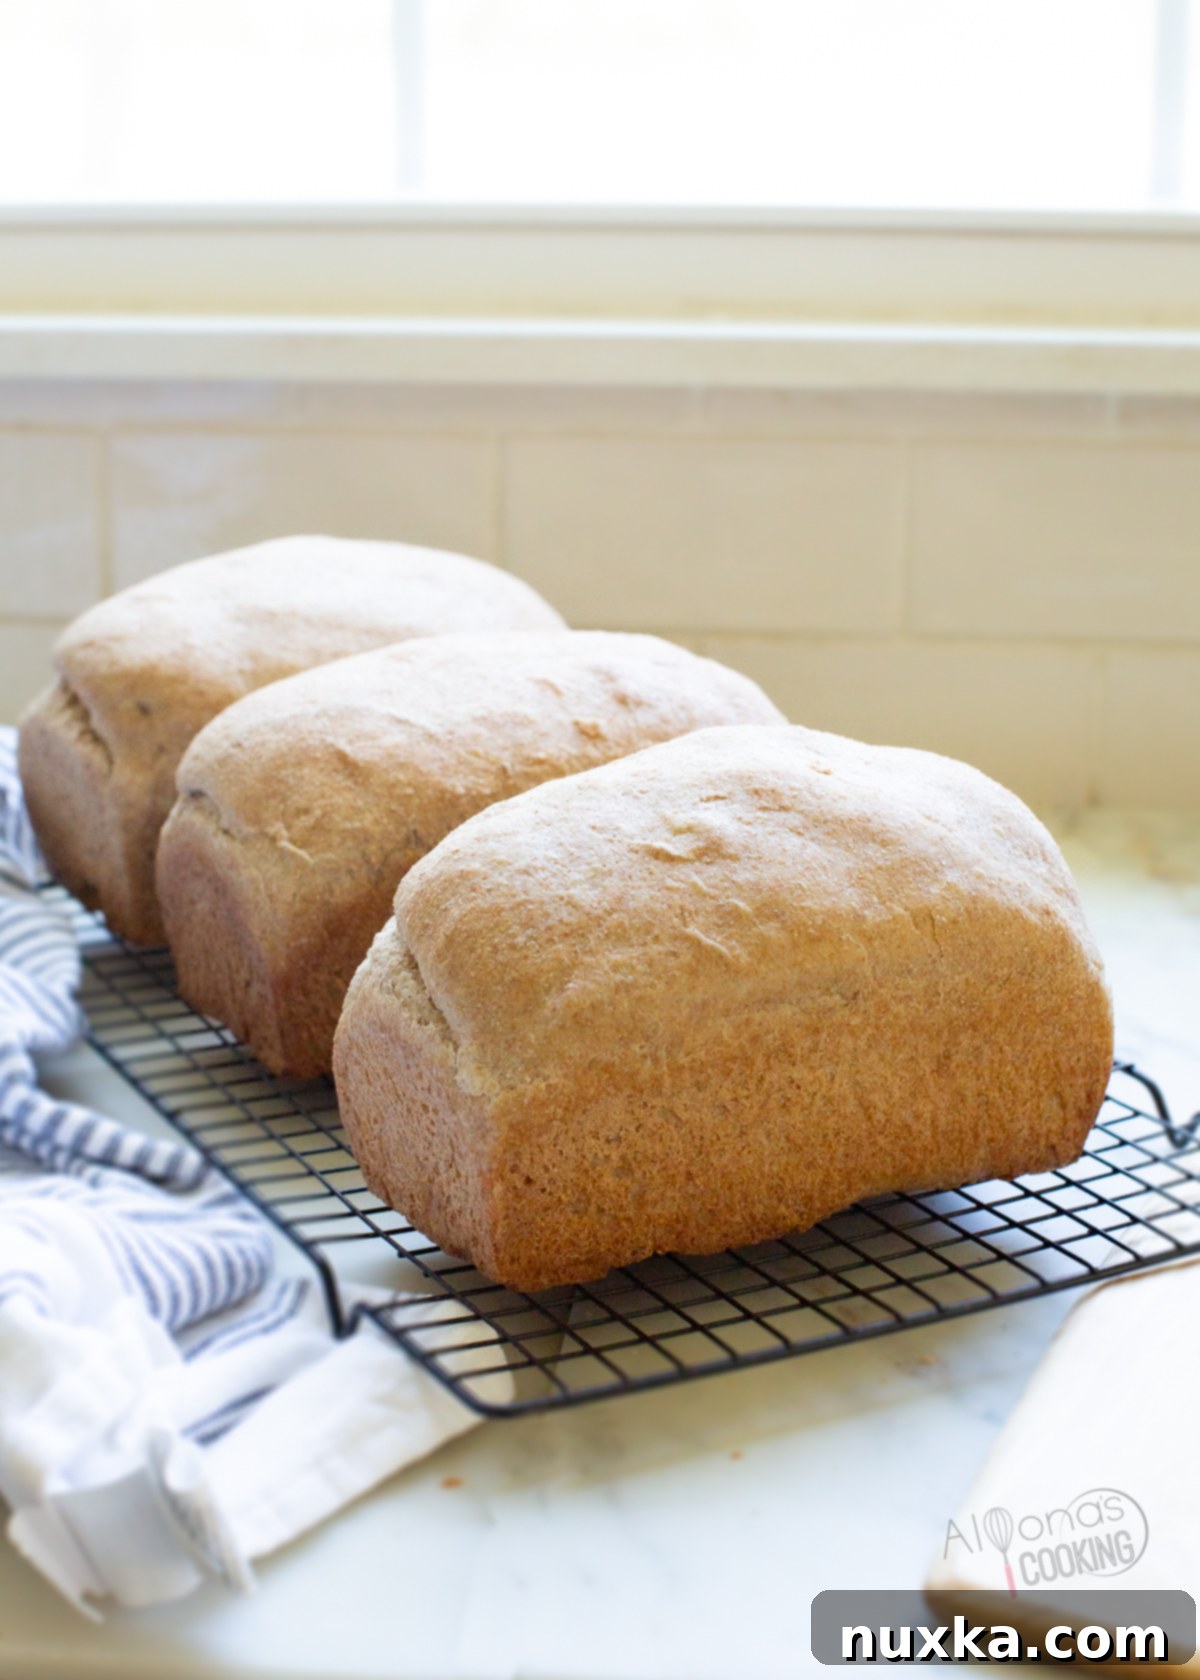
Proper storage is key to maintaining the freshness and deliciousness of your homemade sourdough. Allow your freshly baked whole wheat sourdough bread to cool completely on a wire rack before storing. This prevents condensation which can make the crust soggy. Once cooled, store the loaves in dedicated bread bags at room temperature for up to 3-4 days. For longer preservation, freezing is your best friend!
To freeze: Once the bread is completely cool, place each loaf into a plastic bread bag, ensuring as much air is squeezed out as possible, and seal it tightly with a twist tie. This method helps to prevent freezer burn. You can freeze your sourdough sandwich bread for up to 3 months. When you’re ready to enjoy a loaf, simply thaw it overnight at room temperature. For best results, slice the bread just before you plan to use it.
More Easy Sourdough Bread Recipes:
If you’ve enjoyed making this delicious whole wheat sourdough, you’re in for a treat! Here are more of my favorite easy sourdough recipes that you can master at home:
-
Sourdough English Muffins
-
Whole Wheat Sourdough Bread (Boule)
-
No-Knead Sourdough Bread
-
Sourdough French Bread
Q&A: Common Questions About Whole Wheat Sourdough
Can I Use Store-Bought Whole Wheat Flour Instead of Freshly Milled?
This particular sourdough bread recipe is optimized for the unique absorption properties and robust flavor of freshly milled flour. Store-bought whole wheat flour behaves differently due to its processing and age. While it’s possible to attempt this recipe with store-bought whole wheat flour, you may need to adjust the hydration significantly. For better results if using store-bought whole wheat, consider substituting a portion of it (e.g., half) with all-purpose flour or bread flour to achieve a softer texture and more predictable gluten development, as you would with many traditional sourdough recipes. Alternatively, look for high-quality, unifine whole wheat bread flour if available, which can mimic some characteristics of freshly milled flour.
Can I Use a Long Fermentation in the Fridge (Cold Proof)?
Absolutely! You can certainly long ferment this dough in the refrigerator after the initial bulk fermentation. This method is excellent for developing a deeper, more complex tangy flavor in your sourdough. To do this, once your dough has completed its bulk fermentation and expanded or doubled in size, place it in an airtight container or covered bowl in the fridge. It can cold proof for 12-24 hours, or even longer. Be aware that a longer cold fermentation might result in a more pronounced tartness. When you’re ready to bake, remove the dough from the fridge 6-8 hours before baking to allow it to come to room temperature and complete its final rise (proof) in the loaf pans before baking.
Essential Tips for Perfect Whole Wheat Sourdough Sandwich Bread:
- Active Starter is Non-Negotiable: Always begin with an active and bubbly sourdough starter for the best results. A simple test for activity: drop a small amount of starter into warm water. If it floats to the top, it’s ripe and ready to go! A sleepy starter will lead to a flat loaf.
- Harness Warmth for Faster Fermentation: If you’re looking to speed up the rising process (both bulk fermentation and final proof), find a warm spot in your kitchen. This could be on top of a warm oven (turned off, but still radiating heat), near a sunny window, or even on top of a running dishwasher. Check on your dough every 1-2 hours to monitor its progress, as warmth can significantly accelerate rising times.
- Avoid Over-Fermentation at All Costs: Over-fermenting is a common pitfall in sourdough baking. If your dough doesn’t show significant expansion within 12 hours (during bulk fermentation, especially in a cooler environment), it’s unlikely to rise much further. Key signs of over-proofed dough include: ripping easily during shaping, failing to rise adequately during the second proof, releasing liquid (often referred to as “hooch”), and a very sour, unpleasant aroma. If you suspect over-proofing, bake it quickly to salvage what you can, though the texture may be compromised.
- Embrace the Health Benefits: Sourdough fermentation is more than just flavor; it’s a process that naturally breaks down phytic acid present in whole grains. This breakdown makes the essential nutrients in the wheat (like iron, zinc, and magnesium) more bioavailable and easier for your body to absorb. This hands-off fermentation process not only produces delicious bread but also enhances its nutritional value and digestibility, making it a truly wholesome food.
- Hydration with Freshly Milled Flour: Remember that freshly milled flour absorbs water differently than commercial flour. The dough will start sticky – trust the process and resist adding extra flour unless absolutely necessary. The resting periods allow for full hydration.

Rate
Pin
Whole Wheat Sourdough Sandwich Bread
Equipment
-
3 8×4 inch loaf pans (lightly greased)
-
1 kitchen scale
-
Large mixing container with lid
-
Bench Scraper (optional but helpful for shaping)
-
Silicone pastry mat (optional but helpful for shaping)
Ingredients
Ingredients for Three Loaves:
-
805 grams warm water
-
240 grams sourdough starter (active and bubbly, fed 10-12 hours prior)
-
485 grams hard red wheat (freshly milled from berries)
-
610 grams hard white wheat (freshly milled from berries)
-
50 grams coconut oil (melted)
-
50 grams honey
-
21 grams sea salt
Instructions
Directions for Making Your Whole Wheat Sourdough:
-
 1. Initial Mix & Rest: In a large food container, combine the warm water, active sourdough starter, and the freshly milled hard red and hard white wheat flours. Mix thoroughly with your hands until just combined – no dry spots should remain. Cover the container and let the dough rest for 30 minutes to allow the flours to fully hydrate.
 -
 2. Prepare Wet Ingredients: While the dough is resting, melt together the coconut oil and honey in a small saucepan over low heat or in the microwave. Allow it to cool slightly so it’s warm but not hot to the touch.
 -
 3. Combine & Mix: After the 30-minute rest, pour the slightly cooled melted coconut oil and honey mixture, along with the sea salt, into the dough. Mix well with your hands until all ingredients are thoroughly incorporated and the dough feels more cohesive.
 -
 4. Bulk Ferment: Cover the dough and allow it to bulk rise for approximately 7-8 hours in a warm environment until the dough has doubled in size. During this bulk fermentation period, performing 4-5 sets of stretch and folds is highly recommended to develop gluten, but this is optional, especially if you plan an overnight rest. If opting out of multiple folds, do one set after mixing in the oil/honey to kickstart gluten development.
 -
 5. Divide & Shape: Transfer the dough to a lightly floured surface (such as a silicone pastry mat). Divide it into 3 equal pieces. For each piece, gently pat it into a rectangle. Fold the rectangle in half lengthwise, then roll it up tightly into a log shape. Ensure the seam is sealed at the bottom. Repeat this shaping process for the remaining two loaves.
 -
 6. Final Proof: Place the shaped loaves, seam-side down, into the lightly greased bread pans. Allow them to rise in a warm spot until they reach the top of the bread pans, appearing visibly puffy and expanded (this usually takes about 1-2 hours).
 -
 7. Bake: Bake the loaves in a preheated 350°F (175°C) oven for 25-30 minutes, or until they are golden brown on top and sound hollow when tapped on the bottom. An internal temperature of 200-210°F (93-99°C) indicates doneness. Allow the bread to cool completely on a wire rack before slicing for the best texture.
Notes
- Milling Grains: If using whole wheat berries, simply weigh the desired amount of hard red and hard white wheat berries on your kitchen scale, then run them through your grain mill just before starting the recipe. This ensures the freshest flour possible.
- Honey & Coconut Oil: Melting these two ingredients together in a small saucepan while the dough is on its initial 30-minute rest helps them combine smoothly. Ensure the mixture cools slightly before adding it to the dough to avoid harming your sourdough starter.
- Starter Preparation: Feed your sourdough starter 4-12 hours before you plan to mix your dough. This crucial step ensures your starter is active and at its peak, providing the necessary leavening power. I find feeding it the night before and starting the dough early in the morning works perfectly.
- Finding a Warm Spot: For optimal fermentation and rise, place your dough in a consistently warm environment. Good spots include on top of your oven (especially after it’s been used and is cooling), on top of your refrigerator, or near a warm, sunny window.
- Stretch and Folds: While optional, performing stretch and folds during the bulk fermentation process significantly aids in gluten development, resulting in a better texture. If you choose not to do multiple sets throughout the day, at least perform one good set of stretch and folds after the coconut oil and honey have been thoroughly mixed in. This is particularly beneficial for dough that will be fermenting overnight on the countertop.
Nutrition per serving
