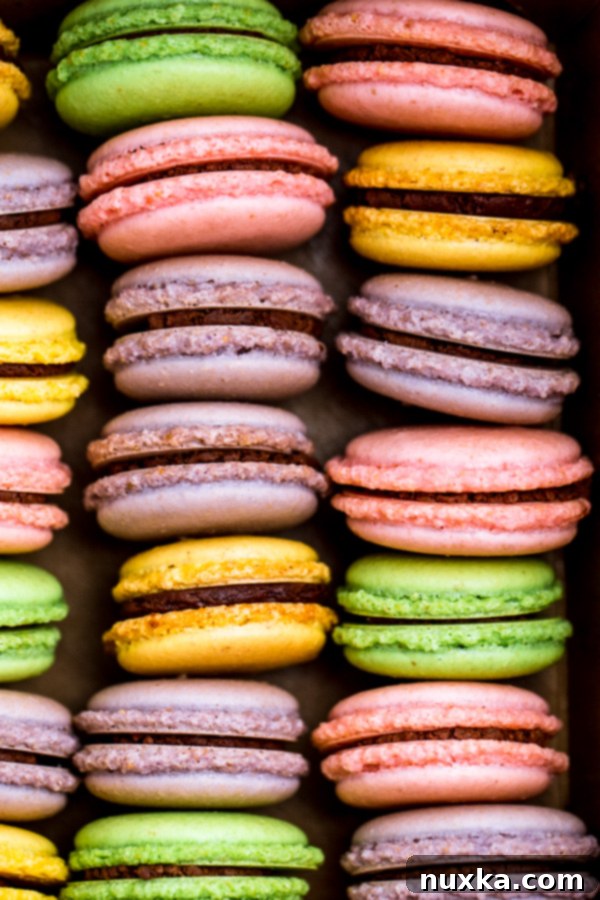
The Easiest Fail-Proof Macaron Recipe: Your Guide to Perfect Homemade Macarons
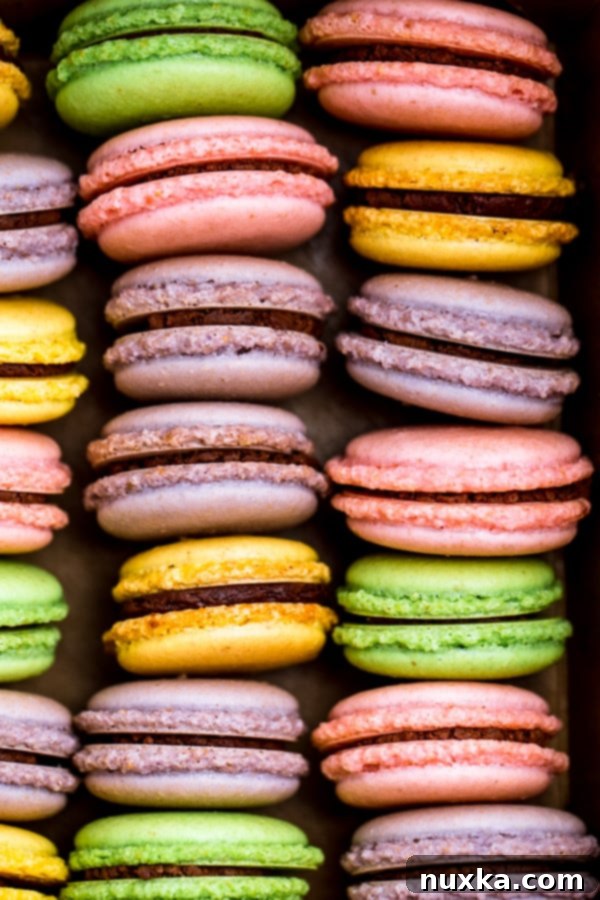
Embark on your journey to baking the most delightful and undeniably easiest fail-proof macarons you’ve ever imagined. For many, the mere mention of macarons conjures images of delicate, temperamental French confections that are notoriously difficult to master. Forget those fears! This incredible recipe is designed for success, simplifying the process into just four core ingredients for the airy meringue shells. Follow our comprehensive step-by-step guide with accompanying photos, and you’ll soon be piping out perfectly formed, irresistible macarons that will impress everyone.
Discovering an easy, truly fail-proof macaron recipe is like finding a hidden treasure. The world of macaron baking is often perceived as daunting, filled with complicated techniques and precise measurements, especially when it comes to methods like Italian macarons involving hot sugar syrup. Many aspiring bakers have faced the frustration of cracked shells, hollow centers, or macarons without those coveted “feet.” Our experience was no different until we stumbled upon this remarkable approach. This recipe completely transformed our macaron-making game. It’s so straightforward that it was reportedly used by someone to bake for a local store, and even first-time attempts yielded perfect results! My younger sister, with minimal macaron experience, successfully baked these, realizing that the art of macarons isn’t nearly as intimidating as it seems after all.
Macarons vs. Macaroons: Clearing Up the Confusion
What’s the difference between Macarons or Macaroons?
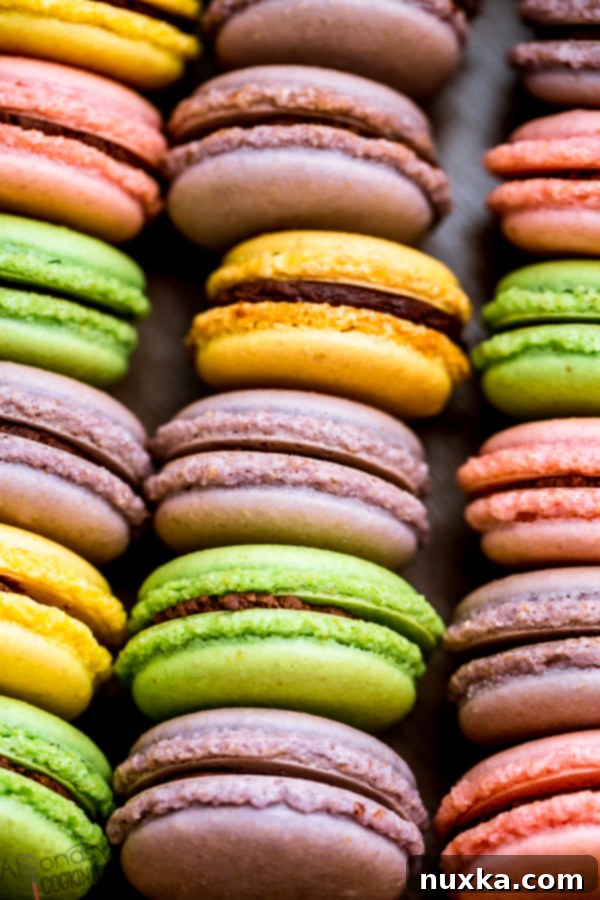
It’s a common mix-up, but these two delightful treats are distinctly different! Macarons, with a single “O,” are delicate, almond-flour based meringue cookies. They are known for their smooth, crisp shell, chewy interior, and signature “feet” (the ruffled edge at the base). Typically, they are sandwiched together with a variety of fillings like ganache, buttercream, or jam. In contrast, Macaroons, spelled with a double “OO,” are dense, often irregularly shaped cookies made primarily from shredded coconut, egg whites, and sugar. They are chewier and more rustic in appearance.
French vs. Italian Macarons: Understanding the Meringue Methods
What’s the difference between French Macarons and Italian Macarons?
The primary distinction between French and Italian macarons lies in the preparation of their meringue base. A French Macaron typically involves a simpler method where granulated sugar is gradually whipped into raw egg whites to form a stiff meringue. This “cold” meringue is then folded into the almond flour and powdered sugar mixture. This is often considered the more traditional and accessible method for home bakers, and it’s the foundation of our easy recipe.
An Italian Macaron, on the other hand, involves a more elaborate process where hot sugar syrup is slowly poured into whipping egg whites, essentially cooking the meringue. This “hot” meringue is known for being more stable and less prone to collapsing, making it slightly more forgiving for macaronage (the mixing process). While Italian macarons can yield very consistent results, the extra step of making hot sugar syrup adds a layer of complexity that many prefer to avoid, especially when starting out. Our fail-proof recipe streamlines the French method for maximum ease and excellent results.
Ingredients for Macarons
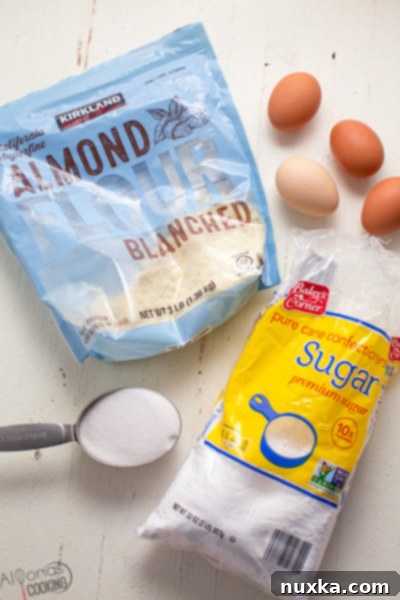
The beauty of this recipe lies in its simplicity. With just four fundamental ingredients, you’ll create the perfect base for your delightful macarons. Each ingredient plays a crucial role in achieving that signature delicate texture and vibrant appearance. Precision is key, so we recommend using a kitchen scale for the most accurate measurements, especially for the dry ingredients and egg whites.
Handy Equipment for Macarons:
Having the right tools can make all the difference in your macaron journey. While some items are essential, others greatly simplify the process and contribute to more consistent results. Here’s what we recommend:
- Macaron Mats: These silicone mats come with pre-printed circles, ensuring uniform macaron sizes and preventing sticking for easy removal after baking.
- Sieve: A fine-mesh sieve is indispensable for sifting almond flour and powdered sugar, removing any lumps and ensuring a super smooth macaron batter.
- XL Piping Tip: A large round piping tip (like a Wilton 1A or Ateco 809) makes piping batter significantly easier and helps create perfectly shaped macaron shells.
- Gel Food Coloring Set: Gel-based food coloring is preferred over liquid dyes as it provides vibrant color without adding excess moisture to your delicate meringue batter.
- Large Piping Bag: A generously sized piping bag (16-18 inches) will comfortably hold all your macaron batter, making the piping process smoother and cleaner.
- 18 x 13 Large Baking Sheet: Standard half-sheet baking pans are ideal for baking macarons, providing ample space and ensuring even heat distribution.
- Rubber Spatula: A sturdy rubber spatula is essential for the “macaronage” process, allowing you to gently yet thoroughly fold the dry ingredients into the meringue without deflating it too much.
How to make the EASIEST Fail-Proof Macarons Recipe:
Making macarons doesn’t have to be a daunting task. With this fail-proof recipe, you’ll create beautiful, delicate shells that are crisp on the outside and wonderfully chewy on the inside. The key is to follow each step carefully and understand the crucial consistency needed for the perfect meringue and batter. Precision in mixing and baking will lead to those iconic “feet” and smooth tops you’ve always dreamed of.
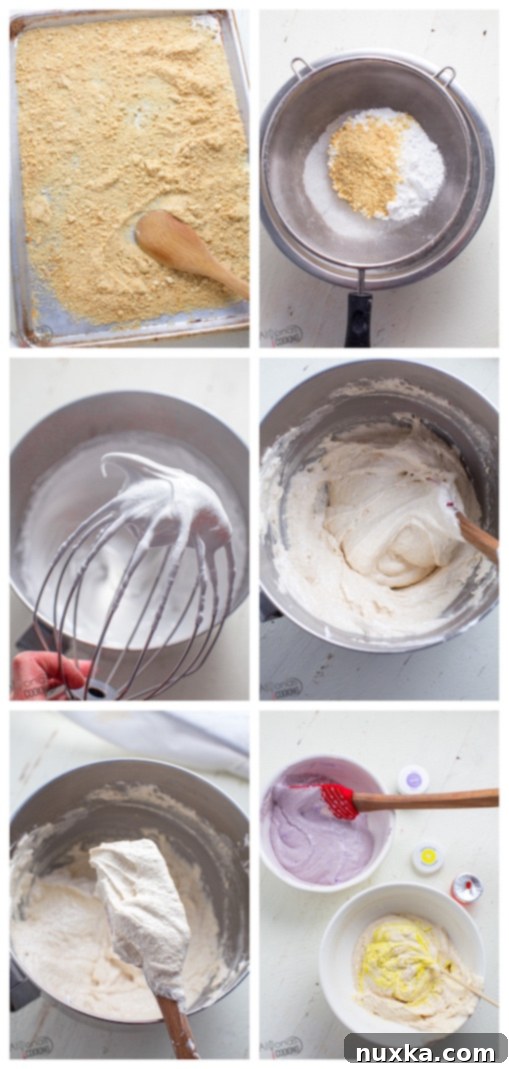
From preparing your dry ingredients to achieving the perfect meringue, each stage is vital. The “macaronage” — the gentle folding of the meringue into the almond mixture — is perhaps the most critical step, determining the texture of your finished shells. Don’t worry, we’ll guide you through how to recognize the ideal consistency. After piping, a crucial resting period allows a skin to form, which is essential for developing those characteristic ruffled “feet” during baking. Get ready to bake a batch of homemade macarons that look and taste truly professional!
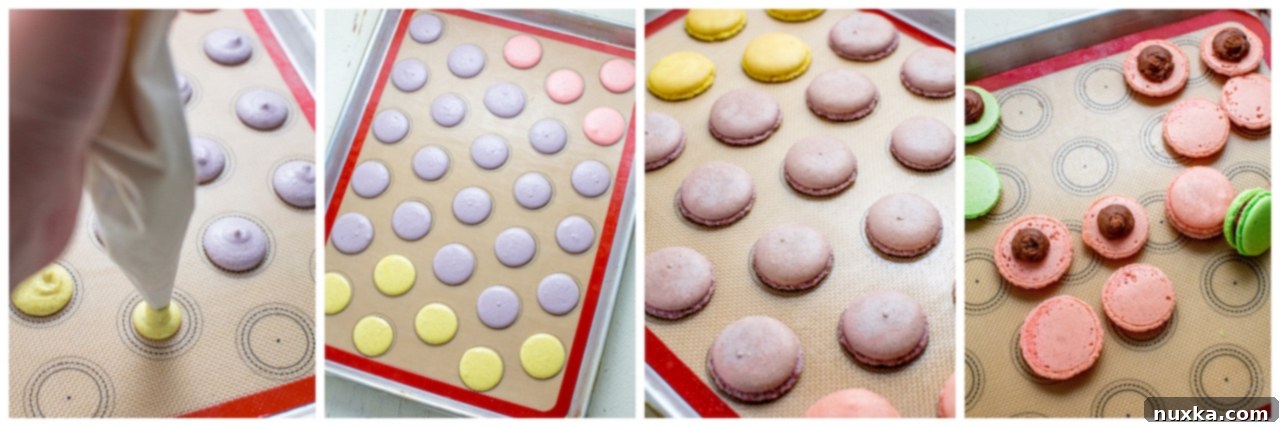
How to make Chocolate Ganache Frosting:
No macaron is complete without a luscious filling, and a homemade chocolate ganache is the perfect companion for these delicate shells. This rich, smooth, and decadent frosting provides a wonderful contrast to the crispiness of the macaron, creating a balanced and utterly satisfying bite. Making ganache is surprisingly simple, requiring just two ingredients and minimal effort, yet it delivers maximum flavor impact.
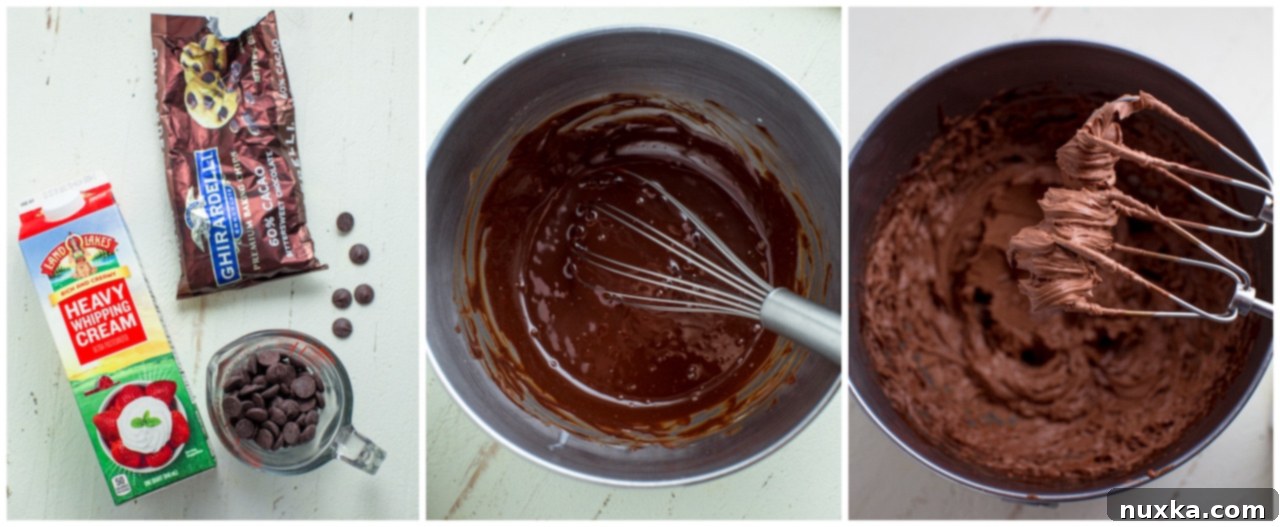
Once your ganache is prepared and chilled, it will whip up into a light, pipeable consistency, perfect for filling your macaron shells. The slight bitterness of dark chocolate provides a beautiful counterpoint to the sweetness of the macaron, creating a truly harmonious dessert. Get ready to assemble your exquisite creations!
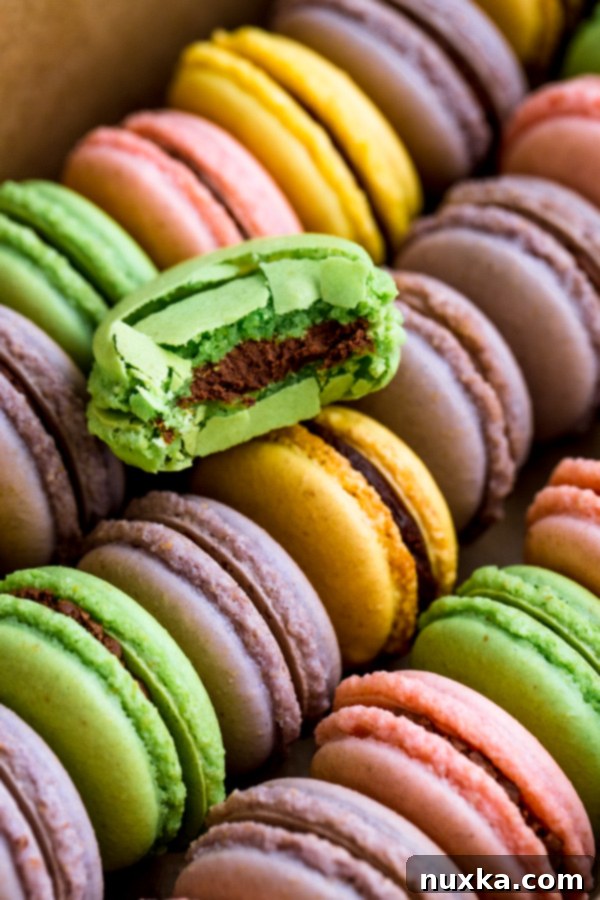
Food coloring to use for Macarons:
Achieving those vibrant, eye-catching colors in macarons is an art in itself. It is best to use gel-based food coloring for macarons to avoid compromising the delicate meringue texture. Unlike liquid food colorings, gel colors are highly concentrated and won’t add excess moisture to your batter, which can lead to runny consistency and ultimately, failed macaron shells. A small drop of gel color goes a long way in creating beautiful, saturated hues without affecting the crucial balance of your macaron batter.
Essential Tips for Making Perfect Macarons:
Mastering macarons often comes down to understanding key techniques and avoiding common pitfalls. These tips are drawn from extensive baking experience and are designed to help you achieve beautiful, consistent results every time.
- DO NOT over-beat the meringue! This is one of the most common mistakes in macaron making. When using a stand mixer like a KitchenAid, a 4-minute mark is often perfect for achieving stiff, glossy peaks without going too far. Over-beaten meringue becomes dry, crumbly, and difficult to fold smoothly into the almond flour mixture, resulting in brittle shells that lack the desired chewy texture and may not develop proper “feet.” The meringue should droop down just slightly when you lift the whisk, forming a beautiful, soft curl.
- My recipe specifically calls for COLD egg whites. While many recipes recommend room temperature or even aged egg whites, this particular method works exceptionally well with cold whites. They might take a minute or so longer to whip initially, but they can produce a very stable meringue. If you opt for room temperature whites, adjust your beating time accordingly, as they will whip up faster.
- Meringue consistency is crucial. The meringue should have a slight droop when picked up with the whisk. This “soft peak” consistency is ideal for easy piping and ensures your macaron tops will be smooth and level. If your meringue is too stiff (over-beaten), it will be very hard to incorporate into the dry ingredients and even harder to flatten after piping, often leading to lumpy or peaked shells. You want a flowing, lava-like consistency after macaronage, often referred to as the “ribbon stage.”
- Exceed no more than 9-10 minutes for baking. The longer macarons bake, the drier and more brittle they become. You’re aiming for a delicate crispness on the outside and a delightfully chewy interior. No one wants a brittle, crumbly macaron! Keep a close eye on them; oven temperatures can vary, so a minute or two can make a significant difference. If they stick to the mat after cooling, they likely need another minute or two next time.
- DO NOT bake two pans at a time! This is a lesson hard-learned by many macaron bakers. Baking two trays simultaneously in a home oven can create inconsistent heat distribution and trapped steam. The lower rack macarons often poof up and crack, failing to develop proper feet due to uneven baking conditions. Always bake one tray at a time for optimal and consistent results.
- This recipe works best for medium to large-sized macarons. Tiny macarons tend to dry out quickly at this baking time, losing their chewy interior. Aim for shells approximately 1.5 to 2 inches in diameter for the best texture and overall success with this specific baking duration.
- A Macaron mat is incredibly helpful for maintaining identical cookie shapes and sizes. The pre-printed circles guide your piping, ensuring uniformity across your batch. While parchment paper can be used, a good quality silicone macaron mat provides a non-stick surface and consistent sizing.
- Over-baking will result in hard, dry cookies, while under-baking will leave them too raw and sticky inside. We’ve found 9-10 minutes to be the perfect timing for achieving that ideal balance of crisp exterior and chewy interior. It’s also worth noting that macarons taste best the next day, as the filling has time to “mature” and soften into the cookie shells, creating the perfect crisp and chewy texture. This resting period allows the flavors to meld beautifully.
- For flavored macarons, add a hint of extracts (e.g., vanilla, almond, peppermint) or even fine zest to the meringue batter during the macaronage process. Ensure they are oil-based or minimal liquid to avoid altering the batter consistency.
- To speed up the cooling process for the toasted almond flour, simply pop it in the freezer for a few minutes after toasting. This ensures it’s completely cool before sifting, preventing it from clumping.
- Tapping the baking sheets: After piping your macarons, firmly tap the baking sheet on your counter 4-5 times on each side. This helps release any trapped air bubbles, preventing hollow shells and promoting smooth tops. You might see small air bubbles rise to the surface; pop any visible ones with a toothpick.
- Resting/Drying Time: The 15-minute drying time is crucial for developing the “feet.” During this period, a slight skin forms on the surface of the macaron. You’ll know it’s dry enough when you can gently touch the macaron surface without it sticking to your finger. This skin prevents the macaron from expanding upwards during baking, forcing the air to escape through the bottom and creating those characteristic ruffled “feet.” Humidity can affect this time, so be patient if your environment is particularly moist.
Delightful Flavor Combinations:
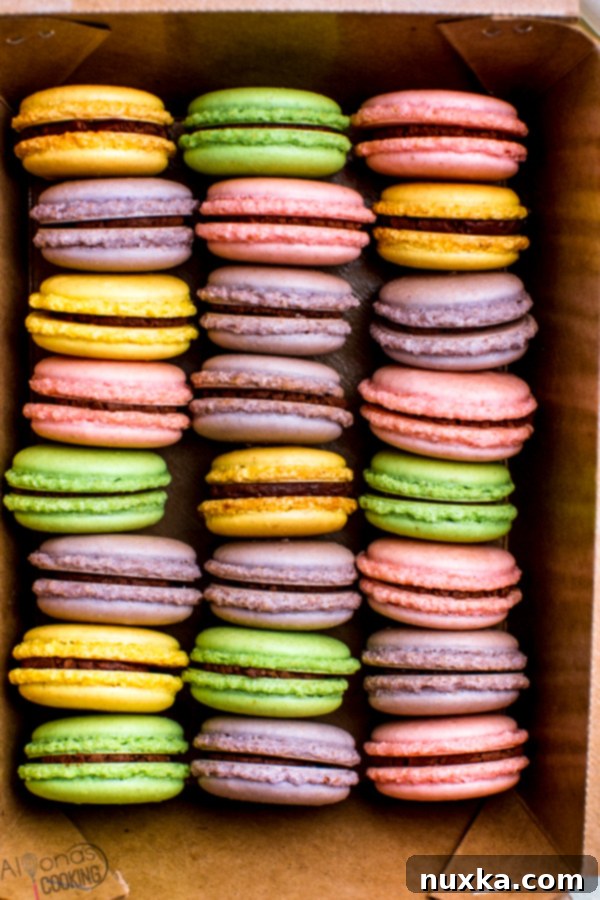
Once you’ve mastered the basic macaron shell, the possibilities for flavor combinations are endless! Here are some classic and creative ideas to inspire your next batch:
- Plain (Uncolored Ones)/Vanilla Butter Cream Frosting: A timeless classic, allowing the delicate almond flavor of the macaron shell to shine, beautifully complemented by the rich, smooth vanilla buttercream.
- Purple/Blueberry Filling: Pair light purple shells with a tangy and sweet blueberry jam or a blueberry-infused buttercream for a vibrant and fruity treat.
- Green/Mint Chocolate or Pistachio: Green shells are perfect for a refreshing mint chocolate ganache or a nutty pistachio buttercream, offering a sophisticated flavor profile.
- Pink or Red/Raspberry or Strawberry: Bright pink or red shells filled with a vibrant raspberry or strawberry jam, curd, or buttercream create a visually stunning and delightfully fruity macaron.
- Yellow/Lemon: Zesty yellow shells paired with a bright and tart lemon curd or lemon buttercream make for a refreshing and sunny macaron.
- Brown/Chocolate: Classic brown shells filled with a rich chocolate ganache (as detailed in this recipe!) or a chocolate buttercream are a chocoholic’s dream come true.
- Tan/Caramel: Subtle tan shells can be wonderfully paired with a luscious salted caramel filling or a caramel buttercream for a sweet and savory indulgence.
Rate
Pin
Easy Macarons Recipe
Ingredients
Macarons
-
165 grams almond flour 1 1/3 cups
-
165 grams powdered sugar 1 cup
-
115 grams egg whites 3 Large eggs
-
150 grams granulated sugar 2/3 cup
Chocolate Ganache Filling:
-
100 grams bitter-sweet chocolate chips 1/2 cup
-
100 grams heavy whipping cream 1/2 cup
Instructions
How to make EASY Macarons:
-
Toast almond flour at 350°F for 5 minutes. Cool completely. Toasting enhances the nutty flavor and helps dry out the flour, which is beneficial for macaron texture.
-
Sift together the powdered sugar and cooled almond flour multiple times to ensure a super fine, lump-free mixture. This step is crucial for achieving smooth macaron shells. Set aside.
-
In a clean, grease-free bowl, beat the cold egg whites with a stand mixer for 30 seconds until foamy. Slowly add the granulated sugar, a tablespoon at a time, while continuing to beat on high speed for approximately 4 minutes until firm, glossy peaks form. The meringue should be stable and hold its shape.
-
Gently fold in the sifted almond flour and powdered sugar mixture using a rubber spatula until fully incorporated. This process, known as “macaronage,” should result in a batter that flows like lava or a thick ribbon. If desired, add any gel food coloring at this point and fold until evenly distributed.
-
Transfer the macaron batter into a large piping bag fitted with an XL round piping tip. Pipe out uniform circles onto silicone macaron mats or parchment paper-lined baking sheets. Once piped, firmly bang the baking sheet 4-5 times on each side against your counter to release air bubbles. Let the macarons sit for 15-30 minutes to dry off until a skin forms. (You’ll know they’re dry when you gently touch the macaron and it doesn’t stick to your finger.)
-
Preheat oven to 350°F. Bake one sheet at a time for exactly 9 minutes. This precise timing is crucial for optimal texture and the development of “feet.” Cool completely on the baking mat before attempting to remove, as warm macarons are very fragile.
How to make Chocolate Ganache:
-
Place bitter-sweet chocolate chips in a heatproof bowl. In a separate microwave-safe container, microwave the heavy cream until it reaches a boiling point. Pour the hot cream over the chocolate chips and let it sit undisturbed for 1 minute to allow the chocolate to melt. Then, gently stir together until completely smooth and emulsified. Chill the mixture completely in the refrigerator, stirring occasionally, until it’s firm but spreadable.
-
Once chilled, use an electric mixer to beat the cold ganache mixture until soft peaks form and it becomes light and fluffy. Transfer to a piping bag and fill the cooled macaron shells, sandwiching them together.
Notes
- Meringue Mastery: I achieved optimal results using a Kitchen-Aid 5-quart mixer. Please note that mixer wattage and whipping speeds can vary. For my setup, 4-5 minutes consistently provides the perfect meringue—stiff yet pliable enough to pipe beautifully. A properly whipped meringue should flow smoothly, allowing the batter to spread slightly and flatten after tapping. An over-beaten meringue, which is very stiff and clumpy, will result in brittle macarons that refuse to flatten, lacking the desired chewiness.
- Macaron Size Matters: This recipe is calibrated for medium to large macarons. If you opt for smaller shells, be aware that they can dry out more quickly at this baking time, potentially leading to a less chewy interior. Adjust baking time down by 1-2 minutes for smaller sizes.
- Precision in Measurement: All equivalent cup measurements provided are approximate. For truly precise and consistent macaron baking, it is highly recommended to use a kitchen scale and follow the gram measurements.
- Oven Variability & Baking Time: Oven temperatures can differ significantly. If your macarons stick to the mat after they have cooled completely, it’s a clear sign they needed an extra minute or two in the oven. Conversely, if they are too hard, reduce baking time slightly. Always test a small batch if you are unsure about your oven’s calibration.
Nutrition per serving
Other Cookie Recipes to Try:
If you enjoyed mastering these macarons, you might love exploring other simple yet delicious cookie recipes. Expand your baking repertoire with these fantastic options:
- 3 Ingredient Butter Cookies
- Crunchy Nutty Fingers Cookies
- Crunchy Jam Filled Cookies
With this easy, fail-proof macaron recipe, you now possess the knowledge and confidence to create these enchanting French delights right in your own kitchen. Gone are the days of intimidation and uncertainty. Embrace the joy of baking, experiment with various colors and fillings, and delight your family and friends with perfectly formed, deliciously chewy homemade macarons. Happy baking!
