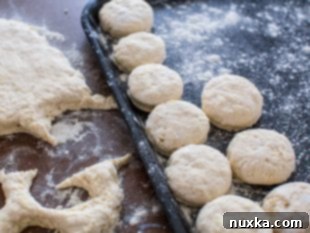
The Ultimate Guide to Flaky Buttermilk Biscuits: Homemade & Freezer-Friendly Perfection
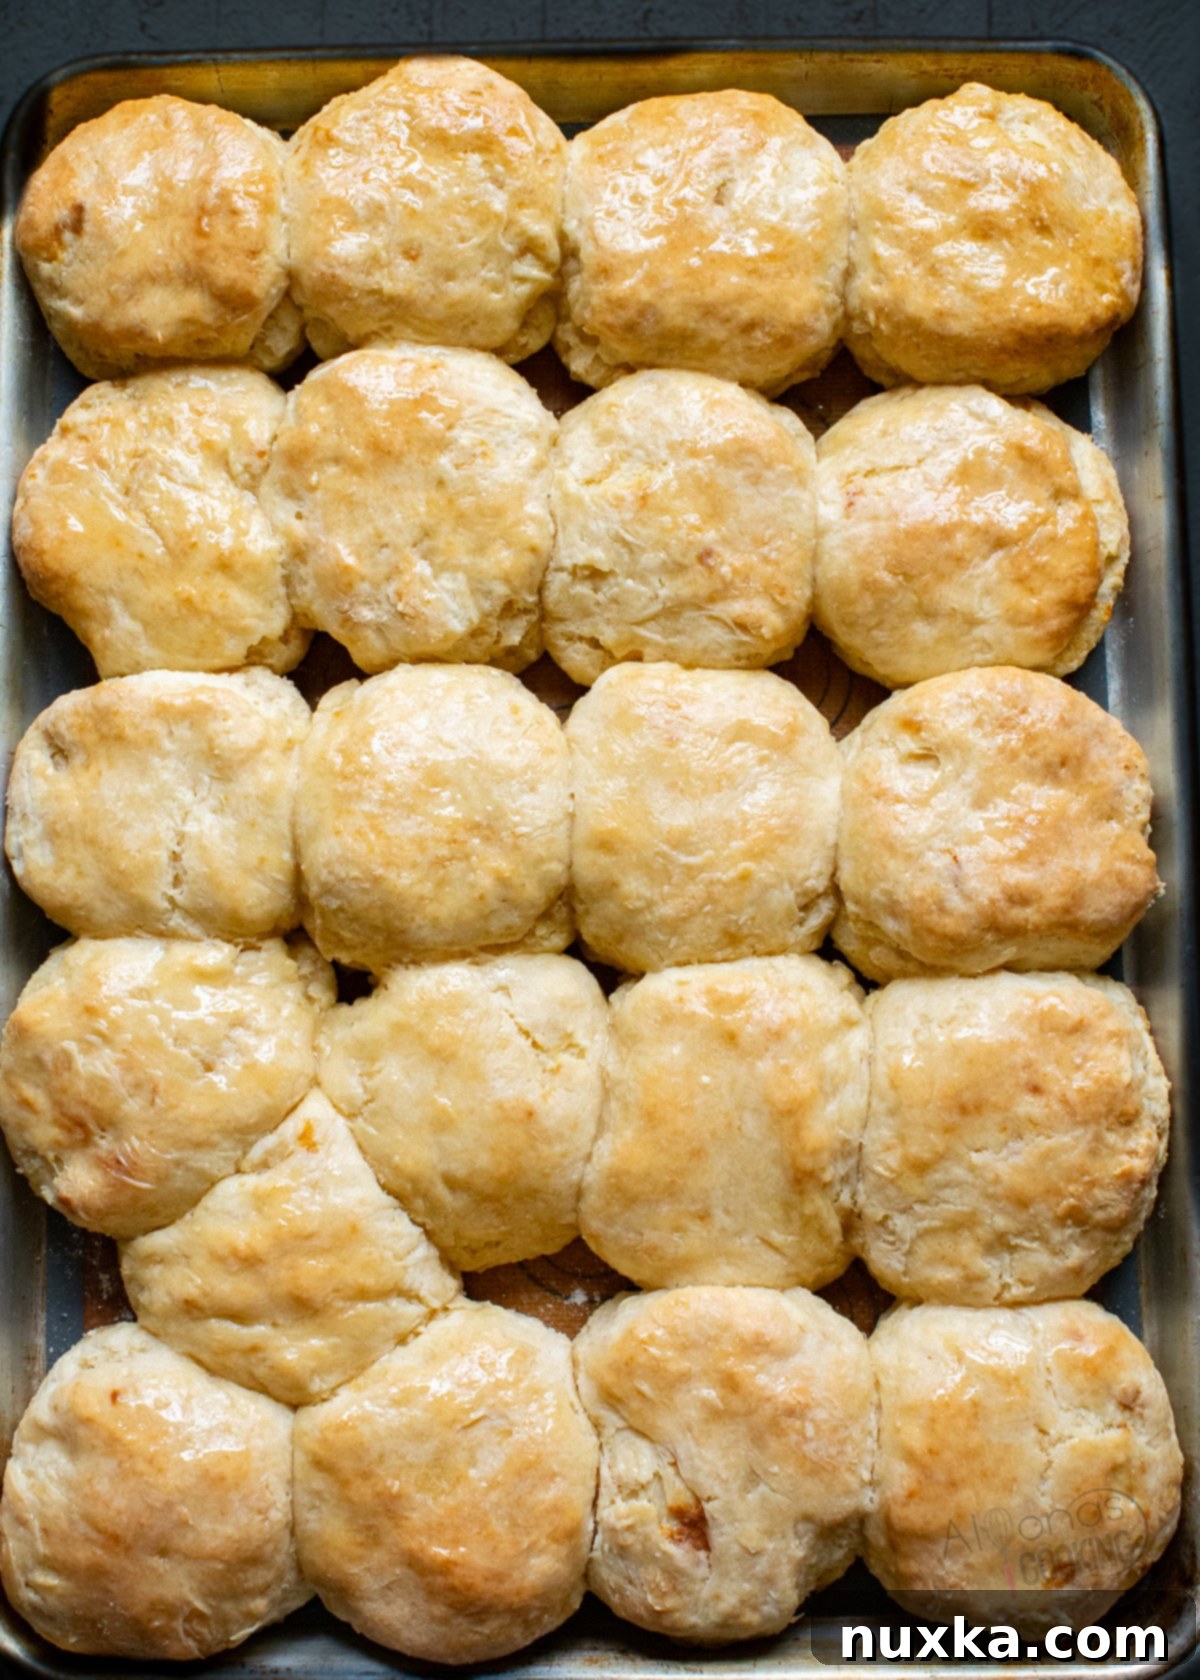
There’s nothing quite like a warm, flaky biscuit, fresh from the oven, its tender layers ready to soak up butter, jam, or rich gravy. This isn’t just a recipe; it’s your comprehensive guide to mastering the art of classic, soft, and utterly delicious buttermilk biscuits. Whether you’re whipping up a batch for a comforting dinner, craving the ultimate biscuits and gravy, or building the perfect breakfast sandwich, these homemade biscuits are guaranteed to impress. The magic lies in the simple combination of tangy buttermilk, which expertly activates the leavening agents, and a clever lamination technique that creates those coveted towering layers. The best part? You can easily transform this recipe into convenient freezer biscuits, ensuring a taste of homemade goodness is always just minutes away.
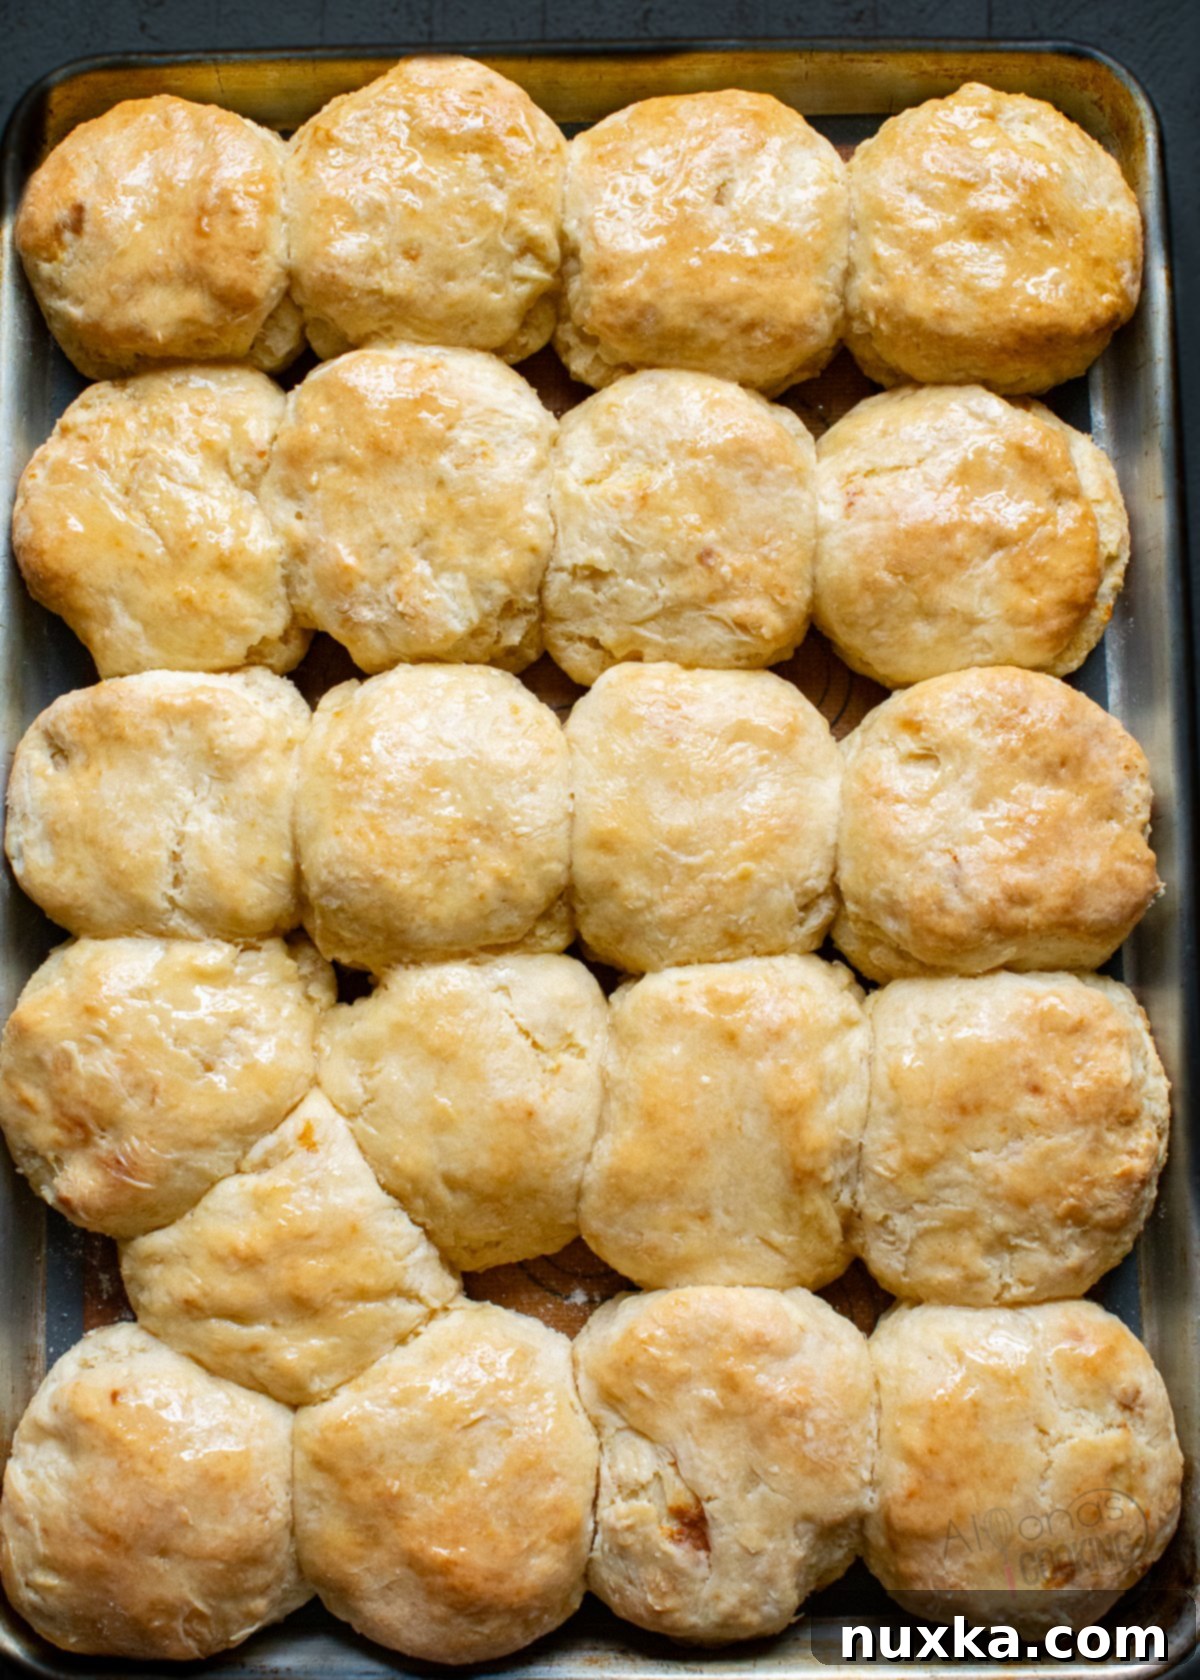
What Exactly Is a Biscuit? The Secret to Fluffy, Flaky Layers
At its heart, a biscuit is a type of “quick bread,” a baking marvel that relies on leavening agents like baking powder and baking soda rather than yeast to achieve its rise. This means no lengthy proofing times, making biscuits an ideal choice for a relatively fast homemade bread. The hallmark of a truly great biscuit, however, is its incredibly flaky texture. This is achieved through a technique called lamination, where cold butter is incorporated into the flour, then folded and rolled repeatedly to create distinct layers of dough and butter. As the biscuits bake, the butter melts, releasing steam that pushes the layers apart, resulting in that irresistible light, airy, and flaky interior.
Unlike some drop biscuits, such as these popular Red Lobster Cheddar Bay Biscuits, which are simply dropped onto a baking sheet, our classic biscuit dough is carefully folded and shaped. This deliberate layering process sets the stage for those impressive high-rising, fluffy biscuits. While a metal biscuit cutter ensures perfectly uniform rounds, don’t hesitate to use a drinking glass if that’s what you have on hand. The goal is always that delightful combination of a slightly crisp exterior and a tender, cloud-like crumb.
Beyond Gravy: Creative Ways to Enjoy Your Buttermilk Biscuits
While a Biscuits and Gravy Recipe is undoubtedly a beloved classic, the versatility of these homemade buttermilk biscuits extends far beyond. Their subtle, unsweetened flavor profile makes them a fantastic canvas for both savory and sweet applications. Imagine transforming leftover biscuit dough into delightful dessert biscuit dumplings or even impromptu cinnamon rolls. For a hearty meal, they shine in a savory dish like a Chicken Pot Pie with Biscuits Casserole, where their tender texture perfectly complements the rich filling. We adore pairing them with crispy Country Fried Chicken, especially when brushed with a delicate honey glaze for a touch of sweetness. And for breakfast? These soft, fluffy biscuits are ideal for building epic bacon, egg, and cheese sliders, or simply served warm with a generous smear of butter and your favorite jam as a tasty appetizer or side to any meal.
The Magic of Freezing: Homemade Biscuits On Demand
One of the greatest advantages of this generous biscuit recipe is its freezer-friendly nature. You can freeze homemade biscuits either unbaked or baked, providing incredible convenience for busy mornings or unexpected guests. Since this recipe yields a substantial batch, freezing is an excellent way to ensure you always have fresh, warm biscuits without starting from scratch every time. For unbaked freezer biscuits, simply cut out your biscuits and place them on a floured tray. Flash freeze them until solid, then transfer them to a freezer-safe bag. They’ll keep beautifully for up to 3 months. Beyond that, the leavening agents might start to lose some potency, affecting their rise.
Having frozen biscuits on hand is a true breakfast shortcut. I often pull a bag of frozen biscuits straight from the freezer while thawing my frozen sausage gravy over low heat. This way, you get the satisfaction of freshly baked biscuits with minimal effort!
How To Cook Frozen Biscuits:
There’s no need to thaw! Simply arrange your frozen biscuits on a sheet pan and bake them in a preheated oven at 400°F (200°C) for 25-30 minutes. The exact baking time can vary depending on the size of your biscuits; petite biscuits will cook faster, while grand biscuits will require a little more time to become golden brown and cooked through.
Essential Ingredients for Your Fluffy Biscuit Recipe
Forget the urge to grab those canned biscuits from the store! This easy biscuit recipe relies on simple, wholesome ingredients you likely already have, or can easily find. Investing in a good quality cultured buttermilk will elevate your homemade biscuits to new heights. Here’s a closer look at what you’ll need to make biscuits from scratch and why each component is crucial:
- Flour: For truly soft and tender biscuits, opt for a low-gluten, soft wheat flour like pastry flour or a good quality all-purpose flour. These flours have a lower protein content and higher starch, which is ideal for creating that delicate crumb, similar to what you’d use for a light pancake mix. Avoid self-rising flour, as this recipe already includes precise measurements for leavening and salt.
- Leavening Agents: The combination of baking powder and a touch of baking soda is key for achieving those wonderfully fluffy biscuits. The baking soda reacts with the acidity in the buttermilk, creating carbon dioxide bubbles that give the biscuits their rise and light texture.
- Salt: A good quality sea salt not only enhances the flavor of the biscuits but also balances the richness of the butter and the tang of the buttermilk.
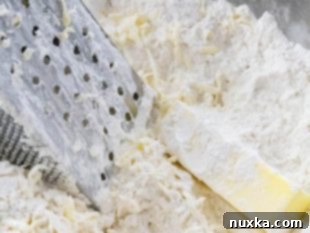
- Cold Butter: This is arguably the most critical ingredient for flaky biscuits. Using very cold, unsalted butter is essential. I find grating the cold butter directly into the flour mixture to be incredibly efficient. Dipping the butter sticks into the dry ingredients as you grate helps prevent them from warming up in your hands, making for easier shredding and ensuring the butter remains in small, distinct pieces. This method is far simpler than laboriously cutting butter into flour with a pastry cutter, though a food processor can also do the job quickly.
- Cultured Buttermilk: This thick, fermented milk is the secret weapon for tender, flavorful biscuits. Its high acidity not only reacts with the baking soda to promote a superior rise but also helps tenderize the gluten in the flour, resulting in a wonderfully soft crumb. The acidity also balances any potential bitterness from the baking soda, leaving you with a perfectly tangy and rich flavor.
Step-by-Step: How to Make Perfect Buttermilk Biscuits
Making homemade biscuits is simpler than you might imagine, especially when you follow these steps. For impressive, generous biscuits perfect for sandwiches or as a bread side, I recommend a biscuit cutter tool at least 3-inches in diameter. And a pro tip for any baker: a silicone mat is invaluable, as it prevents soggy bottoms and ensures your bread bakes evenly without sticking.
- Prepare Dry Ingredients: In a large mixing bowl, combine your all-purpose flour, baking powder, baking soda, and salt. Whisk them together thoroughly to ensure all leavening agents are evenly distributed. This is the foundation for a consistent rise.
- Incorporate Cold Butter: Take your very cold butter and, using a box grater, shred it directly into the dry ingredients. As you grate, occasionally toss the shredded butter with the flour mixture. This helps coat the butter pieces, keeping them separate and cold – crucial for flakiness. Alternatively, you can use a pastry blender or a food processor for this step, pulsing until the mixture resembles coarse crumbs with some pea-sized butter pieces. Create a small well in the center of your flour and butter mixture.
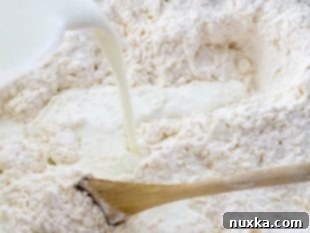
- Add Buttermilk and Form Dough: Pour the cold cultured buttermilk into the well. Using a wooden spoon or a sturdy spatula, gently mix until the dry ingredients are just moistened and the dough starts to come together in a shaggy mass. Be careful not to overmix! If your dough seems too dry and isn’t quite cohesive, add a tiny splash more buttermilk or even a tablespoon of cold water, just enough to make a flexible dough. The goal is a slightly tacky, shaggy dough, not a wet, sticky one (which would be more akin to drop biscuits).
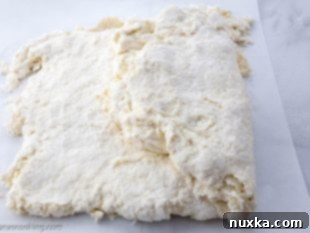
- Laminate for Layers: Lightly flour your work surface and transfer the shaggy dough onto it. Gently pat the dough into a rough rectangular shape. Fold one side of the rectangle over to the center, then fold the other side over the first, like folding a letter. This creates three layers. Gently pat or roll the dough out again into a rectangle. Repeat this folding and flattening process once more. This crucial lamination step builds those beautiful, flaky layers without overworking the dough. Aim for a final thickness of about 1 inch.
- Cut and Bake: Using your biscuit cutter (or a drinking glass), cut out rounds, pushing straight down without twisting. Twisting can seal the edges, hindering the rise. Arrange the cut biscuits on an 18×13 sheet pan, ideally lined with a silicone mat or parchment paper. For softer, fluffier biscuits, place them close together so they are almost touching. Bake in a preheated oven at 400°F (200°C) for 25-30 minutes, or until the tops are golden brown and the biscuits are fully risen and cooked through.
Storing and Reheating Your Homemade Biscuits for Lasting Freshness
Enjoying freshly baked biscuits is a delight, but knowing how to store and reheat them ensures you can savor that goodness for longer. Biscuits are best enjoyed fresh, but leftovers will stay fresh at room temperature for up to one day when stored in an airtight container or bread bag. For longer storage, especially if you’ve made a large batch, freezing is the optimal solution.
How to Reheat Biscuits:
- Air Fryer: For a quick and crispy reheat, place biscuits in a preheated air fryer at 300°F (150°C) for 3-5 minutes, or until warmed through.
- Toaster Oven: Similar to an air fryer, a toaster oven works wonderfully. Heat at 300-325°F (150-160°C) for 5-7 minutes.
- Conventional Oven: If reheating a larger quantity, wrap the biscuits loosely in aluminum foil to prevent them from drying out. Bake in a preheated oven at 300°F (150°C) for 10-15 minutes, or until heated through.
- Microwave: For the quickest option, microwave individual biscuits uncovered on high for about 20-30 seconds. Be cautious not to over-microwave, as they can become tough.
More Delicious Recipes To Try:
- How To Make Gravy For Biscuits
- Strawberry Scones
- Popeyes Chicken Sandwich (Copycat)
- Egg Patties for Breakfast Sandwiches
- Wholesome Whole Wheat Pancakes
Q&A: Common Biscuit Questions Answered
What To Do With Biscuit Scraps?
When cutting out biscuits, you’ll inevitably have scraps of dough leftover. While it might be tempting to re-roll them, biscuit dough tends to get tough and dense if overworked. Instead, I highly recommend saving these biscuit scraps for a delicious Chicken Pot Pie with Biscuits casserole! Simply place the cut-out scraps onto a floured plate and flash freeze them. Once solid, transfer to a freezer bag and store for future savory casseroles. This minimizes waste and gives you another meal option!
How Many Biscuits Does This Recipe Make?
This recipe is designed to yield a substantial, hefty batch of buttermilk biscuits, perfect for feeding a crowd or for creating a stash of convenient freezer biscuits. The exact number will depend on the size of your cutter:
- If using a 3.5-inch biscuit cutter, you can expect approximately 20 large, satisfying biscuits.
- If using a smaller 2.5-inch cutter, this recipe will yield around 32 smaller, more delicate biscuits.
Remember to flash freeze any unbaked biscuits on a floured tray before transferring them to a freezer bag for optimal long-term storage and to prevent them from sticking together.
Expert Tips & Tricks for Biscuit Perfection:
- Don’t Over-mix the Dough: This is perhaps the most crucial rule for tender biscuits. Overworking the dough develops gluten excessively, leading to stiff, dense, and tough biscuits. Mix just until the ingredients are combined and the dough forms a shaggy ball.
- Keep Ingredients Cold: Cold butter and cold buttermilk are non-negotiable. Cold butter creates steam pockets as it melts in the oven, which is essential for flaky layers. Using cold liquids prevents the butter from melting prematurely.
- Don’t Twist the Cutter: When cutting out your biscuits, press the cutter straight down and lift straight up. Twisting the cutter can seal the edges of the biscuit layers, preventing them from rising properly and resulting in less flaky edges.
- Freezer Biscuit Shelf Life: For the best rise and flavor, aim to use your frozen biscuits within 3 months. Beyond this timeframe, the leavening agents may begin to weaken, impacting the biscuits’ fluffiness.
- To Grease or Not to Grease: If you’re using a silicone baking mat or parchment paper, there’s no need to grease your sheet pan. However, if baking in a cast-iron pan or directly on metal, a light greasing of the bottom and sides will ensure the biscuits don’t stick and release easily.
- Gluten-Free Option: You can absolutely make delicious gluten-free biscuits! Simply substitute the all-purpose flour with your favorite cup-for-cup gluten-free flour blend.
- Butter Alternatives: While butter yields the best flavor and flakiness, if you don’t have it, you can substitute an equal amount of cold shortening or lard. Ensure the fat is cut into the flour until it resembles a fine crumb.
- Buttermilk Substitutions: No buttermilk on hand? You have a couple of easy options! You can mix part sour cream with milk, or make your own by souring regular milk: add 1 tablespoon of lemon juice or white vinegar to 1 cup of milk, stir, and let it sit for 5-10 minutes until it slightly curdles.
- Maple Glazed Biscuits: For a delightful sweet treat, melt 2 tablespoons of butter with 1 teaspoon of maple syrup and brush this glaze over the tops of your hot, freshly baked biscuits.
- Melted Butter Brush: A simple brush of melted butter over the tops of your buttermilk biscuits immediately after they come out of the oven adds a beautiful sheen, extra richness, and enhances the golden crust.
- Bake Close for Softness: For remarkably soft and fluffy biscuits with tender sides, arrange them closely together on the baking sheet so they are touching. This helps them steam each other as they bake, preventing the sides from crisping too much.
Handy Equipment To Make Soft & Flaky Biscuits At Home:
- 18×13 Sheet Pan – The perfect size for baking a generous batch of homemade biscuits to golden perfection.
- Large Mixing Bowl – Essential for combining your ingredients; this recipe comes together beautifully without the need for a stand mixer.
- Wooden Spoon – Ideal for gently mixing the biscuit dough until just combined, preventing overworking.
- Gallon Freezer Bags – A must-have for storing your unbaked or baked freezer biscuits, or keeping any fresh leftovers.
- Silicone Baking Mats – These are a game-changer! They fit perfectly on an 18×13 baking pan, ensuring your biscuits bake evenly and never stick. (Even macaron silicone mats work great in a pinch!).
- Box Grater: An excellent tool for quickly and efficiently shredding cold butter into your flour mixture, making butter incorporation a breeze.
- Biscuit Cutter: While a drinking glass works, a dedicated metal biscuit cutter (around 3-3.5 inches) provides consistent, professional-looking rounds.
Have you embarked on the journey of making these easy Southern-style buttermilk biscuits? We would absolutely love to hear about your experience! Please take a moment to leave a comment and share your review down below. We truly believe this is one of the best biscuit recipes out there, but if you have a cherished family recipe or a secret tip that makes yours even better, don’t hesitate to share it with our community! Happy baking!
How To Make Biscuits: The Recipe Card
Rate
Pin
BEST Biscuit Recipe
Equipment
-
1 large mixing bowl
-
1 wooden spoon
-
1 18×13″ sheet pan
-
1 metal tin biscuit cutter
Ingredients
Ingredients:
-
8 cups all-purpose flour
-
1 tsp baking soda
-
4 TBSP baking powder
-
1 TBSP salt
-
1 pound unsalted butter (cold)
-
1 quart cultured buttermilk
Instructions
How to Make Biscuits:
-
 Combine the dry ingredients in a large bowl. Using a box grater, grate in the cold butter. Toss everything together to incorporate the butter pieces into the flour.
 -
 Mix in the buttermilk to make a shaggy dough (if too dry add a splash of water or milk.) The dough should be tacky for fluffy biscuits.
 -
 Transfer the dough onto a well-floured surface and pat down large enough to fold in the sides resembling a letter and roll out. Repeat twice, patting dough down to a 1″ thickness. (Don’t overwork the dough.)
 -
 Cut out 3.5-inch circles and place the biscuits on an 18×13 sheet pan lined with a silicone mat. Bake in a pre-heated 400°F for 25-30 minutes or until done.
Notes
- For Drop Biscuits: add an additional 1/2 cup – 3/4 cup of buttermilk or milk to make a tacky biscuit dough in step 1.
- To Use Salted Butter: omit the tablespoon of salt and use 1 teaspoon of salt instead.
- To Make a Honey Butter Glaze: mix together 2 Tablespoons of melted butter and 1 teaspoon of honey; brush over warm biscuits. I serve these with my Country Fried Chicken Recipe.
