Homemade French Bread: Your Ultimate Guide to a Crispy & Soft Loaf
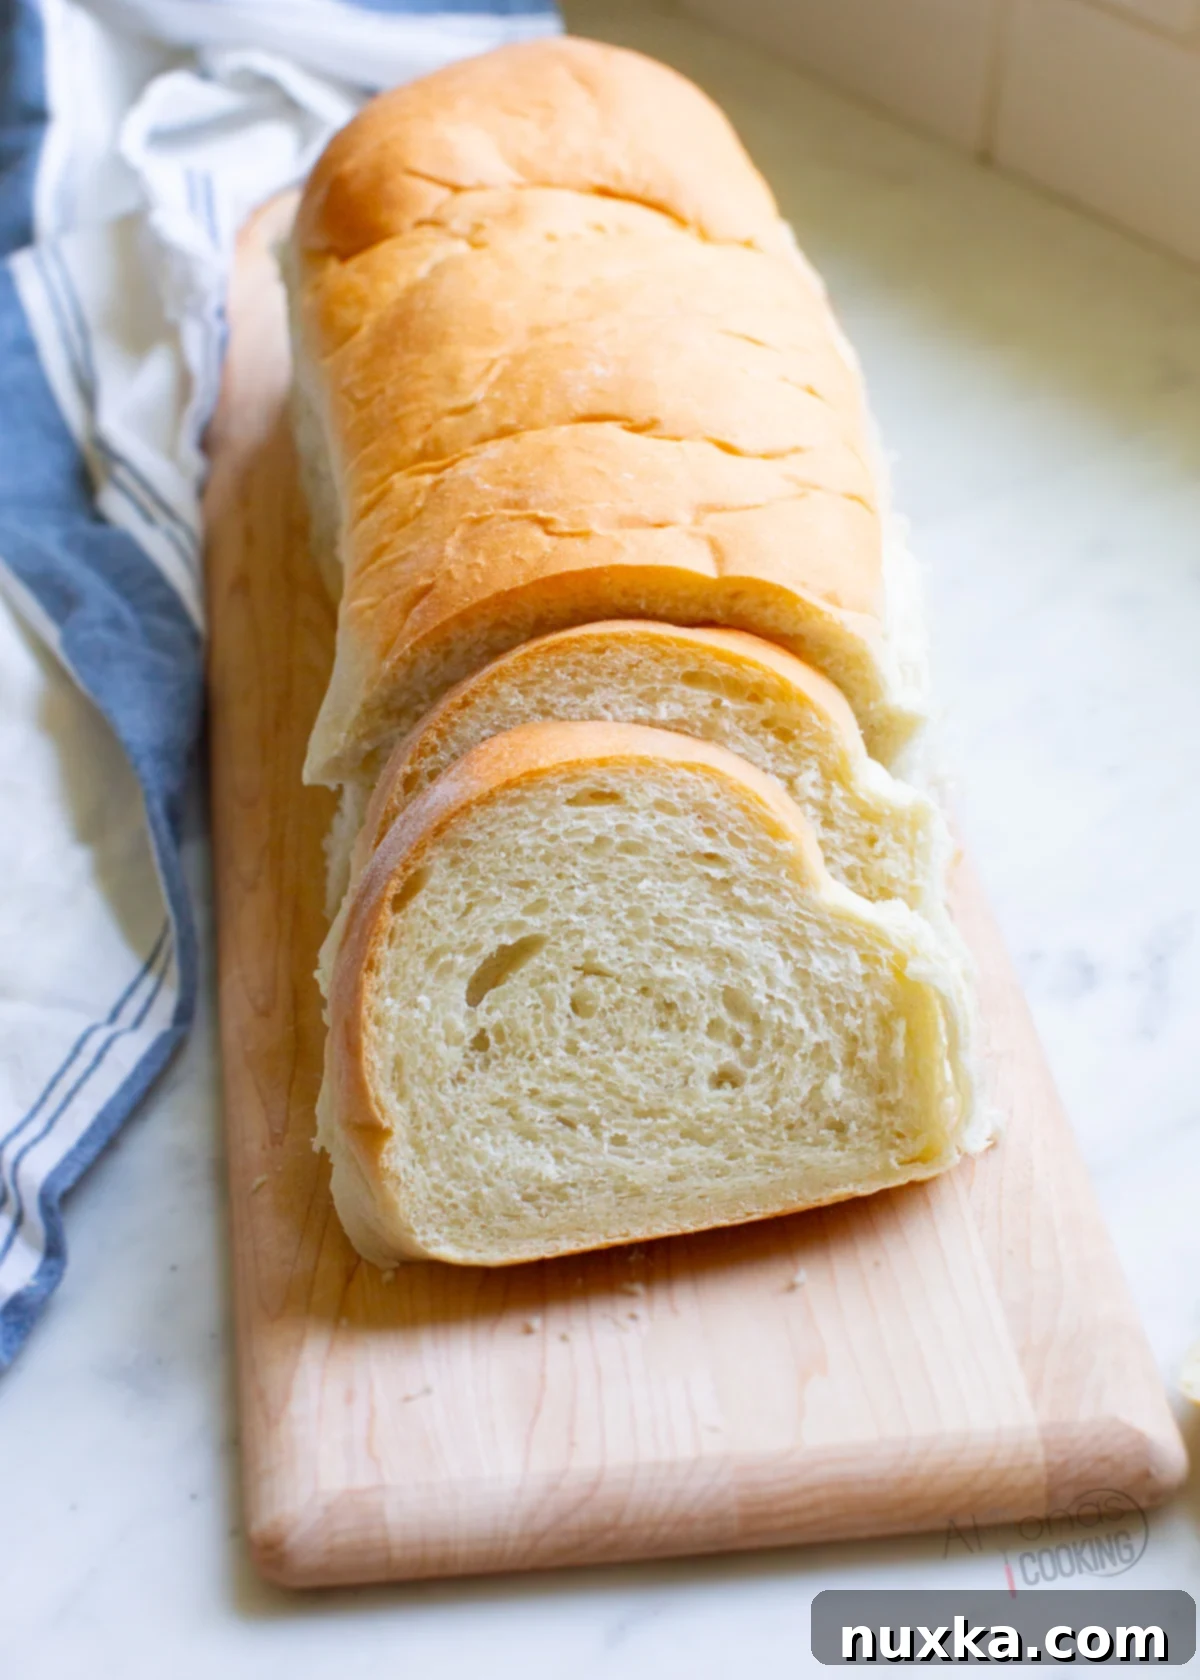
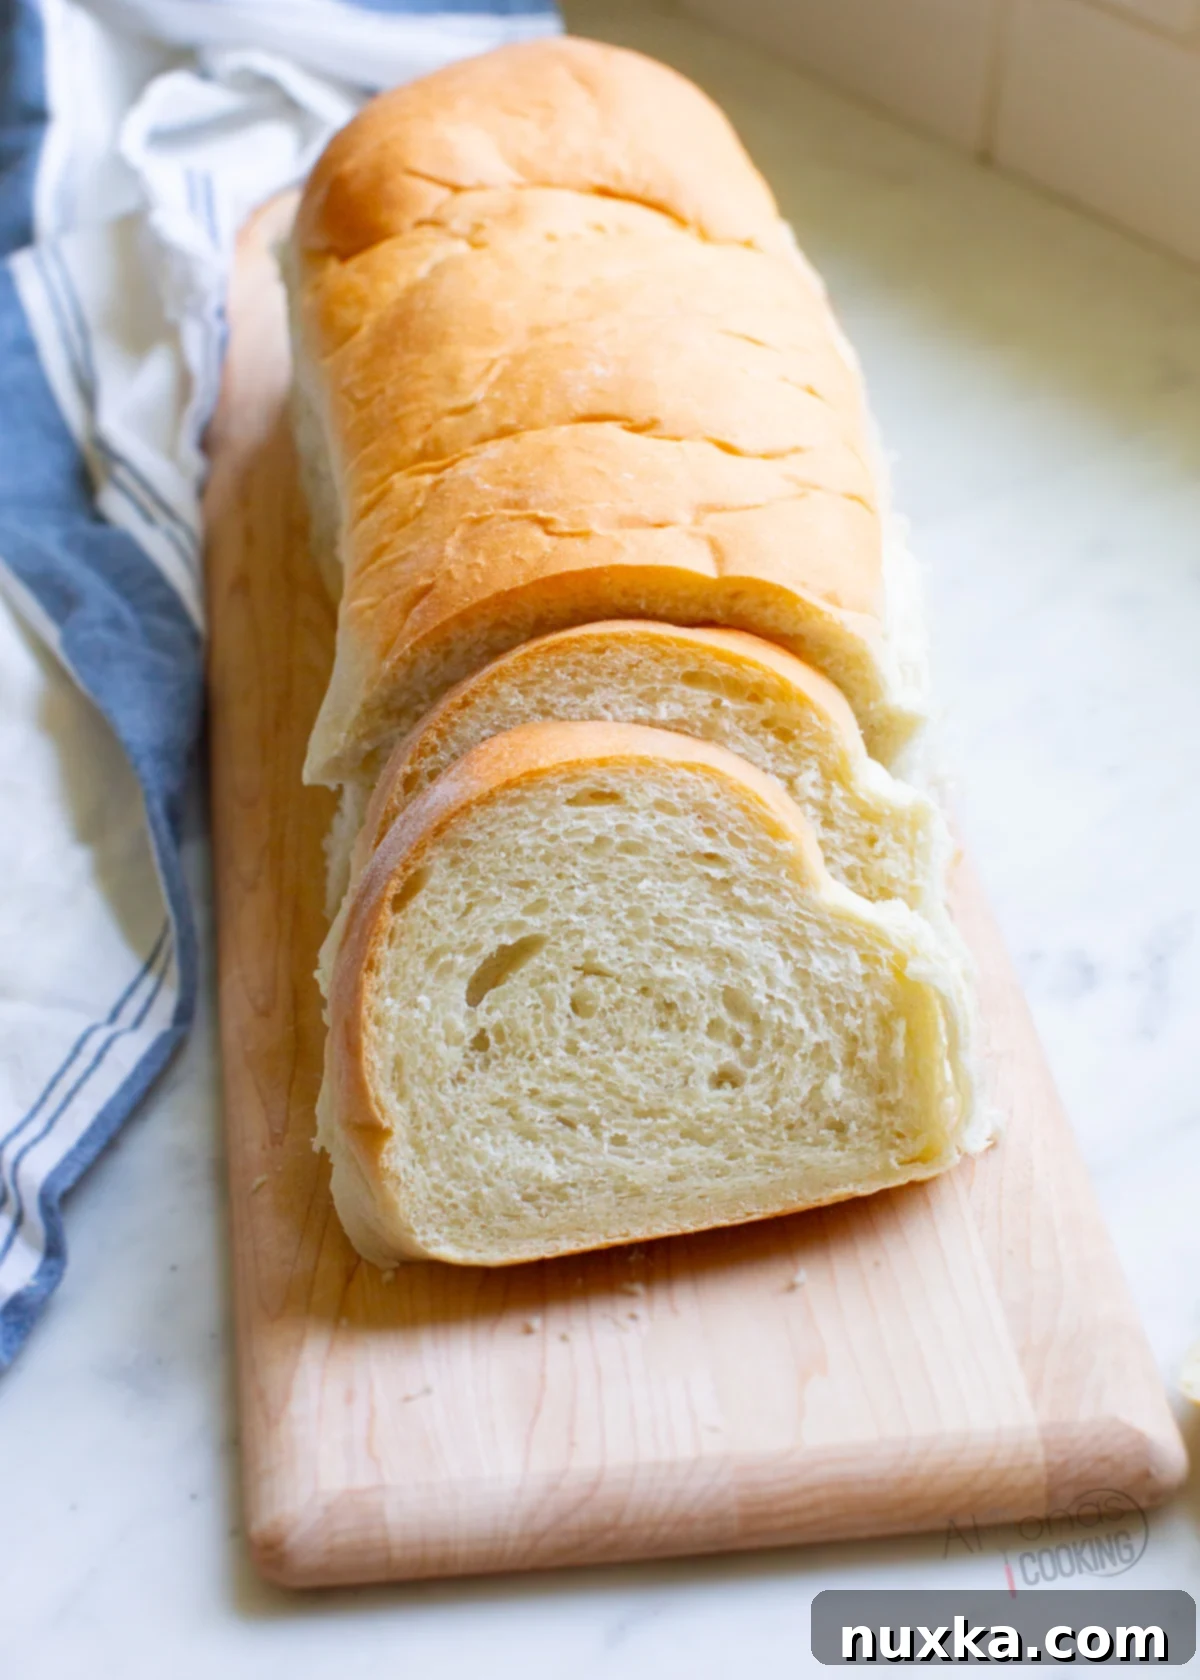
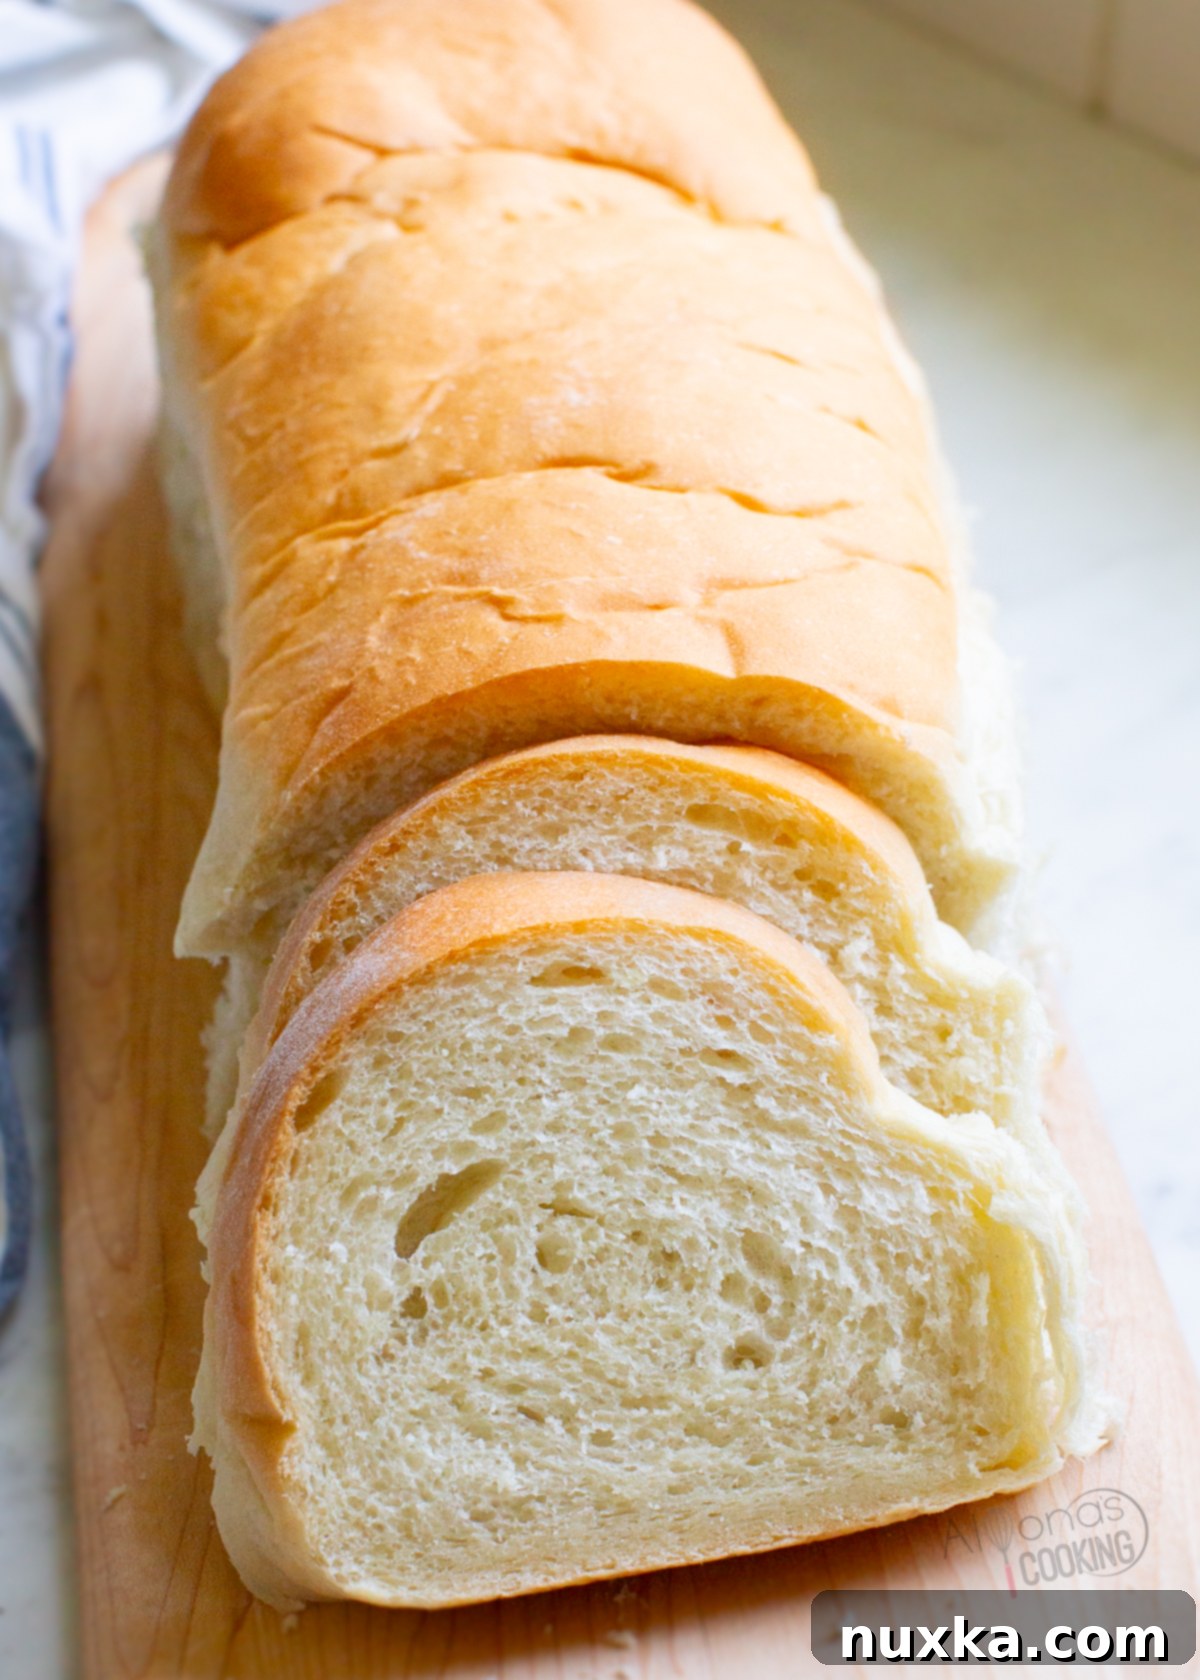
Imagine the delightful aroma of freshly baked bread filling your home, followed by the satisfying crunch of a golden crust giving way to an incredibly light and soft interior. This isn’t just a dream; it’s what you’ll achieve with our ultimate Homemade French Bread Recipe! This versatile loaf is your perfect canvas for creating delicious sandwich recipes, making fluffy French toast, preparing aromatic garlic bread, or assembling quick, family-favorite French bread pizzas. And here’s a secret: even when it goes stale, this bread finds a new life, transforming beautifully into crunchy homemade croutons or savory bread stuffing, ensuring not a single crumb goes to waste.
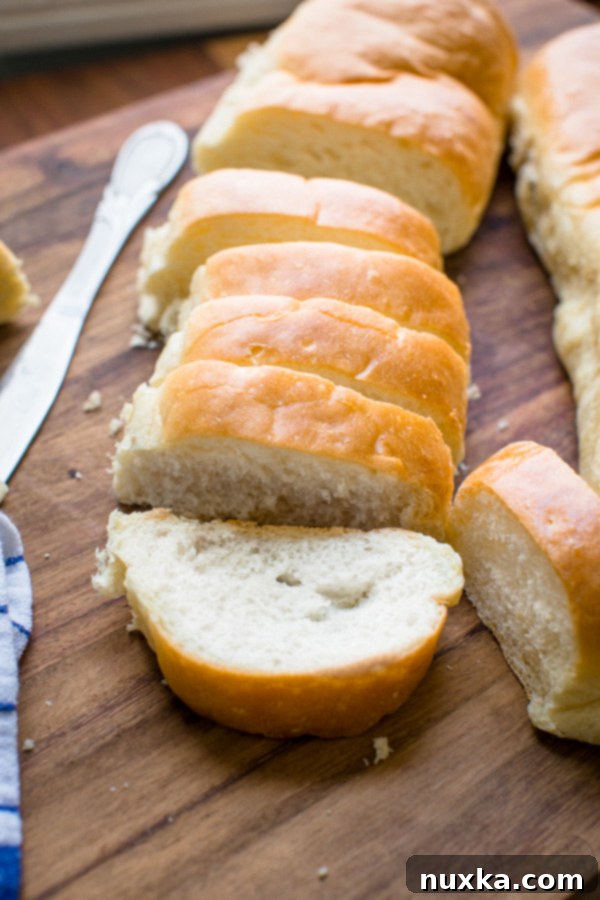
For us, there’s nothing quite like a slice of this warm, homemade French bread. Whether it’s toasted and served alongside a plate of fluffy scrambled eggs for a weekend brunch or simply enjoyed with a generous spread of butter and sweet strawberry jam as a comforting dinner accompaniment, its simple perfection shines through. Get ready to impress your family and friends with this surprisingly easy-to-make classic that tastes infinitely better than anything you can buy from the store.
If you’re an avid baker seeking a truly rustic and crusty French bread experience, be sure to try our Sourdough French Bread Baguette. The magic of sourdough creates an unparalleled crunchy texture and a complex flavor profile. For another kind of artisan French bread, our No-Knead Boule, a round artisan loaf, offers a different yet equally rewarding baking adventure. This article, however, will guide you through a classic French bread recipe that is both approachable for beginners and satisfying for experienced bakers, focusing on speed and simplicity without compromising on taste or texture.
What is French Bread? Understanding This European Classic
French bread, an iconic staple in European cuisine, refers to a category of long, thin loaves characterized by a crisp crust and a light, airy interior. While the term is often used interchangeably with “baguette,” French bread can encompass various shapes and sizes, all sharing a common base of white flour, water, yeast, and salt. Unlike many other breads, traditional French bread recipes typically use minimal or no added fat, contributing to its signature lean crumb and crackly exterior. Its beauty lies in its simplicity and versatility, making it a perfect accompaniment to almost any meal.
This particular homemade French Bread recipe is a standout for its incredible ease and speed. It rises quickly, allowing you to enjoy fresh bread much sooner than many other recipes. The resulting loaf boasts a golden, delicious, and satisfyingly crisp crust that gives way to a wonderfully soft and tender crumb. My family consistently finishes a loaf in a single sitting – it’s that good! Beyond simply eating it fresh, you can transform this loaf into a hearty base for casseroles, turn it into the best French toast you’ve ever had, or create your own batch of homemade croutons. For those who prefer larger, fluffier loaves, our Easy Fluffy Italian Bread Recipe offers a delicious alternative.
Achieving the Perfect Crispy Crust: Insider Tips for Home Bakers
While the crust of this bread is naturally delicious, you can enhance its crispiness with a few simple techniques. The secret to that professional-bakery-style crackly crust lies in creating a steamy environment during the initial phase of baking. Here’s how to master it:
- High Heat for Crust Development: Consider increasing your oven temperature to 425°F (220°C). A higher initial heat causes the dough to “spring” rapidly and the crust to set quickly, resulting in a crispier texture.
- Steam is Your Friend: For optimal crispiness, introduce steam into your oven. You can do this by spraying the loaves with water a few times during the first 10-15 minutes of baking using a simple spray bottle. Alternatively, place a pan of hot water on the bottom rack of your oven during preheating to create ambient steam.
- Utilize a Cloche or Dutch Oven: Professional bakers often use specialized equipment to trap steam. You can replicate this effect at home by baking your loaves in a cloche or a lidded Dutch oven. The enclosed space perfectly traps the steam released by the dough, leading to an incredibly crisp and beautiful crust. Remove the lid for the last 10-15 minutes of baking to allow for browning.
- Strategic Rack Placement: While some bakers find that moving the oven rack upward creates a better crust, I often achieve excellent results simply by baking my loaves on a lined sheet pan in the middle of the oven, especially knowing I’ll be freezing any extra loaves. Consistency in heat distribution is key.
Why Bake French Bread at Home? The Irresistible Rewards
While store-bought French bread is readily available, the experience of baking it yourself offers a myriad of benefits that elevate it to an entirely new level. Here’s why making French bread at home is a truly rewarding endeavor:
- Unmatched Freshness and Flavor: There’s simply no comparison to the taste and texture of bread pulled straight from your own oven. The flavors are more vibrant, the crust is perfectly crisp, and the crumb is incredibly tender.
- Control Over Ingredients: When you bake at home, you know exactly what goes into your bread. You can choose high-quality flours, your preferred type of oil, and avoid any unwanted preservatives or additives often found in commercial breads. This is particularly beneficial for those with dietary restrictions or specific preferences.
- Incredible Aroma: The smell of baking bread is one of life’s simplest pleasures. As your French bread bakes, your kitchen will be filled with a warm, comforting aroma that invites everyone to the table.
- Cost-Effective: Making bread from scratch is significantly more economical than buying artisanal loaves. Basic ingredients are inexpensive, allowing you to enjoy delicious, high-quality bread more frequently without breaking the bank.
- A Satisfying and Therapeutic Process: Kneading dough, watching it rise, and seeing it transform into golden loaves can be a deeply satisfying and even therapeutic experience. It’s a wonderful way to connect with your food and the age-old art of baking.
- Tailor to Your Taste: Homemade bread allows for customization. You can adjust the salt, sugar, or even add herbs and cheese to create your signature loaf, something impossible with pre-made options.
The Simple Ingredients Behind This Perfect French Bread Recipe
This easy French Bread recipe prides itself on its simplicity, requiring only a handful of basic ingredients that are likely already in your pantry. However, choosing good quality ingredients will significantly impact the final flavor and texture of your homemade loaves.
- Baker’s Yeast: This is the powerhouse behind your bread’s rise. I highly recommend using active dry yeast, such as Red Star, known for its consistent performance. Always check the expiration date and ensure your yeast is active for the best results.
- Fat (Oil or Lard): A small amount of fat adds tenderness to the crumb and a subtle richness. You’ll need a liquid oil or melted fat. My personal favorites are extra virgin olive oil for its delicate flavor, or a neutral sunflower oil if you prefer the bread’s natural taste to shine through.
- Flour: For bread making, a high-gluten flour is generally superior as it helps develop the strong elastic network necessary for bread’s structure and chewiness. King Arthur bread flour is a reliable choice. If you’re looking to add a nutritional boost and a slightly nutty flavor, you can substitute up to half of the white flour with whole wheat flour.
- Salt: Essential for flavor, salt also plays a vital role in controlling yeast activity and strengthening the gluten structure, preventing the dough from becoming too sticky or difficult to handle. A high-quality sea salt will elevate the bread’s overall taste.
- Sugar: Sugar provides “food” for the yeast, helping it activate more quickly and vigorously (a process often called “proofing” or making a “sponge”). It also contributes to the beautiful golden-brown color of the crust during baking.
- Water: The temperature of your water is crucial for activating the yeast. It should be comfortably warm to the touch, ideally between 90-105°F (32-40°C). Water that’s too hot will kill the yeast, rendering it inactive, while water that’s too cold will significantly slow down or prevent yeast activation.
Essential Equipment for a Seamless French Bread Baking Experience
While the idea of making French bread from scratch might seem intimidating, it’s quite simple, especially with the right tools. Many home bakers find a stand mixer with a dough hook invaluable for kneading, making the process almost effortless. However, if you enjoy the hands-on feel or are making a large batch, hand-kneading can be a satisfying alternative.
Aside from your oven, here’s the essential equipment that will ensure a smooth baking journey:
- Large Mixing Bowl: You’ll need an extra-large mixing bowl to comfortably combine all the ingredients and allow your dough to rise.
- Large Sheet Pan: An 18×13 inch sheet pan is perfectly sized to accommodate four 12-13 inch French bread loaves, allowing adequate space for expansion.
- Silicone Mat or Parchment Paper: Lining your baking sheet with a silicone mat or parchment paper is crucial. It prevents the bread from sticking to the pan and helps maintain a crisp bottom crust by preventing “sweating” after baking.
- Dough Scraper: This simple but mighty tool is indispensable for cleanly dividing, handling, and transferring sticky dough, as well as for cleaning your work surface.
- Measuring Tools: Accurate measuring cups and spoons are fundamental for ensuring the correct proportions of ingredients, which is vital for successful bread baking.
- Razor Blade or Sharp Knife: (Optional but highly recommended) A sharp razor blade (a baker’s lame) or a very sharp knife is used for scoring the bread, which helps control its expansion and creates beautiful patterns on the crust.
How To Make French Bread: A Detailed Step-by-Step Guide for Fluffy Perfection
Embark on your journey to bake magnificent French bread with these clear, easy-to-follow steps:
-
1. Prepare and Knead the Dough
Begin by dissolving the yeast in warm water in your large mixing bowl; add the sugar to help activate it. Once the yeast shows signs of life (it should look foamy), incorporate the remaining ingredients, starting with the salt and oil, then gradually adding the flour. Mix thoroughly until a shaggy dough forms. Continue to knead the dough, either by hand for about 5-10 minutes or using a stand mixer with a dough hook for 7-8 minutes, until it transforms into a soft, smooth, and elastic ball. Don’t be overly concerned with exact flour measurements – environmental factors like humidity and altitude can influence the dough’s hydration. Instead, rely on the dough’s feel: it should hold its shape well, be slightly tacky to the touch (but not excessively sticky), and feel wonderfully soft and supple. Over-flouring leads to dense, crumbly bread, while under-flouring results in a dough that’s too sticky to manage and won’t hold its shape during baking. Your goal is a pliable dough that will be easy to shape later.
-
2. Allow the Dough to Rise (First Fermentation)
Once kneaded, lightly grease a clean bowl and place the dough in it, turning once to coat all sides. Cover the bowl snugly with a kitchen towel or plastic wrap to prevent the dough’s surface from drying out and forming a crust. Let the dough rise in a warm, draft-free spot until it has fully doubled in size. This crucial stage, known as the first rise or bulk fermentation, allows the yeast to develop flavor and the gluten structure to relax, contributing significantly to a fluffy loaf. Depending on your kitchen’s temperature, this process typically takes around an hour. For an even lighter, airier crumb, you can opt for a “double rise”: let the dough double, gently punch it down in the center to release gases, and then allow it to rise a second time until doubled again.
-
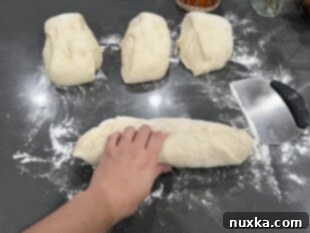
3. Shape the Loaves with Precision
Shaping homemade French bread is an art that’s easier than it looks! For uniform loaves that are usually 12 to 13 inches long (the length of a standard sheet pan), first divide your risen dough into four equal pieces. Take one piece and gently pat it into a flat rectangle, approximately 11×5 inches. Starting from one long edge, roll up the dough tightly, jellyroll-style, pressing down firmly with your fingers after each turn to create tension. This rolling technique helps create airy pockets within the bread and ensures the loaf maintains its elegant shape. Once rolled, pinch and seal the seam firmly along the entire length to prevent it from unraveling during baking. Repeat for the remaining dough pieces.
-
4. Score the Bread Dough (Optional but Recommended for Appearance)
After shaping your loaves, you have the option to score them. Scoring involves making 3-4 diagonal slashes on the top surface of each loaf using a sharp razor blade (a baker’s lame) or a very sharp knife. This step isn’t just for aesthetics; it provides controlled points for the bread to expand during its final rise and in the hot oven, preventing uncontrolled tearing and helping achieve that classic French bread appearance. Always score the bread after shaping and just before the final rise or baking to ensure the cuts remain open and effective. Even though this recipe yields loaves that beautifully rise without extensive cracking, scoring adds a professional touch and guarantees optimal expansion.
-
5. Final Rise and Baking to Golden Perfection
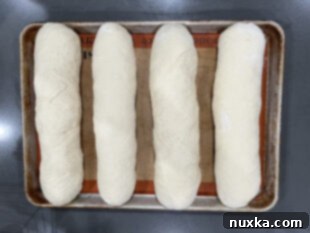
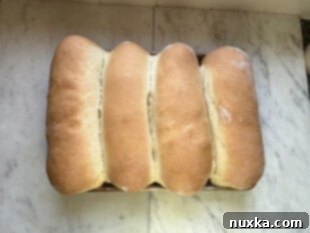
Place your shaped and scored loaves seam-down onto your prepared lined cookie sheet, ensuring they are spaced about 2 inches apart. (All four loaves should fit horizontally on an 18×13 inch sheet pan). Allow them to undergo a final rise until they have doubled in size again. While they are rising, preheat your oven to your desired temperature: 350°F (175°C) for a softer, less crusty exterior, or 425°F (220°C) for a deeper golden, crispier crust. Bake the loaves for approximately 25-30 minutes, typically on the middle rack. The bread is definitively done when its internal temperature reaches 190°F (88°C) when checked with an instant-read thermometer. You’ll also notice a rich, golden-brown crust and a fragrant aroma filling your entire kitchen.
Can I Use Whole Wheat Flour For French Bread? Absolutely!
Yes, you can certainly incorporate whole wheat flour into your French bread recipe to add a deeper, nuttier flavor and increase its nutritional value. When working with whole wheat flour, especially if you’re measuring by weight, use precise measurements; for example, 1635 grams of hard red wheat or hard white flour can be used. If you’re using store-bought white whole wheat flour, I strongly recommend adding about a tablespoon of vital wheat gluten per recipe. This helps compensate for the lower gluten content in whole wheat flour and ensures a lighter, fluffier loaf rather than a dense one. Keep in mind that freshly milled whole wheat flour absorbs liquid more slowly than conventional flours, so start with the exact amount of flour and only add extra gradually if the dough still feels too sticky during the shaping stage.
Freezing and Storing Homemade French Bread for Lasting Freshness
One of the fantastic benefits of baking French bread at home is how incredibly well it freezes, allowing you to enjoy homemade goodness long after bake day! To lock in that peak freshness, the most important tip is to freeze the loaves the same day they are baked, immediately after they have completely cooled, preventing them from going stale prematurely.
Proper cooling and wrapping are vital to prevent freezer burn and the formation of ice crystals. Once your loaves are entirely cool to the touch (this can take a couple of hours), wrap them tightly in plastic wrap, then either in aluminum foil or place them into high-quality, freezer-safe bags. Squeeze out as much excess air as possible from the bags to minimize ice crystal formation. You have the option to freeze French bread either whole or pre-sliced. Pre-slicing is a game-changer for convenience, enabling you to pull out just the number of slices you need for toast or a sandwich without having to thaw the entire loaf. When properly stored, your homemade French bread will maintain its quality in the freezer for up to 3 months, ready to be revived for any meal.
How to Thaw and Reheat Frozen French Bread
Bringing your frozen French bread back to life is simple and ensures a nearly fresh-baked experience:
- For Sliced Bread: You can typically take individual slices directly from the freezer and pop them into a toaster or toaster oven. Heat until they are warmed through and have regained a slight crispness.
- For Whole Loaves: For best results, thaw whole loaves at room temperature for an hour or two, or overnight in the refrigerator. Once thawed (or still slightly frozen in the center), place the loaf directly into a preheated oven at 350°F (175°C) for 5-10 minutes, or until the crust is crisp once more and the interior is warm and soft. For an extra-crispy crust, you can lightly mist the loaf with water before placing it in the oven.
Creative Culinary Ideas: What To Make with Fresh or Leftover French Bread?
French bread is more than just a side dish; it’s a culinary chameleon, incredibly versatile and universally loved. When fresh from the oven, it excels as a comforting partner to a steaming bowl of soup, the foundation for an epic sandwich, or a simple yet elegant accompaniment to any main course, especially with just butter and jam. But the magic of French bread truly shines even when it’s no longer fresh. Don’t let those leftover pieces go to waste – they’re perfect for delicious reinvention! Here are some creative ideas to use every bit of your homemade French bread:
- French Toast, Garlic Bread, and Pizza: Stale French bread is arguably the best for these classic dishes! Its slightly dried texture absorbs liquids beautifully without becoming soggy. Reheating the bread in these preparations wonderfully revives its texture and flavor. Try our easy approach to garlic bread or quick French bread pizza using slices from your loaf.
- Homemade Croutons or Bread Stuffing: Leftover, slightly dried-out French bread is absolutely ideal for making crunchy, flavorful homemade croutons, perfect for enhancing salads or soups. It’s also an excellent base for a savory bread stuffing for holiday meals or everyday casseroles.
- Elegant Canapés and Open-Faced Sandwiches: Slice the bread thinly and lightly toast for charming canapés, perfect for appetizers. It’s also fantastic for more substantial open-faced sandwiches, like our refreshing tomato avocado toast or hearty turkey melts.
- Amazing Toast: Cut thicker slices for exceptional toast. It pairs wonderfully with classic breakfast items like scrambled eggs, or when you need a robust “Texas-style” toast for dipping into gravies or stews.
- Crispy Crostini and Dips: Spread your favorite dips directly over slices of fresh or lightly toasted French bread. Alternatively, bake thinner slices until golden and crispy to create elegant crostini, perfect for serving with spreads, cheeses, or as a light snack.
- Comforting Bread Pudding: Give older French bread a sweet second life by transforming it into a rich, custardy bread pudding. Its texture holds up beautifully, soaking up all the delicious flavors.
How To Store French Bread for Maximum Enjoyment
Unlike commercial breads laden with preservatives, homemade yeast bread has a shorter shelf life at room temperature. For optimal enjoyment, it’s best to consume any fresh French bread you plan to eat within two days and freeze the rest for later. After the first day, you might notice the freshly baked bread tends to develop a drier crumb; this is a natural process and doesn’t mean it’s no longer delicious!
If your French bread has lost some of its initial crispness or softness, simply plan to reheat it. It’s perfectly suited for transforming into French toast, garlic bread, savory stuffed French bread, or quick French bread pizzas. Any method that reheats the bread will help to revive its texture and bring back some of that wonderful “freshly baked” aroma. For room temperature storage, storing the bread in a paper bag will help maintain a crisper crust (though it will dry out faster), while an airtight bread box or container will keep the interior softer for a day or two. Always ensure the bread is completely cool before storing to prevent moisture build-up and sogginess.
Troubleshooting Common French Bread Baking Problems
Even seasoned bakers encounter occasional challenges. Here are some common French bread problems and how to troubleshoot them:
- Dense or Heavy Crumb:
- Too much flour: Excess flour makes the dough stiff and prevents proper rising. Adjust flour based on the dough’s feel, aiming for soft and supple.
- Under-proofing: If the dough hasn’t risen enough, the gluten hasn’t fully relaxed, leading to a tight crumb. Ensure your yeast is active and allow sufficient rise time in a warm spot.
- Old or inactive yeast: If your yeast doesn’t foam when proofed, it won’t leaven the bread. Always use fresh, active yeast.
- Crust Not Crispy Enough:
- Lack of steam: Steam is crucial for a thin, crisp crust. Use a spray bottle, a pan of hot water, or a cloche/Dutch oven.
- Oven temperature too low: A hot oven sets the crust quickly. Ensure your oven is fully preheated and consider baking at a higher temperature for the first 10-15 minutes.
- Loaves Spreading Out (Pancaking):
- Too little flour/too sticky dough: The dough might be too wet to hold its shape. Gradually add a little more flour during kneading if it’s excessively sticky.
- Over-proofing: If the dough rises too much, the gluten structure weakens, and it can collapse or spread when baked.
- Poor shaping: Insufficient tension during shaping can cause the loaf to flatten. Ensure you roll the dough tightly and seal the seams well.
- Cracks in the Crust (other than score marks):
- Not scoring the bread: Scoring provides controlled expansion points. Without them, the bread can crack irregularly.
- Overly dry dough surface: Ensure the dough is covered during rising to prevent a dry skin from forming, which can lead to cracks.
Have you made this quick and easy French Bread Recipe? We’d absolutely love to hear about your baking experience! Please feel free to leave a comment, rating, or review down below to share your thoughts, tips, and any delicious creations you’ve made with your homemade French bread!
Expert Tips for Making Homemade French Bread Even Better:
- French Bread Rolls: This classic French bread recipe is incredibly adaptable. You can easily modify it to make soft, individual dinner rolls. Simply follow the shaping instructions outlined in step 3, but divide the dough into smaller, equal portions to form individual rolls instead of long loaves. To achieve an even softer roll texture, you might consider baking at a slightly lower temperature or brushing the rolls with melted butter immediately after they come out of the oven.
- Freezing for Ultimate Freshness: As highlighted earlier, this French bread recipe freezes exceptionally well! To truly preserve its fresh-baked quality, it’s paramount to freeze the loaves promptly after they have completely cooled, ideally before they even have a chance to go stale. This method locks in the peak flavor and delightful texture for future enjoyment.
- The Importance of Active Yeast: Successful bread making fundamentally depends on using fresh and active yeast. To quickly test your yeast’s vitality, proof it in a small amount of warm water with a pinch of sugar. If, after 5-10 minutes, you observe minimal or no activity (i.e., foaming or bubbling), it’s a clear sign that your yeast is either dead or too weak to properly leaven your bread, and you should start with a fresh packet. For prolonged storage and to maintain yeast potency, always keep it in the fridge or freezer.
- Knowing When Your Bread is Done: A wonderful indicator that your French bread is nearing completion is when the irresistible aroma of baking bread starts to permeate your entire home – that’s often your cue to check! Visually, both the top and bottom crusts should be a rich, golden brown. For definitive assurance, use an instant-read thermometer: the bread is perfectly done when its internal temperature consistently reads 190°F (88°C).
- Mastering Dough Consistency: The ideal dough for this French bread recipe should possess a delicate balance: it should be soft and supple, indicating proper hydration and gluten development, yet only slightly tacky to the touch. Crucially, it should not be so sticky that it leaves excessive dough residue on your fingers. This perfect consistency is vital for ease of handling during shaping and ensures a tender, airy crumb in the final loaf.
Rate
Pin
French Bread Recipe
Equipment
-
1 Extra Large Mixing Bowl (for kneading and rising dough)
-
1 large 18×13 sheet pan
-
1 rubber silicone mat (or parchment paper to line baking sheet)
-
1 razor blade or sharp knife (if scoring French bread)
Ingredients
Ingredients:
-
4 cups warm water
-
4 Tbsp dry yeast
-
2 Tbsp salt
-
6 Tbsp sugar
-
12 Tbsp sunflower oil (or olive oil)
-
11 cups bread flour (see notes)
Instructions
How to make French Bread:
-
 In a large mixing bowl, dissolve the yeast in water.
 -
 Add the remaining ingredients and knead for 5 minutes by hand until you make a soft dough. You may need to dust a little more flour until the dough comes together without sticking to your hands.
 -
 Allow dough to rise until doubled (about 1 hour).
 -
 Divide into 4 equal pieces and shape each piece into a small rectangle (11″x5″). Roll up jellyroll-style pinching down the seams.
 -
 Place loaves seam down onto a lined cookie sheet, 2-inches apart. (All four loaves will fit one 18×13 sheet pan if placed horizontally.) Now is the time to score and make 3-4 diagonal slashes. Let rise until doubled.
 -
 Bake in a pre-heated 350°F for softer crust or 425°F for a deep golden crust for 25-30 minutes on the middle rack. Bread is done when the internal temp reads 190°F.
Notes
- Bread flour or all-purpose flour will work for this bread recipe.
- See notes on the blog for using freshly milled Whole Wheat flour.
- You can easily cut this recipe in halve to fit a stand mixer and not knead by hand. Use a bread machine (if halving recipe) to knead the dough, simply set the machine to dough settings.
- Depending on the humidity, temperature, and altitude you may need to add up to a cup of flour if the dough is too sticky. You want a soft and supple dough that isn’t too sticky.
Nutrition per serving
