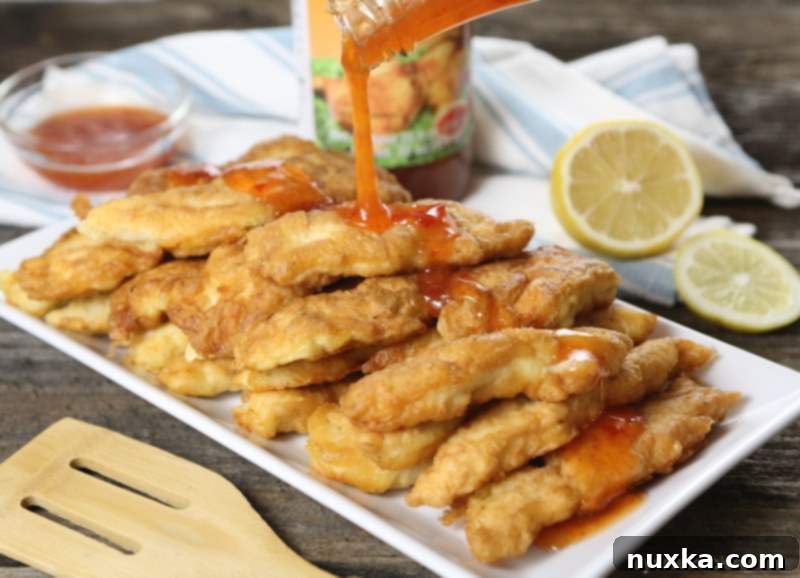
Crispy, Tender, and Irresistibly Flavorful: Your Guide to Homemade Chinese Chicken Fingers
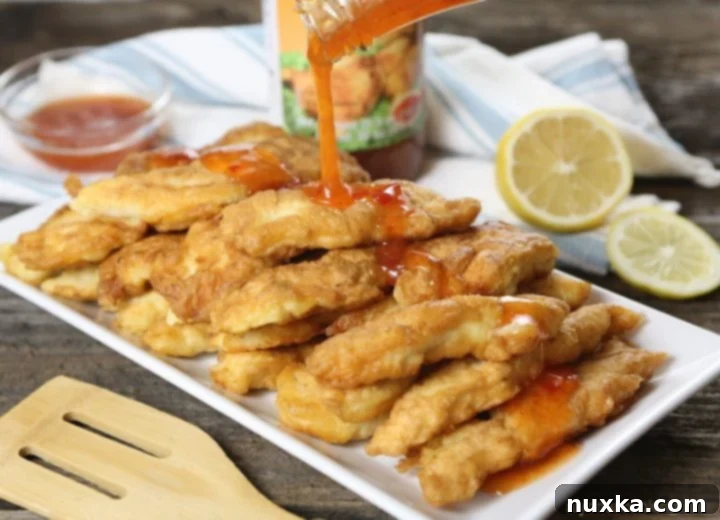
Craving the succulent, crispy goodness of Chinese chicken fingers but don’t want to order takeout? You’ve come to the right place! This incredibly easy homemade recipe delivers chicken fingers that are not only unbelievably fluffy and flavorful but also incredibly tender. Forget dry, tough chicken; our secret tenderizing method ensures every bite is juicy perfection. Whether you prefer them smothered in a vibrant sweet chili sauce or dipped into a classic sweet and sour, these homemade wonders are destined to become a family favorite. They pair perfectly with a side of Homemade Lo Mein for a complete, restaurant-quality meal right in your own kitchen.
Why This Chinese Chicken Finger Recipe Is a Game-Changer
What makes this particular recipe stand out from the rest? It’s all about simplicity and a clever trick passed down through generations. This is undoubtedly my go-to chicken fingers recipe, and for good reason! The batter, remarkably, consists of only two core ingredients, making preparation a breeze. But the real magic lies in the tenderizing process.
We use a combination of baking soda and vinegar to transform ordinary chicken breasts into incredibly tender, melt-in-your-mouth pieces. You might be surprised by this method, but trust us – you won’t detect any hint of soda or vinegar in the final dish. This ingenious technique works wonders, breaking down the muscle fibers in the meat and ensuring a consistently soft and juicy texture. A huge thank you goes to my aunt Nadia for sharing this fantastic recipe and her invaluable meat tenderizing tip!
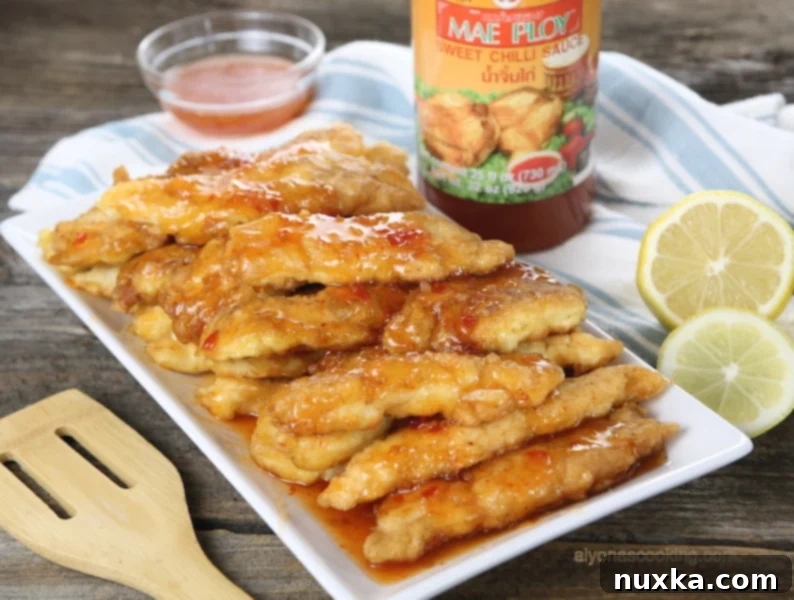
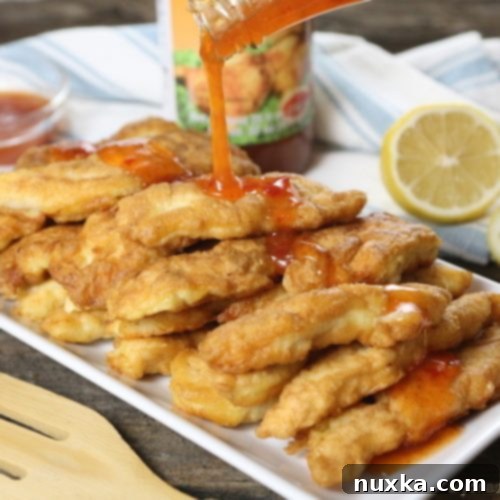
Once fried to golden perfection, these chicken fingers boast a delightful fluffy exterior that perfectly contrasts with the tender interior. Serve them alongside your favorite dipping sauce, like Mae Ploy Sweet Chili sauce, and prepare for an incredibly delicious and satisfying chicken dish that rivals any takeout.
Essential Ingredients for Your Homemade Chinese Chicken Fingers
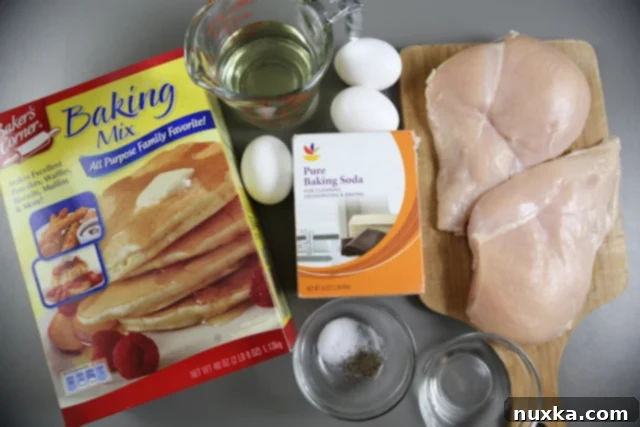
Gathering your ingredients is the first step to culinary success. This recipe calls for a straightforward list, most of which you likely already have in your pantry.
Ingredients:
- 2 Chicken breasts (about 1.5 – 2 lbs total)
- 1/2 tsp baking soda
- 2 tbsp vinegar (white vinegar or apple cider vinegar works well)
- 1/2 tsp salt
- 1/8 tsp black ground pepper
- 1/2 cup all-purpose baking mix (like Bisquick or a generic equivalent)
- 3 large eggs
- 2/3 cup of neutral oil for frying (vegetable, canola, or peanut oil are ideal)
Chicken Breast vs. Chicken Tenderloin: What’s the Difference?
A common question when preparing chicken finger recipes is whether to use chicken breasts or tenderloins. Let’s clarify! Chicken tenderloins are actually a distinct, smaller strip of meat located just under the chicken breast, connected by a tendon. While anatomically separate, they are essentially the same type of lean white meat. Both chicken breasts and tenderloins are excellent choices for this recipe.
The main difference lies in their size and shape. Tenderloins are naturally smaller and more uniform, often requiring less cutting. Chicken breasts are larger and thicker, needing to be sliced into strips. In this recipe, we opt for chicken breasts, but if you have chicken tenderloins on hand, feel free to use the same amount. You’ll achieve the same fantastic tender and flavorful outcome, making this recipe incredibly versatile for either cut.
Step-by-Step: How to Make Irresistible Chinese Chicken Fingers
Follow these simple instructions to create crispy, tender, and delicious Chinese chicken fingers right in your own kitchen.
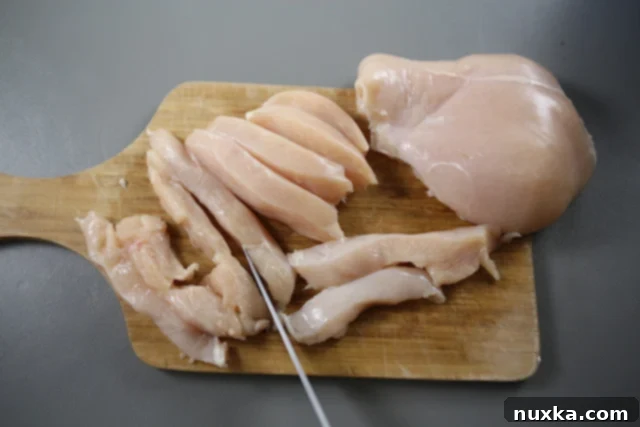
- Prepare the Chicken: Start by taking your chicken breasts and cutting them into uniform crosswise strips, about ½ to ¾ inch thick. Then, slice each strip in half lengthwise if they are too wide. Aim for pieces that are roughly finger-sized to ensure even cooking. Place all the cut chicken into a medium-sized bowl.
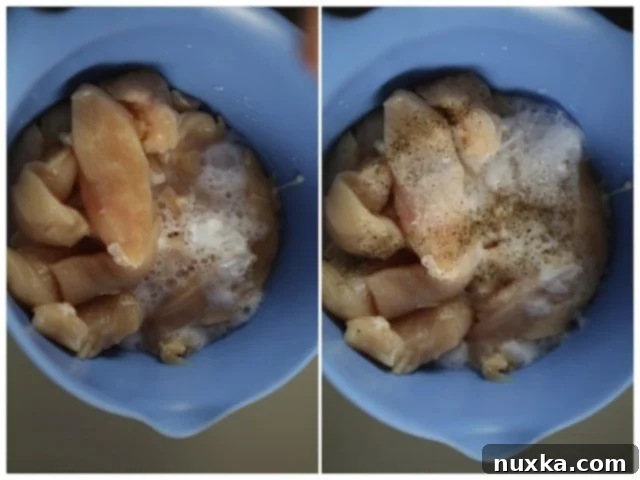
- Tenderize the Meat: Sprinkle the baking soda evenly over the chicken pieces in the bowl. Immediately follow by adding the vinegar. You should observe a slight fizzing or bubbling reaction – this is the magic happening! This chemical reaction is what works to tenderize the meat, ensuring every piece is incredibly juicy.
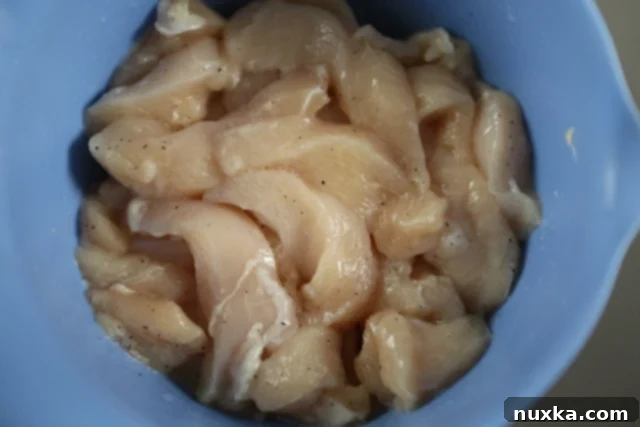
- Season the Chicken: Add the salt and black ground pepper to the chicken mixture. Mix everything thoroughly with your hands or a spoon, ensuring the seasoning is evenly distributed and the tenderizing agents coat all the chicken pieces. Set the bowl aside while you prepare the batter and oil.
- Preheat the Oil: In a large, heavy-bottomed skillet or deep pan, pour in the 2/3 cup of frying oil. Place the skillet over medium-low heat. It’s crucial to heat the oil gradually to the right temperature (around 325-350°F or 160-175°C) for even cooking and a crispy, not burnt, exterior.
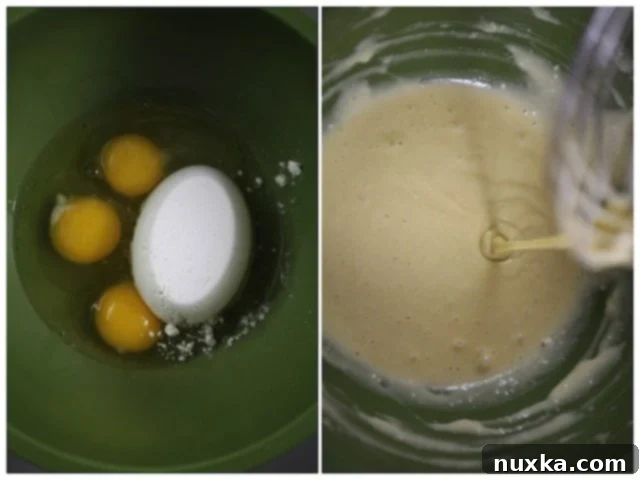
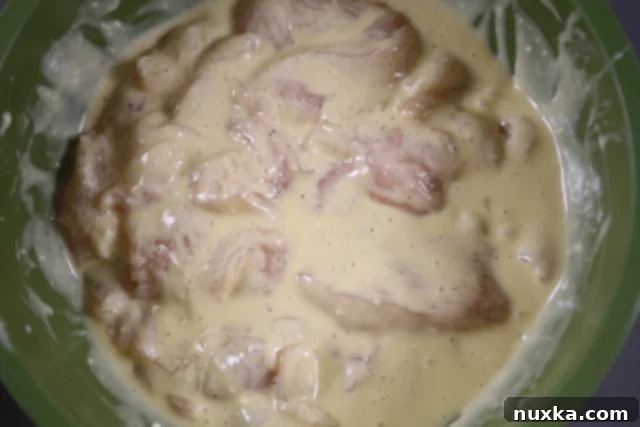
- Prepare the Batter: In a separate bowl, whisk together the all-purpose baking mix and the 3 eggs until the mixture is completely smooth and free of lumps. The consistency of the batter is key here: it should be pourable and stream down from your whisk, but not watery. It shouldn’t be too thick like pancake batter, nor too runny like milk. Adjust with a tiny bit more baking mix or a splash of milk if needed, though typically it’s perfect as is.
- Coat the Chicken: Add all the tenderized chicken pieces directly into the prepared batter bowl. Stir well with a spoon or your hands, ensuring every single chicken strip is thoroughly coated in the fluffy batter. This even coating is essential for that signature crispy texture.
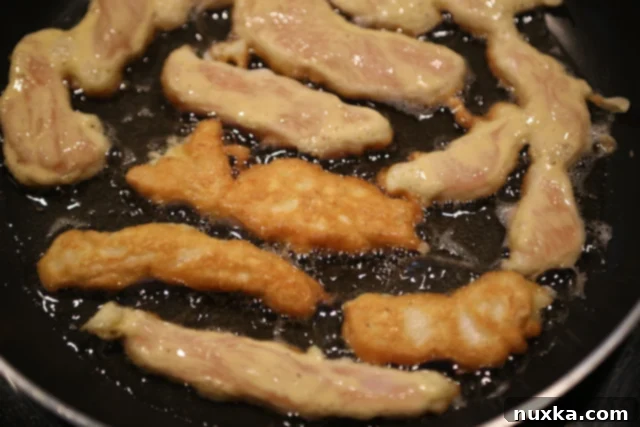
- Fry to Golden Perfection: Carefully place the battered chicken strips into the preheated skillet, one piece at a time. Do not overcrowd the pan; fry in batches to maintain the oil temperature and ensure even crisping. Fry for approximately 2-3 minutes on each side, or until they turn a beautiful golden brown and are cooked through. The strips should cook relatively fast due to their size and the tenderizing process.
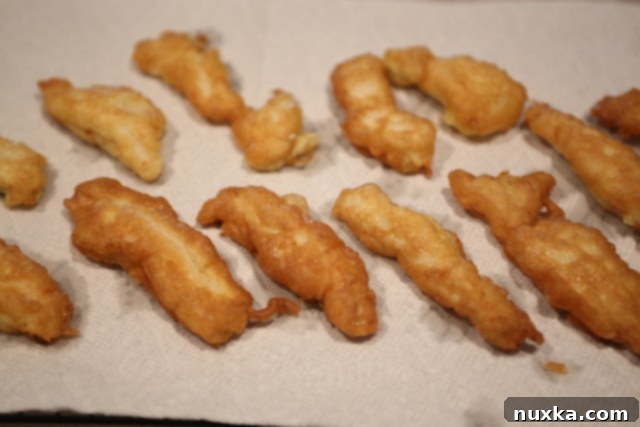
- Drain Excess Oil: As each batch of chicken fingers finishes frying, transfer them immediately onto a plate lined with paper towels. This helps to absorb any excess oil, ensuring your chicken fingers remain wonderfully crispy. Continue this process with the remaining chicken pieces until all are cooked.
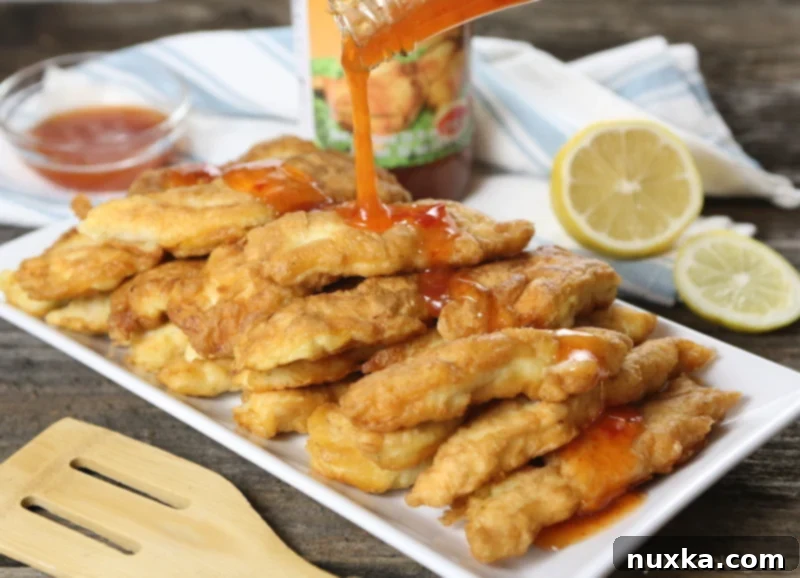
- Serve and Enjoy: Arrange the hot, crispy chicken fingers beautifully on a serving plate. Drizzle generously with your favorite sweet Asian Chili sauce or serve with a side of sweet and sour sauce for dipping. These are best enjoyed fresh and warm! ENJOY!
Expert Tips for the Perfect Chinese Chicken Fingers
To ensure your homemade Chinese chicken fingers are consistently perfect, keep these tips in mind:
- The Tenderizing Secret: The baking soda and vinegar combination creates an alkaline environment that breaks down protein fibers in the chicken, making it incredibly tender. Don’t skip this step! The fizzing is normal and means it’s working.
- Achieving the Right Batter Consistency: The batter should be thick enough to coat the chicken evenly but thin enough to drip smoothly off the whisk. If it’s too thick, the coating will be heavy; if too thin, it won’t adhere well or get crispy.
- Oil Temperature is Key: Frying at medium-low heat is crucial. If the oil is too hot, the batter will burn before the chicken cooks through. If it’s too cool, the chicken fingers will soak up too much oil and become greasy. A good temperature is usually between 325-350°F (160-175°C).
- Don’t Overcrowd the Pan: Fry the chicken in small batches. Overcrowding lowers the oil temperature, leading to soggy chicken and uneven cooking. Give each piece space to sizzle and crisp.
- Drain Thoroughly: Always transfer fried chicken fingers to a wire rack set over paper towels. This allows air circulation and ensures that the excess oil drips away, keeping them crispy.
Serving Suggestions & Perfect Pairings
These versatile Chinese chicken fingers can be enjoyed in many ways. Here are some ideas to make your meal complete:
- Classic Accompaniments: As mentioned, they’re fantastic with Homemade Lo Mein or a simple bowl of steamed white or fried rice.
- Sauce It Up: While Mae Ploy Sweet Chili sauce is a personal favorite, don’t hesitate to explore other options. Homemade sweet and sour sauce, plum sauce, duck sauce, or even a tangy lemon sauce would be delightful.
- Vegetable Sides: Complement the rich chicken with some fresh stir-fried vegetables, a crisp Asian slaw, or blanched broccoli with a light soy-ginger dressing.
- Appetizer or Main Course: Serve them as a crowd-pleasing appetizer at your next gathering, or make them the star of a weeknight dinner.
Storing and Reheating Your Chinese Chicken Fingers
While these chicken fingers are best enjoyed fresh, you can store and reheat them:
- Storage: Allow any leftover chicken fingers to cool completely. Store them in an airtight container in the refrigerator for up to 3-4 days.
- Reheating for Crispiness: To restore their crispiness, avoid the microwave! Reheat them in an oven or air fryer at 350°F (175°C) for about 8-12 minutes, or until heated through and crispy again.
Frequently Asked Questions About Chinese Chicken Fingers
Can I bake these chicken fingers instead of frying?
While frying gives the best crispy texture for this particular batter, you can try baking them. Lightly spray the battered chicken with cooking spray and bake at 400°F (200°C) for 15-20 minutes, flipping halfway through, until golden brown and cooked through. The texture won’t be identical to fried, but it’s a healthier alternative.
What kind of vinegar should I use for tenderizing?
White vinegar or apple cider vinegar works best for the tenderizing process. Their acidity reacts effectively with the baking soda to break down the chicken fibers.
How long can I marinate the chicken with baking soda and vinegar?
A short marination of 15-30 minutes is usually sufficient. Over-marinating (more than an hour) with baking soda can sometimes give the chicken a slightly mushy texture, so it’s best to stick to the recommended time.
Can I use gluten-free baking mix?
Yes, you can absolutely substitute with a good quality all-purpose gluten-free baking mix. Ensure the mix is formulated for baking and has a similar leavening agent for optimal results.
What if my batter is too thick or too thin?
If your batter is too thick, add a tablespoon of milk or water at a time until it reaches the desired streaming consistency. If it’s too thin, you can add a small amount (about a tablespoon) of extra baking mix or all-purpose flour until it thickens up.
Can I freeze these chicken fingers?
Yes, you can freeze them! After frying, let the chicken fingers cool completely. Arrange them in a single layer on a baking sheet and freeze until solid. Once frozen, transfer them to a freezer-safe bag or container for up to 2-3 months. Reheat from frozen in the oven or air fryer until crispy and heated through.
Other Delicious Chinese and Asian-Inspired Recipes to Explore:
- Lo Mein (Take-Out Copycat)
- Teriyaki Chicken Wings
- Easy Asian Beef Stir Fry
Rate
Pin
Chinese Chicken Fingers
5 minutes
15 minutes
20 minutes
6
Alyona’s Cooking
Metric
Ingredients
-
2 Chicken breasts
-
1/2 tsp baking soda
-
2 tbsp vinegar
-
1/2 tsp salt
-
1/8 tsp black ground pepper
-
1/2 cup baking mix all- purpose
-
3 eggs
-
2/3 cup oil for frying
Instructions
-
Cut each chicken breast in crosswise strips then slice each strip in half; place into a bowl.
-
Sprinkle baking soda over the meat then add the vinegar (mixture should fuzz). Add the salt and pepper and mix to combine. Set aside.
-
Heat oil in a large skillet over med-low heat.
-
TO MAKE BATTER: Whisk together the dry baking mix and 3 eggs until smooth.
-
Place all the chicken pieces into the batter and stir to incorporate the batter into the chicken strips.
-
Place chicken strips in the preheated skillet one piece at a time and fry 2-3 minutes on each side or until golden.
-
Transfer fried strips onto paper towels and continue to work with remaining chicken pieces.
-
To serve arrange chicken fingers onto a plate and drizzle sweet Asian Chili sauce over the chicken. ENJOY!
Nutrition per serving
Calories:
381
kcal
Carbohydrates:
6
g
Protein:
19
g
Fat:
30
g
Saturated Fat:
3
g
Cholesterol:
130
mg
Sodium:
545
mg
Potassium:
325
mg
Sugar:
1
g
Vitamin A:
140
IU
Vitamin C:
0.9
mg
Calcium:
34
mg
Iron:
0.9
mg
Conclusion: Your New Favorite Takeout Fake-Out!
With this recipe, you now hold the key to creating remarkably crispy, tender, and flavorful Chinese chicken fingers right in your own kitchen. Say goodbye to expensive takeout and hello to a homemade dish that’s not only incredibly satisfying but also surprisingly simple to prepare. The unique tenderizing method and the easy two-ingredient batter ensure a perfect result every time, making these chicken fingers an instant hit with family and friends.
So, roll up your sleeves, gather your ingredients, and get ready to impress with this truly delicious Asian-inspired delight. Whether for a quick snack, a fun appetizer, or a hearty main meal, these homemade Chinese chicken fingers are sure to earn a permanent spot in your recipe rotation. Happy cooking!
