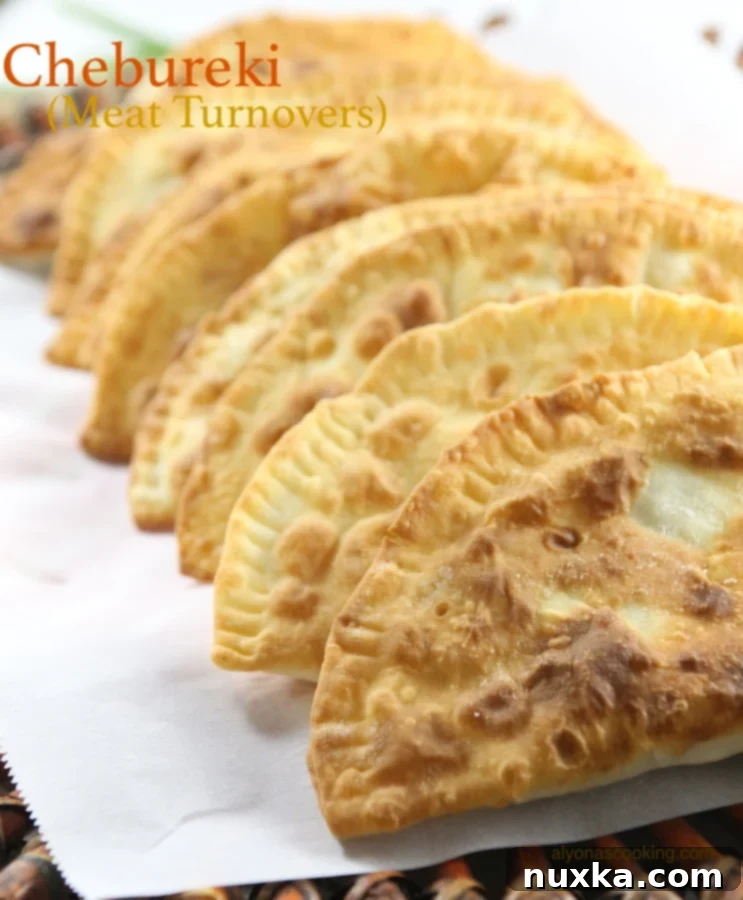
Homemade Chebureki Recipe: Crispy Meat Turnovers from Scratch

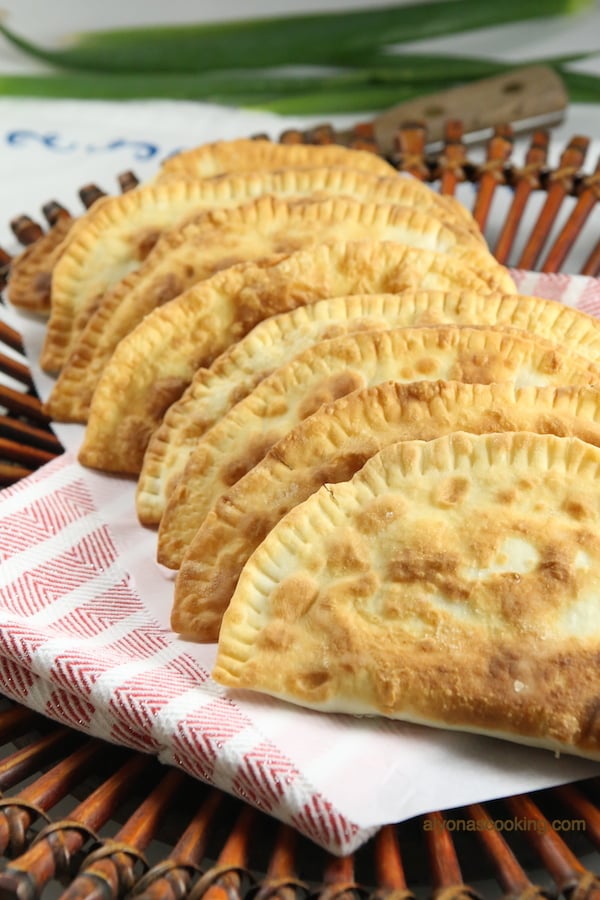
Dive into the delightful world of Chebureki, the quintessential crispy meat turnovers that are a staple of Eastern European cuisine. These savory, crescent-shaped pastries, often filled with a succulent mixture of ground meat and onions, are a true comfort food. Whether you’ve enjoyed them as a popular street food, found them at bustling flea markets, or savored them in Russian restaurants and supermarkets, nothing quite compares to the fresh, warm taste of homemade Chebureki.
This comprehensive guide will walk you through every step of creating these culinary masterpieces from scratch, complete with clear instructions and helpful photos. Forget about store-bought alternatives; making your own Chebureki dough is surprisingly straightforward and yields results that are far superior. With just a stand mixer and a rolling pin, you’ll be frying up golden, bubbly turnovers in no time. While some opt for pre-made tortilla dough, the authentic experience of a made-from-scratch Chebureki with its perfectly crisp crust and juicy filling is unmatched.
The Charm of Homemade Chebureki
There’s a special satisfaction that comes with crafting traditional dishes in your own kitchen. Chebureki, with their simple yet profound flavors, are no exception. The process allows you to control the quality of ingredients, ensuring your family enjoys a wholesome and incredibly delicious meal. The aroma of freshly fried Chebureki filling your home is an experience in itself, a nostalgic journey for many and an exciting discovery for newcomers to Eastern European cooking.
Our recipe emphasizes a unique ricotta-based dough, which contributes to an incredibly tender yet sturdy crust that fries up beautifully golden and bubbly. This dough is forgiving and easy to work with, making the entire process enjoyable, even for those new to dough making. Paired with a simple, flavorful meat filling, these turnovers are perfect for a hearty lunch, a satisfying dinner, or an impressive appetizer for guests.
What Makes a Perfect Chebureki?
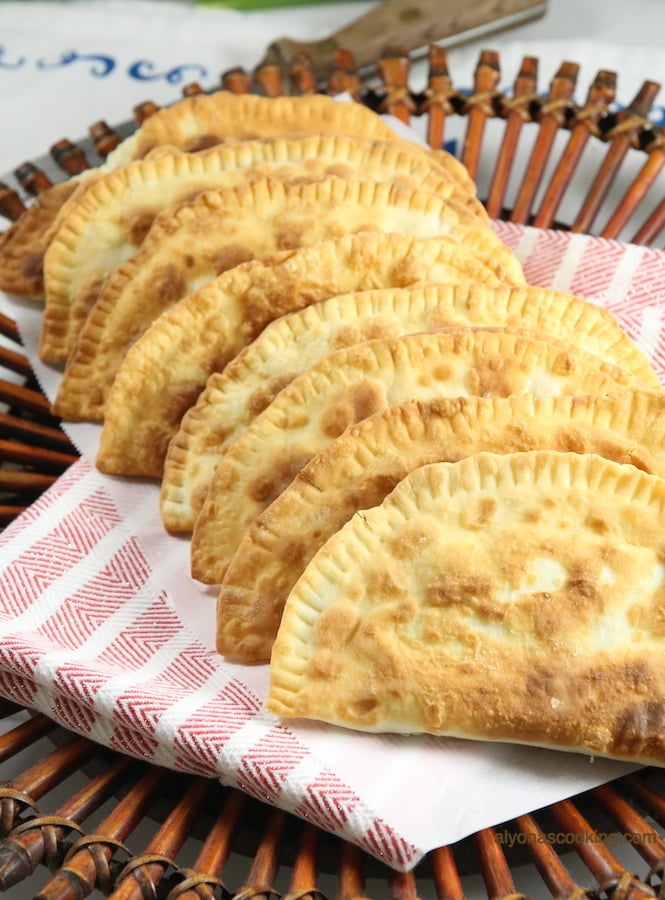
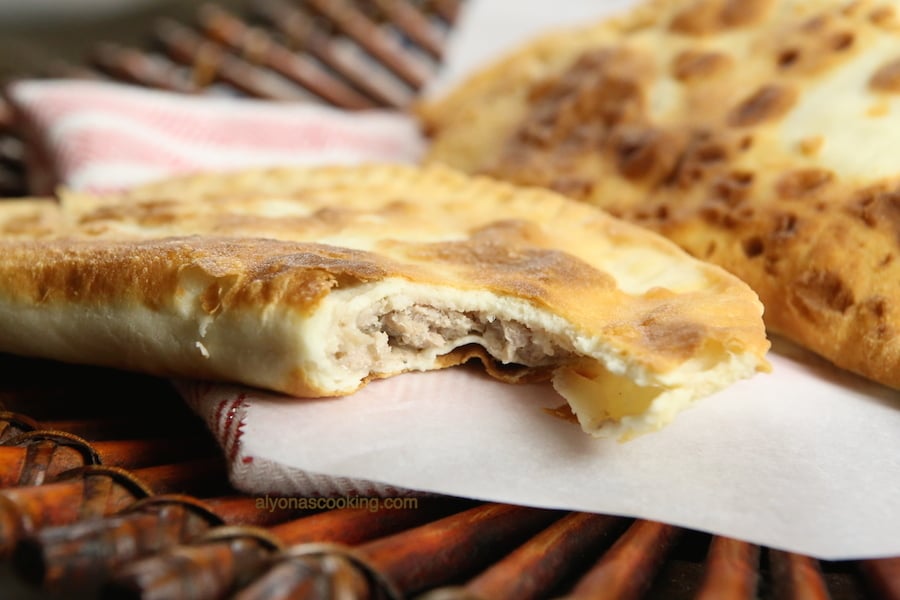
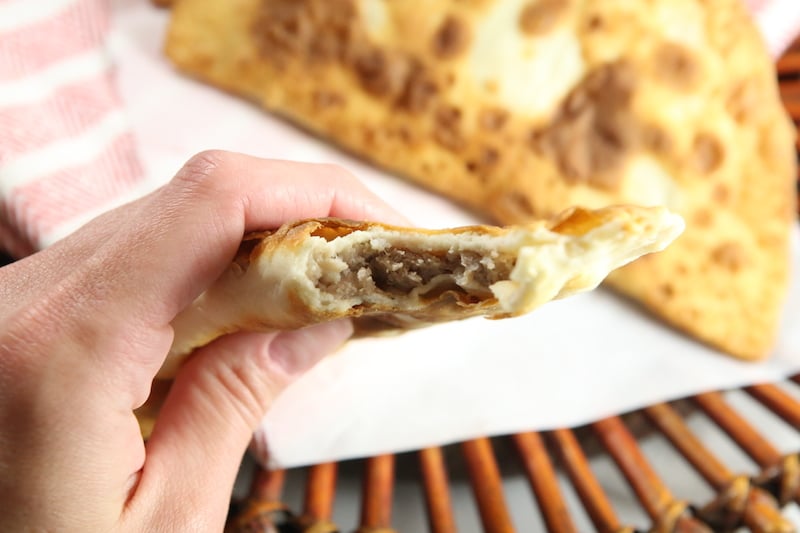
A truly great Chebureki is defined by two main components: the dough and the filling. The dough needs to be thin enough to achieve that signature crispiness when fried, yet resilient enough to hold the juicy filling without tearing. Our ricotta dough strikes this balance perfectly. The filling, traditionally made with ground meat (often pork or a mix of pork and beef), should be well-seasoned and, crucially, moist. Adding a touch of water to the meat mixture creates a steaming effect during frying, resulting in a wonderfully succulent and flavorful interior.
Ingredients for Homemade Chebureki
Chebureki Dough:
- 1 cup Ricotta cheese
- 1 egg
- 1 1/4 cup all-purpose flour (plus more for dusting)
- 1/8 tsp salt
- 1/4 tsp baking powder
Meat Filling:
- 11 oz ground pork (approximately half a pound, or a mix of pork and beef)
- 1/4 tsp salt
- 1/8 tsp ground black pepper
- 1/4 of a medium-sized onion, finely grated
- 3 tbsp water (or beef/chicken broth for extra flavor)

How to Make Chebureki: Step-by-Step Guide
1. Prepare the Chebureki Dough:
Begin by combining the wet ingredients and leavening agents in your stand mixer. In the bowl, stir together the ricotta cheese, egg, salt, and baking powder. This initial mix creates a smooth, foundational base for your dough.

Next, gradually incorporate the flour into the mixture while the mixer runs on low speed. Continue mixing until the dough starts to come together into a cohesive mass. Once it forms a ball, increase the mixer speed to medium-high and knead for about 7 minutes. During this process, you may need to add a little more flour, a tablespoon at a time, if the dough appears too sticky. The goal is a dough that is soft, pliable, and no longer sticks to the sides of the bowl. Once kneaded, cover the dough and refrigerate it. This resting period helps the gluten relax, making the dough easier to roll out later and contributes to a more tender finished product.
2. Prepare the Flavorful Meat Filling:
While your dough is chilling, prepare the delicious meat filling. In a separate bowl, combine the ground pork (or your preferred meat blend), salt, ground black pepper, finely grated onion, and water. The finely grated onion is crucial here as it melts into the meat, providing incredible flavor without any chunky texture. The addition of water ensures the filling stays moist and juicy during frying, preventing it from drying out. Mix all ingredients thoroughly until well combined. Set this mixture aside until your dough is ready.

3. Shape and Fill the Chebureki:
Once your dough has rested, lightly flour a clean work surface. Remove the dough from the refrigerator and form it into a long, uniform log, approximately 14 inches in length. Using a sharp knife or dough cutter, slice the log into 9 equal pieces, each about 1 1/2 inches wide. These will be your individual Chebureki portions.

Take one piece of dough and roll it out into a thin, 9-inch circle. The thinner the dough, the crisper your Chebureki will be, so aim for a translucent quality without tearing. Place approximately 2 tablespoons of the meat filling onto one half of the rolled-out circle, leaving a small border around the edge. Fold the other half of the dough over the filling to create a crescent shape. Carefully seal the edges using a fork, pressing down firmly to ensure no filling escapes during frying. Dusting a little flour on the fork tines can help prevent sticking. Repeat this process for all remaining dough pieces and filling.


Place your prepared, unfried Chebureki onto a lightly dusted tray to prevent sticking. Continue working with the remaining dough and filling until all turnovers are assembled. This batch will yield approximately 9 delicious Chebureki.

4. Fry to Golden Perfection:
Heat about 1/2 cup of your preferred cooking oil (vegetable, canola, or sunflower oil works well) in a large skillet over medium-low heat. It’s crucial to get the oil to the right temperature: hot enough to fry evenly, but not so hot that it burns the outside before the inside cooks through. You can test the oil by dropping a tiny piece of dough into it; it should sizzle gently. Avoid overcrowding the pan; fry only a few Chebureki at a time to maintain consistent oil temperature.
Place the Chebureki carefully into the hot oil. Fry them for 3-4 minutes on each side, or until they achieve a beautiful golden-brown color and are puffed up and crispy. The longer, gentler fry ensures the meat filling cooks thoroughly while the dough crisps to perfection. Once golden, remove the Chebureki from the skillet and place them on a plate lined with paper towels to drain any excess oil. Serve immediately for the best experience.

Tips for Chebureki Success
- Dough Consistency: The ricotta dough should be soft but not sticky. Adjust flour gradually. If it’s too dry, add a tiny bit of water; too wet, add more flour.
- Thinness is Key: Roll the dough as thin as you can without tearing. This is what gives Chebureki their signature crispiness.
- Juicy Filling: Don’t skip the water (or broth) in the meat filling. It creates steam inside the Chebureki, making the filling incredibly tender and flavorful.
- Seal Tightly: A good seal prevents the juices from escaping and the oil from getting in. Use a fork and press firmly around the edges.
- Oil Temperature: Maintain a consistent medium-low heat. If the oil is too hot, the Chebureki will brown too quickly on the outside, leaving the meat raw. If it’s too cool, they will absorb too much oil and become greasy.
- Batch Frying: Fry in batches to avoid lowering the oil temperature and ensure even cooking.
Serving Suggestions
Chebureki are best enjoyed hot and fresh, straight from the pan. They are often served simply as is, allowing the savory filling and crispy crust to shine. For an extra touch, you can offer a side of sour cream, a fresh tomato salad, or a sprinkling of fresh dill or parsley. They make a fantastic centerpiece for a casual gathering or a comforting meal on a chilly evening. Pair them with a simple green salad to balance the richness.
Storage and Reheating
While best fresh, leftover Chebureki can be stored in an airtight container in the refrigerator for up to 2-3 days. To reheat, place them on a baking sheet and warm in a preheated oven at 350°F (175°C) for about 10-15 minutes, or until heated through and crispy again. You can also reheat them in an air fryer for a few minutes to restore some of their crispness. Microwaving is generally not recommended as it can make them soggy.
Chebureki Variations and Alternatives
While the classic meat filling is undoubtedly popular, Chebureki can be adapted to various tastes. You can experiment with different types of ground meat, such as beef, lamb, or a combination. For a vegetarian option, fillings like potatoes and cheese, mashed pumpkin, or a savory mushroom and onion mixture can be incredibly delicious. Simply ensure your chosen filling is not too watery, or it may make the dough soggy. Adjust seasonings to your preference, adding garlic, different herbs, or a pinch of chili for a kick.
Conclusion
Making homemade Chebureki is a rewarding culinary adventure that brings the authentic flavors of Eastern Europe right to your dining table. With our detailed recipe and helpful tips, you’re now equipped to create these crispy, juicy meat turnovers with confidence. Don’t be intimidated by the dough; the ricotta makes it surprisingly manageable, and the end result is a truly spectacular dish that will impress family and friends alike. So gather your ingredients, fire up your mixer, and get ready to enjoy the best Chebureki you’ve ever tasted!

Rate
Pin
Chebureki Dough Recipe (Meat Turnovers)
10 minutes
25 minutes
35 minutes
9
Alyona’s Cooking
Ingredients
Chebureki dough:
-
1 cup Ricotta cheese
-
1 egg
-
1 1/4 cup flour
-
1/8 tsp salt
-
1/4 tsp baking powder
Meat filling:
-
11 oz ground pork about half a pound
-
1/4 tsp salt
-
1/8 tsp ground black pepper
-
1/4 of a medium sized onion finely grated
-
3 tbsp water
Instructions
How to make homemade chebureki:
-
Stir together the ricotta cheese, egg, salt and baking powder in the bowl of a stand mixer.
-
Gradually add in the flour with the mixer running over low speed, until the dough comes together. Then knead over med-high speed for 7 minutes adding in more flour if needed. (Dough should not stick to the sides of the bowl.) Refrigerate until needed.
-
Combine the filling ingredients and set aside.
-
On a lightly floured surface, form dough into a 14″ log and slice into 9 pieces about 1 1/2 inches wide.
-
Roll out each piece into a 9-inch circle and fill one half with 2 tbsp of the meat filling. Fold in half and seal edges with a fork, dusting flour as you go to prevent any sticking.
-
Place chebureki onto a dusted tray and continue to work with the remaining dough.
-
Meanwhile preheat 1/2 cup of oil in a large skillet over med-low heat.
-
Fry chebureki for 3-4 minutes on each side or until golden and drain on paper towels to remove excess oil.
Other Delicious Eastern European Recipes to Try:
- Braised Cabbage { Тушеная капуста }
- Plov Recipe (Uzbek Rice Pilaf)
- Kotleti Recipe (Russian Meat Patties)
