Authentic Nalisniki: The Best Cream Cheese Crepe Recipe for Silky, Homemade Delights
Discover the magic of homemade crepes with our cherished family recipe for Nalisniki – the Ukrainian answer to classic European crepes. This recipe will guide you through creating incredibly thin, melt-in-your-mouth crepes, perfectly complemented by a luscious cream cheese crepe filling. Forget complicated gadgets; we’ll show you how to master these delicate pancakes using simple ingredients and basic kitchen equipment, ensuring a perfect batch every time.

Whether you crave a savory delight or a sweet treat for dessert, crepes offer unparalleled versatility. While this article focuses on our beloved sweet cheese filling, don’t hesitate to explore other fantastic options. We also have delightful recipes for Savory Chicken Crepes, hearty Mushroom and Cabbage Filled Crepes, and our classic Sweet Cottage Cheese Crepes. Each one promises a unique and satisfying culinary experience!
What Exactly is a Crepe? Understanding Nalisniki and Blintz
At its core, a crepe is a wonderfully thin, unleavened pancake. The batter is typically poured into a hot pan and swiftly swirled to coat the entire bottom surface, creating a delicate, paper-thin layer. What gives these thin pancakes their incredible strength and flexibility, preventing them from tearing easily, is a generous amount of eggs. Indeed, traditional recipes, like ours, can call for as many as ten eggs, resulting in a rich and pliable crepe that’s perfect for holding various fillings.
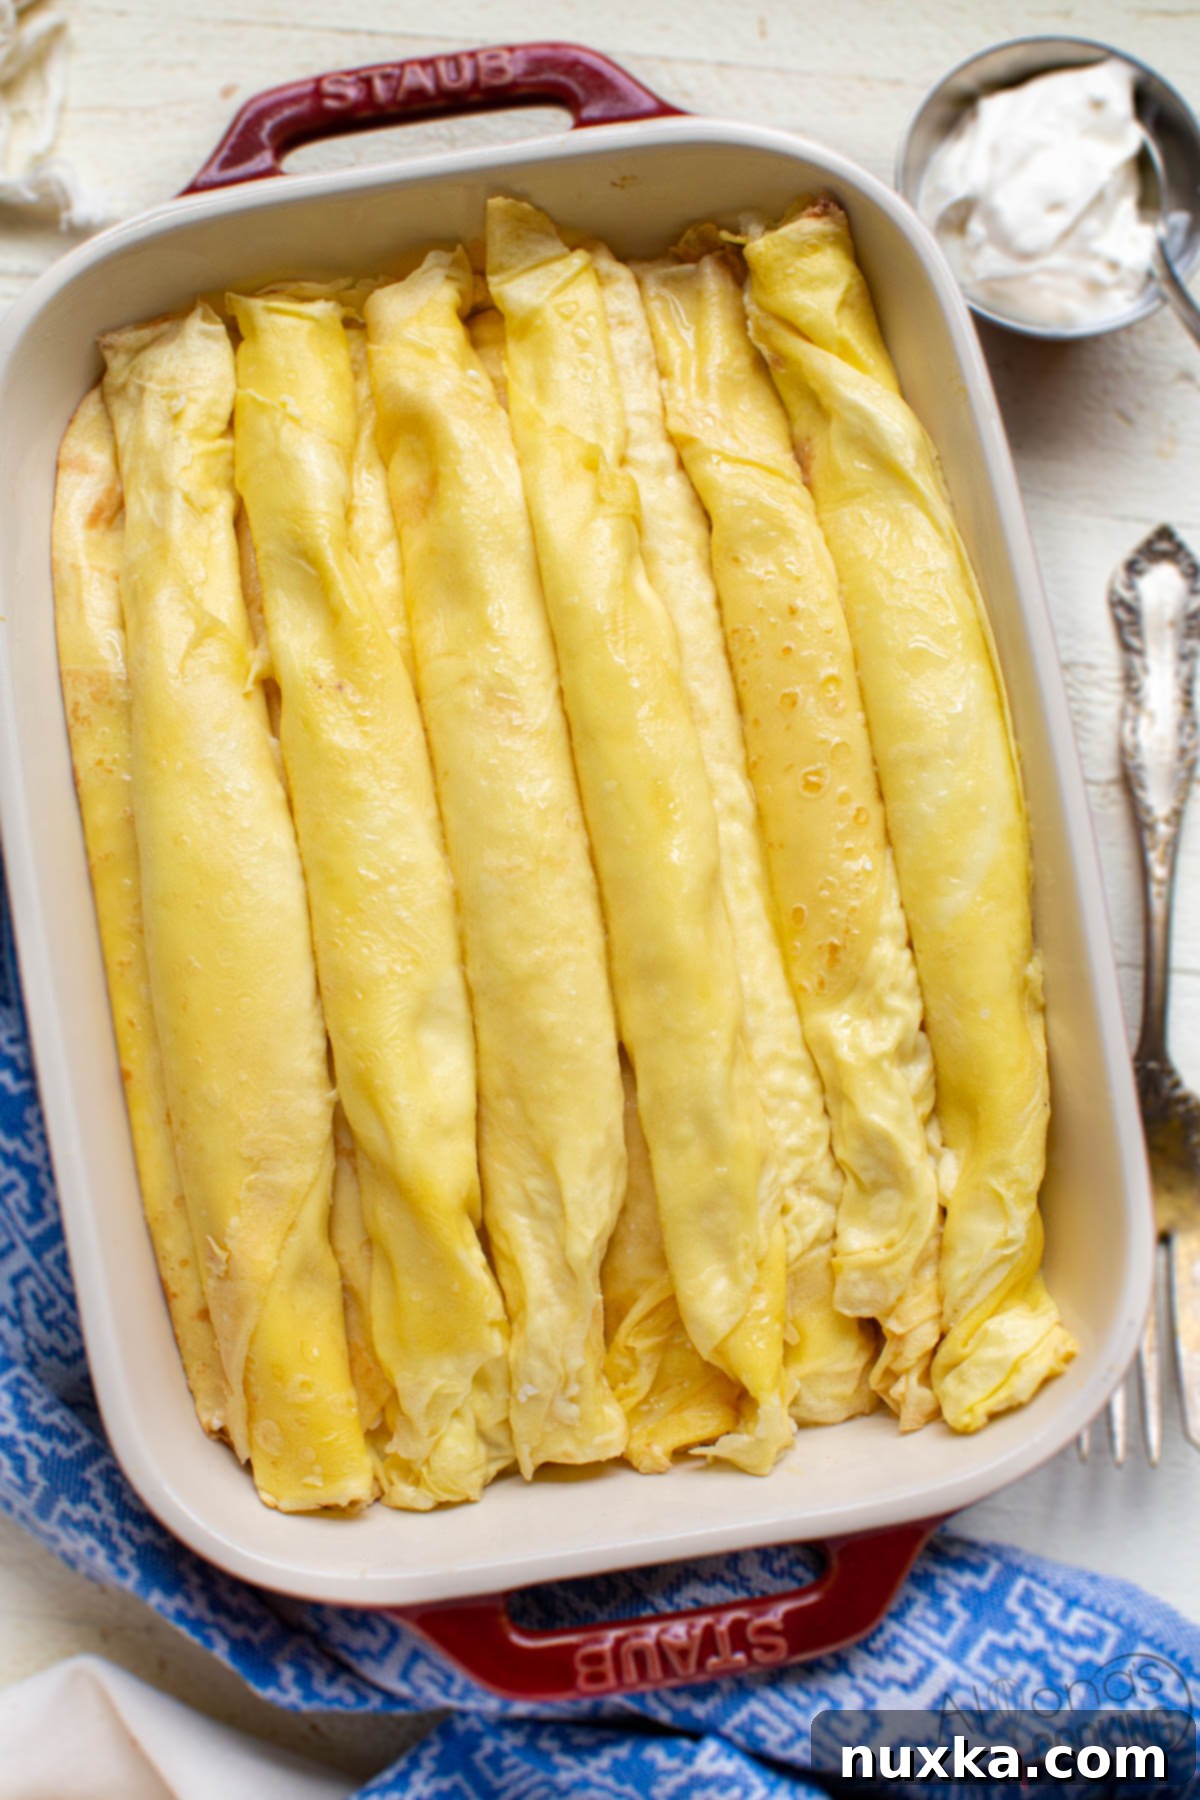
Culturally, these delicate pancakes have different names depending on the region. In Ukrainian culture, they are affectionately known as Налисники (Nalysnyky), while in Russian cuisine, you’ll hear them referred to as Blintz. Both share a similar heritage and fundamental ingredients like eggs and flour, but the specific crepe filling recipes and preparation methods can vary significantly from family to family and region to region. This particular recipe, passed down through generations by my Ukrainian mom, exemplifies traditional, no-fuss preparation. There were no fancy crepe makers or blenders involved—just simple ingredients and a lot of love, yielding crepes so delicious they vanish almost as quickly as they’re made!
Blintz vs. Crepe: A Closer Look at the Differences
While often used interchangeably, there are subtle distinctions between “Blintz” and “Crepe.” Generally, Blintz is the term for Russian crepes, and both refer to thin pancakes made primarily from eggs and flour. However, a crepe recipe can differ in the precise ratio of milk, oil, and eggs, which significantly impacts the batter’s consistency and, consequently, the final texture of the crepe. Our recipe, for instance, yields a notably thinner batter. This thinness is crucial; it allows the batter to spread effortlessly and quickly coat the bottom of the pan, resulting in wonderfully delicate crepes.
Many other crepe recipes might call for nearly equal amounts of flour and liquid, which results in a much thicker batter. While still delicious, thicker batter crepes are harder to spread evenly and often turn out less delicate. For truly paper-thin crepes, a runny batter is key. Another critical factor is the size of your pan. A smaller pan tends to produce thicker crepes because there’s less surface area for the batter to spread thinly across. I personally swear by an 11-inch non-stick pan. It’s the perfect size for achieving those ideal, thin crepes and allows for easy swirling of the batter. In fact, I often use two 11-inch pans simultaneously to cut down on cooking time, making the process twice as fast. I even keep these pans exclusively for crepes to maintain their non-stick quality.
I cherish this foundational crepe recipe so much that I’ve dedicated a separate post just for the basic crepe batter, perfect for anyone who wants to make crepes without a specific filling in mind. After all, a good crepe base is versatile enough to be filled with virtually anything, or simply enjoyed plain as a light snack.
While these crepes are delightful served immediately after rolling, a quick reheat can elevate them further. Warming them in the oven, a skillet, or even the microwave with a touch of butter makes them incredibly fluffy and even more irresistible. Serve them generously dolloped with sour cream (smetana) – it’s the traditional way to enjoy Nalisniki and truly enhances their flavor!
How to Make Crepes: Essential Steps and Tools
Making crepes from scratch might seem daunting, but it’s a straightforward process with the right approach and a few key kitchen tools. This particular recipe yields a large batch, calling for a liter of milk and a significant number of eggs. This quantity means it’s not suitable for a standard blender unless you halve the recipe (and remember to halve the cheese filling ingredients too, if you go this route).
The secret to achieving perfectly lump-free crepe batter without a blender lies in the initial mixing technique: always whisk the eggs and flour together first. This method effectively breaks down any flour clumps before any liquid is introduced. After this crucial step, you can gradually add the milk and the remaining ingredients, ensuring a silky-smooth batter every time.
Handy Equipment to Make Crepes:
Having the right tools can make your crepe-making experience much smoother and more enjoyable:
- Large Mixing Bowl: Essential for accommodating the substantial amount of batter (10 eggs and a liter of milk won’t fit in a small bowl or most blenders!).
- Wire Whisk: Perfect for the traditional method of making lump-free batter by hand, especially when mixing eggs and flour first.
- 11-inch Crepe Pan: My top recommendation. This size consistently produces ideal, thin crepes that are perfect for rolling into uniform cylinders.
- Flex Turner Crepe Spatula: A true game-changer for flipping delicate crepes without tearing. Its thin, flexible edge slides easily under the crepe.
- Plate: Keep a dinner plate right next to your cooking pan for quickly stacking cooked crepes. They won’t stick together if you stack them warm.
- Hand Mixer: While a whisk works, a hand mixer will get your batter smooth and ready much faster, especially for a large batch.
- Disposable Foiled Pans: Invaluable if you plan to freeze your crepes or transport them. Otherwise, a favorite 9×13 Pyrex dish works perfectly for baking.
Crepe Q&A: Your Questions Answered
What are Nalesniki (Crepes)?
Nalesniki are traditional Ukrainian crepes, also known as Nalisniki or Blintz in the broader Slavic community. They are quite similar to French crepes, typically featuring a thin batter made from eggs, milk, and flour. This batter is then thinly spread and cooked in a skillet until lightly golden. While there are many tools available for making crepes, a good non-stick pan is often the most efficient and easiest way to achieve perfect results at home.
Once a batch of these homemade crepes is ready, the culinary possibilities are endless! You can fill them with a variety of sweet or savory ingredients. In French cafes, crepes often feature rich fillings like greens and meats, making for a satisfying lunch or brunch. However, in Ukrainian traditions, sweet cheese crepes are a beloved dessert, and once you taste them, you’ll understand why they’ve remained a generation-spanning favorite!
How to Make Crepes Without a Blender?
Making crepes without a blender is surprisingly simple and can even lead to better texture with a large batch. The key is to follow a specific order to prevent lumps and ensure a smooth batter. The secret? Mix the eggs and flour together first before adding any liquids!
- Pre-heat your non-stick pan over low heat while you prepare the batter.
- In a large mixing bowl, thoroughly whisk together the eggs and flour until most clumps are dissolved.
- Gradually add the milk, whisking continuously, to further smooth out the flour. Then, incorporate the rest of your ingredients as directed in the recipe.
- Pour about 1/4 cup of the crepe batter into the pre-heated pan. Immediately tilt and swirl the pan quickly to coat the entire bottom surface with a thin, even layer.
- Cook the crepe until the edges begin to turn light golden brown and crisp slightly, then carefully flip it over. Cook for an additional 30-45 seconds on the other side.
- Remove the cooked crepe and stack it on a plate. Repeat the process with the remaining batter.
Can I Use a Blender for Crepes?
Yes, you can certainly use a blender, but only if you halve the crepe batter recipe. Our original recipe calls for a full liter of milk and nearly a dozen eggs, which typically exceeds the capacity of most standard blenders. If you do opt for a blender, combine all ingredients and blend until completely smooth, scraping down the sides as needed. Ensure there are no lumps for the best results.
The Best Crepe Pan?
For making the best crepes, my absolute favorite is an 11-inch non-stick crepe pan. While specialized crepe pans exist, any good quality non-stick skillet of this size will do wonders. Cast iron pans, though excellent for many dishes, are often too heavy and retain heat too aggressively for these delicate crepes, where you need to quickly swirl the batter. The key to thin crepes is the ability to easily tilt and shake the pan to spread the batter. While some pans come with a “T-swirl” tool, I find it much faster and more effective to simply swirl the batter by hand by tilting the pan, as the batter sets very quickly.
Cook’s Tip: To significantly speed up the process, cook your crepes in two pans simultaneously. This can literally cut your cooking time in half, making a large batch much more manageable!
Best Types of Cheeses To Use for Crepe Filling?
Sweet cheese crepes, known as Nalisniki in Ukrainian or cheese blintzes in Russian, are characterized by a creamy, sweet cheese filling. The best cheeses for this type of filling are those with small or fine curds that can be easily mashed and spreadable.
- Farmer’s Cheese (Tvorog): This is a staple in Slavic cuisine and very popular in the Russian community. It can be made at home or found in most European markets. It has a slightly larger, yet still fine, curd texture than ricotta.
- Cottage Cheese: My personal preference due to its affordability and wide availability in common grocery stores. For this recipe, it’s essential to rinse and drain the cottage cheese curds thoroughly using a sieve to remove excess liquid and achieve a drier consistency.
- Mascarpone or Ricotta Cheese: These are excellent substitutes if farmer’s cheese or cottage cheese isn’t readily available. While they have fine curds, be aware they might subtly alter the classic flavor profile.
- Cream Cheese or Neufchâtel: This ingredient is a must for a truly creamy and moist filling. Farmer’s cheese or cottage cheese alone can sometimes result in a filling that feels a bit dry or grainy. Cream cheese adds that essential smooth, rich, and velvety texture, making the filling utterly irresistible.
Pro Tip: If your cheese spread feels too thick or stiff, simply add a tablespoon of sour cream or heavy cream at a time until you achieve your desired smooth, spreadable consistency.
How To Wrap Crepes: Different Folding Styles
The best way to fold your crepes depends largely on the texture and volume of your filling:
- Cylinder-style (Rolled): This is the classic method for these sweet cheese crepes. It works best with thin, easily spreadable fillings or fillings that can be lightly scattered without being too chunky or heavy, such as our Savory Cabbage Crepes.
- Squares or Envelopes: Ideal for chunkier, more substantial fillings. Think savory fillings with diced meats or vegetables, like our Savory Crepes With Chicken, where you want to fully enclose the ingredients.
- Folded into Quarters (Triangle Fold): This simple and elegant fold is often seen with plain crepes or those served at a crepe bar. My easy Crepe Recipe demonstrates this fold, which creates a beautiful presentation and is perfect for individual servings.
- Wrap/Burrito Style: For very generous or bulky fillings, similar to a burrito. This method is excellent for large amounts of greens, meats, or a combination of various ingredients.
Storing Crepes: Maximizing Freshness
Proper storage is key to enjoying your crepes for longer. Unfilled, cooked crepes can be left at room temperature for up to 24 hours. However, if you plan to refrigerate them un-filled, it’s important to note that they can sometimes stick together when stacked cold. For best results, fill them shortly after cooking and layer them in a dish with melted butter. Once filled and rolled, crepes can be stored in the refrigerator for up to 3 days, ready to be baked or reheated later.
How To Reheat Crepes: Three Easy Methods
Once your crepes are filled and rolled, they can be easily reheated using one of three methods to restore their fluffy texture and warm, delicious flavor:
- Baking Instructions: This is often the preferred method for a large batch. Arrange your filled crepes in two layers within a 9×13-inch baking pan. Brush each layer generously with melted butter. Cover the pan loosely with foil and bake in a pre-heated 300°F (150°C) oven for 30-45 minutes, or until thoroughly heated through and lightly golden.
- Microwave Instructions: For a quicker reheat, especially for a small serving, place about a dozen rolled crepes onto a dinner plate. Dollop with a small amount of butter. Microwave on high for 2-3 minutes, or until the crepes have slightly puffed up and the butter is melted and absorbed.
- Skillet Instructions: For a delightful crispy exterior, melt 2 tablespoons of butter in a skillet over medium heat. Place the rolled crepes in the pan and toast them on each side until they turn golden brown and are warmed through. This method adds a lovely browned butter flavor.
Can You Freeze Crepes?
Absolutely! Freezing crepes is a fantastic way to prepare them in advance and enjoy them whenever a craving strikes. I’ve frozen dozens of crepes with excellent results. For freezer-friendly crepes, especially if you plan to transport them for gatherings or potlucks, disposable foiled pans are incredibly convenient. Follow the recipe instructions for filling and stacking, but omit the baking step. Instead, cover the pans tightly with aluminum foil and then wrap each pan in a double layer of grocery bags or freezer wrap to prevent freezer burn. They can be kept frozen for up to 2 months. Remember to thaw them completely in the refrigerator before baking.
Tip: When freezing, stack your filled crepes into no more than two layers. Stacking too many layers can result in the bottom layer scorching during baking, while the top layer might not bake evenly. Two layers ensure consistent heating and perfect results.
What To Serve Crepes With?
Sweet Cheese Filled Crepes are a dessert in themselves, but they truly shine when paired with the right accompaniments. Our top recommendation is a generous dollop of cold sour cream (smetana), which provides a delightful tangy contrast to the sweet filling. A vibrant strawberry sauce or a spoonful of homemade Strawberry Jam are also popular and delicious choices. For an extra decadent treat, drizzle warm Nutella over the top, or serve with a cloud of whipped cream and a scattering of fresh berries. Fresh fruit, chocolate drizzles, or any form of whipped dairy are always popular and welcome additions to these beloved crepes.
BEST Crepe Tips for Flawless Results:
- Decadent Drizzle: For an extra special touch, warm some hazelnut spread (like Nutella) and drizzle it generously over your cheese crepes before serving.
- Achieving Thinness: The secret to truly thin crepes is a very runny batter. It should be fluid enough to quickly swirl and coat the entire pan bottom with ease.
- Eggs are Key: Eggs are not just for flavor; they are the essential binding ingredient that gives crepes their structure and prevents them from tearing, even when paper-thin.
- Perfect Flip: Patience is a virtue when cooking crepes. Wait until the edges turn a beautiful golden brown and slightly crisp before attempting to flip. This indicates the crepe is set and strong enough. Crucially, always cook crepes over low to medium-low heat to ensure even cooking without burning.
- No Need to Grease (Often): With a good quality non-stick pan, you often don’t need to grease it between each crepe. Simply pre-heat your skillet for about 5 minutes before you start cooking your first crepe, and they should release without sticking.
- Even Baking: When assembling crepes for baking, stack them in no more than two layers in your baking dish. This ensures that heat distributes evenly, preventing the bottom layers from overcooking and the top layers from being undercooked.
How To Make Crepes With Cream Cheese Filling (Nalisniki): Step-by-Step Recipe

Rate This Recipe
Pin Recipe
Crepes With Cream Cheese Crepe Filling (Nalesniki)
Equipment
-
1 11″ crepe pan (any good quality non-stick skillet will do)
-
1 large mixing bowl
-
1 hand mixer (or wire whisk)
-
1 flex turner spatula
Ingredients
For the Crepe Batter:
-
1 liter whole milk
-
10 large eggs
-
1 tbsp vegetable oil
-
1 1/2 tsp salt
-
4 tbsp granulated sugar
-
2 1/2 cups all-purpose flour
For the Cream Cheese Filling:
-
48 oz cottage cheese (rinsed and thoroughly drained)
-
16 oz cream cheese (softened at room temperature)
-
1/2 cup granulated sugar
-
4 oz unsalted butter (melted, for brushing)
Instructions
How to make the Crepes:
-
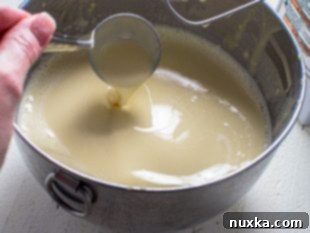 Begin by pre-heating an 11-inch crepe pan (or non-stick skillet) over low heat. While the pan warms, in a large mixing bowl, beat together the eggs and flour until most of the flour clumps have dissolved and the mixture is relatively smooth. Gradually add the milk to the egg-flour mixture on low speed, continuing to beat until the batter is completely smooth. Finally, beat in the remaining crepe batter ingredients (oil, salt, and sugar) until fully incorporated.
 -
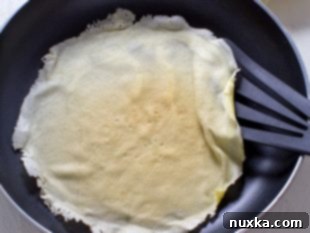 Once your pan is hot, pour approximately 1/4 cup of the crepe batter into the center. Immediately and quickly tilt and shake the pan side to side in a circular motion to allow the batter to spread evenly across the entire bottom surface, creating a thin layer. Cook the crepe until its edges begin to slightly crisp and turn a light golden brown. Carefully flip the crepe over using a flex turner spatula. Cook for an additional 45 seconds on the second side. Remove the cooked crepe and stack it on a plate. Continue this process with the remaining batter.
How to assemble and bake the Crepes:
-
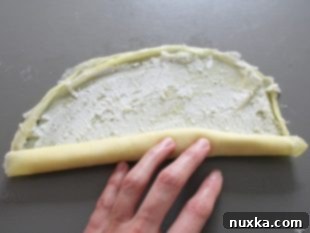 To prepare the cream cheese filling, combine the rinsed and drained cottage cheese, softened cream cheese, and sugar in a mixing bowl. Beat these ingredients together with a hand mixer or stand mixer until smooth and creamy. Take one cooked crepe, spread a thin, even layer of the cheese filling over its entire surface, then carefully roll it up into a cylinder shape.
 -
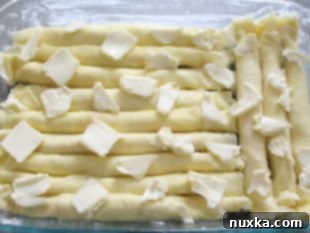 Arrange the rolled crepes in a greased 9×13-inch baking pan, stacking them in two layers. Brush a generous amount of melted butter over each layer. Cover the pan with aluminum foil and bake in a pre-heated 350°F (175°C) oven for 25-30 minutes, or until warmed through and the cheese is slightly bubbly. For serving, slice the rolled crepes in half diagonally if desired. Serve warm with your favorite toppings like sour cream or fruit preserves.
Notes
- To Make-Ahead Crepes: You can prepare the filled crepes and stack them into a baking dish (as in step 4). Keep them refrigerated for up to 3 days until you are ready to bake and serve.
- Freezer Instructions: Follow the make-ahead instructions, but stack the filled crepes into a disposable foiled pan for easy freezing. Cover the pan tightly with aluminum foil and wrap it in a double layer of freezer bags to prevent frost. Freeze for up to 2 months. Thaw the crepes in the refrigerator overnight before baking as directed.
- 3 Ways to Reheat Crepes (Filled):
- Pan-fry: Melt 2 Tbsp of butter in a skillet over medium heat. Toast rolled crepes on each side until golden and warmed through.
- Bake: Bake as directed in the recipe (step 4).
- Microwave: Place a small batch of crepes with butter slices onto a plate and microwave until the butter melts and crepes are hot.
Cottage Cheese Substitute: If cottage cheese isn’t available, you can use farmer’s cheese (tvorog), ricotta cheese, or any other fine-curd cheese like mascarpone cheese. Be aware that the flavor and texture might vary slightly.
Nutrition per serving
