Authentic Ukrainian Sauerkraut Recipe with Carrots (Kesla Kapusta)
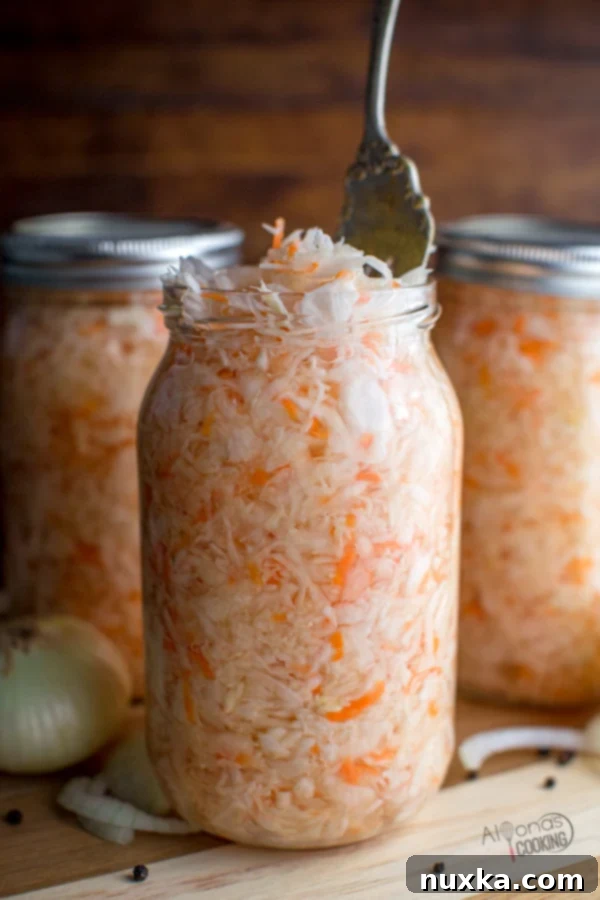
Dive into the vibrant world of Eastern European flavors with this incredible Ukrainian-style sauerkraut recipe, affectionately known as “Kesla Kapusta.” This isn’t just any pickled cabbage; it’s a family-cherished method, perfected over generations, delivering a delicious, tangy, and incredibly versatile fermented food. Our foolproof approach, featuring crisp shredded cabbage, sweet carrots, a touch of salt, a hint of sugar, and a simple water brine, makes homemade sauerkraut an achievable delight for anyone. You’ll be amazed at how quickly (often within two to five days!) you can create a batch of this probiotic-rich staple, ready to elevate your meals and boost your gut health.
This recipe is more than just instructions; it’s an invitation to experience a culinary tradition that brings warmth and flavor to countless dishes. Whether you’re a seasoned fermenter or a curious beginner, get ready to master the art of making the best Ukrainian sauerkraut right in your own kitchen.
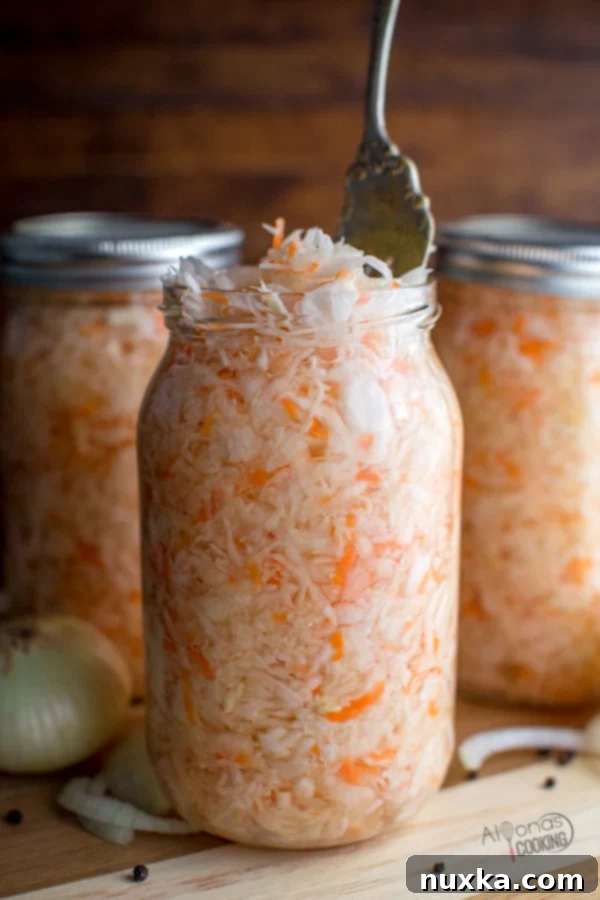
The culinary possibilities with homemade sauerkraut are truly endless in Eastern European kitchens. We absolutely adore incorporating its zesty crunch into hearty soups like our beloved Borscht, where it adds a complex depth of flavor. It’s a classic topping for grilled kielbasa or a flavorful addition to Bratwurst and Sauerkraut Sandwiches. Stir it into Fried Cabbage for an extra dimension, or create a refreshing sauerkraut salad with a simple dressing. It also serves as a fantastic, savory filling for traditional pastries like Polish Pierogi or Ukrainian Varenyky. Beyond its culinary uses, the natural probiotics in sauerkraut are so potent that some even drink the juice for an upset stomach! This fermented superfood truly is a cornerstone of our cuisine.
What is Sauerkraut? Unpacking the Fermentation Process
At its core, sauerkraut translates to “sour cabbage,” a fitting name for this deliciously tangy dish. It’s essentially finely chopped cabbage that has undergone a process called lacto-fermentation. This natural transformation occurs when beneficial bacteria, primarily from the Lactobacillus genus, convert the sugars present in the cabbage into lactic acid. This acidic environment inhibits the growth of harmful bacteria, effectively preserving the cabbage while developing its unique flavor profile and a wealth of health-promoting probiotics.
When properly fermented, sauerkraut can be ready to enjoy in as little as 2 to 3 days, depending on the ambient temperature of your room. Warmer temperatures accelerate fermentation, while cooler temperatures slow it down. This simple yet profound method of food preservation has been a cornerstone of many cultures for centuries, long before refrigeration existed.
Making Sauerkraut in the Old Days: A Glimpse into Traditional Preservation
In my grandmother’s era, sauerkraut wasn’t just a side dish; it was a vital method of food preservation, especially for sustaining families through harsh Eastern European winters. The process was a significant undertaking, often involving the entire family. Imagine my husband’s grandmother, after the robust winter cabbage harvest in November in Ukraine, finely shredding large quantities of white cabbage. This wasn’t done with a modern mandoline, but with a colossal wooden kraut maker positioned over an enormous wooden vessel, far larger than a typical barrel.
Preparations for fermentation began long before the cabbage was even touched. The massive wooden vessel, crucial for fermentation, required days of soaking with water. This essential step allowed the wood to swell, sealing any tiny creases or cracks that could otherwise lead to disastrous spills during the long fermentation period. Such attention to detail was paramount for successful preservation.
Homemade Sauerkraut: Bridging the Past and Present
Located in the cool, stable environment of the root cellar, this wooden vessel became the heart of sauerkraut production. Grandma would meticulously layer the shredded cabbage, heavily salting each layer, then pound it vigorously with a large wooden pounder. This pounding was crucial to break down the cabbage cells and encourage the release of its natural juices, which would form part of the brine. She would also create holes in the packed cabbage using a special utensil, leaving the vessel open for four days to ferment. This initial period was vital, allowing the cabbage to release any inherent bitterness and ensuring a cleaner, more pleasant flavor profile.
After this critical four-day stage, the liquid naturally released from the cabbage would fill the holes, covering the kraut entirely. At this point, it was ready to be covered and stored throughout the entire winter without the need for refrigeration – a testament to the power of fermentation. To finalize the process, Grandma would smooth the top layer, cover the surface with a clean cheesecloth, place a wooden press on top, and weigh it down with a large stone. This ensured the cabbage remained fully submerged under the brine, which was essential for prolonged storage in the cold root cellar. However, this traditional method demanded considerable upkeep.
The wooden cover and any exposed parts had to be washed diligently every week, sometimes even twice a week, to prevent scum or mold formation. If mold appeared on the surface, the top layer had to be carefully discarded. While effective, it was a labor-intensive process, highlighting the ingenuity and resilience of past generations.
Fast forward to today, and modern-day fermentation offers unparalleled ease and convenience! We can now make smaller, manageable batches in simple mason jars, perfectly suited for contemporary households. Fermentation takes place right on your kitchen counter, eliminating the need for a root cellar or vast wooden vessels. Because most homes maintain temperatures above 60°F (15°C), the fermentation period is significantly shorter – typically 2 to 3 days is sufficient for the perfect tang. Once fermented to your liking, the sauerkraut can be transferred to the refrigerator for extended storage, where the cold temperature dramatically slows down the fermentation process, keeping it fresh for months. This truly is an easy sauerkraut recipe, a far cry from the demanding methods of old-fashioned Soviet days!
Is Sauerkraut Good For You? The Abundant Health Benefits
Beyond its delicious taste, sauerkraut is a nutritional powerhouse, brimming with health benefits. To harness the full spectrum of available nutrients and beneficial probiotics from fermentation, it’s crucial to consume sauerkraut raw and uncooked. This means skipping methods like canning, which typically involves heat and destroys the live beneficial microbes. Enjoying raw sauerkraut ensures you receive the maximum health advantages!
Not only is eating sauerkraut raw superior, but the fermentation process itself enhances the bioavailability of nutrients, making sauerkraut even more nutritious than the original fresh cabbage. This means your body can absorb and utilize vitamins and minerals more effectively. The star players in raw, uncooked sauerkraut are the live beneficial microbes, such as lactobacilli. These probiotics are indispensable for a healthy gut, aiding in better digestion, strengthening the immune system, and potentially even influencing mood and overall well-being. To preserve these vital enzymes and bacteria, it’s also important not to freeze sauerkraut.
Every culture boasts its unique approach to fermented cabbage, showcasing the incredible versatility of this ingredient. Consider Korean kimchi, a beloved staple of lacto-fermented cabbage and various vegetables, often spicy and vibrant. In Moldova, whole cabbage heads are pickled to be later used as a crucial component for making savory Sarmale (cabbage rolls). However, in Russia and Ukraine, we distinctly favor adding grated carrots, and sometimes beets for a beautiful color, to our sauerkraut, which lends a subtle sweetness and an appealing hue. In contrast, German sauerkraut often features robust flavorings like caraway and mustard seeds. These additional vegetables don’t just add flavor and color; they often contribute to a richer nutrient profile and a more complex taste, truly making it better!
How is Ukrainian Sauerkraut Made? Understanding the Core Methods
Traditionally, the fundamental process for making sauerkraut involves curing shredded cabbage with salt and allowing it to ferment. However, families often develop their own cherished variations.
My mother’s side of the family, for instance, prefers a method where finely shredded cabbage is thoroughly massaged with salt. This vigorous massage encourages the cabbage to release its natural liquids, creating its own “brine.” On the other hand, my husband’s mother opts for a different approach, adding water to create a milder form of sauerkraut. I personally lean towards the water-based method as well, but with a slight modification: I allow it to ferment for at least two full days in the water brine before refrigerating. This extended fermentation time ensures a more pronounced lactic acid production, which I find enhances both the flavor and the probiotic benefits.
The primary difference between these two methods lies in the resulting flavor and consistency. The pure salting method, while authentic, can sometimes yield a sauerkraut that is more intensely bitter for our family’s palate. Moreover, it carries a higher risk of spoilage if the salt-to-cabbage ratio isn’t perfectly calibrated. In contrast, the pickling method that incorporates water results in a milder, more desirable taste. You still achieve the wonderful lactic acid fermentation and its associated benefits, but the flavor is less harsh and more approachable, making it a truly foolproof method for delicious homemade sauerkraut.
How To Make Sauerkraut with Carrots: A Modern, Foolproof Guide
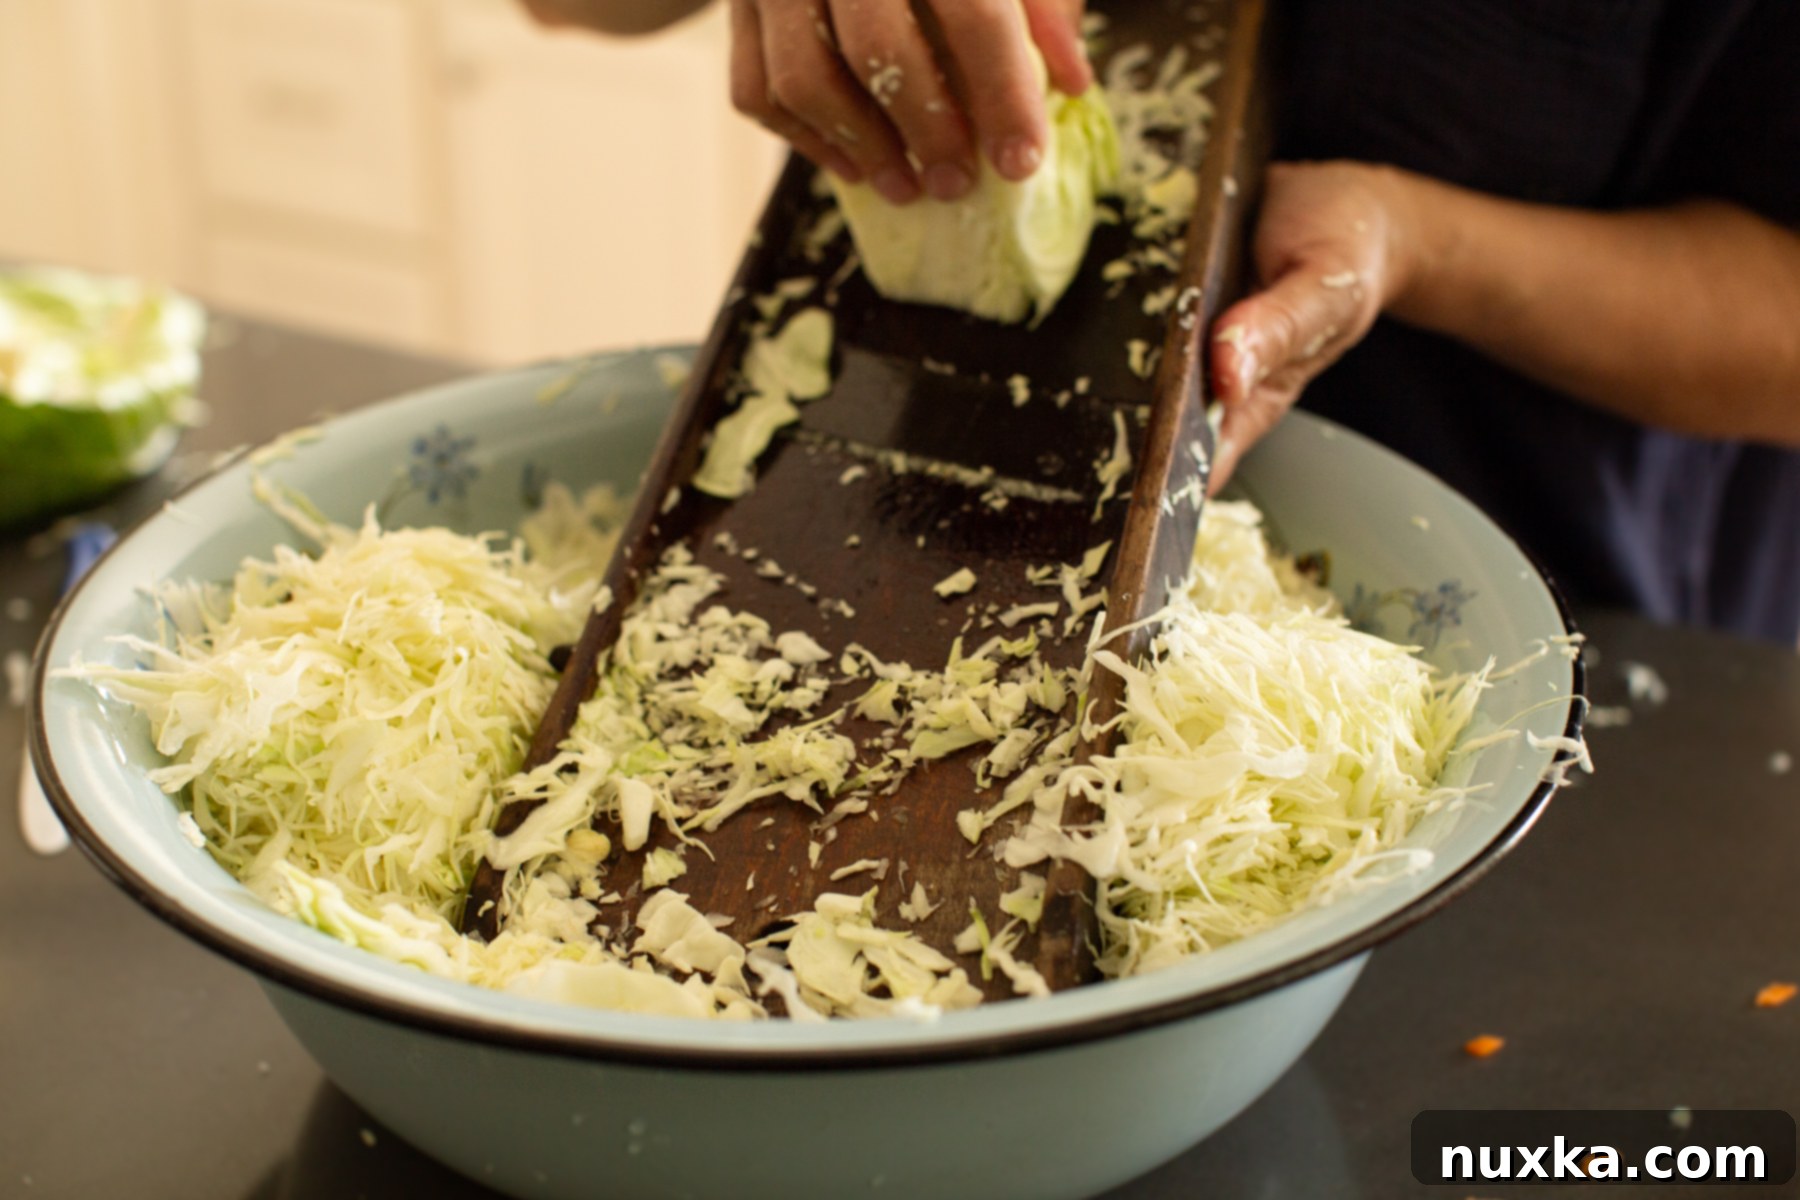
Making delicious fermented cabbage at home is incredibly easy in our modern era, thanks to simplified techniques. Before you begin, always remember to peel off and discard any bruised or loose outer leaves from your cabbage head. Here are two effective methods:
- Traditional “Dry Salting” Method: For every 5 pounds of cabbage, use approximately 3 tablespoons of salt. If you’re working with a smaller amount, like 3.5 pounds, adjust to two tablespoons. First, finely shred your cabbage using a Mandoline Slicer or a traditionalkraut maker. Layer the shredded cabbage with salt, then firmly massage the salt into the cabbage with your hands. This is a crucial step to encourage the cabbage to release its natural juices. Sometimes, letting the salted cabbage sit for 10-20 minutes after massaging can help draw out even more liquid, making it easier to work with. Once enough liquid is released to cover the cabbage, ensure it stays submerged beneath this natural brine. Allow it to ferment for 2-3 days, or until it reaches your desired level of sourness. This method works wonderfully in a gallon mason jar, but ensure you leave ample headspace for expansion.
- Foolproof “Water Brine” Pickling Method (Our Preferred Way!): This method is particularly forgiving and yields consistently delicious results. In a large bowl, finely shred your cabbage. Add half of the total salt specified in the recipe, along with all the sugar and shredded carrots. Mix these ingredients thoroughly with your hands. Set this cabbage mixture aside briefly. In a separate bowl, stir the remaining salt into cold water until it dissolves completely. Transfer your cabbage mixture into your chosen fermenting vessel – whether it’s a large pot, a ceramic crock, or a jar. Pour the prepared cold water brine over the cabbage, ensuring it is completely submerged. You may need to use a plate or a fermenting weight to keep the cabbage under the liquid. Allow the mixture to ferment in a cool, dark place on your counter for 2-5 days. Regularly taste it starting from day 2 to monitor its sourness. This method produces fantastic-tasting sauerkraut, perfect for enhancing salads, soups, and countless other dishes!
Best Cabbage for Making Crunchy Sauerkraut
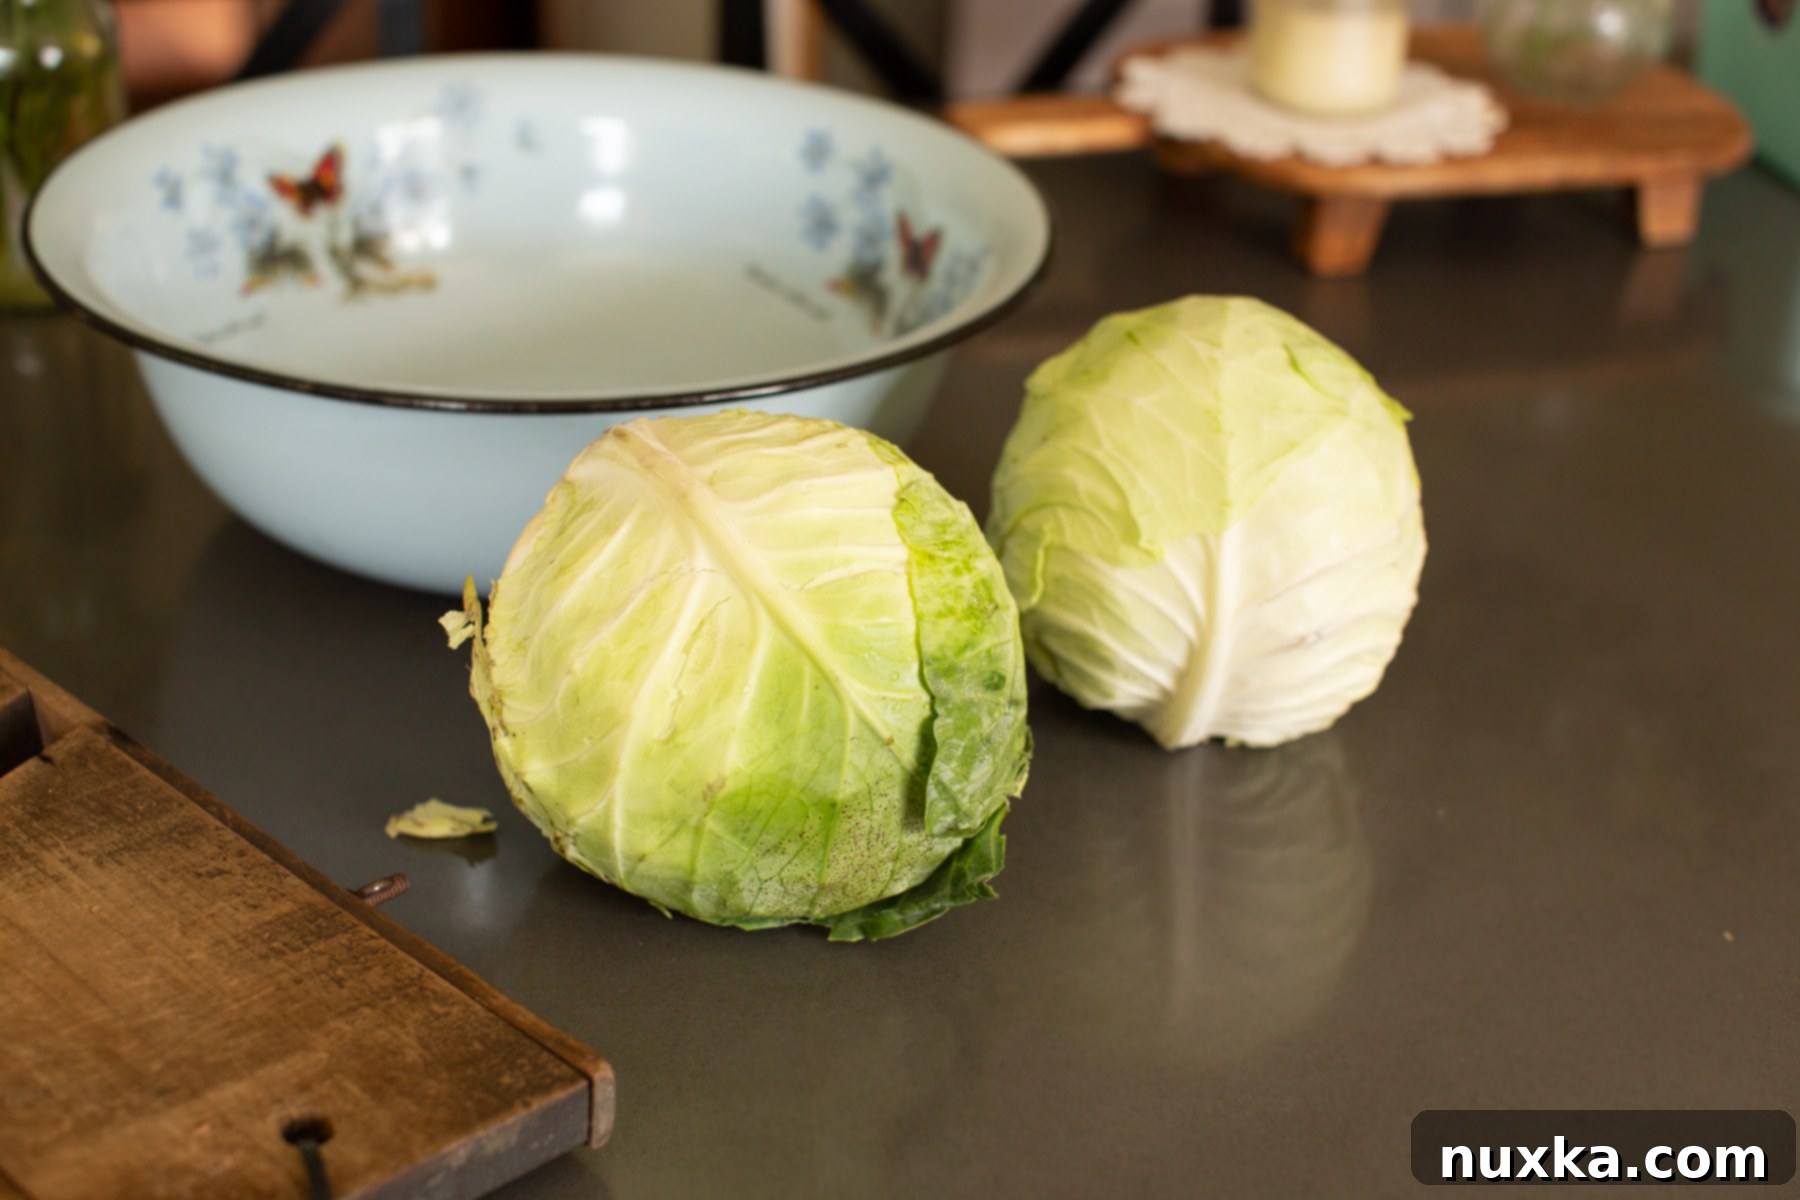
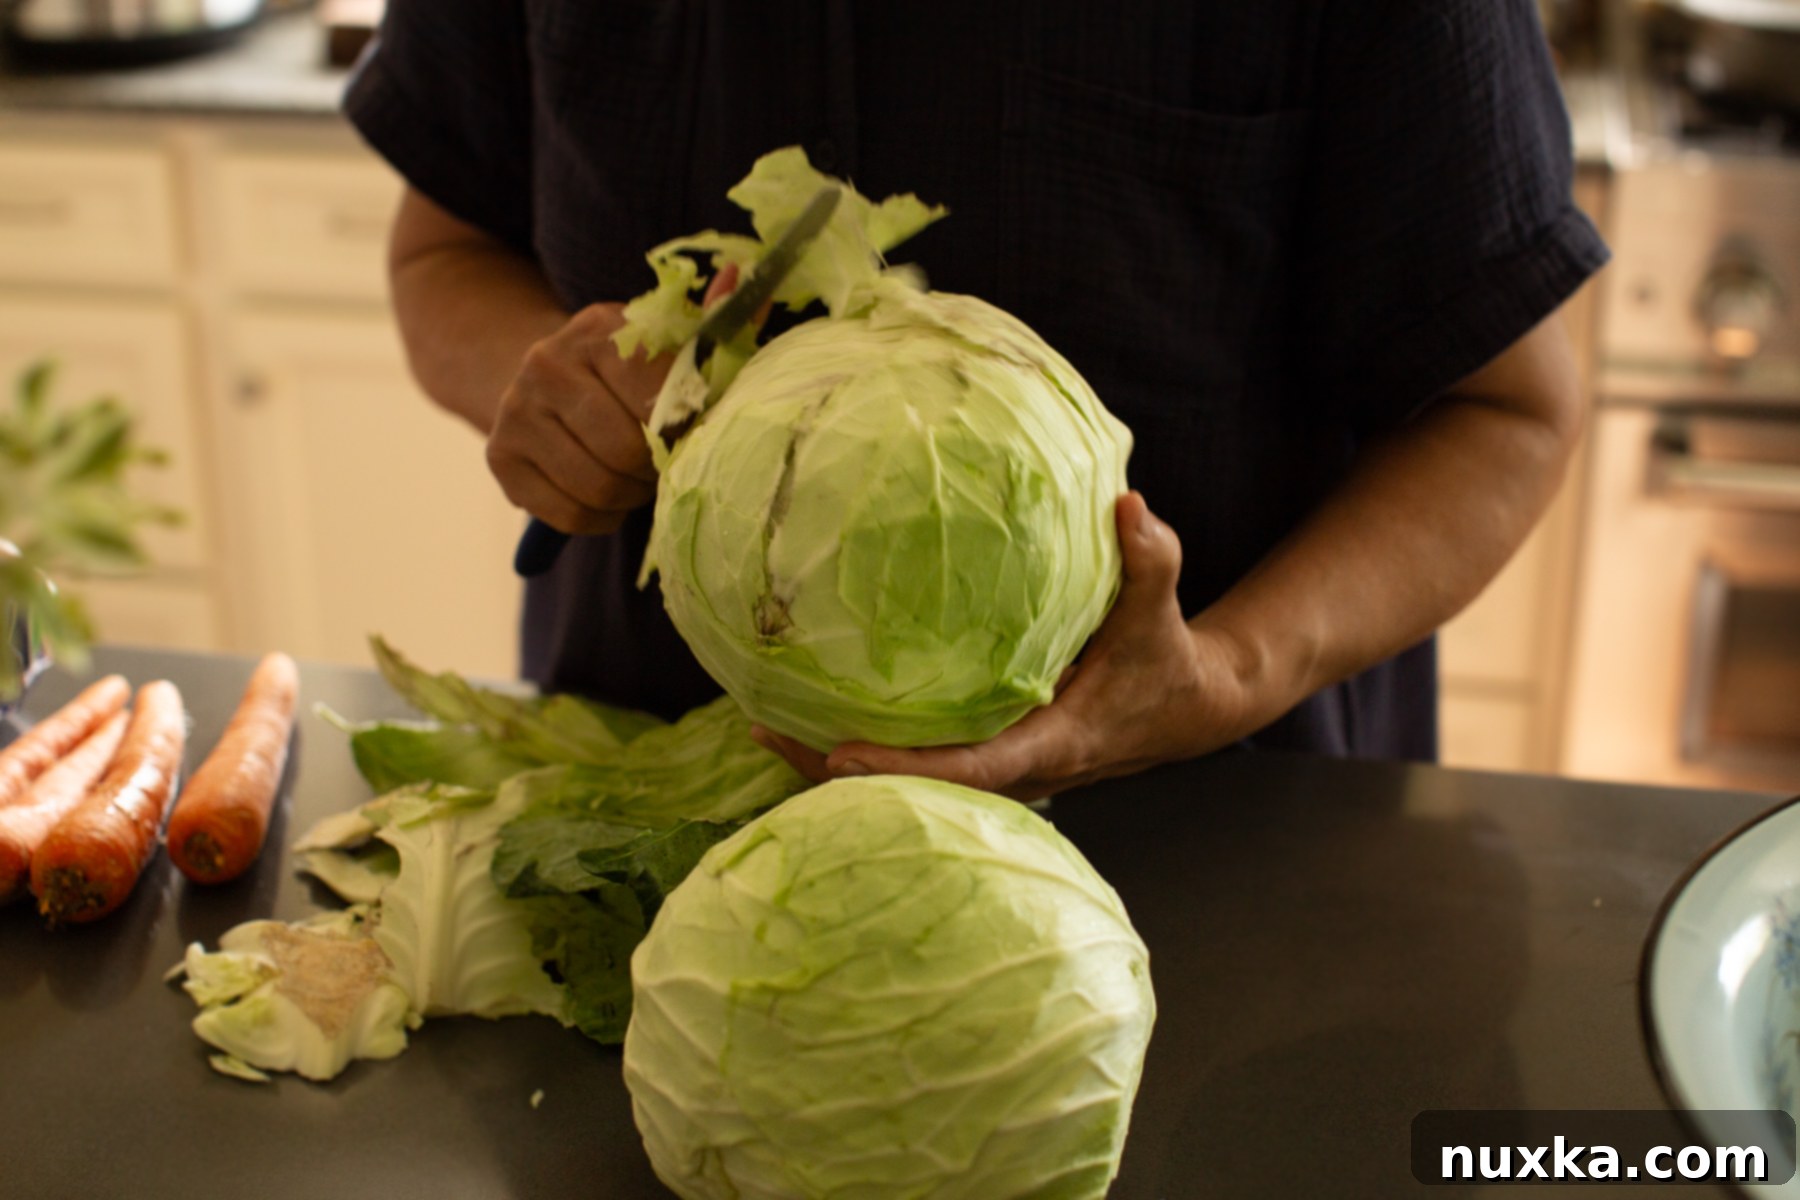
Choosing the right type of cabbage is fundamental for achieving the best sauerkraut. For consistently crunchy and flavorful results, white cabbage, often referred to as Dutch cabbage, is unequivocally the top choice. This variety is characterized by its smooth, pale green leaves that are densely compacted and noticeably heavier than other types. White cabbage boasts the highest moisture content, which is an ideal characteristic for sauerkraut as it readily releases its own liquids, crucial for forming the brine. While green cabbage can also be used, it’s generally lighter in weight and tends to ferment more quickly, potentially leading to a softer texture.
Even store-bought cabbage will work perfectly, but there are a few tips for selection. Always peel off any damaged, discolored, or excessively tough outer leaves. Look for heads that exhibit pale white leaves beneath the outer layers. Most importantly, pick the heaviest head of cabbage relative to its size – this usually indicates higher density and moisture content, promising a more successful and satisfying sauerkraut batch.
How Long Does Sauerkraut Last? Maximizing Freshness and Flavor
A common question is, “Does sauerkraut go bad?” When properly fermented and stored, homemade sauerkraut has an impressive shelf life, lasting for many months in the refrigerator. The key is proper fermentation followed by consistent cold storage. Initially, you need to ferment the sauerkraut at room temperature for at least two days. At this point, conduct a taste test: if it hasn’t reached your desired level of sourness, allow it to ferment for another day or two. The exact fermentation time is highly dependent on your room’s temperature; for example, when I make it in the summer at around 77°F (25°C), it typically ferments perfectly in just two days.
Once fermented to your liking, it is absolutely essential to transfer the sauerkraut to the refrigerator (maintained below 60°F or 15°C) for long-term storage. Properly fermented cabbage should have a clear, watery liquid; if it appears slimy or cloudy in an unusual way, it might be a sign of improper fermentation. Always ensure the cabbage remains submerged under the brine. Each time you retrieve sauerkraut from the jar, make an effort to drain any excess liquid back into the jar before removing the solids. This simple practice ensures the remaining cabbage stays covered by the brine, which is critical for preventing spoilage and significantly prolonging its usability and freshness. Using the pickling method with water ensures there’s always ample liquid, making it a truly foolproof way to make sauerkraut – it’s incredibly hard to mess up!
Q&A: Common Questions About Ukrainian Sauerkraut
What Does Ukrainian Sauerkraut Taste Like?
If you’re familiar with other fermented foods or drinks, such as kombucha, you’ll recognize the characteristic slightly sour or tangy aftertaste – this is precisely how fermented sauerkraut tastes. The addition of shredded carrots in our Ukrainian recipe introduces a subtle sweetness that beautifully balances the tartness, making each bite more pleasant and approachable. Furthermore, the water brine pickling method, as opposed to pure salting, results in a milder overall flavor profile. It’s less intensely bitter and harsh, allowing the nuanced flavors of the cabbage and carrots to shine through, creating a truly delightful and refreshing experience.
Tips for Making the BEST Ukrainian Sauerkraut Every Time:
- Daily Taste Test is Key: Make it a habit to check your fermenting cabbage daily, especially by tasting it, to gauge its sourness. In warmer weather or during summer months, fermentation can accelerate rapidly, sometimes being ready in just two days. I personally aim for about two days of fermentation for a perfectly balanced taste. Over-fermenting can lead to undesirable results, such as slimy texture or a foggy appearance, so consistency is crucial.
- Allow Room for Fermentation: While this recipe yields enough sauerkraut to fill a gallon mason jar, it’s not ideal to initiate fermentation directly in a tightly packed jar. Cabbage actively releases its own juices and expands during fermentation, which can cause significant overflow if the vessel is too full. To prevent messy spills and ensure optimal conditions, I recommend fermenting the cabbage in a large pot first (an 8-quart pot is perfect) and only transferring it to a jar for refrigeration once fermentation is complete.
- For Maximum Crunch, Choose the Pickled Method: If you desire super crunchy sauerkraut, the water brine pickling method is your best bet. Vigorously pounding the cabbage (as in some traditional dry-salting methods) can sometimes make it a little softer or mushy. The pickled method, however, simply requires quick mixing and submerging in a water solution, preserving the cabbage’s natural crispness throughout the fermentation process.
- Select the Heaviest Cabbage: For the ultimate crunchy sauerkraut, always look for a heavy, dense white head of cabbage. These cabbages typically have a higher moisture content, meaning they will release water more quickly and efficiently during preparation, and naturally lead to a crisper final product without requiring excessive pounding.
- Utilize a Large Fermenting Pot: As mentioned, an 8-quart pot is highly recommended for fermenting your sauerkraut. Its generous size provides ample room for the cabbage to release liquids and expand without overflowing, making the entire preparation and monitoring process significantly easier and cleaner. Once fermentation is complete, you can then efficiently pack the finished sauerkraut into jars for cold storage.
- Halve the Recipe for Jar Fermentation: If you’re set on using a glass jar for fermentation from the start, halve this recipe. Fermenting half the amount in a gallon-sized jar will leave enough headspace for the cabbage to release its excess liquid without overflowing, ensuring a neat and successful process.
- Quantity Guidance: This recipe is designed to use approximately two large heads of cabbage, or roughly 3 kilograms (6 pounds), producing a substantial batch for your family.
- Storage After Fermentation: Once your sauerkraut has fermented to perfection, the entire batch can be transferred into either four quart-sized jars or one large gallon-sized jar for convenient storage in the refrigerator.
- Don’t Fear Generous Seasoning: When it comes to salt and sugar in fermentation, being a little generous is often better than being too conservative. I always use heaping spoonfuls as it ensures proper fermentation and a richer flavor profile.
Delicious Recipes and Ways to Enjoy Your Homemade Sauerkraut:
Now that you’ve mastered making homemade kraut, you might be wondering how to best enjoy it! Sauerkraut is incredibly versatile and can be incorporated into a wide variety of meals. Here are some fantastic ideas to turn your homemade sauerkraut into delicious dishes:
- Hearty Fried Cabbage with Sauerkraut: We love to prepare fried cabbage and then stir in a generous amount of sauerkraut, sometimes adding pork ribs or other cuts of pork to create a satisfying one-dish meal. A meatless version of this dish also makes an excellent, flavorful filling for traditional Eastern European pastries like Polish Pierogi, savory Belyashi, and classic Piroshki (meat pies).
- Simple & Refreshing Side Dish or Salad: Sauerkraut traditionally serves as a refreshing side dish for countless meals in Eastern European cuisine. You can enjoy it pickled straight from the jar, offering a delightful tangy bite. Alternatively, transform it into a quick sauerkraut salad by simply tossing it with a drizzle of sunflower oil, a pinch of freshly ground black pepper, and some thinly sliced raw onions for an added kick.
- Flavorful Sauerkraut Soups (Kapusniak & Borscht): Sauerkraut soup, known as Kapusniak, is a wonderful way to utilize any leftover kraut. Simply cook some root vegetables like carrots and potatoes in a rich stock, then add your sauerkraut along with your favorite herbs and spices. My mother-in-law often enriches her version with a bit of tomato sauce. We also frequently add sauerkraut to a pot of our famous Borscht, where it contributes a unique sour note that truly enhances the soup’s complexity.
- Perfect Pairing with Potatoes: Sauerkraut pairs exceptionally well with various potato dishes. Serve it alongside simple Boiled Potatoes or as a zesty accompaniment to a creamy side of Mashed Potatoes. Add a slice of Homemade Rye Bread, and you have a wholesome and satisfying meal in itself!
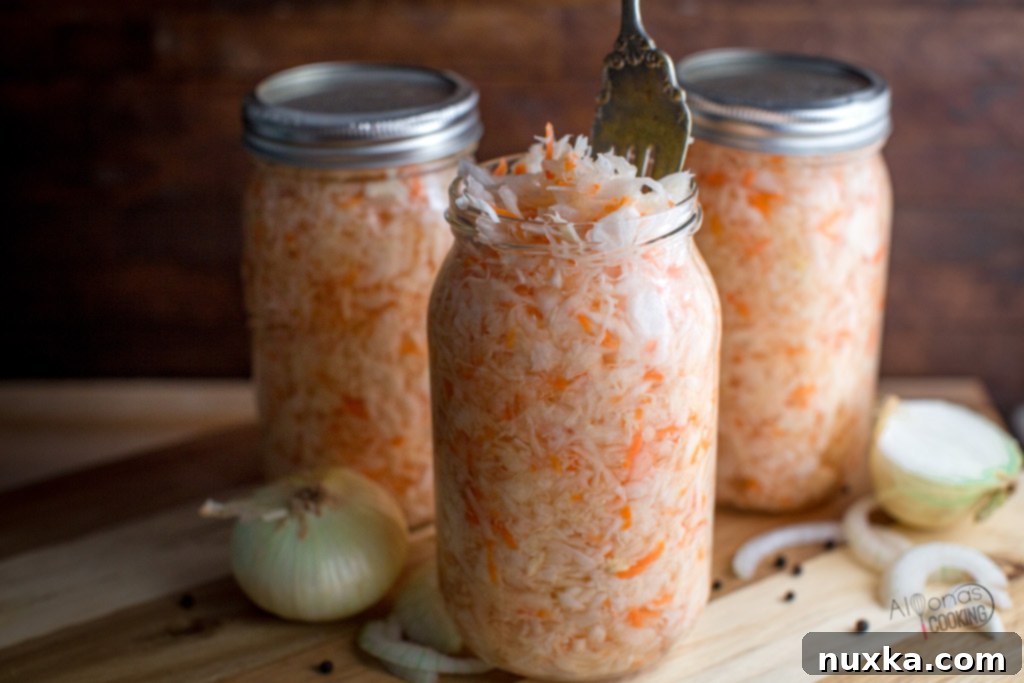
Everything You Need To Make Sauerkraut At Home:
- Mandoline Slicer – An invaluable tool that makes shredding large quantities of cabbage incredibly fast and consistent, a true game-changer!
- 1-Gallon Glass Jar – This size is perfect for storing your finished sauerkraut in the fridge, allowing for longer-term preservation and easy access.
- Large Mixing Bowl – Be sure to use an extra-large bowl, as shredded cabbage can surprisingly triple in volume, and you’ll need plenty of space for thorough mixing.
- 8-Quart Pot – Essential for fermenting sauerkraut. A large pot prevents any spills or overflows from the expanding cabbage and liquid during the active fermentation process.
- Sharp Knife – A good quality, sharp knife is always handy for slicing the cabbage head in half or into quarters, making it much easier to shred efficiently.
Rate
Pin
Ukrainian Sauerkraut Recipe with Carrots
Equipment
-
1 mandoline slicer for efficiently shredding cabbage
-
1 8-quart pot as the fermenting vessel for cabbage
-
1 Extra Large Mixing Bowl
-
plate to keep the cabbage submerged under the brine
Ingredients
Sauerkraut:
-
3 kilograms cabbage (approximately 2 large heads, or 6 lbs)
-
2 Tbsp salt
-
1 large grated carrot (or two medium carrots for extra sweetness and color)
-
1 tsp granulated sugar
Cold Brine:
-
6 cups cold water
-
2 Tbsp salt
Instructions
How to make Sauerkraut:
-
 In an extra-large mixing bowl, finely shred the cabbage using a mandoline slicer or a sharp knife.
 -
 Add the grated carrot, 2 tablespoons of salt (from the sauerkraut ingredients), and 1 teaspoon of granulated sugar to the shredded cabbage. Mix these ingredients thoroughly with your hands, ensuring an even distribution.
 -
 Transfer the cabbage and carrot mixture into a large 8-quart pot. In a separate bowl, stir 6 cups of cold water with the remaining 2 tablespoons of salt (from the cold brine ingredients) until the salt dissolves. Pour this brine over the shredded cabbage in the pot.
 -
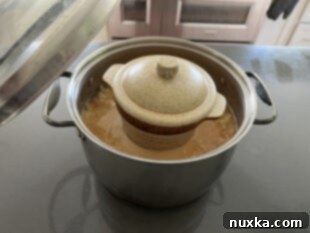
 Place a clean plate directly on top of the cabbage mixture, ensuring it is fully submerged under the liquid. Weigh down the plate with something heavy (like an old crock, a large jar filled with water, or a specialized fermenting weight). Cover the pot with a lid. Allow it to sit in a dark place at room temperature for 2-3 days, tasting daily to check for desired sourness.
 -
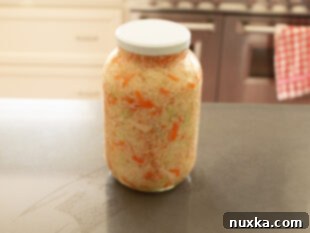
 Once fermentation is complete to your liking, pack the sour cabbage tightly into a 1-gallon glass jar (or four one-quart jars), ensuring the liquid covers the cabbage completely. Store refrigerated for up to 12 months, always keeping the cabbage submerged in the brine.
Notes
- To make a traditional, plain sauerkraut recipe, simply omit the carrots.
- 3 kilograms is roughly equivalent to two large heads of cabbage, or about 6 pounds.
- My aunt often prefers to air out any potential bitterness from the sauerkraut before packing it into jars. To do this, after fermentation, simply dump the sauerkraut into a large bowl and allow it to sit open, exposed to the air, for approximately 2 hours. Then, pack it tightly into jars, pressing the liquid over the cabbage, and store it in the fridge as directed. I typically skip this step as I find the water brine method reduces bitterness significantly.
- This recipe yields enough sauerkraut to comfortably fit into one gallon-sized glass jar or can be divided into four quart-sized mason jars.
- It’s crucial not to ferment the cabbage directly in a gallon jar if you fill it to the brim. The cabbage needs room to release liquid and expand, and doing so will almost certainly result in overflows. An 8-quart pot is the perfect vessel for this sauerkraut recipe, as it provides ample space and eliminates worries about spills.
- Don’t be intimidated to use slightly heaping spoonfuls of salt or sugar. Generous seasoning is often better than under-salting, which can hinder proper fermentation and flavor development. I always use heaping amounts for the best results.
Nutrition per serving
Calories: 49kcal
Carbohydrates: 11g
Protein: 2g
Fat: 1g
Saturated Fat: 1g
Sodium: 1780mg
Potassium: 331mg
Fiber: 5g
Sugar: 6g
Vitamin A: 821IU
Vitamin C: 69mg
Calcium: 76mg
Iron: 1mg
Making your own Ukrainian sauerkraut is a rewarding experience that connects you with centuries of culinary tradition while providing a delicious and healthful addition to your diet. Enjoy the tangy, crisp flavor of homemade “Kesla Kapusta”!
