Authentic & Easy Homemade Italian Bread Recipe: Crusty Exterior, Fluffy Interior
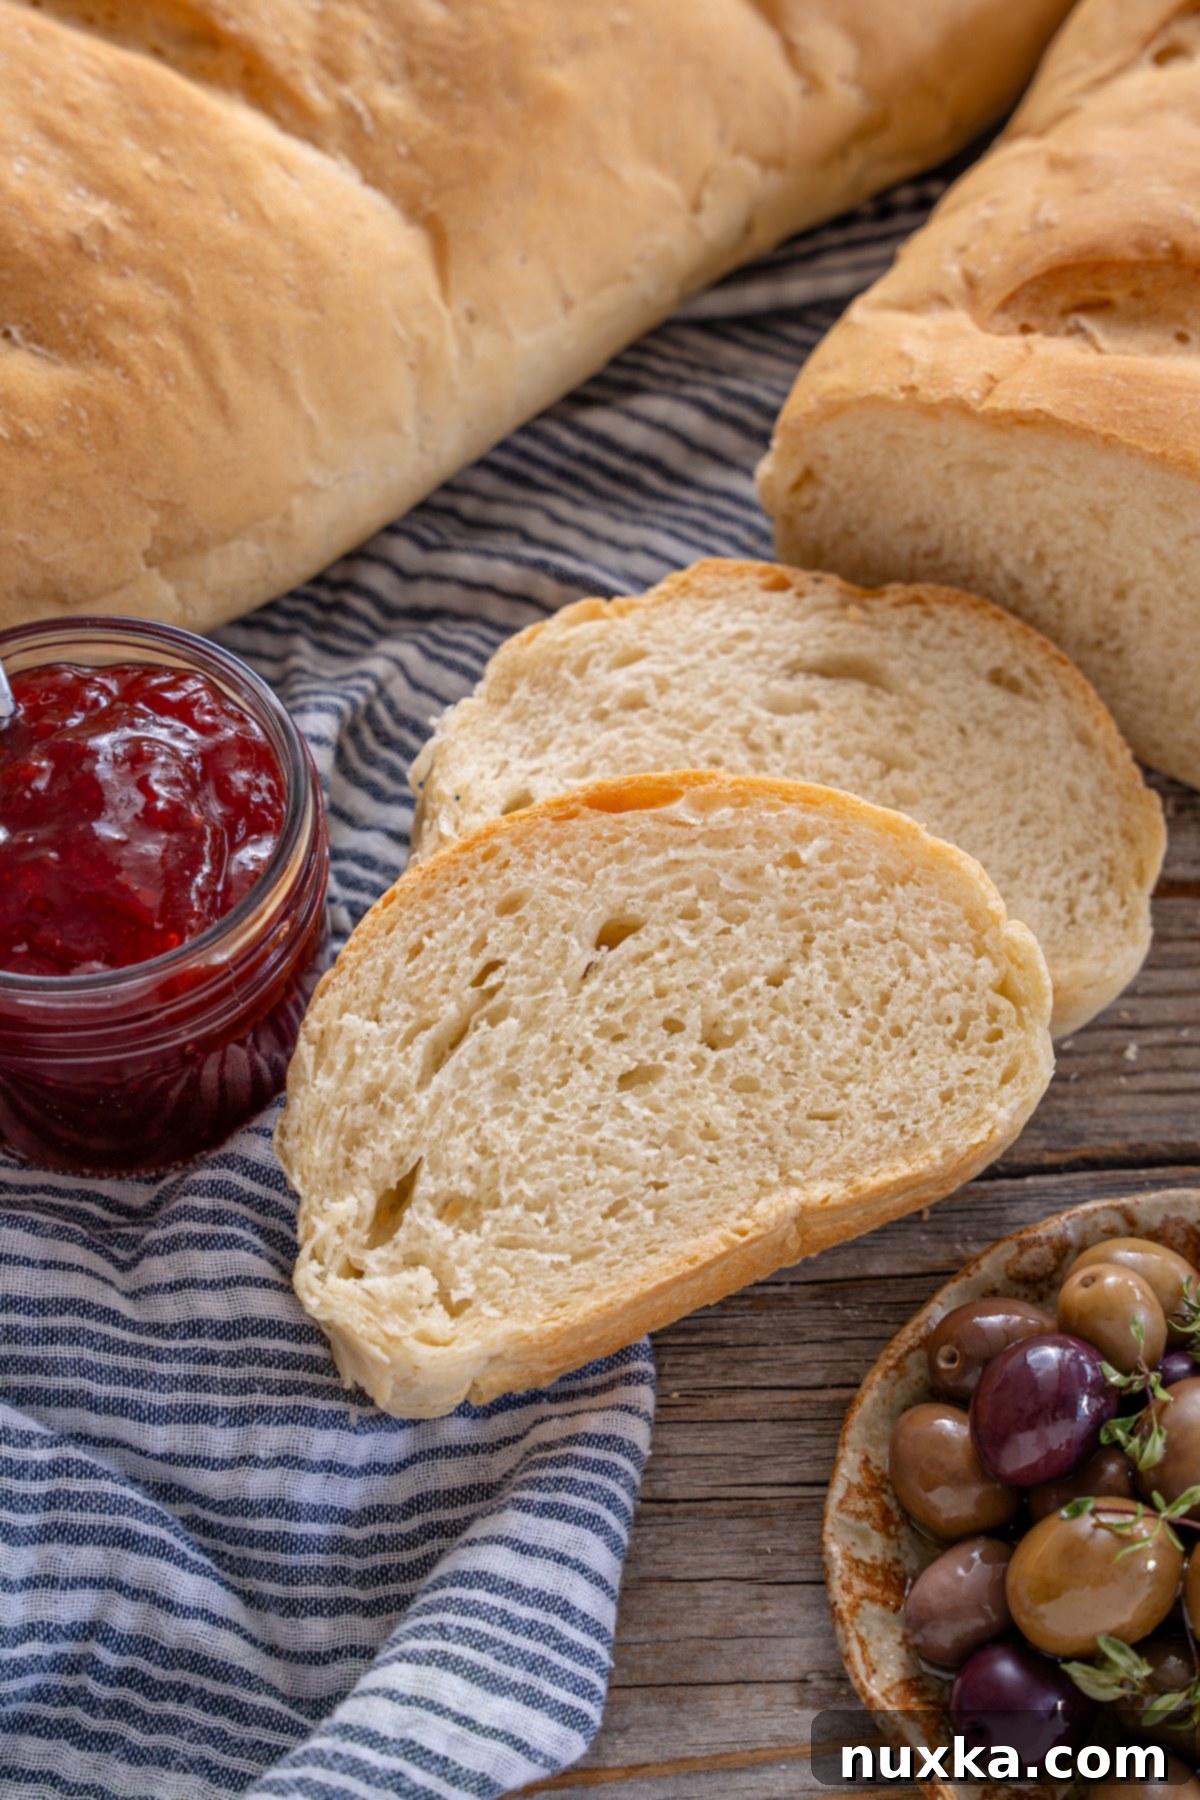
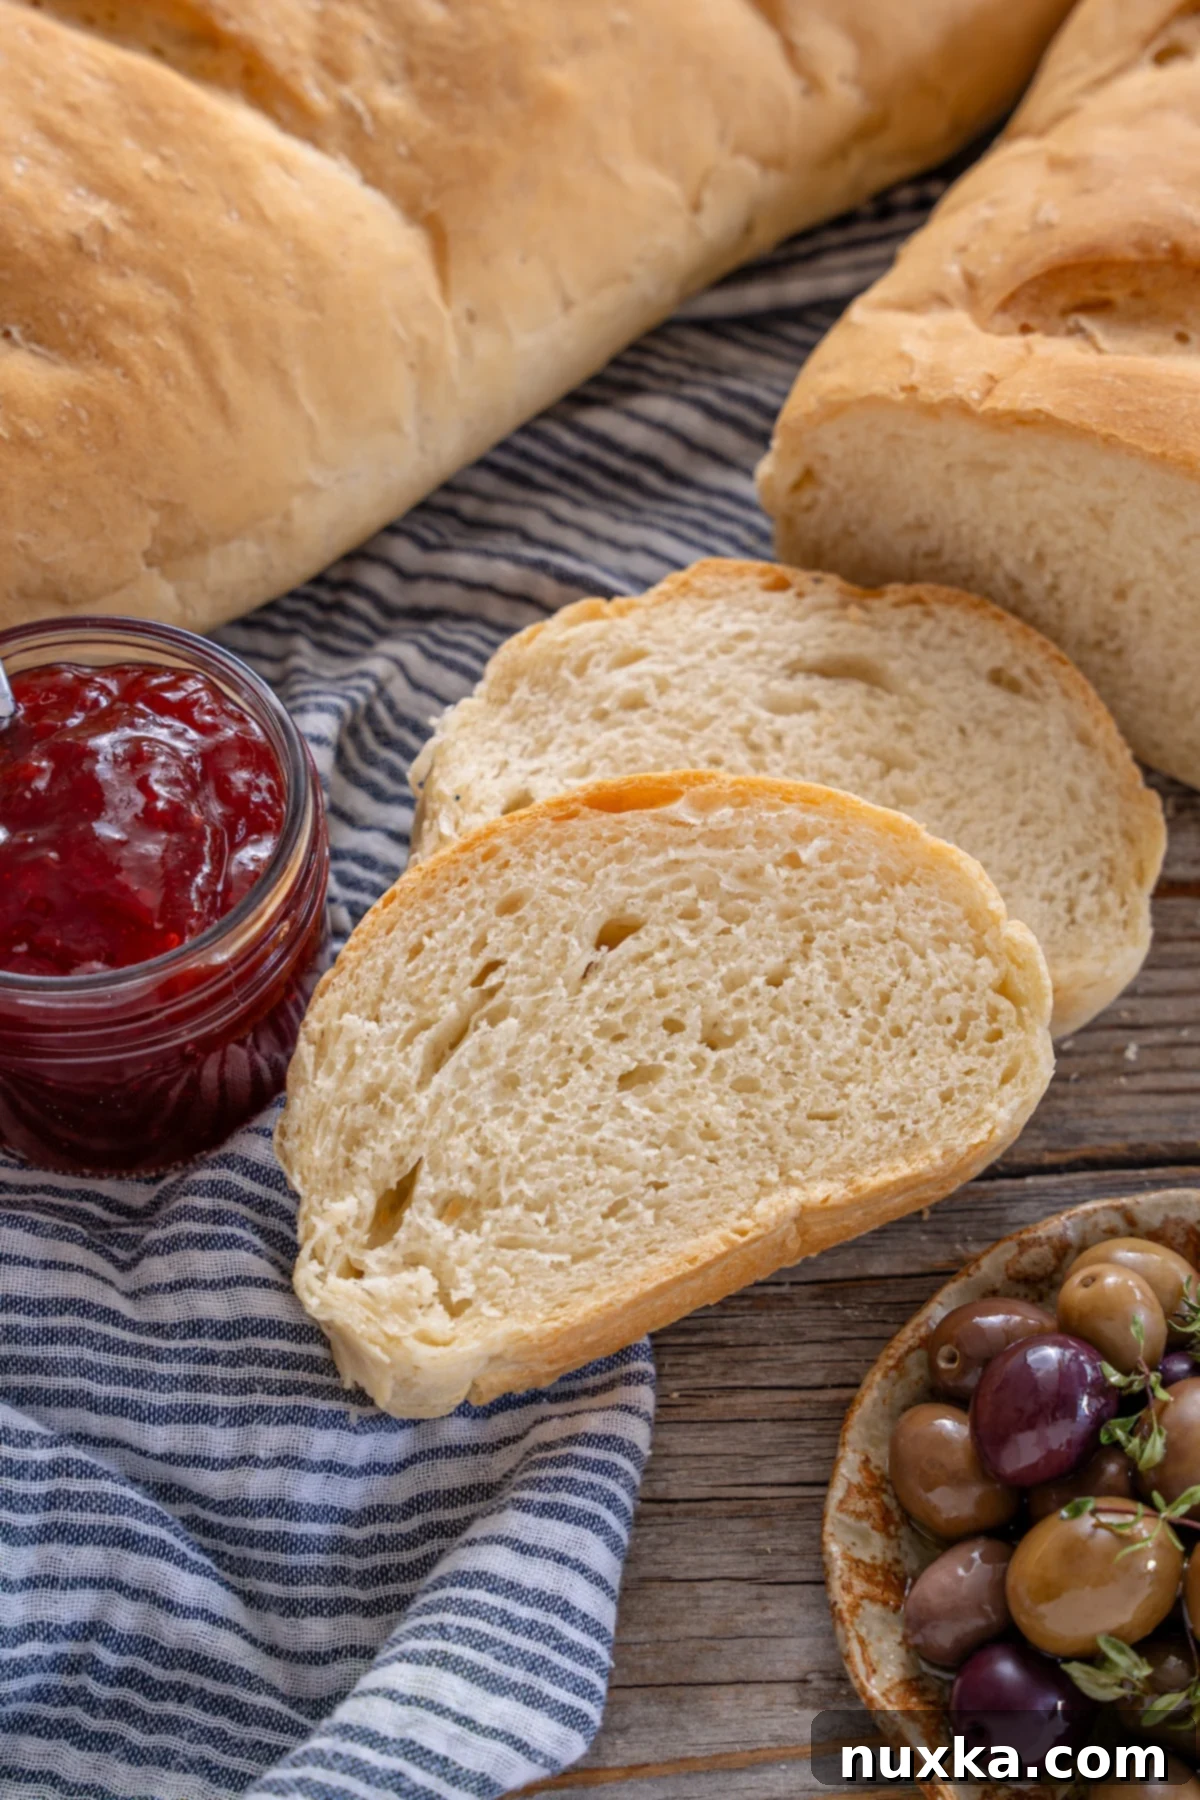
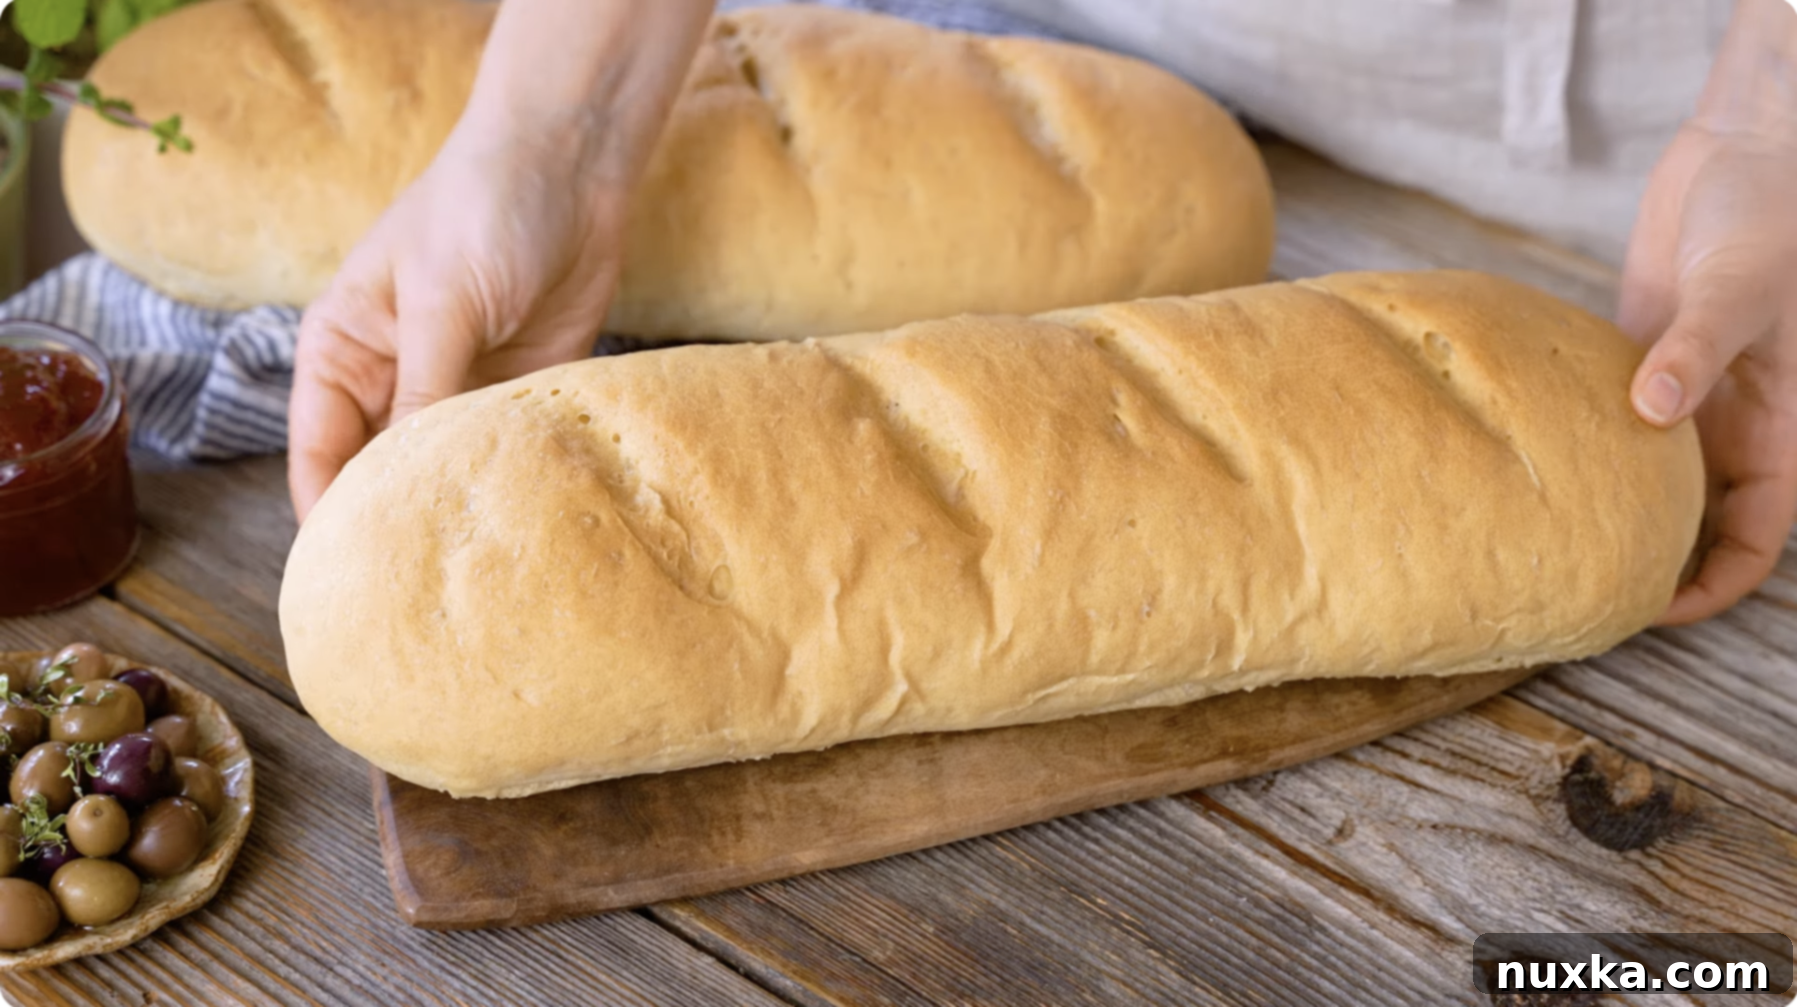
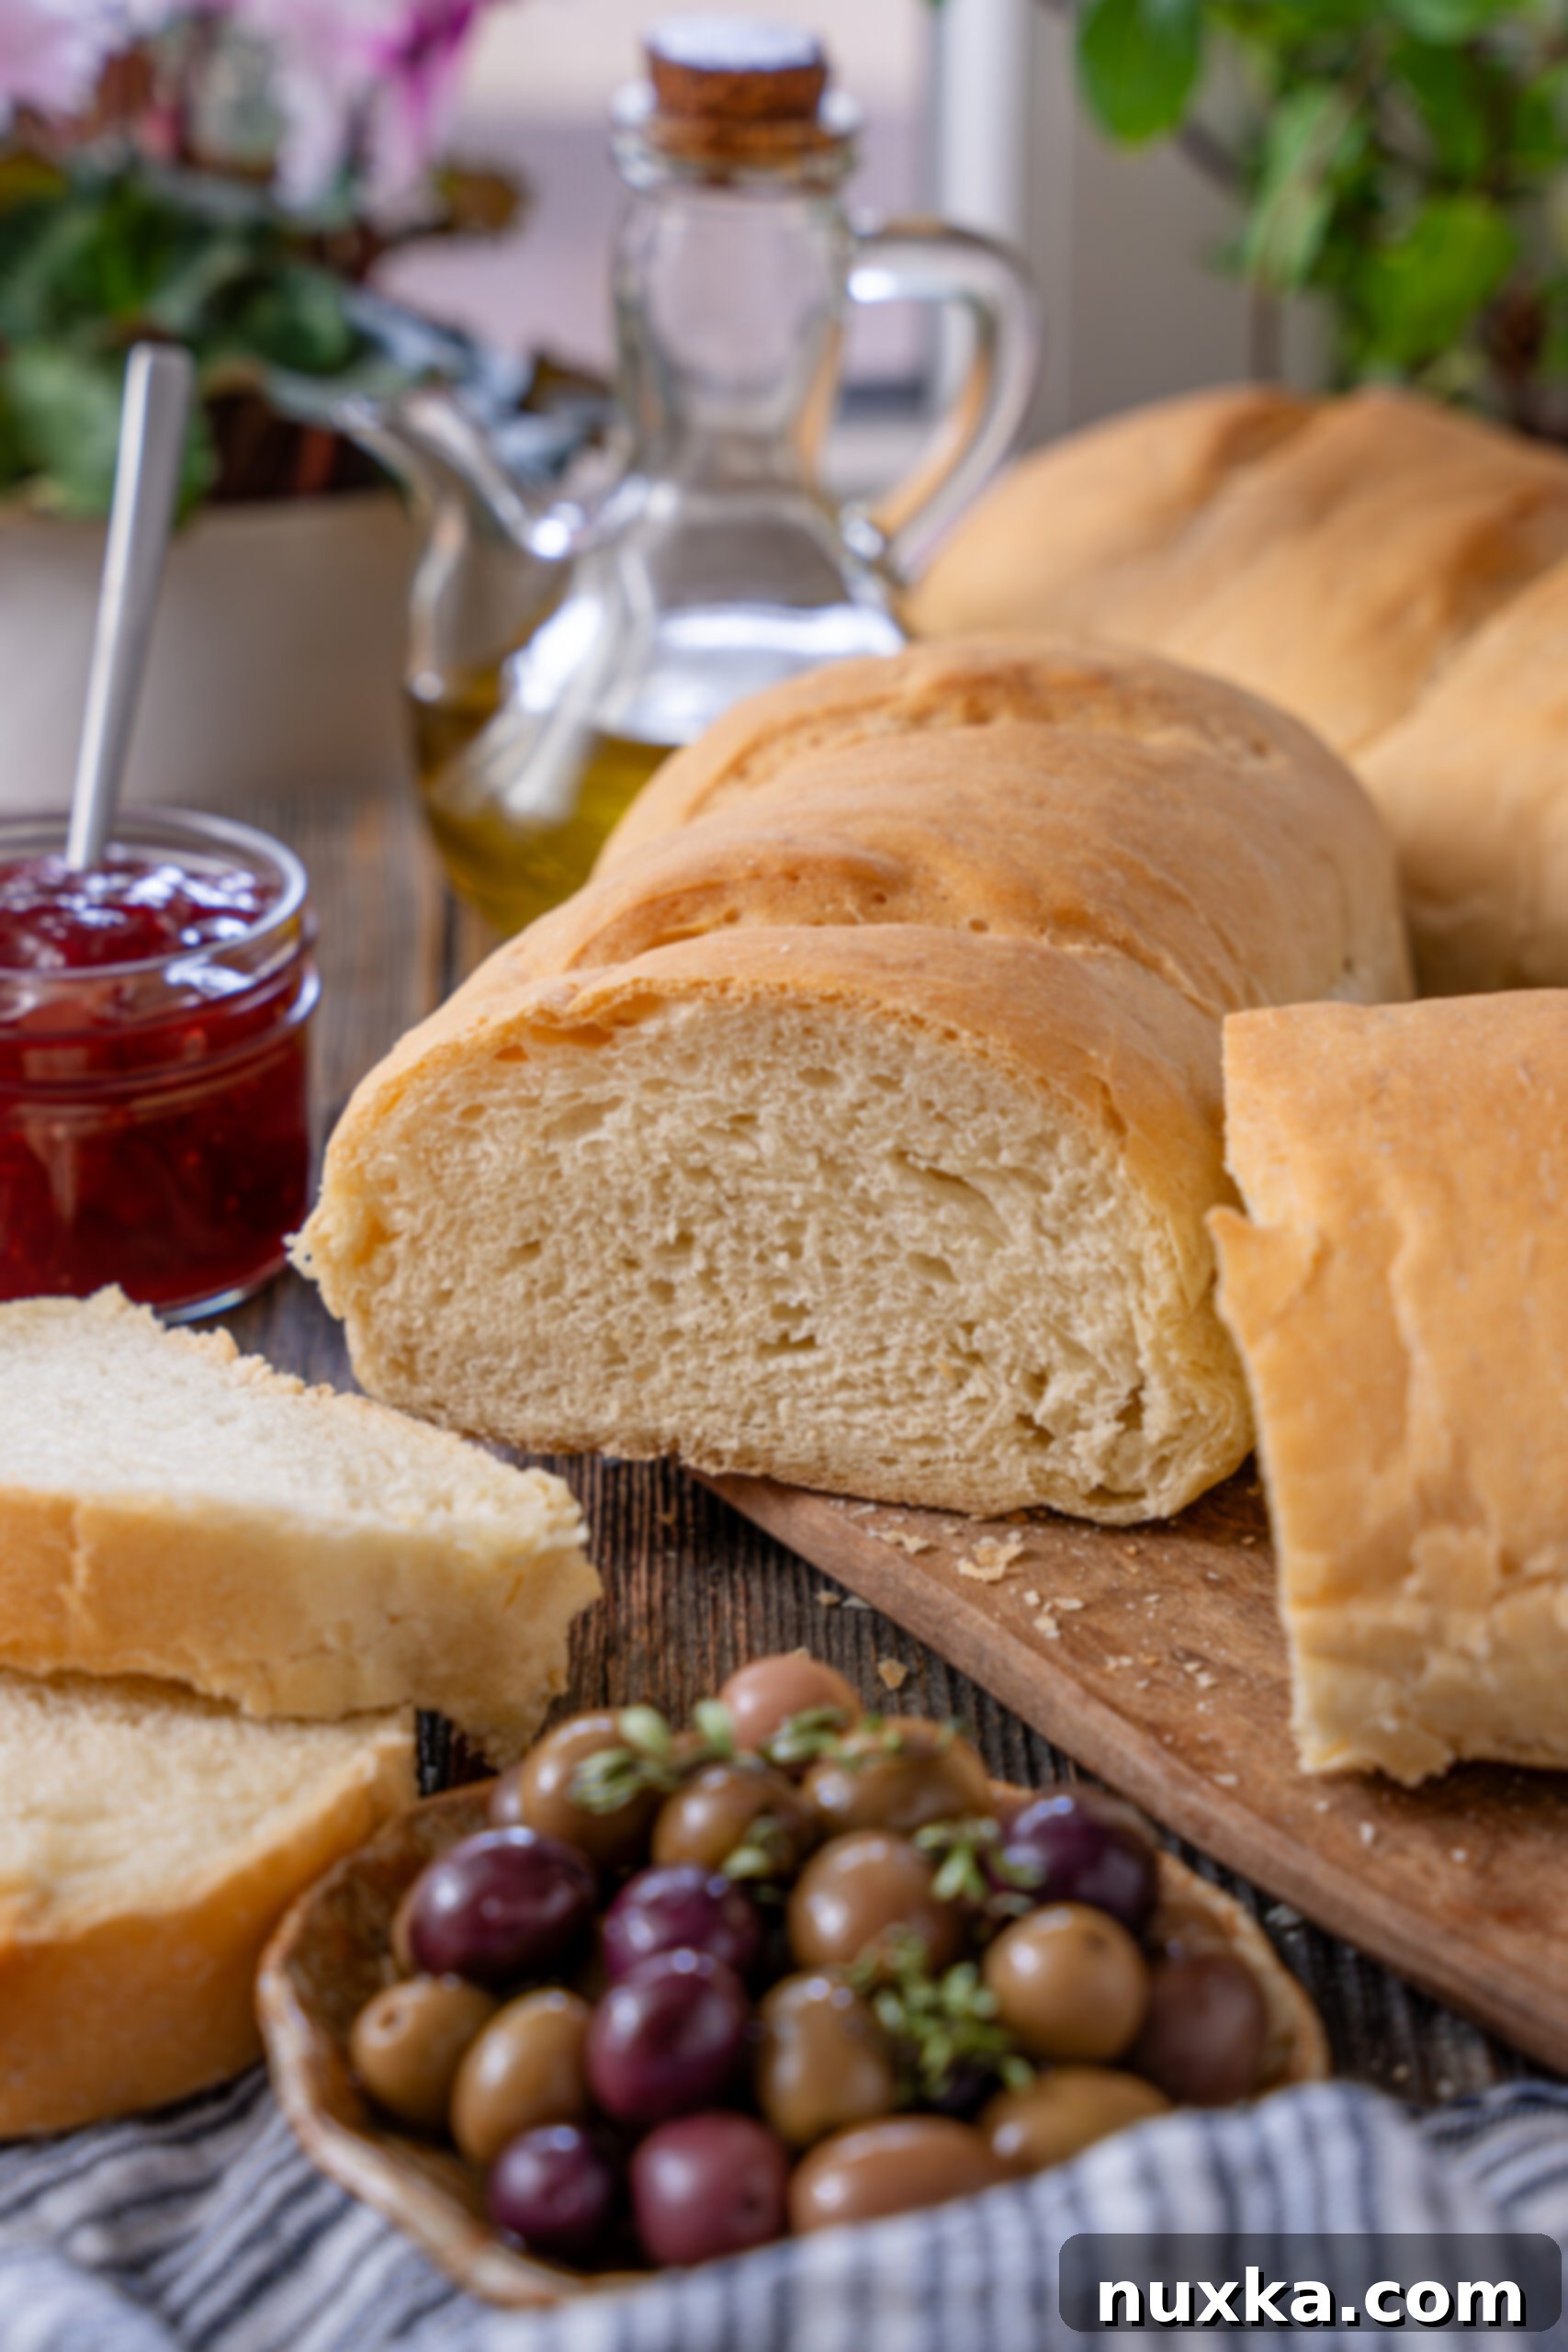
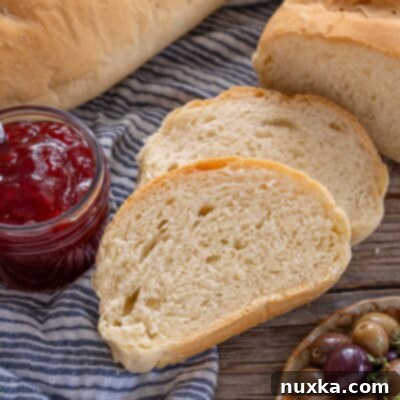
There’s nothing quite like the aroma of freshly baked bread filling your home, and this **easy homemade Italian bread recipe** delivers that pure delight every time. Imagine a basic, oval loaf with a wonderfully crusty exterior that gives way to a soft, airy crumb and an exceptional flavor. This isn’t just any white bread; it’s Italian bread, made the way it truly should taste! Designed to be simple and accessible for even beginner bakers, this recipe yields two generous loaves perfect for an array of culinary uses.
Whether you’re slicing it for hearty sandwiches, tearing off a piece to dip in olive oil, or planning to transform leftovers into versatile breadcrumbs, this versatile bread is an absolute keeper. While we cherish complex Crusty Artisan Sourdough Bread and the savory notes of Subway Italian Herbs and Cheese Bread, this classic Italian loaf stands out for its simplicity and quick turnaround. Baking fresh Bread Recipes at home is a cherished tradition, and this Italian bread will quickly become a favorite staple in your kitchen.
Why You’ll Love This Homemade Italian Bread
If you’re embarking on your bread baking journey, **Italian bread** is undeniably one of the most forgiving and rewarding recipes to start with. It’s often referred to as “beginner’s bread” because it requires minimal effort for such a remarkably delicious outcome. What sets this recipe apart is its straightforward nature: a simple, free-form “loaf bread” that utilizes active dry yeast for a relatively rapid rise. This means that when the craving for a warm, crusty loaf strikes, you can whip one up in a surprisingly short amount of time!
Unlike sourdough bread, which typically demands hours, or even days, of rising and fermentation, this Italian bread is usually ready to go into the oven within two hours – and even faster on particularly warm days. This makes it an ideal choice for busy schedules or when you simply can’t wait to enjoy that fresh bread flavor.
The difference between homemade and store-bought bread is truly astonishing. Our **homemade Italian bread recipe** guarantees a loaf that is infinitely more flavorful, tender, and satisfying than anything you’ll find on a supermarket shelf. Plus, you have complete control over the ingredients, ensuring a wholesome and delicious product for your family. There’s an undeniable magic in the kitchen when the scent of freshly baked bread wafts through the air. My family consistently devours these two large loaves in a single day, a testament to their irresistible taste and texture! For those who prefer a slightly different shape or want to stretch the servings, shaping the dough into more slender loaves can easily transform them into delicious French Bread.
Mise en Place: Essential Equipment and Ingredients for Italian Bread
Equipment You’ll Need:
Gathering your tools before you start, known as “mise en place,” makes the baking process smooth and enjoyable. For this delightful Italian bread, you will need:
- Large Mixing Bowl: Essential for combining ingredients and allowing the dough ample space to rise during its first proof. A bowl with a capacity of at least 5-6 quarts is ideal.
- 4-Cup Measuring Cup: Perfect for accurately measuring warm water and dissolving the yeast, ensuring it’s properly activated before adding to the dry ingredients.
- 2 Large Baking Sheets: To prevent the loaves from touching and allow them to expand fully during their final rise and baking, two large sheets are crucial. They ensure even baking and a beautiful shape for your generous loaves.
- 2 Sheets of Parchment Paper: Lining your baking sheets with parchment paper prevents sticking, makes cleanup effortless, and helps the loaves maintain their shape as they bake.
- Stand Mixer with Dough Hook (Optional but Recommended): While you can absolutely knead this dough by hand, a stand mixer greatly simplifies the process, providing consistent and efficient kneading.
- Bench Scraper: A helpful tool for easily dividing and transferring the dough, making shaping much cleaner.
- Sharp Knife or Lame: For scoring the tops of the loaves, which helps control how the bread expands in the oven and creates that characteristic rustic look.
Ingredients for Perfect Italian Bread:
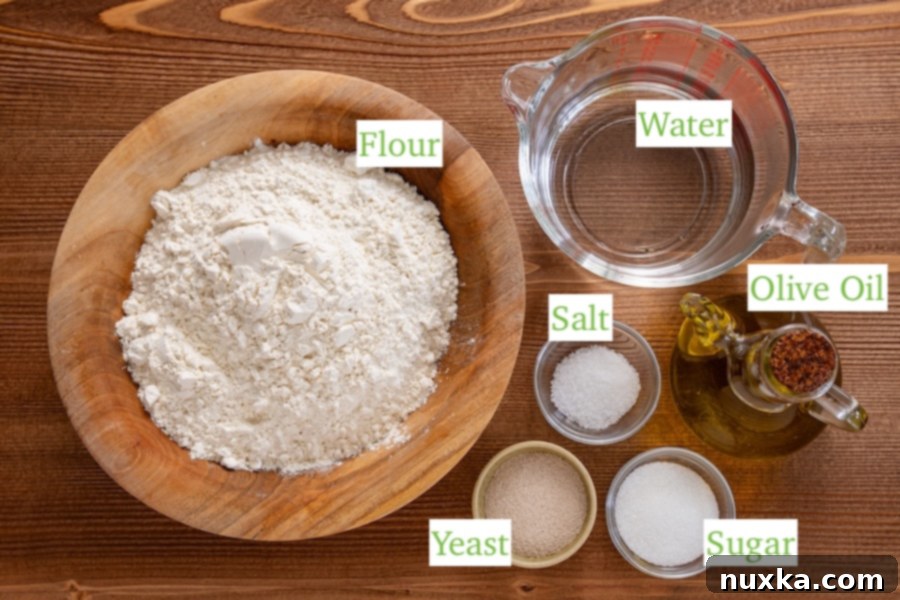
Witnessing basic ingredients transform into an incredible, expanded loaf is one of the most fascinating aspects of bread baking. This recipe uses fundamental pantry staples to create an extraordinary bread. You’ll need:
- Flour: The backbone of our bread. While **bread flour** is recommended for its higher protein content, which contributes to a chewier crumb and higher rise, **white all-purpose flour** will also yield excellent results. If you wish to incorporate whole grains, use a portion of true whole wheat flour (containing the bran and germ) alongside white flour to maintain a fluffy texture. The exact amount may vary slightly depending on humidity and the specific brand of flour, so always add gradually.
- Yeast: The magical leavening agent that makes our dough rise. We use **dry active yeast**, which requires activation in warm liquid before being incorporated into the dough. This ensures the yeast is alive and ready to work. If using rapid or instant yeast, it can typically be added directly to the flour, but always check package instructions. For quicker rising, a slightly increased amount of yeast can be beneficial.
- Liquid (Warm Water): Essential for activating the yeast and hydrating the flour to form the dough. As a general rule, about 2 cups of liquid are used for one standard package of yeast and 6 cups of flour. The water should be warm (around 104°F or 40°C) – hot enough to activate the yeast, but not so hot that it kills it.
- Sweetener (Granulated Sugar): Plays a crucial dual role. Firstly, a small amount of sugar acts as food for the yeast, helping it to become active and produce gas. Secondly, sugar contributes to the beautiful golden-brown color of the crust during baking. However, it’s a delicate balance; too much sugar can actually inhibit yeast activity. This recipe features a perfectly balanced amount for optimal flavor and browning.
- Sea Salt: Primarily used for enhancing the flavor of the bread, bringing out the natural sweetness of the flour and balancing the richness of the olive oil. Salt also plays a role in controlling yeast activity and strengthening the gluten structure, contributing to the bread’s texture.
- Extra Virgin Olive Oil: This ingredient is key to giving Italian bread its distinctive character. It enriches the dough, imparts a wonderful subtle flavor, and contributes significantly to the tenderness of the crumb. It also helps to keep the bread moist and extends its shelf life slightly.
Step-by-Step Guide: How To Make Italian Bread
Baking delicious Italian bread at home is a rewarding experience, and this recipe streamlines the process. While you can certainly mix and knead by hand, using kitchen appliances like a Bread Machine (for the dough cycle only, as this recipe yields two large loaves) or a stand mixer with a dough hook attachment can add significant convenience.
- Activate the Yeast: In your 4-cup measuring cup, pour the specified amount of warm water (around 104°F or 40°C – think bathwater temperature, not scalding hot). Sprinkle the dry active yeast over the water, stir gently, and let it sit for 5-10 minutes. You’ll know the yeast is active and healthy when it becomes foamy or bubbly on the surface. This “proof” is crucial for a good rise.
- Combine Ingredients: In a large mixing bowl or the bowl of your stand mixer, combine most of the all-purpose flour (reserve about 1 cup for gradual addition), salt, and granulated sugar. Give these dry ingredients a quick whisk to distribute them evenly. Then, pour in the activated yeast mixture and the extra virgin olive oil.
- Mix and Knead the Dough: Begin mixing the ingredients until they come together. If using a stand mixer, attach the dough hook and knead on low speed. If kneading by hand, turn the dough out onto a clean, lightly floured surface. Gradually add the reserved cup of flour, a little at a time, until the dough forms a cohesive ball that pulls away cleanly from the sides of the bowl (or your hands). The dough should be tacky to the touch, but not overly sticky or wet. Knead for about 7-10 minutes until it feels smooth, elastic, and passes the “windowpane test” (you can stretch a small piece thinly enough to see light through it without tearing). This develops the gluten, which gives bread its structure.
- First Rise (Bulk Fermentation): Lightly grease your mixing bowl with a little olive oil, place the kneaded dough in it, and turn it once to coat. Cover the bowl loosely with plastic wrap or a clean kitchen towel. Allow the dough to rise in a warm, draft-free spot (ideally above 70°F or 21°C) for approximately 1 to 1.5 hours, or until it has doubled in size and reaches the rim of the bowl. If your kitchen is cooler, this process may take longer. Be careful not to over-proof during this stage, as excessively “yeasty” flavors can develop. If you need to pause, you can “punch down” the dough gently and let it rise a second time, though one good rise is usually sufficient for Italian bread.
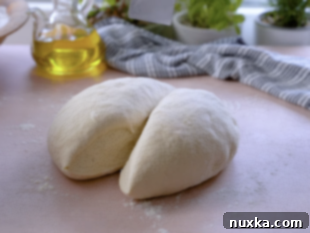
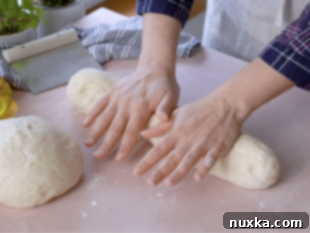
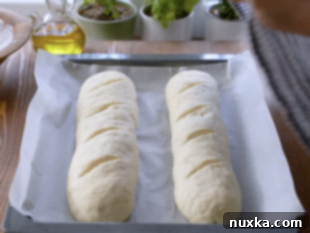
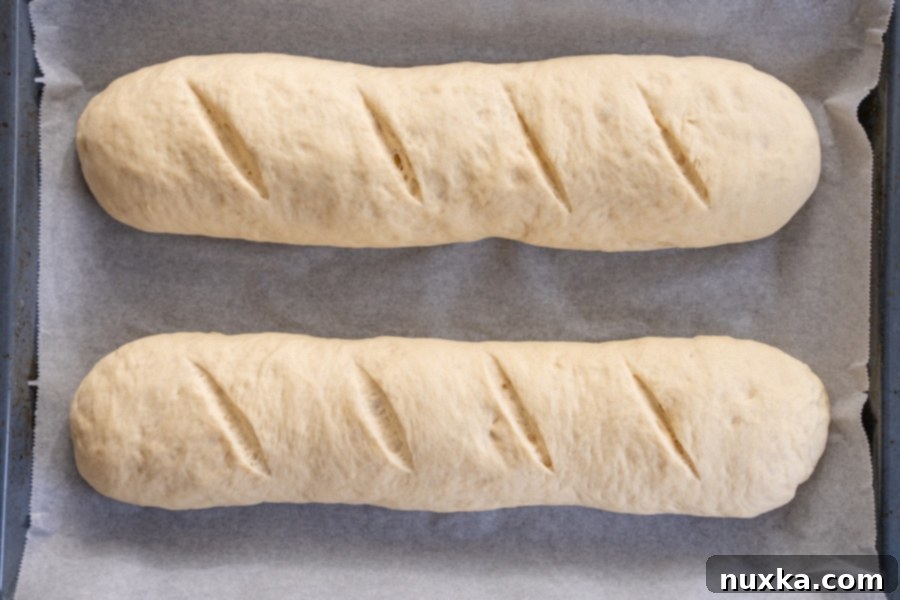
- Shape the Loaves: Once the dough has completed its first rise, gently turn it out onto a lightly floured work surface. Using a bench scraper or a sharp knife, divide the dough in half. Take one half and gently pat it into a rough rectangle. Starting from one of the widest ends, roll the dough up tightly, “jelly-roll” style, pinching the seam closed at the bottom. Gently shape this rolled log into an oval, approximately 14-16 inches long and 3-4 inches wide. Repeat with the second half of the dough. Transfer the shaped loaves, seam-side down, onto two separate parchment-lined baking sheets, ensuring they have plenty of space to expand without touching.
- Second Rise (Proofing): Cover the shaped loaves loosely with plastic wrap or a kitchen towel and let them rise again on the baking sheets for about 45-60 minutes. During this time, the loaves should noticeably puff up. Towards the end of this proofing period, preheat your oven to 410°F (210°C).
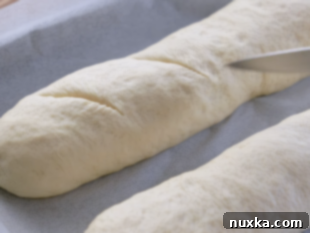
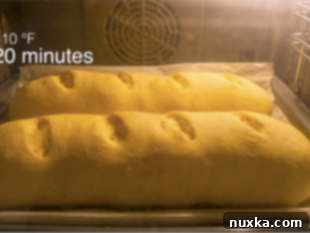
- Score and Bake the Bread: Just before baking, use a very sharp knife or a bread lame to make a few diagonal slashes (about 1/4 to 1/2 inch deep) across the top of each loaf. This scoring helps guide the bread’s expansion in the oven and creates a beautiful rustic appearance. Place the baking sheets into the preheated 410°F oven. Bake for 20-25 minutes, or until the loaves are deeply golden brown and sound hollow when tapped on the bottom.
- Cool on a Rack: Once baked, carefully remove the loaves from the oven. Allow them to rest on the baking sheets for about 10 minutes before transferring them to a wire cooling rack to cool completely. Cooling on a rack prevents the bottom crust from becoming soggy and allows steam to escape, ensuring a perfectly textured crumb. Resist the urge to slice into the bread too soon, as it continues to set and develop flavor as it cools.
Pro Chef Tip: Mastering the Crust

Achieving your desired crust texture is easier than you think. For a classic **hard, crisp crust**, spray the bread generously with cold water several times during the first 10-15 minutes of baking. This creates steam in the oven, which is key to a beautiful crackly exterior. If you prefer a **soft crust**, brush the dough with milk or melted butter just before baking. For a **golden and shiny crust**, mix an egg yolk with a tablespoon of milk and brush this egg wash over the loaves prior to baking. Alternatively, for a natural soft crust, simply cover the warm loaves with a clean dishtowel immediately after removing them from the oven and as they cool on the rack.
Storing and Reviving Your Italian Bread: Keeping It Fresh
To enjoy your **homemade Italian bread** at its best, proper storage is key. First, ensure the bread is completely cooled on a wire rack before storing. Placing warm bread in an airtight container will trap moisture and make the crust soggy. Once cool, place the entire loaf into plastic bread bags, expelling as much air as possible before tying it securely. For optimal flavor and texture, Italian bread is best enjoyed within the first one to two days after baking. The crust is crispest and the crumb softest during this period.
If you anticipate not finishing both loaves within this timeframe, freezing is an excellent option to preserve its freshness. To freeze, wrap the completely cooled loaf tightly in plastic wrap, then an additional layer of aluminum foil, or place it in a freezer-safe bag. It can be stored in the freezer for up to 2-3 months.
To revive frozen bread, remove it from the freezer and let it thaw at room temperature for at least 3-4 hours. For that wonderful, freshly baked crisp crust, place the thawed loaf directly into a preheated 350°F (175°C) oven for about 10-15 minutes, or until it is heated through and the crust is crisp once more. This quick reheat will make it taste almost as good as day one!
Creative Ways To Use Your Italian Bread
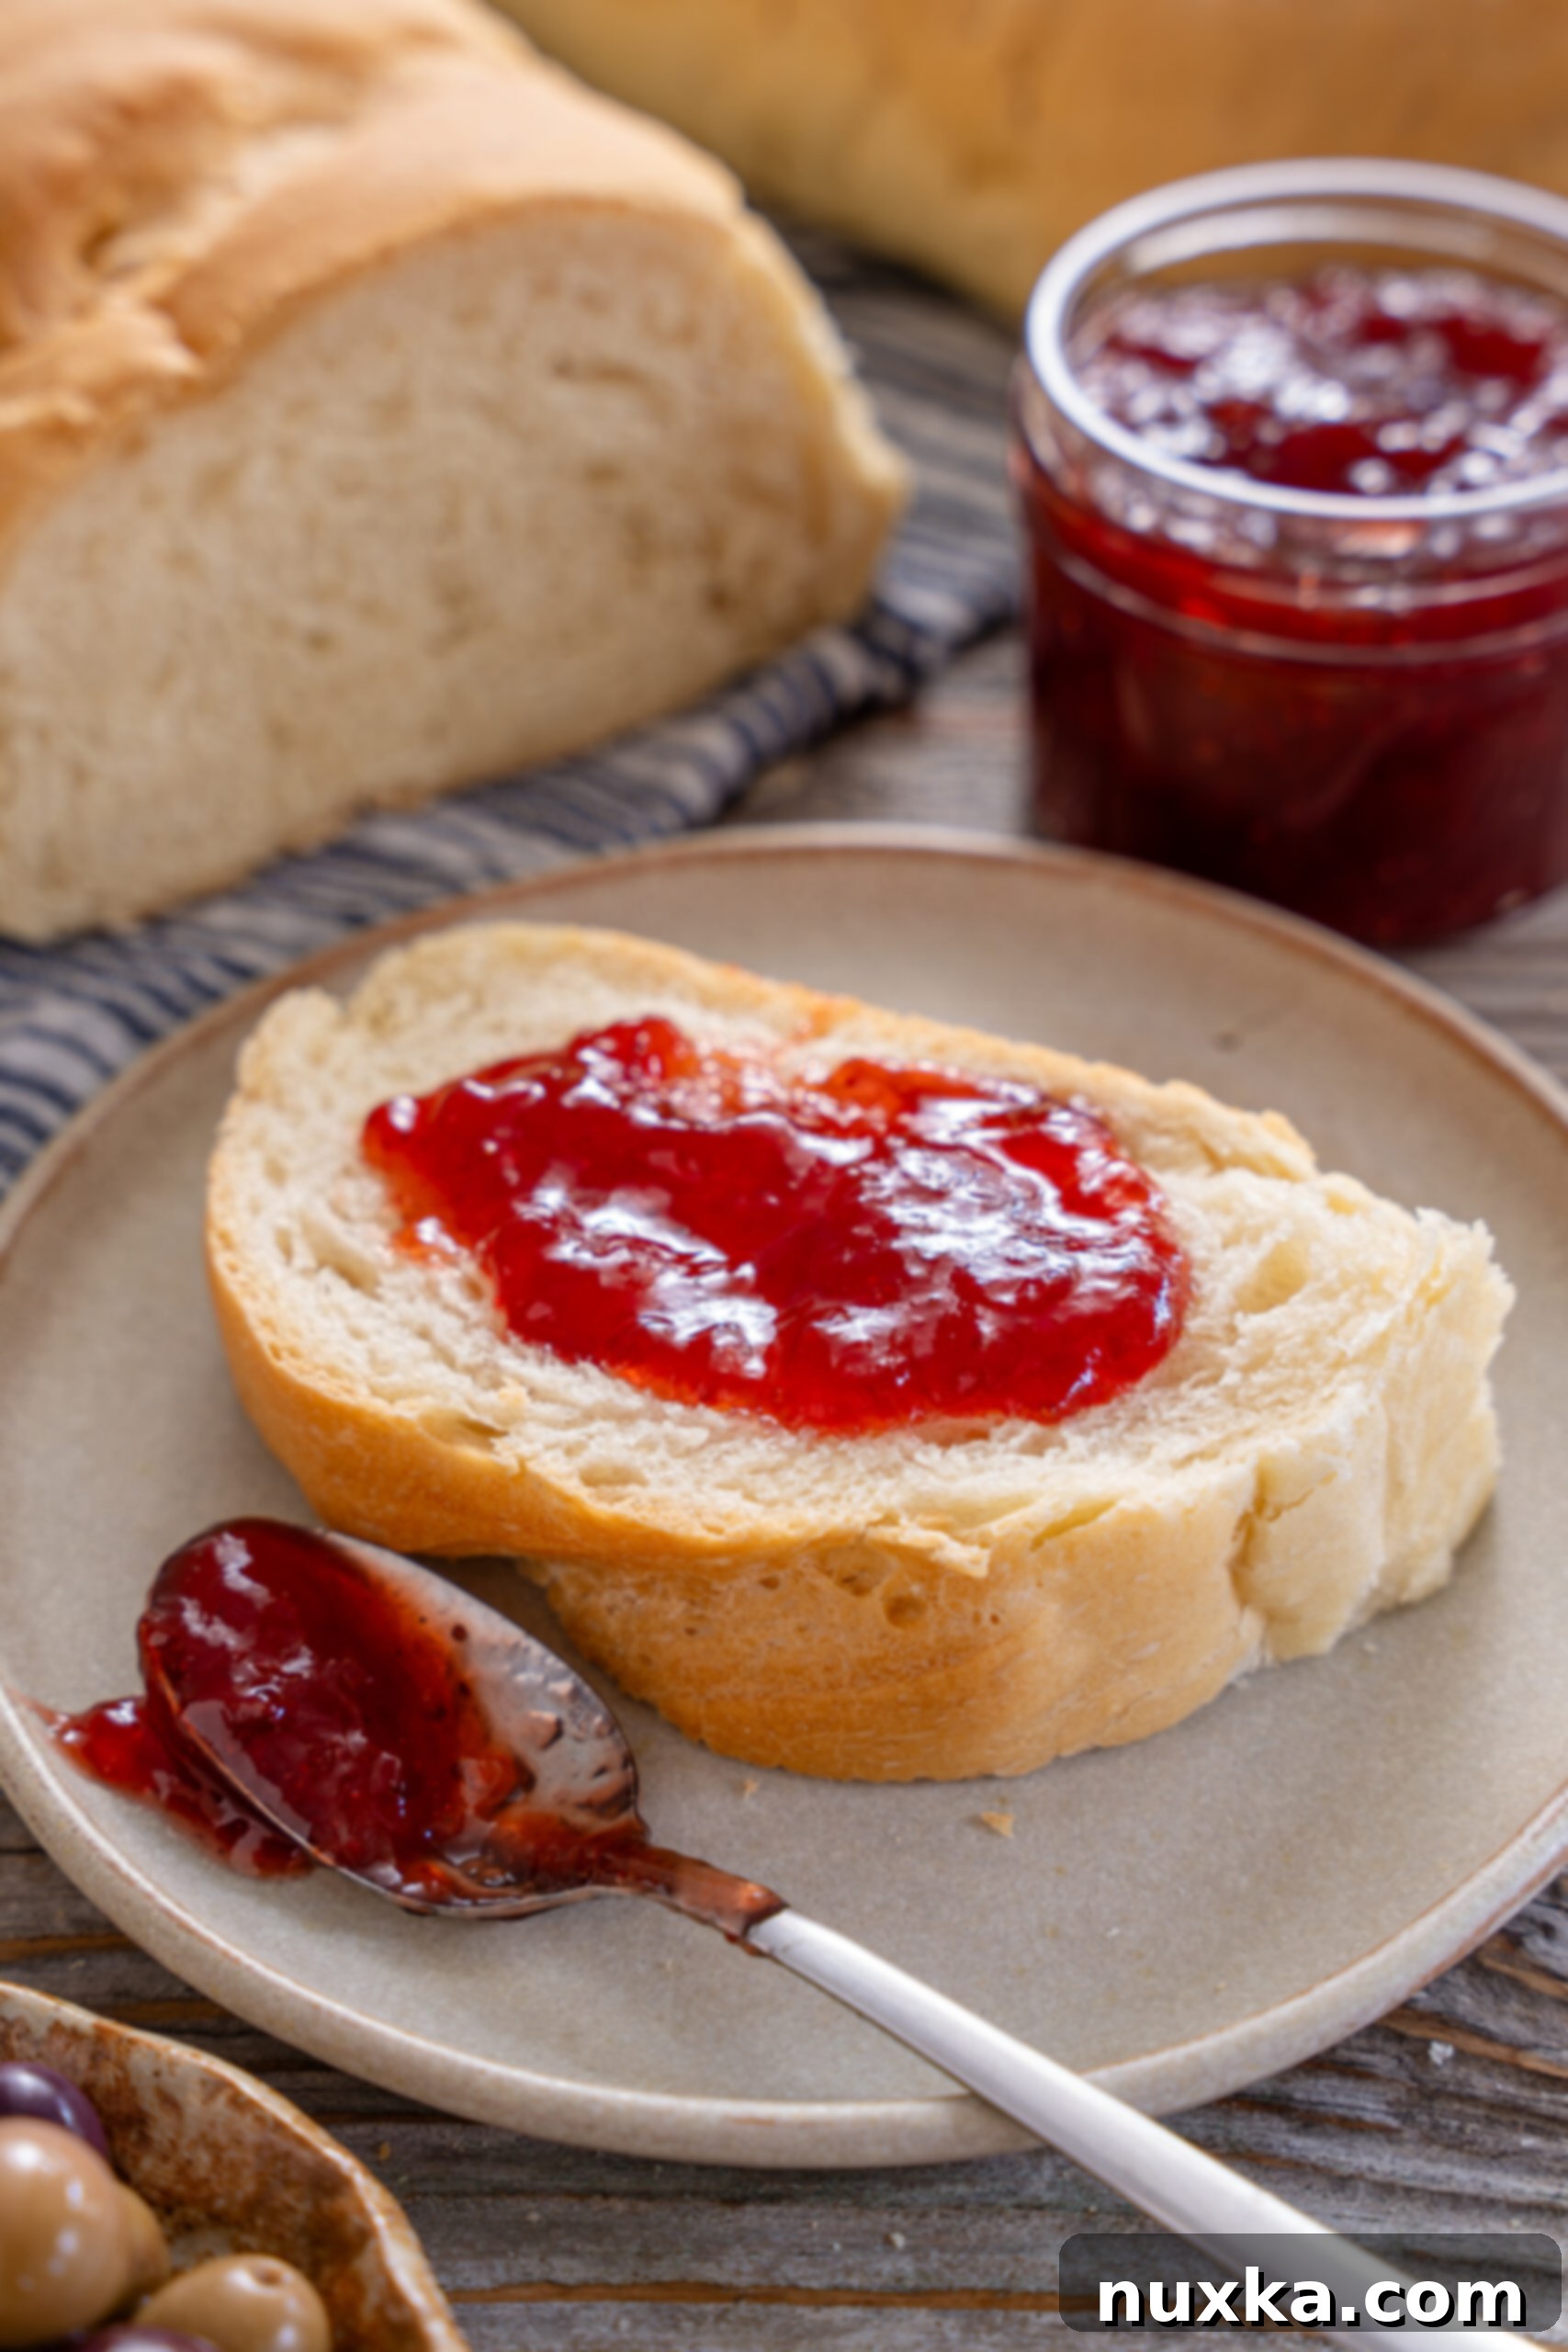
One of the best qualities of this basic white Italian bread is its incredible versatility. Even stale Italian bread can be transformed into a variety of delicious dishes, ensuring no crumb goes to waste. Here are some fantastic ways to enjoy your homemade loaves:
- Classic Garlic Bread: A timeless favorite! Take one stick of softened butter and generously season it with garlic powder, Italian seasoning, and garlic salt. Slice your Italian bread loaves in half lengthwise, spread the seasoned butter evenly, and bake uncovered in a 375°F (190°C) oven for 10-15 minutes, or until golden brown and crisp. For an extra cheesy touch, sprinkle with grated Parmesan before baking.
- Homemade Bread Crumbs: Don’t throw out stale bread! Cut the bread into small pieces and dry them out in a low oven (around 200°F/95°C) until completely crisp and hard. Let them cool, then blend them in a food processor or crush them with a rolling pin to create fine or coarse bread crumbs. These are perfect for breading cutlets, topping casseroles, or making meatballs.
- Delicious Bread Pizza: A quick and easy meal idea! Use an Italian bread loaf as the base for a simple and satisfying Bread Pizza. Simply slice the loaf lengthwise, spread with your favorite pizza sauce, sprinkle with mozzarella cheese and toppings, then bake until bubbly and golden.
- Italian Sourdough Bread (Adaptation): If you love the tang of sourdough, you can easily adapt this recipe. In step 3 (combining ingredients), add 1/2 cup of active sourdough starter to your dough and reduce the initial liquid (warm water) by 1/3 cup to account for the starter’s hydration. This will introduce a wonderful depth of flavor.
- Croutons: Cube stale Italian bread, toss with olive oil, salt, pepper, and herbs, then bake until golden and crunchy. Perfect for salads or soups.
- Bruschetta: Toast slices of Italian bread, rub with garlic, drizzle with olive oil, and top with fresh diced tomatoes, basil, and a balsamic glaze for an appetizer that tastes like Italy.
- Panzanella Salad: A refreshing Italian bread salad. Combine chunks of stale bread with ripe tomatoes, cucumbers, red onion, basil, and a zesty vinaigrette. The bread soaks up all the delicious juices.
- Bread Pudding: A comforting dessert! Use cubes of stale Italian bread soaked in a sweet custard mixture, baked until golden, and served with a warm sauce.
Frequently Asked Questions About Italian Bread (Q&A)
What’s the Difference Between French Bread and Italian Bread?
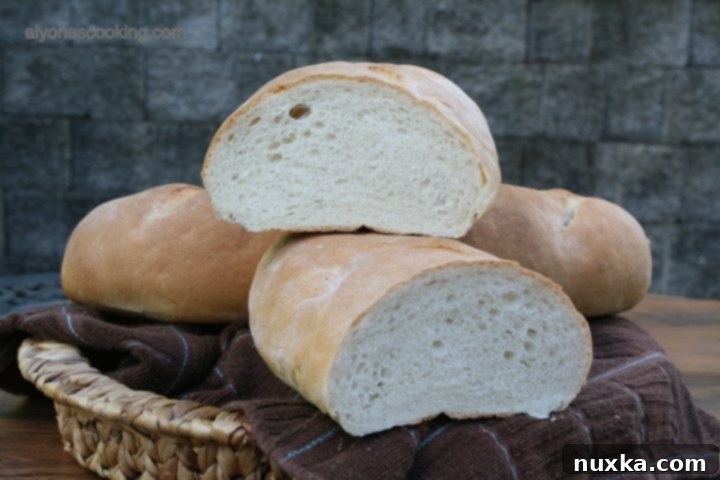
While both are iconic European breads, French and Italian loaves have distinct characteristics. An authentic **French baguette** is typically more slender, longer, and made with a very simple ingredient list: flour, water, yeast, and salt. It’s known for its incredibly crisp crust and airy, open crumb. An American-style **Italian loaf**, like the one in this recipe, is generally wider and shorter, often with a slightly softer (though still crusty) exterior and a denser, more consistent crumb. Crucially, Italian bread recipes commonly include enrichments like olive oil and sometimes a touch of sugar, which contribute to its distinctive flavor, tenderness, and slightly richer texture compared to its French counterpart.
Can You Freeze Italian Bread Dough and Bake Later?
Absolutely! Yeast breads, including this Italian bread, freeze remarkably well unbaked, making meal prep a breeze. It is generally recommended to freeze dough for no longer than 3 months, as the yeast gradually loses its activity over longer periods, potentially leading to a less vigorous rise.
The best method for freezing is to shape your loaves and score them as directed in the recipe, then immediately place them onto a parchment-lined baking sheet. Freeze them uncovered until solid. Once frozen, you can transfer the solid dough to a freezer-safe bag or wrap it tightly in plastic wrap and aluminum foil to prevent freezer burn. When you’re ready to bake, remove the frozen loaves from the freezer and place them back on a parchment-lined baking sheet. Let them thaw and proof at room temperature for 3-5 hours (or longer in a cool environment), or until they have doubled in size. Once fully proofed, bake as instructed in the recipe.
If you don’t have enough freezer space for large loaves, consider shaping the dough into multiple smaller rolls or individual portions before freezing. This also allows for more flexible baking quantities later on.
How Do I Know When My Italian Bread is Fully Baked?
Several indicators tell you your Italian bread is perfectly baked. First, look for a deep golden-brown crust all over. The color should be rich and even. Second, gently tap the bottom of the loaf; a properly baked loaf will sound hollow. You can also use an instant-read thermometer to check the internal temperature, which should register between 200°F and 210°F (93°C-99°C). If the bread is not yet browned enough or doesn’t sound hollow, return it to the oven for a few more minutes.
What Type of Flour is Best for Italian Bread?
For the best texture and rise in Italian bread, **bread flour** is often preferred. Its higher protein content (typically 12-14%) leads to stronger gluten development, resulting in a chewier crumb and a more open structure. However, **all-purpose flour** (around 10-12% protein) works very well too, yielding a slightly softer crumb but still a delicious loaf. If using all-purpose, you might need slightly less water or a bit more kneading to achieve the desired elasticity. Avoid using cake or pastry flour, which have very low protein and won’t develop enough gluten for a good bread structure.
Watch How to Make Perfect Italian Bread!
We hope this comprehensive guide inspires you to bake your own batch of this wonderfully **easy and fluffy Italian bread**! There’s an unparalleled satisfaction in creating something so delicious from scratch. Have you tried this simple Italian bread recipe or have your own tips for achieving the perfect loaf? We’d love to hear your feedback and experiences down below in the comments!
Rate
Pin
Easy Homemade Italian Bread Recipe
Equipment
-
1 electric stand mixer (optional, or large mixing bowl for hand kneading)
-
2 large baking sheets (lined with parchment paper)
-
4-cup measuring cup
-
Bench Scraper (optional)
-
Sharp Knife or Lame
Ingredients
For Two Large Loaves:
-
2 cups warm water (104°F / 40°C)
-
2 tbsp dry active yeast
-
1 tbsp sea salt
-
2 tbsp granulated sugar
-
5-6 cups all-purpose flour (or bread flour, adjust as needed until dough is tacky but not overly sticky)
-
6 tbsp extra virgin olive oil
Instructions
-
 In a 4-cup measuring cup, dissolve yeast in warm water (104°F / 40°C) and let it sit for 5-10 minutes until foamy.
 -
 In a large bowl or stand mixer, combine 5 cups of flour, salt, and sugar. Add the yeast mixture and olive oil.
 -
 Knead the dough for 7-10 minutes (by hand or with a dough hook) until smooth and elastic. Gradually add more flour, up to 6 cups total, until the dough is tacky but no longer sticky and pulls away from the bowl.
 -
 Lightly grease the bowl, place the dough inside, turn to coat, cover, and let it rise in a warm place for 1 to 1.5 hours, or until doubled in size.
 -
 Transfer dough to a lightly floured surface. Divide in half and pat each piece into a rectangle.
 -
 Roll each rectangle into a “jelly-roll” style log from the widest end, pinching seams to seal. Gently stretch and form into oval loaves, approximately 14.5″ long by 3″-4″ wide. Place seam-down on parchment-lined baking sheets.
 -
 Cover loaves and let them rise on the baking sheets for about 45 minutes until puffy. Preheat oven to 410°F (210°C).
 -
 Using a sharp knife, make a few diagonal slashes (about 1/4 inch deep) across the top of each bread loaf.
 -
 Bake in the preheated 410°F (210°C) oven for 20-25 minutes, or until nicely browned and hollow-sounding when tapped. Remove to a cooling rack and cool completely before slicing.
Notes
- Italian Herb Bread: To add an aromatic twist, incorporate two teaspoons of Italian seasoning and one teaspoon of garlic powder into the dough when you combine the dry ingredients in step 2.
- Cinnamon Swirl Bread: For a delightful sweet treat, after patting the dough into a rectangle in step 5, generously sprinkle a mixture of granulated sugar and ground cinnamon over the surface before rolling it up “jelly-roll” style. Proceed with the rest of the recipe as instructed.
- Italian Cheese Bread: To make a cheesy version, mix in 1 1/2 cups of grated sharp cheddar cheese (or a blend of Italian cheeses like provolone and Parmesan) when you add the flour in step 2. The cheese will melt into the crumb, creating a savory, flavorful loaf.
- Crispy Crust Variation: For an extra crispy crust, spray the loaves with cold water 2-3 times during the first 10 minutes of baking.
Nutrition per serving
