Mastering 100% Whole Wheat Sourdough Baguettes: Your Guide to a Perfect Crust and Chewy Crumb
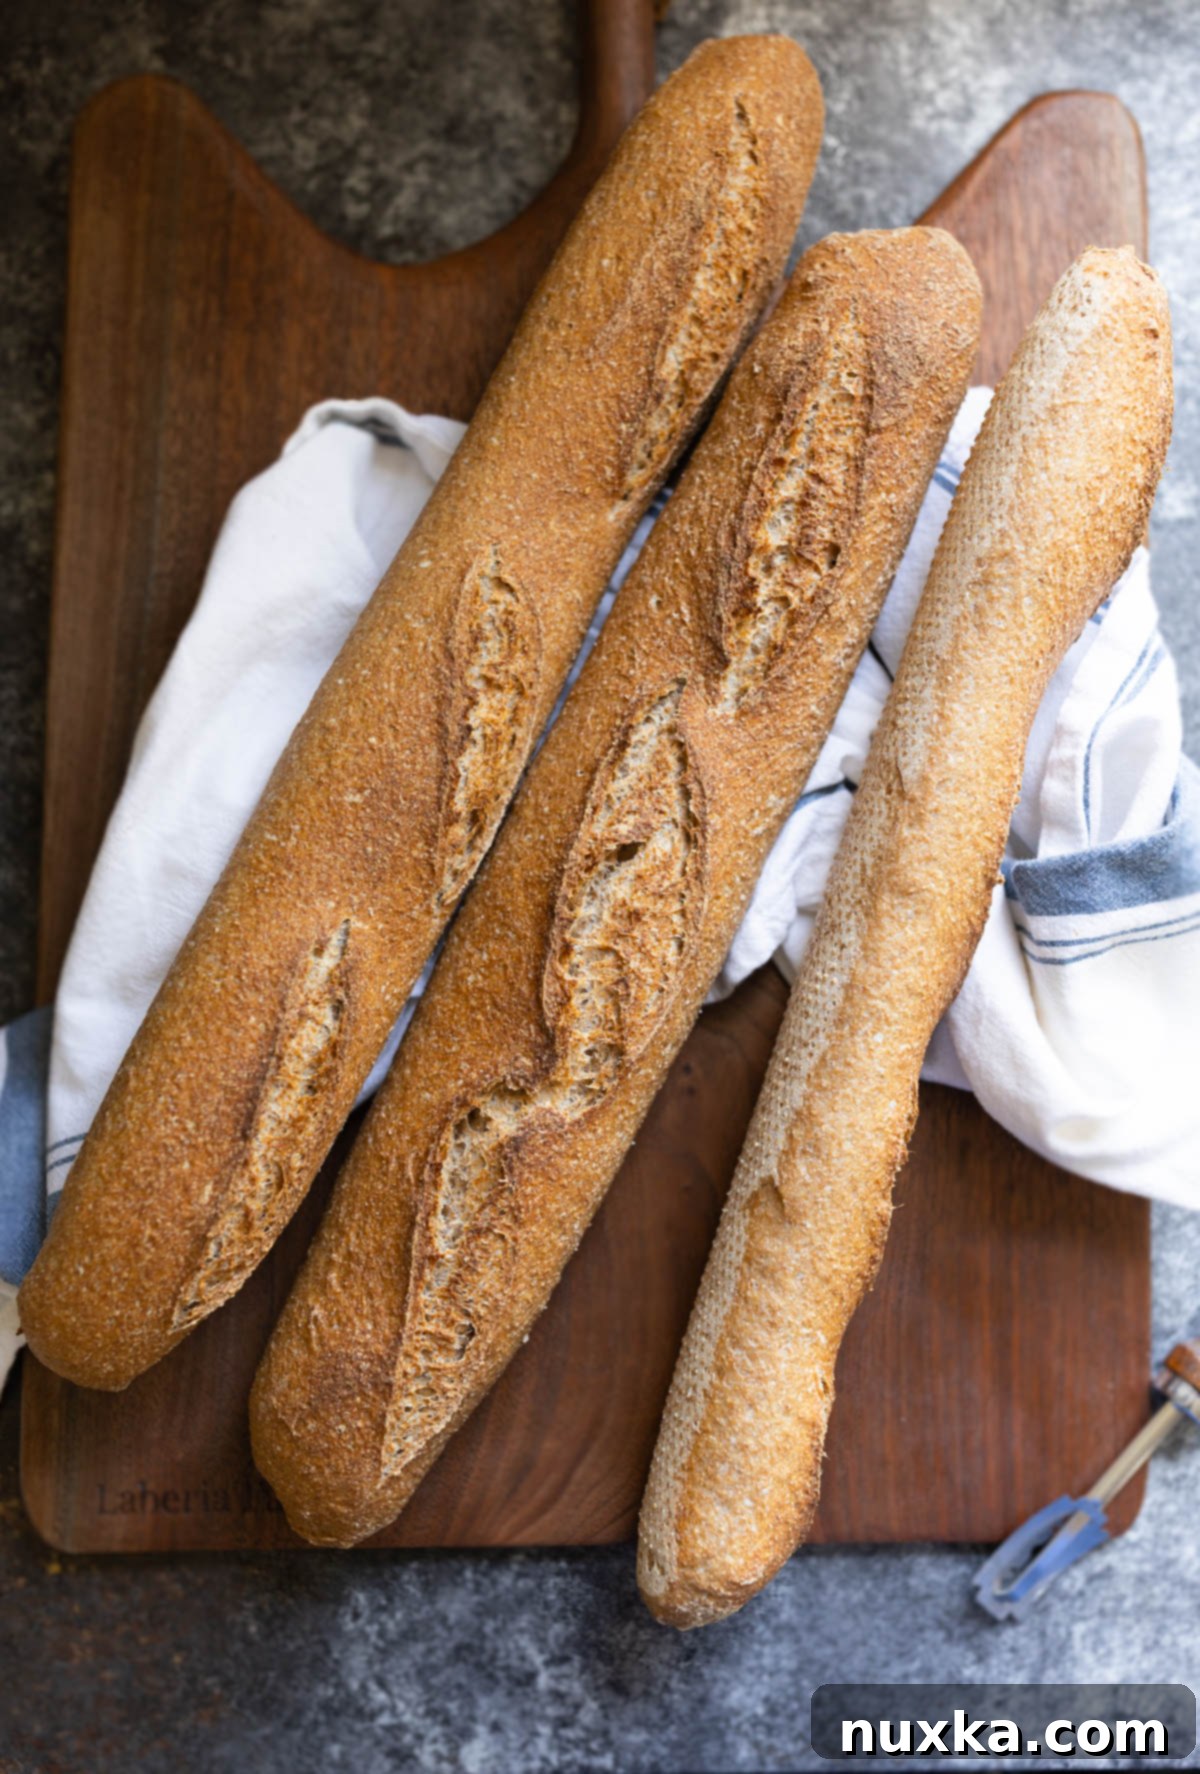
Imagine biting into a warm, freshly baked baguette, its crust crackling delightfully, giving way to a soft, chewy interior. Now, imagine that same exquisite experience, but healthier, made with 100% whole grains and the rich, complex flavor of sourdough. This comprehensive guide and recipe will empower you to create these extraordinary Whole Wheat Sourdough Baguettes right in your own kitchen. Forget store-bought imitations; our recipe yields three thin, irresistibly crusty loaves that are perfect for any meal, from a simple breakfast to an elaborate dinner party.
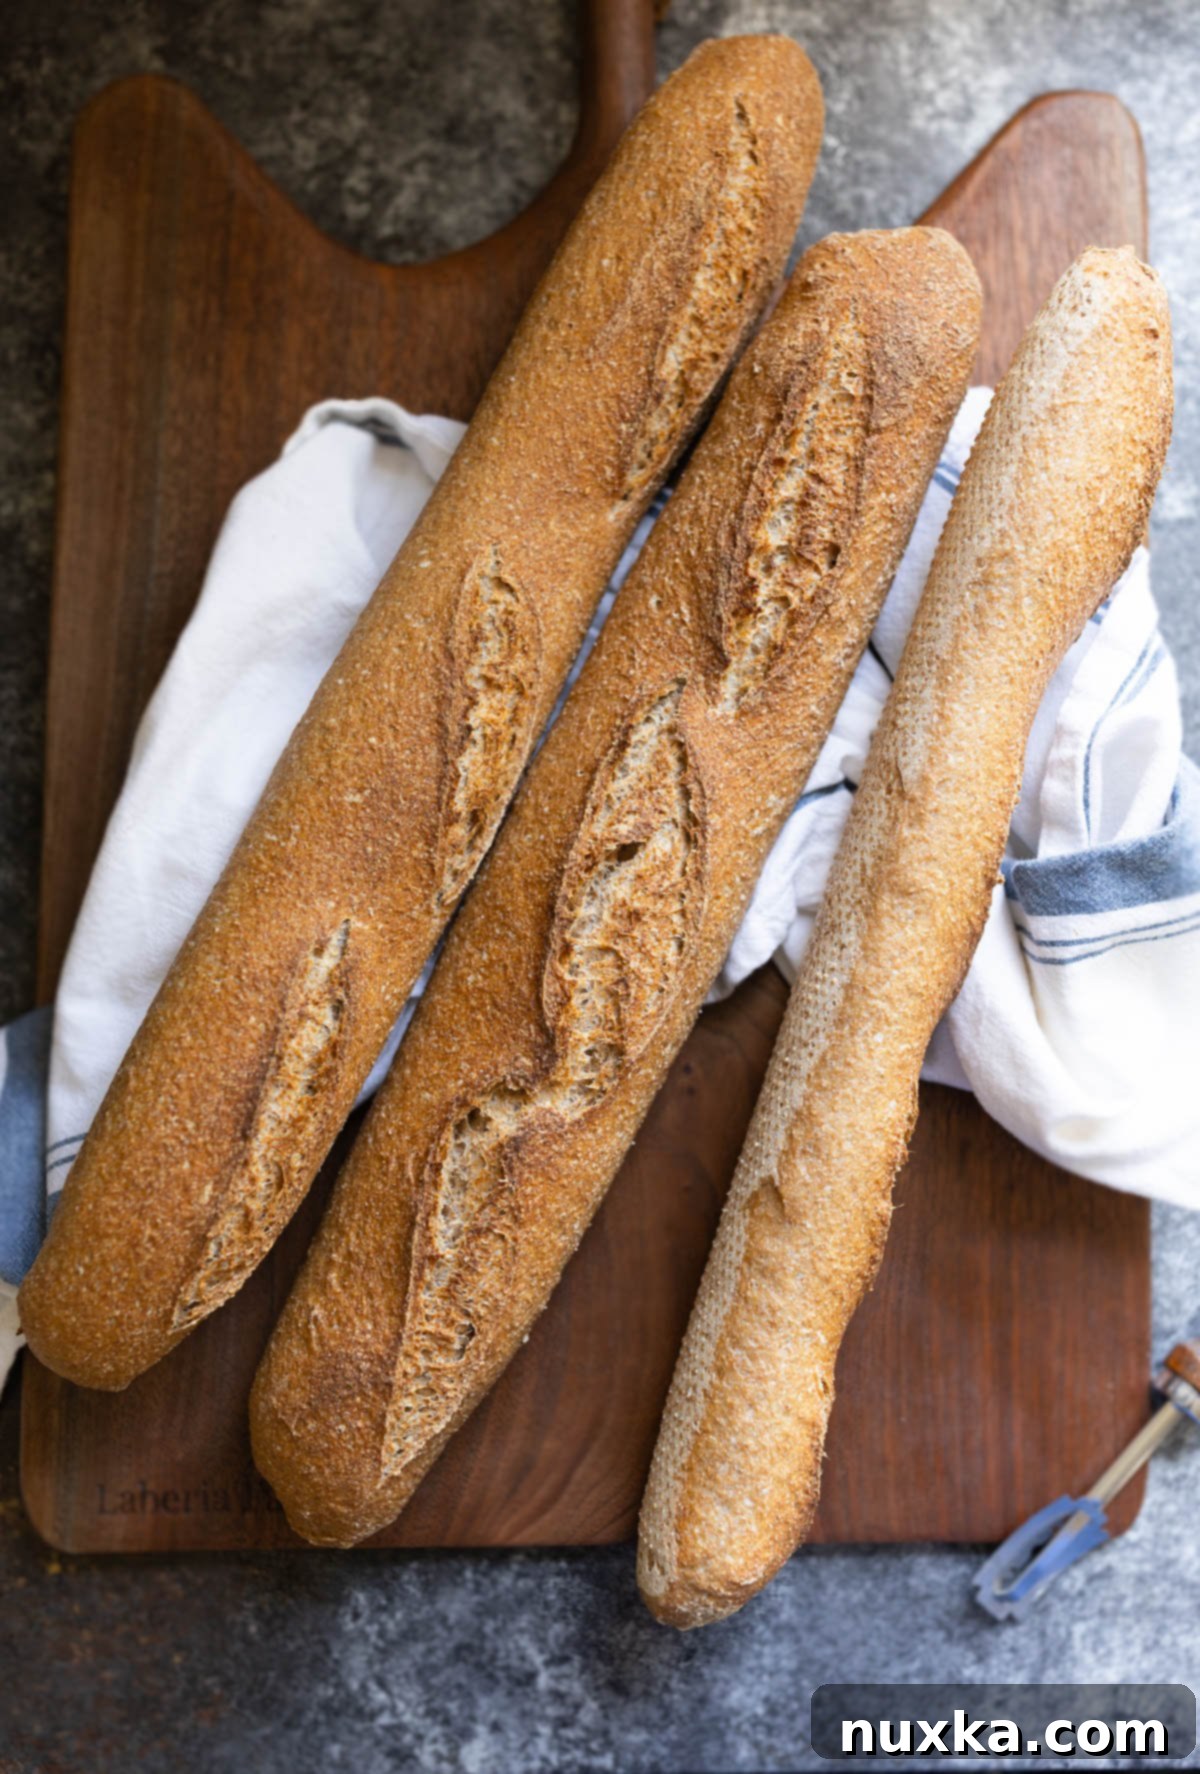
Just like its classic French bread cousin, the baguette is a fundamental bread that every home baker can master. While often perceived as challenging, homemade French baguettes are surprisingly easier to achieve than you might think, especially when you harness the power of freshly milled flour and the incredible flavor of sourdough. The result is a loaf that far surpasses anything you’d find at a bakery, not only in taste but also in nutritional value.
Elevating Your Bake: The Charm of Whole Grain Sourdough Baguettes
These whole-grain sourdough French Baguettes have quickly become a staple in our home, a testament to their exceptional flavor and satisfying texture. Traditional baguette recipes are often associated with high maintenance and complex techniques, which can be intimidating for the home baker. However, this recipe is meticulously designed to be approachable, allowing anyone to bake those iconic long, crusty baguettes typically seen in artisan bakeries. The best part? Our version is packed with the goodness of whole grains, making it a healthier alternative.
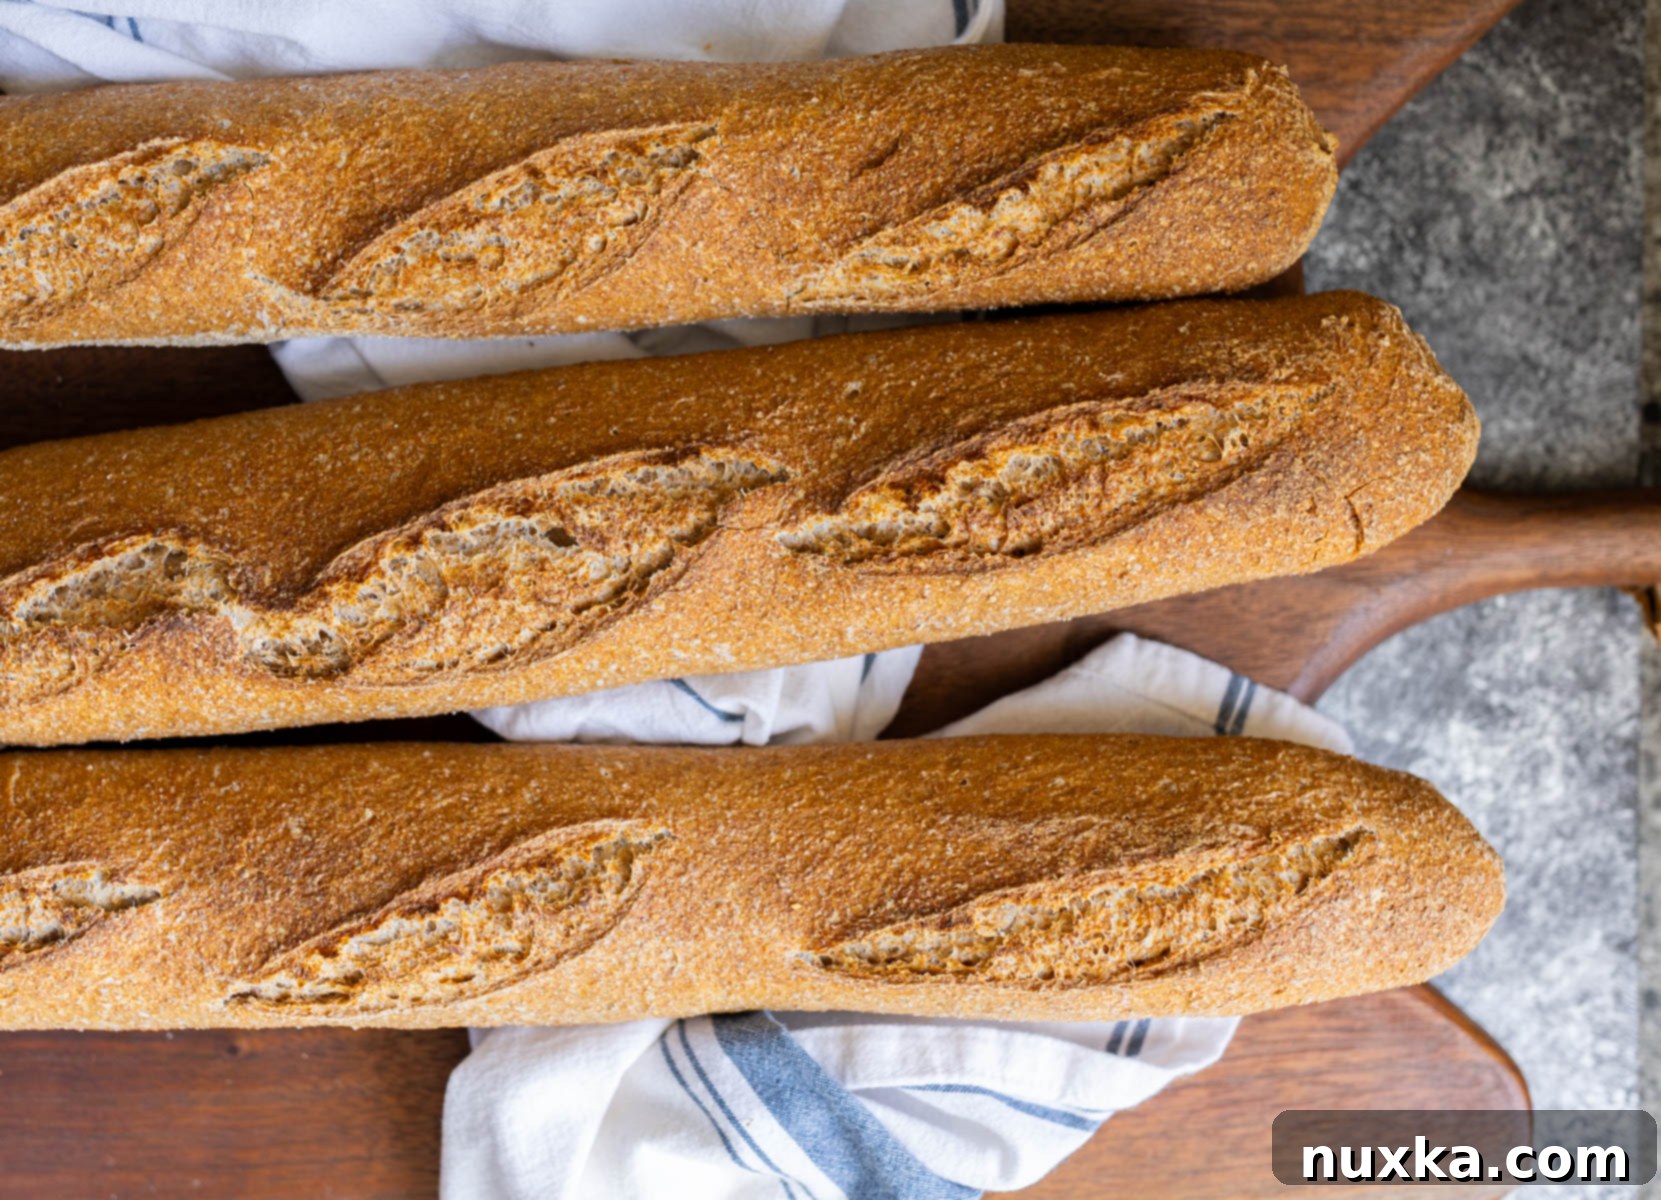
The magic of sourdough lies in its ability to add unparalleled complexity and a delightful tangy flavor that simply cannot be replicated with commercial yeast. Beyond taste, sourdough fermentation also offers significant health benefits, making these baguettes a truly nourishing choice. You don’t need a professional baker’s oven or specialized steam injection to achieve perfection. With a few clever home hacks, such as strategically placed boiling water to create steam, you can easily replicate the ideal baking environment for those coveted crusty loaves we all adore!
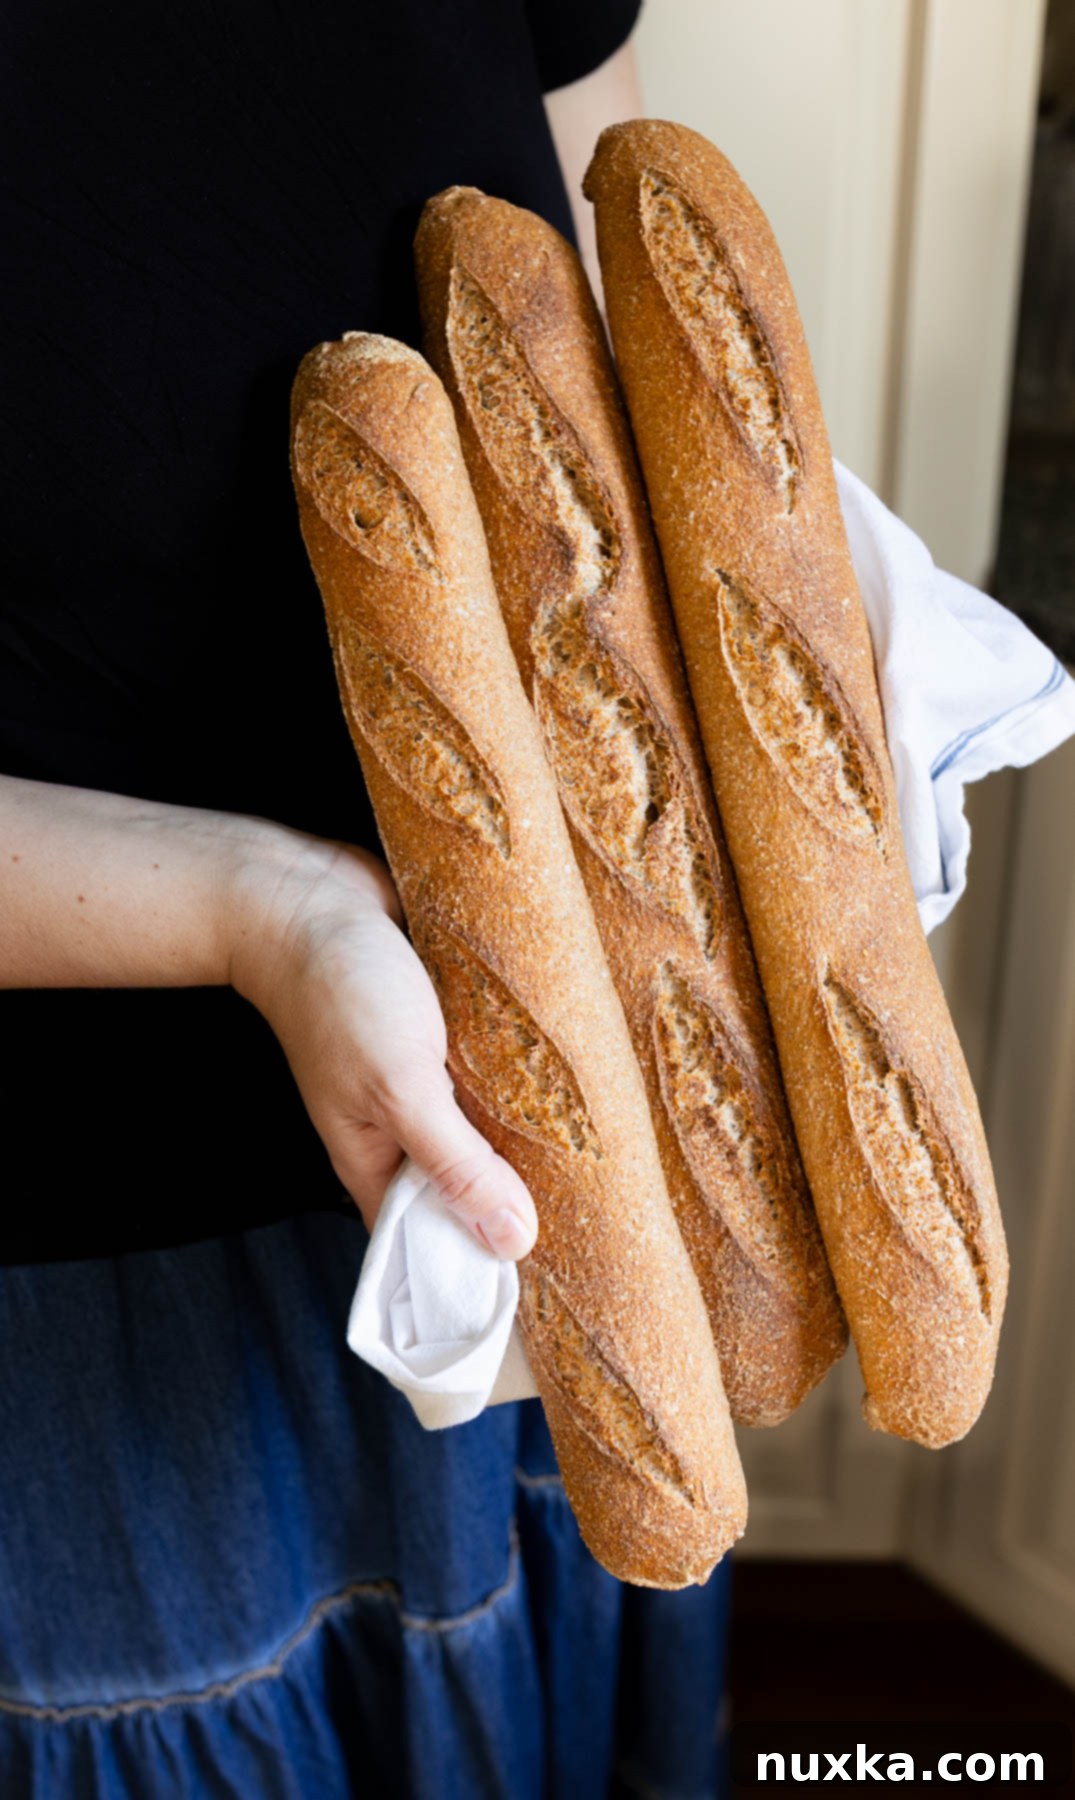
My family enjoys these baguettes at virtually every meal, every single day! Their versatility is unmatched, making them an excellent choice for a wide array of culinary applications. Slice them for delicious sandwiches, elegant canapés, or as part of an impressive Charcuterie board. They are equally delightful when simply ripped apart and dipped into a comforting bowl of soup or a flavorful seasoned olive oil. Their adaptability ensures they’re always a welcome addition to the table.
The Art of the Whole Wheat Sourdough Baguette
As a passionate home baker who regularly bakes with sourdough and fresh-milled flour, my mission is to demystify the process of using whole grains. I’ve spent considerable time experimenting and learning the nuances of creating exquisite bread with 100% whole grains, and I’m eager to share my tried-and-true tips so you can achieve fantastic results at home. Many people mistakenly believe that sourdough made with 100% fresh-milled flour will inevitably be dense, bitter, or unappetizing. I’m here to tell you that this simply isn’t true!
The secret to crafting a truly exceptional whole-grain sourdough baguette lies in a few critical elements: first, employing a very ripe and active sourdough starter, and second, using a generous quantity of it. This ensures optimal hydration and a robust rise for your bread. If you’re an experienced sourdough baker, you’ll know that whole grains often require a slightly longer fermentation period. My specific flour-to-starter ratio has been perfected to work wonders, yielding consistent and delicious results every time.
Furthermore, I’ve observed that whole grains truly shine when paired with sourdough. The natural fermentation process effectively breaks down phytic acid, making the bread much easier to digest and allowing for better nutrient absorption. An added bonus is that the traditional strenuous kneading is virtually eliminated; gluten development occurs naturally and efficiently during the gentle stretch and folds performed during the fermentation process. These whole-grain baguettes are truly remarkable—they are never bitter (especially when made with freshly milled flour) and boast a wonderfully moist, chewy crumb, thanks to the carefully controlled dough hydration. You will undoubtedly fall in love with this slim, artisan-style bread that rivals any bakery offering!
Beyond being a personal indulgence, these baguettes also make thoughtful and impressive gift ideas! Consider bringing a couple of freshly baked loaves to a friend’s house or as a kind gesture for a new mom. A gift of homemade bread is always appreciated and truly from the heart.
Sourcing Your Grains: Where to Buy Whole Wheat Berries
For the freshest and most nutritious whole wheat flour, I highly recommend starting with whole wheat berries. I personally source my whole wheat berries from Azure Standard. Once I have them, I run them through my trusty electric grain mill, which conveniently sits on my counter. This process takes mere seconds and is crucial for ensuring that all the vital nutrients within the wheat kernel remain intact. Freshly milled flour retains the germ, bran, and endosperm, which are often separated in commercially processed flours, leading to a significant loss of vitamins, minerals, and fiber. By milling at home, you get a superior product with enhanced flavor and nutritional density. For an in-depth understanding of the many benefits of incorporating whole grains into your diet, you can explore more here.
Mise en Place: Essential Equipment & Ingredients
Equipment:
- Baguette Pan or Couche: Essential for maintaining the baguette’s classic elongated shape during proofing and baking. A baguette pan provides individual grooves, while a baker’s couche is a linen cloth used to support the dough.
- Cast-iron skillet: Placed on the bottom rack of your oven, this is your secret weapon for creating crucial steam during baking, which is key for a crispy crust and excellent oven spring.
- Saucepan: Used to boil water that will be poured into the cast-iron skillet to generate steam.
- Bread Lame (for scoring): A razor-sharp tool designed for making precise cuts on your dough. Proper scoring allows the bread to expand predictably in the oven.
- Kitchen Scale: French bakers (and most professional bakers) rely on the metric system for unparalleled consistency and accuracy in baking. Weighing ingredients ensures the perfect hydration and dough texture every time.
- Large mixing bowl: For combining your ingredients and allowing the dough to bulk ferment comfortably.
Ingredients for Whole Wheat Sourdough Baguettes:
A truly classic, crusty baguette relies on a handful of simple, high-quality ingredients. While traditional French baguettes are typically made with European T55 white flour, our whole wheat variation uses a thoughtful blend of hard red and hard white wheat berries, resulting in an exceptionally flavorful and moist crumb that’s far from dense.
- Whole Wheat Flour: For this recipe, I create my own all-purpose flour blend by using primarily hard red wheat. Its higher protein content is ideal for robust gluten development, which is crucial for the structure and elasticity of the baguette. I complement this with a portion of hard white wheat, which contributes to a milder flavor and slightly lighter color in the finished bread.
- Water: Measured precisely in grams (metric system) for accuracy. This precise measurement is vital for achieving the correct dough hydration, which directly impacts the crumb’s texture. If using the imperial system, you’ll need just a little over 1 3/4 cups of warm water.
- Sourdough Starter: This is the heart of your baguette! Your starter must be vibrant, active, and bubbly to provide the necessary leavening and signature tangy flavor. If you opt to use discard starter, you will absolutely need to supplement with additional commercial yeast to ensure adequate rise, as discard lacks the same leavening power as a fed starter.
- Salt: Always use good quality sea salt. I prefer Redmond Real Salt for its superior flavor and mineral content. Salt is not just for flavor; it also helps to strengthen the gluten network and regulate fermentation.
A Timetable for Baguette Success: Sample Baking Schedule
Baking sourdough can seem like a long process, but much of the time is hands-off. This sample schedule offers a clear timeline, allowing you to plan your day around the dough’s needs and ensure a fresh, delicious baguette by evening or the next morning. Remember, these times can be adjusted based on your starter’s activity and ambient room temperature.
- 8 a.m. – Feed Your Starter: Take your sourdough starter out of the fridge and feed it. A healthy, mature starter will typically rise and become active within 4-6 hours, indicating it’s ready to bake with.
- 12 p.m. – Initial Mix (Autolyse): Combine your freshly milled flour, water, and active starter in a large bowl. Allow this mixture to rest for 30 minutes. This crucial step, known as “Autolyse,” allows the flour to fully hydrate and begin gluten development without the presence of salt, making the dough more pliable.
- 12:30 p.m. – Add Salt & Mix: After the autolyse, incorporate the salt into the dough and mix thoroughly with your hands or a Danish whisk. This ensures the salt is evenly distributed. Let the dough rest again for 20-30 minutes to allow the salt to fully integrate and the gluten to relax.
- 1:00 p.m. – Stretch and Folds: Begin your series of stretch and folds. Perform four rounds of these gentle manipulations, spaced approximately every 30 minutes. This technique builds dough strength and elasticity without the need for intensive kneading.
- 3:00 p.m. – Bulk Fermentation: After your final set of stretch and folds, cover the dough and allow it to bulk ferment. This means letting the dough rest and rise until it has visibly doubled in size. This can take about 4 hours in a warm spot, but adjust based on your environment and starter’s activity.
- 7:00 p.m. – Same-Day Bake Option: If you want to enjoy your sourdough baguettes the same day, you would shape them immediately after bulk fermentation, proof them at room temperature for about 2 hours, and then bake them around 9:00 p.m.
- 8 p.m. – Cold Fermentation (Overnight Option): For an enhanced flavor and easier handling, opt for an overnight cold fermentation. After the bulk fermentation, gently pre-shape the dough into three equal balls. Let them rest briefly, then proceed to final shaping into baguettes. Transfer them to a lightly greased baguette pan, cover, and refrigerate overnight (typically 12-16 hours).
- 9:00 a.m. the next morning (if cold fermenting): Preheat your oven to a high temperature with your cast-iron skillet in place. Retrieve the chilled baguettes from the fridge, score them, and then bake immediately to achieve maximum oven spring.
Step-by-Step Guide: How to Make Whole Wheat Sourdough Baguettes
- Grind Your Flour: Begin by grinding your wheat berries into fresh whole wheat flour using a grain mill. This step is crucial for achieving optimum flavor and nutrient retention, giving your baguettes a unique freshness that store-bought flour cannot match.
- The Autolyse: In a large mixing bowl, combine your freshly milled flour, water, and active sourdough starter. Mix just until no dry flour remains, forming a shaggy dough. Cover the bowl (I recommend a clean shower cap, a reusable beeswax wrap, or plastic wrap to prevent drying) and let it rest for 30 minutes. This “Autolyse” period allows the flour to fully hydrate and enzymes to begin breaking down proteins, leading to a more extensible and workable dough.
- Introduce the Salt: After the initial rest, the dough will feel noticeably more elastic and stretchy. Now, add your salt. Mix the dough thoroughly with your hands, squeezing and folding it to ensure the salt is evenly incorporated. Let the dough rest for another 20-30 minutes. Adding salt later in the process helps ensure it doesn’t interfere with the initial gluten development during the autolyse.
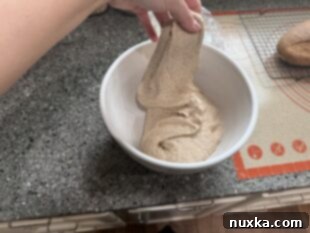
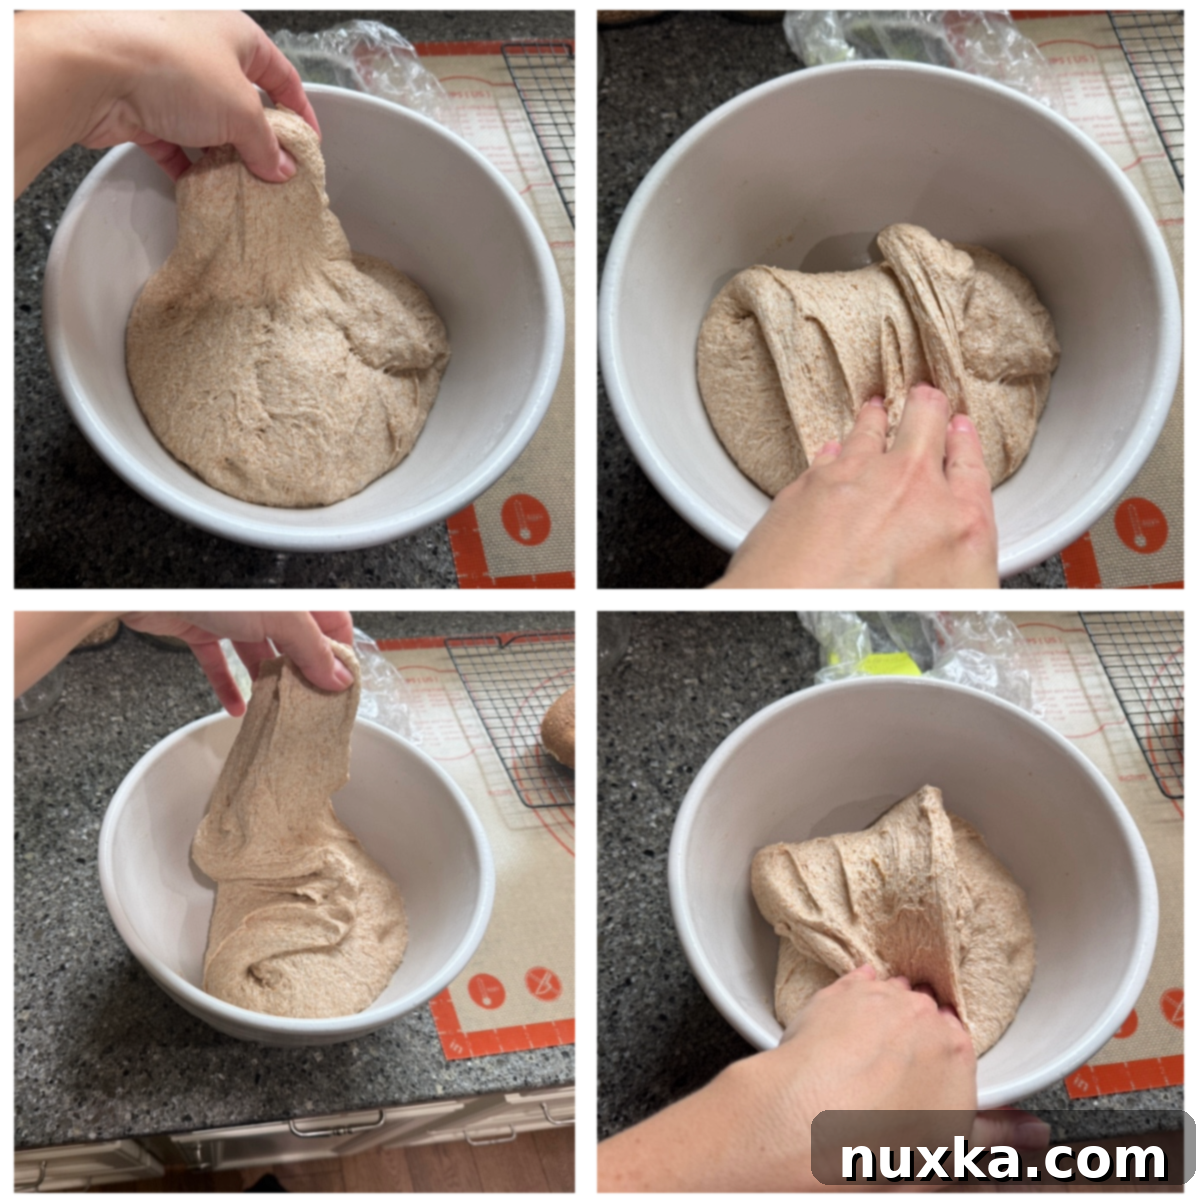
- Perform Stretch and Folds: Over the next 1 hour and 20 minutes, perform four sets of “Stretch and Folds,” with 20-30 minutes of rest between each set. To perform a stretch and fold, wet your hands slightly, grab one side of the dough, gently stretch it upwards, and then fold it over itself towards the center of the bowl. Rotate the bowl a quarter turn and repeat this process on all four sides of the dough. This technique gradually builds gluten strength and structure without aggressive kneading.
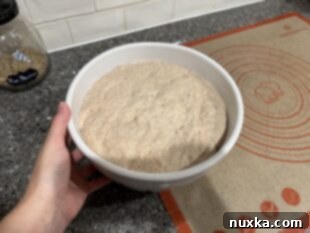
- Bulk Fermentation: Once the stretch and folds are complete, cover the dough again and allow it to bulk ferment. This period, lasting approximately 4 hours in a warm environment, is where the yeast in your starter does most of its work, producing gases that cause the dough to rise and develop flavor. You’ll know it’s ready when the dough has visibly doubled in size, appears bubbly, and feels jiggly.
- Shape Sourdough Baguettes: Once bulk fermentation is complete, it’s time to shape your baguettes. Refer to the detailed “How To Shape Sourdough Baguettes” section below for specific instructions. Precision in shaping helps achieve the iconic baguette form and ensures an even bake.
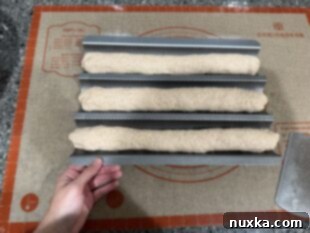
- Cold Fermentation (Overnight): Lightly grease your baguette pan (or prepare your couche). Carefully transfer the shaped baguette dough into the pan, ensuring they are evenly spaced. Cover the pan with plastic wrap or a damp towel to prevent drying. For easier handling in and out of the fridge, I often place the baguette pan over a sheet pan. Refrigerate overnight for cold fermentation. This slow, cool proofing develops deeper flavors, improves crumb structure, and makes the dough easier to score and handle the next day.
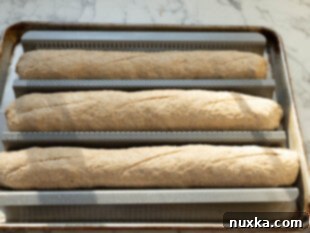
- Score Your Baguettes: The next morning, retrieve your baguettes from the fridge. They should have slightly proofed and firmed up. Using a sharp bread lame, score the tops of each baguette with 3-4 swift, diagonal cuts. Aim for a 45° angle and a depth of about 1/4 to 1/2 inch. Scoring guides the dough’s expansion in the oven, allowing it to spring beautifully and achieve its characteristic appearance.
- Preheat Oven & Create Steam: While scoring, preheat your oven to a scorching 500°F (260°C) with a large cast-iron skillet placed on the bottom rack. Simultaneously, bring 1 quart of water to a rolling boil in a medium saucepan. Once the oven is preheated, carefully (and quickly!) pour the boiling water into the preheated cast-iron skillet. This instantly creates a burst of steam, which is absolutely vital for developing a thin, crisp crust and maximizing oven spring.
- Bake to Perfection: Immediately after adding the steam, carefully place your baguette pan into the oven. Reduce the oven temperature to 450°F (232°C). Bake for 30-35 minutes, or until the baguettes achieve a deep golden-brown color and sound hollow when tapped on the bottom. The steam will ensure the crust stays pliable initially, allowing the bread to expand fully before crisping up.
Mastering the Form: How To Shape Sourdough Baguettes
Shaping baguettes might seem like a daunting task, but with high-hydration sourdough dough, it’s actually quite manageable. This dough is very forgiving due to its elasticity, meaning you don’t need to create excessive surface tension. It stretches beautifully, making the shaping process smooth and relatively easy. The key is gentle handling and understanding the dough’s natural tendencies.
- Prepare Your Work Surface: To minimize the need for additional flour, which can dry out your dough, work on a large silicone pastry mat. This provides a non-stick surface that’s perfect for shaping.
- Divide the Dough: Invert your bulk-fermented dough onto the prepared mat. Using a bench scraper, divide the dough into three equal parts. Aim for precision here, as consistent size leads to consistent baking.
- Pre-Shape (Optional but Recommended): If you find the dough resisting or shrinking back, gently form each piece into a loose ball and allow it to rest and relax for 20 minutes. This “pre-shape” allows the gluten to relax, making the final shaping much easier. However, if your dough feels cooperative, you can proceed directly to the next step after cutting.
- Final Shaping: I prefer to shape immediately by flattening each cut piece of dough into a rectangle, roughly 10×5 inches. Then, starting from the widest part, tightly roll up the rectangle, jelly-roll style. As you roll, gently pinch the dough together to create tension and seal each turn. This creates the internal structure and ensures a tight, uniform loaf.
- Elongate and Transfer: Pinch down the seams firmly along the length of the rolled dough. Then, gently roll each piece back and forth with your palms, applying light pressure, to further elongate it into a baguette roughly 15 inches long. Carefully transfer each shaped baguette to a lightly greased baguette pan. Alternatively, I’ve had excellent results using a silicone bread mold designed for baguettes.
Pro Chef Tip for Baguette Baking

Pro Tip: If you don’t have a specialized baguette pan or a baker’s couche, don’t worry! You can easily improvise. Dust a clean, thick linen kitchen towel generously with flour. Lay it out and create pleated barriers between each baguette to help them hold their shape during proofing. When it’s time to bake, carefully transfer the proofed baguettes onto a piece of parchment paper, which can then be slid onto a preheated baking stone or baking sheet in the oven.
Storing Your Freshly Baked Baguettes: Keeping Them Crisp
Freshly baked sourdough baguettes are best enjoyed within the first 6-12 hours after cooling. During this period, leaving them on a cooling rack allows air to circulate, which actually enhances their characteristic crunchy crust. However, to extend their freshness beyond this window, it’s advisable to store baguettes in a Long Bread Bag or a paper bag. Avoid airtight plastic containers, as these can trap moisture and soften the crust. For longer-term storage, freezing is your best option. I typically freeze any bread I know won’t be consumed within 24 hours. To revive a thawed baguette, simply spritz it lightly with water and bake in a preheated 350°F (176°C) oven for 8-10 minutes. This quick refresh will bring back that desirable crackling crust and warm, soft interior, making it taste almost as good as freshly baked.
Serving Suggestions: What To Pair With Whole Wheat Sourdough Baguettes
The versatility of whole-grain baguettes makes them an exceptional accompaniment to nearly any meal. Their robust flavor and satisfying texture can elevate both simple and complex dishes.
- Elegant Appetizers: Slice them thinly for sophisticated hors d’oeuvres. Top with various spreads, cheeses, or cured meats. They also make a fantastic base for open-faced sandwiches, allowing you to get creative with your toppings.
- Hearty Main Dish Companion: Bread is a natural partner to many main courses. Serve your baguettes alongside savory dishes like vegetable stew with rice, roasted meats, or creamy potato gratins. Their crust provides a wonderful textural contrast to softer elements.
- Dipping Delights: The sturdy crust and open crumb of a baguette are perfect for dipping. Serve them with a flavorful bread dipping oil (infused with herbs and garlic), or a warm bowl of soup. Creamy soups, in particular, are heavenly when paired with a crusty piece of bread for scooping up every last drop.
- Interactive Dining Experiences: Sliced French baguettes are an essential component of any Charcuterie board or sandwich bar. Arrange an assortment of salami, artisanal goat cheese, fruit preserves, pickled onions, and other toppings on a cutting board, allowing guests to build their own delicious bites.
Q&A: Your Sourdough Baguette Questions Answered
Are Baguettes with Sourdough Sour?
The level of sourness in sourdough baguettes can vary greatly depending on the maturity and activity of your starter. If you maintain a very mature and regularly fed starter, its flavor will be quite mild and subtly tangy, rather than overtly sour. Starters that have been neglected or unfed for several weeks tend to be very “hungry” and produce a much more tart or acidic flavor profile. Consistent weekly feeding keeps your starter fresh and mellows its inherent tanginess, allowing the natural sweetness of the whole grains to shine through.
How Do Whole Wheat Baguettes Taste Like?
Whole wheat flour possesses a distinct nutty, earthy, and rustic flavor, largely because the bran and germ components of the wheat kernel are still intact. When you make freshly milled flour at home, the resulting taste is often much fresher, lighter, and more nuanced compared to the robust, sometimes heavier flavor of commercially processed whole wheat flour. The specific type of wheat berry you choose also influences the taste and color; some varieties, like hard white wheat, can yield a milder flavor and a paler crumb compared to hard red wheat.
How Do You Get a Good Bread Spring on Baguettes?
Achieving a good “oven spring”—the rapid expansion of bread during the initial phase of baking—is crucial for baguettes with an open crumb and impressive appearance. Several factors contribute to this: first, your dough must be adequately strong and properly proofed, meaning it has developed sufficient gluten structure and contains enough active yeast to produce gases. Second, and critically, is the use of steam in the oven. After cold fermentation in the fridge, score your baguettes and place them into a very hot, preheated oven (ideally 500°F/260°C) with a burst of steam. The steam keeps the crust soft and pliable for the first 10-15 minutes of baking, allowing the dough to expand freely and “spring up” before the crust hardens. Without sufficient steam, the crust sets too quickly, restricting the dough’s rise.
Expert Tips for Making Perfect Whole Wheat Sourdough Baguettes at Home:
- Mill Your Own Flour: For the most vibrant flavor and maximum nutritional benefits, invest in a grain mill and make your own whole wheat flour from wheat berries. The difference in taste and aroma is truly noticeable.
- Utilize a Baking Stone (or Steel): If using a Baker’s Couche, carefully transfer the proofed baguettes onto parchment paper and bake them on a preheated baking stone or steel. This provides intense, even heat from below, contributing to an incredibly chewy interior and a delightfully crunchy crust.
- Master the Score: A bread lame is indispensable for making deep, precise cuts on your baguettes. Proper scoring controls where the bread expands, preventing uncontrolled tears and creating those signature ear-like crusts.
- Don’t Skip the Steam: Creating steam in your oven during the initial baking phase is non-negotiable for baguettes. It delays the setting of the crust, allowing for maximum oven spring and developing that coveted crispy, crackling exterior. Use the cast-iron skillet and boiling water method described in the recipe.
- Adjust Loaf Size: This recipe is designed to yield three elongated, standard-sized baguettes. If you prefer smaller, individual portions, simply divide the dough into six equal pieces to make demi-baguettes. Adjust baking time accordingly.
- Cool Completely for Crispness: After baking, immediately transfer the baguettes to a wire cooling rack. Allow them to cool completely. This crucial step lets any residual moisture escape, drying out the crust further and ensuring it reaches its ultimate crispiness.
- Start with a Robust Starter: The success of your sourdough baguettes hinges on a well-fed, active, and bubbly sourdough starter. A strong starter provides the necessary leavening power and contributes to the bread’s complex flavor.
- Handle Sticky Dough with Wet Hands: Whole wheat, high-hydration dough can be sticky. If your dough feels difficult to manage, simply wet your hands with a little water before handling. This prevents sticking and makes the dough much easier to work with. Spritzing the tops of your baguettes with water just before scoring can also help achieve smoother, cleaner cuts.
- Understand Pre-Shaping: Pre-shaping involves forming the bulk-fermented dough into loose balls before the final shaping. While optional, it helps to build initial tension in the dough and, more importantly, allows the gluten to relax during a short rest period, making the final shaping into long baguettes much easier and preventing the dough from tearing.
- Avoid Over-Proofing: Pay close attention to your bulk fermentation and final proofing times. Over-proofed dough can lead to a dense crumb and poor oven spring. The dough should be light, airy, and slightly jiggly, but still have some structure.

Rate
Pin
Whole Wheat Sourdough Baguette Recipe
Equipment
-
1 Baguette Pan
-
1 large cast-iron skillet (for creating steam)
-
1 Bread Lame (for scoring)
-
1 saucepan (to boil water to create steam in the oven)
-
1 kitchen scale
-
1 large mixing bowl
Ingredients
Ingredients:
-
625 grams freshly milled hard red wheat* (about 4 3/4 cups of whole wheat flour)
-
413 grams water (a smidge over 1 3/4 cups)
-
1 1/2 cups active sourdough starter (314 grams)
-
13 grams salt (about 1 1/4 tsp)
Instructions
Directions:
-
 Grind the 625 grams of wheat berries using a grain mill to create fresh whole wheat flour.
 -
 Combine the freshly milled flour, water, and active sourdough starter in a large mixing bowl. Mix until just combined and no dry flour remains. Cover the bowl and let it sit for 30 minutes for the “Autolyse” phase, allowing the flour to fully hydrate.
 -
 After the autolyse, add the salt to the dough. Mix thoroughly with your hands or with a Danish whisk until the salt is fully incorporated. Let the dough rest again for 30 minutes.
 -
 Perform four sets of Stretch and Folds, with each set spaced 20-30 minutes apart (totaling about 2 hours). This develops gluten strength and elasticity.
 -
 Allow the dough to bulk ferment (rest and rise) until it has visibly doubled in size, which typically takes about 4 hours in a warm spot.
 -
 Gently invert the dough onto a lightly floured surface or silicone mat. Divide the dough into three equal parts using a bench scraper.
 -
 Flatten each piece of dough into a rectangle, approximately 10×5 inches. Tightly roll it up from the longest side, creating tension as you go.
 -
 Firmly pinch down the seams along the length of the dough. Then, gently roll and elongate each piece to form a baguette approximately 15 inches long.
 -
 Transfer the shaped baguettes to a lightly greased baguette pan and cover tightly with plastic wrap to prevent drying. Refrigerate overnight for a slow, cold fermentation.
 -
 The next morning, remove the chilled dough from the fridge. Using a bread lame, score the tops with 3-4 long, diagonal cuts (at a 45° angle) to allow for even expansion during baking.
 -
 Place a large cast-iron skillet onto the bottom rack of your oven. Preheat the oven to a high 500°F (260°C). In a medium saucepan, bring 1 quart of water to a boil. Carefully pour this boiling water into the preheated skillet in the oven, then immediately place the baguettes into the oven.
 -
 Immediately reduce the oven temperature to 450°F (232°C) and bake the sourdough baguettes for 30-35 minutes, or until they are deeply golden brown and sound hollow when tapped.
Notes
- For my 625 grams of flour, I used a blend of three cups of freshly milled hard red wheat and the remaining amount with freshly milled hard white wheat. This combination provides both excellent gluten development and a slightly milder flavor profile.
- When refrigerating overnight, I place my baguette pan over an 18×13 inch sheet pan for easier handling and stability in and out of the fridge. However, for baking, I ensure the baguette pan is placed directly on the oven rack so the preformatted bottoms get maximum direct heat for a truly crisp crust.
Nutrition per serving
