Mastering Sourdough Bagels: Your Ultimate Guide to Chewy, New York-Style Perfection at Home
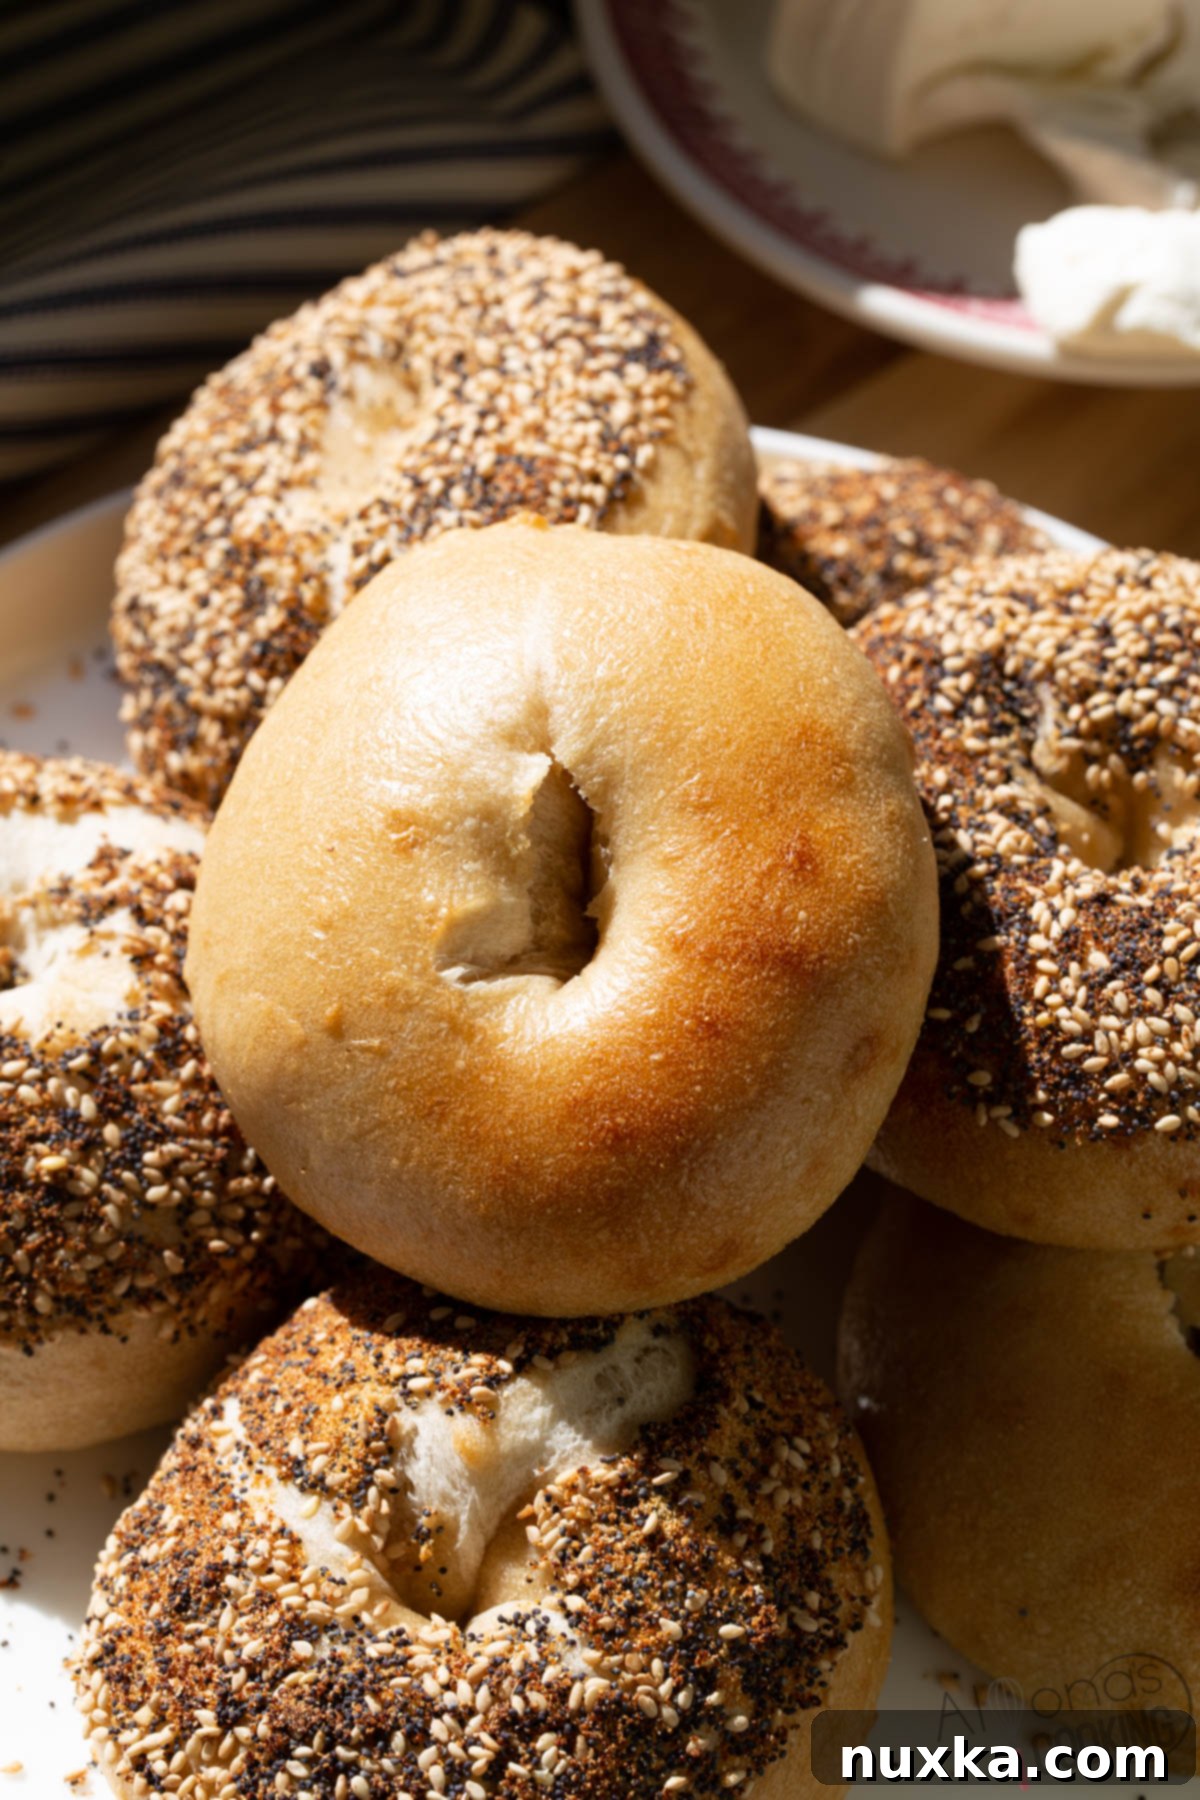
Craving that authentic, chewy New York-style bagel without leaving your kitchen? This **Sourdough Bagels Recipe** is your secret weapon! Forget store-bought imitations; with the right ingredients and these straightforward steps, you can craft truly incredible, hand-made bagels that rival your favorite bagel shop. We’ll dive deep into the secrets for achieving that signature chewy crust and provide expert tips for making bagels like a seasoned pro.
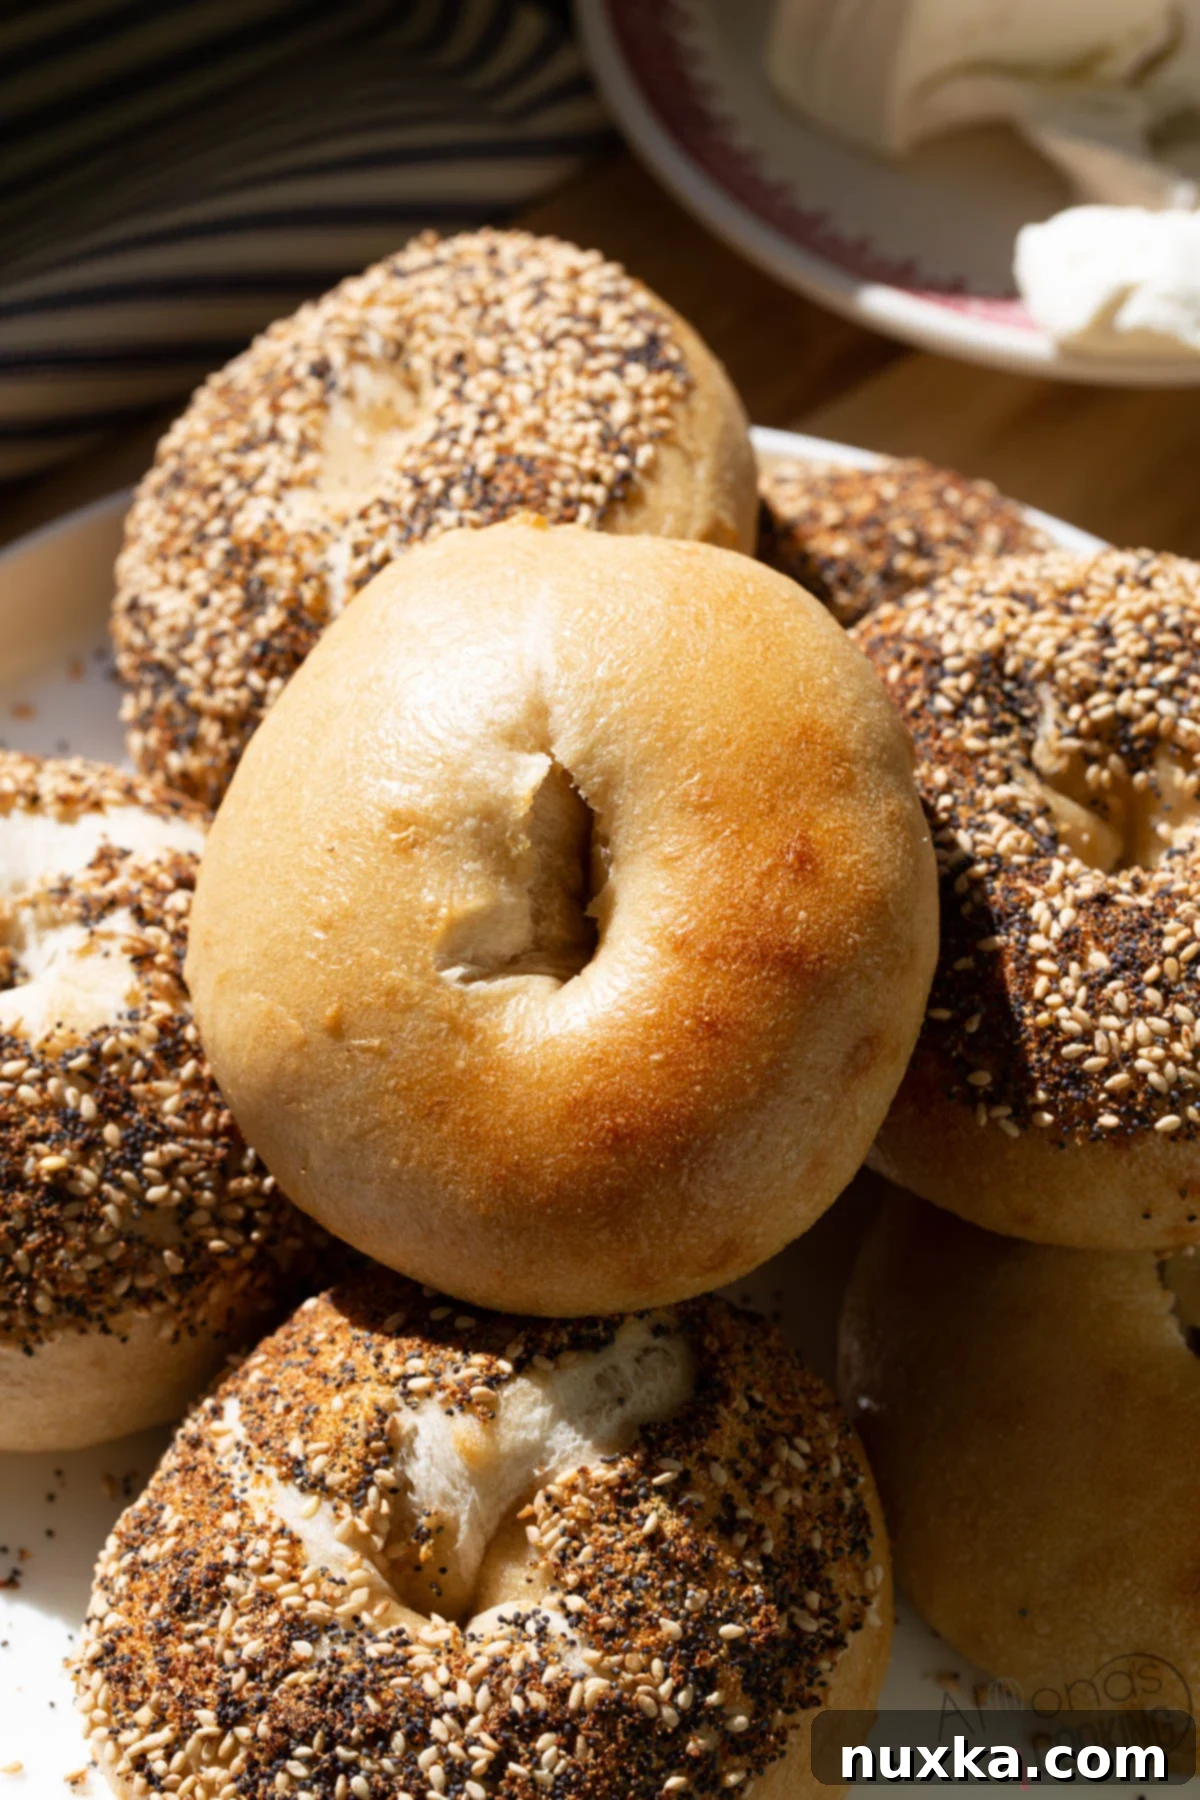
Once you’ve perfected your homemade sourdough bagels, the possibilities for delicious meals are endless. Kickstart your morning with a luxurious bagel topped with homemade Lox, or assemble our hearty Manhattan Bagel Sandwich. For lunch or dinner, our family adores these savory Asiago Bagel Sandwiches, and they’re also fantastic with simple egg sandwiches. Consider pairing them with oven-baked egg patties for a quick and satisfying meal. These bagels aren’t just for breakfast; they’re versatile for any meal of the day!
The Irresistible Allure of New York Style Bagels
When we talk about bagels, especially homemade ones, the benchmark is often the iconic New York-style bagel. These aren’t just any bread; they’re a culinary institution known for their distinctively chewy interior, a slight tang, and a beautifully crisp, shiny crust. The good news is, achieving this perfect texture at home is entirely within reach with this recipe. The process, while involving an overnight chill, actually fits perfectly into a busy schedule, allowing you to prepare the dough in the afternoon, shape the bagels, and then let them proof slowly in the refrigerator overnight. This cold fermentation is key to developing complex flavors and that signature chewy texture.
Waking up to a nearly finished batch of bagels is a treat. All that’s left in the morning is a quick boil and then baking to golden perfection. This method is incredibly rewarding and less demanding than many other bagel recipes that require constant attention. While it is possible to boil bagels on the same day, the difference that chilling the bagel dough makes is truly remarkable. The overnight cold proofing significantly enhances both the flavor and the texture, leading to a superior bagel experience.
This approach isn’t just for home bakers; it’s a technique embraced by professional bakers in the bagel industry. They meticulously mix and shape the dough, followed by a lengthy cold proofing period, often for at least 12 hours. While traditional bakeries still swear by boiling, some modern establishments utilize steam ovens to achieve that coveted crust without direct boiling. Regardless of the method, the crucial element is the exposure to moisture (whether boiling water or steam) to set the crust and create that incomparable chewiness.
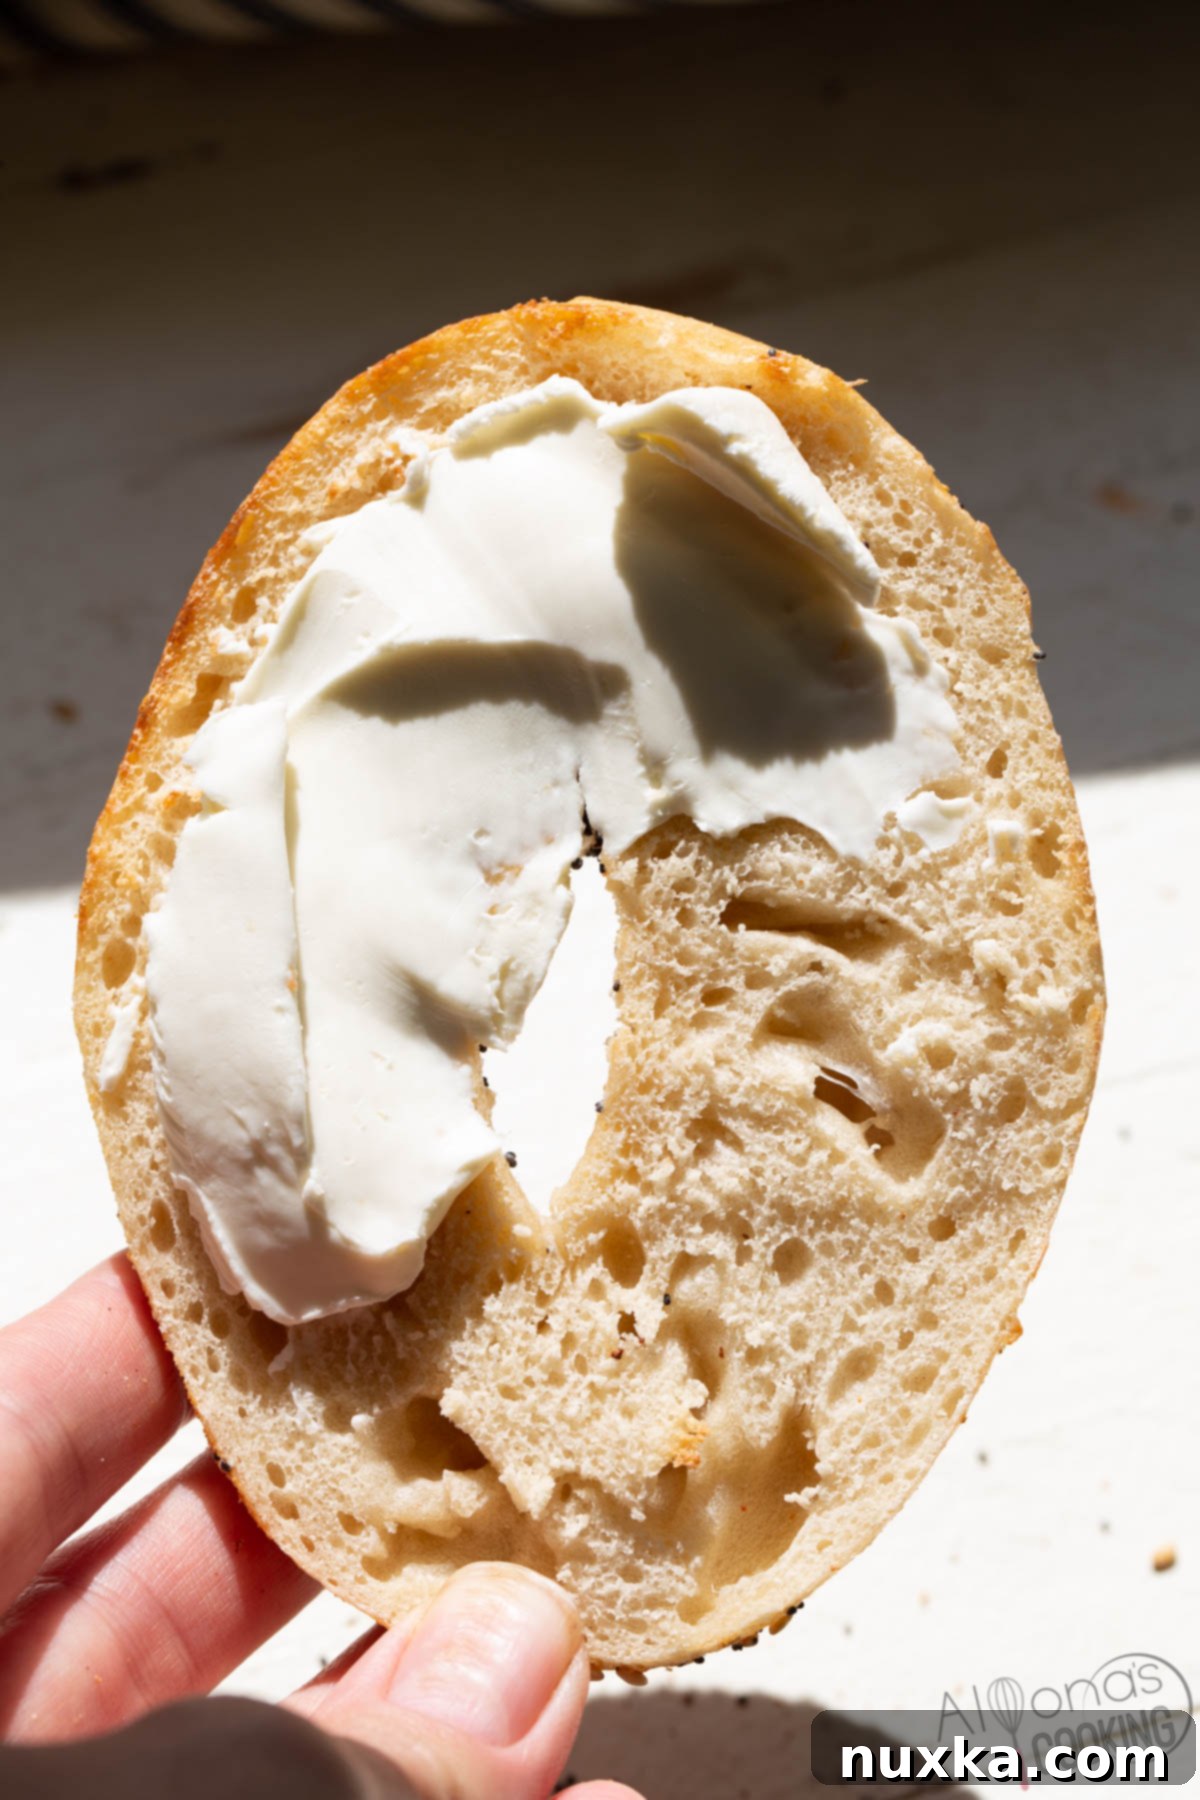
The Secret to Shiny, Chewy Bagels: Sourdough Power!
Many assume the secret to a perfect bagel lies solely in the boiling process, but that’s only part of the equation. For a truly traditional New York-style bagel, my absolute best tip for unparalleled success is to incorporate a robust **sourdough starter**, also known as cultured flour. The sourdough starter transforms the crust into something incredibly crisp and chewy – a texture I simply couldn’t achieve when making bagels with commercial yeast, even when I refrigerated those yeast-leavened doughs overnight.
You might be wondering, “Do sourdough bagels taste sour?” This is a common misconception, and the answer is generally, “Not at all!” Unlike long-fermented artisan sourdough bread, these bagels don’t undergo an extended fermentation at room temperature. The process involves starting the dough in the afternoon and then promptly chilling it in the fridge by evening. This brief initial fermentation followed by a cold proof means there isn’t sufficient time for the entire dough to develop a pronounced sour flavor. Instead, the sourdough starter primarily contributes to an incredible depth of flavor, enhanced structure, and that desirable chewy texture, without the overt tanginess associated with a rustic sourdough loaf.

Getting Started with Sourdough for Your Bagels
No active sourdough starter on hand? No problem! You have a few options to ensure you can still make these phenomenal bagels. You can cultivate your own starter from scratch by mixing equal amounts of flour and water and letting it ferment for several days until active. Alternatively, to speed things up for this specific recipe, you can create a ‘quick’ starter by adding a small amount of yeast to your flour and water mixture and letting it sit for just a day. This will give you a pre-ferment that offers some of the benefits of sourdough. If you prefer the convenience of an established, live starter, you can often find them online or from local bakers. For those interested, I personally recommend checking out Where To Buy My Sourdough Starter.
While using a naturally leavened starter might add a little more time to the overall process compared to relying solely on commercial yeast, the resulting crispness and chewiness of the crust are simply unmatched. This Sourdough Bagels recipe truly delivers! To learn more about how I maintain and feed my own robust sourdough starter, please refer to the comprehensive Q&A section below, where I share all my best practices and insights.
Frequently Asked Questions About Sourdough Bagels
What is a New York Bagel and Why is it Special?
New York City is undeniably the mecca of bagel making. The history dates back to immigrants who introduced bagels to the US, leading to a thriving bagel culture in NYC. What sets a true New York bagel apart is its unique preparation: they are traditionally made with malt, cold-fermented (proofed) for an extended period to develop deep flavor and a robust crust, and critically, they are boiled before being baked. This boiling step is what gelatinizes the starches on the exterior, contributing to that distinctive shiny, chewy crust.
New York bagels are incredibly versatile and can be enjoyed any time of the day. They make a fantastic foundation for a savory brunch spread, a fun breakfast, or even a filling dinner. Imagine serving them alongside a fresh tossed salad for lunch, or as the base for a hearty deli sandwich in the evening!
Boiling Bagels vs. Steaming: Which Method is Best?
The most traditional and widely recognized method for making bagels is to boil them in water. This process is essential for creating their characteristic chewy texture and shiny crust. However, with advancements in baking technology, some modern equipment has been developed to steam bagels directly in the oven, producing a similar chewy effect. Here’s how you can achieve either method at home:
Boiling Bagels: To boil, bring a large pot of water to a rolling boil. Add 1 tablespoon of baking soda and 1 tablespoon of brown sugar (malt syrup or honey can be used in place of brown sugar for an even more authentic flavor). Carefully drop the bagels into the boiling water, making sure not to overcrowd the pot. Boil them for approximately 30-50 seconds per side, or until they float to the top. Use a large slotted spoon to remove them and drain any excess water before placing them on a baking sheet.
Steaming Bagels (Oven Method): If you wish to skip the direct boiling step, you can achieve a steamed effect in your home oven. Place a small, oven-safe pan filled with water on the bottom rack of your oven. Lightly spray the tops of your shaped bagels with water and apply any desired toppings. Then, bake them over the pan of water. The steam generated will help create a chewy crust, though many purists still prefer the traditional boil for the ultimate chew.
Baker’s Tip: For that authentic bakery-style crust, always bake your bagels at a high oven temperature, typically between 450°F and 500°F (232°C-260°C). This high heat ensures quick baking and the development of a beautifully golden, firm crust.
How To Make Sourdough Bagels: A Step-by-Step Overview
Making delicious sourdough bagels involves a few distinct stages, regardless of the specific recipe. Here’s a general outline of the process:
- Mix and Knead the Dough: Combine all your ingredients (flour, water, sourdough starter, salt, sugar, malt, etc.) and knead until a smooth, elastic dough forms. This can be done by hand or with a stand mixer.
- Initial Proofing: Allow the dough to rest in a warm place for an initial bulk fermentation, letting the sourdough starter begin its work and develop flavor and texture.
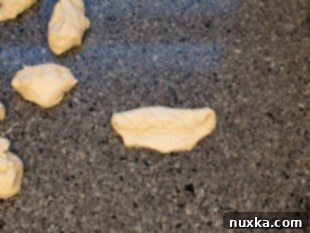
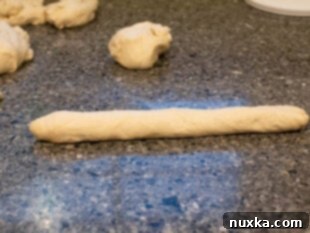
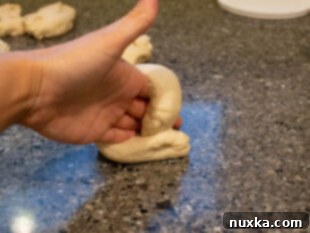
- Shape the Bagels: This is a crucial step for the classic bagel shape. To create a traditional round bagel with a hole in the middle, take a piece of dough (approximately 135 grams for a standard bagel) and flatten it into a small rectangle. Roll this rectangle tightly into a log, then gently roll the log into a longer, thin rope, about 14-15 inches long. Finally, wrap this dough rope around your hand, overlapping the ends, and use the palm of your hand to roll the overlapping section against a clean surface, pinching and sealing the edges firmly together to create a seamless ring. Making a log first helps create a smoother, more uniform bagel.
- Cold Proofing (Refrigeration): After shaping, proof the bagels for a short period in a warm spot, then transfer them to the refrigerator for an extended cold fermentation, typically overnight. This slow, cool proofing is vital for developing deeper flavors and the characteristic chewy texture.
- Boil Each Bagel: The next morning, prepare your boiling water bath with baking soda and brown sugar (or malt). Carefully boil each bagel for about 30-50 seconds per side until they float.
- Bake Bagels: Arrange the boiled bagels on prepared baking sheets, add any toppings, and bake at a high temperature, anywhere from 450°F-500°F (232°C-260°C), until golden brown and crusty.
Common Water Bath Additives: Beyond baking soda and brown sugar, traditional water baths can include barley malt syrup, honey, or even lye (for pretzels, but occasionally used sparingly for extreme chewiness and color in bagels, though less common for home bakers).
How to Make Your Own Sourdough Starter from Scratch
A sourdough starter is essentially a live culture of wild yeast and bacteria residing in a mixture of flour and water. This “cultured flour” is what naturally leavens your bread and imparts unique flavors. To begin your own sourdough starter, the process generally involves consistent feeding over several days, or even weeks, until it becomes robustly active. You’ll typically mix equal amounts of flour and water (e.g., 50g flour, 50g water) and let it sit. After 12-24 hours, you’ll discard a portion and “feed” it again with fresh flour and water. This routine is repeated daily.
The activity of your starter is often gauged by the “float test”: drop a small spoonful of your active starter into a glass of water; if it floats, it’s ready to use. This can take anywhere from 7 to 21 days, largely depending on the type of flour you use, the ambient temperature, and the wild yeast present in your environment.
From personal experience, I’ve found that using all unbleached white bread flour yields the best and strongest starter. Early on, when I occasionally incorporated wheat flour, my starter became noticeably weaker, leading to many flat loaves. Unfortunately, I eventually had to discard that starter. My current thriving starter was actually a gift from a relative, originally maintained for generations by a baker. This lineage made it incredibly potent, foaming vigorously after every feeding! My strong advice for beginners is to try to obtain an established starter from a friend or local baker if possible. If not, commit to making your own using high-quality unbleached bread flour for the most successful results.
How To Feed Your Sourdough Starter for Optimal Activity
Maintaining an active and vigorous sourdough starter is crucial for successful baking. I’ve found the most consistent success by feeding my starter with 1 heaping cup of unbleached bread flour and 3/4 cup of warm water. It’s best to mix the flour and warm water together first to hydrate the flour before whisking this mixture into your existing sourdough starter. The use of warm water (not hot!) helps to stimulate the wild yeasts and bacteria, encouraging quicker and more active culturing compared to cold water.
These proportions have proven successful for me, whether I’m maintaining a small, quart-sized starter or a larger, gallon-sized one, which is what I currently use. For larger starters, be mindful that they expand significantly after feeding. I often have to transfer my starter into a large mixing bowl to feed it, to prevent it from overflowing the jar (a lesson learned the hard way when I returned to an overflowing jar one too many times!).
Crucially, my feeding amount remains consistent regardless of the total volume of starter I have. This method has consistently produced the healthiest and most active sourdough starter I’ve ever had, and I stand by it. While some bakers advocate for discarding a portion of the starter before feeding to maintain specific ratios, I personally don’t find it necessary with this approach, especially given the incredible activity and results I achieve. Why discard when your starter is performing at its peak?
Don’t Have Sourdough Starter? Here’s a Quick Alternative!
If you’re eager to make these sourdough bagels but don’t have an established starter and don’t have time to grow one from scratch, you can create a quick, yeast-boosted pre-ferment. This “sponge” will mimic some of the leavening and flavor-developing properties of a traditional starter in a much shorter timeframe. Simply mix 1/2 cup (approximately 60g) of unbleached bread flour with 1/2 cup (120ml) of warm water. Stir in 1/2 teaspoon of active dry yeast. Allow this mixture to ferment at room temperature for anywhere from 2 hours (for a quick rise) up to overnight (for more flavor development). It won’t have the full complexity of a true sourdough, but it will certainly elevate your bagels beyond plain yeast dough.
How To Shape Sourdough Bagels for that Perfect Ring
Achieving the classic bagel shape is easier than you think with a little practice. Here’s a detailed guide:
- Start with a piece of bagel dough weighing approximately 135 grams for a standard-sized bagel.
- Place the dough on a lightly floured or un-floured work surface (depending on dough stickiness) and gently pat it into a small rectangle.
- Roll the rectangle tightly into a log shape, ensuring there are no air pockets within. This log should be about 14-15 inches long. Consistent length helps create uniformly sized bagels.
- Now for the ring: wrap one end of the dough log around your closed fist. Take the other end of the log and overlap it slightly with the first end, forming a circle around your hand.
- Using the palm of your hand, roll the overlapping ends back and forth against your work surface. Apply gentle pressure to firmly press and seal the edges together. You want a strong seal so the bagel doesn’t unravel during boiling or baking.
- Once shaped, place each hand-shaped bagel onto a baking sheet generously dusted with cornmeal. The cornmeal prevents sticking and adds a subtle texture to the bottom of the bagels.
How Long Do Sourdough Bagels Take to Make?
While naturally leavened bread often takes longer than yeast-only recipes, the beauty of this sourdough bagel recipe is that much of the time is hands-off. The active preparation time is quite manageable, with the bulk of the waiting occurring during proofing. This recipe typically takes about 7 hours of active and passive proofing before the crucial overnight refrigeration. This includes mixing, initial rest, shaping, and a preliminary proof. The extended cold proof in the fridge then takes over, allowing you to relax while the flavors develop and the dough slowly ferments. This long, slow cold proof is what truly sets these bagels apart, giving them an incredible crisp and chewy crust that no other bagel recipe has delivered for me.
Key Ingredients for Exceptional Sourdough Bagels
Crafting bagels with maximum flavor and texture requires specific ingredients. Opting for a quality sourdough starter over dry yeast will significantly enhance the depth and complexity of your bagels, even if it adds a bit of extra proofing time – it’s truly worth the effort!
- Unbleached Bread Flour: While all-purpose flour can work, for the best results and that signature chewy texture, use a high-gluten or high-protein bread flour. I highly recommend King Arthur bread flour for its consistent quality.
- Active Sourdough Starter: This is the heart of the recipe! As discussed, you can cultivate your own, acquire one, or use a quick yeast-boosted sponge. To make a quick starter substitute: mix 1/2 cup warm water and 1/2 cup unbleached bread flour with 1/2 tsp active dry yeast and let it sit in a warm place for a day.
- Warm Water: Using warm tap water (not hot) helps to activate the sourdough starter more quickly and efficiently, speeding up the initial proofing time.
- Salt: Essential for flavor, strengthening the gluten structure, and controlling fermentation.
- Malt (Barley Malt Syrup): This is a traditional ingredient in New York bagels, providing a distinct malty sweetness, contributing to the rich golden-brown crust, and enhancing chewiness. If you can’t find it, maple syrup, honey, or brown sugar are acceptable substitutes, though they may alter the final flavor slightly.
- Granulated Sugar: A small amount of granulated sugar adds an extra layer of flavor and contributes to browning, highly recommended for a well-rounded bagel taste.
- Dry Milk Powder: A proven dough enhancer! As seen in my Domino’s Pizza Dough Recipe, dry milk powder helps tenderize the crumb, improve crust color, and extend shelf life.
- Plain or Everything Bagel Seasoning: Your choice of topping! Common ingredients for “Everything Bagel” seasoning include onion powder, garlic powder, sesame seeds, and poppy seeds.
How To Make Homemade Everything Bagel Seasoning
Elevate your homemade bagels with a custom blend of Everything Bagel Seasoning. It’s incredibly simple to prepare:
- 1 Tbsp onion powder
- 1 Tbsp garlic powder
- 2-3 Tbsp white sesame seeds
- 2-3 Tbsp black poppy seeds
- Optional: 1-2 Tbsp dried minced onion, 1-2 Tbsp dried minced garlic, a pinch of coarse sea salt
Simply combine all ingredients in a small bowl and mix well. Store in an airtight container for future use. Adjust quantities to your personal preference for a spicier, more garlicky, or seed-heavy blend!
Creative Bagel Topping Ideas for Every Palate
While Everything Bagel seasoning is a popular choice, there’s a whole world of delicious toppings to explore for your homemade bagels, just like you’d find at a gourmet bagel shop:
- Sesame Seed Bagels: A classic for a reason, offering a nutty flavor and satisfying crunch.
- Poppy Seed Bagels: Another traditional choice, providing a subtle texture and earthy taste.
- Asiago Cheese Bagels: Incorporate shredded Asiago cheese into the dough or sprinkle on top before baking for a savory, cheesy crust.
- Jalapeño and Cheddar Bagels: Mix finely diced jalapeños and shredded cheddar cheese into the dough or press onto the exterior for a spicy kick.
- Onion Bagels: Mix dried minced onion into the dough or generously sprinkle on top for a robust, savory flavor.
- Garlic Bagels: Similar to onion bagels, use garlic powder or dried minced garlic.
Delicious Bagel Spreads to Transform Your Meal
A great bagel deserves an equally great spread! Move beyond plain cream cheese and try these exciting options:
- Labneh with Roasted Garlic: A thick, tangy strained yogurt (Labneh) becomes even more delightful when drizzled with olive oil infused with roasted garlic.
- Herbed Cream Cheese: Mix fresh chopped herbs (dill, chives, parsley) into cream cheese for a vibrant, aromatic spread.
- Classic Lox: Pair your bagel with thinly sliced cured salmon (lox), cream cheese, capers, and red onion for a timeless New York delicacy.
- Artisan Flavored Cream Cheese Spreads: Experiment with commercial or homemade sweet or savory cream cheese blends like strawberry, vegetable, or scallion.
- Cottage Cheese and Honey: For a lighter, protein-rich option, cottage cheese with a drizzle of honey offers a sweet and savory balance.
A Sample Baking Schedule for Sourdough Bagels
This overnight schedule allows for maximum flavor development with minimal active work in the morning:
- 2:00 PM: Ensure your sourdough starter was fed at least an hour prior and is active. Begin mixing and kneading the bagel dough. Once kneaded, allow the dough to rest (bulk ferment) in a warm place for 1-2 hours.
- 4:00 PM: Lightly dust an 18×13-inch baking sheet with cornmeal. Divide your dough into equal pieces and meticulously shape each bagel. Place the shaped bagels on the prepared sheet. Allow them to proof at room temperature for another 2-4 hours.
- 8:00 PM: Once the bagels have sufficiently proofed at room temperature, cover the baking sheet tightly with plastic wrap to prevent drying and transfer them to the refrigerator. They will continue a slow, cold proof overnight (for at least 8-12 hours).
- 5:00 AM (or whenever you’re ready!): The next morning, preheat your oven to a high temperature. Prepare your boiling water bath. Boil the chilled bagels, add toppings if desired, and then bake them until golden and crusty. (Note: You absolutely do not need to wake up as early as 5 AM; simply adjust your morning boil and bake time to suit your schedule!).
Delicious Bagel Sandwich Ideas
Bagels are the perfect canvas for an array of delightful sandwiches:
- Manhattan Bagel Sandwich: A classic combination, often featuring cream cheese, lox, capers, and red onion, sometimes with tomato or cucumber.
- Breakfast Egg Sandwich: Load your bagel with fluffy scrambled eggs, crispy bacon (or savory sausage), and melty cheese for the ultimate breakfast on the go. Try our easy oven-baked egg patties for convenience.
- Asiago Bagel Sandwich: Elevate your lunch with an Asiago bagel filled with thinly sliced Swiss cheese and savory ham, perhaps with a touch of mustard.
- Avocado Toast Bagel: For a healthy and trendy option, top your toasted bagel with mashed avocado, a sprinkle of everything bagel seasoning, and a squeeze of lime.
- Individual Bread Pizza Bagels: A fun and quick meal! Halve your bagels, spread with pizza sauce, top with mozzarella and your favorite pizza toppings, then bake until cheese is bubbly.
And for a sweet treat, simply spread jam, jelly, or rich Nutella over your toasted bagels!
How To Store Your Homemade Sourdough Bagels
To maximize the freshness and enjoyment of your homemade sourdough bagels, proper storage is key. Bagels generally maintain their best quality for up to 2 days when stored at room temperature in an airtight container or bag. To extend their shelf life and prevent them from becoming stale too quickly, refrigerate them for up to 1 week. However, for long-term storage and to truly preserve their freshly baked taste and texture, freezing is the optimal method.
It’s important to freeze bagels on the same day they are baked, after they have cooled completely. Don’t wait until they start to get stale! Determine how many you anticipate eating within a day or two and freeze the rest. This locks in their freshness, ensuring you always have delicious bagels on hand.
Storing: Store bagels at room temperature in an airtight container for up to 2 days. For longer storage up to a week, refrigerate them. For best results for extended periods, freeze them.
Reheating: Refrigerated bagels are best reheated by toasting them in a toaster or oven. Frozen bagels should be thawed first (ideally in the refrigerator) before toasting.
Can You Freeze Sourdough Bagels? Yes, and Here’s How!
Absolutely, freezing bagels is an excellent way to enjoy them long after baking! You have two primary methods:
1. Freezing Fully Baked Bagels: Once your bagels are completely baked and cooled, place them into a freezer-safe bag or airtight container. Remove as much air as possible to prevent freezer burn. They can be kept frozen for up to 3 months.
Reheating Fully Baked Bagels: Thaw frozen bagels in the refrigerator overnight or at room temperature for a few hours before slicing and toasting to your desired crispness. You can also lightly dampen them and bake briefly in a preheated oven (around 350°F / 175°C) for a few minutes to refresh them.
2. Freezing Par-Baked Bagels: This method allows for “freshly baked” bagels on demand. Undercook your bagels by about 5 minutes (they will still be pale). Let them cool completely, then flash freeze them on a baking sheet until solid. Once frozen, transfer them to a freezer bag. To finish preparing par-baked bagels, preheat your oven to 350°F (175°C) and bake them for an additional 7-8 minutes, or until golden brown and fully cooked through. This is a fantastic option for meal prepping!
Can I Substitute Barley Malt Syrup?
Yes, while barley malt syrup is traditionally preferred for its unique flavor and contribution to the bagel’s crust and color, it can be substituted if unavailable. Good alternatives include brown sugar, maple syrup, or honey. Each substitute will impart a slightly different flavor profile and may affect the final color and chewiness to a minor degree, but they will still contribute to the overall quality of your bagels. Choose the one that best suits your pantry and taste preference.
Expert Tips for Baking the BEST Sourdough Bagels:
- Embrace Your Sourdough Starter: The cornerstone of truly incredible bagels is an active, well-maintained sourdough starter. It’s what delivers that unparalleled chewy texture and fantastic crust, far superior to yeast-only bagels. A strong starter means a strong bagel!
- Master the Boil Time: Do NOT over-boil your bagels! A quick dip of 30-50 seconds per side, or until they confidently float to the top, is absolutely perfect. Over-boiling can lead to a mushy, undesirable skin and a less appealing final product. The goal is to set the crust, not cook the bagel through.
- Enhance Browning with Water Bath Additives: Incorporating baking soda and brown sugar (or malt syrup) into your boiling water bath is crucial. These alkaline and sugary additions help create a beautiful, rich brown color on your bagels during baking, alongside contributing to that signature shiny, crisp crust.
- Invest in Barley Malt Syrup: While substitutes exist, if you’re serious about replicating authentic New York-style bagels, I highly recommend ordering a small bottle of barley malt syrup. It’s a game-changer! Most professional bagel bakers use malt because it imparts a distinct, subtle sweetness and malty depth that is hard to achieve otherwise. It also keeps very well in the refrigerator for a long time, making it a worthwhile pantry staple. You’ll be amazed at how little difference there is between your homemade bagels and those from a specialty bagel shop when you use it!
Essential Equipment for Sourdough Bagel Making:
Having the right tools can make your bagel-making journey much smoother and more enjoyable:
- Kitchen Scale: Highly recommended for accurate measurements. Baking, especially with sourdough, benefits greatly from precision, and a scale accounts for variations that cup measurements can miss due to altitude or packing density.
- Large Slotted Spoon: Indispensable for safely and easily removing boiled bagels from the hot water bath without damaging their delicate, set crust.
- Commercial Baking Sheet (18×13-inch): A sturdy half-sheet pan will comfortably fit 12 bagels, allowing for proper spacing as they expand during boiling and baking.
- Stand Mixer (e.g., Kitchen Aid Professional Mixer): While not strictly essential (you can knead by hand!), a powerful stand mixer with a dough hook makes the kneading process much quicker and less strenuous, ensuring thorough gluten development for that chewy texture.
- Barley Malt Syrup: As mentioned in the tips, this ingredient is highly recommended for achieving the most authentic flavor and crust.
More Irresistible Bread Recipes to Try:
- Subway Bread Recipe (Italian Herb and Cheese Copycat)
- Panera Bread Focaccia (Copycat Recipe)
- Naan Bread (Stonefire Copycat)
- Outback Steakhouse Bread
How To Make Sourdough Bagels: The Full Recipe

Rate
Pin
Sourdough Bagels
Equipment
-
Large slotted spoon
-
18×13″ sheet pan
-
Malt syrup (optional, but highly recommended for authentic flavor)
Ingredients
For the Dough:
-
470 grams warm water (approx. 2 cups)
-
30 grams granulated sugar (approx. 2 1/2 Tbsp)
-
30 grams barley malt syrup (approx. 1 1/2 Tbsp, see notes for substitutions)
-
15 grams dry milk powder (approx. 2 Tbsp)
-
20 grams salt (approx. 1 1/2 Tbsp)
-
200 grams active sourdough starter (approx. 1 cup)
-
950 grams unbleached bread flour (approx. 6 3/4 cups, high protein recommended)
For the Water Bath:
-
3 quarts water
-
1 Tbsp baking soda
-
1 Tbsp brown sugar
For Everything Bagel Seasoning (Optional):
-
1 Tbsp onion powder
-
1 Tbsp garlic powder
-
2 Tbsp sesame seeds
-
2 Tbsp poppy seeds
Instructions
Directions:
-
 In the bowl of a stand mixer (such as a Kitchen Aid) fitted with a dough hook, combine the warm water, granulated sugar, barley malt syrup, dry milk powder, salt, and active sourdough starter. Mix briefly to combine. Gradually add the unbleached bread flour and knead on low speed for 3-5 minutes until a smooth, elastic dough forms.
 -
 Once kneaded, transfer the dough to a lightly oiled bowl, cover it, and allow it to rest (bulk ferment) in a warm place for approximately 3 hours, or until visibly puffy.
 -
 Lightly dust an 18×13-inch sheet pan generously with cornmeal. Gently turn the dough out onto a clean work surface. Divide the dough into 12 equal pieces, ideally weighing each at 135 grams for uniform bagels. Flatten each piece of dough into a small rectangle.
 -
 Roll each flattened dough piece tightly into a uniform log about 14-15 inches long. This initial log shape contributes to a smoother, more even bagel.
 -
 To form the ring, wrap one end of the log around your closed fist. Take the other end and firmly press it onto the first end, sealing them together. Using the palm of your hand, roll the joined section back and forth against the work surface until the edges are seamlessly pressed and sealed. Place all hand-shaped bagels onto the cornmeal-lined baking sheet. Allow them to proof at room temperature for 2 hours in a warm place. Afterward, cover the sheet pan tightly with plastic wrap and refrigerate overnight (at least 8-12 hours).
 -
 The next morning, preheat your oven to 480°F (250°C). Bring the water bath ingredients (3 quarts water, 1 Tbsp baking soda, 1 Tbsp brown sugar) to a rolling boil in a large pot. Carefully drop 1-2 bagels at a time into the boiling water, ensuring not to overcrowd. Boil for 30-50 seconds per side, or until they float. Use a large slotted spoon to remove and drain well.
 -
 Immediately after boiling, if desired, dredge the tops of the bagels in your chosen seasoning (like Everything Bagel Seasoning) or leave them plain. Arrange the boiled bagels onto 2 baking sheets lined with parchment paper or silicone mats, allowing sufficient space for expansion (approximately 6 bagels per pan).
 -
Bake in the preheated oven at 480°F (250°C) for 14-15 minutes, or until the bagels are beautifully golden brown and boast a crisp, shiny crust. Let cool slightly on a wire rack before serving.
Notes
- Barley Malt Syrup: If you cannot find barley malt syrup, you can substitute it with an equal amount of maple syrup, honey, or brown sugar for the dough. For the water bath, brown sugar or honey will work well.
Nutrition per serving
