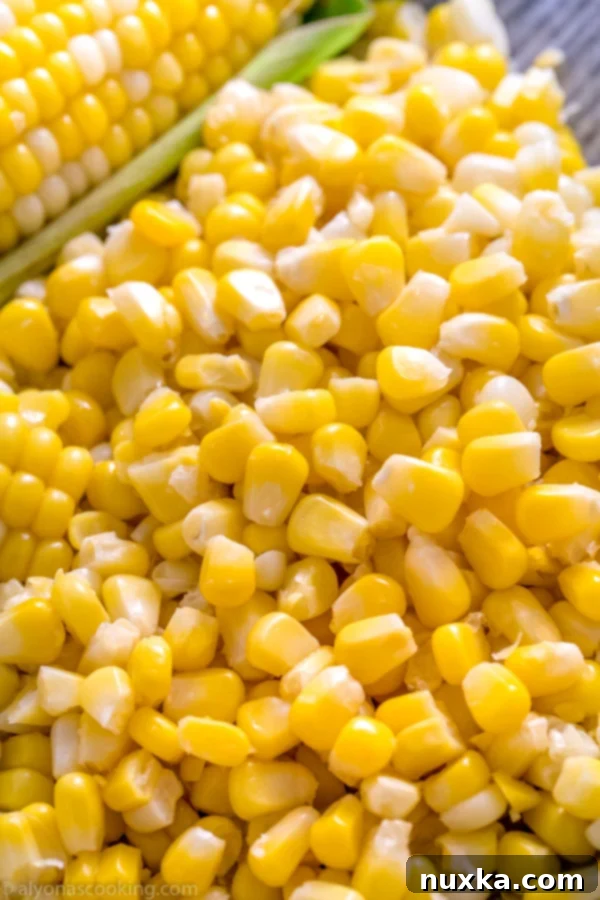
How to Freeze Fresh Corn: Your Ultimate Guide to Sweet Kernels Year-Round
There’s nothing quite like the taste of sweet, fresh corn during peak season. Its juicy kernels burst with flavor, making it a beloved staple for summer meals and barbecues. However, the joy of fresh corn is often fleeting. Thankfully, with the right techniques, you can capture that peak freshness and enjoy delicious corn kernels all year long, just like you’d find in the grocery store freezer aisle. This comprehensive guide will walk you through the simplest and most effective methods for freezing fresh corn, ensuring you always have a stash of sweet kernels ready for your favorite recipes.
Why Freeze Fresh Corn? Benefits of Home Freezing
Freezing fresh corn offers a multitude of benefits, making it an excellent way to preserve this summer delight:
- Enjoy Year-Round: The most obvious benefit is extending corn season indefinitely. You can savor the taste of summer even in the dead of winter.
- Cost-Effective: Buying corn in bulk when it’s in season and at its lowest price allows you to save money compared to purchasing frozen corn throughout the year.
- Superior Flavor & Texture: Home-frozen corn often tastes better than commercially processed varieties, retaining more of its natural sweetness and a satisfying texture.
- Control Over Ingredients: You decide what goes into your freezer bags. No added preservatives or unwanted ingredients, just pure corn.
- Convenience: Having pre-prepped corn kernels ready to go saves valuable time when cooking, especially on busy weeknights.
- Nutrient Retention: Freezing is one of the best methods for preserving the vitamins and minerals in fresh produce.
Two Simple Ways to Freeze Fresh Corn: Blanched vs. Unblanched
When it comes to freezing fresh corn, there are primarily two effective methods to choose from: blanching the corn before freezing, or freezing it raw (unblanched). Both have their merits and are surprisingly simple, but they serve slightly different purposes. Understanding these differences will help you decide which approach is best for your needs.
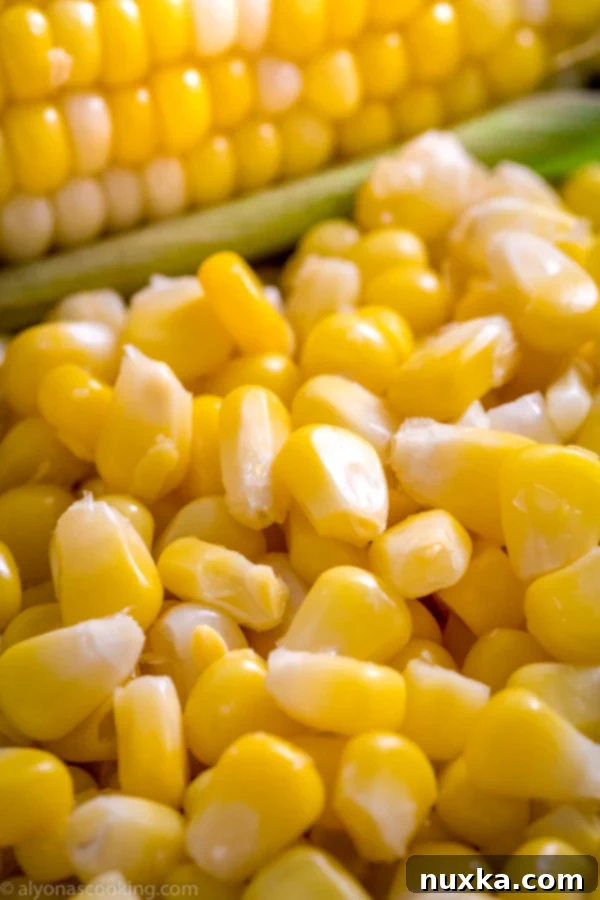
Method 1: Blanching Corn Before Freezing (The Grocery Store Style)
Blanching is a quick, partial cooking process followed by immediate cooling. This method is highly recommended for preserving corn’s vibrant color, crisp-tender texture, and sweet flavor. It also makes it significantly easier to remove the kernels from the cob.
What is Blanching and Why Do It?
Blanching corn involves briefly boiling it in water for a few minutes, then immediately submerging it into an ice bath. This crucial step serves several purposes:
- Enzyme Deactivation: Blanching stops enzyme actions that cause loss of flavor, color, and texture during frozen storage. Without blanching, corn can become tough, develop an off-flavor, and lose its bright yellow hue over time.
- Softens Kernels: The brief cooking softens the kernels just enough to make slicing them off the cob a much smoother, less strenuous task. This is key for achieving that “grocery store style” loose kernel consistency.
- Cleans the Corn: It helps to clean the surface of the corn and reduce the number of microorganisms present.
My own journey into freezing corn this way began after a conversation with a Mennonite lady who shared her bulk blanching technique. While her method involved a large outdoor setup and a pillowcase (yes, really!), I’ve adapted it into a practical, stovetop-friendly version perfect for handling about 12 ears of corn at a time in your kitchen.
Method 2: Freezing Corn Without Blanching (Raw Freezing)
If you’re looking for the quickest way to get corn into the freezer, or if you prefer a firmer texture for certain recipes, freezing corn raw might be for you. This method skips the cooking step entirely, saving time and effort.
How Can You Freeze Corn Without Blanching?
To freeze corn without any cooking, simply prepare your corn by peeling off the husks and removing all silks. From there, you have a few options:
- Whole Cobs: Freeze the cleaned cobs whole.
- Chunks: Cut the cobs into smaller chunks if desired.
- Raw Kernels: Carefully cut the raw kernels off the cob and store them.
Once prepped, place the corn into freezer-safe zip-top bags or containers, remove as much air as possible, and store them in the freezer. When it’s time to use them, remember that uncooked corn should always be cooked before consumption. You can boil the cobs (about 3-5 minutes), sauté the kernels directly from frozen, or add them straight into soups and stews. While convenient, be aware that unblanched corn may not retain its color, flavor, and texture as well as blanched corn during long-term storage.
For more detailed insights into different freezing methods, including freezing whole cobs, you might find this article helpful: 3 ways to freeze corn the blanched, unblanched way, and whole.
Essential Equipment for Freezing Corn
Before you begin, gather these simple tools to make the process smooth and efficient:
- A very large pot (at least 8-quart capacity) for blanching.
- A large bowl filled with ice water (your “ice bath”).
- Tongs or a slotted spoon for transferring corn.
- A sharp knife for cutting kernels off the cob.
- A sturdy cutting board.
- Clean kitchen towels for drying.
- Large baking sheets or trays for flash freezing.
- Freezer-safe zip-top bags or airtight containers.
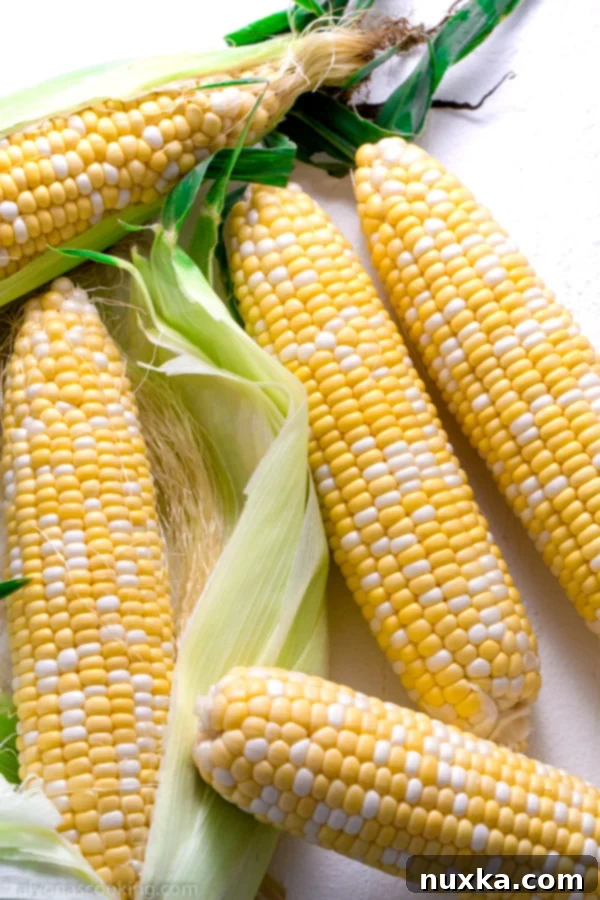
Step-by-Step Guide: How to Freeze Sweet Corn (Blanched Kernels)
This method focuses on blanching and then removing the kernels, giving you perfectly preserved sweet corn ready for any dish.
Ingredients for Freezer Corn:
- 12 ears of fresh corn, shucked
Instructions:
- Prepare the Corn: Begin by removing the husks and all silk strands from each ear of corn. This process is commonly known as “shucking” the corn. Ensure the cobs are as clean as possible.
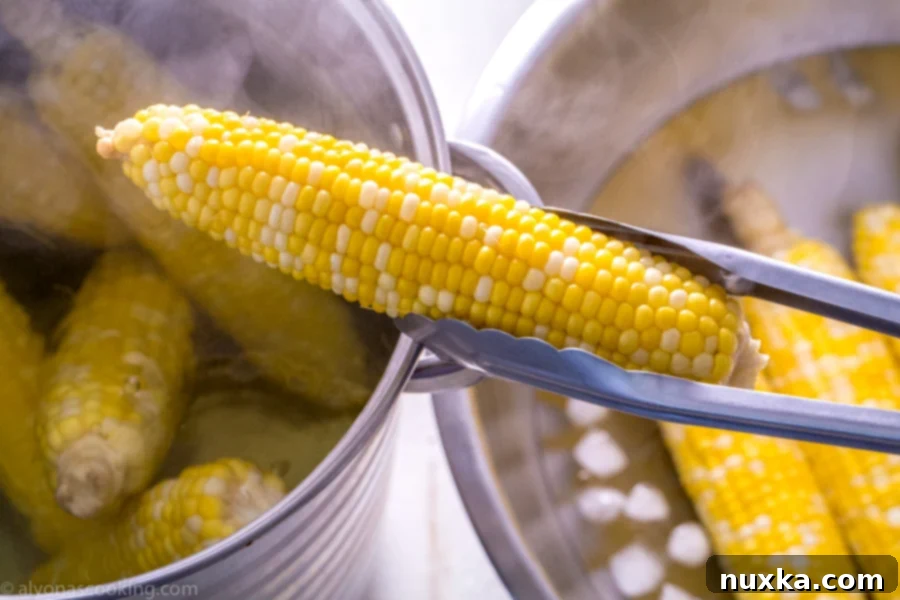
- Blanch the Corn: Bring a very large pot of water to a rolling boil. Carefully place the shucked whole corn ears into the boiling water. Boil them for exactly 3 minutes. This quick blanching ensures the kernels remain sweet and crisp after freezing.
- Prepare the Ice Bath: While the corn is blanching, prepare a large bowl filled with ice and cold water. This ice bath is critical for stopping the cooking process immediately after blanching.
- Cool Down Rapidly: Using tongs or a slotted spoon, swiftly remove the hot corn ears from the boiling water and plunge them directly into the ice-cold water. Allow them to cool completely, usually for a few minutes, until they are comfortable to handle. Once cooled, remove the cobs and pat them thoroughly dry with a clean kitchen towel. Excess moisture can lead to ice crystals and freezer burn.
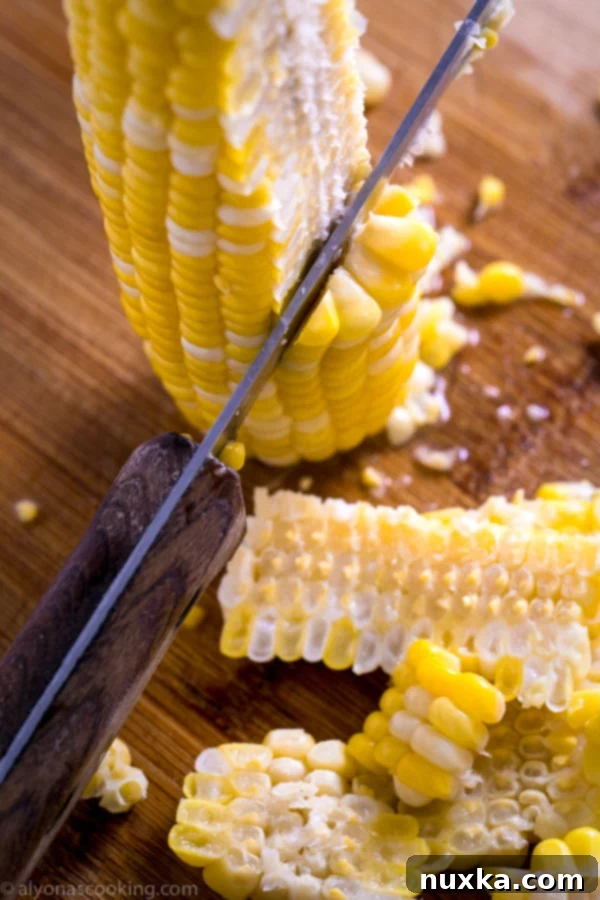
- Cut Off the Kernels: Stand an ear of corn upright on a cutting board, with the narrow end pointing up for stability. Using a sharp knife, carefully run the blade down the side of the cob, cutting as close as possible to remove the kernels. Rotate the cob and repeat until all kernels are removed. A bundt pan or a bowl placed upside down in a larger bowl can also help stabilize the cob and catch the kernels.
- Flash Freeze for Best Results: Transfer all the removed kernels onto a large baking sheet or tray in a single layer. This step is called “flash freezing.” Place the tray into the freezer until the kernels are completely solid (usually 1-2 hours). Flash freezing prevents the kernels from clumping together, allowing you to easily scoop out just the amount you need later.
- Store in Freezer Bags: Once the kernels are solid, transfer them from the tray into freezer-safe zip-top bags or airtight containers. Remove as much air as possible from the bags to prevent freezer burn – a vacuum sealer works wonderfully here. Label the bags with the date and store them in the freezer.
Tips for Successful Corn Freezing
- Choose Peak Season Corn: For the best flavor, freeze corn when it’s at its sweetest and freshest, typically late summer. Look for firm, plump ears with bright green husks and moist silks.
- Work Quickly: Corn sugar begins to turn to starch soon after picking, so process it as quickly as possible after harvest for optimal sweetness.
- Don’t Overcrowd the Pot: Blanching in batches ensures the water remains at a rolling boil and the corn cooks evenly.
- Thorough Drying is Key: Ensure corn is completely dry before freezing to minimize ice crystal formation and freezer burn.
- Portion for Convenience: Store kernels in portions that make sense for your typical recipes (e.g., 1-cup or 2-cup bags).
- Label and Date: Always label your freezer bags with the contents and the date frozen. Frozen corn is best used within 8-12 months for optimal quality.
How to Use Your Frozen Corn Kernels
Once you have a freezer full of your beautifully preserved corn, the culinary possibilities are endless! There’s no need to thaw flash-frozen kernels before using them in most cooked dishes. Simply add them directly from the freezer.
- Sautéed Side Dish: Sauté with a little butter, salt, and pepper for a quick and easy side.
- Soups and Stews: Stir into chili, chowders, or any vegetable soup for added sweetness and texture.
- Casseroles: A fantastic addition to hearty casseroles like a shepherd’s pie or a chicken and corn bake.
- Salads: Thaw and add to fresh summer salads, pasta salads, or grain bowls for extra crunch and sweetness.
- Salsas and Dips: Incorporate into fresh corn salsa, bean dips, or creamy cheese dips.
- Stir-fries: A colorful and tasty addition to any stir-fry.
- Cornbread or Muffins: Mix into your favorite cornbread or savory muffin batter.
Recipes Using Corn Kernels:
Get inspired with these delicious recipes that benefit from having frozen corn on hand:
- Lazy Chicken Pot Biscuit Casserole
- Bacon Potato Salad
- Creamy Crab and Rice Salad

Conclusion: Enjoy Fresh Corn Flavor All Year!
Freezing fresh corn is an incredibly rewarding kitchen project that pays dividends throughout the year. Whether you opt for the blanching method to ensure maximum flavor and texture preservation, or the quicker raw freezing technique, you’ll be able to enjoy the sweet taste of summer corn long after the season has passed. With a little effort upfront, you’ll have a ready supply of versatile, delicious corn kernels, perfect for enhancing any meal. So, grab a dozen ears of corn, follow these simple steps, and stock your freezer with this golden goodness!
Rate
Pin
How to Freeze Fresh Corn (Grocery Store Style)
Ingredients
-
12 ears of fresh corn shucked (husks and silk removed)
Instructions
-
First, prepare your corn by removing the husks and all silk strands. This process is called “shucking” the corn.
-
Bring a large pot of water to a rolling boil. Carefully place the whole, shucked corn ears into the boiling water and boil them for exactly 3 minutes.
-
Meanwhile, prepare a large bowl filled with ice water. Once the corn has blanched for 3 minutes, remove the hot ears from the pot and immediately submerge them into the ice-cold water to stop the cooking process. When the corn is cool enough to handle, remove it and pat each ear thoroughly dry with a towel.
-
Stand an ear of corn onto a cutting board with the narrow end pointing up for stability. Using a sharp knife, run the blade as close to the side of the cob as possible, cutting downwards to remove the kernels. Transfer all the removed kernels to a large tray and flash freeze them in a single layer until solid. Once frozen, transfer the solid, loose kernels into a freezer-safe zip-top bag, remove excess air, and store them frozen.
Notes
Nutrition per serving
