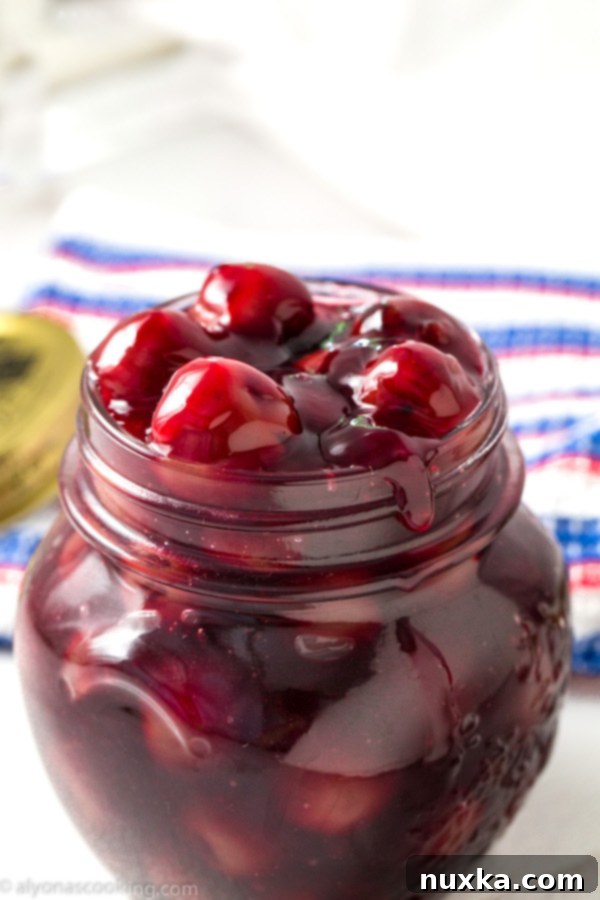
Easy Homemade Cherry Pie Filling: The Best Recipe for Pies, Tarts & More
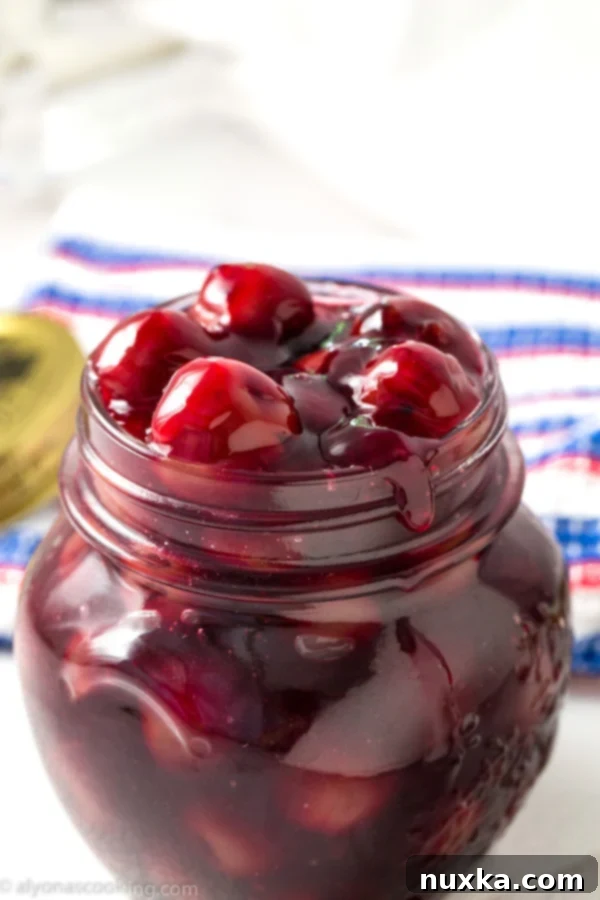
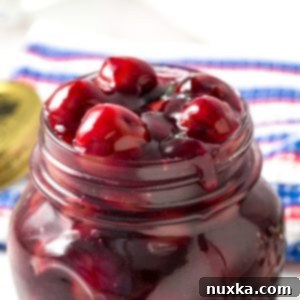
There’s something truly magical about the taste of homemade cherry pie filling. While store-bought canned varieties offer convenience, nothing compares to the vibrant flavor, perfect texture, and wholesome goodness of a filling made right in your own kitchen. This easy homemade cherry pie filling recipe captures that nostalgic, rich taste, making it ideal for everything from classic pies and tarts to sweet buns, crepes, and decadent cheesecake toppings. Say goodbye to artificial flavors and hello to a burst of fresh, fruity deliciousness that elevates any dessert.
Why Homemade Cherry Pie Filling is Always Better
Opting for a homemade cherry pie filling over a store-bought can brings a multitude of benefits that truly enhance your desserts. The primary advantage is complete control over the ingredients. This means you can adjust the sweetness to your exact preference, ensuring it perfectly complements the natural tartness or sweetness of your chosen cherries. You also get to use fresh, high-quality fruit and avoid any artificial preservatives, colors, or high-fructose corn syrup commonly found in commercial products. The result is a cleaner, more authentic cherry flavor that truly shines through in every bite.
Beyond the ingredients, the texture of homemade filling is simply superior. Store-bought options can often be overly gelatinous, watery, or uneven, lacking the ideal consistency. With this recipe, you can simmer the filling to your desired thickness, ensuring it’s robust enough to hold its shape beautifully in a pie, yet tender enough to melt deliciously in your mouth. The process of making it yourself is also incredibly rewarding, filling your home with the sweet, inviting aroma of cherries and fresh baking. It’s a simple step that makes a significant difference in the final taste, quality, and overall enjoyment of your culinary creations. Experience the joy of baking with the best cherry pie filling!
Unleashing the Versatility: More Than Just Pie Filling
While “pie filling” is in its name, this incredible homemade cherry concoction is far too versatile to be confined to just one dessert. Its rich, fruity flavor and luscious texture make it a fantastic addition to a wide array of sweet treats and breakfasts. Having a batch of this homemade cherry pie filling on hand is like having a secret weapon in your dessert arsenal.
- Classic Cherry Pies & Tarts: Of course, its primary calling! Whether you’re making a traditional double-crust pie, a delicate lattice-top tart, or charming individual mini-pies, this filling will be the undisputed star. Its robust, balanced flavor stands up beautifully to a flaky, buttery pastry crust, creating a dessert that evokes warmth and nostalgia.
- Cheesecake Topping: Transform a simple cheesecake into an extraordinary dessert with ease. Spoon generous amounts of this warm or chilled cherry filling over a creamy New York-style or no-bake cheesecake for a stunning presentation and an irresistible flavor combination that’s both sweet and slightly tart.
- Sweet Buns & Pastries: Infuse your baked goods with a burst of fruity flavor. Use this cherry goodness to fill croissants, flaky turnovers, sweet yeast buns, or even Danish pastries. The fruit expands and melds wonderfully within a soft, doughy pastry, creating a delightful treat perfect for a morning pastry or an afternoon snack.
- Crepes & Pancakes: Elevate your breakfast or brunch routine. A spoonful (or several!) of warm homemade cherry pie filling transforms simple crepes or pancakes into a gourmet item. Pair it with a dollop of fresh whipped cream, a sprinkle of toasted almonds, or a dusting of powdered sugar for an elegant and satisfying meal.
- Yogurt Parfaits & Breakfast Bowls: For a healthy yet indulgent start to your day, layer this homemade filling with creamy Greek yogurt, crunchy granola, and fresh berries. It adds natural sweetness, a vibrant fruit component, and a satisfying texture that makes breakfast feel like a treat.
- Ice Cream Sundaes: Create an instant, luxurious dessert by drizzling warm cherry pie filling over scoops of vanilla bean ice cream. For an extra special touch, add chopped nuts, chocolate shavings, or a swirl of hot fudge.
- Cakes & Cupcakes: Utilize it as a delectable layer filling for chocolate or vanilla cakes, adding moisture and a fruity counterpoint. Alternatively, scoop a small amount into the center of cupcakes before baking for a delightful surprise burst of flavor in every bite. It also makes a wonderful topping for a simple pound cake or angel food cake.
- Thumbprint Cookies: Bake beautiful and delicious thumbprint cookies by filling the indentations with a dollop of this cherry pie filling before or after baking. The vibrant red against a buttery shortbread cookie is visually appealing and incredibly tasty.
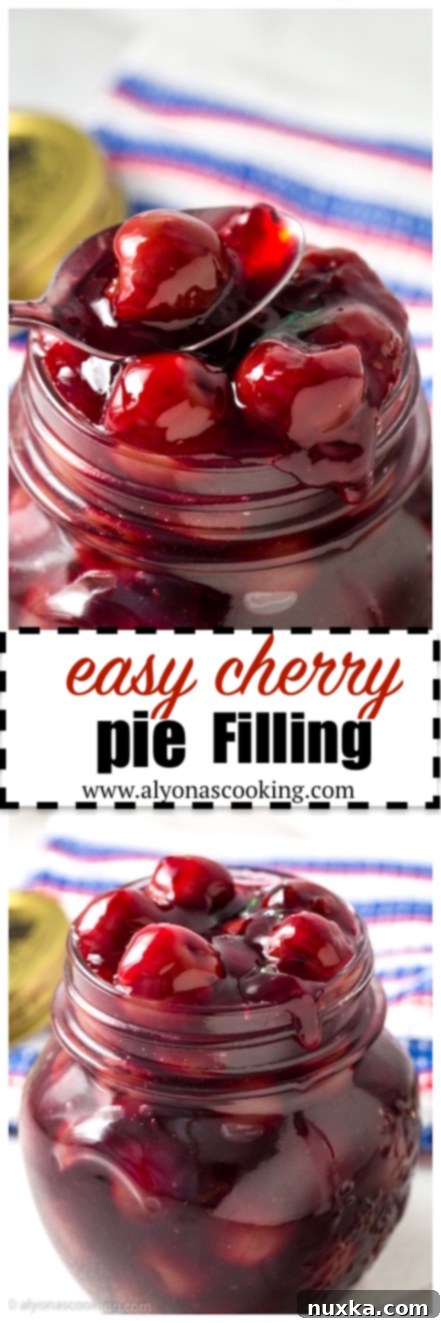
Choosing Your Cherries: Fresh vs. Jarred for the Best Homemade Filling
This fantastic recipe offers impressive flexibility, allowing you to use either fresh or jarred cherries, depending on what’s available and your personal preference. Both options yield a delicious homemade cherry pie filling, but understanding the nuances of each can help you achieve the best possible results for your culinary projects.
Using Jarred Cherries for Ultimate Convenience
If fresh cherries aren’t in season, are difficult to find, or if you’re simply looking for a time-saving solution, jarred sour cherries (often referred to as dark Morello cherries) are an excellent alternative. These are typically packed in water or a very light syrup and can be readily found in many grocery stores. Keep an eye out for them at popular retailers like Aldi and Dollar Tree, or specialized Slavic grocery stores, which often stock high-quality jarred sour cherries. Using jarred cherries significantly cuts down on prep time, as they are already pitted and ready to use, saving you the messy, albeit satisfying, task of pitting.
When opting for jarred cherries, it’s important to choose those packed in water or a very light syrup to maintain control over the sweetness of your filling. The natural juice from these jarred cherries is incredibly valuable for the filling’s base, adding a concentrated depth of flavor that complements the fruit beautifully without needing additional fruit juice. I recently experienced the pure joy of canning a bountiful harvest of hand-picked sweet cherries (a huge thanks to my in-laws and children for their diligent efforts!). I ended up with twelve 1-liter jars of beautifully preserved cherries, and it was from one of these very jars that I crafted a batch of this delightful cherry pie filling. This personal experience highlights just how practical and intensely flavorful jarred cherries can be, whether they’re store-bought for convenience or home-canned for a taste of summer all year round.
Embracing Fresh Cherries for Peak Seasonal Flavor
When fresh cherries are in season, typically from late spring through mid-summer, they offer an unparalleled burst of natural flavor that truly elevates any dessert. You have the choice of using either sweet cherries (such as Bing or Rainier varieties) or sour cherries (like Montmorency or Morello). Sour cherries are traditionally preferred for pies and fillings because their inherent tartness provides a wonderful contrast to the added sugar, resulting in a perfectly balanced and complex flavor profile that isn’t overly sweet. However, if you personally enjoy a sweeter dessert or prefer the flavor of sweet cherries, they work beautifully too – you might just need to adjust the sugar content downwards slightly to avoid an overly saccharine result.
If you choose to use fresh cherries, remember that pitting them is an essential first step. A dedicated cherry pitter makes this task quick and remarkably easy, but you can also achieve similar results using a sturdy chopstick, a clean paperclip, or even a strong straw to push the pits out. For the liquid component when using fresh cherries, you’ll need a cup of cherry juice or sweetened water. Cherry juice will amplify the fruit’s natural flavor, creating a more intense cherry experience, while sweetened water provides a neutral base, allowing the pure, unadulterated taste of the fresh cherries to shine through. Regardless of your choice, the homemade difference, whether derived from peak-season fresh cherries or conveniently jarred ones, is truly noticeable and always worth the effort for a superior cherry pie filling!
Essential Ingredients for Your Perfect Cherry Pie Filling
Crafting the perfect homemade cherry pie filling relies on a few simple, yet crucial, ingredients. Each component plays a vital role in achieving that ideal balance of luscious flavor and satisfying texture. Understanding these foundational elements will not only empower you to follow the recipe with confidence but also enable you to customize it to suit your specific taste preferences.
- Cherries (Fresh or Jarred): These are, without a doubt, the undisputed stars of the show. Whether you opt for the bright, tangy tartness of Morello cherries or the juicy, mellow sweetness of Bing, the quality and type of your cherries will directly impact the final taste and character of your filling. If you’re using fresh cherries, ensure they are perfectly ripe, washed thoroughly, and, most importantly, pitted. If choosing jarred cherries, drain them carefully, but make sure to reserve all that flavorful juice – it’s an invaluable component for our filling’s base.
- Sugar: Granulated white sugar is used to sweeten the filling and balance the natural acidity of the cherries. The amount specified in the recipe is a guideline, and it can (and should) be adjusted based on the inherent sweetness or tartness of your chosen cherries and, of course, your personal preference. Sour cherries will naturally require a more generous amount of sugar than sweet varieties. Always taste as you go and don’t hesitate to fine-tune the sweetness!
- Cornstarch: This is our primary thickening agent and a true hero in creating that beautifully glossy, translucent filling that sets up perfectly. It’s absolutely crucial to whisk the cornstarch thoroughly with the liquid (whether it’s cherry juice or sweetened water) *before* applying any heat. This vital step creates a smooth “slurry,” which prevents the cornstarch from clumping when it encounters warmth, thereby ensuring a lump-free, silky-smooth, and consistent texture in your finished filling. For those who might be experimenting or don’t have cornstarch on hand, you could consider using tapioca starch for a slightly clearer finish or all-purpose flour for a more opaque, matte finish, though quantities and cooking times might require slight adjustments for optimal results.
- Optional Yet Highly Recommended Additions:
- Fresh Lemon Juice: A small squeeze of fresh lemon juice can work wonders by brightening the cherry flavor profile and adding a delightful zing that cuts through and balances the sweetness, particularly when you’re using sweeter cherry varieties. It’s a subtle but impactful touch.
- Almond Extract: The pairing of cherry and almond is a classic culinary combination for a reason. A tiny splash of pure almond extract enhances the cherry flavor beautifully, infusing your filling with a subtle, sophisticated, and wonderfully aromatic note that truly elevates the overall experience.
- Warm Spices: For an extra layer of warmth and complexity, consider adding a tiny pinch of ground cinnamon, a whisper of nutmeg, or even a minuscule amount of ground cloves. These spices are particularly appealing and complementary during cooler months or for specific dessert applications.
With these foundational ingredients and a few thoughtful additions, you’re well on your way to crafting a truly delightful homemade cherry pie filling that will undoubtedly impress everyone who tastes it!
INGREDIENTS for jarred cherries:
- 1 (24oz) jar of sour cherries
- 5 TBSP sugar
- 5 tsp cornstarch
INGREDIENTS for fresh cherries:
- 2 cups sweet or sour cherries, pitted (any dark variation of cherries)
- 1 cup of cherry juice or sweetened water
- 5 TBSP sugar
- 5 tsp cornstarch
DIRECTIONS to make Cherry Pie Filling:
1. In a small saucepan, whisk together the juice of the cherries (reserving the cherries for later), sugar and cornstarch. Bring to a boil and simmer until thickened. Stir in the reserved cherries and continue to simmer until thickened to desired consistency.
2. FOR FRESH CHERRIES: In a small saucepan whisk the juice or sweetened water, sugar, and cornstarch over hi heat until thickened. Stir in cherries and simmer to desired consistency.
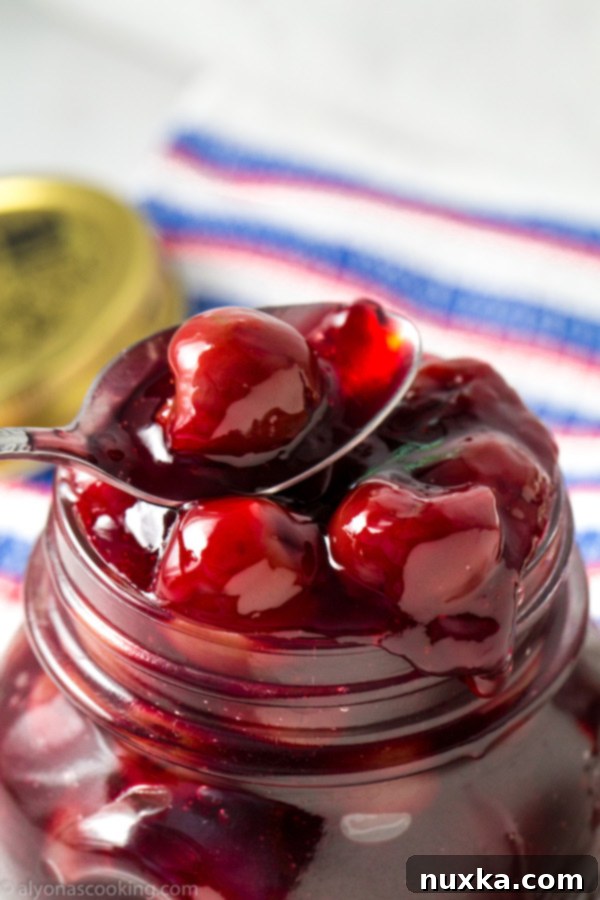
Step-by-Step Guide to Crafting Your Delicious Homemade Cherry Pie Filling
Making this delicious cherry pie filling is surprisingly straightforward and incredibly rewarding. Follow these detailed steps to ensure a perfectly thick, glossy, and intensely flavorful result every single time you make it.
- Prepare Your Cherries and Ingredients: Begin by ensuring all your ingredients are prepped and ready. If you’re using jarred cherries, carefully drain them, making absolutely sure to reserve all of the juice – this liquid is a vital component for our filling’s base. If you’re working with fresh cherries, wash and pit them thoroughly using a cherry pitter or a simple kitchen tool. Accurately measure out your sugar and cornstarch, having them within easy reach.
- Create the Thickening Slurry: In a small to medium-sized saucepan, combine the reserved cherry juice (if using jarred cherries) or the cherry juice/sweetened water (if using fresh cherries) with the measured sugar and cornstarch. It is absolutely crucial to whisk these ingredients together thoroughly and vigorously *before* you place the saucepan on the heat. This important step creates a smooth, lump-free “slurry,” which is key to preventing the cornstarch from clumping when it hits the heat. This ensures your final filling will be wonderfully smooth and silky.
- Begin the Thickening Process: Place the saucepan over medium-high heat. Continuously whisk or stir the mixture as it gradually heats up. You will notice the liquid starting to thicken. Bring the mixture to a gentle boil, then immediately reduce the heat to a steady simmer. Continue to simmer gently, stirring frequently to prevent sticking, until the mixture has reached a noticeable thickness, resembling a thin gravy or a light custard. This initial thickening process usually takes just a few minutes once it starts boiling.
- Incorporate the Cherries: Once your liquid base has thickened to your desired consistency, gently stir in the reserved whole or halved cherries. This applies whether you’re using jarred or fresh cherries. Continue to simmer the entire mixture for another 2 to 5 minutes, stirring occasionally. This allows the cherries to thoroughly heat through and meld beautifully with the thickened sauce, releasing a bit more of their natural juices and intensifying the flavor. Be mindful not to overcook the cherries, especially if using jarred ones, to prevent them from becoming overly soft or mushy.
- Achieve Desired Final Consistency: The finished filling should be thick enough to generously cling to the back of a spoon and hold its shape slightly. If you prefer a richer, thicker filling, you can simmer it for an additional minute or two. Conversely, if it appears too thick for your preference, you can easily thin it slightly by adding a tiny splash of water or extra cherry juice.
- Cool and Prepare for Storage: Once the filling reaches your desired consistency, remove the saucepan from the heat. Remember that the filling will continue to thicken further as it cools. Allow it to cool completely to room temperature before using it in your pies or other delicious desserts, or before transferring it to storage containers.
This comprehensive method ensures that your homemade cherry pie filling is perfectly balanced in flavor and possesses that delightful, rich consistency that makes any dessert truly extraordinary. Enjoy the satisfying process and the utterly delicious results!
Storage and Make-Ahead Tips for Your Homemade Cherry Pie Filling
One of the significant advantages of preparing your own homemade cherry pie filling is the convenience of making it in advance. This thoughtful preparation can significantly streamline your future baking projects and ensure you always have a delightful, wholesome ingredient ready when inspiration strikes. Proper storage is key to keeping your delicious filling fresh and flavorful.
- Refrigeration: Once your homemade cherry pie filling has cooled completely to room temperature, transfer it into a clean, airtight container. It will keep beautifully and maintain its fresh taste and texture in the refrigerator for up to 5-7 days. This makes it an ideal component for weekly meal prepping, allowing you to have a versatile and delicious dessert base or topping readily on hand throughout the week.
- Freezing for Extended Storage: For longer-term storage, homemade cherry pie filling freezes exceptionally well. After the filling has entirely cooled, spoon it into freezer-safe containers or robust, heavy-duty freezer bags. When using containers, leave a small amount of headspace at the top to allow for expansion during freezing. The filling can be safely frozen for up to 3-4 months without significant loss of quality or flavor. When you’re ready to use it, simply transfer the frozen filling to your refrigerator and allow it to thaw overnight. You might notice a slight separation of liquid upon thawing; a gentle stir will usually reincorporate it, or a quick, gentle reheat on the stovetop can restore it to its perfectly smooth, original consistency.
- Canning (Advanced Method): While this specific recipe is formulated for fresh use or short-term refrigeration/freezing, you can adapt cherry pie filling for proper water bath canning. However, canning requires specific measurements, often with a special type of starch like Clear Jel (not regular cornstarch), and precise processing times to ensure food safety and stability for shelf storage. If you are interested in canning your homemade cherry pie filling for pantry storage, it is absolutely crucial to follow a tested and approved canning recipe specifically designed for pie fillings to prevent spoilage and ensure a safe product. Always consult reliable canning resources for these specialized recipes.
Having a batch of homemade cherry pie filling prepared and stored ahead of time can be a tremendous time-saver in the kitchen. It guarantees you always have a delightful, wholesome, and incredibly flavorful ingredient at your fingertips, whether for impromptu baking sessions, planned dessert creations, or simply to satisfy a sudden craving. Enjoy the convenience and the unmatched taste of your own homemade efforts!
Rate
Pin
Cherry Pie Filling Recipe
Ingredients
-
INGREDIENTS for jarred cherries:
-
1 24oz jar of sour cherries
-
5 TBSP sugar
-
5 tsp cornstarch
-
INGREDIENTS for fresh cherries:
-
2 cups sweet or sour cherries pitted (any dark variation of cherries)
-
1 cup of cherry juice or sweetened water
-
5 TBSP sugar
-
5 tsp cornstarch
Instructions
-
In a small saucepan, whisk together the juice of the cherries (reserving the cherries for later), sugar and cornstarch. Bring to a boil and simmer until thickened. Stir in the reserved cherries and continue to simmer until thickened to desired consistency.
-
FOR FRESH CHERRIES: In a small saucepan whisk the juice or sweetened water, sugar and cornstarch over hi heat until thickened. Stir in cherries and simmer to desired consistency.
Embrace the Homemade Difference!
In conclusion, making your own homemade cherry pie filling is a truly rewarding endeavor that consistently surpasses the convenience of store-bought alternatives. From the thoughtful moment you select your fresh or jarred cherries to the final, gentle simmering of the ingredients, you are in complete control of every delicious detail. The rich, vibrant flavor and the perfect, luscious consistency you achieve will undoubtedly elevate your homemade pies, cheesecakes, pastries, and a myriad of other desserts to entirely new heights of culinary excellence.
So, gather your ingredients, embrace these simple yet effective steps, and prepare to be utterly amazed by the undeniable homemade difference. Your taste buds (and undoubtedly your delighted guests) will undoubtedly thank you for crafting this truly delightful, incredibly versatile, and profoundly satisfying cherry pie filling. Happy baking, and enjoy every sweet, tangy spoonful!
