Homemade Kefir Cream Cheese: Your Easy Guide to a Tangy, Probiotic-Rich Spread
Delight in the simplicity and incredible flavor of homemade kefir cream cheese! This no-cook wonder is not only the easiest cheese you’ll ever make but also a powerhouse of beneficial probiotics. Imagine a soft, exquisitely creamy cheese, boasting a delightfully tangy zest that perfectly complements a freshly toasted bagel or elevates any appetizer. It’s a true kitchen game-changer for those seeking both convenience and health benefits in their culinary adventures.
While our Whole Wheat Sourdough Bagels are the perfect canvas for this creamy creation, its versatility knows no bounds. Imagine it as a savory chive and minced onion dip, offering a healthy twist to your favorite crackers, or even as an extraordinary filling for pastries. Its incredibly fine, smooth curds make it an ideal replacement for ricotta in dishes like lasagna, providing a lighter yet equally satisfying texture and flavor. This probiotic powerhouse is far more than just a spread; it’s an ingredient that can elevate countless recipes.
As dedicated enthusiasts of fermented foods, we find ourselves making milk kefir almost every day. This involves simply combining our active kefir grains with fresh milk and allowing the natural fermentation process to transform it overnight into a thick, yogurt-like consistency. While kefir smoothies are undeniably delicious, and homemade Kefir Ranch is a staple, anyone regularly culturing milk will eventually ponder: what else can I create with this abundance of probiotic-rich milk kefir?
This curiosity led to the wonderful discovery of kefir cream cheese. Traditionally, cream cheese production involves heating milk and then acidifying it with liquid rennet or a specific culture to encourage coagulation. However, milk kefir possesses a unique advantage: its live and active cultures naturally coagulate the milk at room temperature. This intrinsic property means the fermentation process for kefir cream cheese is remarkably straightforward, requiring no external heat or complex starters beyond the kefir itself. It’s a testament to the power of natural fermentation!
Given the natural coagulation of kefir, the logical next step was to gently strain the thick, junket-like milk curds through a colander lined with butter muslin. The anticipation of what would emerge after draining was palpable. To our utter delight, after a mere 12 hours of simple straining, we were rewarded with a delightfully compact and rich cheese, straight from our refrigerator. It was an instant revelation – hands down, the easiest cheese we had ever crafted! This method democratizes cheesemaking, making it accessible to anyone with minimal effort and common kitchen tools like a colander or sieve and a clean T-shirt. The fact that no heating of the milk is required truly underscores its unparalleled simplicity.
The Unparalleled Benefits of Homemade Probiotic Kefir Cream Cheese
Beyond being an incredibly simple, no-cook recipe, homemade kefir cream cheese offers a wealth of beneficial properties that extend far beyond its delicious taste. Culturing dairy, in general, is an ancient and effective method for not only significantly increasing the shelf life of milk but also for profoundly enhancing its flavor profile and nutritional value. Kefir cheese, in particular, is a shining example of this, offering distinct advantages for both your palate and your well-being.
One of the primary drawcards of this homemade delight is its ease of digestion. The fermentation process breaks down lactose, making it more tolerable for many individuals who might otherwise struggle with dairy. Furthermore, the live and active cultures present in kefir cheese introduce a spectrum of unique flavors and characteristics, allowing for delightful variations depending on the type of milk used and the duration of fermentation. This natural process yields a product that is vibrant and alive, unlike many commercial alternatives.
Considering the rising cost of high-quality organic cream cheese, making your own kefir cream cheese presents a significant economic advantage. For those, like myself, who regularly ferment or culture milk – often from an abundant supply of fresh milk – it’s only logical to utilize this precious dairy to its fullest potential. Embracing the DIY approach means you can create homemade sour cream, yogurt, and now, kefir cream cheese, with complete confidence in its clean ingredients. You gain full control over what goes into your food, ensuring no unwanted thickeners, artificial flavors, or unnecessary additives are present. This commitment to purity translates directly into a healthier and more wholesome product for your family.
Moreover, the health benefits of consuming live probiotics, such as those abundantly found in kefir cream cheese, are well-documented and widely celebrated. These beneficial microorganisms play a crucial role in improving and maintaining a healthy gut flora, which is foundational for overall digestive health, immune system function, and even mood regulation. Unlike some cheesemaking processes that rely on added enzymes or starters, milk kefir uniquely achieves its curdling process solely through the natural action of its vibrant kefir grains. This natural, enzyme-free coagulation ensures that the resulting cream cheese is as pure and probiotic-rich as possible, offering a truly nourishing and delicious addition to your diet.
Essential Ingredients and Equipment for Your Kefir Cream Cheese Journey
Embarking on your journey to create delicious cream cheese from milk kefir requires only a few accessible items. You’ll need a fine-mesh sieve, a substantial large bowl to comfortably hold the sieve and efficiently collect the dripping whey, and a high-quality butter muslin or a thick cheesecloth. When selecting your cheesecloth, it’s crucial to opt for a thicker, tightly woven variety, ideally one specifically designed for making soft cheeses. This type of cloth is essential as it’s small enough to effectively retain all the delicate solids from your milk kefir curds, preventing any loss and ensuring a wonderfully smooth and creamy final cheese consistency. Using anything less fine might result in a gritty texture, so choose wisely for the best results. A clean, thin, cotton T-shirt can also work as an excellent improvised alternative if you don’t have butter muslin on hand, making this recipe even more accessible.
For those seeking ultimate convenience and a more uniform product, a specialized yogurt maker equipped with a built-in mesh sieve and a tight-fitting lid is an ideal tool for making cream cheese at home. These devices simplify the straining process, are often easier to clean, and produce a wider, more consistent cheese shape, which can be advantageous for slicing or spreading. Regardless of your equipment choice, the process remains remarkably straightforward, empowering you to create exquisite homemade kefir cream cheese with minimal fuss.
Your Step-by-Step Guide: How To Make Kefir Cream Cheese
To begin making this delightful cream cheese, the foundational step is to first culture milk to produce a robust batch of milk kefir. While it is technically possible to allow raw milk to ferment for several days to coagulate naturally (a method rooted in centuries of tradition), this can often result in an excessively sour flavor. For optimal results, utilizing live and active milk kefir grains is highly recommended. These grains will efficiently coagulate your milk, creating thick curds within a consistent 12-hour period. For a typical batch, we recommend using approximately two tablespoons of live kefir grains per one quart of milk, allowing it to sit overnight to develop into a solid curd or “junket.” This perfectly set kefir is the key to a successful cream cheese.
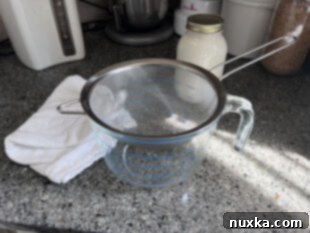
- Coagulate Milk & Prepare Equipment: Once your milk kefir has transformed into a thick, firm curd, it’s time to prepare your straining station. Carefully position a fine-mesh sieve over an 8-cup glass measuring bowl (or any 2-quart bowl). This bowl is crucial for collecting the whey as it drains, so ensure it’s large enough. Meticulously line the sieve with either a high-quality cheesecloth or a clean, thin T-shirt. For those using a dedicated yogurt maker with a built-in sieve, simply proceed with that equipment.
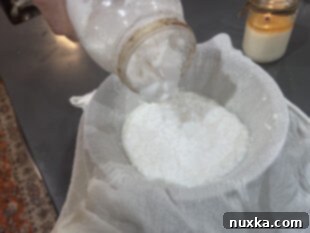
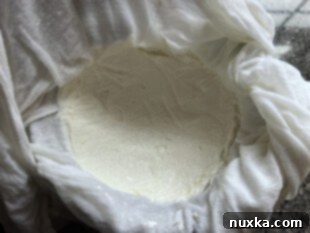
- Drain the Curds: With your equipment ready, gently transfer the thick, curdled milk kefir into the sieve lined with your chosen cloth. The kefir should appear as a firm, gelatinous mass. At this point, carefully use your hands to remove the kefir grains from the curds; these precious grains can then be immediately reused for your next batch of milk kefir. Once the grains are separated, gently gather and wrap the kefir curds with the cheesecloth. It is vital not to wring out or squeeze the curds, as this can force small particles through the cloth and result in a less creamy cheese. Instead, allow gravity to naturally and slowly push out the whey.
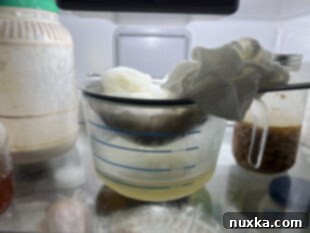
- Refrigerate: The refrigerator provides a cool, stable, and consistent environment, which is ideal for allowing the cheese to firm up and for safe storage. Place the entire sieve-and-bowl setup into the fridge. Always ensure the curds are covered, either by wrapping the cheesecloth over the top or using the tight-fitting lid of a yogurt maker. This step is essential to protect the cheese from absorbing fridge odors and to maintain its moisture content, preventing it from drying out prematurely.
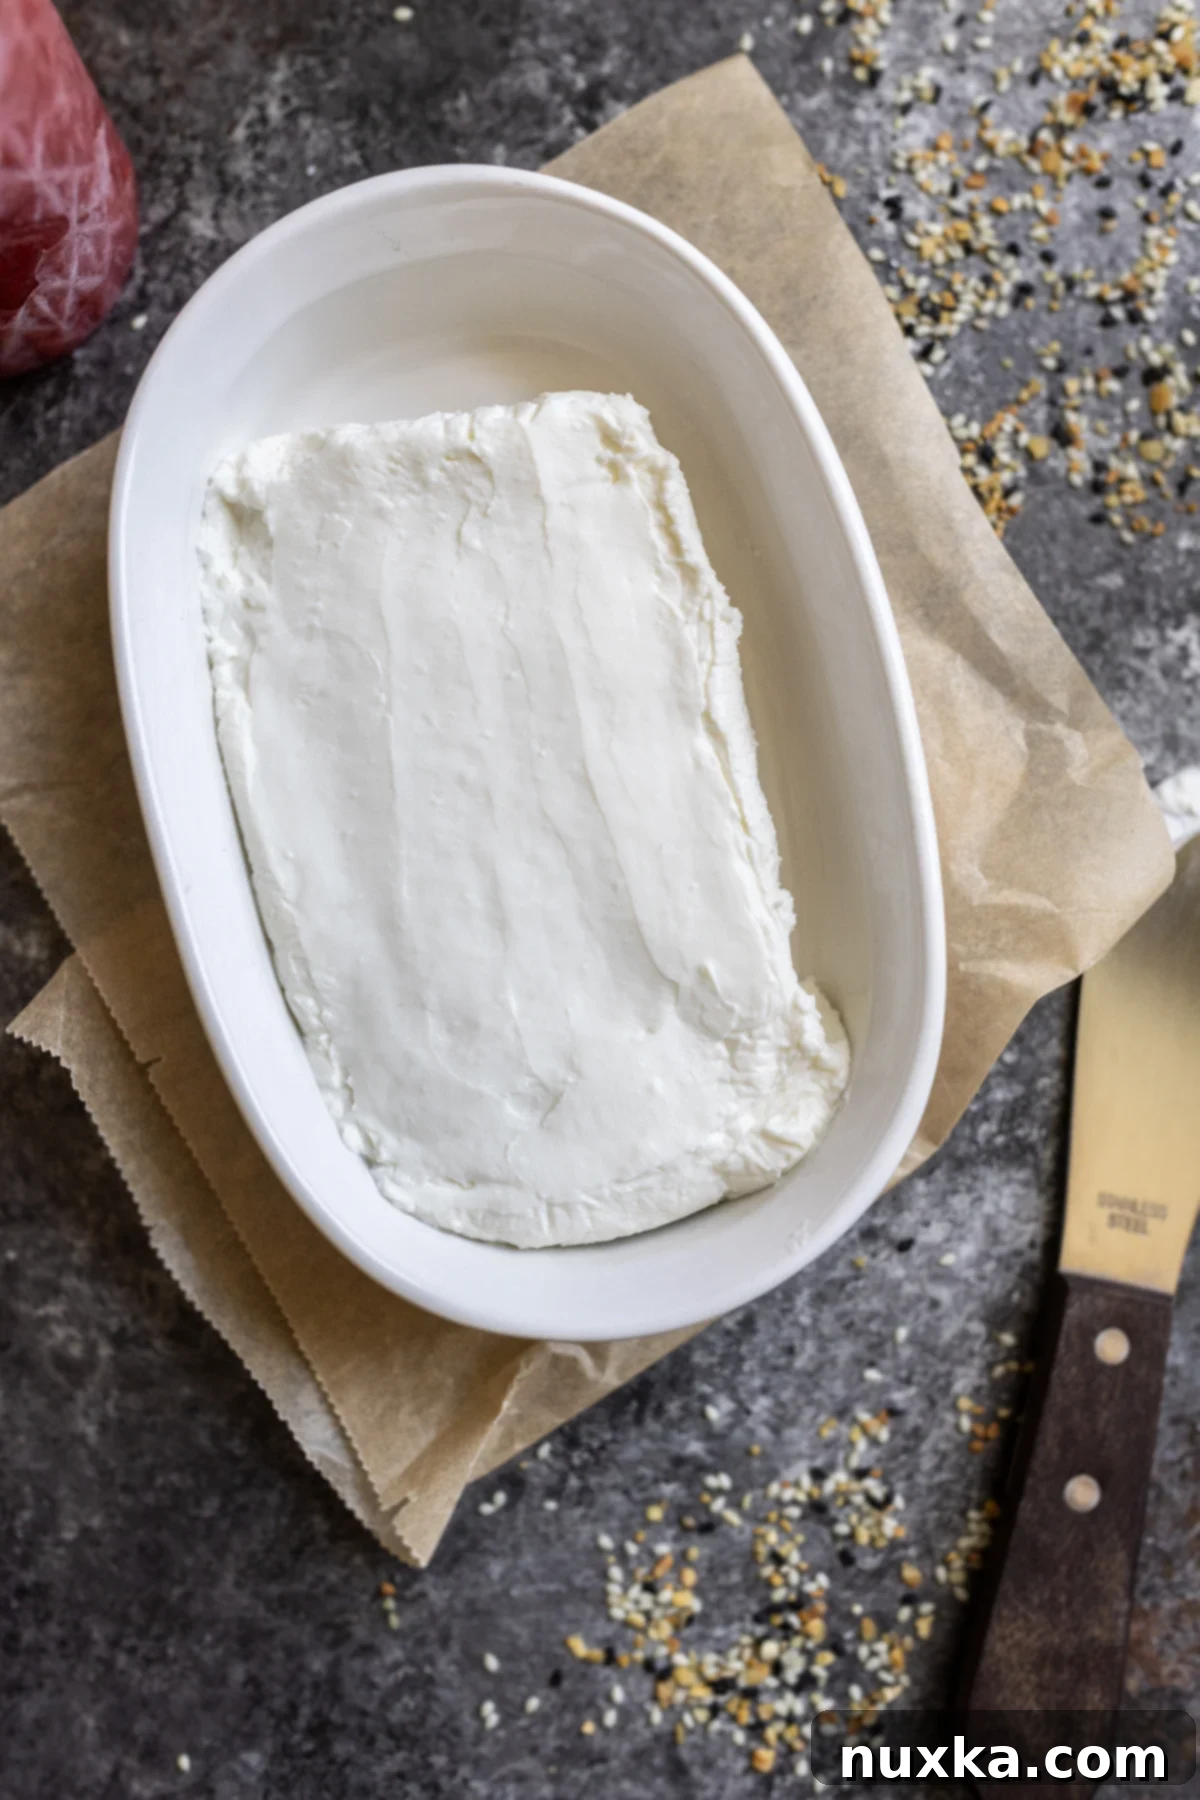
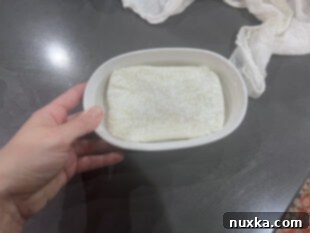
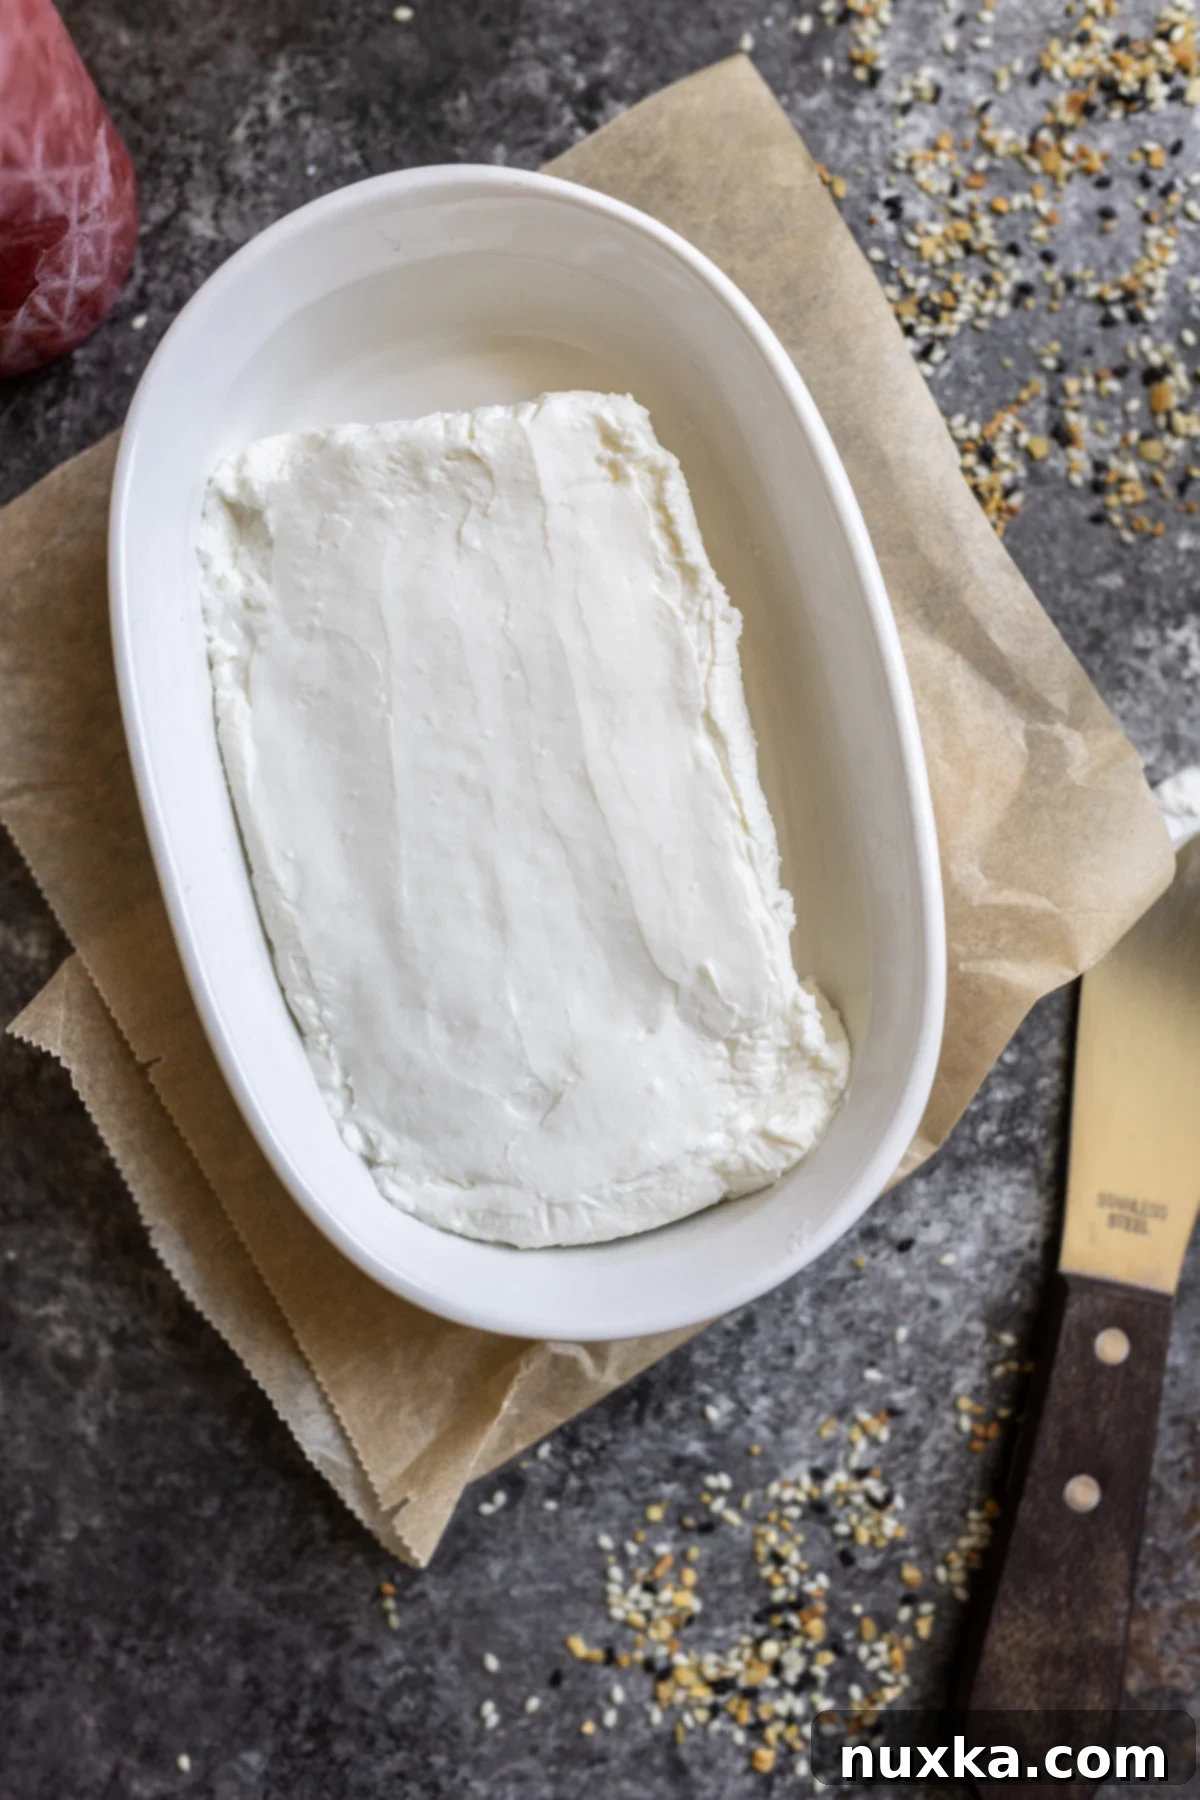
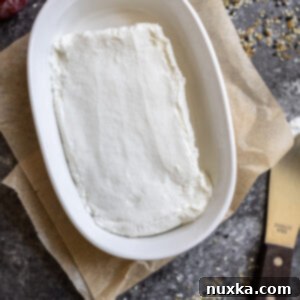
- Ready & Customize: After approximately 12 hours of draining in the refrigerator, your kefir cheese should be ready! By this time, most of the whey will have dripped into the bowl below, leaving you with a wonderfully compact and creamy cheese. Carefully transfer it into a small glass bowl with a tight-fitting lid or, for a more aesthetically pleasing presentation, mold it into your desired shape. For instance, I sometimes use an oblong glass dish to shape the cheese into a neat rectangle, then smooth out the top and sides for a polished look. This is also the perfect moment to add salt to taste, if desired. A sprinkle of 1/8 to 1/4 teaspoon of salt per quart of kefir cream cheese can enhance its flavors, but many find its natural tang perfectly sufficient.
Expert Tips for Crafting Perfect Kefir Cream Cheese
- Optimal Straining Time: For the ideal consistency, allow your kefir curds to strain for at least 12 hours. This duration ensures that enough whey is expelled, allowing the curds to properly coalesce into a compact, spreadable cheese. Extending the straining time can yield a drier product, as detailed in Tip #5.
- Ideal Refrigeration Temperature: Maintain your refrigerator at an ideal temperature of around 43°F (approximately 6°C). While a few degrees higher or lower won’t ruin your cheese, an optimal temperature for cheese formation is closer to 45°F (7°C). Temperatures significantly higher or lower, especially if inconsistent, can affect the draining process, potentially drawing out too much moisture and resulting in a drier or less consistent cheese.
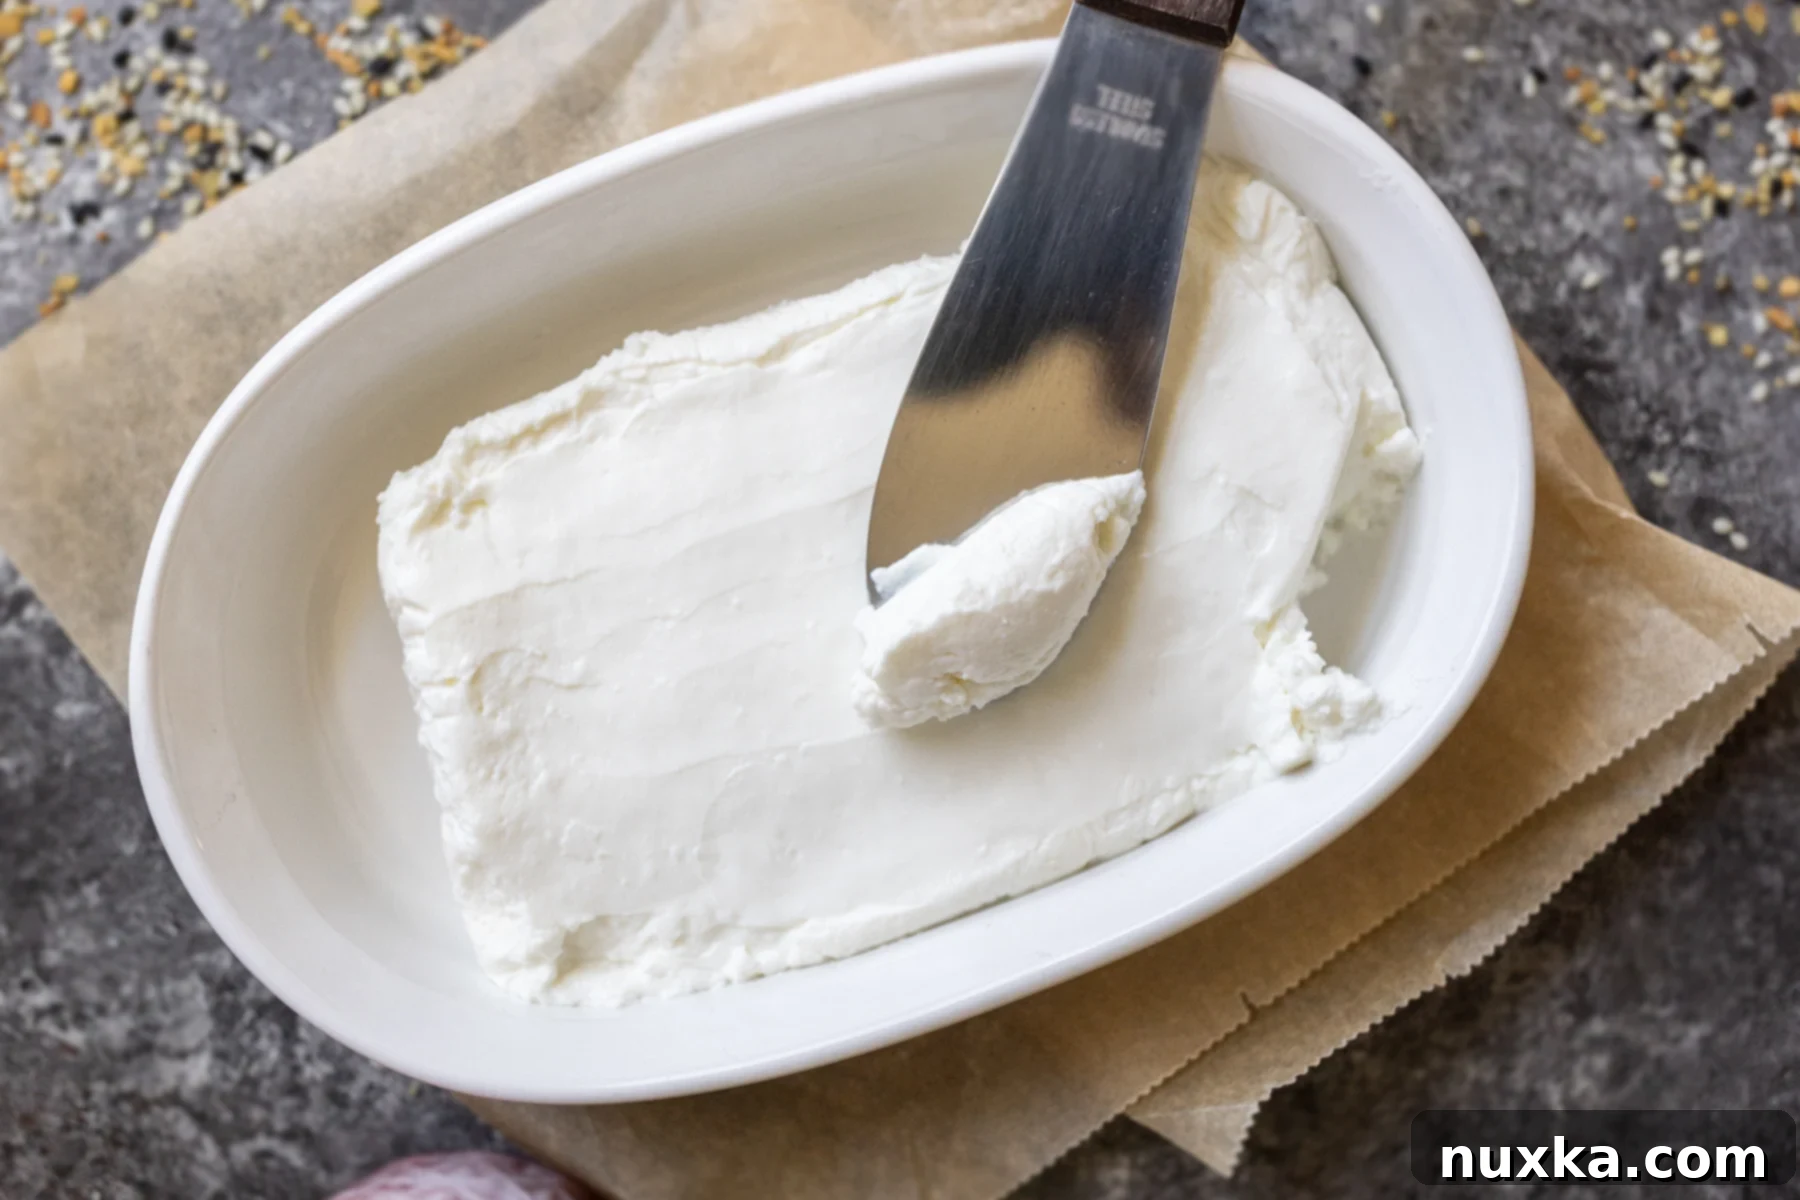
- Achieving Your Desired Shape: The shape of your cream cheese will largely be influenced by the container you use for straining. For a wider, more rectangular block, consider straining the curds in a square yogurt maker. If you use a standard sieve or colander, your cheese will naturally form a rounder shape. Remember, kefir cream cheese is inherently very smooth and creamy, making it incredibly easy to spread and reshape once drained, so don’t hesitate to mold it by hand or with a spatula into any desired form for serving or storage.
- Salting to Taste (Optional): For every quart of kefir cheese you produce, you may wish to add 1/8 to 1/4 teaspoon of salt. This is entirely optional, as homemade kefir cream cheese naturally possesses a delightful tanginess and rich flavor from the fermentation process itself. Many connoisseurs find it perfectly delicious without any added salt, allowing its pure, refreshing taste to shine through.
- Controlling Consistency: To achieve a moist and lusciously creamy cream cheese, aim for a 12-hour draining period in the refrigerator. If you prefer a firmer, drier cream cheese – perhaps for crumbling over salads or using in specific baking applications – extend the draining time to 24 hours. Adjusting the drainage duration is a simple way to customize the texture to your liking.
- Shaping into a Block: To create an elegant block of cream cheese, first spoon the soft, freshly drained cream cheese onto a piece of plastic wrap. Gently bring the sides of the plastic wrap together and use a small spatula or the back of a spoon to press and shape the cheese into a uniform rectangle or square. Once molded, wrap it tightly in the plastic wrap and place it into an oval or rectangular dish to help it hold its form as it chills further. Smooth out the top surface after unwrapping for a polished presentation.
Frequently Asked Questions About Kefir Cream Cheese
How Long Does Kefir Cream Cheese Last?
One of the many advantages of cultured dairy products is their extended shelf life compared to fresh milk. When properly refrigerated and stored consistently, your homemade kefir cream cheese can last a remarkable two to three weeks. To ensure its quality and freshness, always remember to return it to the refrigerator promptly after each use, minimizing its exposure to warmer temperatures.
My Milk Kefir Is Not Thick, What Should I Do?
For successful kefir cream cheese, achieving thick, substantial curds that resemble junket is absolutely essential. These firm curds are what will transform into creamy cheese once the whey has been strained off. To encourage thick kefir, ensure you’re using an adequate ratio of live and active kefir grains – typically at least one tablespoon per quart of milk. If, after the initial 12-hour fermentation period, your kefir still appears runny, don’t worry! Simply allow it to sit for an additional 6-12 hours, checking periodically, until it coagulates to the desired thick consistency. However, if your kefir fails to set even after a full 24 hours, it’s highly probable that your kefir grains have become inactive. In such a case, you would need to reactivate them or acquire new, vigorous grains to ensure successful fermentation.
Rate This Recipe
Pin Recipe
Kefir Cream Cheese
Equipment
-
1 8-cup glass measuring bowl (or any 2-quart bowl for collecting whey)
-
1 fine-mesh sieve (ensure it’s large enough to fit securely over your bowl)
-
1 butter muslin (or a fine, tightly woven cheesecloth, suitable for soft cheeses)
Ingredients
-
1 quart cultured milk kefir (it should have coagulated into a thick curd, resembling junket; refer to notes for guidance)
Instructions
Directions:
-
 Prepare your straining setup by placing a fine-mesh sieve over a large bowl and lining it meticulously with a high-quality cheesecloth.
 -
 Carefully transfer the thick kefir curds into the lined sieve, gently gathering and wrapping them within the cloth. Ensure not to squeeze the curds.
 -
 Place the curds within the bowl-and-sieve setup in the fridge for 12-24 hours. No additional weight or pressure is needed; gravity will naturally drain the whey.
 -
 After draining, remove the curds from the fridge. You’ll find most of the whey collected in the bottom bowl, revealing your beautifully formed cream cheese after unwrapping the cloth.
 -
 Transfer the finished cheese to a serving bowl or an oval dish. Add salt to taste, if desired, then shape it as preferred and cover. Keep refrigerated until you’re ready to enjoy!
Notes
- Kefir cream cheese can be conveniently made using a yogurt maker. If using one, you can simply omit the separate sieve and bowl.
- For detailed, step-by-step instructions on how to perfectly coagulate milk kefir, please refer to our comprehensive guide post.
- Salting the cream cheese is completely optional. If you choose to add salt, incorporate about 1/8 to 1/4 teaspoon after the draining step, when you are shaping the cheese.
- For a delightfully moist and creamy cream cheese, aim for a 12-hour refrigeration and draining period. Should you prefer a drier, firmer cheese, extend the draining time to up to 24 hours.
- To expertly shape your soft cream cheese into a neat block, place it on plastic wrap. Use a small spatula or the back of a spoon to gently push in the sides, forming a rectangular shape. Wrap it tightly and place it into an oval dish to help it set further. Once unwrapped, gently smooth out the top surface for a perfect finish.
Nutrition per serving
