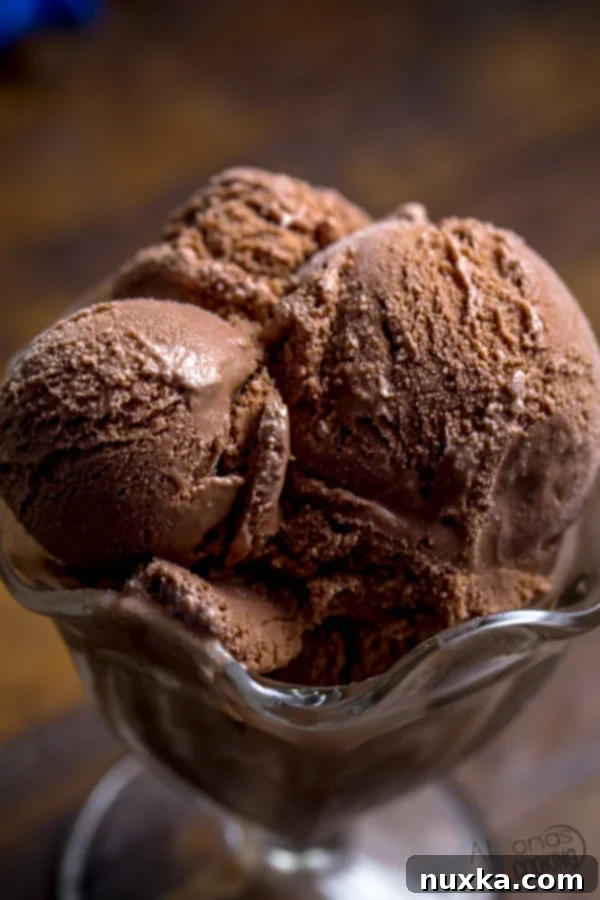
The Ultimate Homemade Chocolate Ice Cream Recipe: Velvety Smooth & Delicious (No-Cook Custard!)
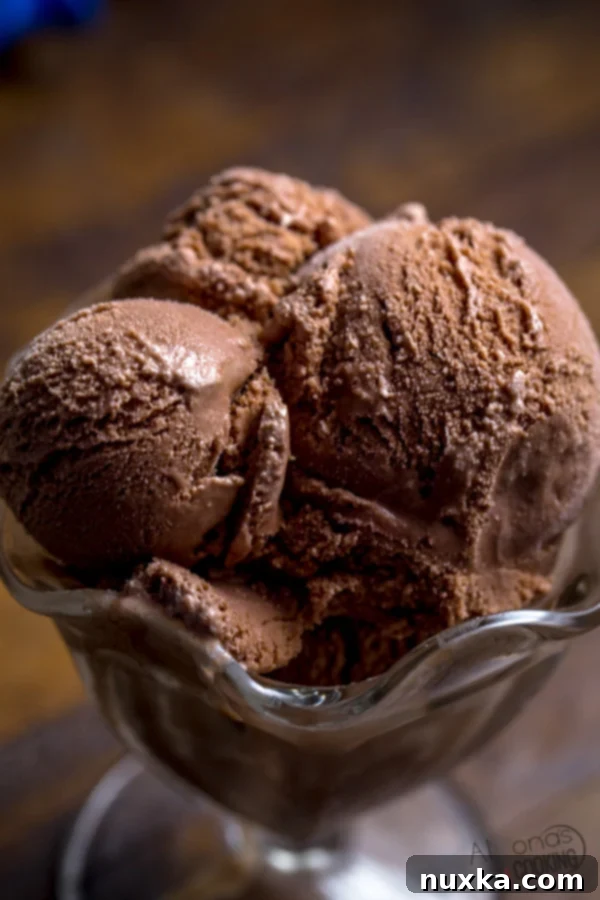
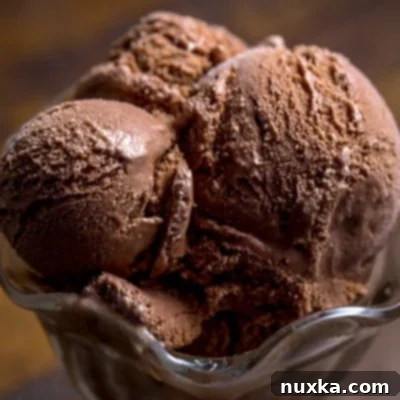
There’s nothing quite like the joy of a scoop of homemade ice cream, and when it comes to classic flavors, chocolate reigns supreme. This incredible homemade chocolate ice cream recipe is a true game-changer, delivering an intensely rich, wonderfully smooth, and utterly divine dessert without any fuss. What makes it truly stand out? We use eggs for that luxurious, creamy texture typically found in custard-based ice creams, but here’s the best part: no cooking or tempering custards involved! Your KitchenAid mixer does all the hard work, churning your simple ingredients into pure frozen perfection. Prepare to be amazed by how effortless and delicious homemade chocolate ice cream can be.
Why This Chocolate Ice Cream Recipe Is a Must-Try
While a good vanilla ice cream or a playful cookies and cream recipe are staples in any dessert lover’s repertoire, classic chocolate ice cream holds a special place. Our recipe elevates this beloved flavor to new heights with its unique preparation method and rich taste:
- No-Cook Custard Method: Forget the tedious process of cooking and tempering eggs for a traditional custard. This innovative technique incorporates raw eggs directly into the base, which then thickens and enriches the mixture as it’s beaten with sugar. The freezing process further ensures safety and creates an incredibly smooth, less icy texture.
- Intense Chocolate Flavor: We rely on high-quality unsweetened cocoa powder to infuse our ice cream with a deep, authentic chocolate taste. This means there’s no need to melt chocolate bars, simplifying the process while delivering maximum flavor.
- Effortless Preparation: The KitchenAid mixer, particularly with its ice cream attachment, makes churning a breeze. Simply mix your ingredients, chill, and then let your machine do the rest. It’s a truly hands-off approach to gourmet ice cream.
- Perfectly Creamy Texture: The combination of eggs, heavy whipping cream, and milk results in an exceptionally creamy and smooth consistency that melts wonderfully in your mouth. Say goodbye to icy, hard-to-scoop homemade ice cream!
This recipe has become our go-to for a flavor-packed, classic chocolate ice cream, guaranteeing satisfying results every single time.
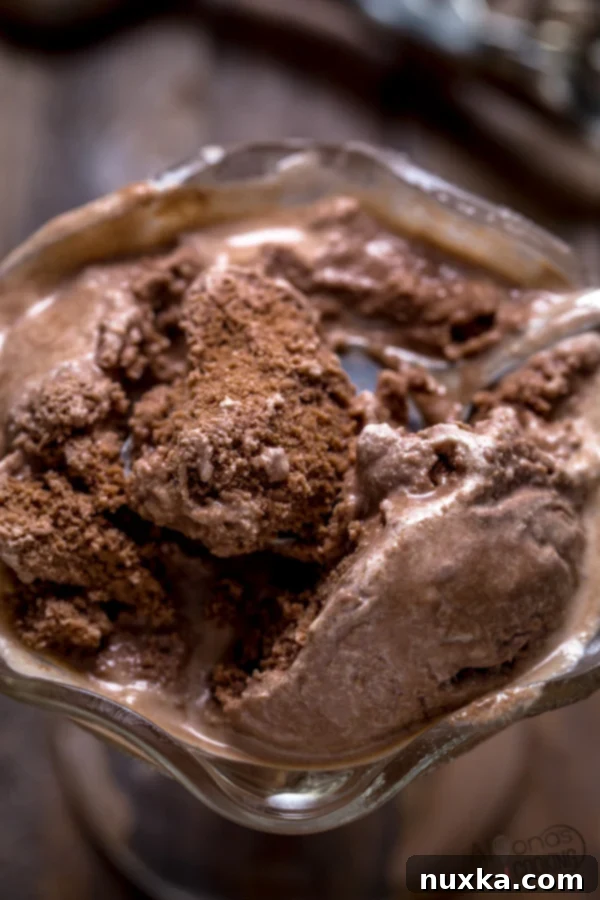
Frequently Asked Questions About Homemade Chocolate Ice Cream
Can I make Chocolate ice cream without an ice cream maker?
While “no-churn” ice cream recipes exist, for that truly authentic, rich, and smooth homemade ice cream experience, an ice cream maker is highly recommended. Nothing quite compares to the light, airy texture achieved through proper churning. Shortcuts often result in a denser, icier consistency that lacks the signature creaminess of churned ice cream. If you’re serious about making delicious frozen desserts at home, investing in an ice cream maker is a worthwhile endeavor.
I personally swear by my KitchenAid ice cream maker attachment. It’s a fantastic space-saving solution, as it eliminates the need for another bulky appliance on your countertop. The bowl simply lives in your freezer, ready for whenever a craving strikes. Its efficiency and ease of use make it perfect for both beginners and seasoned ice cream enthusiasts alike.
Is it safe to eat raw eggs in ice cream?
This recipe does use raw eggs, which contribute significantly to its rich flavor and velvety texture. Generally, the risk of salmonella from raw eggs is low, especially when using fresh, high-quality eggs. Furthermore, the freezing process that homemade ice cream undergoes significantly reduces any potential bacterial growth. Personally, I have made many batches using this method and have never encountered any issues.
However, if you are pregnant, elderly, immunocompromised, or simply prefer to err on the side of caution, you have a few options:
- Use Pasteurized Eggs: Many grocery stores now offer pasteurized eggs, which have been heated to a temperature that kills bacteria without cooking the egg. These are a safe and easy alternative.
- Pasteurize Your Own Eggs: You can gently heat your eggs at home to pasteurize them. A common method involves placing eggs (still in their shell) in a pot of water heated to 140°F (60°C) and holding them there for about 3 minutes. Be careful not to cook them. Always cool them completely before using in the recipe.
- Omit Eggs: While the eggs contribute to the signature richness and texture of this recipe, you can choose to omit them. The ice cream will still be delicious but may have a slightly different consistency.
Always use fresh eggs from a reputable source, and refrigerate them properly.
How long should I churn ice cream for in my ice cream maker?
For optimal results, assuming your ice cream maker’s bowl is sufficiently pre-chilled (at least 24 hours in the freezer, especially for KitchenAid attachments) and your ice cream base is thoroughly chilled (at least 4 hours, or preferably overnight, in the refrigerator), churning should take no longer than 30 minutes. This timeframe allows the mixture to properly aerate and solidify into a soft-serve consistency.
Churning for too long can be detrimental. Beyond the 30-minute mark, your ice cream maker’s bowl may begin to lose its cold temperature, which can cause the ice cream to start melting rather than firming up. Additionally, over-churning can lead to a less desirable texture, making the ice cream heavier or even butter-like. Always follow your specific ice cream maker’s instructions, but the 30-minute guideline is a reliable starting point for most home machines.
How do I make my ice cream less or more creamy?
The creaminess of your ice cream is largely determined by the fat content in your dairy base. The formula is quite simple:
- More Cream = More Creamy: Higher fat content, typically from heavy whipping cream, results in a richer, smoother, and more luxurious ice cream that resists ice crystal formation. If you want a super decadent, restaurant-quality texture, you can even slightly increase the heavy cream proportion.
- Less Cream (More Milk) = Lighter Consistency: Increasing the ratio of milk to cream will yield a lighter ice cream with a lower fat content. This can result in a slightly icier texture, but it will also have a less rich taste, which some prefer. Whole milk provides more fat than lower-fat milk options, so stick with whole milk for the best compromise if reducing cream.
The balance of cream and milk in this recipe is designed to offer a perfect medium – wonderfully creamy without being overly heavy. Experiment with the ratios to find your personal preference!
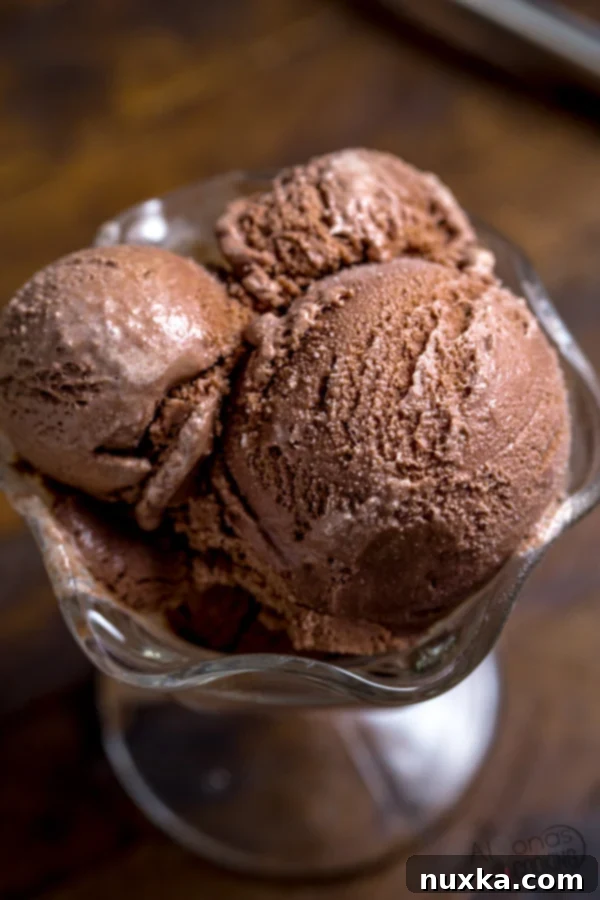
Handy Ice Cream Equipment for the Home Chef
Having the right tools can make your ice cream-making experience even more enjoyable. Here are a few recommendations:
- Good Ice Cream Scoops: A sturdy, well-designed scoop makes serving a breeze and creates those perfect, round balls of deliciousness.
- Ice Cream Glasses/Dishes: Elevate your dessert presentation with elegant ice cream glasses or bowls.
- Disposable Ice Cream Cups: Perfect for parties, picnics, or simply portioning out servings for later enjoyment without the hassle of washing extra dishes.
- Airtight Freezer Container: Essential for storing your homemade ice cream to prevent freezer burn and maintain its creamy texture. Look for shallow, wide containers that minimize air exposure.
Rate
Pin
Chocolate Ice Cream Recipe
Equipment
-
Kitchen aid ice cream attachment
Ingredients
Chocolate Ice Cream Base
-
2 large eggs
-
3/4 cup granulated sugar
-
1/2 cup unsweetened cocoa powder
-
1 tsp pure vanilla extract
-
2 cups whole milk
-
2 cups heavy whipping cream
Instructions
How to make Homemade Chocolate Ice Cream
-
In the bowl of your stand mixer, beat the eggs and granulated sugar together for approximately 5 minutes on medium-high speed. Continue beating until the mixture becomes visibly thick, pale yellow, and forms ribbons when the whisk is lifted. This step is crucial for incorporating air and dissolving the sugar, contributing to the ice cream’s smooth texture. Next, sift in the unsweetened cocoa powder and continue beating until it is fully incorporated and the mixture is creamy and uniform in color. Finally, gradually add the heavy whipping cream, whole milk, and pure vanilla extract, mixing on low speed until everything is just blended. Do not overmix. Transfer the entire chocolate ice cream base into an airtight container and refrigerate it for at least 4 hours, or ideally overnight, to ensure it is thoroughly chilled. This chilling process is vital for achieving the best churning results.
-
Once your ice cream base is thoroughly chilled and your ice cream maker bowl (e.g., KitchenAid attachment) has been frozen for at least 24 hours, assemble your ice cream maker according to its instructions. Pour the chilled chocolate batter into the frozen bowl. Churn for about 30 minutes, or until the ice cream reaches the consistency of a soft-serve. At this stage, it will still be quite soft but significantly thickened and airy. It may look a little “gritty” due to the cocoa powder, but this will smooth out as it fully freezes.
-
Carefully transfer the churned ice cream into a freezer-safe, airtight container. Press plastic wrap directly onto the surface of the ice cream to prevent ice crystals from forming, then seal the container with a lid. Freeze for an additional 2-4 hours, or until it reaches your desired firm consistency. Alternatively, if you prefer a soft-serve treat, you can enjoy it immediately after churning!
Notes
Nutrition per serving
Storage, Serving Suggestions, and Variations
Properly Storing Homemade Ice Cream
To keep your homemade chocolate ice cream tasting its best and prevent freezer burn, proper storage is key:
- Airtight Container: Always transfer your churned ice cream to a freezer-safe, airtight container. This minimizes exposure to air, which is the main cause of ice crystal formation and freezer burn.
- Press-and-Seal: For extra protection, place a piece of plastic wrap directly onto the surface of the ice cream before putting on the lid. This creates an additional barrier against air.
- Optimal Freezer Temperature: Store your ice cream in the coldest part of your freezer, ideally at 0°F (-18°C) or lower.
- Enjoy Fresh: While homemade ice cream can last a few weeks in the freezer, it’s best enjoyed within the first week or two for peak flavor and texture.
Delightful Serving Suggestions
This rich chocolate ice cream is fantastic on its own, but it also serves as a perfect base for numerous toppings and pairings:
- Classic Toppings: Drizzle with hot fudge or caramel sauce, sprinkle with chopped nuts (walnuts, pecans, almonds), chocolate shavings, or colorful sprinkles.
- Fresh Fruit: Pair with fresh berries like raspberries or strawberries for a refreshing contrast.
- Whipped Cream & Cherry: A dollop of fresh whipped cream and a maraschino cherry can elevate it to a classic sundae.
- Affogato Style: Pour a shot of hot espresso over a scoop of chocolate ice cream for an adult treat.
- Brownie/Cookie Sundae: Serve on top of a warm brownie or alongside a freshly baked cookie.
- Milkshakes: Blend with a splash of milk for an irresistible chocolate milkshake.
Creative Variations to Try
The beauty of homemade ice cream is the ability to customize! Here are a few ideas to switch up your chocolate ice cream:
- Double Chocolate: Add 1/2 cup of chocolate chips or chopped chocolate (milk, semi-sweet, or dark) during the last 5 minutes of churning.
- Mint Chocolate Chip: Add 1/2 – 1 teaspoon of mint extract along with the vanilla, and fold in chocolate chips after churning.
- Mocha: Dissolve 1-2 tablespoons of instant espresso powder in a small amount of warm milk before adding it to the base.
- Spicy Chocolate: Add a pinch of cayenne pepper to the cocoa powder for a subtle kick.
- Nutty Chocolate: Fold in toasted chopped pecans, walnuts, or almonds after churning.
- Swirls: Swirl in a ribbon of raspberry sauce, peanut butter, or marshmallow fluff after churning for added texture and flavor.
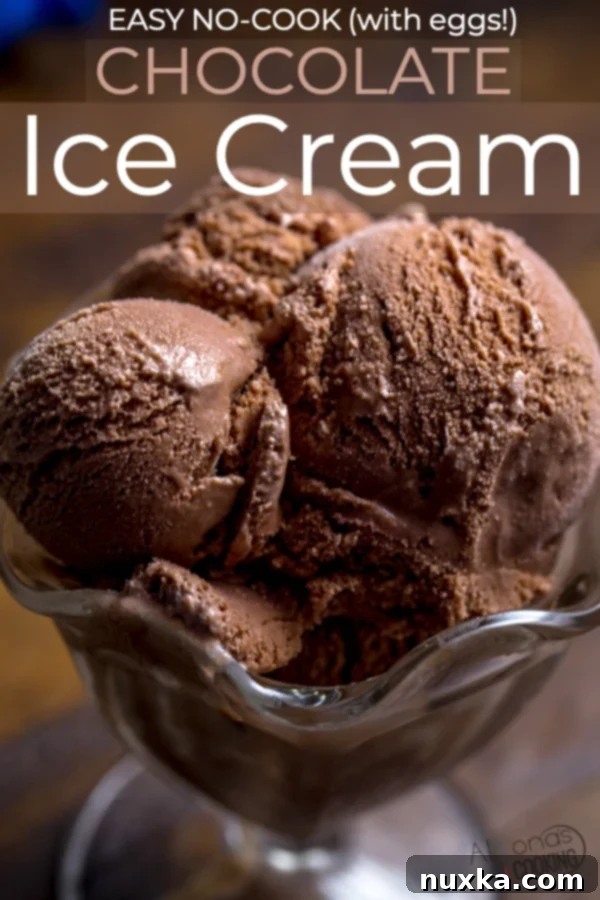
Indulge in the Magic of Homemade Chocolate Ice Cream
Making your own ice cream might seem daunting at first, but with this no-cook custard method and the help of your trusty KitchenAid, you’ll find it incredibly simple and rewarding. The rich, deep chocolate flavor combined with the unbelievably smooth, creamy texture of this homemade treat is unparalleled. Forget store-bought pints – once you taste this, you’ll never look back.
So, gather your ingredients, chill that ice cream bowl, and prepare to churn your way to the best chocolate ice cream you’ve ever had. It’s the perfect dessert for family gatherings, summer parties, or simply a sweet escape on a cozy evening. Enjoy every luscious spoonful!
