Bite-Sized Bliss: Your Go-To Recipe for Easy Mini Cheesecakes with Variations
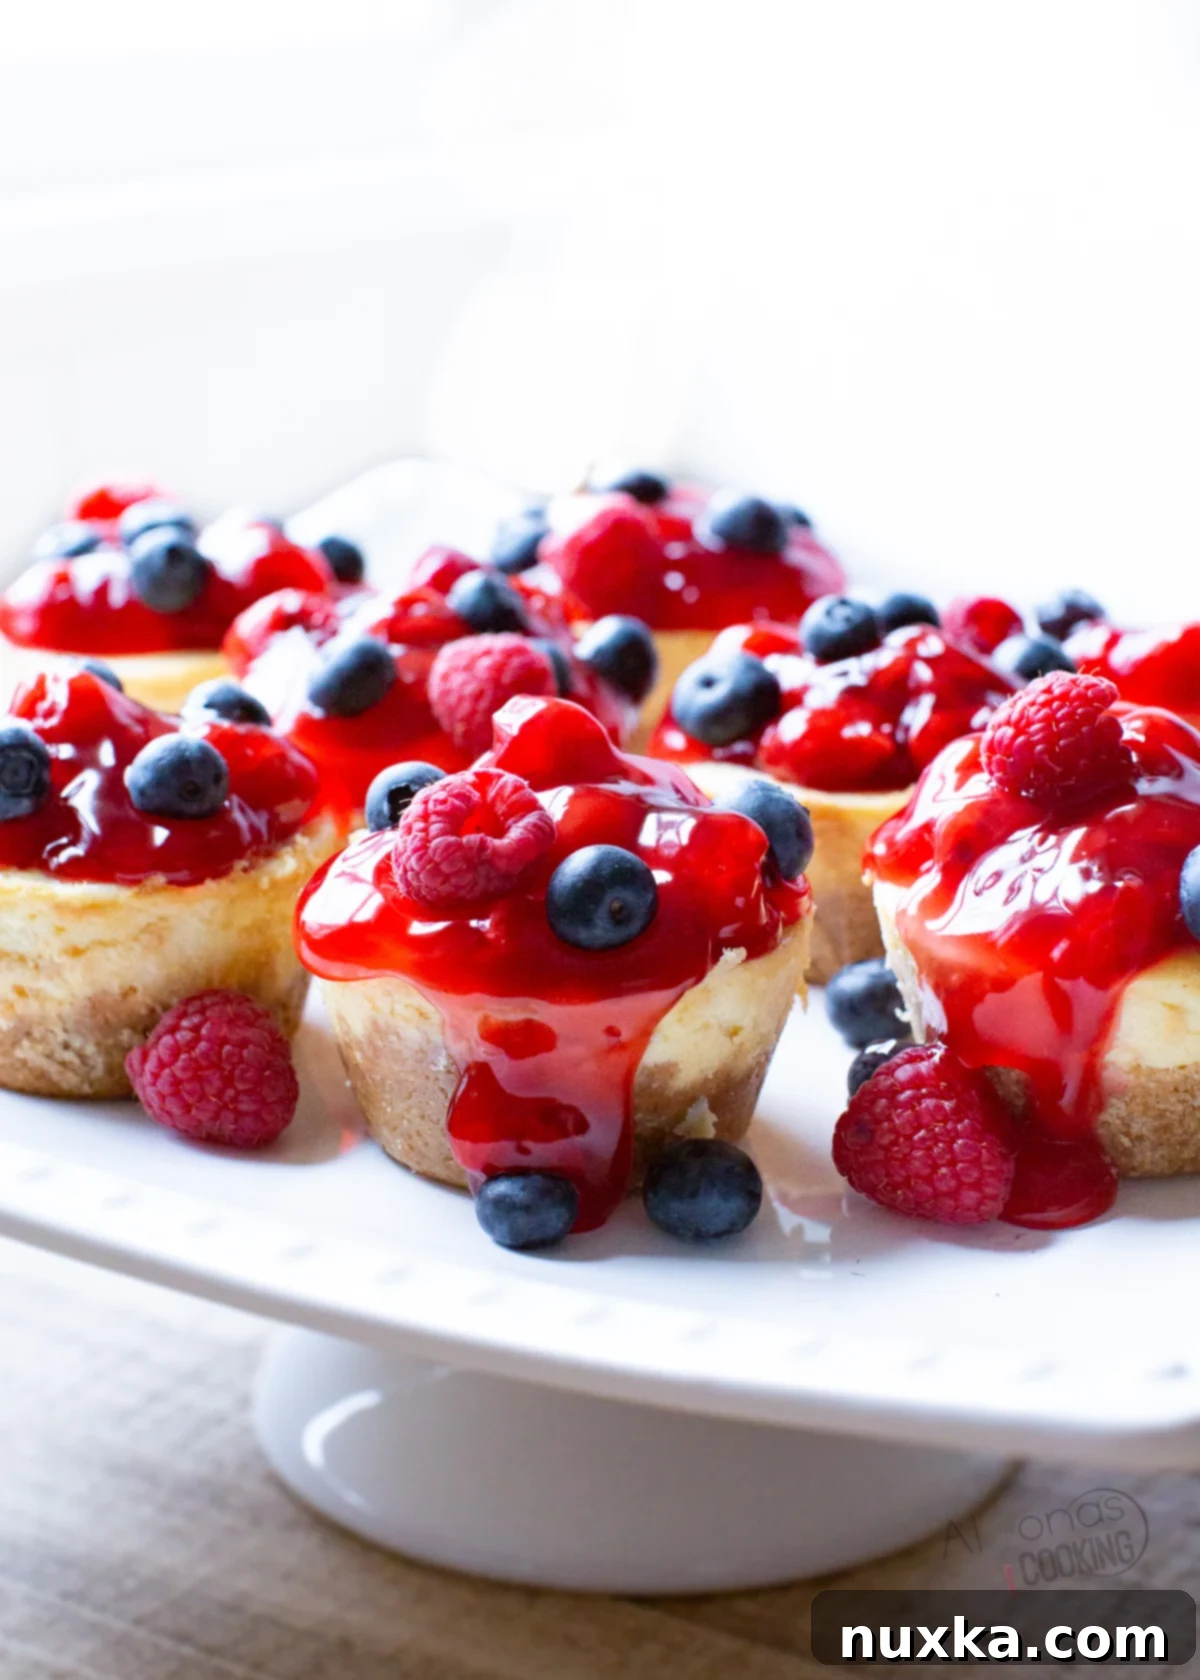
Craving a delightful dessert that’s both elegant and incredibly simple to make? Look no further than this fantastic Mini Cheesecake recipe! These charming, bite-sized treats feature a perfectly homemade graham cracker crust, a luscious and easy-to-prepare cheesecake filling, and are crowned with a vibrant, tart fruit topping. We’ll explore a variety of topping ideas, including a popular mini Oreo cheesecake option, ensuring there’s a flavor for everyone. The best part? This entire dessert comes together in under 30 minutes of active prep and bake time, making it an absolute lifesaver for last-minute parties, holiday gatherings, or when you simply need to feed a crowd without the stress. Get ready to impress with these irresistible mini cheesecakes!
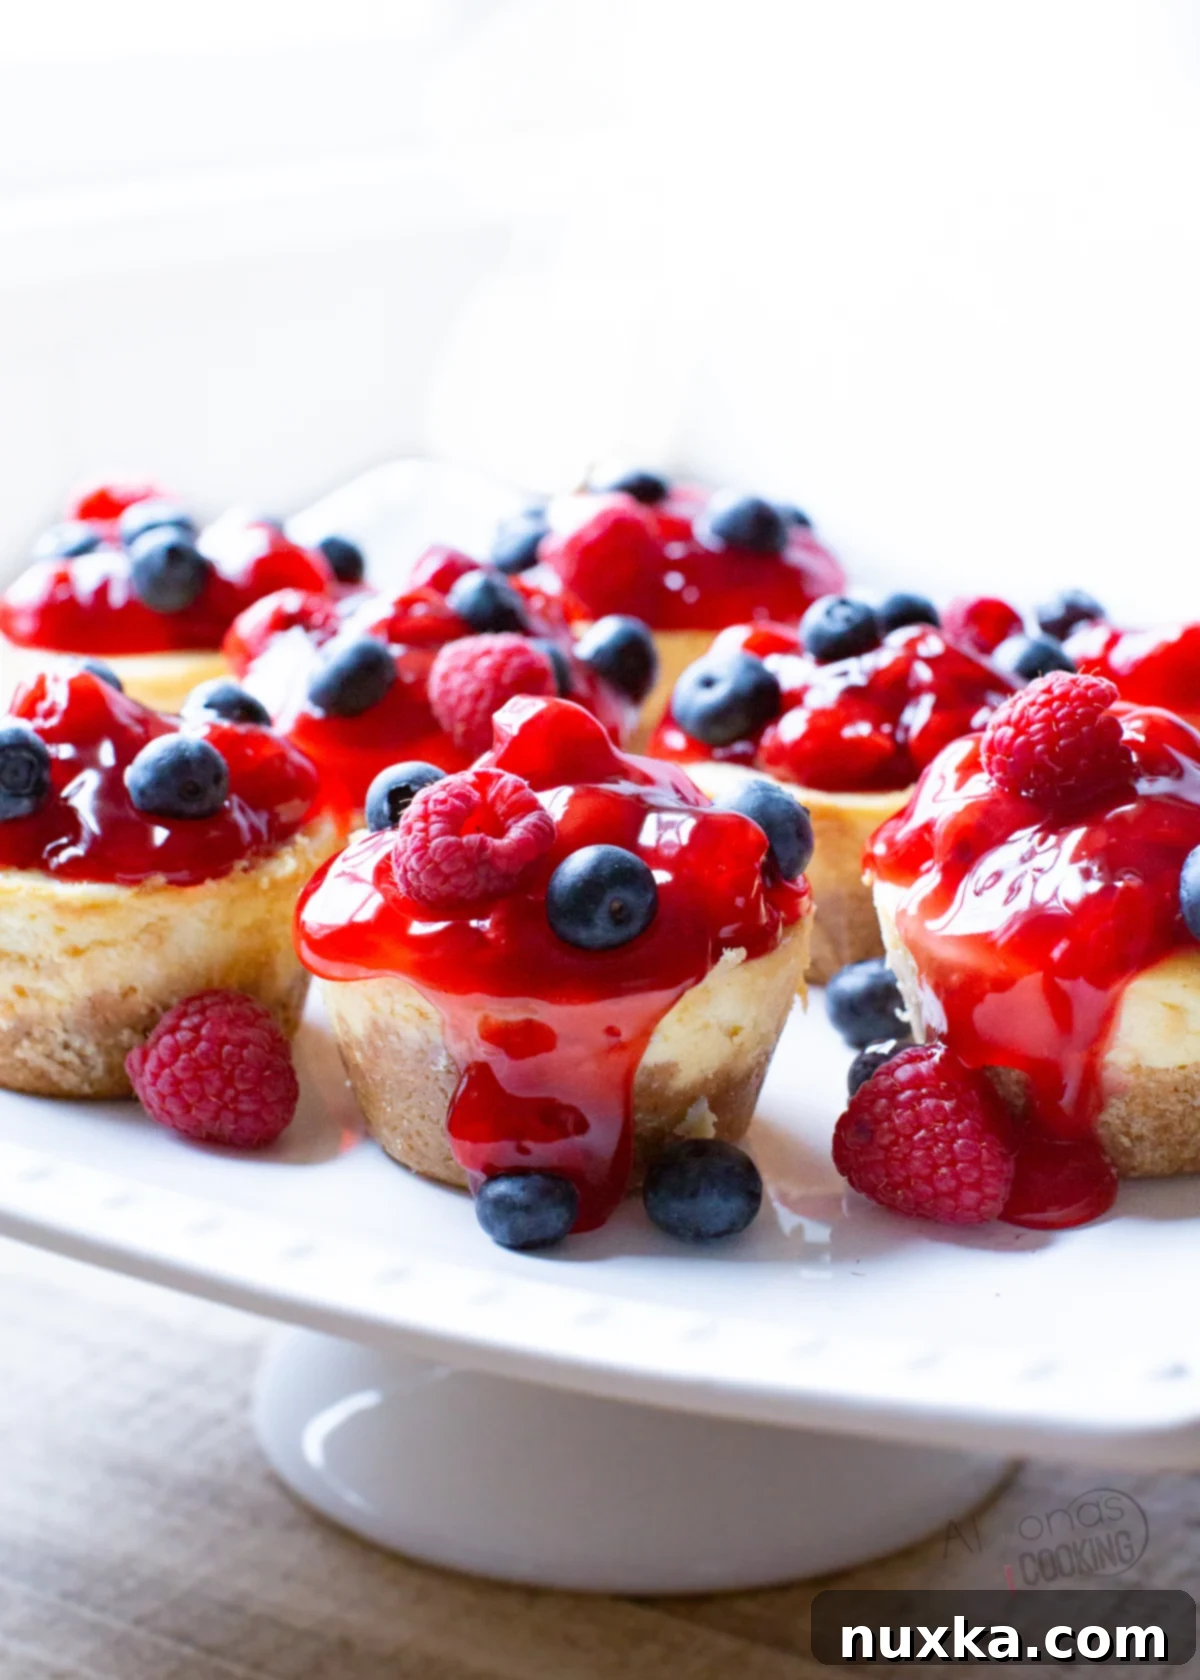
We absolutely adore sweet cheese desserts, from luscious cottage cheese crepes to a vibrant Raspberry Swirl Cheesecake, and especially this super Easy Cheesecake Recipe! It’s truly amazing how a few simple ingredients like soft cheese, eggs, and sugar can come together to create such fabulous desserts, and often, in a flash!
What Exactly Are Mini Cheesecakes?
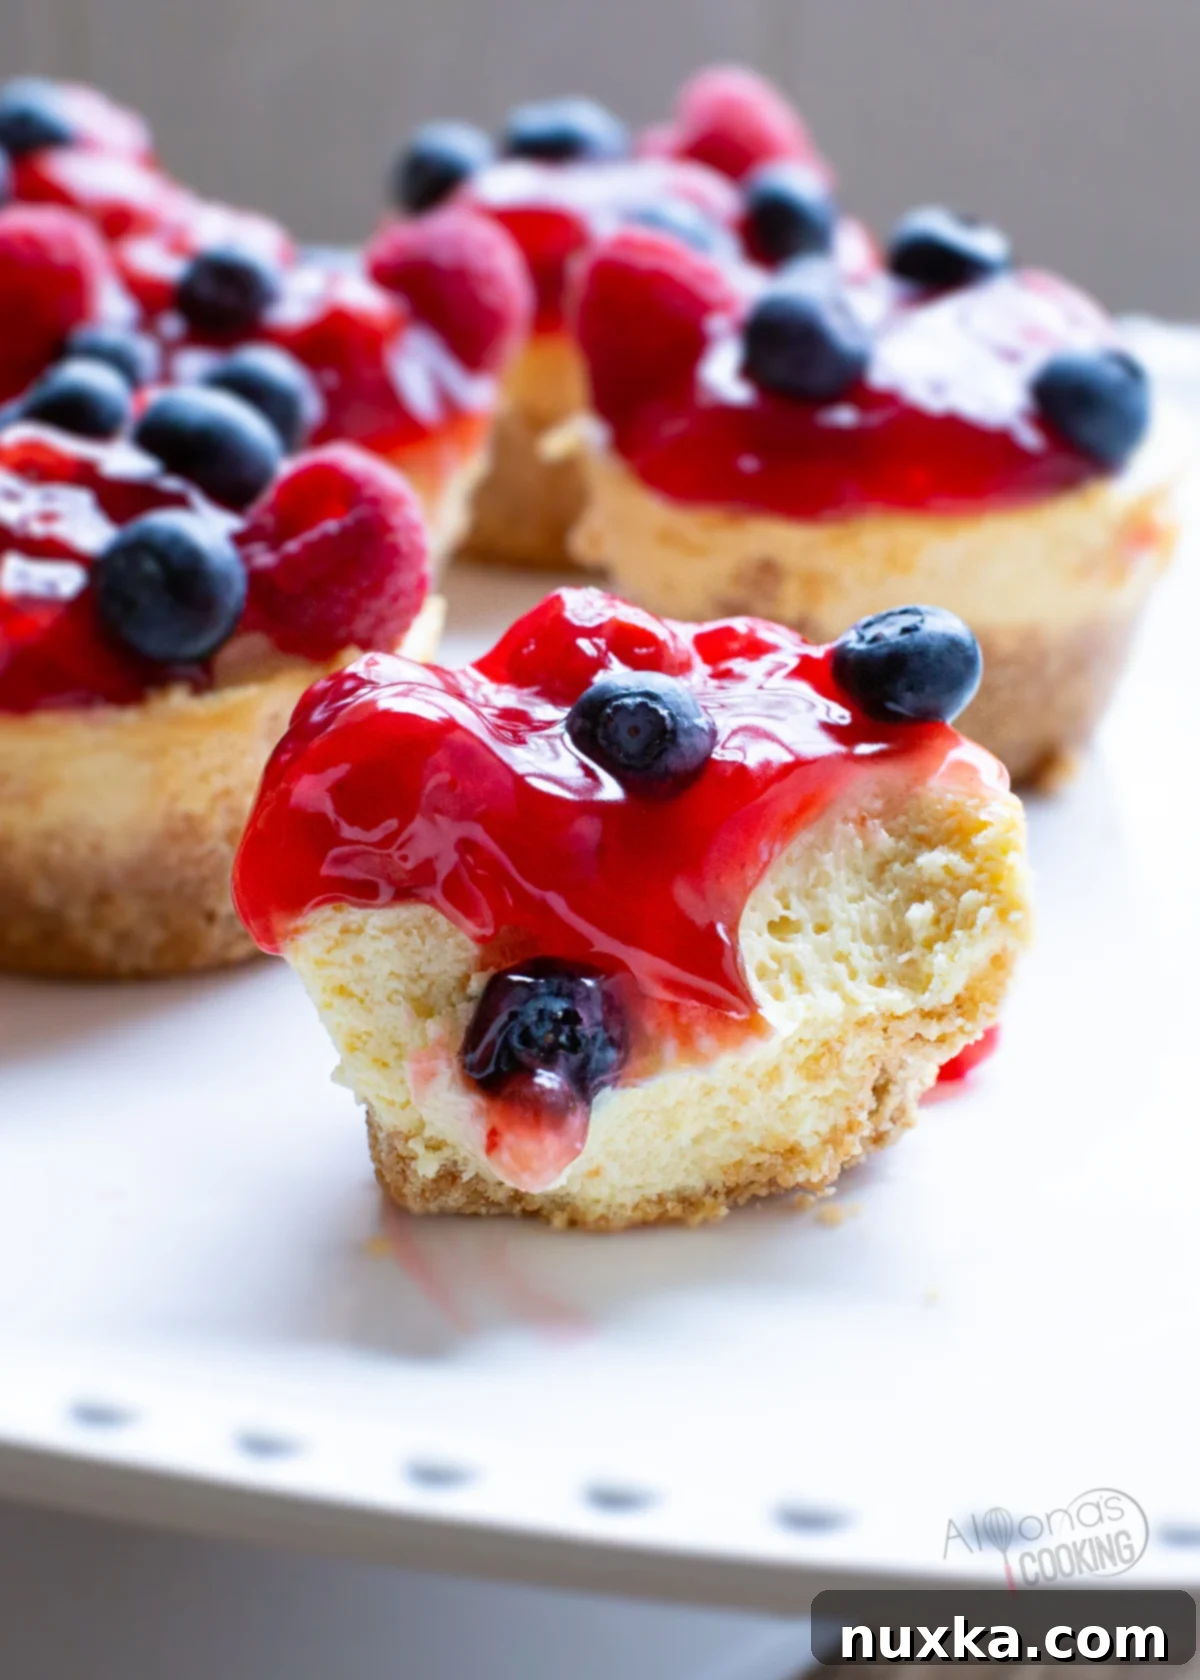
At its heart, a mini cheesecake is a rich, creamy, and utterly delightful dessert, essentially a scaled-down version of its larger counterpart. It features a velvety smooth cream cheese filling, traditionally nestled atop a crisp, buttery graham cracker cookie crust. While a classic cherry pie filling is a popular choice, these versatile treats welcome a wide array of fruit sauces or pie fillings, allowing for endless customization.
Think of them as the charming, bite-sized siblings to a full-sized cheesecake, specifically designed to be baked in a standard muffin pan. They deliver all the beloved flavors and textures of a traditional cheesecake but in perfectly portioned, individual servings. This miniature format offers several distinct advantages:
- Effortless Serving: No need for slicing, messy crumbs, or serving utensils. Each mini cheesecake is a ready-to-eat delight, making cleanup and distribution a breeze.
- Perfect Portions: Ideal for parties, they offer guests a sweet treat without overindulging, making them perfect grab-and-go desserts that satisfy without being overwhelming.
- Crowd-Pleaser: Their individual size makes them exceptionally easy to serve a large group, ensuring everyone gets a perfect piece without the hassle of cutting or worrying about crumbling slices.
When it comes to the crust, you have two fantastic options to choose from, each bringing its own unique character to these delectable cheesecake bites: a classic, buttery graham cracker crust or a whole chocolate Oreo cookie. The traditional graham cracker base is wonderfully simple and universally loved, offering a sweet and subtly spiced foundation. However, for those who adore the rich chocolatey goodness of Oreo, placing a whole cookie at the bottom of each muffin cup creates an incredibly decadent foundation. When opting for the Oreo crust, I often recommend incorporating a touch of sour cream and vanilla extract into your cheesecake batter. This subtle addition helps to beautifully balance the intense sweetness of the chocolate crust, resulting in a more harmonious flavor profile that receives rave reviews every time. Both methods are straightforward and deliver delicious results, so the choice ultimately comes down to your personal preference – either way, you’re in for a treat that’s both easy and impressive!
Why This Mini Cheesecake Recipe Will Become Your New Favorite
There are countless reasons to fall in love with these easy mini cheesecakes. Beyond their adorable appearance, they offer a combination of convenience, versatility, and undeniable deliciousness that’s hard to beat, making them a staple for any home baker:
- Speed & Simplicity: With minimal active prep and a quick bake time, you can have a batch of these beauties ready in under 30 minutes, not including chilling. It’s perfect for busy schedules, spontaneous cravings, or when you need a dessert in a hurry.
- Perfect Portions: Each mini cheesecake is individually sized, eliminating the need for cutting, serving utensils, and messy plates. This ensures consistent, neat servings for all your guests, making them ideal for bake sales, potlucks, and elegant party platters.
- Customization King: From crust to topping, these cheesecakes are a blank canvas for your culinary creativity. Easily experiment with different cookie bases, a variety of fruit fillings, chocolate additions, and even unique savory-sweet combinations to suit any taste or occasion.
- No Water Bath Required: Unlike many traditional cheesecake recipes that demand a fussy water bath to prevent cracks, these mini versions are forgiving and bake beautifully without one, simplifying the baking process significantly.
- Impressive Presentation: Despite their ease of preparation, mini cheesecakes look incredibly professional and charming when arranged on a platter. They are a fantastic dessert to impress friends and family without requiring hours of effort or specialized skills.
Essential Ingredients for Your Delectable Mini Cheesecakes
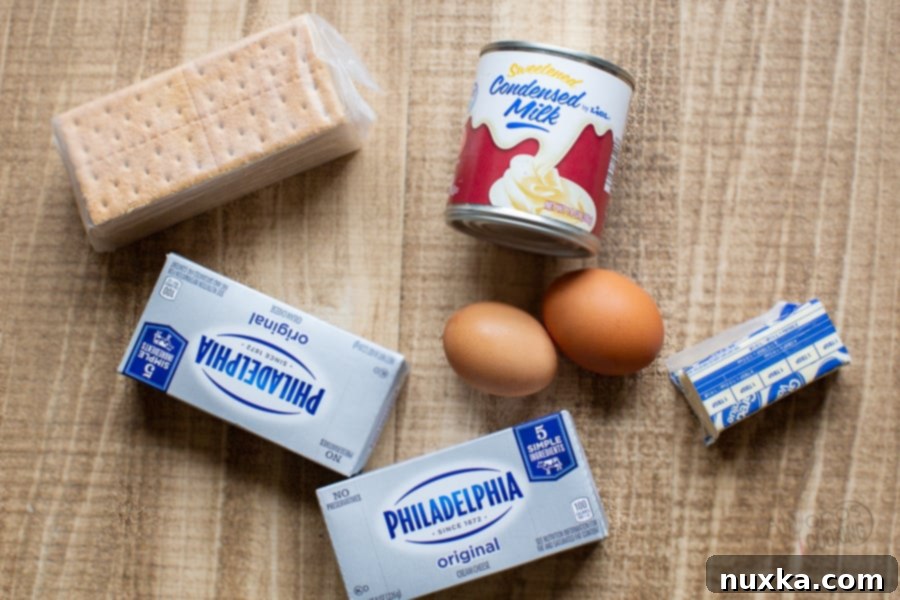
One of the true beauties of this mini cheesecake recipe lies in its incredibly straightforward ingredient list. You’ll be amazed at how such simple components combine to create such a rich and satisfying dessert. For the core recipe, you only need a handful of items, making your grocery run quick and easy. Let’s break down these essential elements that contribute to their irresistible flavor and texture:
For the Irresistible Crust:
- Graham Cracker Crumbs: We’re talking about one sleeve of classic graham crackers, finely crushed. These create the perfect, slightly sweet, and firm base for your cheesecakes, providing a delightful textural contrast to the creamy filling. While some recipes call for added sugar, I find the natural sweetness of the graham crackers to be perfectly sufficient, especially when paired with the sweet filling. If you prefer a noticeably sweeter crust, feel free to mix in about 1/3 cup of granulated sugar.
- Melted Butter: Unsalted butter, melted, binds the graham cracker crumbs together, forming that classic, sturdy crust that holds up beautifully. It also adds a rich, buttery flavor that deeply complements the creamy filling.
For the Velvety Smooth Filling:
Prepare for simplicity! This decadent cheesecake filling requires just three key ingredients to achieve its signature rich and smooth texture:
- Cream Cheese: The undeniable star of the show! It is absolutely essential to ensure your cream cheese is softened to room temperature for a lump-free, silky smooth batter. Full-fat cream cheese yields the richest, most luxurious texture and flavor.
- Eggs: Act as a crucial binder, providing structure to the cheesecake and contributing significantly to its creamy, custardy consistency. Two large eggs are all you need for this recipe.
- Sweetened Condensed Milk: This magical ingredient serves a dual purpose, adding both intense sweetness and a creamy liquid component, effectively replacing granulated sugar and additional milk that other recipes might require. It results in an incredibly tender, sweet, and perfectly set cheesecake without extra fuss. While optional, a dash of vanilla extract can enhance the flavor further if you desire a slightly more aromatic and classic profile.
For the Vibrant Topping:
- Tart Fruit Topping: A sweet, rich cheesecake truly shines when topped with a contrasting tart fruit element. My personal favorite is classic cherry pie filling from a can, which provides a beautiful color, a delightful sweet-tart balance, and a ready-made convenience. However, don’t limit yourself! Any fruit sauce or canned pie filling, such as luscious blueberry, sweet strawberry, or tangy raspberry, will work wonderfully. You can even opt for homemade fruit compotes for an extra special, fresh touch.
Effortless Execution: How to Make These Quick Mini Cheesecakes
You don’t need a professional baker’s certificate to master this recipe! Creating a dozen delectable mini cheesecakes is remarkably simple, utilizing just a standard-sized muffin pan. For those aiming for pristine, liner-free cheesecakes that pop out effortlessly, I highly recommend a non-stick muffin pan like the USA pans. Their superior non-stick coating is perfect for handling delicate desserts. With minimal hands-on time, you’ll have a batch of these delightful treats ready to chill in under 20 minutes of active work! Here’s your straightforward guide to making this easy mini cheesecake recipe, step-by-step:
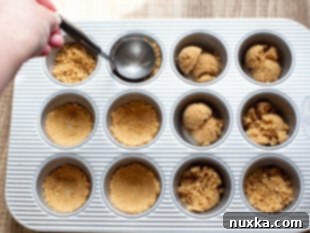
- Prepare the Crust: Begin by finely crushing your graham cracker cookies until you have uniform crumbs. In a medium bowl, combine these crumbs with the melted butter, ensuring everything is well mixed and evenly moistened. Spoon approximately 2 tablespoons of this buttery crumb mixture into the bottom of each muffin tin cavity. Use a small ladle, the back of a spoon, or even a shot glass to firmly pack down the crust mixture. Press it not only into the base but also slightly up the sides of each cup to create a secure, defined foundation. Once compacted, set these mini crusts aside.
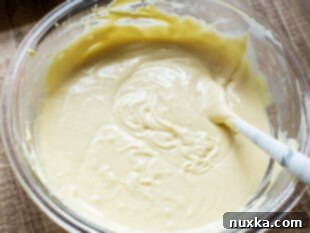
- Soften Cream Cheese: While your crusts are chilling (or setting), prepare your filling. In a large mixing bowl (preferably using an electric mixer), beat the softened cream cheese on medium speed for about 30 seconds. The goal is to achieve a wonderfully smooth and creamy consistency, free of any lumps, ensuring a silky cheesecake texture.
- Incorporate Eggs: Next, add the eggs to the cream cheese mixture. Continue to beat for approximately 45 seconds, stopping occasionally to scrape down the sides of the bowl as needed to ensure all ingredients are thoroughly combined. Beat until the mixture is completely smooth with no visible lumps, but avoid overmixing.
- Add Sweetened Condensed Milk: Pour in the entire can of sweetened condensed milk and beat for another 20 seconds on low speed until just combined and smooth and creamy. It’s crucial here to avoid overbeating the mixture at this stage, as this can incorporate too much air, potentially leading to a curdled texture in the oven or cracks during baking. Beat only until the ingredients are just combined and the batter is smooth and homogeneous.
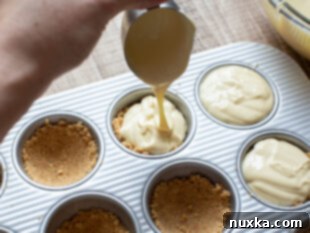
- Fill Muffin Cups: Carefully scoop about 1/3 cup (or a generous spoonful) of the cheesecake batter into each prepared muffin cup, filling them almost to the rim. You want to utilize all the delicious batter to create plump, satisfying cheesecakes. After filling, gently tap the muffin pan on your counter a few times to release any trapped air bubbles. For any stubborn bubbles that rise to the surface, a quick prick with a toothpick will do the trick.
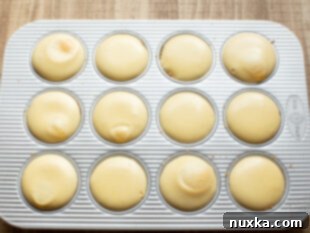
- Bake to Perfection: Place your muffin pan in the preheated oven at 325°F (162°C) and bake for 15-18 minutes. The mini cheesecakes are perfectly done when their tops have puffed up slightly, and the centers still exhibit a subtle, delicate jiggly movement when gently shaken. This slight jiggle indicates a creamy, custardy interior that will set beautifully upon cooling, ensuring they aren’t overbaked.
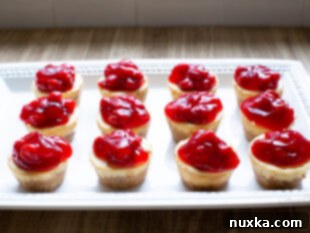
- Cool and Decorate: Once baked, remove the cheesecakes from the oven and allow them to cool completely in the pan on a wire rack. This step is vital for proper setting and to prevent them from deflating or cracking. Once cooled, carefully remove the cheesecakes from the muffin pan (refer to our pro tips for easy removal!). Now comes the fun part: dollop each one generously with your favorite fruit topping or canned pie filling. For an extra touch of elegance and fresh flavor, consider garnishing with additional fresh fruit.
- Chill for Optimal Flavor & Texture: For the absolute best flavor and firmest texture, refrigerate your finished mini cheesecakes for at least 4 to 12 hours before serving. This essential chilling time allows the flavors to meld beautifully and the cheesecake to fully set, ensuring a truly irresistible dessert experience that’s dense and creamy.
Baker’s Tip: Need to soften cream cheese in a flash? Simply remove two blocks of cream cheese from their wrappers, place them on a microwave-safe plate, and microwave on HIGH for about 45 seconds. They’ll be perfectly softened and ready to beat in no time, ensuring a super smooth batter!
Achieving Perfection: How Long to Bake Your Mini Cheesecakes
Knowing precisely when your easy mini cheesecakes are perfectly baked is key to their creamy texture and crack-free appearance. The baking process for these miniature delights is quite straightforward, but a few pointers will ensure flawless results and a truly delicious outcome:
The Ideal Oven Temperature:
Begin by preheating your oven to a gentle medium-low temperature of 325°F (162°C). This lower temperature is critical for cheesecakes, especially their mini versions. Baking at too high a temperature can cause the cheesecake batter to rise too rapidly due to aggressive heating and then fall, often leading to unsightly cracks on the surface and undesirable browning. A steady, moderate heat ensures a slow, even bake, preserving their smooth, unblemished tops and creamy interior.
Baking Time and Doneness Cues:
Once your oven is properly preheated, slide your muffin pan filled with mini cheesecakes into the oven. They will typically bake for approximately 15-18 minutes. Since these are miniature desserts, they cook relatively quickly and should not require longer than 20 minutes to achieve the perfect consistency.
So, how do you tell if your mini cheesecake is done? Look for these tell-tale signs to ensure a perfectly baked treat:
- Puffed-Up Tops: The tops of the cheesecakes should appear visibly puffed up, indicating they have risen nicely.
- Slightly Jiggly Centers: When you gently shake the muffin pan (or lightly tap the side), the centers of the cheesecakes should still have a slight, delicate jiggle. This subtle movement is exactly what you want – it indicates a creamy, custardy interior that will set beautifully as it cools and chills. If the centers are completely firm and show no jiggle, they are likely overbaked, which can result in a dry, dense texture and often, cracks.
Troubleshooting Cracks:
If you notice cracks forming on the tops of your homemade mini cheesecakes, it usually points to one of two common issues: either your oven temperature was too high, causing them to bake too quickly, or they were simply overbaked. Remember, patience is a virtue with cheesecake; trusting the “slight jiggle” test is more reliable than waiting for a completely firm appearance, which often means they’ve baked past their prime.
Pro Tips for Flawless Mini Cheesecake Removal
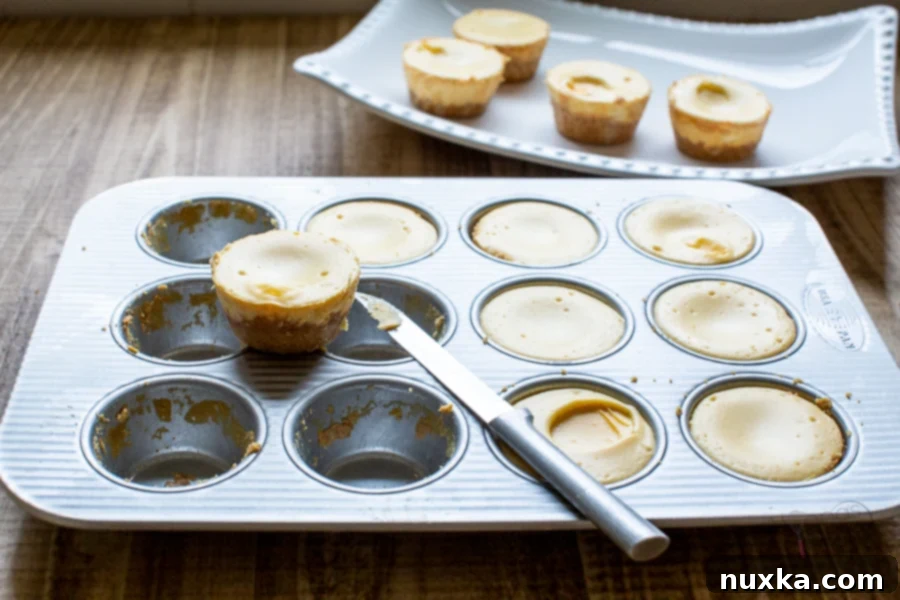
One of the most satisfying aspects of making mini cheesecakes is presenting them beautifully, showcasing their distinct layers of crust and creamy filling. If you choose to bake these delightful treats without cupcake liners to highlight their elegant presentation, you’ll want a foolproof method for removing them from the muffin pan without any damage. Here’s a brilliant hack to ensure your cheesecakes pop out perfectly every time, maintaining their pristine shape and smooth edges:
- Cool Completely: After baking, it’s absolutely crucial to allow your mini cheesecakes to cool down entirely within the muffin pan, preferably on a wire rack. This initial cooling helps them to firm up and begin setting before any manipulation.
- Freezer Chill: Once cooled to room temperature, transfer the entire muffin pan, with the cheesecakes still in their cavities, to the freezer for a good 1 hour. This brief freezing period is key. The intense cold helps the cheesecakes firm up considerably and shrink ever so slightly, making them much easier to release from the pan.
- Gentle Release: After an hour, remove the muffin pan from the freezer. Immediately, take a thin, sharp paring knife (or a thin, flexible offset spatula) and carefully run it around the inner edges of each mini cheesecake. Be gentle but firm, ensuring the knife reaches the bottom of the cavity to fully separate the cheesecake from the pan walls.
- Pop Them Out: Once you’ve loosened the edges, the cheesecakes should lift out easily. You can often gently twist them or use a small offset spatula to pry them up. If using a non-stick pan, they might even pop out with a light push from the bottom if your pan has removable bottoms.
With this simple freezer trick, you can confidently bake your homemade mini cheesecakes without liners, ensuring they maintain their pristine shape and beautiful layers. Once released, they are ready for your chosen toppings and can be elegantly arranged on a serving platter, ready to impress your guests with their professional appearance!
Unlock Your Creativity: Delicious Mini Cheesecake Variations
This foundational mini cheesecake recipe is incredibly versatile, serving as a perfect canvas for a myriad of flavor combinations. Whether you’re seeking seasonal delights, chocolate indulgence, or fruity bursts, you can easily adapt this base to create extraordinary desserts that cater to any palate. Don’t stop at just the basic fruit topping; let your imagination run wild! Here are some creative and popular variations to transform your ordinary cheesecake bites into something truly special and memorable:
Classic Graham Cracker Mini Cheesecakes:
- The Original: As detailed in the main recipe, this timeless classic features a buttery graham cracker crust, a velvety smooth cream cheese filling, and your favorite tart fruit pie filling (cherry is always a hit for a reason!).
- Lemon & Blueberry: Brighten your cheesecake by adding 1 tablespoon of fresh lemon zest and 2 tablespoons of fresh lemon juice to the filling. Once baked and cooled, top with a generous spoonful of fresh blueberries and a light lemon glaze for an irresistible zing.
- Strawberry Swirl: For a beautiful marbled effect and burst of flavor, gently swirl a tablespoon of good quality strawberry jam or a homemade strawberry sauce into the batter just before baking. Finish with fresh sliced strawberries for a delightful presentation.
Decadent Mini Oreo Cheesecakes:
- Ultimate Oreo: For an unforgettable chocolate experience, completely replace the graham cracker crust with a whole Oreo cookie placed flat at the bottom of each muffin liner. To the filling, after mixing in the condensed milk, add 1/2 cup of sour cream and 1/2 teaspoon of vanilla extract. Beat until smooth. Bake as directed, then cool and lavish with a dollop of whipped cream and a sprinkle of crushed Oreos for an extra textural crunch. This subtle addition of sour cream beautifully balances the sweetness of the chocolate for a truly sublime flavor.
- Mint Oreo: Take the Oreo variation a step further by using mint Oreos for the crust. Add a drop of mint extract (and optionally, green food coloring) to the cheesecake filling for a refreshing twist.
Seasonal & Flavorful Twists:
- Mini Pumpkin Cheesecake: Embrace the cozy flavors of autumn by reducing the cream cheese by 8 oz (using one standard block) and incorporating 1 cup of smooth pumpkin puree into the batter. Enhance the seasonal profile with 1 teaspoon of pumpkin spice and a splash of vanilla extract towards the end of mixing. Top with a dollop of whipped cream and a sprinkle of cinnamon.
- Rich Chocolate Cheesecake Bites: Transform your cheesecakes into a chocoholic’s dream by folding 3/4 cup of melted and slightly cooled good-quality chocolate (dark or semi-sweet works best) into the cheesecake batter. Once cooled, these are exquisite topped with chocolate ganache, chocolate curls, or even a dusting of cocoa powder.
- Tangy Key Lime Cheesecake Bites: For a refreshing, zesty treat reminiscent of the tropics, add 1/4 cup of sour cream, 3 tablespoons of fresh lime juice, and 1 teaspoon of fragrant lime zest to the filling. A couple of drops of green food coloring can give them that characteristic key lime hue. Finish with a small dollop of whipped cream and a thin lime slice.
- Warm Apple Crisp Mini Cheesecakes: A comforting dessert fusion! Top the baked cheesecakes with a spoonful of canned or homemade apple pie filling, then sprinkle generously with your favorite cobbler crumb topping (made with oats, butter, and brown sugar) for a delightful textural contrast and warm, spiced flavor.
- Indulgent Turtle Cheesecakes: Create a classic candy bar experience by topping your cooled cheesecakes with a generous drizzle of rich caramel sauce, a scattering of toasted pecans, and a delicate finish of silky chocolate ganache.
These variations are just starting points. Feel free to mix and match elements, add different extracts (like almond or coconut), or incorporate candies and nuts to invent your signature cheesecake bites! The possibilities are truly endless.
Elegant Presentation: How to Serve Your Mini Cheesecakes
These mini-baked cheesecakes are not only incredibly delicious but also make for an effortlessly elegant dessert. Their individual size makes them perfect for any gathering, from casual family dinners to sophisticated cocktail parties. While fantastic on their own, a thoughtful presentation or accompaniment can elevate the experience. Here are some delightful ways to serve your easy mini cheesecakes, ensuring they’re both visually appealing and perfectly palatable for your guests:
Classic Toppings & Garnishes:
- Pie Filling & Fresh Fruit: As recommended in the main recipe, a generous dollop of your favorite canned pie filling (cherry, blueberry, or strawberry) is always a hit. To add visual appeal and a burst of fresh flavor, artfully arrange a few additional fresh fruits over the pie filling. Blackberries, raspberries, or sliced strawberries create a stunning, vibrant contrast that makes your dessert pop.
- Whipped Cream & Crumbles: A cloud of freshly whipped cream (or a dollop of Cool Whip for convenience) is a classic pairing that adds a light, airy touch. Enhance it further with a sprinkle of crushed Oreo cookies, graham cracker crumbs, finely chopped nuts (like pecans or walnuts), or even a dash of cocoa powder.
- Homemade Fruit Sauces: For a more gourmet touch, instead of canned filling, spoon a thick homemade fruit compote or vibrant fruit sauce over the cheesecakes. A tart raspberry coulis, sweet mango puree, or a mixed berry sauce adds a sophisticated flavor and fresh appeal.
- Tangy Sour Cream Topping: For a delightful counterpoint to the sweet cheesecake, prepare a simple sour cream topping. Whisk together 1 cup of Daisy sour cream (or your preferred brand), 3 tablespoons of granulated sugar, and 1 teaspoon of vanilla extract until smooth. Spread a thin, even layer over the cooled cheesecakes for a refreshing, slightly tangy finish that balances the richness.
- Chocolate Drizzles & Curls: For chocolate lovers, a delicate drizzle of melted chocolate (milk, dark, or white) or a sprinkle of elegant chocolate curls can instantly transform your plain cheesecakes into a rich, appealing dessert.
Pairing Suggestions:
Because these are rich and satisfying desserts, one mini cheesecake can be quite fulfilling for most. Consider serving them alongside:
- Hot Beverages: They are a perfect match with a freshly brewed cup of hot tea or coffee. The slight bitterness and warmth of the beverage beautifully complement the cheesecake’s sweetness and creaminess.
- Fresh Fruit Platters or Salads: Offer a vibrant array of fresh fruit on a platter or a light, refreshing fruit salad as a refreshing contrast. The fresh, juicy fruits help cleanse the palate between bites of rich cheesecake, enhancing the overall dessert experience.
- Elegant Appetizer Plates: If you’re hosting a buffet or a larger gathering, these cheesecake bites are perfectly sized to be presented on small appetizer plates placed at the dessert station. Their individual size makes them exceptionally easy for guests to pick up and enjoy without the need for additional cutlery.
No matter how you choose to serve them, these homemade mini cheesecakes are guaranteed to be a crowd-pleasing hit and a memorable addition to any menu!
Explore More Delightful Cheese Desserts
If you’ve fallen in love with the rich and creamy goodness of this mini cheesecake recipe, you’re in for a treat! There’s a whole world of delectable desserts crafted with cheese waiting to be explored. From light and fluffy to deeply indulgent, cheese adds a unique depth and texture to sweet treats. Here are some more fantastic cheese-based dessert ideas to satisfy your cravings and expand your baking repertoire:
-
Cottage Cheese Crepes
-
Easy Cheese Danish Recipe (Video)
-
Double Chocolate Raspberry Cheesecake
-
Cherry Cheesecake Pretzel Dessert
Frequently Asked Questions About Mini Cheesecakes
How Long Do Mini Cheesecakes Last in the Fridge?
Properly stored, leftover mini cheesecakes will maintain their freshness and delicious taste in the refrigerator for up to 4 days. To ensure they stay as delightful as when they were first made, it’s crucial to store them correctly. Place them in an airtight container to prevent them from drying out or absorbing other odors from the fridge. Alternatively, you can gently wrap them with plastic wrap. If your cheesecakes have a delicate fruit topping that you want to protect from smudging, a clever trick is to insert a few toothpicks into the top of the cheesecakes before covering them with plastic wrap. The toothpicks create a mini dome, preventing the plastic from touching and disturbing the topping. Enjoy them cold for the best experience!
Can You Freeze Mini Cheesecakes?
Absolutely! Mini cheesecakes are excellent candidates for freezing, making them perfect for meal prep or enjoying a quick dessert whenever a craving strikes. They can be safely frozen for up to 3 months, retaining their quality and flavor.
To freeze mini cheesecakes effectively:
- Un-topped is Best: For optimal results, it’s highly recommended to freeze the mini cheesecakes without their fruit toppings. Fruit fillings can become watery or alter in texture upon thawing, so it’s best to add them fresh just before serving.
- Flash Freeze: Arrange the cooled, un-topped cheesecakes in a single layer on a baking sheet. Place the tray in the freezer for 1-2 hours, or until they are solid. This “flash freezing” prevents them from sticking together.
- Transfer to Storage: Once frozen solid, transfer the individual cheesecakes into a gallon-sized freezer bag or an airtight freezer-safe container. Remove as much air as possible from the bag to prevent freezer burn.
- Thawing: When you’re ready to enjoy them, simply transfer the frozen cheesecakes to the refrigerator and allow them to thaw overnight. Once thawed, you can add your favorite fresh toppings and serve!
Expert Tips for Making the Best Mini Cheesecakes
Achieving bakery-quality homemade mini cheesecakes is easier than you think with these expert tips and tricks. Follow these guidelines to ensure your cheesecake bites are perfectly creamy, beautifully set, and utterly delicious every single time:
- The Freezer Release Hack: To ensure your mini cheesecakes pop out of the muffin pan cleanly and without damage, especially if baking without liners, cool them completely then place the entire pan in the freezer for about an hour before attempting to remove them. This firms them up and makes release effortless.
- Embrace Liner-Free Baking: For a truly elegant presentation that showcases the distinct layers of your crust and filling, skip the cupcake liners. Just make sure to use a high-quality non-stick muffin pan (like a USA Pan for best results).
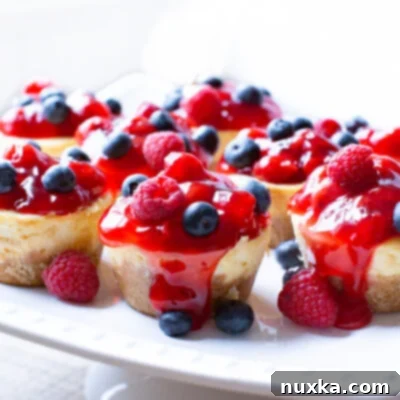
- Elevate Your Toppings: While canned pie filling is convenient, elevate its appeal by adding a few pieces of fresh fruit on top. For instance, blackberries and raspberries artfully placed over cherry pie filling add a beautiful pop of color, texture, and fresh flavor, making your dessert look extra fancy and enticing.
- Creative Crust Alternatives: Don’t limit yourself to graham crackers! For an easy and decadent chocolate base, simply place a whole Oreo cookie at the bottom of each muffin cup to serve as the crust. It’s a game-changer for chocolate lovers!
- Vanilla for Depth: For an added layer of sweetness and aromatic flavor, consider incorporating a teaspoon of pure vanilla extract into your cheesecake batter. It enhances the overall taste profile beautifully and provides that classic cheesecake aroma.
- Avoid Over-Beating: This is a crucial step! Over-beating the cheesecake batter can incorporate too much air, which can cause the cheesecakes to puff up excessively in the oven and then collapse or crack upon cooling. Beat only until the ingredients are just combined and smooth, stopping as soon as lumps disappear.
- Chill Thoroughly: Patience is a virtue when it comes to cheesecake. Always chill your baked mini cheesecakes in the refrigerator for at least 4-12 hours after they’ve cooled to room temperature. This allows them to firm up properly, develop their full flavor, and achieve that signature dense, creamy texture. They are always best served cold.
- Invest in Non-Stick: If you’re opting out of liners, a high-quality non-stick muffin pan is invaluable. It will make the removal process much smoother and minimize the risk of your delicate cheesecakes sticking and potentially breaking.
- Prevent Sinking & Cracks: To avoid your mini cheesecakes from sinking in the middle or developing cracks, bake them at the recommended low temperature (325°F). They are done when the tops look puffed and the centers have a slight jiggle. Cracks often indicate too high a temperature or overbaking.
- Room Temperature Cream Cheese: Using softened cream cheese is paramount for a lump-free, silky smooth batter. If you forget to take it out in advance, quickly soften 2 pounds of unwrapped cream cheese in the microwave for about 45 seconds on HIGH heat. It works wonders!
- Don’t Open the Oven Door: Resist the urge to frequently open the oven door during baking. Sudden changes in temperature can cause cheesecakes to fall or crack due to the temperature shock.
With these comprehensive tips, your journey to making perfect easy mini cheesecakes will be both enjoyable and successful!
How To Make Mini Cheesecakes:
Rate
Pin
Mini Cheesecake Recipe
Equipment
-
1 USA muffin pan (a non-stick standard muffin pan is highly recommended)
-
1 set of measuring cups and spoons
-
1 small ladle or cup (for packing the graham cracker crumbs firmly in the pan)
Ingredients
Graham Cracker Crust:
-
1 3/4 cup graham crackers crumbs (from 1 sleeve, finely crushed)
-
5 1/2 Tbsp butter (melted, unsalted preferred)
Creamy Filling:
-
16 oz cream cheese (full-fat, softened to room temperature)
-
2 large eggs
-
14 oz sweetened condensed milk (1 can, provides sweetness and creaminess)
Tart Topping:
-
21 oz cherry pie filling (or your favorite fruit pie filling)
-
fresh fruit for garnish (optional, for added color and freshness)
Instructions
-
 Preheat your oven to 325°F (162°C). Meanwhile, prepare the crust by mixing the graham cracker crumbs with the melted butter until well combined.
 -
 Pack 2 tablespoons of the crumb mixture into the bottom of each muffin tin cavity. Use a small ladle or a tiny glass to firmly press the crumbs against the base and slightly up the sides of the tin. Set aside.
 -
 In a large bowl, beat the softened cream cheese for 30 seconds or until smooth and creamy. Then, beat in the eggs for 45 seconds, scraping down the sides of the bowl as needed to ensure no lumps remain.
 -
 Add the sweetened condensed milk and beat for another 20 seconds, just until smooth and creamy. Be careful not to overbeat the mixture, as this can lead to curdling in the oven.
 -
 Scoop about 1/3 cup (or a generous amount) of the cheesecake batter into each prepared muffin tin, filling them almost to the rim. Gently pound the pan on the counter a couple of times to remove any air bubbles.
 -
 Bake for 15-18 minutes, or until the tops puff up and the centers are slightly jiggly when the pan is gently shaken. Avoid overbaking.
 -
 Cool completely in the muffin pan. Once cooled, gently remove the cheesecakes. Dollop each with a heaping tablespoon of cherry pie filling and garnish with fresh fruit if desired. Chill for optimal flavor and texture (about 4-12 hours before serving).
Notes
Mini Oreo Cheesecake Variation: Omit the graham cracker crust. Instead, place 1 whole Oreo cookie into the bottom of each muffin liner. Prepare the batter as directed, but add 1/2 cup of sour cream and 1/2 teaspoon of vanilla extract after you mix in the condensed milk, beating until smooth. Pour batter into the liners and bake as directed. Cool completely, then top with whipped cream and crushed Oreos for a decadent finish.
Nutrition per serving
