Easy Homemade Kimchi Recipe: A Beginner-Friendly Jalapeño Twist
Discover the delightful world of fermented foods with this incredibly simple and delicious homemade kimchi recipe. Passed down from my mother-in-law, who learned it by observing how Turkish women crafted large batches for the European market, this method offers all the authentic flavors of traditional Korean kimchi with a uniquely accessible twist. While classic kimchi famously uses Gochugaru (Korean chili powder), our version ingeniously incorporates fresh jalapeño peppers, delivering a vibrant kick that’s slightly milder yet equally satisfying. This makes it the absolute perfect kimchi recipe for beginners, inviting you to embark on a flavorful fermentation journey without intimidation.
What Does Kimchi Taste Like? Exploring Its Unique Flavor Profile
If you’ve ever enjoyed homemade sauerkraut, you’ll find kimchi’s taste profile familiar, yet wonderfully enhanced. It shares the delightful tang and sourness of fermented cabbage but introduces a complex depth of flavor with a pleasant, invigorating kick from the peppers. Beyond just spicy and sour, kimchi boasts a rich umami dimension, often described as savory, with subtle hints of sweetness and garlic. The texture is equally engaging – crunchy cabbage leaves that have softened slightly through fermentation, offering a satisfying bite. This particular method for making homemade kimchi is remarkably straightforward, calling for simple ingredients readily available at any local grocery store, making it a truly accessible culinary adventure for anyone.
What is Kimchi? A Korean Culinary Staple
At its heart, kimchi is a traditional Korean side dish, revered for its vibrant flavors and numerous health benefits. Many describe it as a spicy, fermented version of sauerkraut, but instead of white winter cabbage, it primarily uses crisp napa cabbage leaves. The fermentation process transforms humble cabbage into a probiotic powerhouse, bursting with a unique blend of spicy, sour, and umami tastes.
While some traditional methods involve cutting the cabbage into 2-inch strips, my mother’s approach, which we’ve adopted, uses whole napa cabbage leaves. This technique simplifies the process of rubbing the flavorful pepper mixture onto each leaf, ensuring every bite is infused with deliciousness. Kimchi is more than just a side dish; it’s a cultural icon in Korea, served with almost every meal. Its versatility and depth of flavor make it an essential component of Korean cuisine.
This probiotic-rich side dish pairs wonderfully with a wide array of meals, from simple potatoes and hearty meats to almost any main course. Although we hail from a Ukrainian culinary background, this particular version of easy kimchi has become a beloved staple in our kitchen. We strongly believe in keeping an assortment of fermented sides, like this homemade kimchi, along with fermented salsa and sauerkraut, readily available in the fridge. Not only do they add a burst of flavor and a boost of probiotics to any meal, but when properly stored in the refrigerator, homemade kimchi can last for months, making it an ideal, healthy vegetable to enjoy throughout the winter season and beyond.
The Impressive Kimchi Benefits for Your Health
Like all naturally fermented vegetables, kimchi is a powerhouse of beneficial properties, primarily due to the fermentation process. During this transformation, good bacteria, specifically lactic acid bacteria, convert the natural sugars in the cabbage into lactic acid. This not only acts as a natural preservative, extending the shelf life of the cabbage, but also significantly enhances its digestibility. The presence of these active microorganisms dramatically increases the nutritional value of fermented foods like kimchi, making it a fantastic addition to any diet.
Kimchi is celebrated for its contribution to gut health, often lauded as a potent probiotic food. These live beneficial bacteria can help balance gut flora, potentially improving digestion, nutrient absorption, and even boosting the immune system. Beyond probiotics, napa cabbage itself is rich in vitamins K and C, and a good source of fiber. When made with additional vegetables like radishes, as is common in some variations, the dietary fiber content can be even higher. This combination of probiotics, vitamins, and fiber makes kimchi a truly nutrient-dense food.
A crucial element in achieving a desired and safe final product is the judicious use of a hefty amount of salt. Salt is the primary preserving ingredient in fermentation. The salty brine creates an environment that kills off harmful bacteria while promoting the growth of the beneficial lactic acid bacteria. This process, known as lacto-fermentation, is what gives kimchi its characteristic sour flavor and extends its shelf life. It is vital not to undersalt your kimchi, as insufficient salt can lead to improper fermentation, resulting in an undesirable off-odor or even spoilage. Using the correct amount of salt ensures a safe, flavorful, and perfectly fermented homemade kimchi.
What is Easy Kimchi Made Of? Simple Ingredients for Great Flavor
The beauty of this beginner-friendly kimchi recipe lies in its incredibly simple ingredients. My Korean neighbors might raise an eyebrow at my non-traditional choice, but this method truly works and delivers fantastic results! These basic, accessible ingredients are precisely how a European market successfully produced batches of kimchi that sold out quickly, making it easy for anyone to become a lover of this slightly milder, yet intensely flavorful, version of fermented cabbage.
- Napa Cabbage: The quintessential base for kimchi, offering a crisp texture that softens beautifully during fermentation.
- Salt: Essential for drawing out water, preserving the cabbage, and initiating the fermentation process. Use a good quality, non-iodized salt.
- Garlic: Provides a pungent, aromatic depth that is fundamental to kimchi’s characteristic flavor profile.
- Peppers – A Flavorful Combination: This recipe utilizes a clever blend of sweet mini bell peppers and hot green jalapeño peppers. This combination yields a milder kimchi that still offers a pleasant spiciness without being overwhelmingly fiery or bold. The jalapeños contribute a noticeable heat, but it’s more balanced than the intense spice of traditional Gochugaru. For those seeking a more authentic Korean kimchi flavor and heat, you can easily substitute 2 tablespoons of Gochugaru (Korean red chili flakes) for the jalapeño peppers.
- Cold Water: Used to create the initial brine for salting the cabbage.
How To Make Kimchi from Scratch: A Step-by-Step Guide
This is genuinely the simplest homemade kimchi recipe, perfect for beginners eager to try their hand at fermentation! To get started, I highly recommend using a sturdy square food container for the initial salting process, as it easily accommodates the napa cabbage quarters under the salt brine. Once fermented, ensure you have some clean half-gallon mason jars on hand for storing your delicious kimchi in the refrigerator. Additionally, fermenting weights are incredibly helpful for keeping the cabbage fully submerged under its naturally occurring juices, which is crucial for successful fermentation and preventing spoilage.
- Prepare the Cabbage: Begin by washing two medium heads of napa cabbage thoroughly. Then, cut each head lengthwise into quarters. It’s important to leave the cores intact at this stage; they help keep the leaves together, making them easier to handle during the next steps.
- Salt and Brine: Place the cabbage quarters into a large food container or a spacious bowl. In a separate bowl, whisk 250 grams of salt (approximately one heaping cup) into 2.5 quarts of cold water until it’s completely dissolved. Pour this salty brine over the cabbage, ensuring all quarters are fully submerged. To keep the cabbage under the brine, place a plate on top and weigh it down with something heavy, like a jar filled with beans or a dedicated fermenting weight. Allow the cabbage to ferment for two days at room temperature. This initial brining draws out moisture and begins the fermentation process.
- Rinse the Cabbage: After two days, drain the cabbage from the salt brine. Rinse each cabbage quarter thoroughly under cold running water to remove excess salt. There’s no need to pat the leaves dry; a little moisture is fine.
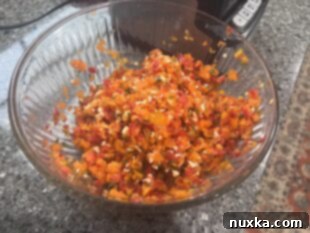
- Craft the Spicy Pepper Mixture: Prepare your pepper mixture by adding peeled, whole garlic cloves, cored jalapeños (adjust quantity for desired heat), and cored sweet mini bell peppers to a food processor. Process in two batches if necessary, mincing everything finely. For extra heat and flavor, I recommend leaving all the seeds from the jalapeños.
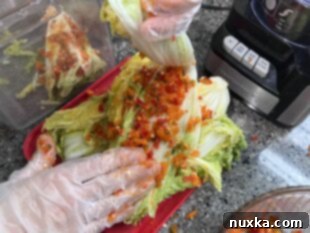
- Apply the Pepper Mixture: This step is crucial and requires protection! Wearing gloves (this is non-negotiable to protect your hands from the capsaicin in the hot peppers and prevent lingering smells), take each cabbage quarter. Carefully rub the spicy pepper mixture generously between every single cabbage leaf. Ensure an even coating for maximum flavor.
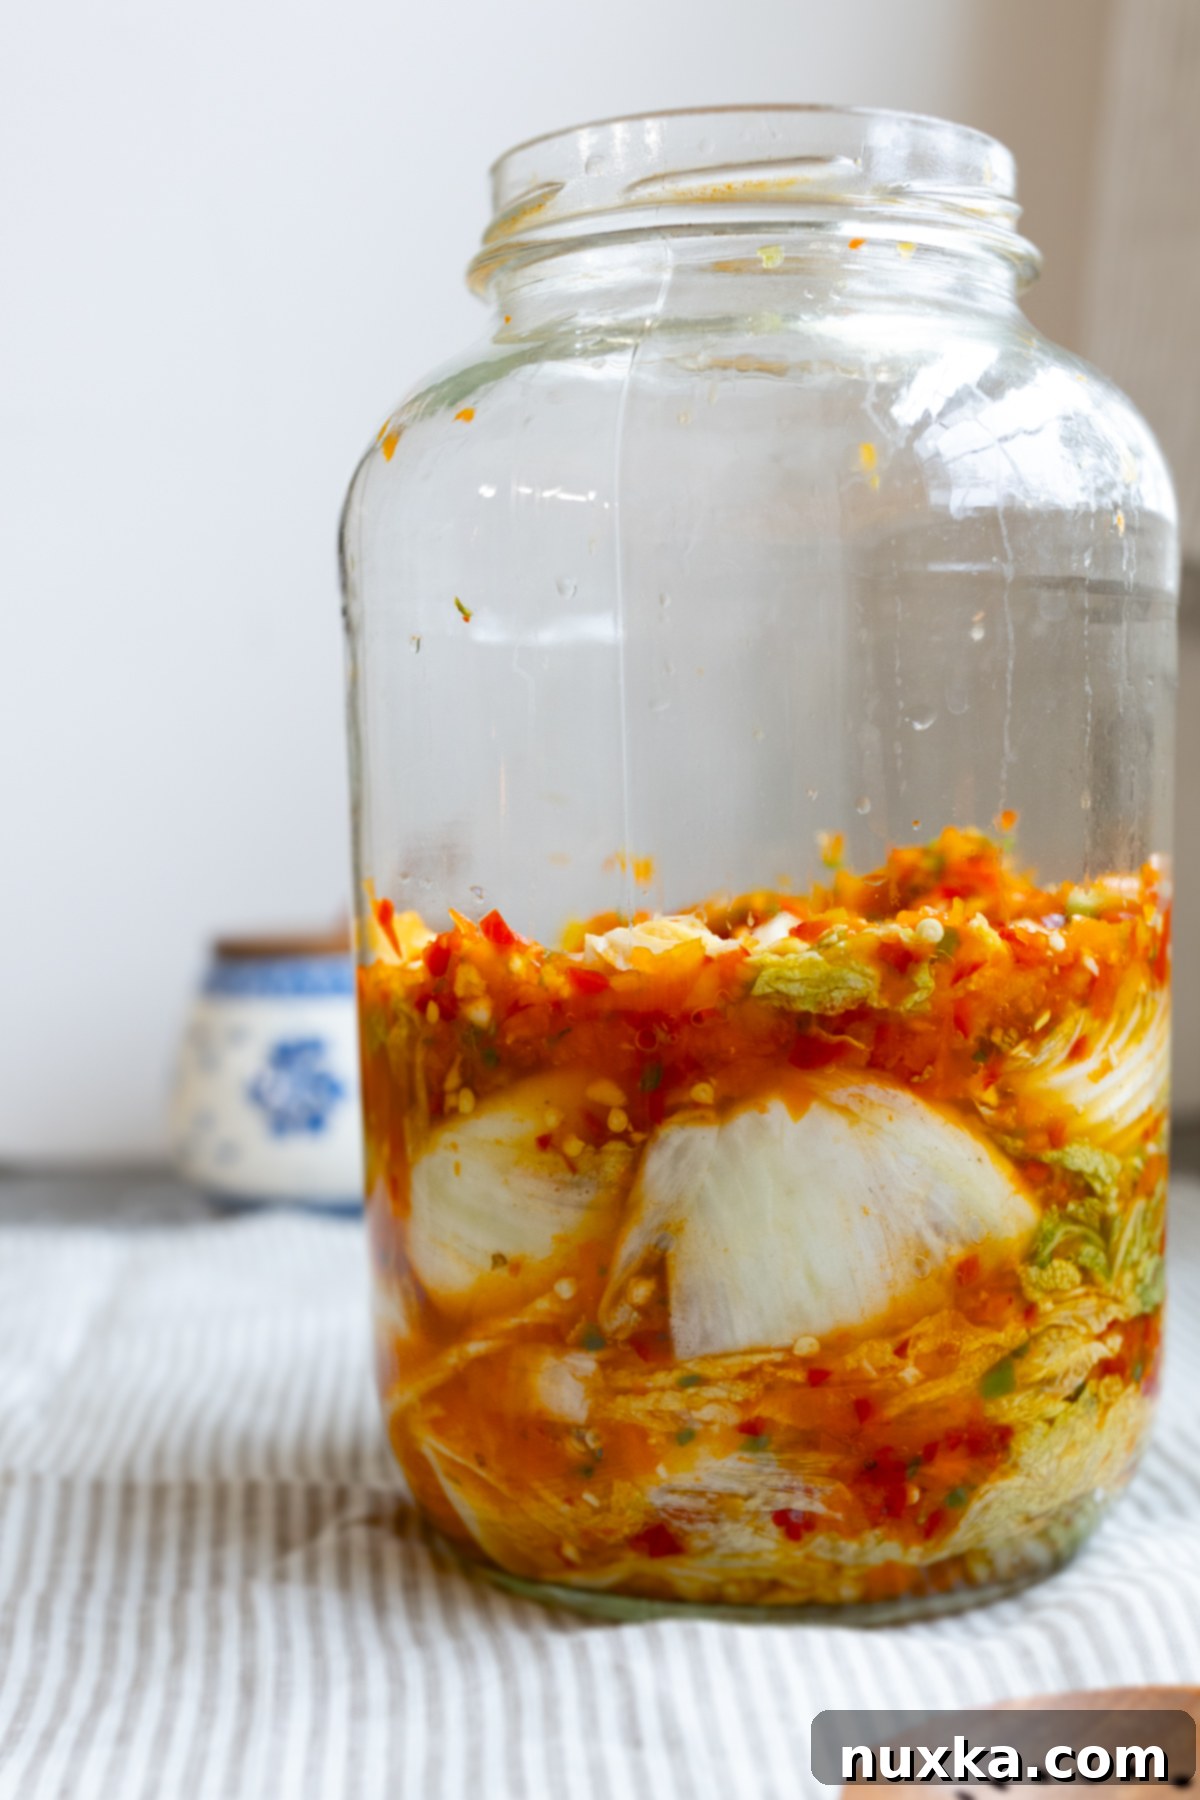
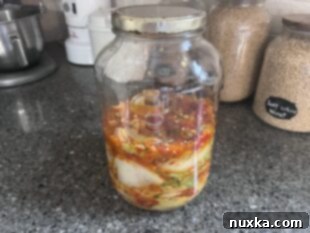
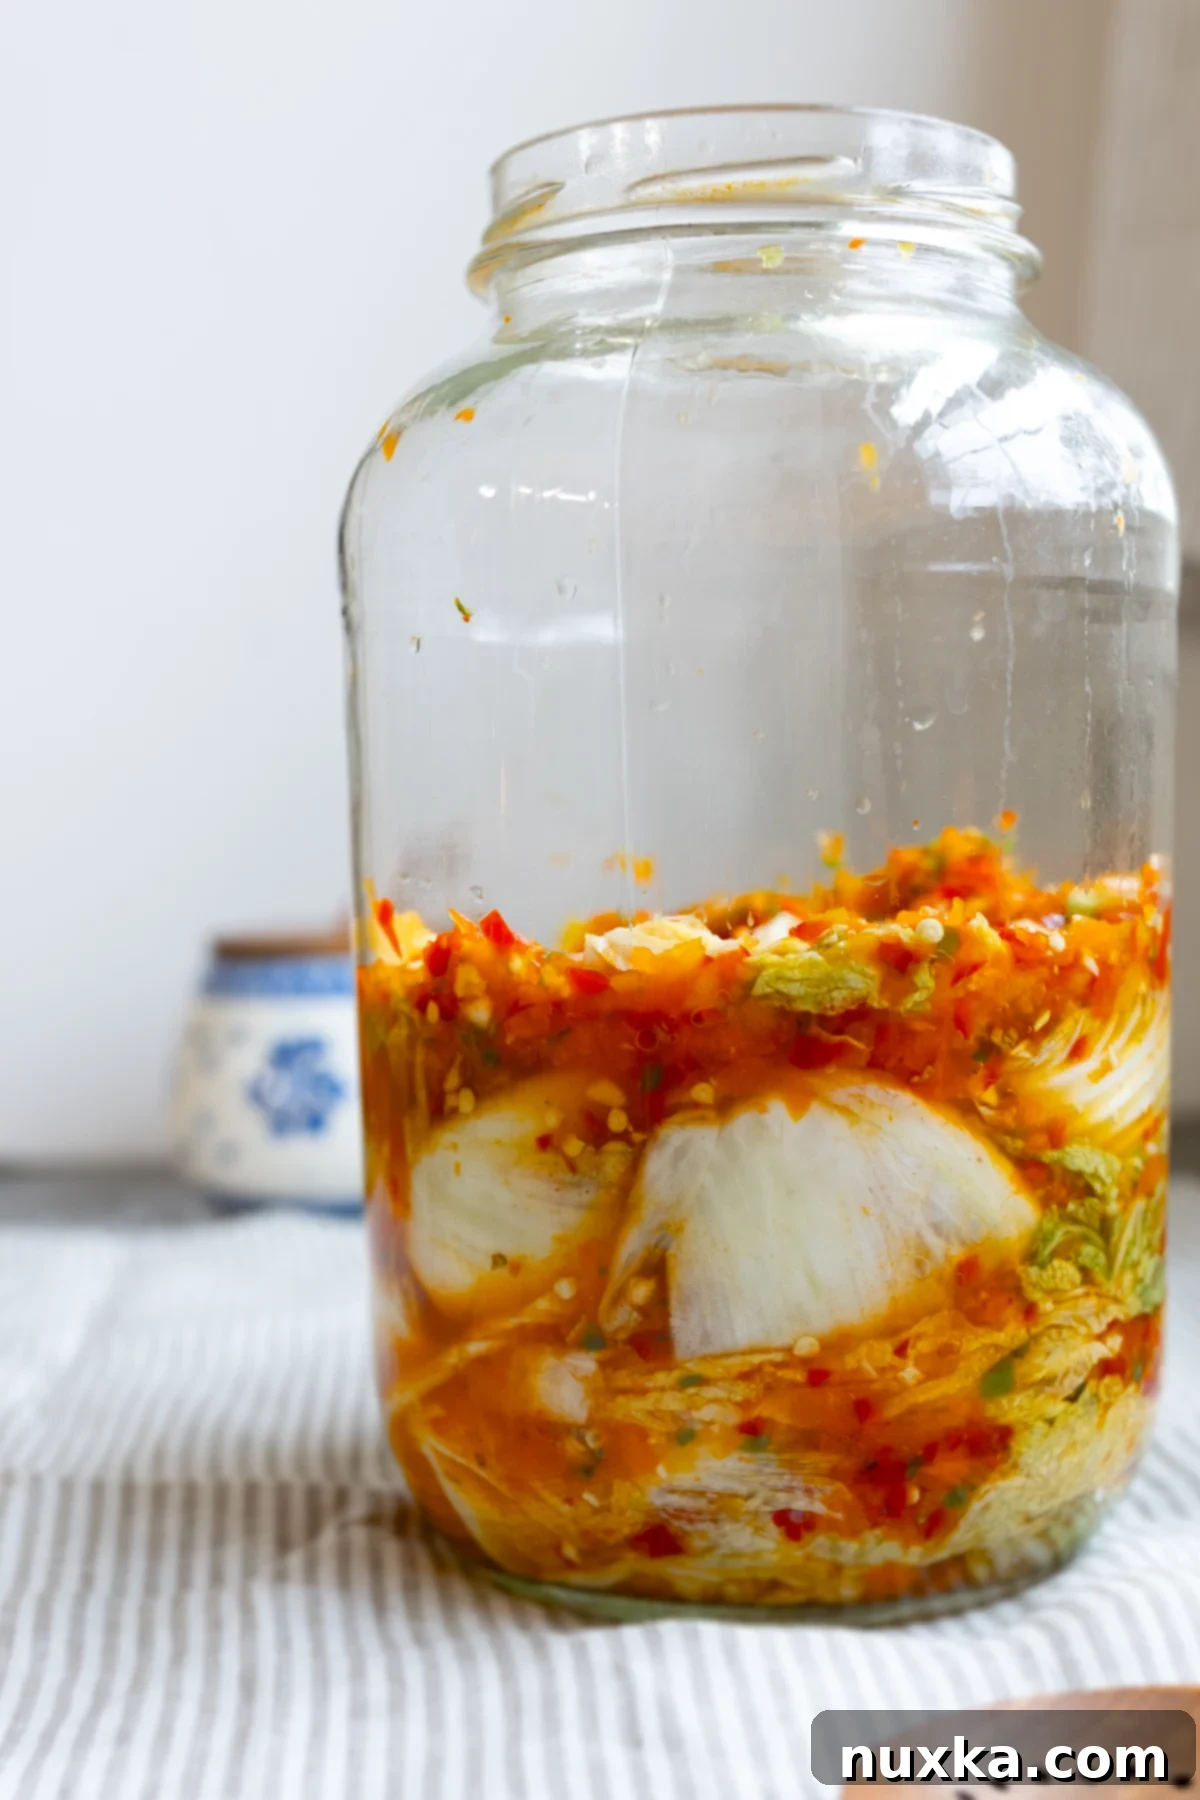
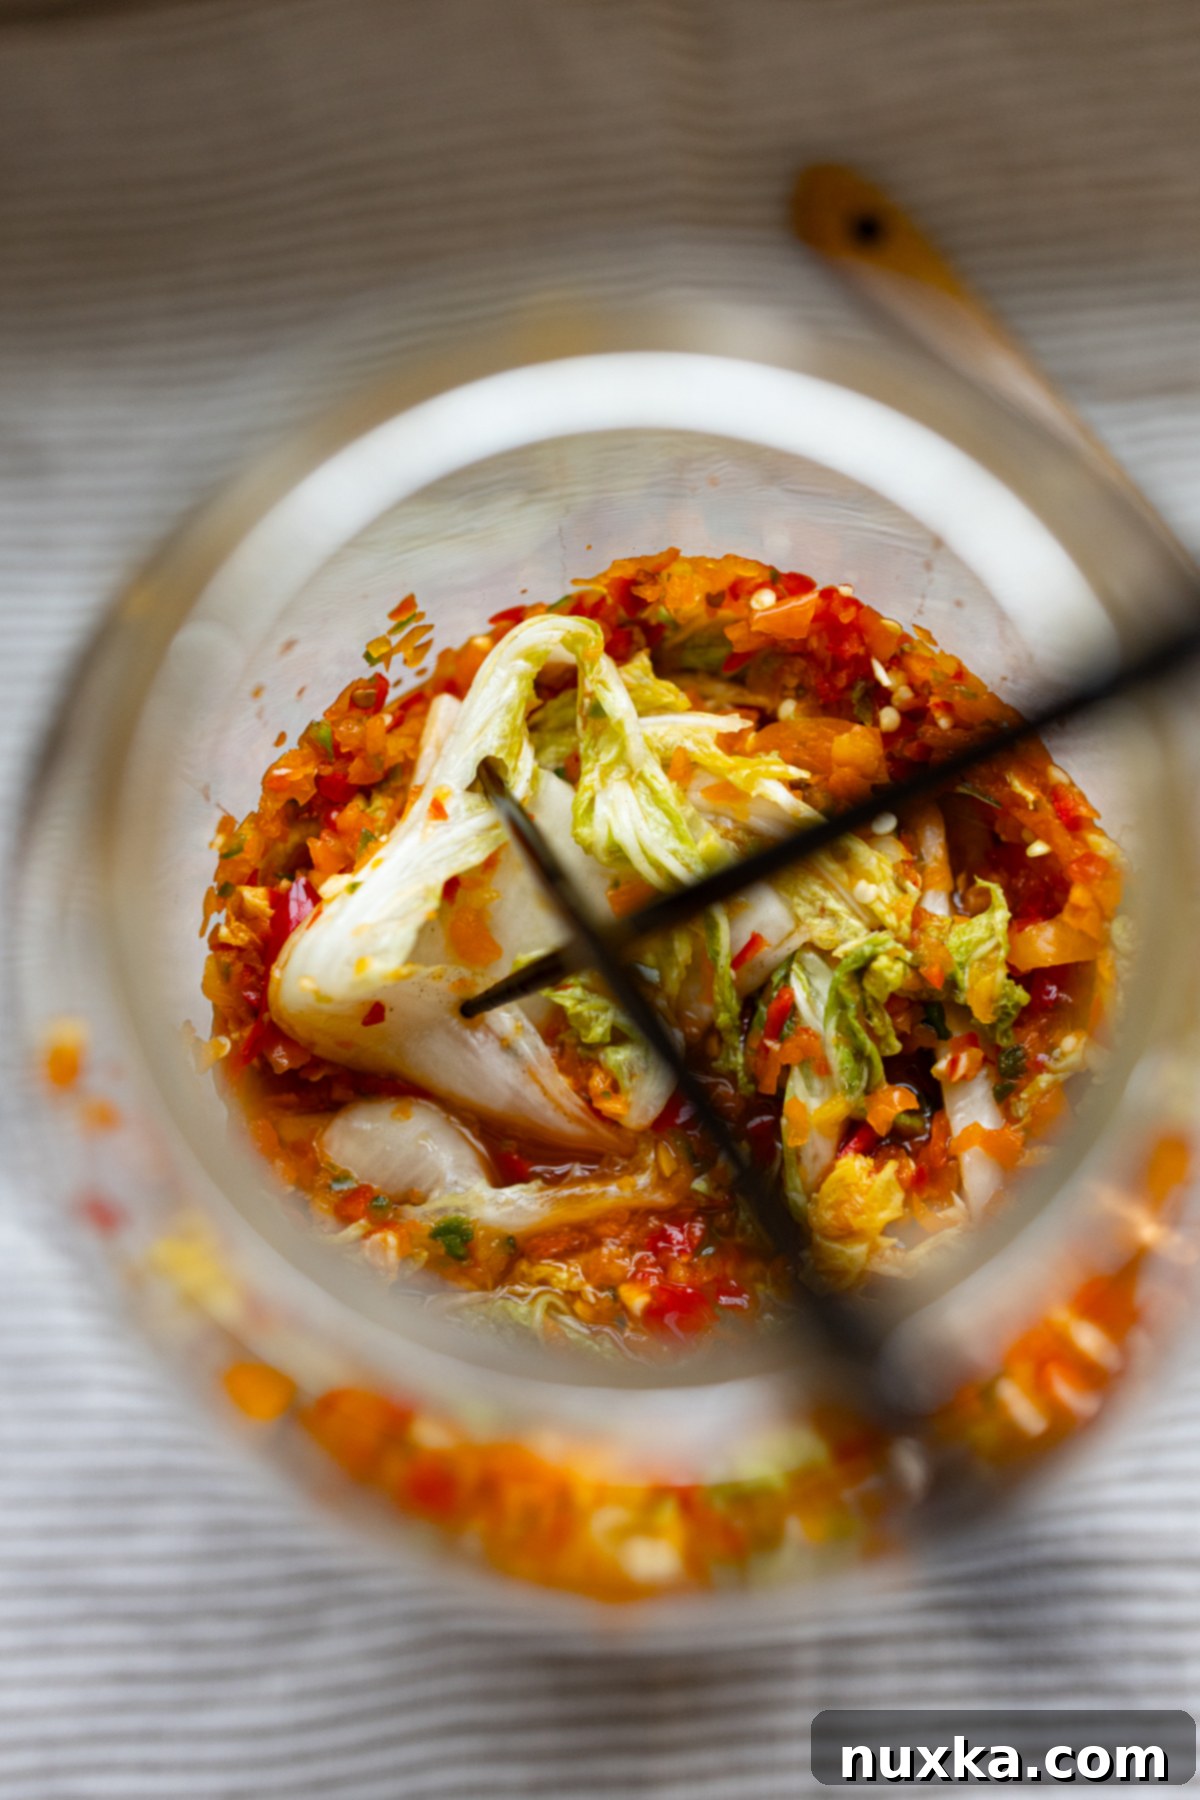
- Pack and Ferment: Once all cabbage quarters are coated, pack them tightly into a half-gallon or one-gallon jar. Press down firmly on the cabbage until its natural juices rise and completely cover the leaves, creating a brine. Leave at least 1 inch of headspace at the top of the jar to allow for gas expansion during fermentation. Let the packed kimchi ferment for one more day at room temperature. After this final fermentation, transfer the jar to the refrigerator for long-term storage. While it can be enjoyed immediately, kimchi’s flavors deepen and improve significantly after two weeks in the fridge.
Storage: Your homemade kimchi can be refrigerated for at least 3 months, often even longer, if properly stored. Always use clean hands or sterilized utensils each time you remove kimchi from the jar to prevent contamination and ensure its longevity.
Important Tips for Making Perfect Homemade Kimchi
- Choose the Right Salt: Always use salt that is free of iodine and anti-caking ingredients. These additives can interfere with the delicate fermentation process and prevent the beneficial bacteria from thriving. Good-quality sea salt or pickling salt is ideal for kimchi.
- Use Clean Water: Just like salt, the quality of your water matters. Chlorinated water can inhibit fermentation by killing off the good bacteria necessary for the process. If your tap water is chlorinated, consider using filtered water (like from a faucet filter), spring water, or distilled water for the brine.
- Submerge the Cabbage Completely: It is absolutely critical to keep all of the cabbage fully submerged under the salty brine throughout the initial fermentation. Exposure to air can promote the growth of harmful bacteria and mold. The brine creates an anaerobic (oxygen-free) environment that fosters the growth of desirable lactic acid bacteria.
- Utilize a Food Processor: To save significant time and effort, use a food processor or blender to finely mince all your peppers and garlic for the spicy mixture. This ensures a smooth, consistent paste that adheres well to the cabbage leaves.
- Wear Protective Gloves: When handling any type of hot peppers, especially jalapeños, always wear gloves. The capsaicin (the compound that gives peppers their heat) can cause uncomfortable stinging, burning sensations, or irritation if it comes into contact with your bare skin, especially after slicing or removing cores.
- Select Fresh Napa Cabbage: For the best results, choose a firm, crisp head of napa cabbage that is free of blemishes, brown spots, or wilting. Fresh, high-quality cabbage will yield a superior texture and flavor in your finished kimchi.
- Balance the Garlic: While garlic is essential for kimchi’s flavor, don’t overdo it. Too much garlic can make the kimchi taste bitter or overpower other flavors. Stick to the recommended amount in the recipe.
- Keep Submerged in Storage: Even after transferring to the refrigerator, ensure the kimchi remains submerged under its natural juices. Using a fermenting weight or a smaller plate on top can help keep everything pressed down, preventing air exposure and maintaining optimal conditions for long-term storage.
Q&A: Common Questions About Homemade Kimchi
Does Kimchi Go Bad?
Yes, like most foods, kimchi can go bad if it’s prepared incorrectly or stored improperly. However, due to its natural fermentation process, it boasts a significantly longer shelf life than many fresh vegetables. Over time, typically beyond 6 months, kimchi can become excessively sour, which while not necessarily “bad” in the sense of spoilage, might be unappealing to some palates. Key signs of genuine spoilage include the presence of visible mold (which can be various colors, not just white), a distinctly foul or putrid smell (beyond its normal sour aroma), or a slimy texture that isn’t typical for fermented cabbage. If you observe any of these signs, it’s best to discard the batch.
How Long Does Homemade Kimchi Last in the Fridge?
When properly fermented and stored in a clean, airtight container in the refrigerator, homemade kimchi can easily last anywhere from 3 to 6 months. Some enthusiasts even report it lasting longer, up to a year, with its flavor continuing to evolve and deepen. The key factors for longevity are consistent refrigeration, keeping the kimchi submerged under its brine, and using clean utensils every time you access the jar to prevent introducing contaminants.
Is Kimchi Spicy?
This particular kimchi recipe, using a combination of sweet bell peppers and jalapeños, is considered mild to medium in heat, offering a pleasant spiciness rather than an aggressive burn. It definitely has a spicy aftertaste that builds gently. The beauty of making kimchi at home is that you have full control over the heat level! If you prefer a much milder taste, you can scale down the quantity of hot peppers or even use only sweet bell peppers. Conversely, if you crave more fiery kimchi, feel free to add more jalapeños or, for an authentic Korean kick, substitute them with Gochugaru (Korean red chili flakes).
How To Eat Kimchi: Versatile Serving Suggestions
Once you’ve successfully made this easy homemade kimchi, you’ll find yourself with a versatile ingredient that can elevate countless dishes. Its tangy, spicy, and umami-rich flavor profile makes it much more than just a simple side dish. Leftovers, or even freshly made kimchi, are absolutely fantastic stirred into fried rice or umami-flavored noodles, adding a bright, zesty counterpoint. For a refreshing twist, you could even go the extra mile and mix in fresh cucumbers and onions to create a vibrant kimchi salad. Beyond these, kimchi is traditionally enjoyed with a myriad of Korean and Asian dishes, such as hearty ramen soup, warming stews, or savory Beef Bulgogi. Here are even more delightful ideas to serve your homemade kimchi:
- Kimchi and Rice: A classic pairing! A simple bowl of plain, warm, white, short-grain sticky rice becomes incredibly satisfying when topped with a spoonful of cold, crisp kimchi.
- With Potato Dishes: The tangy spice of kimchi cuts beautifully through the richness of potatoes. Serve it alongside comforting dishes like these Oven-Baked Potato Wedges or creamy Mashed Potatoes.
- Alongside Grilled Meats: Kimchi acts as a perfect palate cleanser and flavor enhancer for grilled dishes. Pair it with savory Pork Kabobs, barbecued chicken, or any Korean-inspired meat dish.
- Unexpected Holiday Side: Believe it or not, our homemade kimchi made a surprising appearance as a Thanksgiving side dish one year! To our delight, some family members gathered were actually craving this unique, fermented flavor amidst the traditional holiday spread. Don’t be afraid to introduce it to your own holiday table!
- In Sandwiches and Wraps: Add a zesty crunch to your everyday sandwiches, burgers, or wraps. It provides a fantastic contrast to savory fillings.
- Kimchi Pancakes (Kimchijeon): A popular Korean savory pancake where chopped kimchi is mixed into a batter and pan-fried. A truly delicious way to use your homemade kimchi!
- With Eggs: A dollop of kimchi alongside scrambled eggs, an omelet, or even fried rice with an egg on top makes for a wonderfully flavorful breakfast or brunch.
- As a Snack: Sometimes, a small bowl of cold kimchi straight from the jar is all you need for a refreshing and healthy snack!
Rate
Pin
Easy Jalapeño Kimchi (Beginner-Friendly)
Equipment
-
Cutting board and sharp knife
-
Large food container or bowl (large enough to submerge cabbage with a plate/weight)
-
Food processor or blender
-
Protective gloves (essential for handling peppers)
-
Half-gallon or one-gallon glass jar (for final fermentation and storage)
-
Fermenting weights (optional, but highly recommended for consistent submersion)
Ingredients
For the Cabbage Brine:
-
2 medium heads napa cabbage
-
250 grams non-iodized salt (about 1 heaping cup, e.g., sea salt or pickling salt)
-
2.5 quarts cold filtered water
For the Pepper Mixture:
-
24 oz sweet mini bell peppers (cored)
-
2-3 green jalapeño peppers (cored, leave seeds for more heat; adjust quantity to taste)
-
1 head fresh garlic (peeled cloves)
Instructions
Directions:
-
 Wash and Cut Cabbage: Wash the napa cabbage heads. Cut each head lengthwise into quarters, ensuring the core remains intact to hold the leaves together. Place the cabbage quarters into a large bowl or food container.
 -
 Brine the Cabbage: In a separate bowl, whisk the salt into 2.5 quarts of cold filtered water until completely dissolved. Pour this salt brine over the cabbage quarters, ensuring they are fully submerged. Place a heavy plate or fermenting weight on top to keep the cabbage under the brine. Let it sit and ferment at room temperature for 2 days.
 -
 Rinse and Prepare Pepper Mixture: After the initial fermentation, drain the cabbage from the brine and rinse each quarter thoroughly under cold water. Meanwhile, prepare the spicy pepper mixture for flavoring.
 -
 Make the Pepper Paste: Combine the peeled garlic cloves, cored sweet bell peppers, and cored jalapeño peppers in a food processor or blender. Pulse until everything is finely minced, creating a thick paste. Process in batches if needed.
 -
 Rub and Pack Kimchi: Wearing protective gloves, take each cabbage quarter and thoroughly rub the pepper mixture between every single leaf. Once coated, stack the quarters into a clean half-gallon or one-gallon glass jar. Press the kimchi down firmly until its natural brine rises and covers the cabbage. Leave at least 1 inch of headspace.
 -
 Final Fermentation and Storage: Let the jar stand at room temperature for 1-3 days (depending on desired sourness and temperature – longer for tangier). After this final fermentation, transfer the jar to the fridge for longer storage, where it can last up to six months. Kimchi is best enjoyed after at least two weeks in the fridge, allowing flavors to fully develop.
Notes
- Keep stirring the salt until it fully dissolves in the cold water. This might take a few minutes longer in cold water, but complete dissolution is important.
- For a more traditional and spicier Korean Kimchi, substitute the jalapeño peppers with 2 Tablespoons of Gochugaru (Korean chili powder).
- For an even milder kimchi, reduce the number of jalapeños to one, or omit them entirely. You could substitute 3-5 large red bell peppers if sweet mini bell peppers are not available.
- Kimchi keeps exceptionally well in the fridge for 3-6 months, and sometimes even longer. Ensure it stays submerged under its natural juices.
Nutrition per serving
