Authentic Fluffy Belyashi Recipe: Versatile Yeast Dough for Savory Buns & Sweet Ponchiki
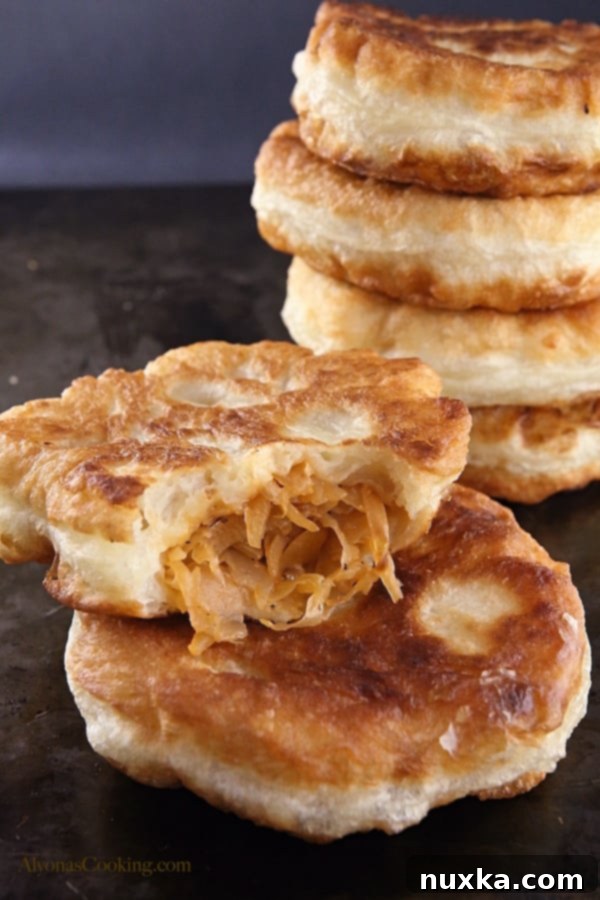
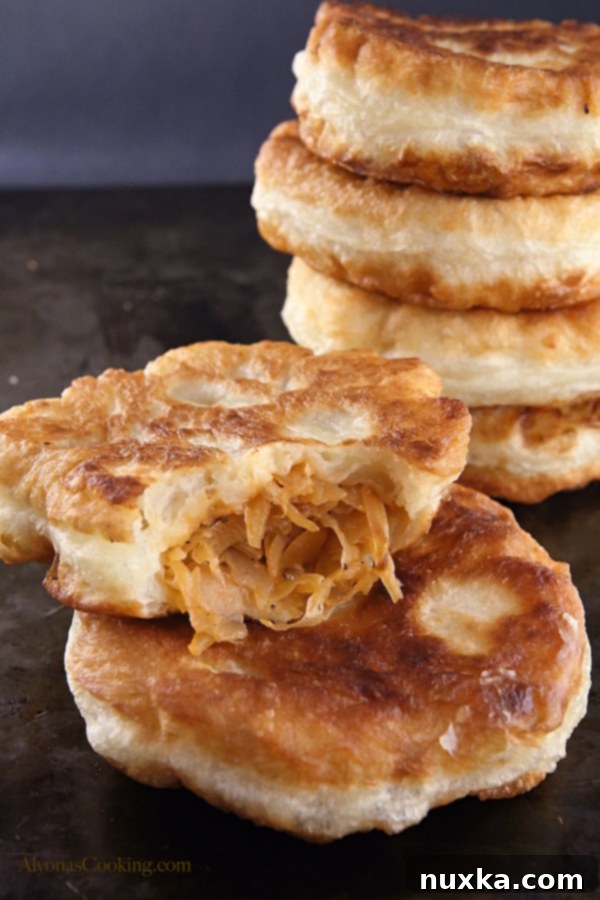
Dive into the delightful world of Eastern European cuisine with this incredible recipe for Cabbage Belyashi. These aren’t just any fried buns; they are exceptionally fluffy, soft, and bursting with a savory cabbage filling. Passed down through generations, this versatile yeast dough recipe is a true culinary treasure, perfect not only for traditional belyashi but also for crafting sweet ponchiki (Russian doughnuts) and savory piroshki. Get ready to impress your family and friends with these homemade treats!
The Miraculous Versatility of This Yeast Dough
What makes this recipe truly special is the dough itself. My mom has perfected a simple, yet incredibly effective, yeast dough that serves as the foundation for a variety of beloved dishes. It’s a testament to traditional cooking, where one master dough can transform into multiple culinary experiences. This particular dough rises relatively quickly and produces a wonderfully light and airy texture, making it ideal for both savory and sweet applications. Whether you’re craving a hearty fried bun or a sugary dessert, this dough delivers every time.
While the dough is designed to be slightly tacky, resulting in an unparalleled fluffiness, it can be easily managed. My mom’s secret? Using water to prevent sticking, rather than excessive flour. This technique is believed to keep the dough lighter and more tender. However, if you prefer, a lightly floured surface and hands will also work. Whichever method you choose, the end result will be irresistible.
Belyashi, Piroshki, and Ponchiki: What’s the Difference?
The world of Eastern European stuffed buns can sometimes be a little confusing, with similar-sounding names and variations. Let’s clear up the distinction between these delicious fried treats:
What are Belyashi?
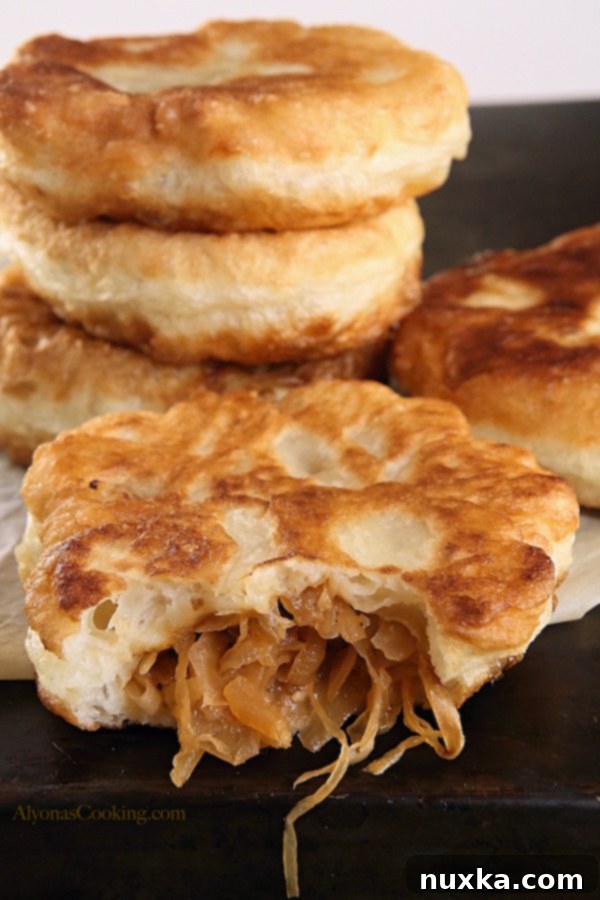
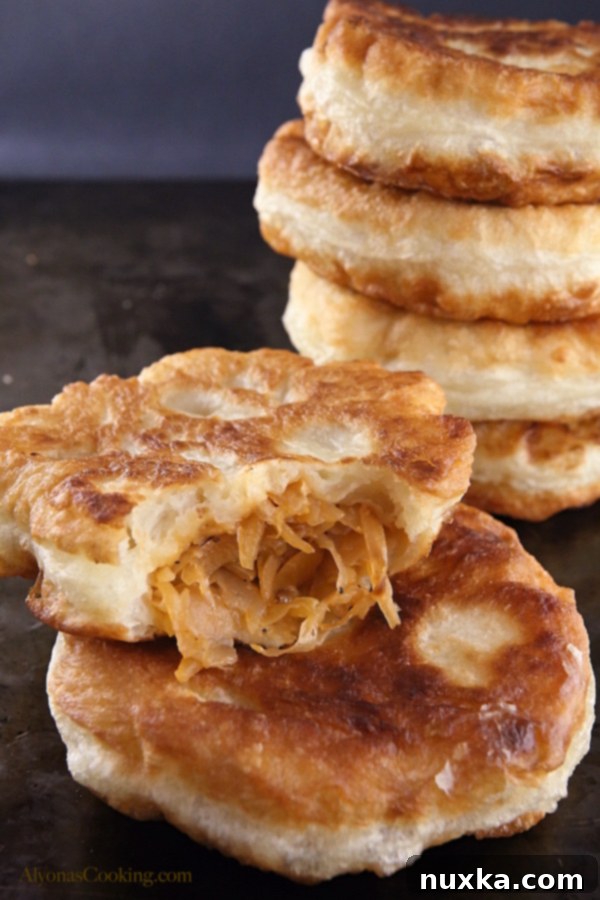
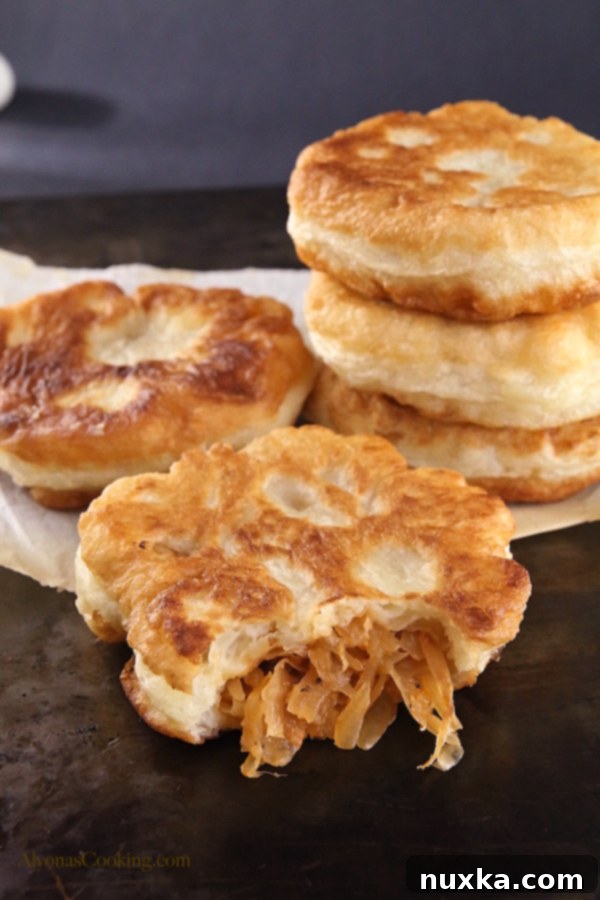
Belyashi are typically round, fried yeast buns. Historically, they are often filled with an uncooked meat filling, similar to chebureki. The meat cooks perfectly inside the dough as it fries, creating a juicy and flavorful center. However, just like our recipe, savory vegetable fillings such as braised cabbage are also incredibly popular and utterly delicious. The key characteristics are their round shape and their crispy, golden-brown fried exterior with a soft, cloud-like interior.
What are Piroshki?
Piroshki are another beloved type of stuffed bun, often more oval in shape. The main distinction, as my Ukrainian mother explains, is that piroshki are typically made with a cooked filling. This could be anything from cooked ground meat, mashed potatoes, or even sweet fruit fillings like apples or cherries. Piroshki can also be either fried or baked, offering even more variety. Ultimately, the naming convention can vary depending on family traditions and regional differences, but the essence remains the same: a comforting, filled dough pocket.
What are Ponchiki?
Ponchiki are the sweet cousins of belyashi and piroshki – essentially, Russian doughnuts! Thanks to the inherent fluffiness of this versatile dough, it’s perfectly suited for creating these delightful, sugar-dusted treats. They can be filled with sweet jams, custards, or simply enjoyed plain with a dusting of powdered sugar. The same light and airy texture that makes belyashi so wonderful translates beautifully into these sweet fried balls.
How to Make Ponchiki from This Belyashi Dough: A Sweet Diversion
The beauty of this dough lies in its adaptability. Transforming your belyashi dough into ponchiki is incredibly simple. Instead of savory fillings, you’ll reach for something sweet:
- Scoop out smaller portions of dough, about a tablespoon each.
- Gently flatten each piece and place a spoonful of your favorite sweet filling in the center. Jam, sweetened cottage cheese, or fruit preserves work wonderfully.
- Carefully gather the edges of the dough and pinch them together at the top to seal the filling inside, forming a small, neat ball.
- Fry these sweet dough balls in hot oil until golden brown on all sides. Once cooled slightly, dust them generously with powdered sugar for an irresistible dessert.
Ingredients for the Fluffy Belyashi Dough
Before we dive into the step-by-step process, let’s gather your simple ingredients. This recipe yields a generous batch, perfect for feeding a crowd or freezing some for later enjoyment.
- 4 cups warm water (ideal temperature for activating yeast is around 105-115°F or 40-46°C)
- 2 tbsp active dry yeast
- 2 tbsp granulated sugar (to feed the yeast and enhance flavor)
- 1 tsp salt (for flavor balance)
- 1 large egg, lightly beaten (adds richness and helps with texture)
- 4 tbsp unsalted butter, melted (for tender crumb)
- 7 cups all-purpose flour (and possibly a little more for dusting if not using water)
- 1 cup oil (for frying, a neutral oil like vegetable or canola works best)
Step-by-Step: How to Make Fried Cabbage Belyashi
1. Prepare the Dough for Rising
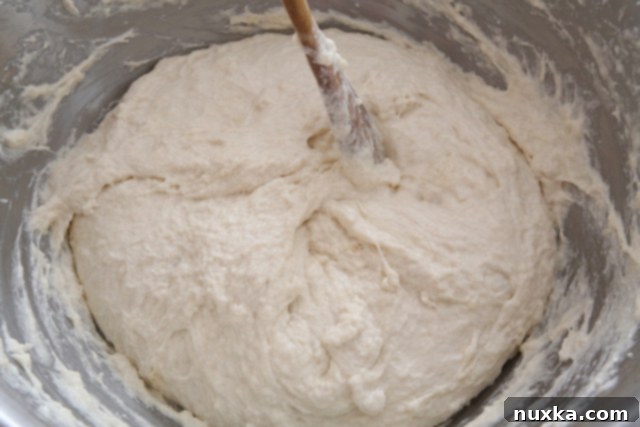
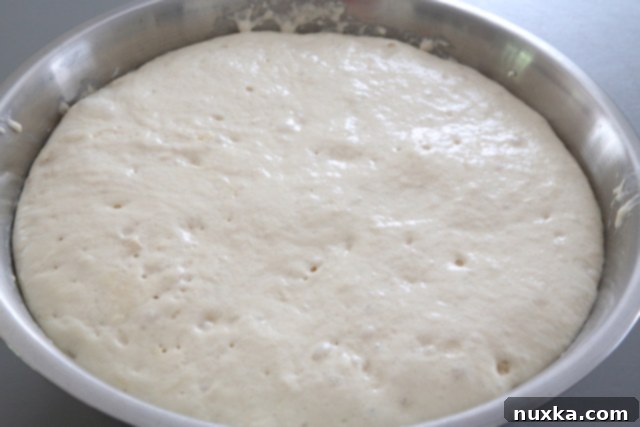
In a large mixing bowl, combine the warm water, yeast, and sugar. Let it sit for about 5-10 minutes until the yeast is foamy, indicating it’s active. Then, stir in the salt, beaten egg, and melted butter. Gradually add the all-purpose flour, mixing until a tacky, soft dough forms. Avoid overmixing; a sticky dough is a happy dough for belyashi! Cover the bowl with plastic wrap or a clean kitchen towel and allow it to rise in a warm place for approximately 1 hour, or until it has doubled in size. This crucial rising time develops the flavor and creates the signature airy texture.
2. Portion and Prepare for Filling
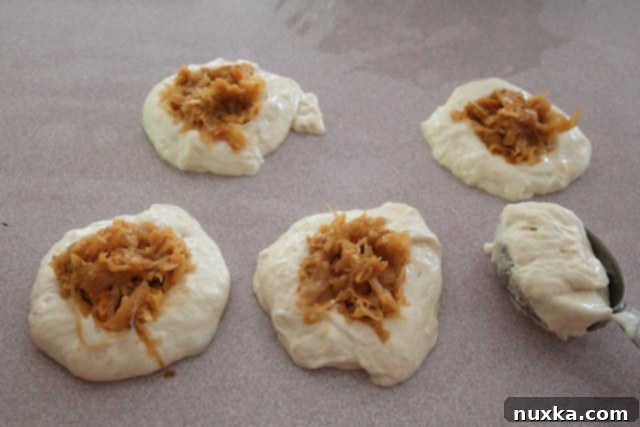
Once risen, gently punch down the dough to release the air. Lightly moisten your work surface with water (or flour it, if preferred). Scoop out portions of dough, approximately 1/4 cup each, and place them on your prepared surface. This dough is indeed tacky, so keeping a small bowl of water nearby to dip your hands and measuring cup will make handling much easier and prevent frustration. This method helps maintain the dough’s moisture and ensures a lighter final product.
3. Fill and Seal Your Belyashi
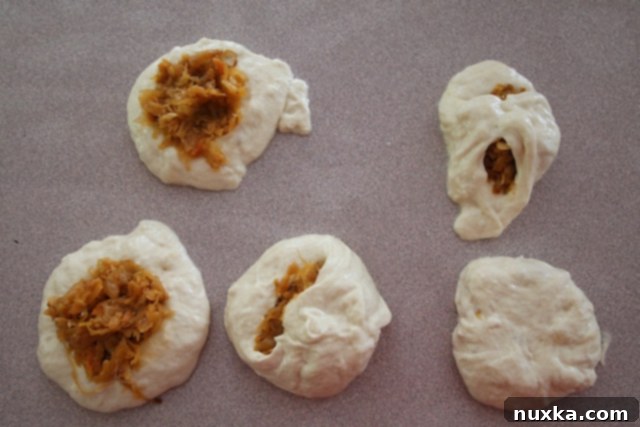
Take one portion of dough and flatten it slightly into a disc. Spoon about a tablespoon of your prepared cabbage filling (or meat filling) into the center of the disc. With wet hands, carefully gather the sides of the dough around the filling, bringing them up to meet at the top. Pinch the edges firmly to seal the belyashi, ensuring no filling leaks out during frying. Roll the sealed bun gently in your wet hands to form a smooth ball, then slightly flatten it into a thick patty shape. Repeat this process with the remaining dough and filling.
4. Fry to Golden Perfection
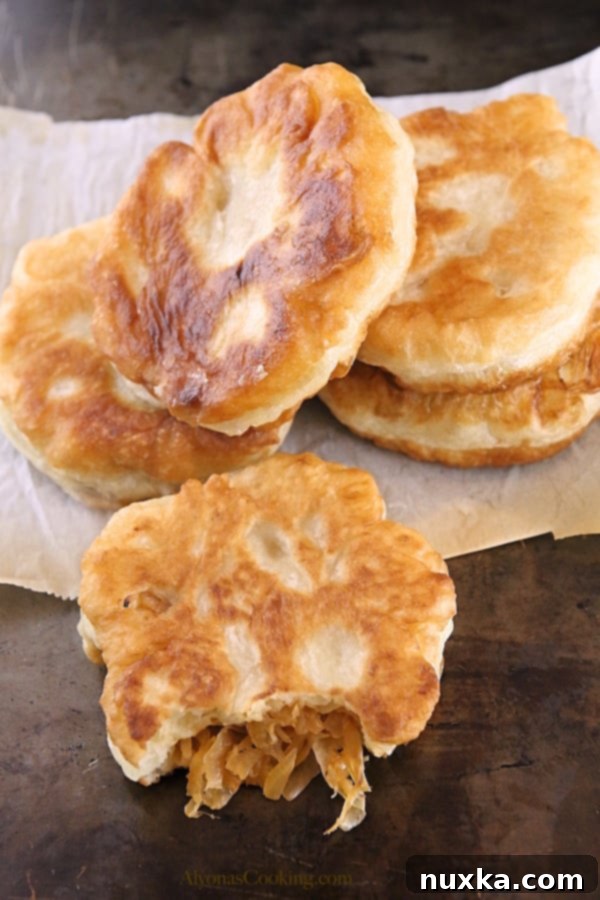
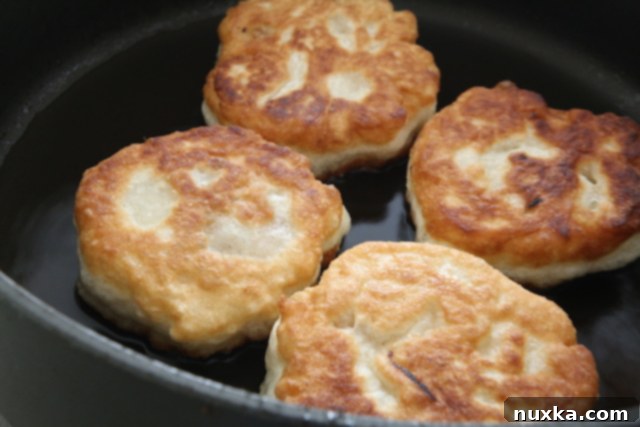
Heat about 1 inch of oil in a large, heavy-bottomed skillet or Dutch oven over medium heat. The oil should be hot enough (around 350-375°F or 175-190°C) to sizzle when a small piece of dough is dropped in, but not so hot that it browns too quickly. Carefully place a few belyashi into the hot oil, being careful not to overcrowd the pan. Fry for a few minutes on each side until they are beautifully golden brown and cooked through. The internal temperature should reach about 200-210°F (93-99°C) if you’re using a meat filling. Remove the fried belyashi with a slotted spoon and place them on a plate lined with paper towels to drain excess oil. Serve warm and enjoy the fluffy, flavorful results!
Serving and Storage Tips
These cabbage belyashi are best enjoyed fresh and warm, straight from the pan. They make a fantastic appetizer, a hearty snack, or even a light meal paired with a simple salad. If you have leftovers, they can be stored in an airtight container in the refrigerator for 2-3 days. To reheat, gently warm them in an oven or air fryer to restore some of their crispiness.
Rate
Pin
Cabbage Belyashi
Ingredients
Belyashi Dough:
-
4 cups warm water
-
2 tbsp yeast
-
2 tbsp sugar
-
1 tsp salt
-
1 egg beaten
-
4 tbsp butter melted
-
7 cups all-purpose flour
-
1 cup oil for frying
Instructions
How to make fried Belyashi:
-
Stir all ingredients (except oil) together to form a tacky dough. Cover and allow to rise for about 1 hour.
-
Scoop out dough into 1/4 cup balls onto a lightly watered (or floured) surface.
-
Spoon a tablespoon of filling into the center. With wet hands gather the sides and bring up to the top.
-
Lightly pat down and fry in hot oil a few minutes on each side until cooked through and golden brown.
Notes

