The Ultimate No-Knead Sourdough Bread Recipe: Easy & Delicious Homemade Loaves
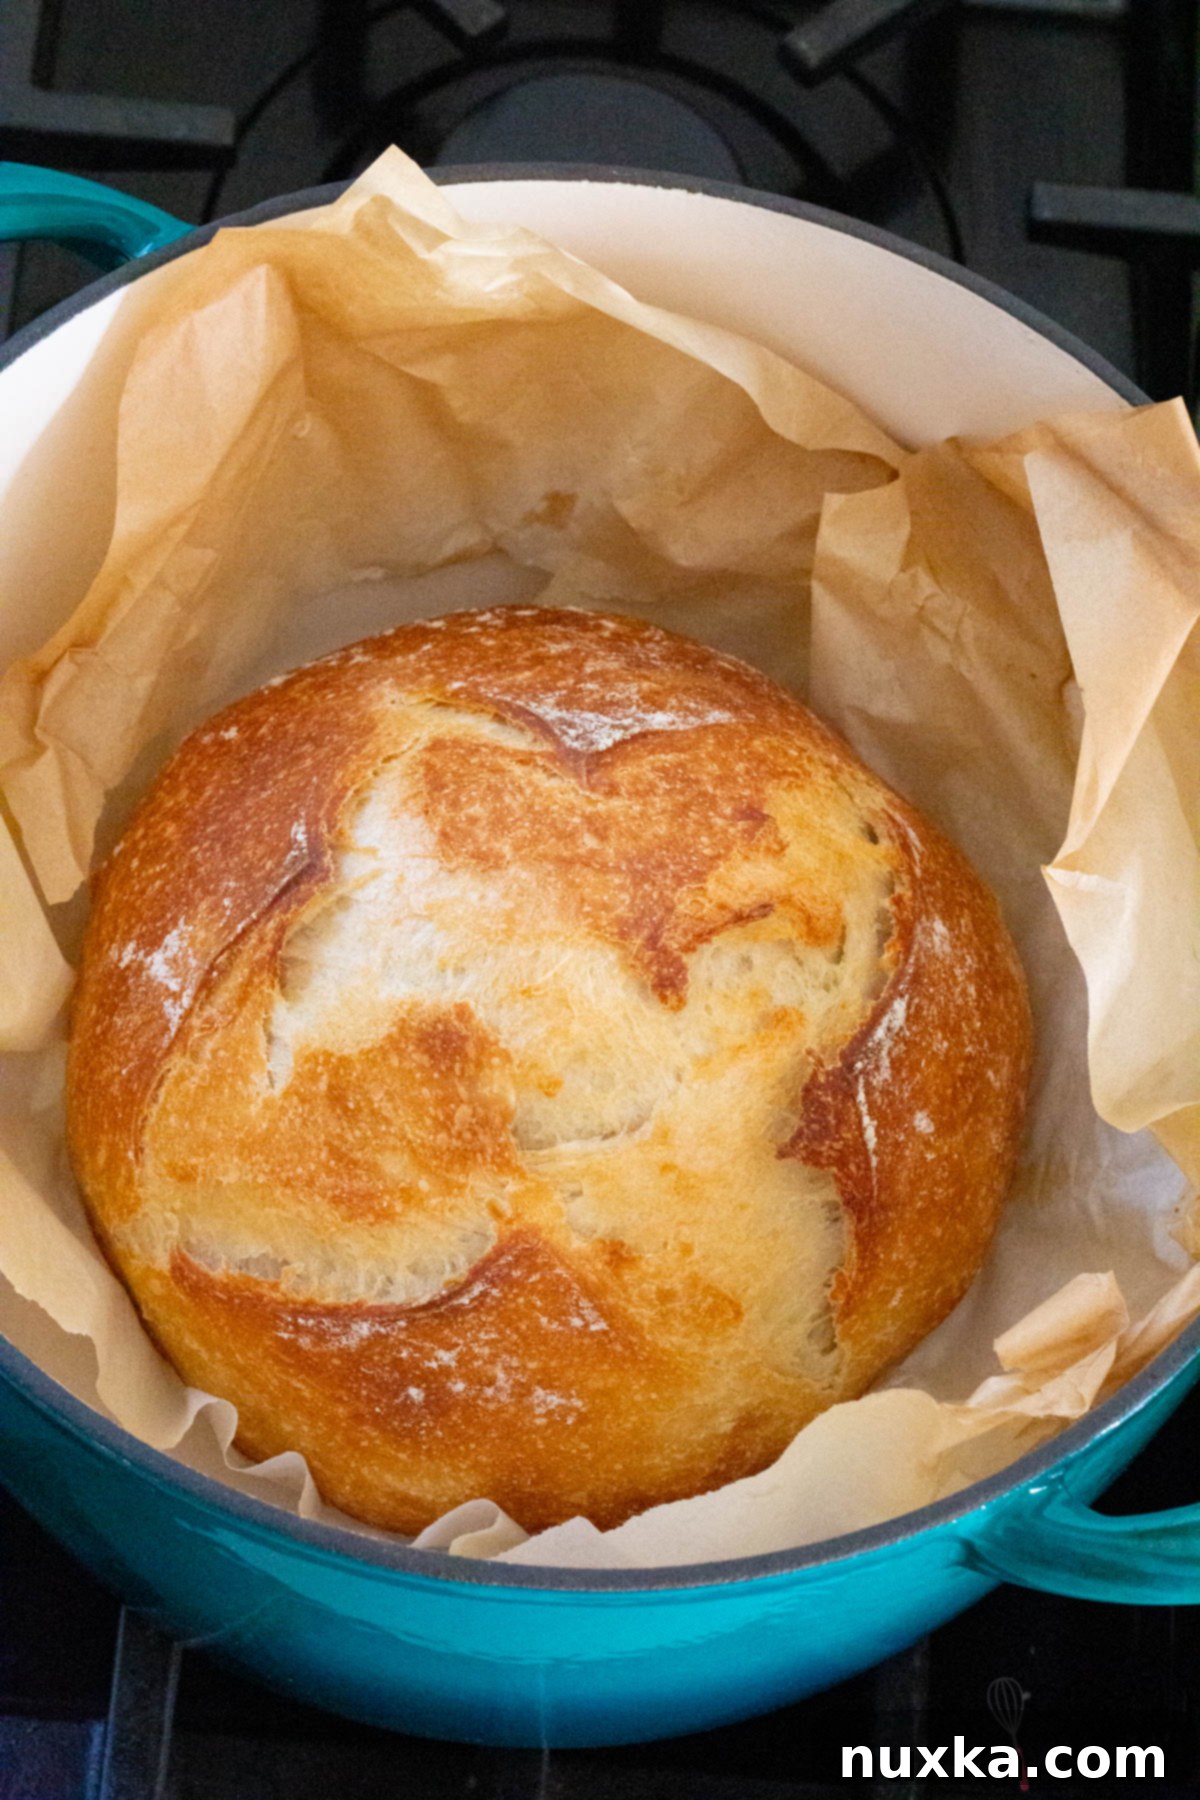
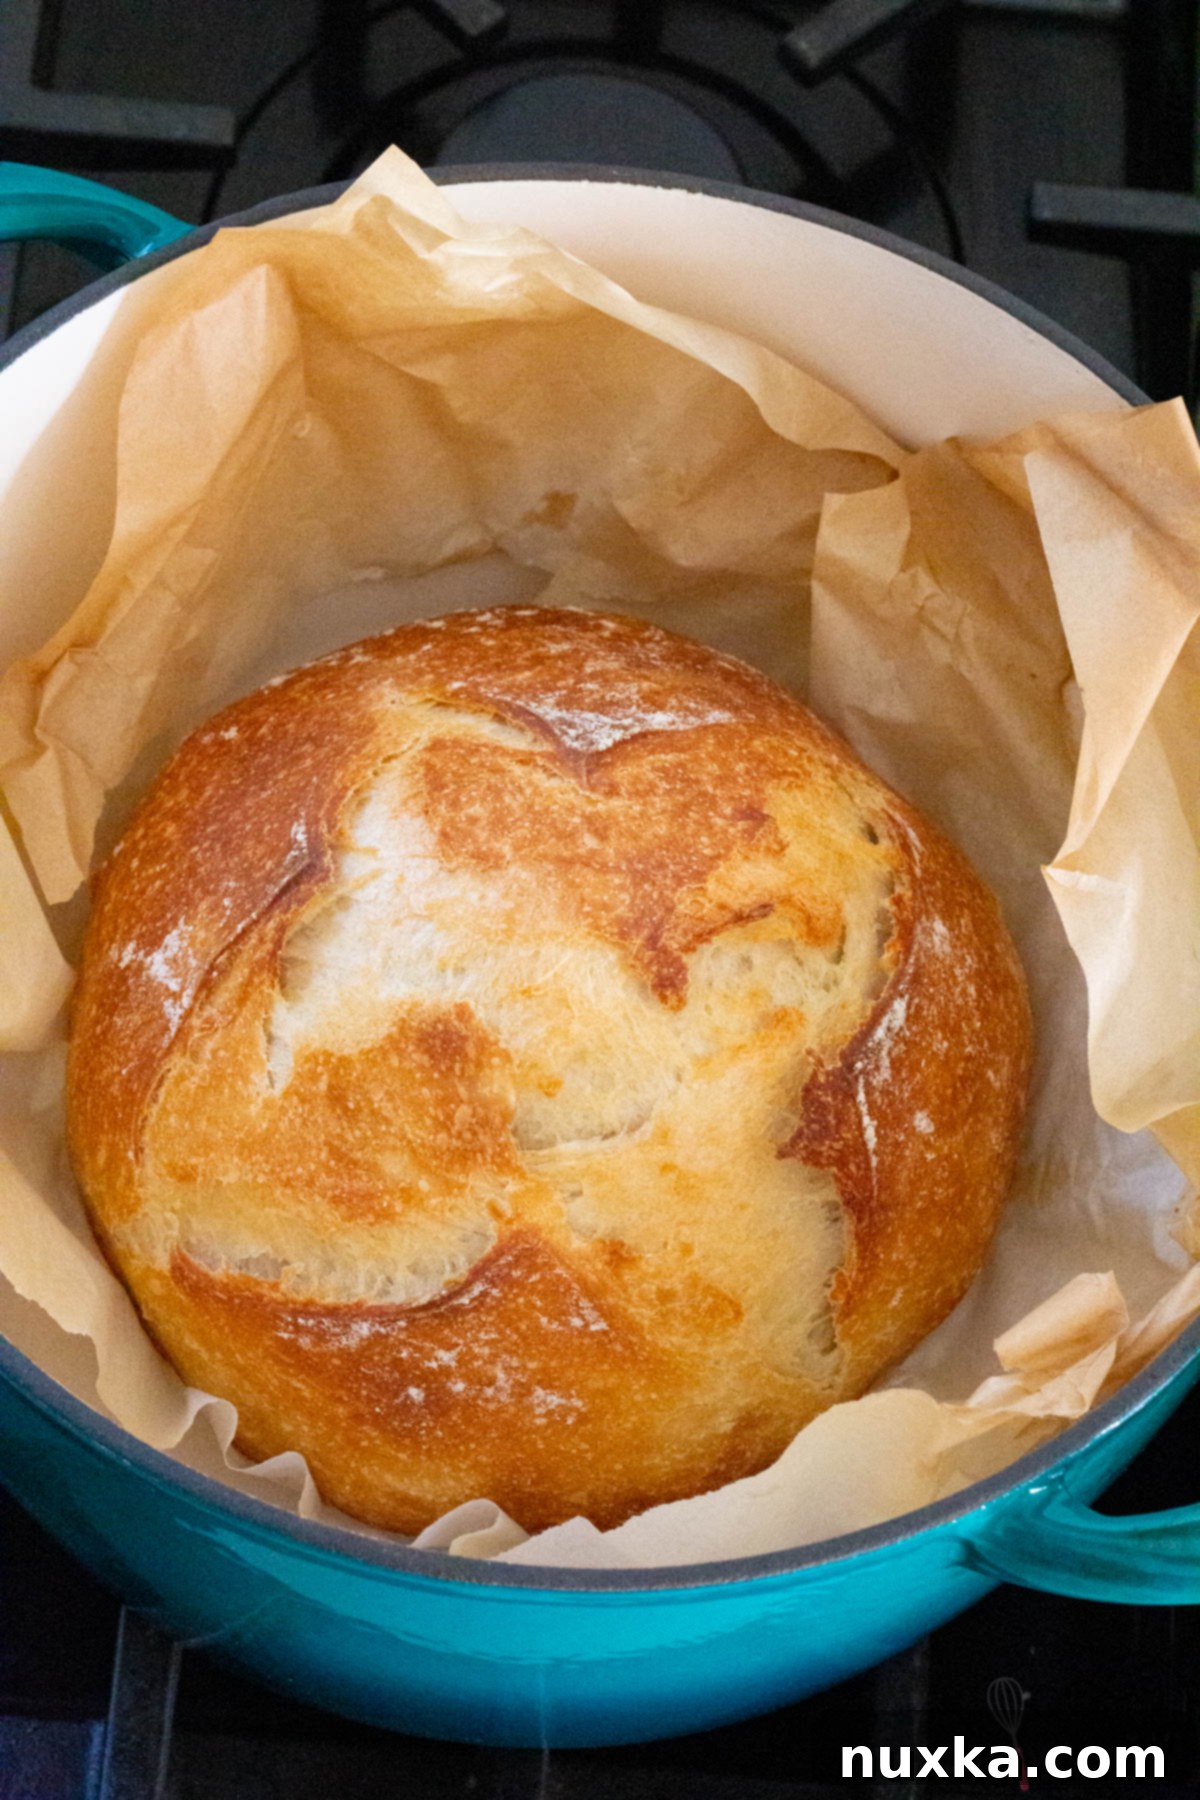
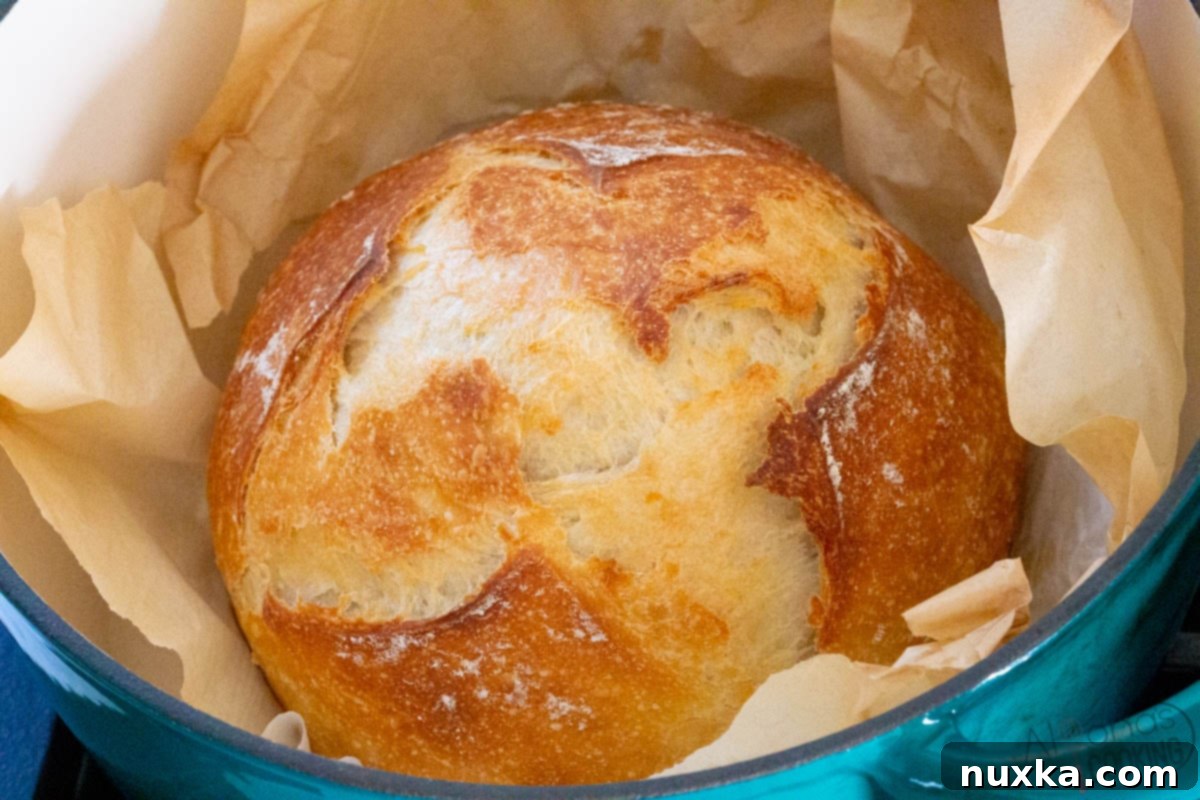
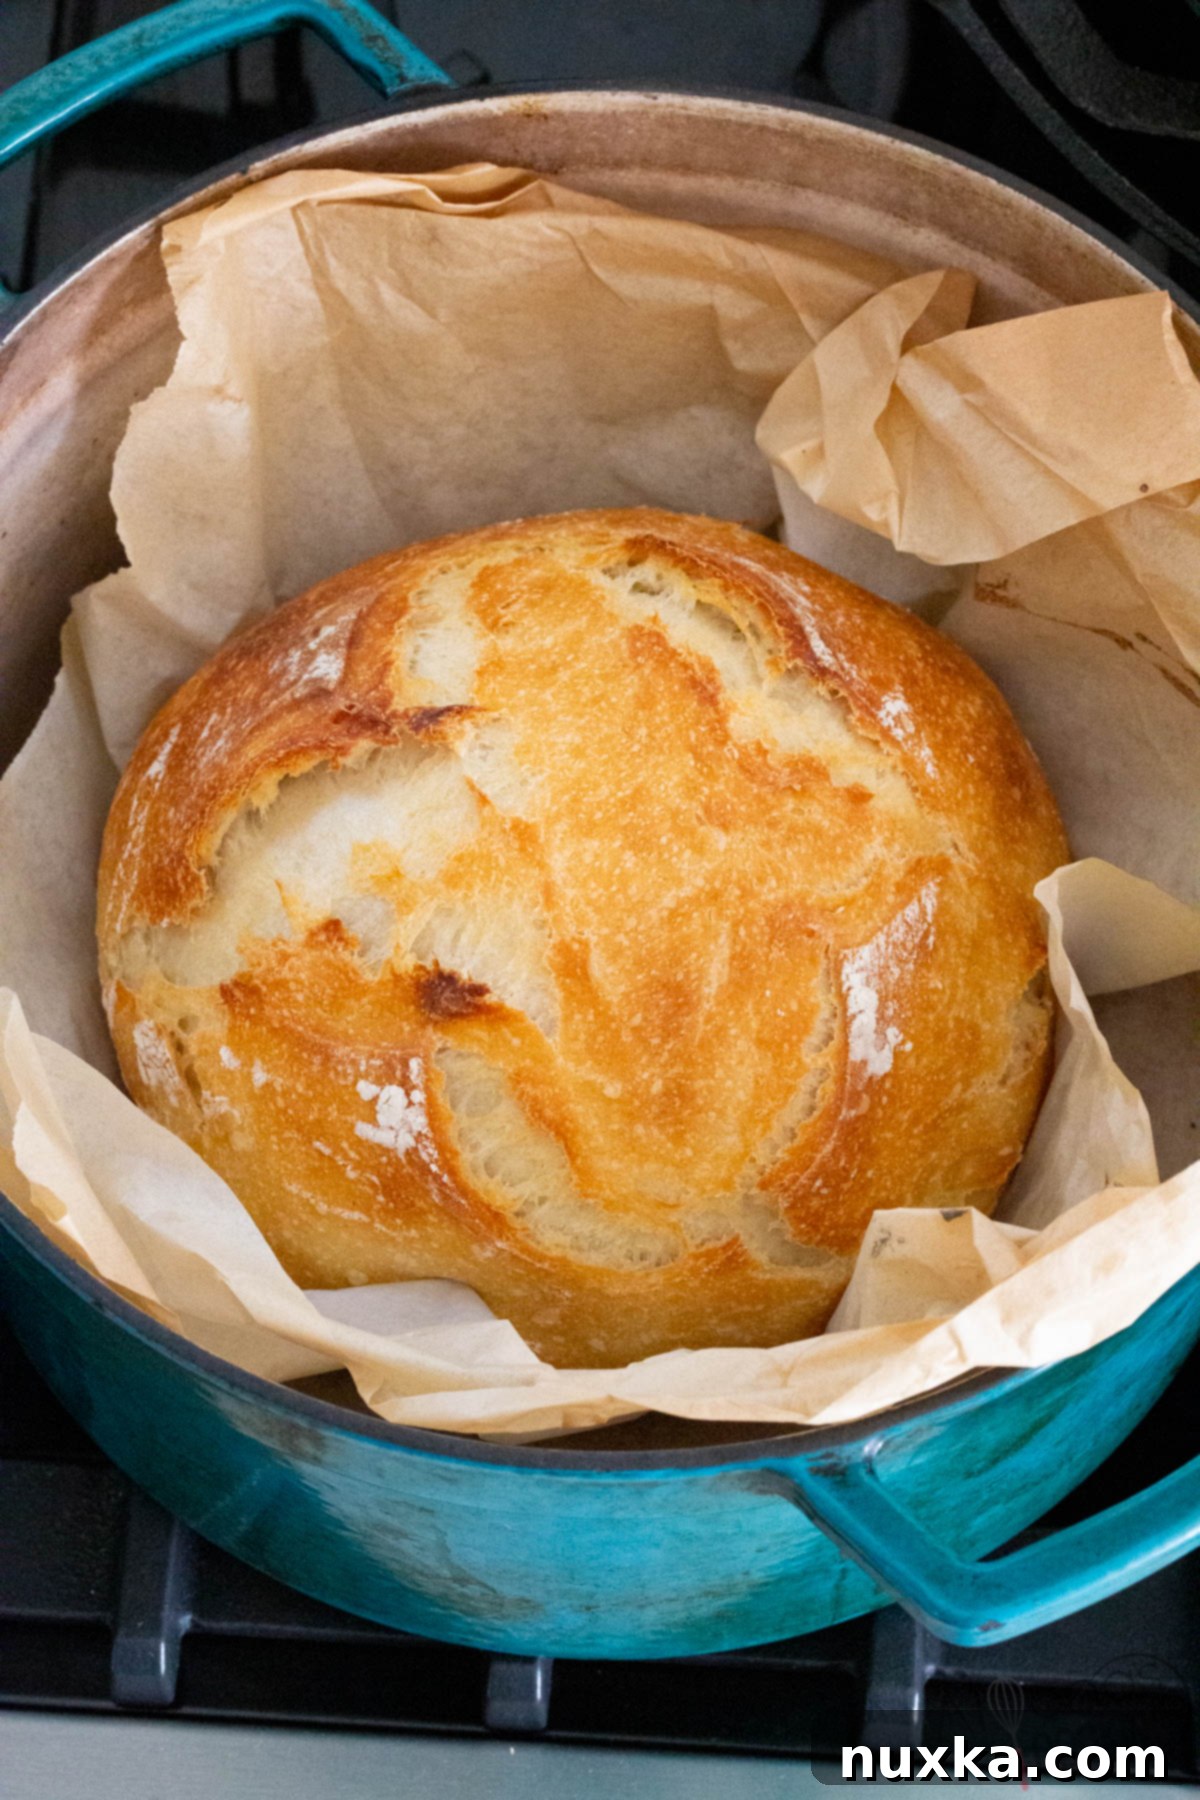
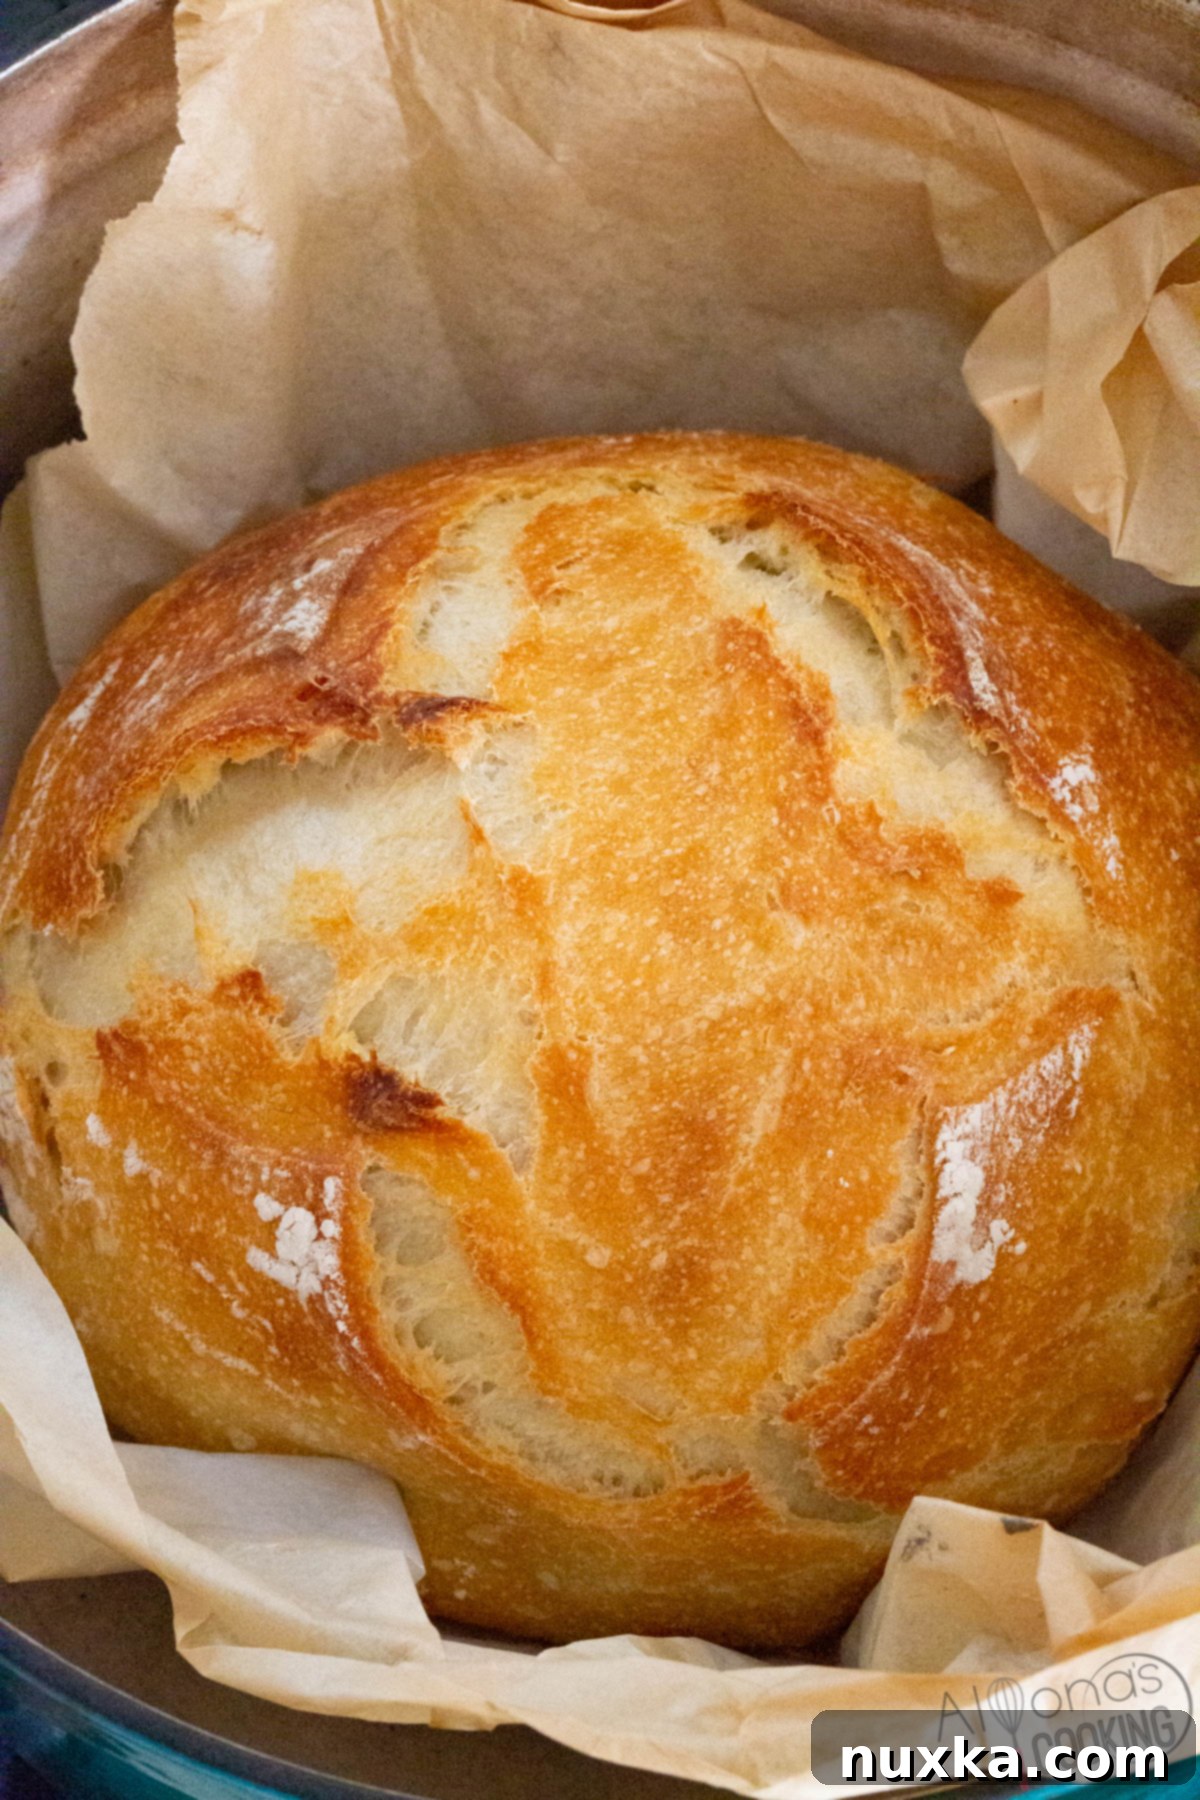
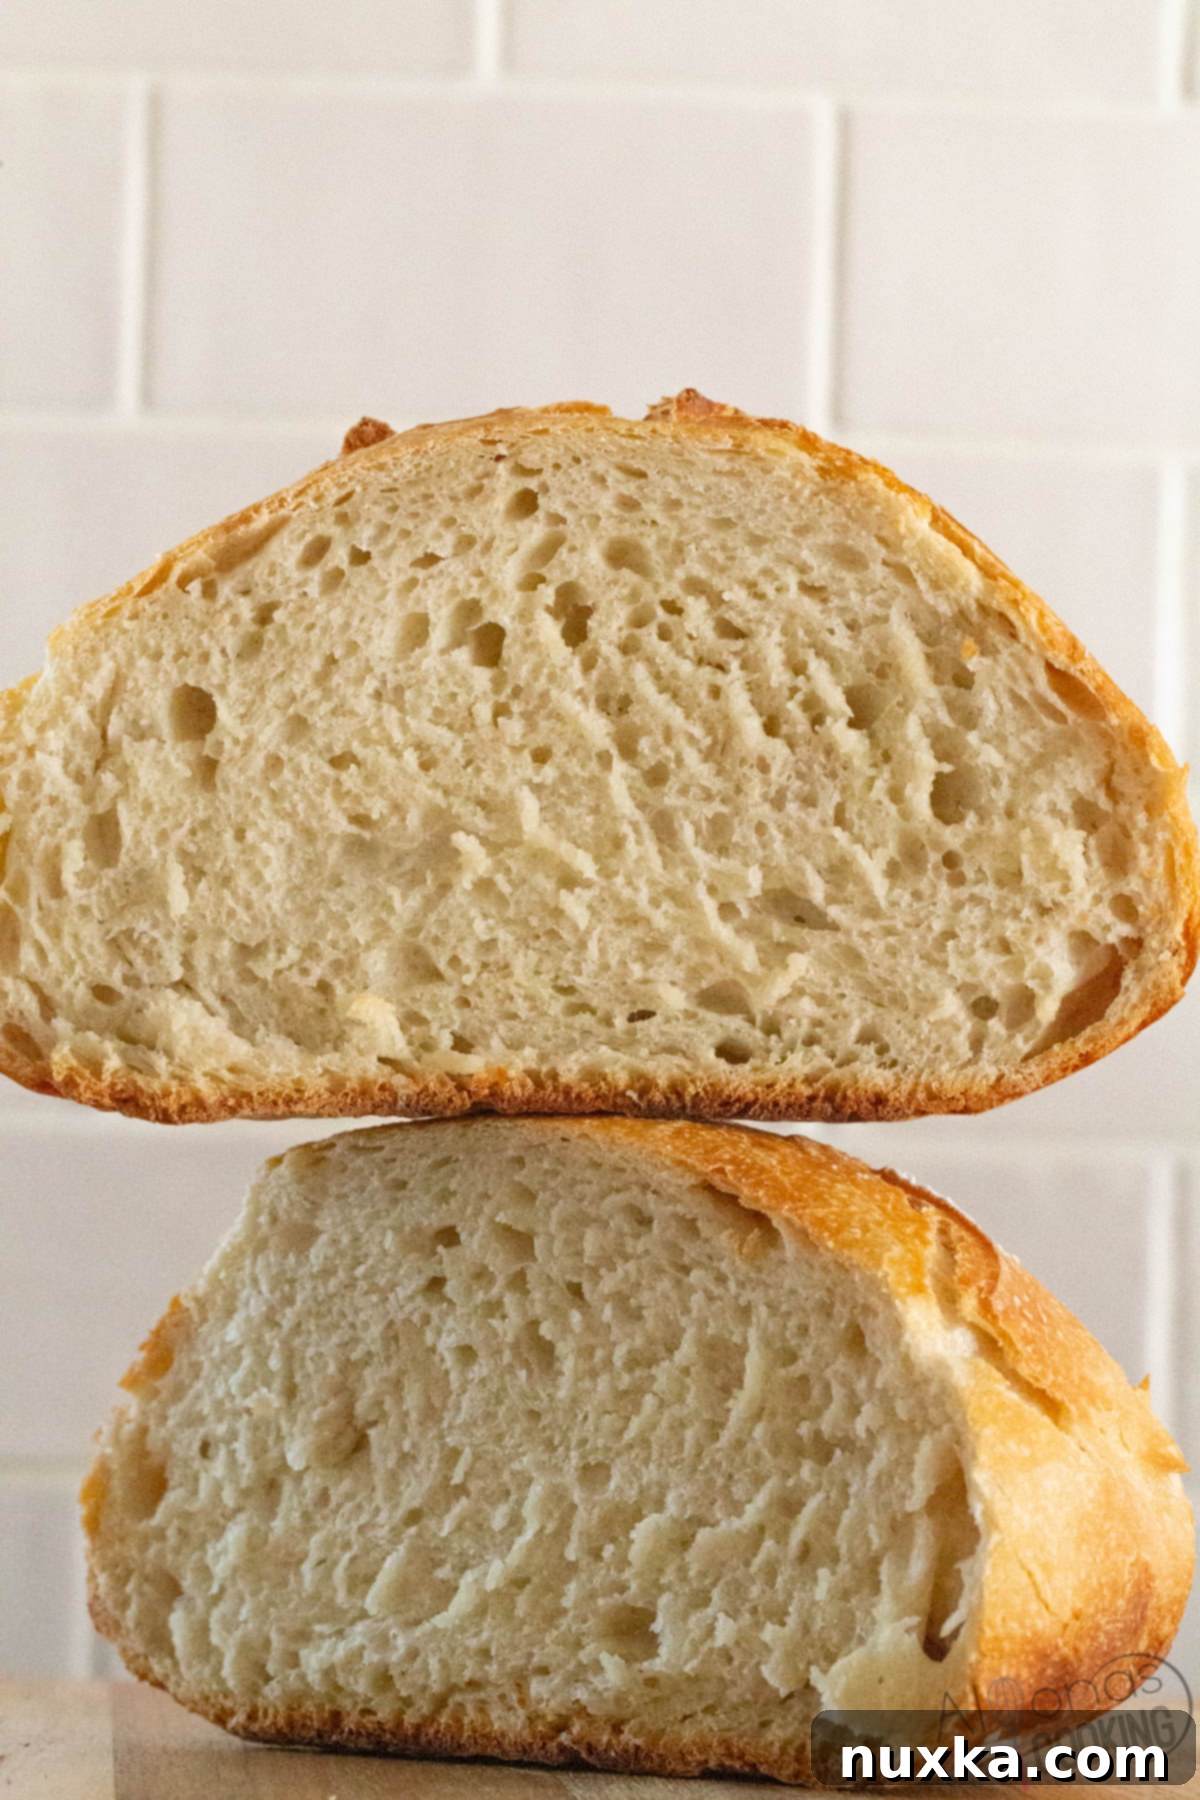
Embark on a delightful journey into the world of homemade bread with this incredibly simple No-Knead Sourdough Bread Recipe. Whether you’re a seasoned baker with a vibrant sourdough starter or a beginner looking to use commercial yeast, this recipe is designed to make baking accessible and enjoyable. Forget the complex overnight proofs and endless kneading; this method yields a magnificent loaf with a perfectly crunchy crust, a wonderfully moist and chewy interior, and a flavor that will have everyone asking for more. All with just a few basic ingredients and minimal effort!
Having an active sourdough starter opens up a world of culinary possibilities! Beyond this incredible no-knead loaf, you can explore a variety of other delightful sourdough creations. Our personal favorites include a hearty Whole Wheat Sourdough Bread, crafted with 100% freshly ground hard white wheat berries for exceptional flavor and nutrition. For a truly satisfying chew, try our Sourdough Bagels, or whip up some healthy and wholesome Whole Wheat English Muffins. And if you’re in the mood for the perfect sandwich vessel, you absolutely must try these Whole Wheat Hamburger Bun Rolls, which are yeast-based and simply the best for any filling!
The Appeal of Sourdough Bread
Sourdough has exploded in popularity, captivating home bakers and food enthusiasts alike. Everyone seems eager to get their hands on a thriving sourdough starter to create those iconic crusty and chewy loaves, reminiscent of the famous San Francisco sourdough. Beyond its irresistible taste and texture, sourdough bread is often celebrated for its health benefits, particularly when crafted with nutrient-rich grains like rye. The fermentation process breaks down complex carbohydrates and gluten, making it a more easily digestible and genuinely good-for-you bread.
My own sourdough journey began with a quest for the perfect artisan loaf. Like many, I was initially drawn to the allure of traditional sourdough, experimenting with recipes that sometimes involved multi-day fermentation. While the results were often rewarding, the time commitment proved to be a significant hurdle. Honestly, in those early days, I often found myself gravitating back to simpler recipes like my French Bread Recipe, simply because it was less demanding.
My perspective shifted dramatically after I discovered my Whole Wheat Sourdough Bread recipe. This marked a turning point; I actually began to look forward to grinding my own flour and diligently feeding my sourdough starter. The process felt significantly easier than I had initially imagined, and I didn’t even mind the overnight soak required for the wheat flour, knowing it would contribute to superb results. I was content and eagerly awaited a white flour version that would bring me just as much joy.
And that’s precisely what happened! A friend generously shared a no-knead bread recipe she made almost daily with commercial yeast. To my delight, she mentioned it could also be adapted for sourdough. I experimented with both yeast and sourdough starter, finding only two minor adjustments needed for the sourdough version. This truly is the most straightforward sourdough bread recipe imaginable! A huge thank you to Alina and Ana, who both perfected this incredibly simple bread!
Sourdough Starter vs. Commercial Yeast: A Comparative Bake
I’ve extensively tested this no-knead bread recipe using both commercial yeast and a sourdough starter, and the differences in the final loaf are quite remarkable. Baking with sourdough consistently results in a much more moist crumb that retains its freshness for longer. The exterior crust also develops a superior chewiness and a more complex flavor profile, enhancing the overall texture and eating experience.
While a loaf made with commercial yeast is still delicious, I’ve observed that its crumb tends to dry out more quickly by the next day. Furthermore, the initial crispness of the crust after baking with yeast softens considerably faster compared to its sourdough counterpart. For a truly enduring texture and depth of flavor, sourdough truly stands out.
Understanding Sourdough Starter: Nature’s Leavening Agent
Long before the advent of commercial yeast, our ancestors relied on natural fermentation to leaven their bread. This ancient practice involved cultivating a “sourdough starter culture” – a simple mixture of flour and water teeming with wild yeasts and beneficial bacteria. This tradition dates back thousands of years, with evidence even from biblical times describing how a small piece of leavened dough from a previous bake would be kept to leaven the next batch, embodying the principle: “A little leaven leavens the whole lump of dough” (Galatians 5:9).
A sourdough starter was not just an ingredient; it was a way of life for home bakers. They would simply reserve a portion of their dough, allowing it to ferment and become active, much like modern-day yeast. Today, we typically begin by creating a culture from scratch and then meticulously feeding it to maintain its vitality for various bread recipes. This living culture functions in the same manner as that reserved piece of ancient dough and can be integrated into nearly any recipe that calls for sourdough starter or even commercial yeast.
My own sourdough starter boasts a rich heritage, having been lovingly passed down through relatives from a talented Mennonite baker in Wisconsin. It is, without a doubt, the finest starter I have ever worked with – consistently active, wonderfully bubbly, and beautifully foamy after each feeding. In fact, it’s so robust that it has occasionally overflowed its container! Its vitality is such that I rarely have any sourdough discard, preferring instead to share its abundance with other aspiring bakers. For those interested in starting their own sourdough journey with a proven, active culture, you can find Where To Buy My Sourdough Starter, complete with comprehensive care and feeding instructions.
Does Homemade Sourdough Bread Have a Sour Taste?
The characteristic “sour” flavor in sourdough bread is a direct result of the lactic and acetic acids produced during the fermentation process. Generally, the longer you allow these acids to develop and ferment the dough, the more pronounced and sour your loaf will be. Many artisan bakers achieve a deeper sourness by fermenting their dough slowly, often through refrigeration or in colder environments. Conversely, warmer temperatures accelerate the fermentation cycle, which typically results in a milder, less sour flavor.
For this particular no-knead sourdough recipe, the dough ferments for approximately 4 hours at room temperature, using an active starter. This relatively short, warm fermentation period means the resulting loaf is not at all aggressively sour; it possesses a subtle tang that complements its rich flavor. I also choose to bake this bread on the same day the dough is prepared, further contributing to its mild profile and making it accessible even to those who are new to sourdough’s unique taste.
Essential Equipment for No-Knead Sourdough Baking:
Making this incredible no-knead sourdough bread requires minimal specialized equipment. Here’s a list of the basic tools that will ensure your baking success:
- 6.5 Quart Dutch Oven: This is crucial for achieving that signature crust and even bake. I particularly love models with a narrower bottom, as they help create a taller, more aesthetically pleasing loaf.
- Parchment Sheets: Essential for easily transferring your dough into the hot dutch oven without sticking, and for effortless cleanup.
- Food Storage Bowls: Perfect for proofing your dough. Using a bowl with a lid helps prevent a dry crust from forming on top, which can happen with just a kitchen towel over an open mixing bowl.
- Wooden Spoon: Ideal for gently mixing the no-knead dough, ensuring all ingredients are well combined without overworking.
Sourdough Bread Ingredients: Simple & Accessible
This incredibly easy sourdough bread comes together with just a handful of basic ingredients you likely already have in your pantry. Remember, if a sourdough starter isn’t available, you can easily substitute with dry active yeast!
- Sourdough Starter: This is your natural leavening agent. It’s the active culture of wild yeasts and bacteria that will give your bread its rise, unique flavor, and characteristic texture.
- Unbleached White Flour: For optimal results, a high-gluten flour like bread flour is ideal, as its higher protein content develops stronger gluten for a better structure. However, a medium-protein all-purpose flour will also work wonderfully, making this recipe highly adaptable.
- Salt: More than just flavor, salt plays a crucial role in controlling the fermentation rate and strengthening the gluten structure. Using premium ingredients like sea salt or kosher salt can subtly enhance the overall taste.
- Warm Water: The temperature of your water is important. Warm water helps to activate the sourdough starter more quickly, encouraging faster yeast activity and a quicker rise compared to using cold water.
Step-by-Step: How to Make No-Knead Sourdough Bread
To begin this straightforward sourdough bread process, you’ll need an active sourdough starter. If you don’t have one readily available, you can substitute with commercial yeast – just remember to ferment the dough for 3 hours instead of 4, and increase the water by 1/4 cup. The key here is simplicity and letting time do most of the work!
- Combine: In your chosen mixing bowl (a plastic container with a lid works perfectly), combine all the ingredients with a sturdy wooden spoon. Mix until there are no visible streaks of dry flour.
- First Rise (Bulk Fermentation): Cover the bowl securely with its lid or plastic wrap. Allow the dough to rest and ferment at room temperature for 4 hours. There’s no need for elaborate stretch and folds; the long, slow rise develops the gluten naturally.
- Shape: After the initial rise, gently transfer the dough onto a lightly floured surface. Perform a few simple stretch and folds to create a smooth, round ball. This helps build tension and structure for a beautiful final loaf.
- Score & Prepare for Bake: Place the shaped loaf, seam-side down, onto a lightly floured piece of parchment paper. Carefully transfer it back into a clean bowl while your dutch oven preheats. Use a razor blade or a very sharp knife to score or slit the top of the loaf. This controls where the bread expands during baking and creates a beautiful pattern.
- Preheat: Place your dutch oven with its lid into your oven and preheat both to 450°F (232°C). Allow it to heat thoroughly, usually for at least 30 minutes, to ensure it’s scorching hot.
- Bake Covered: Once the dutch oven is fully preheated, carefully (using oven mitts!) transfer the loaf, still on its parchment paper, into the hot dutch oven. Hold the corners of the parchment paper and gently drop it in. Cover with the dutch oven lid (ensure the lid’s knob is oven-safe). Bake for 30 minutes covered at 450°F (232°C).
- Bake Uncovered: After 30 minutes, remove the lid and continue baking for another 5-10 minutes, or until the crust reaches your desired golden-brown color and crispness.
- Cool: This step is crucial for the internal structure and flavor development. Resist the urge to slice immediately! Allow the bread to cool completely on a wire rack before cutting into it. This ensures a moist interior and a perfect crumb.
Frequently Asked Questions About Sourdough Bread
How Do You Make Sourdough Starter?
Creating your own sourdough starter is a rewarding process that typically takes anywhere from 7 to 21 days. Begin by combining equal amounts of unbleached flour and warm water in a jar or container. For example, stir together 1 cup of unbleached flour and 1 cup of warm water. Continue to feed this mixture daily with the same ratio of flour and water. Over time, wild yeasts and bacteria from the environment will colonize the mixture, causing it to bubble and rise. You’ll know your starter is active and ready when a small dollop dropped into a glass of cold water floats to the top – this is known as the float test. Some bakers prefer a slightly thicker starter with a higher flour-to-water ratio (e.g., 1 heaping cup flour to a scant cup water), as starters can thin out over time due to lactic acid development. Both methods are effective, but consistency in feeding is key.
How To Use Homemade Sourdough Bread?
Homemade sourdough bread, with its crunchy exterior and soft, chewy interior, is incredibly versatile! It’s absolutely perfect for soaking up rich sauces from dishes like chicken noodle soup or dipping into a hearty Meat Sauce and Spaghetti. Beyond that, a fresh loaf of sourdough makes the most exquisite panini sandwiches, elevating any filling to a gourmet level. Serve it as a side to your favorite main course, or simply enjoy it toasted with a generous spread of butter, jam, or honey. Here are some delicious recipes and ideas that pair wonderfully with this bread:
- Chipotle Chicken Panini Sandwich (Panera Bread Copycat)
- Tomato Avocado Toast
- Grilled Chicken Melts
- Russian Tea Sandwiches
- Russian Mushroom Canapés Recipe
Sourdough Bread Variations: Creative Mix-Ins
Sourdough bread is a fantastic canvas for incorporating various mix-ins, allowing you to customize your loaf with your favorite herbs, cheeses, fruits, or crunchy toppings. Experiment with these ideas to bring out new dimensions of flavor and texture:
- Honey Sourdough: For a touch of natural sweetness and a rustic appeal perfect for a charcuterie board, mix in honey directly into the dough. Enhance it further by adding cinnamon, walnuts, or pecans before the final rise. For a beautiful topping, shape the loaf, lightly spray it with water, and roll the top in sunflower seeds.
- Nutty-Fruity: Introduce your favorite dried fruits or a prepared fruitcake fruit blend into the dough. Popular choices include dried cranberries, golden raisins, and vibrant red candied cherries. A dash of lemon or orange zest can deliciously add natural sweetness and a subtle tang.
- Jalapeno Cheddar: For a savory kick, incorporate 1/4 cup of freshly sliced (or finely diced) jalapeños and 1 cup of sharp cheddar cheese into the dough before shaping. Just before baking, spray the loaf with water and gently top with an extra handful of shredded cheddar and a few jalapeño slices for a beautiful finish.
- Multi-Grain Sourdough Bread: Boost the texture and nutrition by mixing in a blend of pumpkin seeds, sunflower seeds, golden flax seeds, coriander seeds, and caraway seeds. After shaping, spray the sourdough loaf with water and roll the top into the mixed seeds for a delightful crunch.
- Italian Herb and Cheese Sourdough Bread: Infuse your bread with classic Italian flavors by adding 1 tsp of Italian seasoning and 1/2 tsp of garlic powder along with the salt. A blend of oregano and grated Parmesan cheese creates an aromatic and flavorful loaf, much like the delicious Copycat Subway Bread Recipe.
- Olives and Olive Oil Sourdough Bread: For a Mediterranean twist, add 1/2 cup of pitted green or Kalamata olives to the dough, along with 1 tablespoon of good quality olive oil and 1 tablespoon of fresh or dried rosemary.
Feeding Sourdough Starter: Best Practices
Maintaining a healthy, active sourdough starter hinges on consistent and proper feeding. My preferred method involves mixing 1 heaping cup of unbleached flour with a scant cup of warm water. I find that this slightly higher flour-to-water ratio works effectively because a starter can naturally become thinner over time as lactic acid bacteria (specifically Lactobacilli) develop from fermentation. This lactic acid often forms a dark, protective film on the surface of the starter (sometimes called “hooch”) when it’s been sitting in the fridge. This film is a natural byproduct and can simply be stirred back into the starter before feeding, though some prefer to drain it. While I opt for a thicker consistency, equal amounts of flour and water can also be used. The beauty of this sourdough starter is its forgiving nature; it doesn’t demand precise formulas, making it approachable for consistent maintenance. Remember, an active starter means more delicious bread!
Tip: An active sourdough starter is a versatile ingredient! Beyond bread, you can make sourdough starter pancakes, waffles, crackers, crepes, biscuits, croissants, pizza dough, and so much more. Essentially, any recipe calling for yeast or a leavening agent can often be adapted for sourdough starter.
How Often To Feed Sourdough Starter?
A common question among sourdough enthusiasts is “how often should I feed my sourdough starter?” For a starter stored in the refrigerator, a feeding every 2-3 weeks is generally sufficient to maintain its health and activity, even if you don’t plan to bake with it immediately. To feed, simply remove your cold starter from the fridge, add your usual feeding amount (flour and water), and give it a good stir until well combined. If you’re not going to use it right away, place it back in the fridge. This routine ensures that your sourdough starter remains vigorous and ready for your next baking session, preventing it from becoming too sluggish or developing off-flavors.
Can I Use Sourdough Starter Straight From The Fridge?
For some “discard sourdough” recipes that don’t rely heavily on the starter’s leavening power, you can often use a refrigerated sourdough starter directly. However, for recipes where active leavening is key, like this no-knead bread, it’s best to use an active starter. If your starter has been fed within the last 2-3 days, it might still be sufficiently active to pass the float test and can be used without bringing it to room temperature first. For premium results and reliable rising, I typically feed my starter overnight or for several hours to ensure it’s at its peak activity before baking. To confirm your starter’s readiness, always perform the float test: drop a small dollop into a glass of cold water; if it floats to the top, it’s active and ready to use in your recipes.
Does Sourdough Bread Have Gluten?
The vast majority of traditional sourdough bread, made with wheat, rye, or barley flour, does contain gluten. However, the long fermentation process in sourdough can break down some of the gluten proteins, making it potentially more digestible for individuals with mild gluten sensitivity compared to conventionally leavened bread. It is important to note that this does *not* make it gluten-free and it should still be avoided by those with celiac disease. For truly gluten-free sourdough, you must use gluten-free grains such as sorghum, oats (certified GF), amaranth, or brown rice flour, often combined with food starches to achieve a desirable texture. If you have celiac disease or a diagnosed gluten sensitivity, always consult with a healthcare professional regarding your diet. For those interested in gut health and diet, books like The Makers Diet offer perspectives on reversing sensitivities and healing the gastrointestinal lining.
Can Sourdough Starter Go Bad? Troubleshooting Common Issues
It’s common for new bakers to wonder, “My starter isn’t rising?” or “How do I keep an active sourdough starter?” If your starter develops a strong, pungent odor resembling alcohol (often referred to as “hooch”), it’s a clear sign it’s long overdue for a feeding. This indicates that the yeast has consumed most of its food and is producing alcohol as a byproduct. While it’s important to revive your sourdough starter with feedings, it will take time and consistent effort to rebuild it to its fully active state.
If you’ve neglected your starter for three weeks or more in the fridge, it will require more than one feeding to become active again. To revive it, remove it from the fridge and feed it 1-2 times a day, discarding a portion before each new feeding, until it consistently shows signs of activity (rising, bubbling). This revival process can take anywhere from 2 to 5 days. A black film that sometimes forms on top of the starter is typically lactic acid bacteria (Lactobacillus) and is not harmful. It can simply be stirred back into the starter before feeding and usually disappears after a good stir, indicating a healthy, albeit hungry, culture.
What Is Sourdough Bread?
Sourdough bread is a unique type of bread leavened using a “sourdough starter” rather than commercial yeast. This starter is a living culture of wild yeasts and lactic acid bacteria (Lactobacillus) from fermentation. These microorganisms work synergistically to break down the flour, creating carbon dioxide that makes the bread rise, and producing organic acids that contribute to sourdough’s distinct tangy flavor, chewy texture, and superior keeping qualities. Beyond its delicious taste, the fermentation process can also improve the bread’s digestibility and nutrient availability, making it a healthy choice for gut health.
Storing Sourdough Starter: Maintaining Your Culture
Maintaining a sourdough starter doesn’t have to be complicated. My approach is quite simple: whenever I plan to bake with my starter, I remove it from the fridge a day in advance and give it a feeding. To ensure it’s at its peak activity for optimal results, I typically feed it 2-3 times: once overnight, then again the next morning, and sometimes even a third time until the following day. I always bring it to room temperature before incorporating it into any recipe, and I don’t mind having it on the countertop for a few days during this activation period.
For longer-term storage and when not actively baking, your sourdough starter should always be kept refrigerated. This slows down its activity, reducing the frequency of feedings. Different types of starters (e.g., those made with potato flakes, yeast, wine, or grape juice) may have varying feeding and maintenance requirements, but for a traditional flour and water starter, refrigeration is key to healthy dormancy.
How To Store Sourdough Bread for Freshness
Sourdough bread is undoubtedly at its absolute best on the day it’s baked, especially when still slightly warm from the oven. To maximize freshness and enjoy your homemade loaves for longer, proper storage is essential. When I bake two loaves, I typically cool them both completely. One loaf is sliced and enjoyed immediately with my family, while the other is destined for the freezer. Freezing bread on the day of baking is the best way to preserve its fresh taste and texture for future enjoyment.
Always allow your sourdough loaf to cool completely on a wire rack before storing it. For short-term storage, keep the whole loaf in a bread bag or a clean kitchen towel at room temperature for up to 3 days in a cool, dark place. For longer preservation, place the whole cooled loaf into a gallon-sized freezer bag and freeze for up to 3 months. If you wish to extend its life a little longer without freezing, you can keep it in the fridge for up to 5 days, though refrigerated bread is often best reheated or used for toast and hot sandwiches.
When Is Sourdough Starter Ready to Use?
Your sourdough starter is ready to use in recipes when it has been brought to room temperature after one or two feedings and exhibits clear signs of activity. These signs include a noticeable rise in size, numerous visible bubbles throughout the mixture, and a foamy texture. The most reliable way to confirm its readiness is the float test: drop a small dollop of your fed, active starter into a glass of cold water. If it floats to the top, it’s sufficiently active and ready to leaven your baked goods. An active sourdough starter can transform a variety of recipes, from crispy pizza crusts and flaky biscuits to sweet cinnamon rolls, airy focaccia, chewy pretzels, light waffles, savory crackers, fluffy pancakes, or even delightful chocolate chip cookies. The possibilities are truly endless!
Can I Make This No-Knead Bread With Yeast Instead of Sourdough Starter?
Absolutely! This versatile no-knead bread recipe can easily be made using commercial dry active yeast if you don’t have a sourdough starter on hand or prefer a quicker rise. To adapt the recipe, simply omit the sourdough starter entirely. Instead, use 1/4 teaspoon of dry active yeast. Additionally, you will need to increase the warm water amount by 1/4 cup, as sourdough starter contributes more volume and hydration to the dough than the equivalent amount of dry yeast. The fermentation time will also be shorter, typically around 3 hours, compared to the 4 hours for a sourdough version.
Best Baking Tips for Sourdough Success:
- Avoid Freezing Your Sourdough Starter: It’s generally not recommended to freeze your sourdough starter, as extreme cold can often kill the living bacteria and weaken the overall strength and activity of the culture.
- Troubleshooting Help: Don’t hesitate to leave a comment below if you encounter any challenges or have additional troubleshooting questions! The sourdough community is here to help.
- Sourdough Starter vs. Yeast Ratio: As a general guideline for converting recipes, for every 1 Tablespoon of commercial yeast called for, you can typically substitute with 1/2 cup of active sourdough starter.
- Signs of a Hungry Starter: If your sourdough starter emits a strong odor reminiscent of alcohol (often called “hooch”), it’s a definite sign that it’s very hungry and long overdue for a feeding. Feed it promptly to revive its vigor.
More Delicious Bread Recipes To Try:
Once you’ve mastered this no-knead sourdough, explore other fantastic bread recipes:
- Sourdough Bagels: Chewy and satisfying, this dough can even be shaped into a delicious French baguette!
- French Bread: My go-to yeast bread recipe, perfect for sandwiches or as a versatile accompaniment to any meal.
- Subway Bread Recipe (Italian Herb and Cheese Copycat): If you adore sub rolls, you absolutely must try these incredible homemade footlongs!
- Feather-Light Hamburger Buns: Achieve perfectly soft and airy buns that will elevate any burger.
- Whole Wheat Hamburger Buns (Copycat Chick Fil A Multigrain Bun): A healthier, multigrain option that rivals your favorite fast-food version.
No-Knead Sourdough Bread Recipe Card

Rate
Pin
No-Knead Sourdough Bread
Equipment
-
1 6.5-quart dutch oven with lid
-
1 bowl
-
1 parchment paper sheet
-
1 wooden spoon
Ingredients
Ingredients:
-
1/2 cup sourdough starter
-
3 cups bread flour
-
1 tsp salt
-
1 1/4 cups warm water
Instructions
Directions:
-
 Mix together all the ingredients using a wooden spoon until you hardly see any more dry flour. Cover and let sit for 4 hours on the countertop.
 -
 Preheat the dutch oven at 450°F. Meanwhile, transfer the dough onto a well-floured surface. Stretch and fold to make a smooth ball.
 -
 Place seam down onto a lightly floured piece of parchment paper and place back into a clean bowl. Score and allow to rise while the oven preheats.
 -
 Place the dough inside a hot dutch (using kitchen mittens) and cover with the lid. Bake for 30 minutes covered then 5-10 minutes uncovered. Cool before slicing.
Notes
*Can use all-purpose flour.
Measurements By Weight:
- 430 grams of flour
- 100 grams of sourdough starter
- 5 grams salt
- 300 ml of warm water (290 grams)
*To Make Sourdough Bread with yeast omit the starter and add 1/4 tsp of dry active yeast and 1/4 cup more of warm water.
Nutrition per serving
