Authentic Russian Honey Cake (Medovik) Recipe: A Beloved Layered Delight
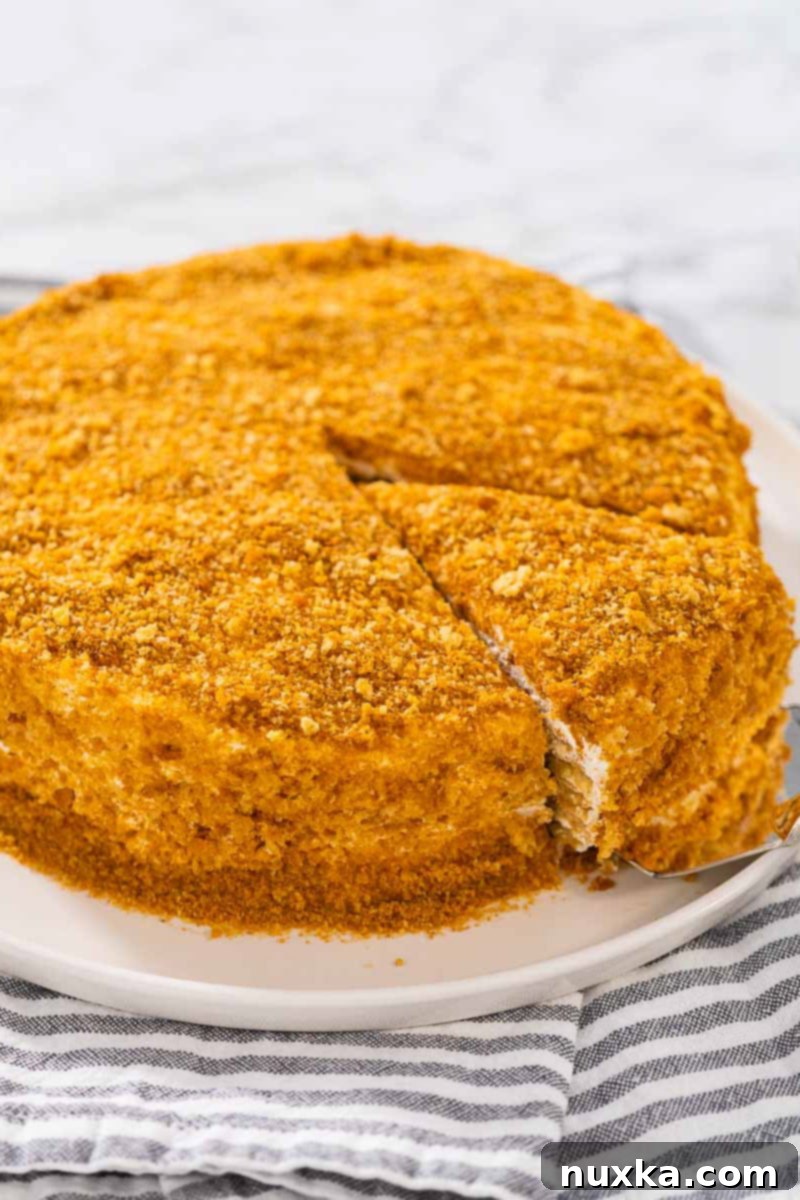
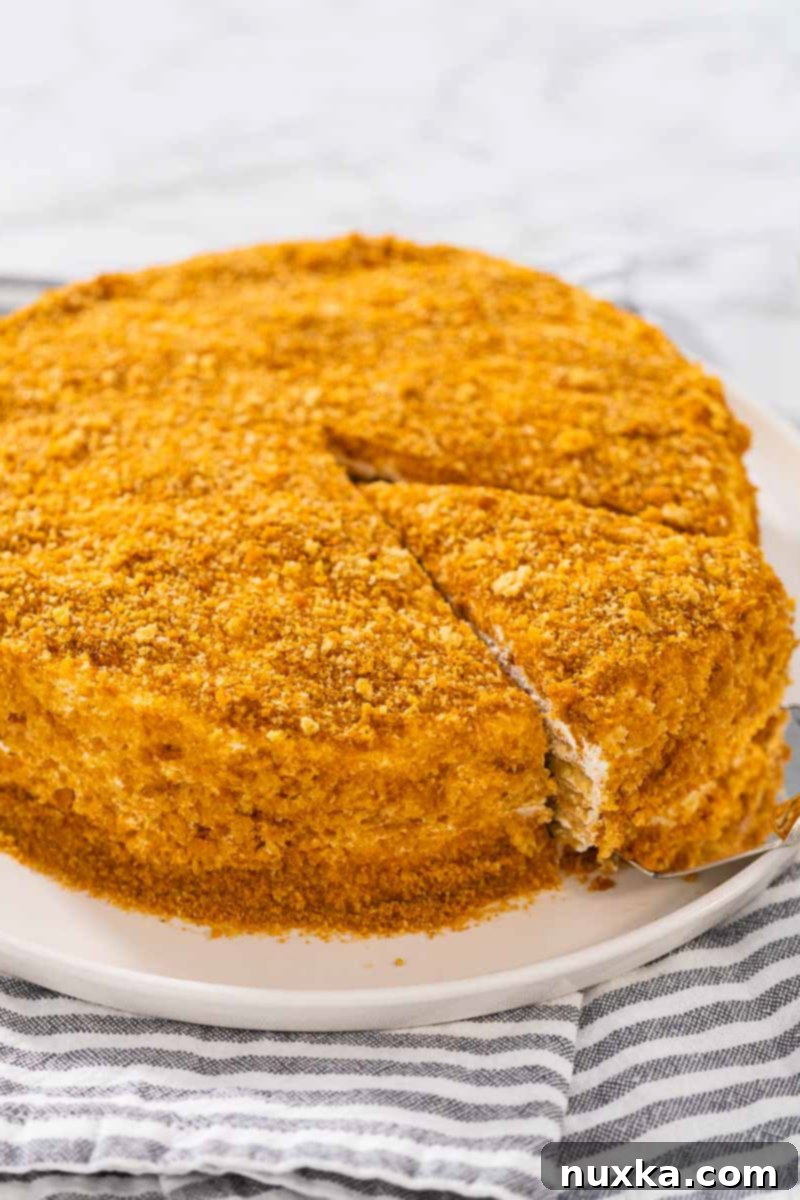
Step into the delightful world of Eastern European desserts with this incredible recipe for Russian Honey Cake, famously known as Medovik. This isn’t just any cake; it’s a culinary journey, a thin layer cake crafted with the golden goodness of raw honey and generously frosted with a rich, tangy sour cream frosting. Whether you’re planning an intimate gathering or a grand party, this versatile honey cake recipe can be prepared as a classic round centerpiece or a generous rectangular sheet cake. My Ukrainian husband absolutely adores this Medovik Cake Recipe, and it’s truly a testament to its widespread appeal and comforting flavors. The best part? Its decoration is as charmingly simple as it gets: a dusting of leftover cake crumbs, adding a rustic touch that speaks volumes of homemade goodness.
Why This Medovik Recipe Will Become Your New Favorite
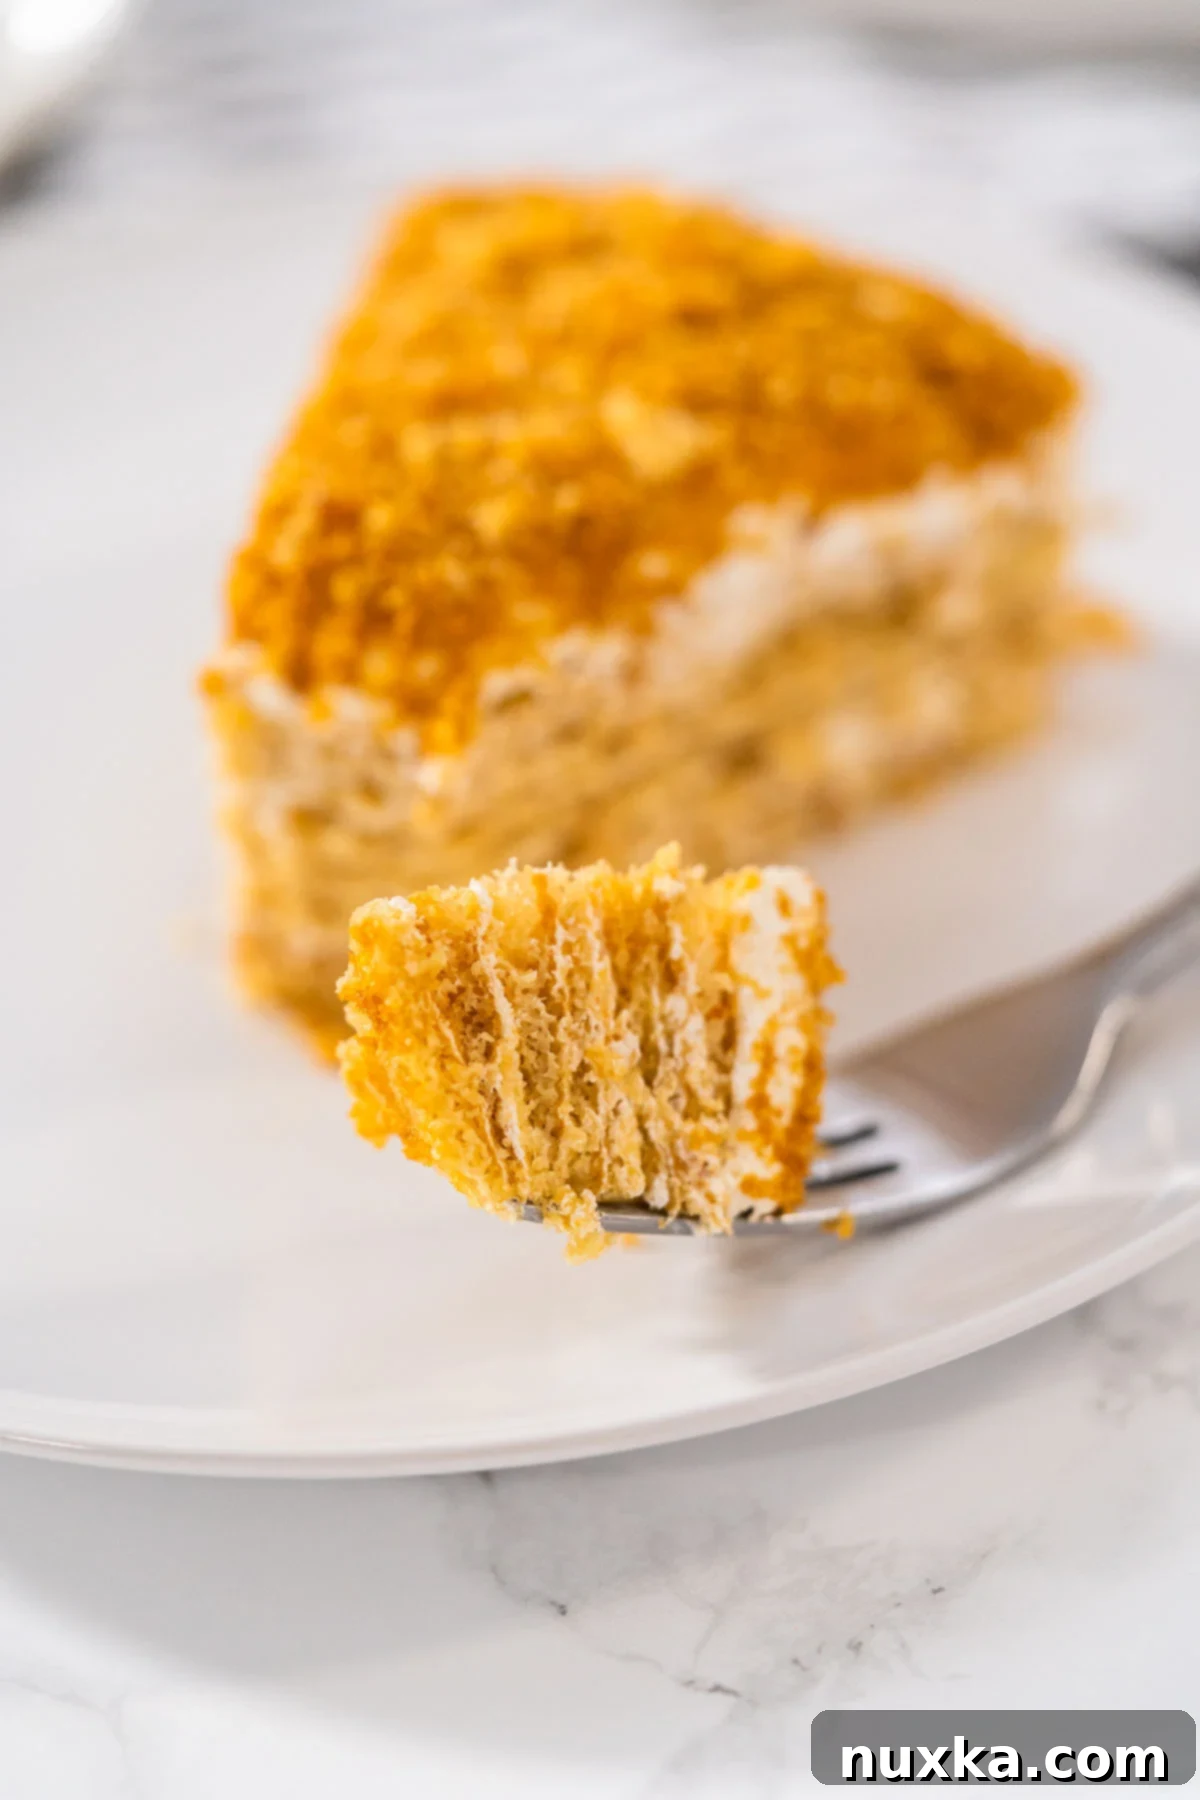
While the Medovik is a true classic, its preparation often varies. Many traditional recipes call for a lengthy process of rolling out individual dough layers, which can be quite time-consuming and demanding. However, our easy honey cake recipe utilizes a simpler, yet equally delicious, sponge cake technique. This method significantly reduces preparation time, making it accessible even for novice bakers who want to enjoy this traditional treat without the fuss. The resulting thin sponge cake layers are incredibly absorbent, eagerly soaking up the creamy frosting to create a dessert that is exceptionally moist, tender, and truly melts in your mouth with every bite. Unlike the rolled versions that often require up to 24 hours to soften to perfection, this sponge cake Medovik can be ready to serve in just a couple of hours, delivering that authentic, rich flavor reminiscent of honey cakes found in the finest Russian and Ukrainian bakeries.
Beyond Medovik: Exploring More Honey-Infused Delights
Honey’s versatility extends far beyond just cakes. If you have a passion for this natural sweetener, there are countless delicious ways to incorporate it into both sweet and savory dishes. Expand your culinary repertoire with our other beloved honey recipes. For savory options, you might enjoy our zesty Homemade Honey Mustard Sauce, a delectable Honey Glazed Salmon for a healthy weeknight meal, or a succulent Honey Baked Ham, ideal for special occasions and holiday feasts. And if you’re keen to explore more delightful honey-based desserts or other traditional Eastern European cakes, consider trying the decadent Chocolate Spartak Cake or the unique Honey Prune Cake. These recipes offer a fantastic way to celebrate the rich, complex flavors that honey brings to the table, proving its place in a diverse range of dishes.
Watch How To Make Honey Cake (Medovik):
What Exactly is Medovik (Russian Honey Cake)?
“Medovik” is the cherished Russian name for this exquisite Honey Cake, a dessert that holds a special place in the hearts and homes of both Russia and Ukraine. It’s a staple at family gatherings and celebrations, often enjoyed alongside a warm cup of tea, a perfect pairing to balance its rich flavors. One of the defining characteristics of Medovik is that it’s not overly sweet, with its many delicate cake layers often being entirely sugar-free themselves, relying solely on the natural sweetness and caramel notes of honey. There are primarily two traditional methods for creating Russian Honey Cake: the intricate rolling out of individual dough layers, a process that can be quite time-consuming, and the sponge cake technique, which we’ve embraced in this simplified yet authentic recipe. Our sponge cake method offers all the flavor and tender texture of a traditional Medovik with significantly less effort, making it a favorite for busy home bakers who desire genuine taste without the extensive labor.
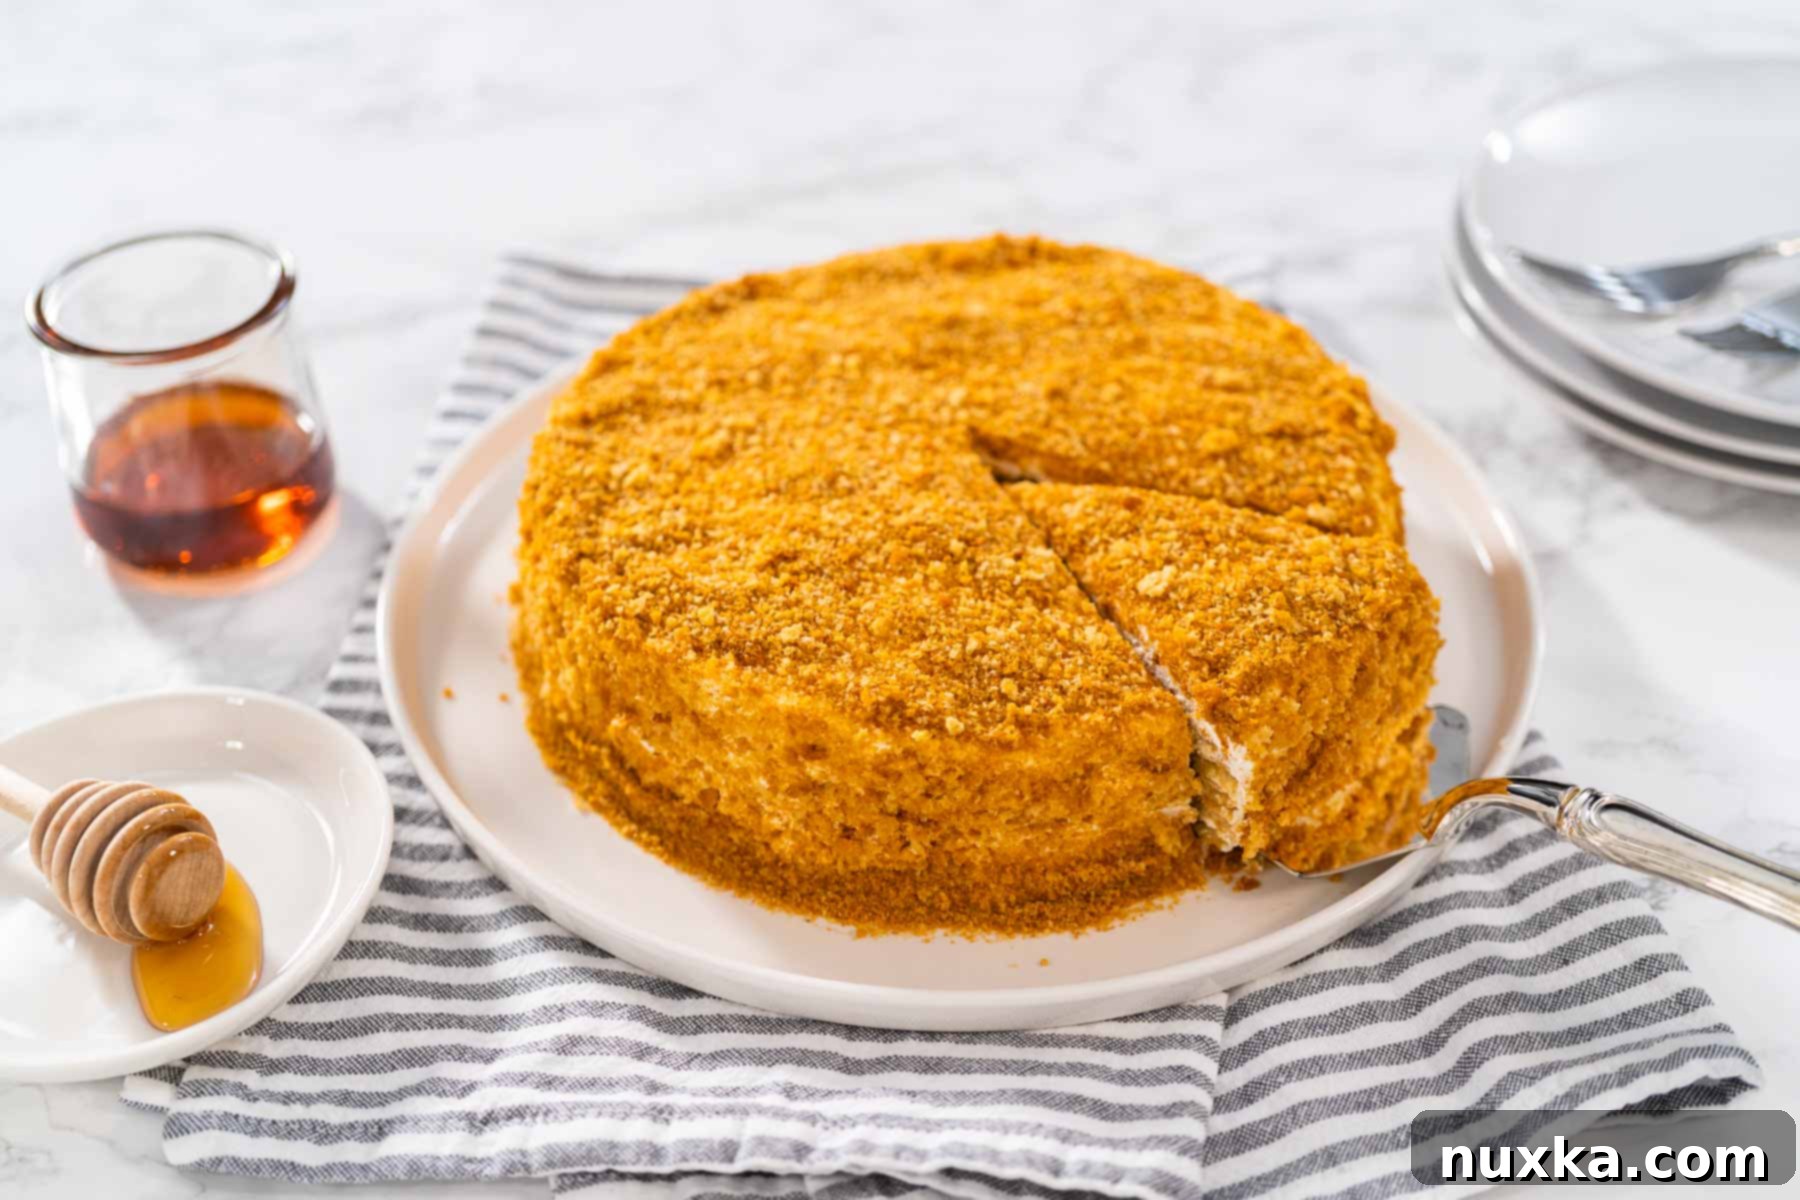
The Magic of Thin Layers: Quick Soaking & Melt-in-Your-Mouth Texture
This particular sponge cake “Medovik” excels because its delicate, thin layers absorb the rich cream filling remarkably quickly and efficiently. This means you won’t have to wait an entire day to enjoy your creation; it can be served in just a couple of hours after assembly, a significant advantage over many traditional recipes that demand extended chilling periods. The result is a truly melt-in-your-mouth dessert, mirroring the exquisite texture and flavor of Russian Honey Cakes you might find in specialty European markets. Conversely, Medovik made with rolled-out, thinner dough layers typically requires a much longer softening period, often up to 24 hours, to achieve the desired tenderness and moisture. To hasten the soaking process and ensure your cake is always ready sooner, regardless of the method, always aim for the thinnest possible layers. Thicker layers, while still delicious, will inevitably demand more soaking time to reach that perfect, luscious, and fully integrated consistency.
Key Ingredients for Your Perfect Honey Cake
One of the beauties of this Medovik recipe lies in its straightforward ingredients, especially for the luscious frosting. I prefer to keep things simple, using a delightful combination of sour cream (smetana) and a prepared whipped topping. This blend creates a wonderfully balanced frosting that is both tangy and sweet, perfectly complementing the honey-infused cake layers without being overly rich. If you prefer to avoid store-bought whipped topping, you can easily substitute it with homemade whipped cream, ideally sweetened to taste. For those aiming for a completely sugar-free dessert, simply prepare your frosting with unsweetened whipped cream and unsweetened sour cream, allowing the natural sweetness of the honey in the cake layers to shine through. Traditionally, Medovik sour cream frosting is sweetened with condensed milk or granulated sugar, but using a pre-sweetened whipped topping like Cool Whip streamlines the process, making it easier for any baker to achieve delicious results with minimal fuss.
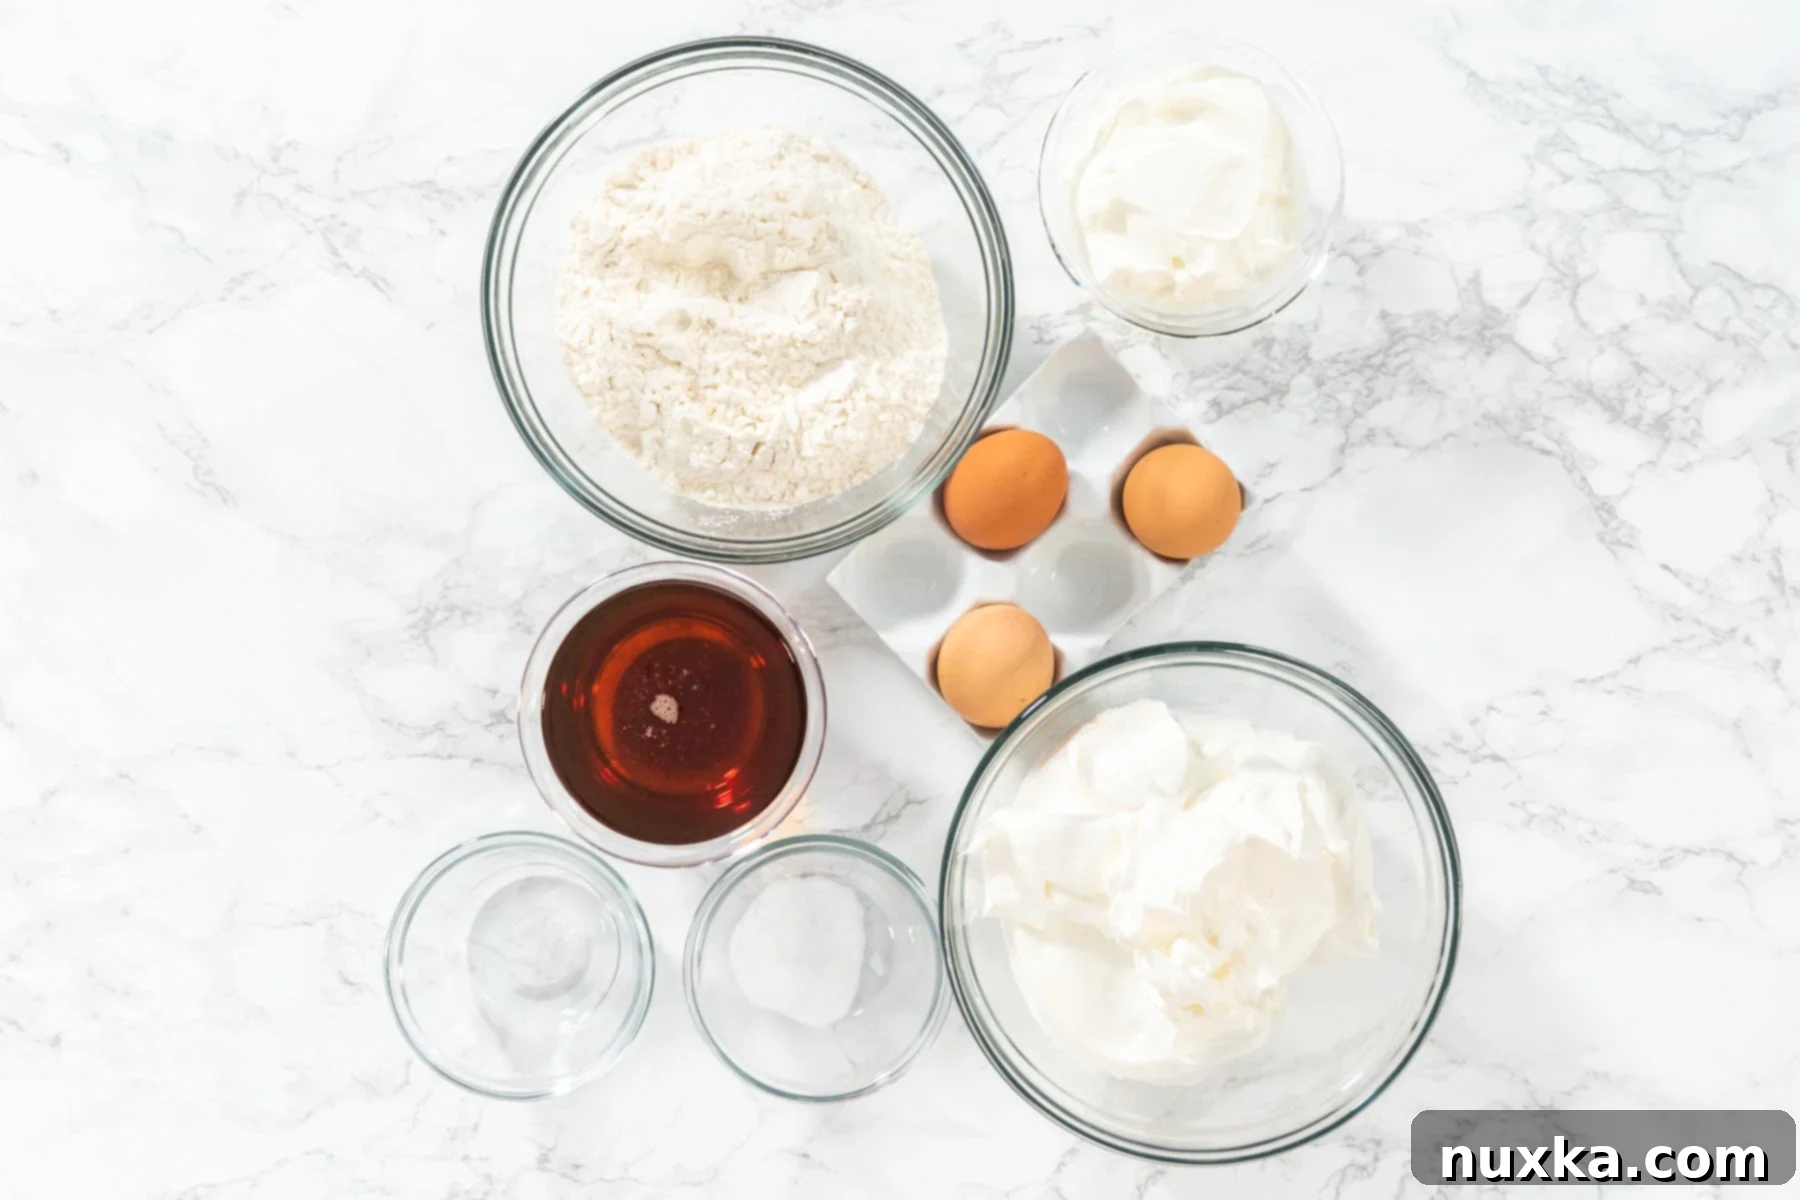
- Honey: For this recipe, clover honey is an excellent choice. It’s widely available in most major grocery stores across America and boasts a wonderfully mild flavor that won’t overpower the delicate cake. While local or wild honeys can offer unique and exquisite sweetness and a richer flavor profile, they are often more costly. The key is to use raw honey that is fluid and pourable. Avoid honey that has crystallized or become sugary, as this can make your cake batter stiff and difficult to work with. If you only have sugary honey on hand, gently melt it before incorporating it into the recipe to ensure a smooth, uniform batter.
- Eggs: Always opt for large Grade-A eggs when making this honey cake. Their size and quality are crucial for achieving the perfect consistency, richness, and structure in your delicate sponge cake layers.
- Flour: Both all-purpose flour and bread flour will yield excellent results for this Russian honey cake recipe. All-purpose flour is readily available and provides a tender crumb, while bread flour, with its higher protein content, can give the layers a bit more structure, though this is less critical for the very thin sponge layers of Medovik.
- Leavening: Baking soda serves as the primary leavening agent in this traditional Russian and Ukrainian dessert. To ensure optimal activation and prevent any bitter aftertaste often associated with baking soda, it is typically “quenched” or reacted with an acid, in this case, white distilled vinegar. This creates a fizzing action that helps the cake layers rise beautifully and become light and airy.
- Cream Filling: We adore our honey cake with a luscious, thick frosting made from Daisy sour cream and Cool Whip. This combination strikes a perfect balance of creamy texture and delightful tang, which is essential to cut through the sweetness of the honey layers. However, for a richer, more traditional alternative, you can beat 1 cup of heavy cream with about 1/2 can of sweetened condensed milk until light and fluffy. This creates a denser, sweeter cream that many find irresistibly decadent.
Do You Have To Brown Honey for Medovik?
A common question when making honey cakes is whether you need to actively “brown” the honey or butter, as some recipes suggest. For this specific Russian Honey Cake recipe, the answer is delightfully simple: no, you can completely skip that extra step! The thin honey-infused layers in our sponge cake method naturally caramelize to a beautiful golden-brown as they bake in the oven. This baking process is sufficient to develop a deep, rich flavor and a lovely, inviting color. It’s simply a matter of baking the thin honey layers long enough to achieve that desired depth of color and aromatic sweetness. Just be mindful not to overdo it, as baking them for too long can result in a bitter taste rather than a delightful caramel note. Trust the oven to do the work and transform the honey into a perfectly caramelized component of your cake, contributing significantly to its signature taste.
Choosing the Right Honey for Your Medovik
The type of honey you choose can subtly influence the flavor profile of your Medovik. For a widely accessible and reliably mild option, clover honey is an excellent choice. It’s readily available in most major American grocery stores and offers a gentle sweetness that complements the other ingredients without being overpowering. If you’re fortunate enough to have access to local or wild honey, these can be fantastic, often boasting more complex and unique flavor notes that can add an extra dimension to your cake, though they can sometimes be a bit more expensive. Regardless of the type, the most crucial aspect is to use raw honey that is smooth and in a liquid, flowing state. Avoid honey that has already started to crystallize or become thick and sugary, as this can make your cake batter stiff and challenging to spread thinly and evenly. If sugary honey is your only option, gently warm it until it becomes completely liquid before proceeding with the recipe to ensure a smooth, consistent batter for your delicate cake layers.
How To Make Russian Honey Cake: A Simplified Step-by-Step Guide
This Medovik recipe employs a simplified sponge cake method, making it significantly easier and quicker than traditional stove-top techniques that involve melting ingredients and meticulously rolling out individual dough layers. The key to success with this method is starting strong: you’ll want to beat the eggs and honey together thoroughly first, creating a light and frothy base, before incorporating the leavening agents and flour. While the cake batter might thicken slightly as it sits, it will remain perfectly spreadable. This straightforward preparation ensures beautiful, thin, and tender layers every time, setting the stage for an unforgettable cake that tastes authentically Russian with minimal fuss.
- Prepare the Sponge Cake Batter: Begin by combining your eggs and raw honey in a large mixing bowl, beating them vigorously until the mixture is light, airy, and beautifully frothy. Then, gently fold in the baking soda (which you’ve already dissolved in vinegar to activate it) and the all-purpose flour, mixing just until everything is well combined and you have a smooth, pourable batter.
- Spread Thin Layers: Take approximately 1/2 cup of the prepared batter and thinly spread it over the back of an inverted sheet pan that has been meticulously lined with parchment paper. Aim for a large, even rectangle, ensuring the batter reaches the corners for uniform thinness – this is key to the Medovik’s signature texture.
- Bake to Perfection: Place your thinly spread cake layers into the preheated oven. Bake each layer for 7-8 minutes, or until they turn a beautiful golden-brown and fill your kitchen with a sweet, aromatic honey scent. This quick baking time is essential for creating their characteristic tender, yet slightly crisp, texture.
- Cool Completely: Once baked, remove the layers from the oven and allow them to cool completely on the parchment paper. Cooling is absolutely essential before attempting to peel them, as it prevents sticking, tearing, and ensures they hold their shape.
- Cut and Reserve: Carefully peel each cooled cake layer off the parchment paper. Using an 8-inch salad plate or a similar round template, cut out two perfect round cake layers from each rectangle. Reserve all the leftover cake scraps – these are precious and will be used to create your traditional garnish!
- Prepare the Cream Filling & Assemble: In a separate bowl, whisk together your sour cream and thawed whipped topping until you have a smooth, creamy, and spreadable frosting. Begin assembling your cake by placing one round cake layer on your serving plate. Spread a generous amount of this cream evenly over it. Continue layering and frosting, ensuring the top and sides of the entire cake are also fully covered with the luscious cream.
- Garnish Beautifully: Take your reserved cake crumbs (which you’ll prepare by drying and crushing) and generously dust them over the frosted top and sides of the cake. This traditional garnish not only adds an appealing texture but also provides a clear visual cue to the cake’s honey origins.
- Soak and Serve: For the best flavor and texture – a truly melt-in-your-mouth experience – allow your assembled Russian Honey Cake to soak in the refrigerator for at least 1 hour. Ideally, for maximum moisture and flavor development, refrigerate it overnight before serving. This allows the cream to fully permeate the layers, making them incredibly moist and tender.
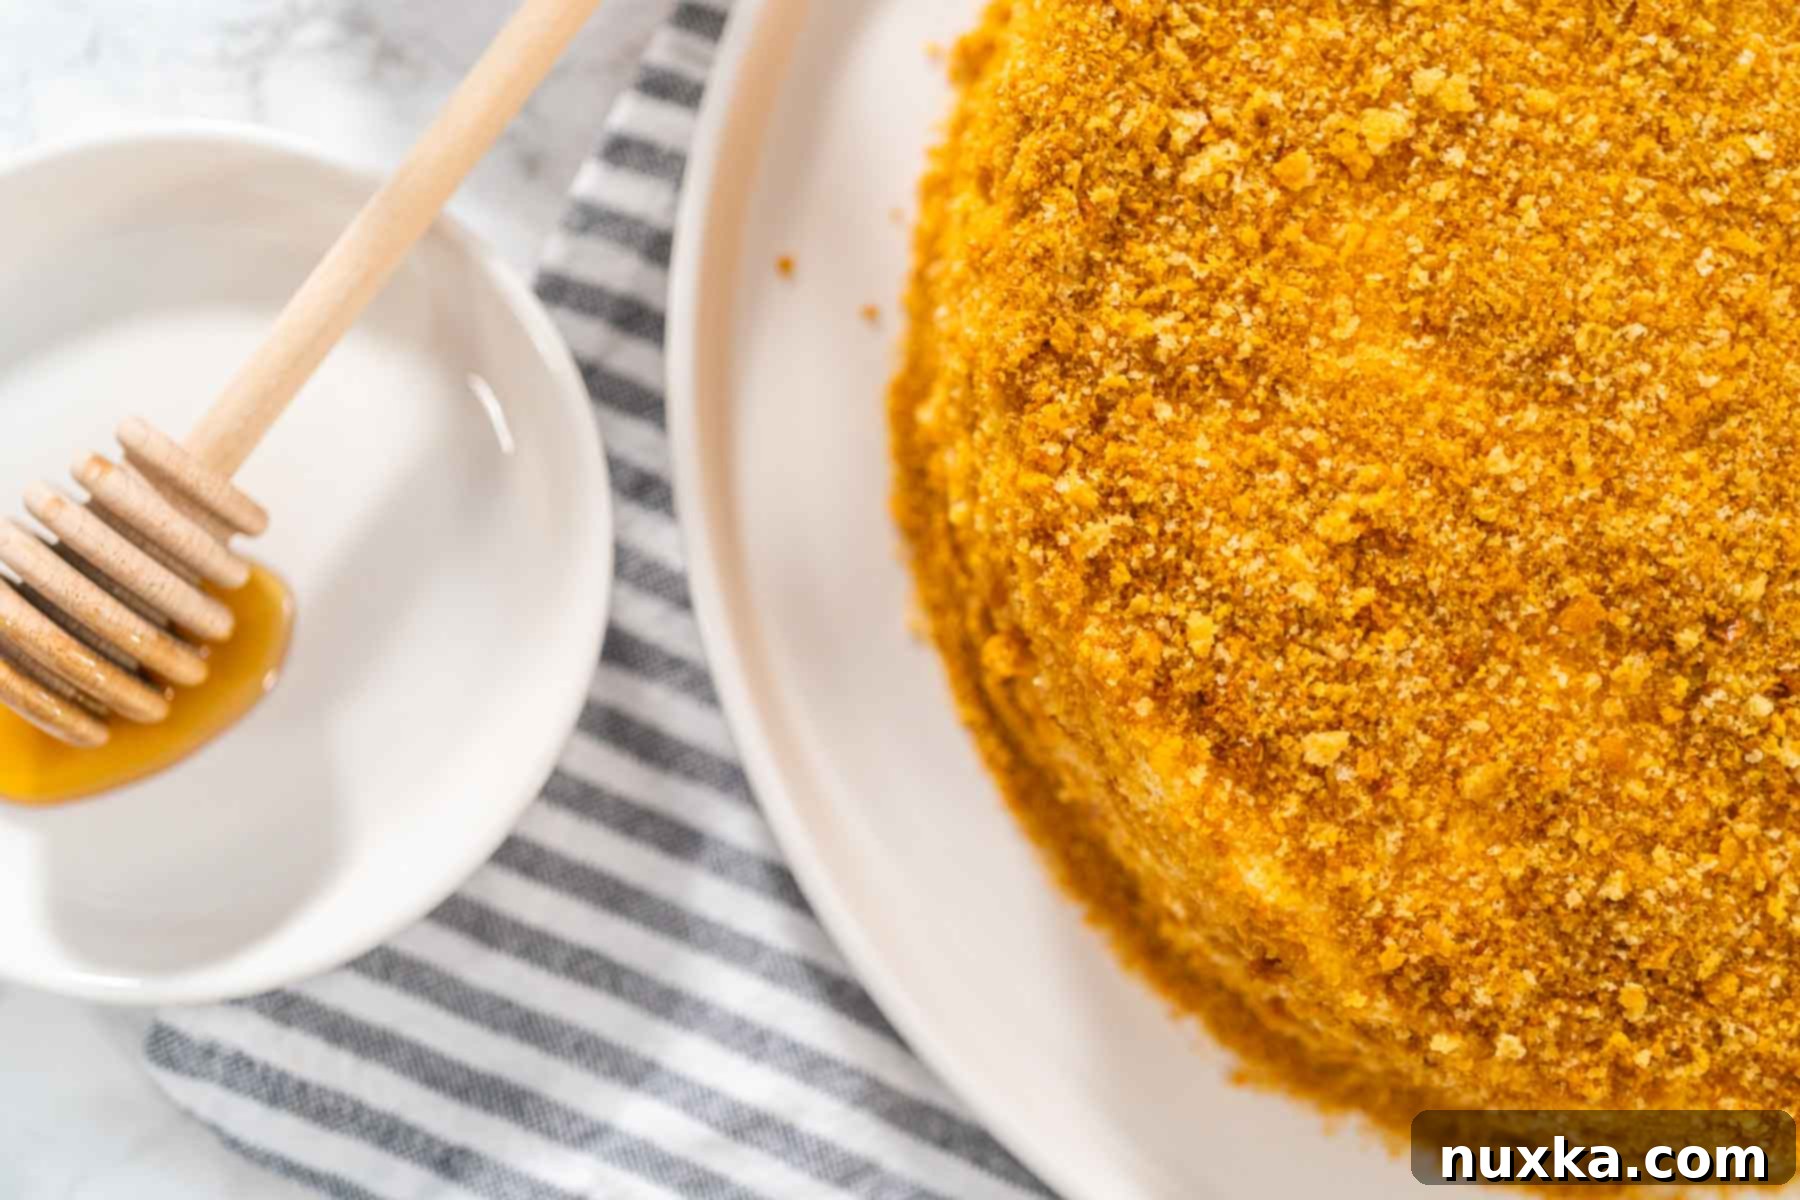
A Taste of History: The Origins of Medovik
The enchanting Russian Honey Cake, “Medovik,” boasts a history as rich and layered as its flavor. Legend has it that this dessert dates back to the 19th century, specifically to the kitchens of the Imperial Palace during the Soviet era. The story goes that a young, innovative chef in the Imperial kitchen, unaware of Empress Elizabeth Alexeievna’s notorious aversion to honey, daringly experimented and created a new honey-infused cake. To his immense surprise, the Empress not only tolerated but actually fell in love with this novel creation, which became an instant hit. And thus, Medovik was born, captivating the palates of royalty and eventually becoming a beloved staple across Russia and Ukraine. For anyone hailing from the former Soviet Union or Eastern Europe, this cake often evokes a deep sense of nostalgia and comfort, resonating with cherished childhood memories and treasured family traditions. It’s more than just a cake; it’s a piece of culinary history.
Variations in Medovik Preparation
Indeed, there are numerous delightful variations for crafting a honey cake, but the fundamental principle remains consistent across all methods: achieving thin, relatively firm layers that will beautifully soften and meld with a luscious cream filling. This delicate balance of texture, where firm layers transform into tender indulgence, is what makes Medovik so unique and cherished. While many traditional methods involve rolling out a honey-infused dough into many thin discs, a process that can be quite labor-intensive, our sponge cake approach offers a distinct advantage. The thinner layers produced by the sponge cake technique, while also firm and slightly crisp when freshly baked, tend to absorb the cream filling much more rapidly and efficiently than their rolled-out counterparts. This expedited soaking process means you can enjoy your perfectly moist and tender Medovik in a fraction of the time, without compromising on the authentic taste and signature texture that defines this classic dessert.
Decorating Your Medovik: Simple & Sweet Ideas
One of the most charming aspects of homemade Medovik is its traditional, yet elegantly simple, decoration. The easiest and most authentic way to adorn your honey cake from scratch is by reserving one of your baked cake layers (or the scraps from cutting your rounds), drying it out thoroughly, and then crumbling it finely to use as a rustic, flavorful garnish. This not only prevents food waste but also adds an appealing texture and a clear visual cue to the cake’s honey origins. For a more elaborate, yet still achievable, design, you could incorporate honeybee or honeycomb-shaped molds. Simply melt some good quality white chocolate, pour it into these specialized molds, and chill until completely solid. Once set, gently peel out the solid chocolate decorations and arrange them artfully anywhere on your Russian Honey Cake, creating a visually stunning tribute to its primary ingredient and adding an extra touch of sweetness.
Where To Find & Why To Bake Your Own Russian Honey Cakes?
As someone of Ukrainian heritage, this honey cake is intrinsically linked to the main ingredient that brings it to life: honey. It’s a dessert that speaks of home, celebration, and tradition across Eastern Europe. While you can often find a beautifully round “Medovik” Cake at specialized European grocery markets, typically priced around $30 or more, the true joy and satisfaction come from baking it yourself. Furthermore, in Slavic traditions, particularly at weddings or large celebrations, Medovik is frequently served in a grand rectangular sheet cake form, designed to feed a large gathering. Giving this homemade honey cake recipe a try is not only an incredibly rewarding culinary experience, allowing you to master a classic dessert, but it’s also significantly more economical when you’re looking to delight your family, friends, or a large crowd with an authentic, rich, and deeply satisfying dessert.
Can You Freeze Honey Cake for Future Enjoyment?
Absolutely! This honey cake freezes exceptionally well, making it a fantastic make-ahead dessert option for holidays, special occasions, or simply to ensure you always have a slice of this delightful cake on hand for an unexpected craving. You can assemble the entire honey cake, complete with its luscious cream filling, place it into an airtight cake container, or wrap it meticulously in multiple layers of plastic wrap and then foil, and freeze it for up to 3 months. This method preserves its moisture and flavor beautifully. However, I generally do not recommend freezing the plain, un-frosted sponge cake layers on their own. After baking, these thin layers tend to form a slightly sticky top surface, which can easily cause them to adhere to each other or to packaging, potentially destroying their delicate structure upon thawing. If you absolutely must freeze individual layers, ensure you use freezer paper or parchment paper between each layer to prevent sticking and preserve their integrity.
To Freeze Assembled Honey Cake: Place the fully assembled and frosted honey cake into a sturdy, airtight food container. Alternatively, wrap the cake tightly in at least two layers of plastic wrap, followed by a layer of aluminum foil. Freeze for up to 3 months. When ready to serve, thaw the cake slowly in the refrigerator overnight (for approximately 8-12 hours) for the best texture and flavor. Allow it to come to room temperature for about 30 minutes before serving, if desired.
Is Honey Cake a Healthy Indulgence?
While most cakes are considered an indulgence, this honey cake recipe offers the flexibility to be made considerably healthier, or even completely sugar-free, if you desire. The key lies in your choice of frosting ingredients. If you substitute the sweetened Cool Whip with homemade whipped cream (made without any added sugar), you can drastically reduce the cake’s refined sugar content. Incorporating raw honey as the primary sweetener in the cake layers themselves offers a more natural sugar alternative, boasting unique health benefits compared to refined granulated sugar, such as antioxidants, enzymes, and trace minerals. Enjoying sugar-free desserts like this customizable Medovik can be a wonderful way to satisfy those sweet tooth cravings without compromising your healthy eating goals, making it a thoughtful choice for those mindful of their sugar intake and seeking a more wholesome treat.
Can I Make My Cake Layers Thicker?
This particular honey cake recipe is designed to yield 8 beautifully thin sponge layers, resulting in an assembled cake that stands approximately 2 inches high – a classic and elegant Medovik height. If you wish to create a taller, more dramatic honey cake, you will need to double the recipe’s ingredients to ensure you have enough batter and frosting for more layers. When doubling the recipe, you can also opt to make slightly thicker cake layers, which will naturally contribute to the overall height. However, it’s crucial to note that while parchment paper works exceptionally well for peeling off our very thin layers, thicker cake layers can sometimes be more prone to sticking. To counteract this, especially with thicker layers, consider using a Silpat mat for baking, which offers superior non-stick properties. When using a Silpat mat, you can easily draw 9-inch circles onto parchment paper, place them under the Silpat, and then spread about 1/3 cup of cake batter evenly over each circle, baking until a deep caramel color is achieved (around 7 minutes).
How To Make a Party-Sized Honey Cake?
Honey Cakes, or Medovik Torte, are wonderfully suited for feeding a crowd, making them an ideal dessert for parties, family reunions, and large gatherings! To effortlessly create a party-sized version, simply double all the ingredients in this recipe. Instead of cutting out individual round layers from your baked rectangular sheets, you can leave your baked sponge cake layers in their larger rectangular form and then simply stack them directly on top of each other. Assemble the cake as instructed, generously frosting each layer and reserving any excess cake for crushing into crumbs for that signature garnish. This method yields an impressive sheet pan Honey Cake that is guaranteed to be a showstopper and satisfy everyone at your event with its generous portions and irresistible flavor.
Step-By-Step Photo Tutorial: Creating Your Melt-in-Your-Mouth Russian Honey Cake
Embark on your journey to baking the perfect Russian Honey Cake with this detailed, step-by-step photo tutorial! This guide focuses specifically on the sponge cake version of Medovik, renowned for its melt-in-your-mouth texture and quicker preparation time. Follow along with these visuals and accompanying instructions to ensure every step is clear and your cake turns out flawlessly, just like the traditional ones found in Eastern European homes.
PREP: Begin by preheating your oven to 350° F (175° C). Next, prepare your baking sheets: cut out 4 pieces of parchment paper, ensuring each piece is large enough to generously cover an 18×13-inch baking sheet with a slight overhang. This will make handling the thin, delicate layers much easier during and after baking.
1. Beat Eggs and Honey: In a large mixing bowl, combine the 3 large eggs and 1 cup of raw clover honey. Beat them together vigorously with an electric mixer until the mixture transforms into a light brown, frothy, and noticeably airy consistency. This usually takes about 2 minutes, creating a well-aerated base that is crucial for light sponge cake layers.
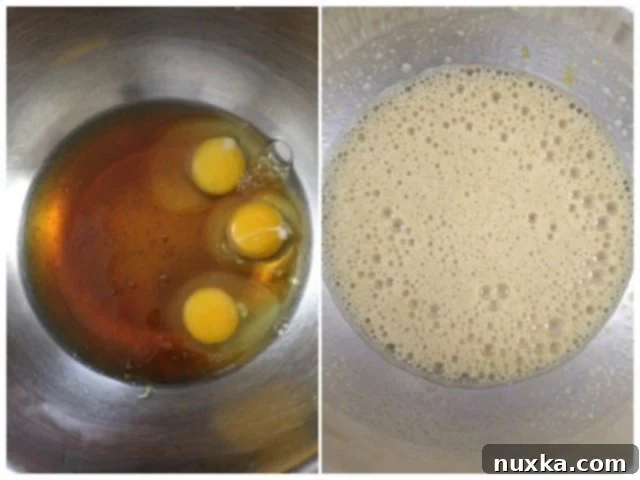
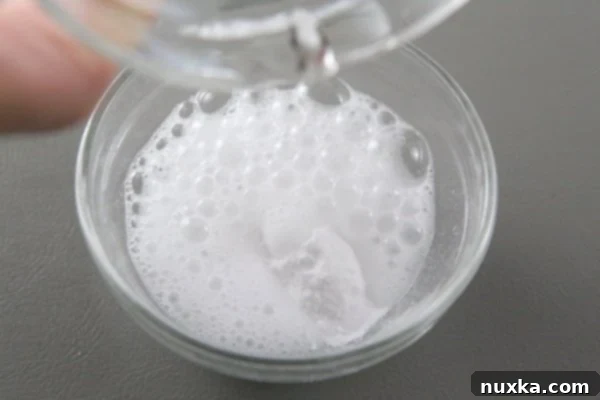
2. Add Leavening and Flour: In a small separate bowl, dissolve the 2 teaspoons of baking soda in 1 tablespoon of white distilled vinegar; you’ll observe it fizz immediately as the acid reacts with the base. Add this activated leavening mixture to your egg and honey base, followed by the 2 cups of all-purpose flour. The vinegar acts to “quench” the baking soda, ensuring it is fully activated for optimal rise and a tender crumb.
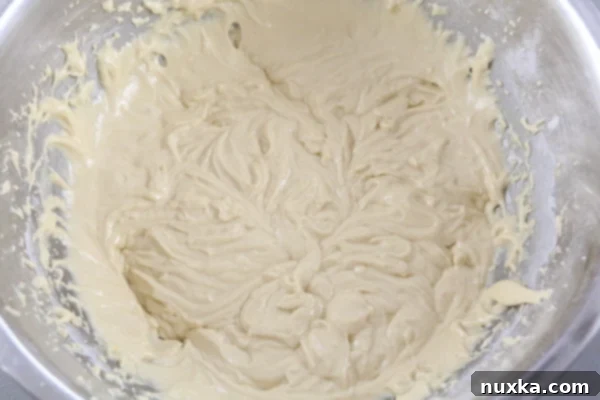
3. Combine Ingredients: Gently beat all the ingredients together with your electric mixer, just until they are fully combined and you have a smooth, consistent sponge cake batter. It’s important to avoid overmixing, which can develop the gluten too much and lead to tougher, less tender cake layers.
4. Spread and Bake Layers: Place one of your parchment-lined baking sheets upside down (inverted). Pour approximately 1/2 cup of the sponge cake batter onto the parchment paper. Using an offset spatula or the back of a spoon, spread the mixture as thinly and evenly as possible across the entire surface, aiming for a rectangle roughly 16 by 11 inches. This thinness is crucial for the Medovik’s signature texture. Bake this thin layer for exactly 7 minutes, until it’s golden brown and fills your kitchen with a sweet, aromatic honey scent. Repeat this process for all remaining layers (you will have 4 rectangular layers in total), ensuring you work quickly as the batter tends to thicken slightly over time. For maximum efficiency, consider using two baking sheets: one for spreading the batter and the other for baking simultaneously.
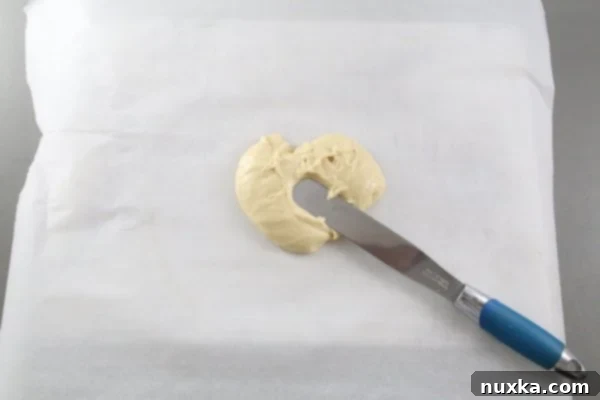
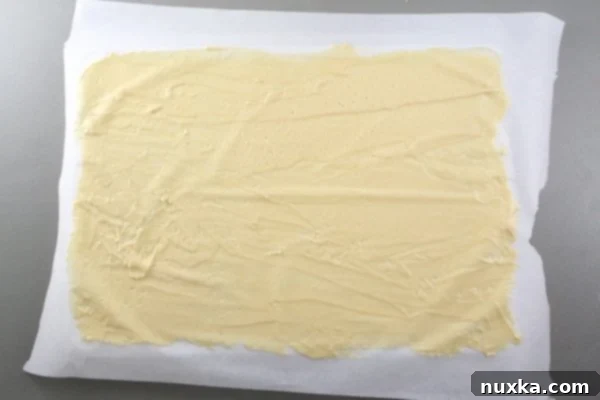
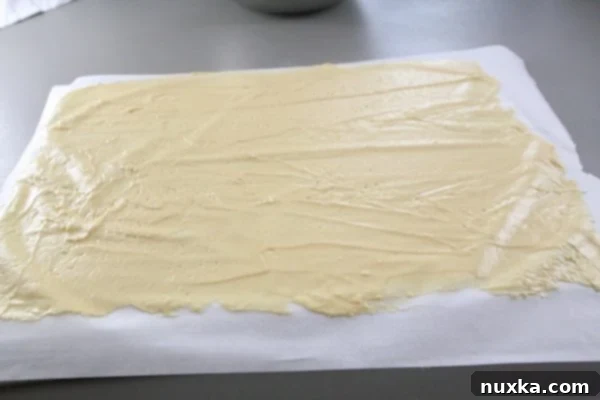
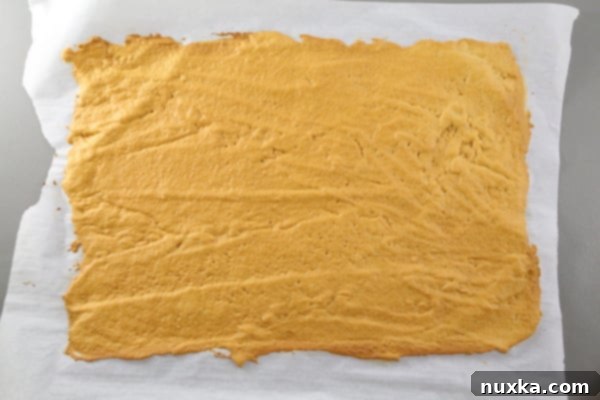
(TIP: To streamline the baking process, consider using two baking sheets of the same size. While one layer is baking, you can be spreading the batter on the parchment paper of the second inverted sheet. Parchment paper is invaluable for easily transferring these delicate layers from place to place. Remember, the batter will slightly thicken as it sits, so working efficiently and swiftly is key for achieving consistently thin and perfect layers.)
5. Peel Parchment Paper: Once each cake layer has cooled completely, very carefully peel off the parchment paper. These layers are thin and can be delicate, so take your time and be gentle to avoid tearing them. A cool, firm layer is much easier to handle.
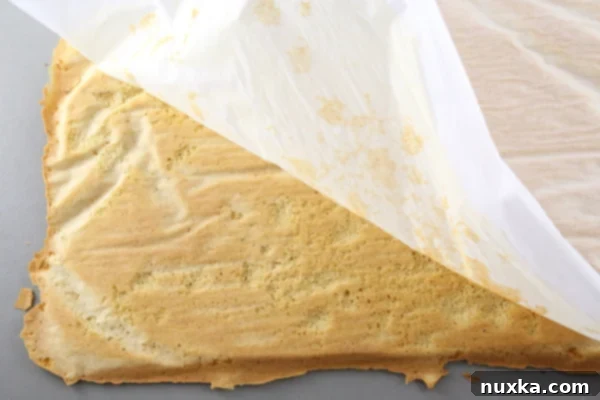
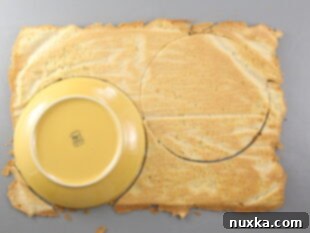
6. Cut Out Circles: From each baked rectangular cake layer, you will cut out two perfect circles. Use a plate or a cake ring with a diameter of about 7 1/2 to 8 inches as your guide for consistent sizing. You should end up with a total of 8 round cake layers. Don’t discard the leftover scraps; these are essential for creating the traditional crumb topping for your Medovik!
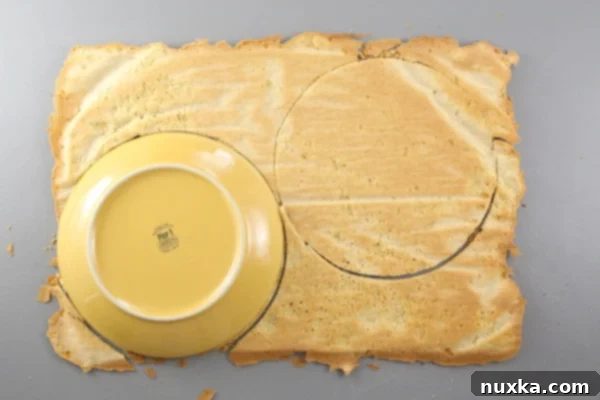
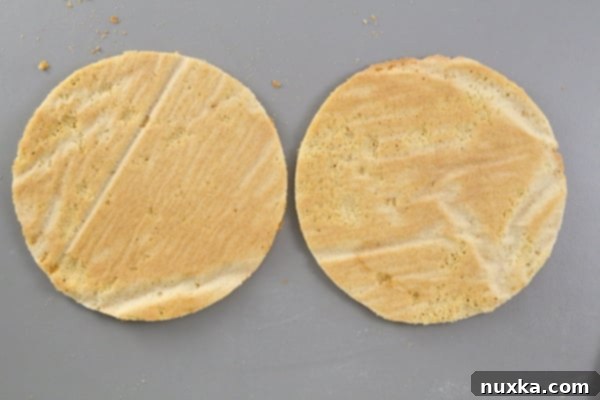
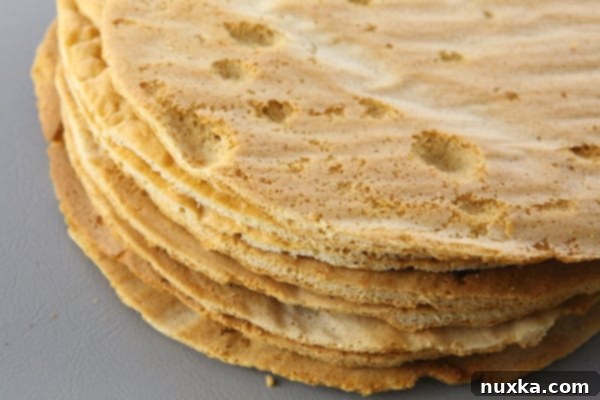
(Tip: To keep your delicate cake layers fresh and prevent them from drying out while you prepare the others, store them gently stacked in a plastic bag or wrap them tightly until they are needed for assembly. This maintains their pliability.)
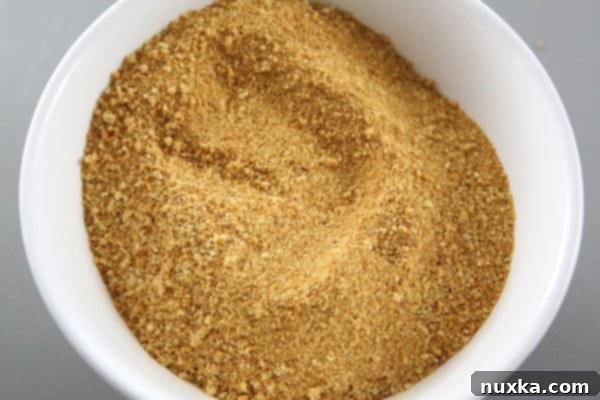
7. Prepare Cake Crumbs: Gather all the leftover cake scraps from cutting your circles and place them onto a clean baking sheet. Bake these scraps in the oven at a low temperature of 275°F (135°C) for 5-10 minutes, or until they are thoroughly dried out and crisp to the touch. This simple drying process makes them incredibly easy to crush into fine crumbs, which are perfect for decorating and adding a rustic touch to your Medovik.
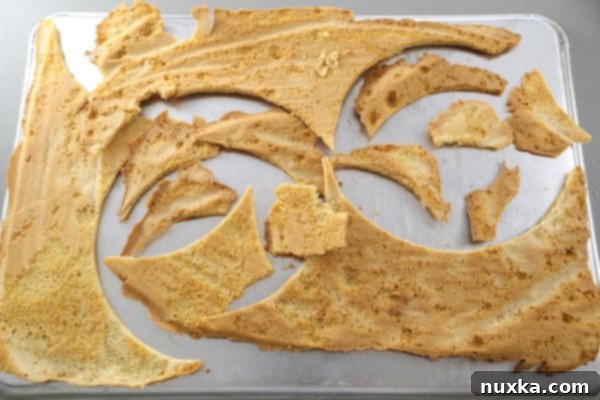
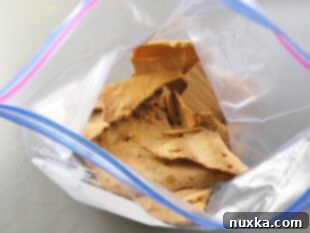
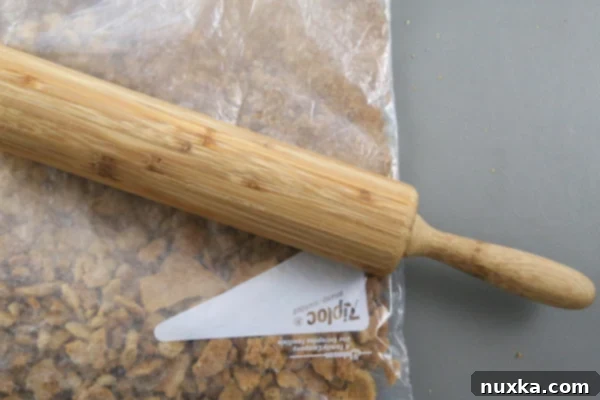
8. Crush Crumbs: Once the dried cake scraps are completely cool and crisp, transfer them into a sturdy zip-lock bag. Use a rolling pin to crush them into very fine, even crumbs. This fine texture will adhere beautifully to your frosted cake and provide that classic Medovik finish.
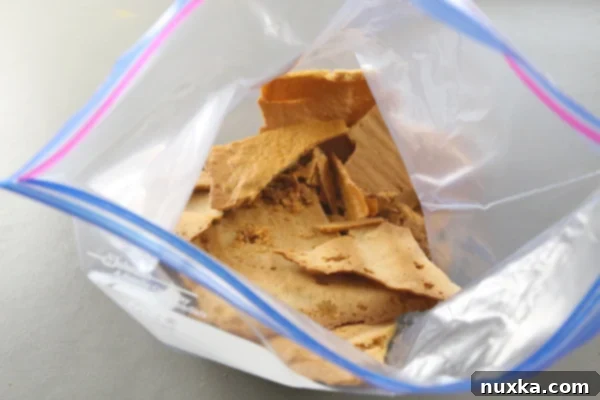
10. How To Make a Luscious Sour Cream Frosting:
In a medium mixing bowl, gently combine the thawed 8 oz Cool Whip and 1 cup of thick sour cream (such as Daisy brand). Mix until thoroughly combined and smooth. This creates a light, tangy, and sweet frosting that perfectly complements the honey cake layers without being too heavy. (If using homemade whipped cream and sugar-free options, follow your chosen method for combining and sweetening to taste.)
11. How To Assemble The Honey Cake:
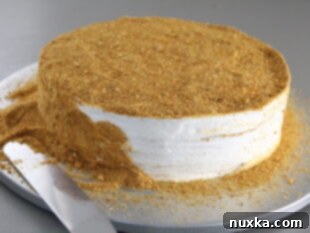
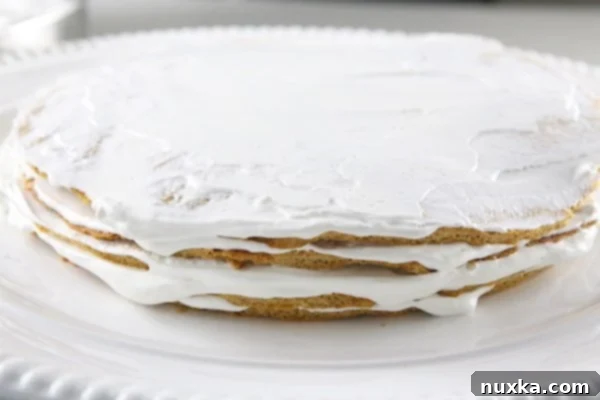
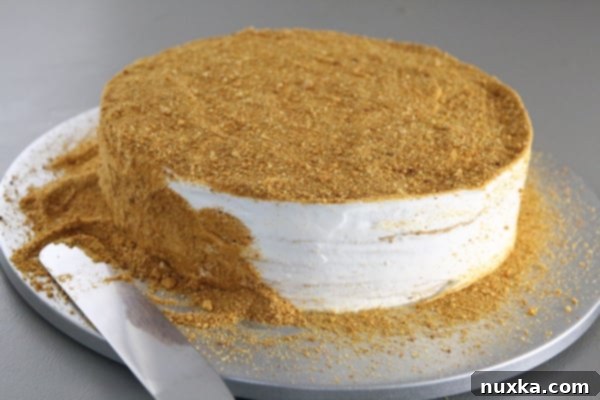
Place your first cooled, round cake layer onto your chosen cake plate or serving platter. Spread a generous, even layer of the prepared sour cream frosting over it, extending almost to the edges. Carefully place the next cake layer on top and repeat the frosting process. Continue this layering until all 8 cake layers are stacked and frosted. Once all layers are in place, apply the remaining frosting to evenly cover the entire sides and top of the cake, creating a smooth canvas. Finally, generously dust the entire cake – both sides and top – with your finely crushed cake crumbs. This gives the Medovik its signature rustic finish and adds a lovely textural element. For the flavors to fully meld and the cake layers to soften to perfection, refrigerate the assembled cake for at least 1 hour, or ideally overnight, before slicing and serving. The waiting is often the hardest part, but it’s well worth it for the exquisite results!
[/qanda]
Tips for Medovik Success & Delightful Variations:
- Speedy Honey Dessert: For an incredibly quick and easy honey-flavored dessert, bypass the baking entirely! Instead of homemade cake layers, layer honey graham crackers with the prepared sour cream frosting. Allow it to chill for a few hours, and you’ll have a delightful no-bake treat with a similar flavor profile and satisfying texture.
- Perfect Crumb Topping: To ensure your decorative cake crumbs are perfectly fine, golden, and adhere beautifully to the cake, always make sure they are thoroughly dried out. Bake your reserved cake scraps in the oven at 275°F (135°C) for 5-10 minutes until they are crisp. This simple step makes crushing them into a beautiful, uniform dust a breeze and ensures they don’t add unwanted moisture.
- Quick Soaking Time: One of the many advantages of this sponge cake Medovik is its rapid soaking time. While traditional rolled honey cakes might need an overnight rest, this version can be served in as little as an hour after assembly! However, for optimal moisture and flavor development, a longer chill (4+ hours or ideally overnight) is always recommended if time allows, allowing the flavors to truly meld and deepen.
- Party-Sized Perfection: Planning for a crowd? Simply double the entire honey cake recipe! Instead of cutting round layers, leave your baked sponge cake layers rectangular. Stack and frost them as instructed, generously reserving a portion for crumbs, to create an impressive and generous party-sized sheet cake that will easily feed everyone at your gathering.
- Frosting Alternatives: While our sour cream and whipped topping frosting is a dream, feel free to experiment with the cream filling! For a richer, more decadent option, try making a traditional buttercream custard by whipping heavy cream with sweetened condensed milk until it’s light and fluffy. This creates a denser, sweeter contrast to the honey layers and is another traditional choice.
- Enhancing Honey Flavor & Texture: The longer you bake your thin sponge cake layers (without burning them, of course!), the more they will crisp up and develop a deeper, more pronounced caramelized honey flavor. Slightly hardened cake layers are actually easier to peel off the parchment paper and will, paradoxically, soak up the creamy filling more effectively and evenly, resulting in an exquisitely tender final texture that is characteristic of a well-made Medovik.
- Gluten-Free Experiment? We are always curious about adapting recipes for various dietary needs! If any of our wonderful readers attempt to make this Russian Honey Cake with gluten-free flour, please do share your results and any helpful tips or substitutions you discovered in the comments below. Your feedback and experience would be incredibly valuable to us and our community of aspiring bakers!
More Traditional Russian & Eastern European Cakes to Try:
- Super Moist Smetannik Cake (Sour Cream Cake): Another beloved cake from the region, known for its incredibly moist crumb and tangy sour cream base, offering a delightful contrast to Medovik.
- Russian Tea Cake (Curly Boy): A fun and uniquely textured cake, often resembling a “curly” or “shaggy” appearance, perfect for enjoying with a comforting cup of tea, just like Medovik.
- Chocolate Cherry Cake with Super-Moist Crumb!: For chocolate lovers, this rich and moist cake combines decadent chocolate with tart cherries for a delightful and festive treat, ideal for any celebration.
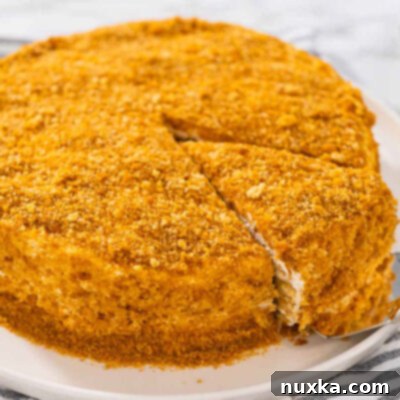
Russian Honey Cake (Medovik)
Equipment
- 1 18×13″ sheet pan
- 4 pieces of parchment paper
- Electric mixer
- Offset spatula
- Rolling pin
- 7-8 inch round plate or cake ring (for cutting layers)
Ingredients
For the Sponge Cake Layers:
- 3 large eggs
- 1 cup clover honey (or other liquid raw honey)
- 2 cups all-purpose flour
- 2 tsp baking soda
- 1 tbsp white distilled vinegar
For the Sour Cream Frosting:
- 8 oz Cool Whip (thawed, or homemade sweetened whipped cream)
- 1 cup thick sour cream (such as Daisy brand, full-fat recommended)
Instructions
How to make Honey Cake (Medovik):
- Preheat your oven to 350° F (175° C). Prepare 4 pieces of parchment paper, overhanging an inverted 18″ by 13″ baking sheet.
 In a large bowl, beat the eggs and honey together for 2 minutes, until light brown and frothy. In a small bowl, dissolve the baking soda in 1 tablespoon of white distilled vinegar (it will fizz). Add this mixture to the egg mixture, along with the all-purpose flour. Mix well until just combined and smooth.
 Invert an 18″ x 13″ baking sheet and line it with one piece of parchment paper. Spread 1/2 cup of the sponge cake batter as thinly and evenly as possible across the entire parchment paper, reaching the corners (aim for a 16″ x 11″ rectangle). Bake this layer for 7 minutes, or until golden brown and fragrant. Repeat this process for the remaining batter to create a total of 4 rectangular layers.
 Allow the baked cake layers to cool completely. Carefully peel off the parchment paper from each layer. Using a 7-8 inch plate or cake ring as a guide, cut out two round cake circles from each rectangular layer. This will yield a total of 8 round cake layers. Set aside all the remaining cake scraps – these are vital for your crumb topping.
 Place the reserved cake scraps onto a clean baking sheet. Bake them in the preheated oven at 275°F (135°C) for 5-8 minutes, or until they are completely dried out and crisp. Once cooled, transfer the dried scraps to a zip-lock bag and use a rolling pin to crush them into fine crumbs. These will be your decorative topping.
 To make the cream frosting: In a medium bowl, gently mix together the thawed Cool Whip and the thick sour cream until smooth and well combined. To assemble the cake: Place one cake layer on your serving plate. Spread a generous amount of cream over it. Repeat with the remaining cake layers, stacking them and frosting each one. Once all layers are stacked, spread the remaining cream over the sides and top of the cake, ensuring it’s fully covered. Generously garnish the entire cake with the crushed crumbs. Refrigerate the cake overnight (for best results) or for at least 1 hour before slicing and serving to allow the flavors to meld and the layers to soften.
Notes
- Party Size: To prepare a magnificent honey cake for a larger crowd, simply double the entire recipe. Instead of cutting out round layers, you can stack the full rectangular baked layers directly on top of each other. Frost as instructed to create a stunning sheet pan Honey Cake that serves many!
- Cream Consistency: For optimal absorption into the delicate cake layers, the cream filling should ideally be on the softer side. If your frosting seems too thick, you can add an additional tablespoon (or two) of sour cream to achieve a slightly runnier, more spreadable consistency, which helps the layers soak faster.
- Honey Selection: Always use raw honey that is smooth and liquid in texture. Avoid any honey that has crystalized or become overly sugary, as this can affect the batter’s consistency and make it difficult to spread thinly. If you only have sugary honey, gently warm it until it liquifies before incorporating.
- Flavor Development: The magic of Medovik truly shines after it has had adequate time to chill in the refrigerator. An overnight rest allows the thin cake layers to fully absorb the sour cream frosting, transforming them into an incredibly moist, tender, and flavorful dessert. While it can be served after an hour, the texture and complexity of flavor deepen significantly with a longer chill.
