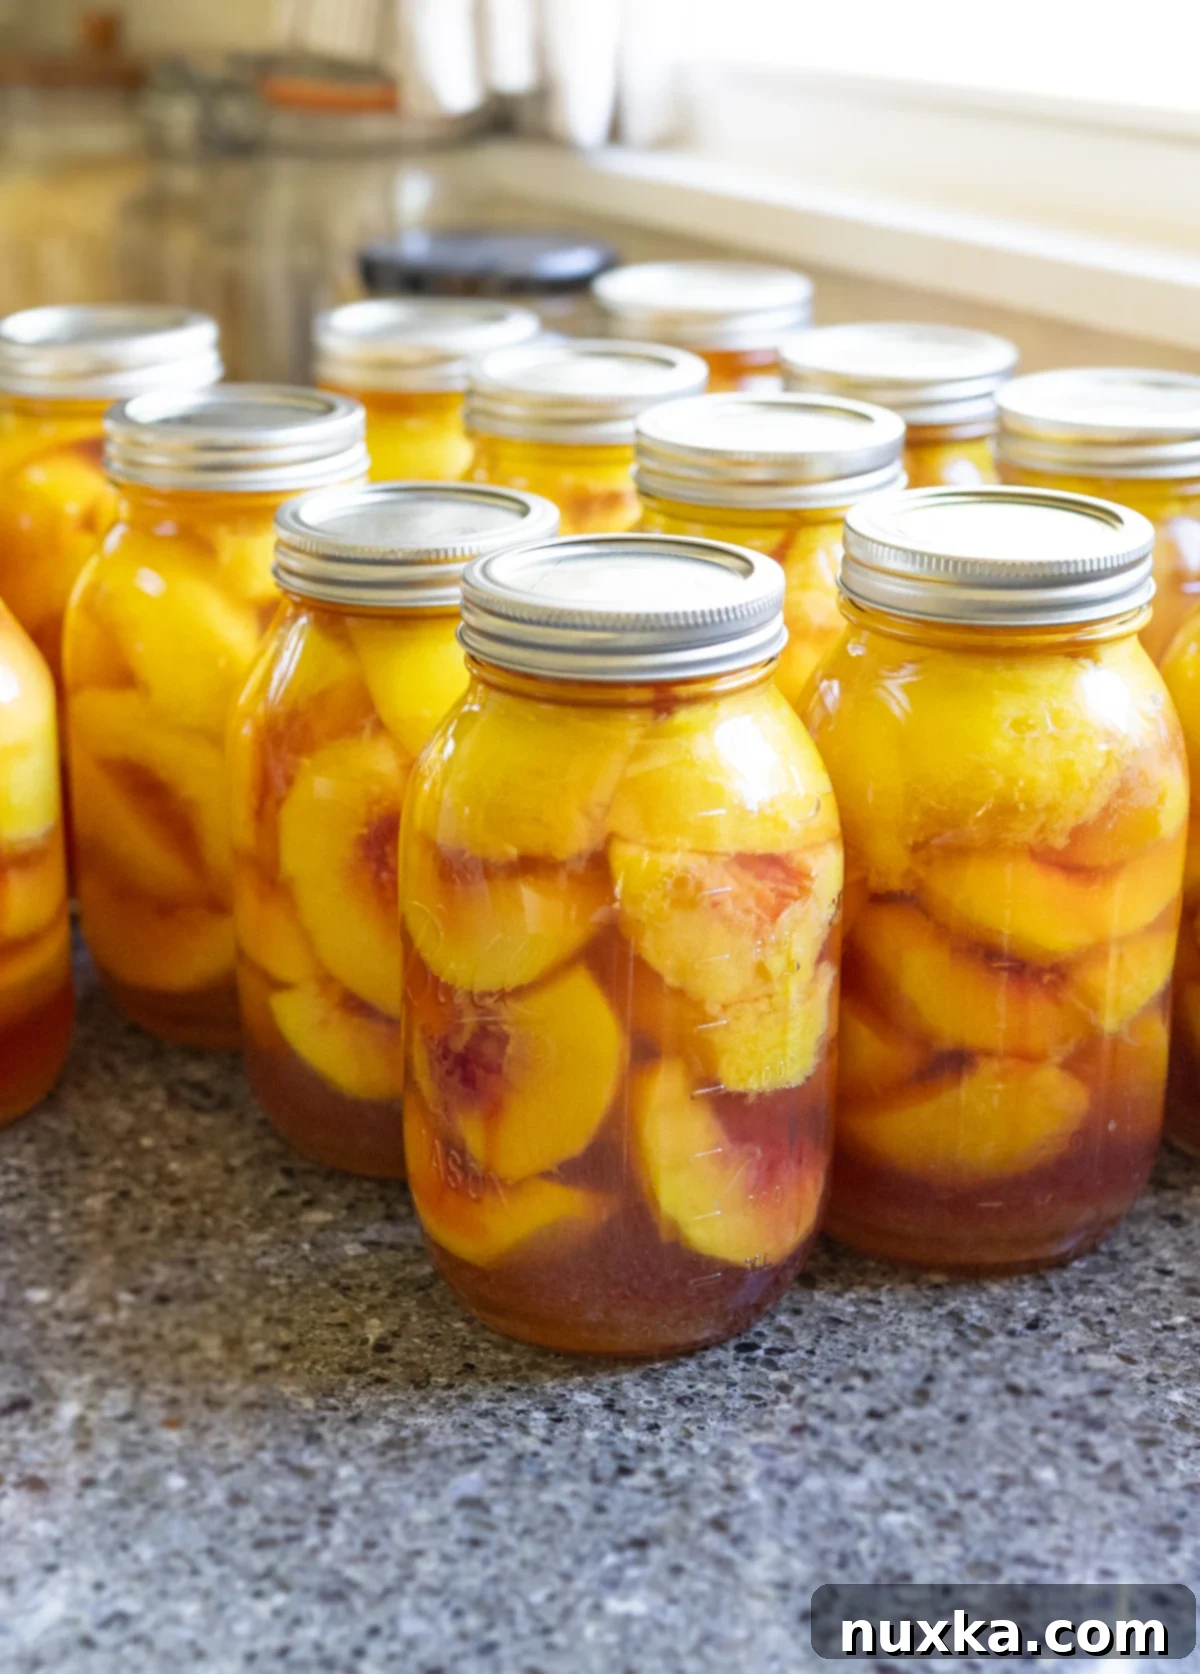
How to Can Peaches: An Easy Water Bath Method for Delicious Homemade Preserves
There’s nothing quite like the taste of fresh, sun-ripened peaches, but their season is fleeting. Learning how to can peaches allows you to capture that summer sweetness and enjoy it year-round. This comprehensive guide, inspired by time-honored methods shared by my wonderful Mennonite friends, will walk you through the simple process of making your own delicious homemade canned peaches.
Canning peaches might seem daunting at first, but with the right tips and a clear step-by-step tutorial, it’s incredibly straightforward. Forget bland, store-bought versions; these homemade preserves are bursting with natural flavor. Just like successfully preserving canned grapes or crafting your own homemade canned ketchup, canning fruit is a rewarding and economical way to stock your pantry.
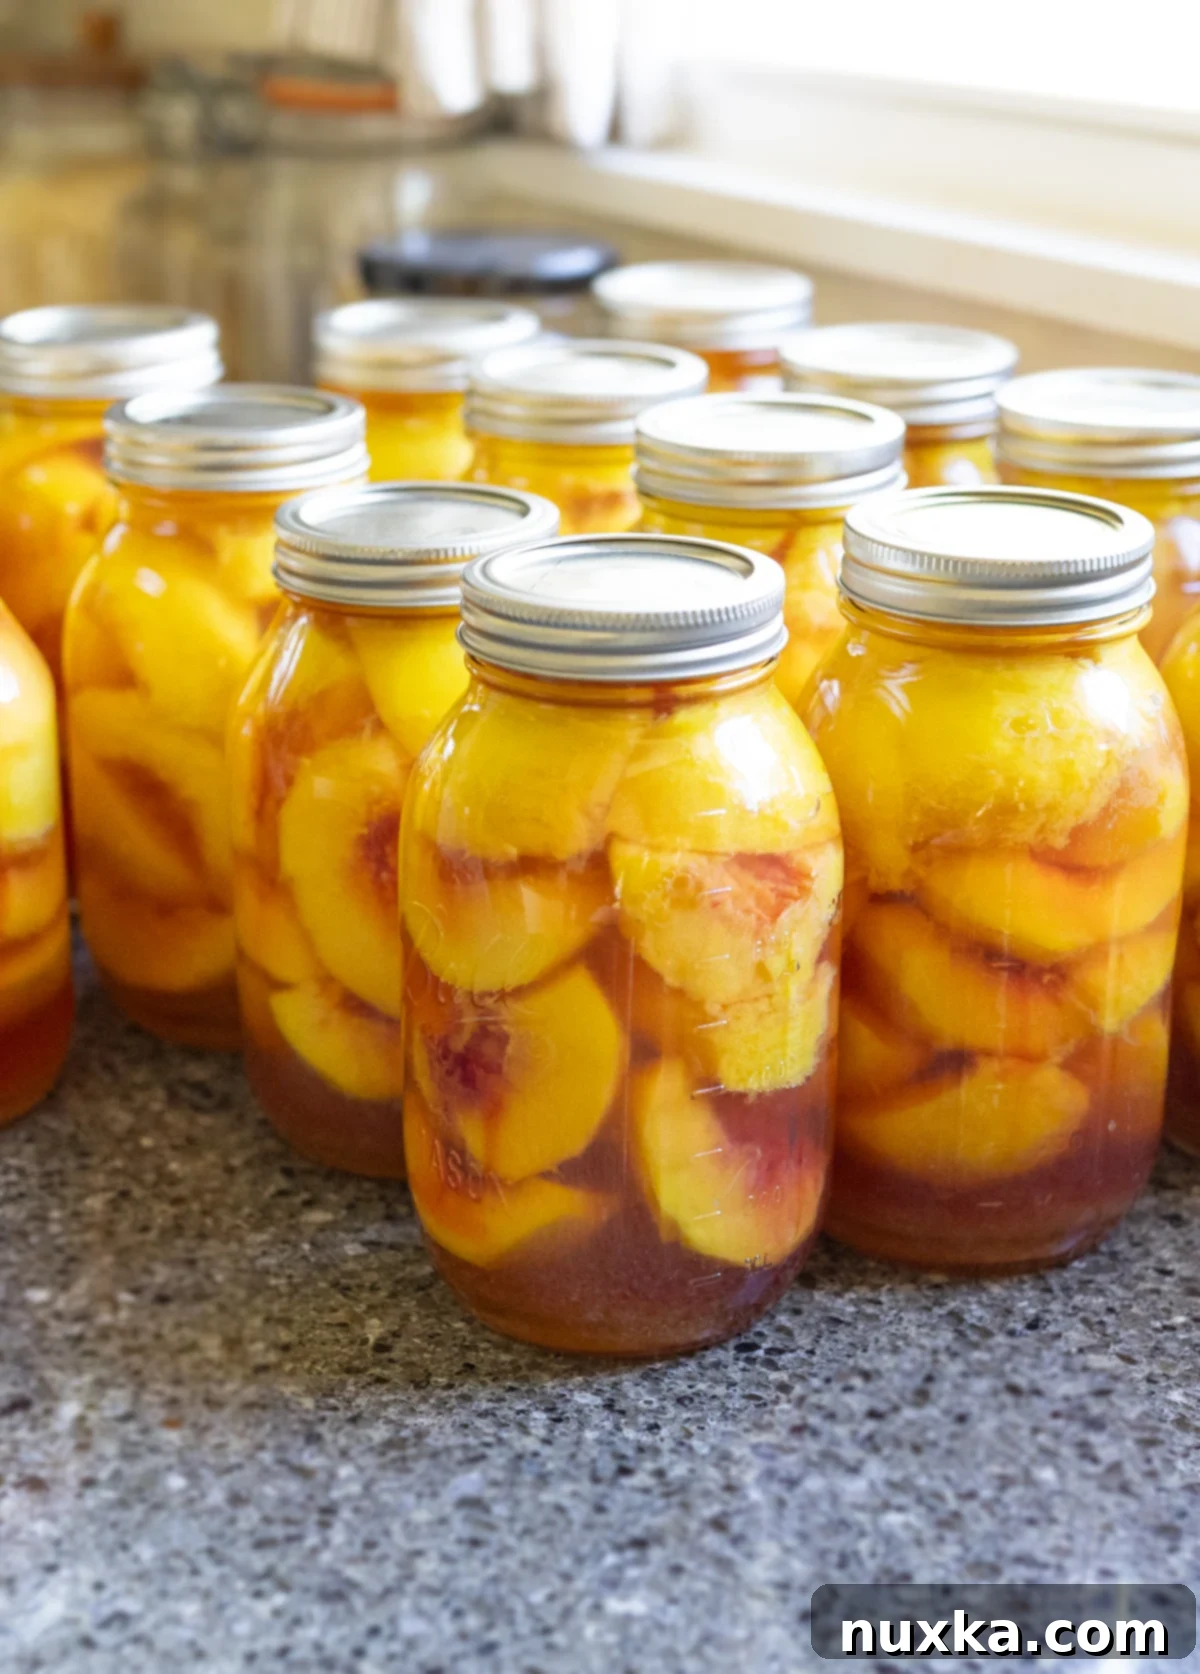
Embracing Peach Season: Why & When to Can Peaches
Peach season is a glorious time, especially in regions renowned for their fruit, like South Carolina. Here, the bounty of peaches graces us from late May through September. During these months, you’ll find vibrant, juicy peaches everywhere, from bustling roadside stands stretching towards Georgia to local flea markets and family farms. South Carolina’s climate is ideal for peach cultivation, making it a prime location to source the freshest fruit for your canning peaches projects.
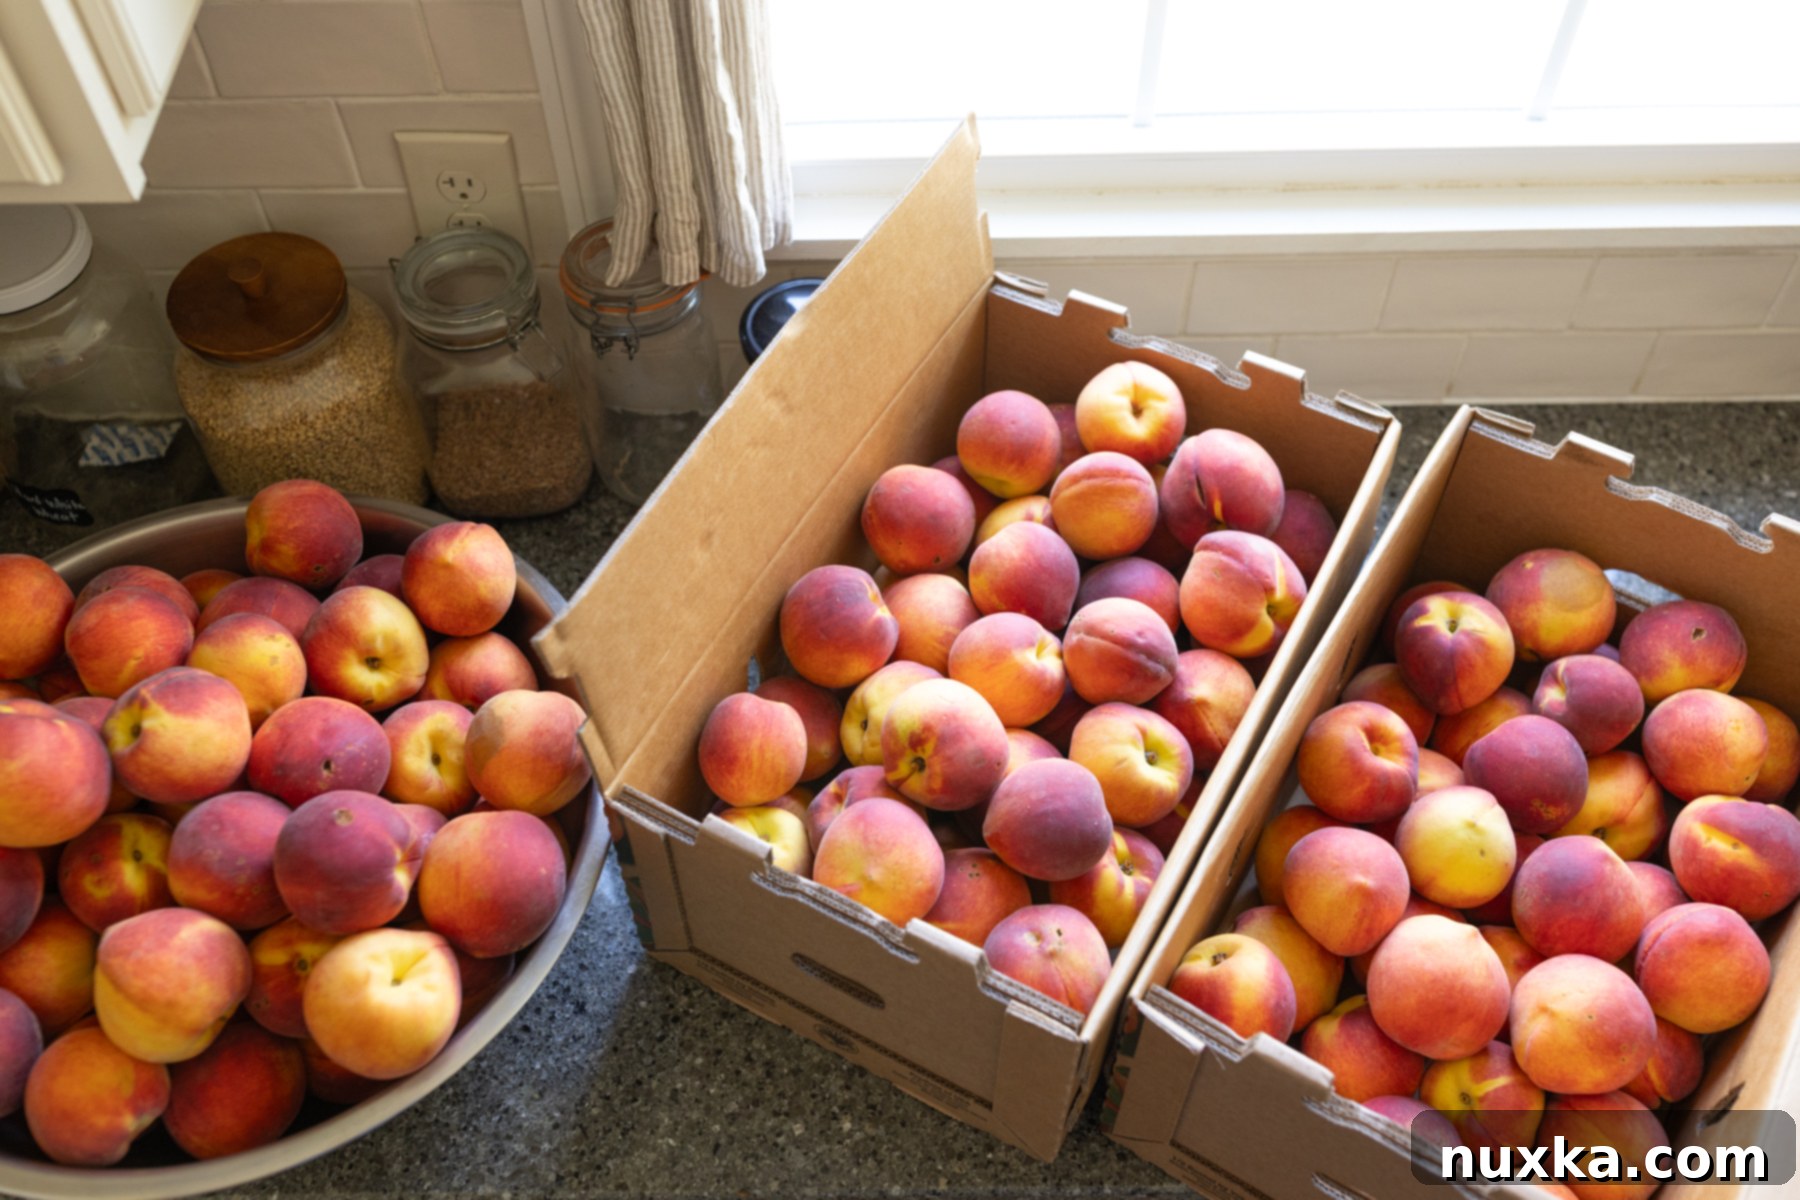
This year, we were fortunate enough to have friends gather five half-bushel boxes of peaches from a local farm – a true blessing for any avid canner! However, don’t let your location limit you. I’ve successfully canned peaches even when living up North, using whatever quality fruit was available. The key is to seize the opportunity when peaches are at their peak freshness and most affordable. Rest assured, the process of making homemade canned peaches is surprisingly simple, and I’ll share all the essential tips to make your peach canning journey a success.
Having a pantry stocked with homemade canned peaches opens up a world of culinary possibilities. Imagine whipping up refreshing fruit slushies, decadent peach cobblers, savory pie fillings, or even a delightful peach-flavored iced tea. The versatility of canned peaches for various desserts and meals is truly incredible. My best advice? Can your peaches as soon as you get them! Peaches ripen incredibly quickly, and preserving them promptly ensures you capture their peak flavor and prevent spoilage. You can always decide on their delicious end-use later!
The Mennonite Method for Canning Peaches: Simplicity and Success
When it comes to canning peaches, the method I’ve learned from my Mennonite friends prioritizes simplicity and efficiency without sacrificing quality. My preferred approach skips the traditional sugar syrup, an extra step that can be quite time-consuming, especially when processing large quantities of peaches. While some prefer to prepare a hot syrup for immediate sugar dissolution, our method offers a quicker, equally effective alternative for making delightful canned peaches.
One of my Russian Mennonite friends taught me a fantastic technique: she adds a packet of stevia, a splash of lemon juice, and water directly to the peeled and sliced peaches in each jar. This method yields wonderfully preserved peaches with a natural sweetness. Since I don’t always have stevia on hand, I’ve found that three tablespoons of organic cane sugar per quart jar achieves a similar, perfectly balanced sweetness. The lemon juice is crucial here, not just for flavor, but also to prevent browning and ensure proper acidity for safe water bath canning.
Interestingly, some of my Amish friends employ a slightly different technique using a pressure canner. They pack the peaches, bring the canner to 5 pounds of pressure, and then immediately turn it off. This method uses less water than a conventional water bath, allowing it to reach pressure faster and effectively seal the jars. However, for this particular recipe, we’ll focus on the water bath method, which I find to be incredibly reliable and easier for most home canners looking for how to can peaches safely.
Once the jars are filled with peaches, sugar, lemon juice, and water, I process them in a water bath canner for just 5 minutes from the time the water reaches a rolling boil. This brief processing time is key to ensuring the peaches retain their firm texture and don’t turn mushy, a common pitfall in peach canning. This tried-and-true method, passed down from a mother of nine with extensive canning experience, consistently delivers perfectly preserved peaches every time.
Choosing the Best Peaches for Canning Success
The secret to exceptional homemade canned peaches begins with selecting the right variety. The type of peach you choose can significantly impact the ease of preparation and the final quality of your preserves. When blanching in boiling water for a few seconds, freestone peaches are generally much easier to peel as their pits separate readily from the flesh. Varieties like Red Haven, which I used for this guide, are excellent freestone options, known for their smoother skin and delightful flavor, making them a joy to work with and eat.
In contrast, certain varieties like Baby Golds, which are often clingstone, might require a vegetable peeler to remove their skins due to their less cooperative nature. When you’re selecting peaches for canning, always prioritize firm, unblemished fruit. Peaches with significant bruises or dents are best reserved for immediate consumption or freezing, as they won’t hold up as well during the canning process. Remember that peaches ripen quickly, so if you’ve brought home a large batch, plan your canning days strategically, allowing some to ripen further if needed for a subsequent session of canning peaches.
While clingstone peaches present a challenge with pit removal, they often boast a sweeter, juicier flesh than freestone varieties that many find irresistible. If you opt for clingstone varieties, a reliable slicing guide can be incredibly helpful for safely extracting the pits. However, there’s one peach variety you should definitely avoid for canning: white-flesh peaches. These varieties typically have a lower acidity level, which is critical for safe water bath canning peaches. For the best results, I highly recommend seeking out a local peach farm. A short drive for freshly picked, firm peaches will yield superior flavor and texture for your preserves.
To Peel or Not to Peel: Peach Skins in Canning
While peach skins are perfectly edible if washed thoroughly, their fuzzy texture isn’t appealing to everyone. For canned peaches, peeling is highly recommended. Not only does it improve the texture of the final product, but it also prevents the skins from separating and floating unattractively in your jars. Peeling ensures a more consistent and pleasant eating experience, making your homemade preserves look as good as they taste.
Now that we’ve covered the crucial groundwork, are you ready to learn “How Do You Can Peaches” step-by-step? Let’s gather our equipment and ingredients and dive into the practical process of preserving these delightful fruits at home!
Essential Mise en Place for Canning Peaches
Canning Equipment You’ll Need:
- Water Bath Canner or an Extra Large Pot (at least 24 quarts): This is fundamental for safely processing your jars. Ensure it’s deep enough to cover your quart jars with at least 1-2 inches of water.
- 14 Quart Jars with new lids and bands: Always start with clean, sterilized jars. New lids are crucial for a proper, safe seal.
- Jar Lifter: An essential tool for safely transferring hot jars in and out of the canner, preventing burns and spills.
- Several Clean Kitchen Towels: For wiping jar rims and handling hot jars.
- Set of Measuring Spoons: For accurate measurement of sugar and lemon juice.
- Sharp Knife and Cutting Board: For peeling, pitting, and slicing peaches.
- Large Bowls: For collecting peeled and sliced peaches, and for the water bath blanching process.
Ingredients for Perfect Canned Peaches:
- Fresh Ripe Peaches: Approximately 24 pounds (or half a bushel) will yield about 14 quart jars. Look for peaches that are ripe but still firm.
- Lemon Juice: Essential for preventing the peaches from browning and contributing to the necessary acidity for safe home canning.
- Organic Cane Sugar: We use 3 tablespoons per quart jar to enhance sweetness. Alternatively, a packet of Stevia can be used per jar for a sugar-free option.
- Cold Filtered Water: For filling the jars and preventing browning.
Step-by-Step Guide: How to Can Peaches at Home
Follow this detailed tutorial for successfully canning peaches using the water bath method. You can also find a printable version in the recipe card below.
- Prepare Your Jars and Lids: Begin by washing all your quart jars thoroughly in hot, soapy water, or run them through a dishwasher on a sanitize cycle. This ensures they are clean and hot when you pack them. Set aside new, unused lids and bands; new lids are critical for a reliable, vacuum seal. Keep the lids warm according to manufacturer’s instructions (often simmering, not boiling).
- Peel, Pit, and Slice Peaches: This is often the most time-consuming step, so recruiting a helper can significantly speed up your canning process. We recommend using a kitchen peeler for efficiency. Once peeled, carefully slice each peach in half, remove the pit, and then cut the halves into four equal wedges. Place the prepared peach slices into a large bowl as you go.
- Assemble and Fill Jars: As the peaches are being prepared, add 2 tablespoons of lemon juice to the bottom of each clean quart jar. Then, add 3 tablespoons of sugar (or one packet of stevia) to each jar. Begin tightly packing the sliced peach wedges into each jar, leaving a 1/2-inch headspace from the top rim of the jar. This headspace is crucial for proper sealing and to prevent fruit from floating.
- Add Water and Prepare for Water Bath: As soon as a jar is filled with peaches, cover the peaches with cold filtered water, making sure to maintain that 1/2-inch headspace. This helps prevent the peaches from browning. Once you have filled 7-8 quart jars (or as many as your canner can comfortably hold), wipe the rims of each jar thoroughly with a clean, damp kitchen towel to remove any peach residue that could prevent sealing. Place a new, warm lid on each jar, followed by a band, and tighten the bands “finger-tight” – meaning snug but not overtightened.
- Process Jars in Water Bath Canner: Carefully transfer the capped jars into your water bath canner, ensuring they don’t touch each other. Fill the canner with lukewarm water until the jars are covered by at least 1-2 inches of water. Bring the water in the canner to a rolling boil. Once boiling vigorously, set your timer for exactly 5 minutes. This short processing time is ideal for peaches to retain their firm texture.
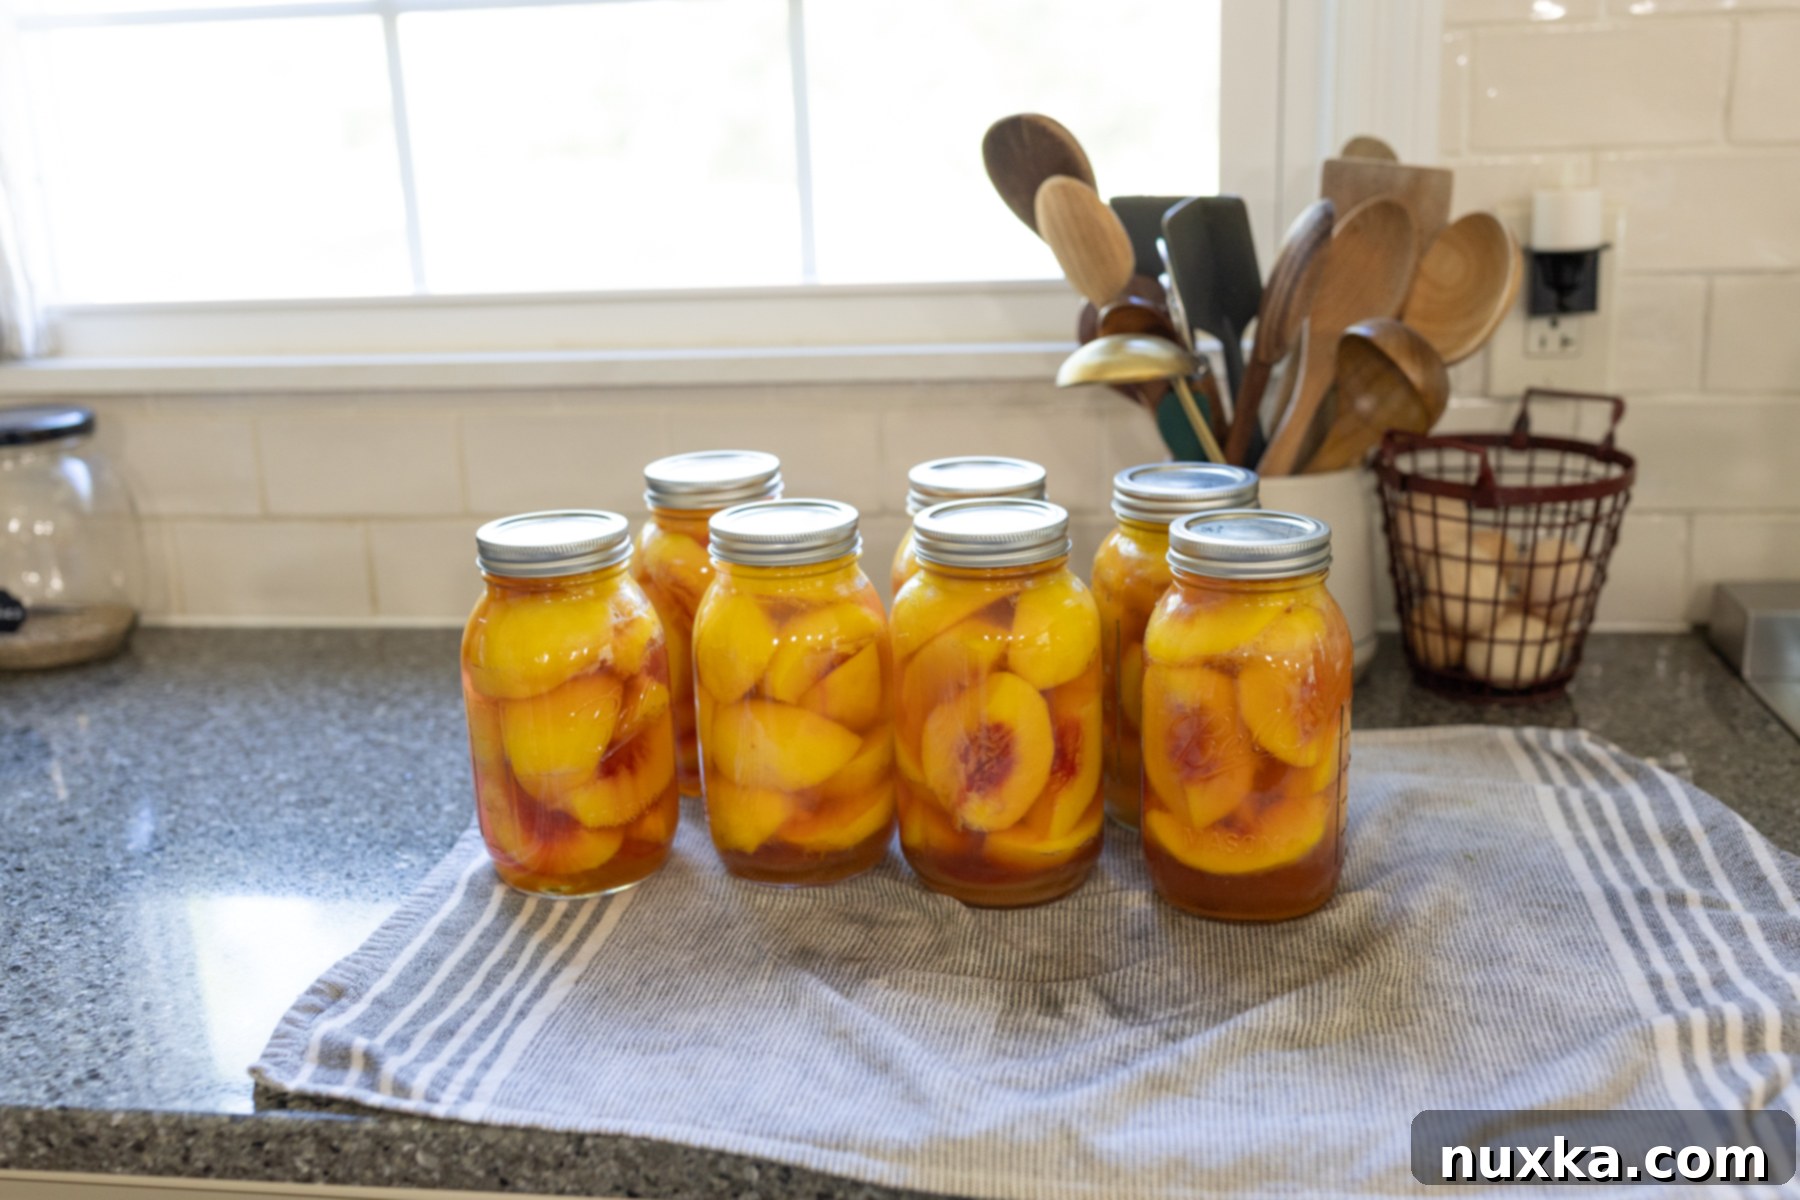
- Remove and Seal Jars: After 5 minutes, turn off the heat and carefully remove the hot jars from the canner using a jar lifter. Place them upright on a clean kitchen towel on your counter, ensuring they are not touching each other and away from drafts. Immediately after removing, and while the jars are still very hot, carefully (using a kitchen towel to protect your hands) check and tighten the bands once more, as they often loosen slightly during processing. This helps ensure a proper seal. Allow the jars to sit undisturbed for up to 24 hours as they cool and seal. You will likely hear satisfying “ping” sounds as the lids seal.
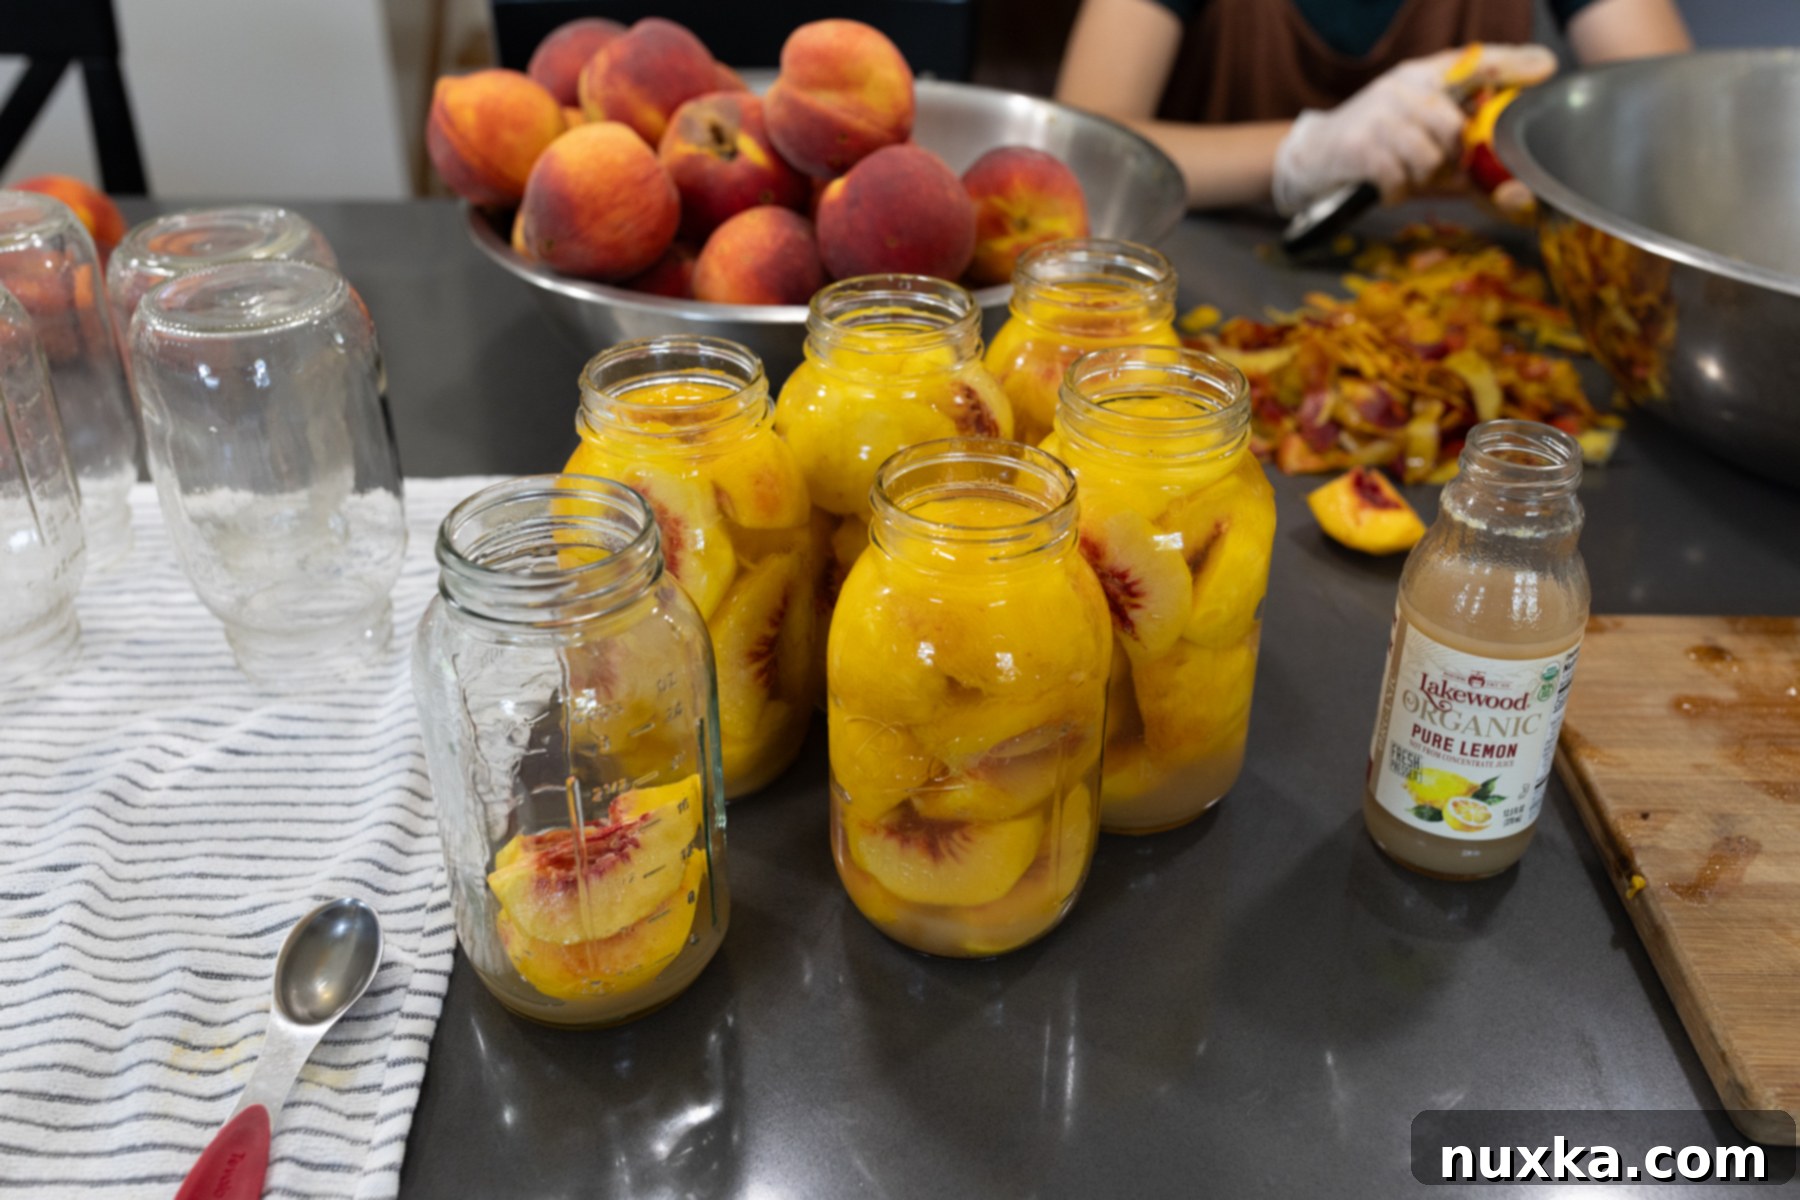
After 24 hours, gently press down on the center of each lid. If the lid does not flex or “pop” when pressed, it indicates a proper vacuum seal. If a lid pops back up, it means it didn’t seal. These jars should be refrigerated and consumed within a few days.
Addressing Common Questions: White Spots Near Peach Pits
It’s common to encounter white rough spots near the pit of a peach. Rest assured, these are typically harmless callus tissues and are perfectly safe to eat. It’s crucial not to confuse these natural imperfections with signs of spoilage, such as black or green mold, which would necessitate discarding the peach entirely. If the appearance of these white spots is unappealing to you, they can easily be trimmed off with a knife before canning, ensuring your peaches look pristine in their jars.
Pro Tip for Dissolving Sugar in Canned Peaches

Pro Tip: Don’t be alarmed if some of the sugar doesn’t appear to be fully dissolved immediately after the water bath. This is especially true when using coarser sugars like organic cane sugar. Simply allow the jars to sit for a couple of days, and you’ll notice the sugar crystals naturally dissolve into the peach liquid, creating a lovely, light syrup. Patience is key for perfectly sweetened homemade canned peaches!
Storing Your Homemade Canned Peaches
Proper storage is essential to ensure the longevity and safety of your canned peaches. Once the jars have completely cooled and a proper seal has been confirmed, I recommend removing the metal bands. These bands are primarily for holding the lid during processing and can be reused for future canning projects, saving you money on supplies. Storing jars without bands prevents moisture from getting trapped and potentially corroding the bands or lids, which could compromise the seal.
When stored in a cool, dark, and dry place, homemade canned peaches can easily last for 12-18 months. However, in our household, canned fruit tends to disappear much faster, especially during the colder winter months! While they can certainly last longer, always aim to consume them within this timeframe for optimal quality. Before opening any jar, always double-check that the lid is still securely vacuum-sealed – it should be concave and not flex when pressed. If a lid opens too easily, or if there are any signs of spoilage (like unusual odors, discoloration, or bubbling), it’s crucial to discard the contents immediately to ensure safety. Your hard work in canning deserves safe and delicious enjoyment!
Delicious Ways to Use Your Canned Peaches
Now that you’ve successfully learned how to can peaches, it’s time to enjoy the fruits of your labor! These versatile preserves can elevate countless dishes and drinks. Here are some of our favorite ways to enjoy homemade canned peaches:
- Craft Homemade Fruit Juice: Don’t let that delicious peach syrup go to waste! Simply drain the liquid from your jar of peaches, sweeten it to your taste, or combine it with other fruit juices. You can even add other fresh or canned fruits and bring it to a gentle boil for a rich, flavorful compote. This peach syrup is also an incredible addition to iced tea, transforming a simple drink into a refreshing summer delight!
- Whip Up Fruit Slushies: For a quick and refreshing treat, open a can of peaches and mix them with other complementary fruits like fresh grapes, pineapple chunks, or canned mandarins. Many Mennonite families serve this mixture partially frozen as a light and invigorating summer snack or dessert.
- Create a Delectable Peach Pie Filling: Canned peaches are perfect for making a quick and easy peach pie filling. Simply combine the peaches with a bit of cornstarch, sugar, and spices, then spoon it into your favorite pie crust for a classic dessert.
- Bake a Light Peach Cake: Elevate your baking with canned peaches! A light sponge cake topped with a creamy cream cheese frosting and a delicate peach glaze made from the canning liquid is a truly exquisite summer dessert. We particularly adore this light and fluffy Peach Cake!
- Enhance Breakfast Bowls: Stir diced canned peaches into your morning oatmeal, yogurt, or cottage cheese for a burst of natural sweetness and texture.
- Make a Quick Dessert Topping: Warm up a serving of peaches and serve over ice cream, pancakes, waffles, or even a simple pound cake for an instant gourmet touch.
This canned peach recipe truly offers endless possibilities! I would love to hear your creative ways to use these delicious preserves in the comments below!
Mastering how to can peaches is a truly rewarding skill that brings the taste of summer into your home all year long. With this easy water bath method, guided by timeless Mennonite wisdom, you can confidently preserve fresh peaches, creating delicious and versatile staples for your pantry. Enjoy the satisfaction of homemade goodness and the endless culinary possibilities your beautifully preserved peaches will bring!
More Canning Recipes To Try:
-
Salsa Recipe for Canning
-
Canning Chicken Broth (Video)
-
Canning Grape Juice
-
Canned Ketchup Recipe (Heinz Copycat)
-
Canned Dill Pickles Recipe
-
Olive Garden Marinara Sauce
-
Canned Teriyaki Sauce (Video)
-
BBQ Sauce Recipe
Rate
Pin
How To Can Peaches
Equipment
-
1 water bath canner (or 24-quart pot)
-
14 quart-sized jars (with bands and new lids)
-
1 Jar lifter
-
Set of measuring spoons
-
1 Sharp knife and cutting board (for slicing)
-
Kitchen towels
Ingredients
Ingredients:
-
24 lbs ripe peaches (peeled, pitted, and cut into four wedges)
-
3 Tbsp granulated sugar per quart jar (or 1 packet Stevia)
-
2 Tbsp lemon juice per quart jar
-
cold filtered water
Instructions
Directions:
-
 Wash all the quart jars in hot soapy water and prep all the bands and new lids.
 -
 Peel, pit, and cut the peaches into four equal wedges.
 -
 Assemble the jars: add 2 tablespoons of lemon juice and 3 tablespoons of sugar to each jar. Pack each jar with peach slices to the headspace and fill with cold filtered water, leaving 1/2-inch headspace.
 -
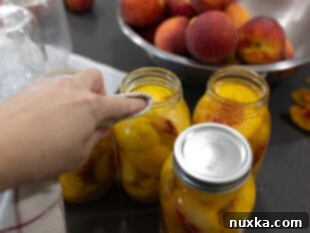 Wipe the rims of the jars with a kitchen towel and put the lids and bands on. Shut the bands finger-tight and place them into a water bath canner or a large 24-quart pot.
 -
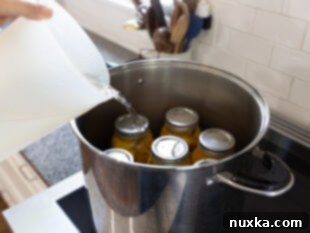 Cover jars with lukewarm tap water (ensuring 1-2 inches above lids) and bring to a rolling boil. Once the water is boiling vigorously, set the timer for 5 minutes.
 -
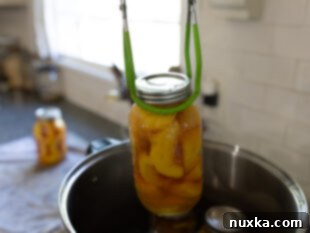 Remove the jars with a jar lifter and carefully shut the bands tight, using a kitchen towel as they loosen after the water bath. Leave to rest undisturbed on a towel for up to 24 hours before checking for seals.
Notes
- You can add 1 packet of Stevia per jar instead of the three tablespoons of sugar.
- This sugar-to-water ratio makes a light syrup.
- Don’t over-boil the peaches in the water bath, as the peach slices will turn into mush and float to the top. The 5-minute processing time helps prevent this.
- Pack as many peaches as you can up to the neck (1/2-inch headspace) of the jars, so that you don’t end up with floating fruit.
- If you prefer to use a pressure canner, bring it to 5 pounds of pressure and shut it off immediately.
Nutrition per serving
