Irresistible Squash Dinner Rolls: A Guide to Fluffy, Flavorful Homemade Bread
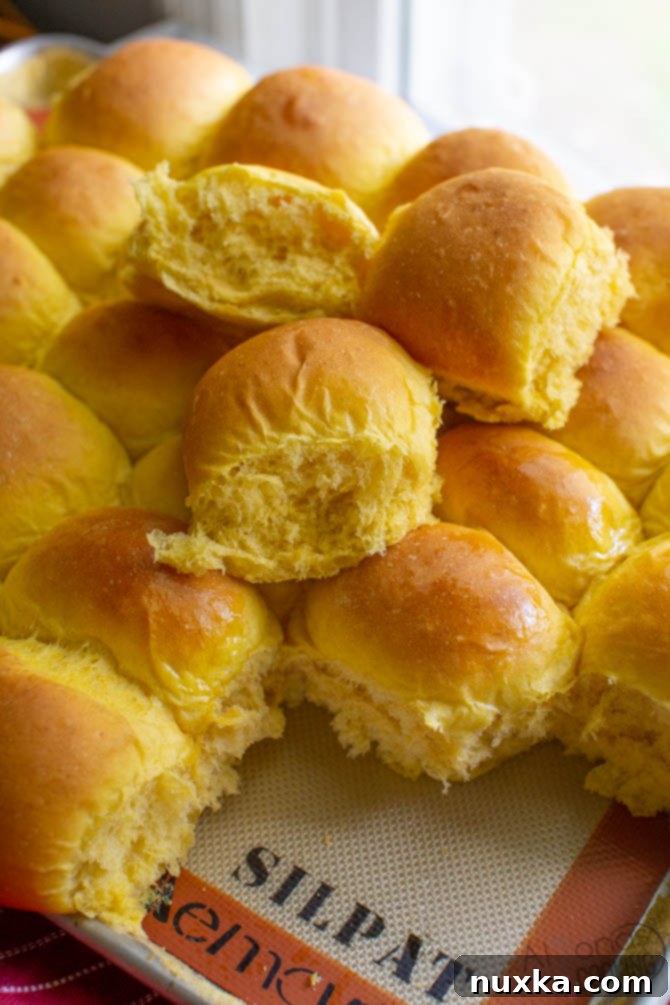
Discover the ultimate recipe for unbelievably fluffy and flavorful Squash Dinner Rolls – a delightful way to utilize your autumn harvest! This cherished recipe, shared by a talented Mennonite baker, transforms humble winter squash into golden, moist, and utterly scrumptious bread rolls. Whether you’re a seasoned baker or just starting, these homemade dinner rolls are a guaranteed crowd-pleaser and can easily be adapted with pumpkin for a seasonal twist.
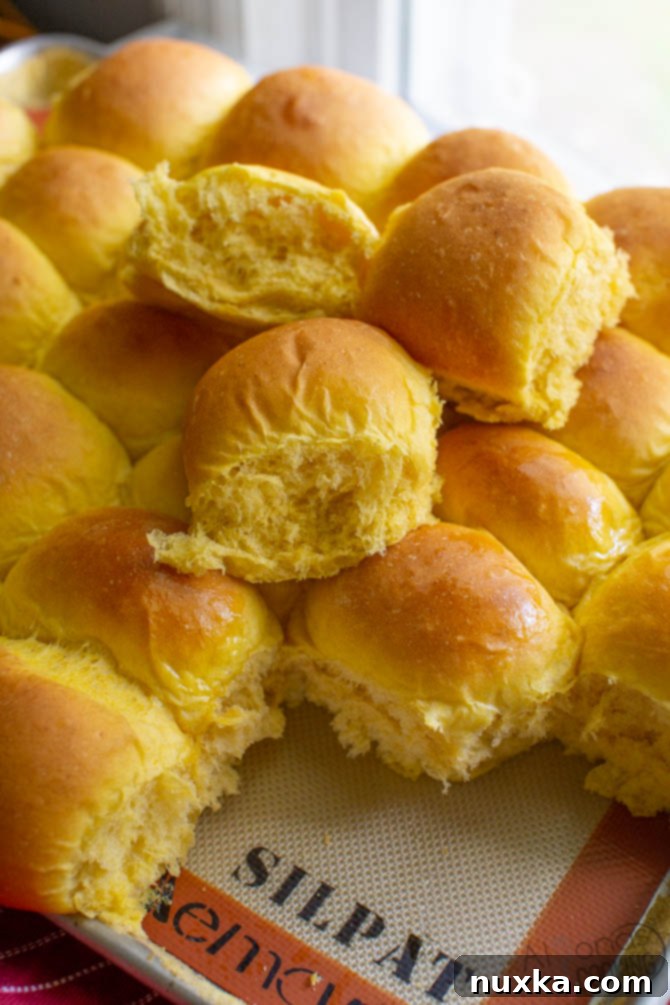
Embrace the bounty of the season by incorporating any type of winter squash into these exceptional homemade dinner rolls! I personally love to can or freeze squash specifically for this recipe. If you don’t have canned squash or pumpkin on hand, don’t worry! You can easily prepare fresh squash by roasting or boiling it until tender, then simply pureeing it to a smooth consistency. If you’re a true squash enthusiast, you might also enjoy our Zucchini Fritters!
The Magic of Homemade Squash Dinner Rolls
With fall in full swing, many kitchens are bustling with fresh winter squash ready to be canned, frozen, or cooked. I’ve got the perfect solution for your harvest: these incredible squash dinner rolls! Whether you’re using garden-fresh squash or a convenient bag of frozen or canned puree, this recipe will transform it into something truly special. While I was never overly enthusiastic about dinner rolls, apart from the store-bought variety, these homemade squash rolls are an absolute game-changer – soft, light, and incredibly fluffy!
These beautiful golden-yellow rolls owe their vibrant hue to the addition of winter squash puree. Canned pumpkin works just as wonderfully, providing the same rich color and subtle sweetness. My introduction to these delightful squash rolls came from the warm hospitality of Mennonite women, who frequently serve them with generous dollops of butter and homemade jam. They quickly became a family favorite, often appearing alongside traditional dishes like green beans. What’s truly remarkable is that you won’t detect any overt squash flavor in these rolls; instead, the squash contributes to an incredibly moist texture and a hint of natural sweetness, along with added fiber to your diet without compromising on taste.
This recipe yields a substantial batch of rolls, making it ideal for large families, gatherings, or simply stocking up your freezer. Mennonite women, known for their resourcefulness and frugal living, often bake in large quantities, freezing the majority of these rolls for future meals. So, rest assured, it’s no mistake that this recipe makes a generous 80 rolls! After all, if you’re going to get your mixing bowls dirty, you might as well make enough to feed a crowd. These moist, soft, and tender rolls are destined to become a staple bread in your home, just as they have in ours. A heartfelt thank you goes to Margaret K. for sharing her delicious pumpkin roll recipe, which I’ve successfully adapted to use any mashed winter squash, making it even more versatile for everyone to enjoy.
How to Make Perfect Squash Dinner Rolls: Essential Tips & FAQs
Frequently Asked Questions About Squash Dinner Rolls
How do I prepare fresh squash for dinner rolls?
While canned pumpkin or squash puree is already conveniently pre-pureed and ready to use, preparing fresh garden squash for these rolls is a simple process. You’ll need to cook the squash until it’s tender, typically with the skins on, then puree the flesh. Here’s a detailed guide:
- Wash and slice your winter squash lengthwise. This makes it easier to handle and cook.
- Remove the seeds and stringy bits using a spoon. You can save the seeds for roasting later if desired!
- Place into a kettle or roasting pan. If boiling in a pot, add about 2 inches of water to the bottom to prevent scorching. Cover and cook until the flesh is fork-tender. If roasting in the oven, place the squash cut-side up on a baking sheet and bake at 400°F (200°C) until tender, usually 45-60 minutes depending on the size.
- Scoop the soft flesh out of the skins once cooled slightly. Puree it using a blender, food processor, or immersion blender. Add a little water, a tablespoon at a time, if needed, to achieve a smooth, consistent puree without lumps.
Should I use Instant Yeast or Active Dry Yeast for this recipe?
This recipe is flexible and calls for “dry yeast,” meaning you can use either active dry yeast or instant dry yeast, depending on what you have on hand. It’s important to understand the difference:
- Active Dry Yeast: This traditional yeast requires activation. You’ll dissolve it in warm liquid (usually water, around 105-115°F or 40-46°C) along with a pinch of sugar to “wake it up” before adding it to your other ingredients. Look for foamy bubbles to ensure it’s active.
- Instant Dry Yeast: Also known as rapid-rise or fast-acting yeast, this type can be mixed directly into your dry ingredients without prior dissolution. It’s designed to work faster and can shorten rising times.
For this recipe, dissolving the yeast in warm water with sugar as the first step is a standard practice that works for both, but particularly ensures active dry yeast is ready. If using instant yeast, you can still follow this step or, alternatively, whisk it into your flour and then combine with the wet ingredients.
What are the best methods for shaping dinner rolls?
Achieving uniformly shaped, soft, and fluffy dinner rolls is key. The goal is to create tight, smooth balls that will rise beautifully. Here’s a breakdown of how to shape them:
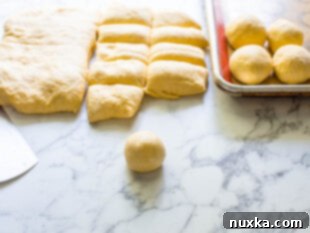
- Divide the dough: Once your dough has risen and been punched down, turn it out onto a lightly floured surface. Use a bench scraper to divide the large mass of dough into smaller, more manageable portions.
- Score for equal pieces: To ensure your rolls are roughly the same size, you can gently score the dough into a grid pattern before cutting. This helps maintain consistency and allows you to easily adjust pieces as needed.
- Cut the dough: Use your bench scraper or a sharp knife to cut the dough into individual pieces according to your desired roll size (for this recipe, 80 rolls means relatively small pieces).
- Shape into balls: There are two primary methods for shaping perfect dinner roll balls:
- Pinching Down the Seams: Take a piece of dough, flatten it slightly, and then gather the edges towards the center, pinching them together to form a seam at the bottom. Roll the dough gently between your palms to smooth out the top.
- Pushing Through Finger and Thumb: Cup your hand over a piece of dough on a clean, unfloured surface. Apply gentle pressure with your palm and fingers, rotating your hand to create tension on the dough, allowing it to round itself into a ball.
Place the shaped rolls seam-side down onto your prepared baking sheet.
What are creative ways to serve Squash Dinner Rolls?
These versatile squash rolls are far more than just a side dish for dinner! Their slightly sweet flavor and incredibly soft texture make them suitable for a wide variety of meals and occasions. You won’t detect any strong squash or vegetable flavor, just pure deliciousness and a lovely golden tint. Here are some creative serving suggestions:
- Sliders: Their compact size is perfect for turning into delicious sliders. Try them with breakfast sliders filled with sausage, egg, and cheese, or as savory cheeseburger sliders!
- Breakfast Sandwiches: Elevate your morning meal by swapping traditional croissants for these soft rolls in your favorite breakfast sandwiches. The slight sweetness pairs wonderfully with savory fillings.
- Side to Soups: These rolls are the perfect companion to a warm bowl of soup, ideal for soaking up every last drop. Serve them with a comforting broccoli cheddar soup or a hearty meatball soup.
- Side to Pasta Dishes: Treat them as a delicious alternative to garlic bread alongside your favorite pasta. They are fantastic with creamy fettuccine alfredo or a rich 5-cheese ziti al forno.
- Appetizer: Serve them simply with butter, flavored oils, or a variety of jams as a delightful appetizer before the main course.
How long should I knead the dough for the best results?
This recipe makes a very large batch (80 rolls), which means a significant amount of dough. If you don’t have a commercial-grade mixer, you’ll likely be doing some serious hand kneading. Don’t be intimidated by the amount; hand kneading can be a meditative and rewarding process, and it allows you to truly feel the dough’s development. While it might sound like a lot, you can typically knead this dough until it’s soft, smooth, and slightly tacky. For a large batch, this could take anywhere from 5 to 15 minutes of continuous kneading. The key is to develop the gluten, which gives the rolls their structure and chewiness. Pounding or whacking the dough can actually help activate the gluten faster and make the process more efficient. For such large portions, I highly recommend using a high-protein bread flour, as it contains more gluten-forming proteins, making it easier to achieve a well-developed dough compared to all-purpose flour.
How can I prevent my homemade bread from sweating after baking?
The “sweating” of homemade bread, where condensation forms on the bottom or sides, is a common issue that can lead to soggy rolls. This usually happens when hot bread is left on parchment paper or directly in the pan, trapping steam. To avoid this, moving your baked rolls to a wire cooling rack immediately after they come out of the oven is crucial. This allows air to circulate all around the rolls, enabling the steam to escape. However, a clever shortcut is to invest in some good quality silicone baking mats. When rolls are baked on silicone mats, you can often leave them to cool right in the pan. Silicone’s non-stick and breathable properties help prevent steam from getting trapped, keeping your bread perfectly dry and crisp on the bottom. Even my macaron mats work wonderfully for this purpose, proving the effectiveness of high-quality silicone!
Can I freeze these Squash Dinner Rolls for later?
Absolutely! Since this recipe yields a generous batch perfect for feeding a crowd, having leftovers is highly likely – and that’s a good thing! Freezing these squash dinner rolls is an excellent way to enjoy them long after baking. I prefer to freeze my baked rolls for maximum convenience; simply let them cool completely, then store them in freezer-safe bags or containers. To reheat, thaw at room temperature or warm them gently in the oven. If you prefer to freeze the dough before baking, you can do so as well. After shaping the dough into balls, flash freeze them on a baking sheet until solid, then transfer the frozen dough balls to a freezer bag. They can be stored for up to 3 months, though longer periods may diminish the yeast’s activity. When ready to bake, thaw the frozen dough balls in a warm place and allow them to proof until they have tripled in size before baking as directed.
What type of flour is best for these dinner rolls?
Given that this recipe makes a substantial 80 buns, the choice of flour is important, especially if you’re kneading by hand without commercial equipment. Hand kneading such a large mass of dough can be challenging, and adequately developing the gluten is crucial for fluffy rolls. For this reason, I strongly recommend using an enriched type of flour like bread flour. Bread flour has a higher protein content than all-purpose flour, which means it forms stronger gluten networks, resulting in a more elastic dough that’s easier to knead and yields a chewier, more structured roll. While all-purpose flour will still work, you might find the dough a bit softer and potentially requiring more flour or longer kneading to achieve the desired texture. Other excellent choices for baking these rolls include specialty flours like Patent flour or Occident flour, which are also high in protein and ideal for yeast breads.
Essential Tips for Making the Best Squash Dinner Rolls:
- Prepare Fresh Squash Perfectly: If using fresh winter squash, ensure it’s cooked until very tender and pureed to an absolutely smooth consistency for the best roll texture.
- Opt for Convenience: Don’t hesitate to use high-quality canned pumpkin or squash puree for a quick and easy start to your baking.
- Utilize a Bench Scraper: This simple tool is invaluable for dividing dough evenly and efficiently, ensuring uniform roll sizes.
- Embrace Silicone Mats: Say goodbye to soggy bottoms! Baking with silicone mats prevents steam from trapping, resulting in perfectly baked, non-sweaty rolls.
- Don’t Rush the Rise: Allow ample time for the dough to rise as specified. Proper proofing is crucial for light and airy rolls.
- Freeze for Future Enjoyment: Bake a large batch and freeze the extra rolls. They thaw beautifully and are perfect for quick meals or unexpected guests.
More Favorite Yeast Recipes to Explore:
- Classic French Bread Recipe
- Delicious Naan Bread (Stonefire Copycat)
- Olive Garden Breadsticks (Copycat Recipe)
- Panera Bread Focaccia (Copycat Recipe)
- Easy & Super Moist Wheat Bread Recipe
Rate
Pin
Squash Dinner Rolls
Equipment
-
Sheet Pans
-
Large 18-quart Mixing Bowl
-
Silicone Mats
Ingredients
For the Dinner Rolls:
-
4 Tbsp dry yeast
-
1 cup warm water
-
1/2 tsp sugar
-
1 cup oil
-
1 1/2 cup sugar
-
3 tsp salt
-
4 large eggs
-
1 cup milk
-
1 cup hot water
-
4 cups canned pumpkin or squash puree*
-
16 cups flour (preferably bread flour)
Instructions
Step-by-Step Guide to Making Squash Dinner Rolls:
-
 In a very large mixing bowl, dissolve the yeast, warm water, and 1/2 tsp sugar. Let sit for 5-10 minutes until foamy. Then, add the remaining ingredients, reserving 10 cups of the flour for later. Beat the mixture with a hand mixer for 2 minutes to combine thoroughly.
 -
 Gradually knead in the reserved 10 cups of flour, or as much as needed, until the dough is soft, smooth, and only slightly tacky to the touch.
 -
 Cover the dough and let it rise in a warm place (like a slightly warmed, turned-off oven) for 45 minutes, or until it has doubled in size. Gently punch down the dough to release the air, then let it rise again for another 50 minutes.
 -
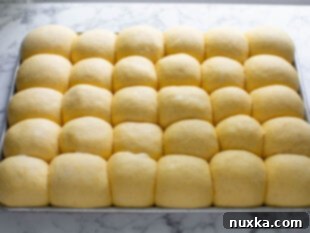
 Divide the dough into four equal pieces. Then, cut each of these pieces into 20 smaller, equal portions to form a total of 80 rolls. Shape each portion into a smooth ball. Place the shaped rolls side by side onto prepared sheet pans (lining with silicone mats is recommended) and let them rise again in a warm place for about 20 minutes, or until they have doubled in size.
 -
 Preheat your oven to 325°F (160°C). Bake the rolls on the bottom rack for approximately 15 minutes, or until they are golden brown on top. For extra shine and flavor, brush the hot rolls with melted butter immediately after they come out of the oven, if desired.
Recipe Notes
To Roast Squash for Puree: Begin by washing your chosen squash and slicing it in half lengthwise. Scoop out the seeds and stringy fibers. Place the squash halves cut-side up on a baking sheet. Roast in a preheated oven at 400°F (200°C) for about 1 hour, or until the flesh is easily pierced with a fork and very tender. Once cooled slightly, scoop the soft flesh out of the skins. Puree the cooked squash with a small amount of water until it reaches a smooth, consistent texture. As a general guide, one small butternut squash typically yields about 1 cup of puree.
Altitude Adjustment: Baking at higher altitudes can affect dough hydration and rise. If you live at an elevation above 65 feet, you may need to adjust the amount of flour. Consider adding an additional 2-3 cups of flour to achieve the correct dough consistency. Always observe the dough’s texture and adjust flour as needed.
Nutrition per serving
