Easy Homemade Cheese Danish: Flaky Puff Pastry & Creamy Filling
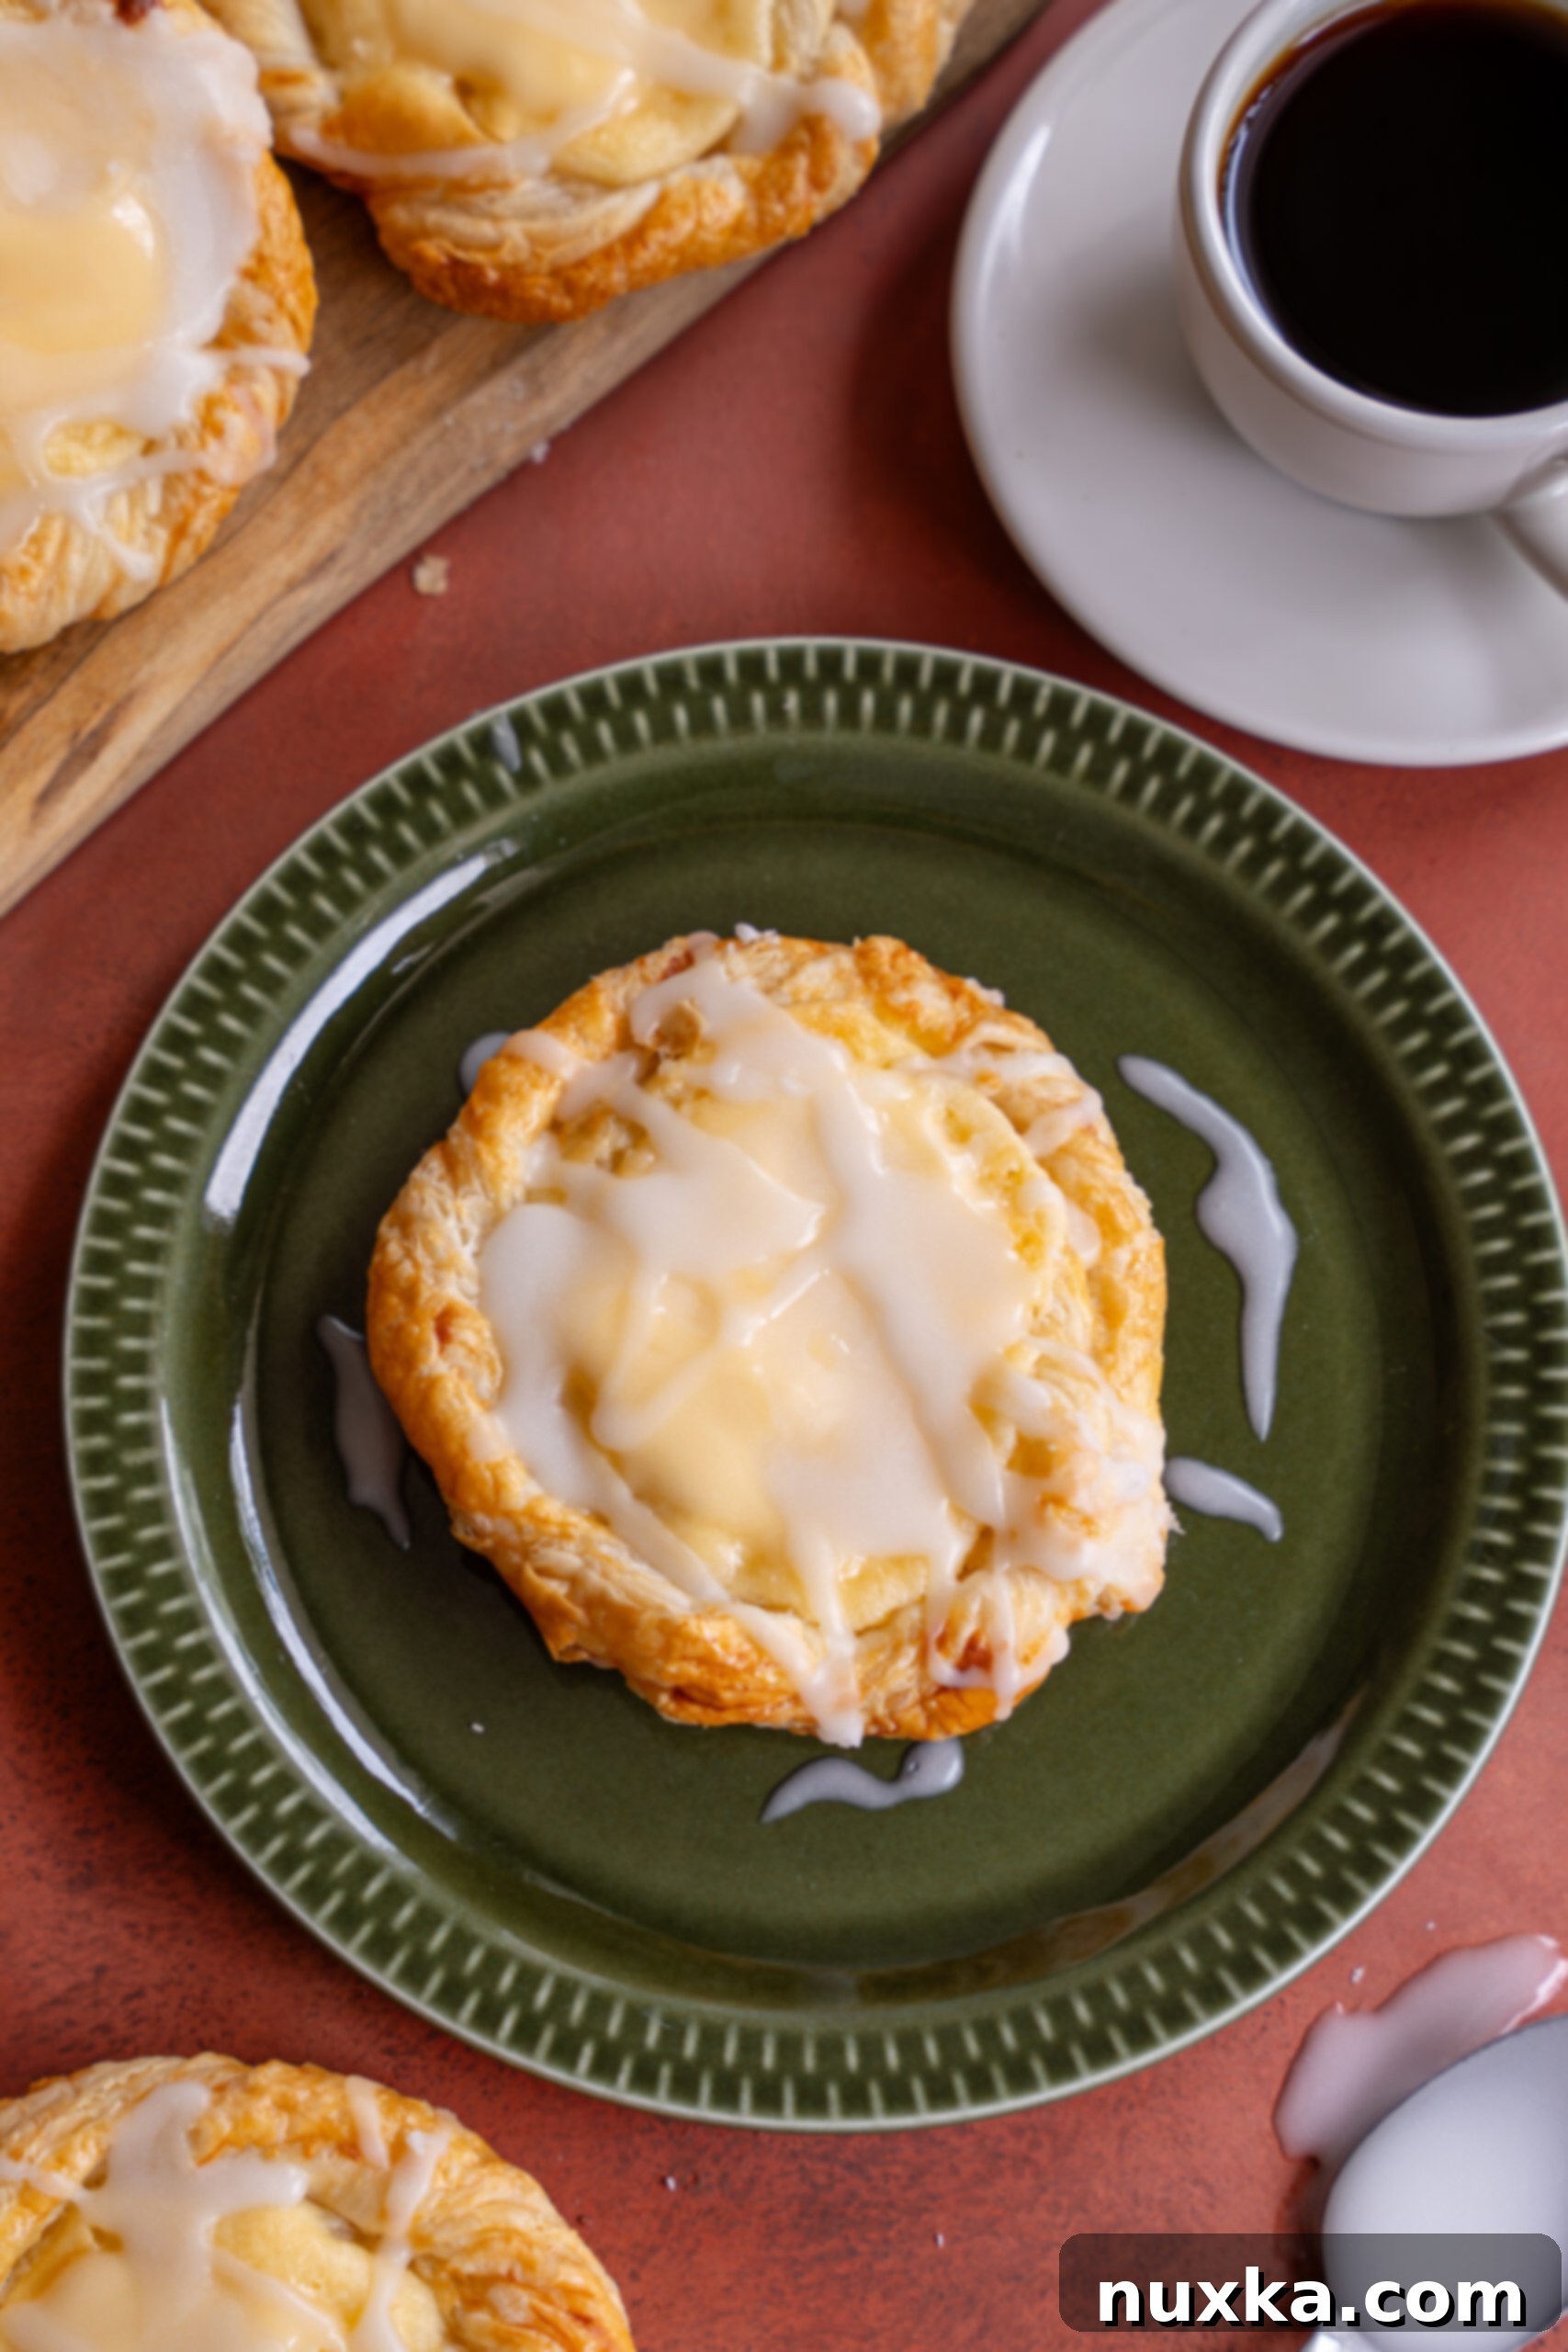
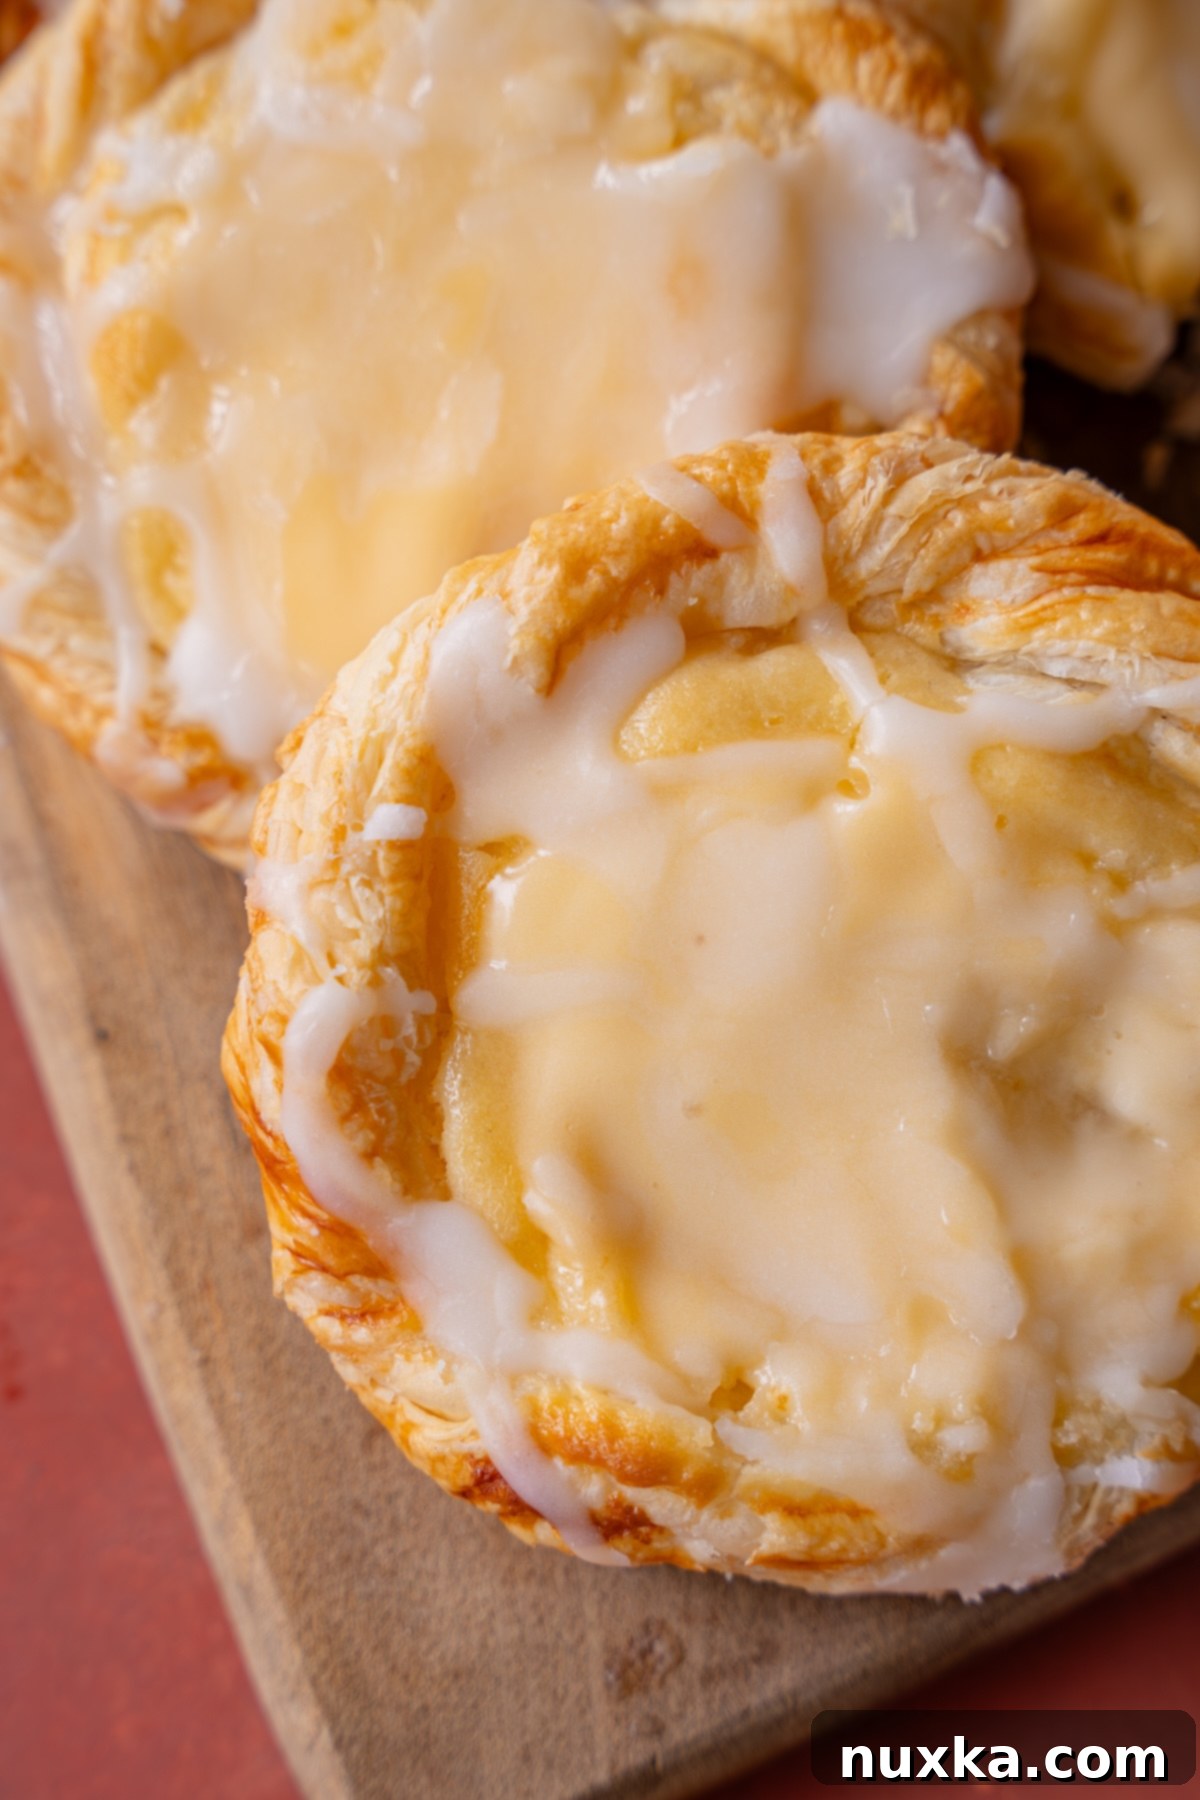
Prepare to elevate your breakfast or dessert game with this incredible Easy Cheese Danish recipe. Featuring a beautifully flaky pastry base and a luscious, creamy cream cheese filling that’s reminiscent of a rich cheesecake, these danishes are a true delight. Drizzled with a sweet homemade glaze, each bite offers a perfect balance of textures and flavors. Forget the store-bought versions; this homemade cheese danish far surpasses options like the Costco Danish pastry and is guaranteed to become a popular favorite in your home.
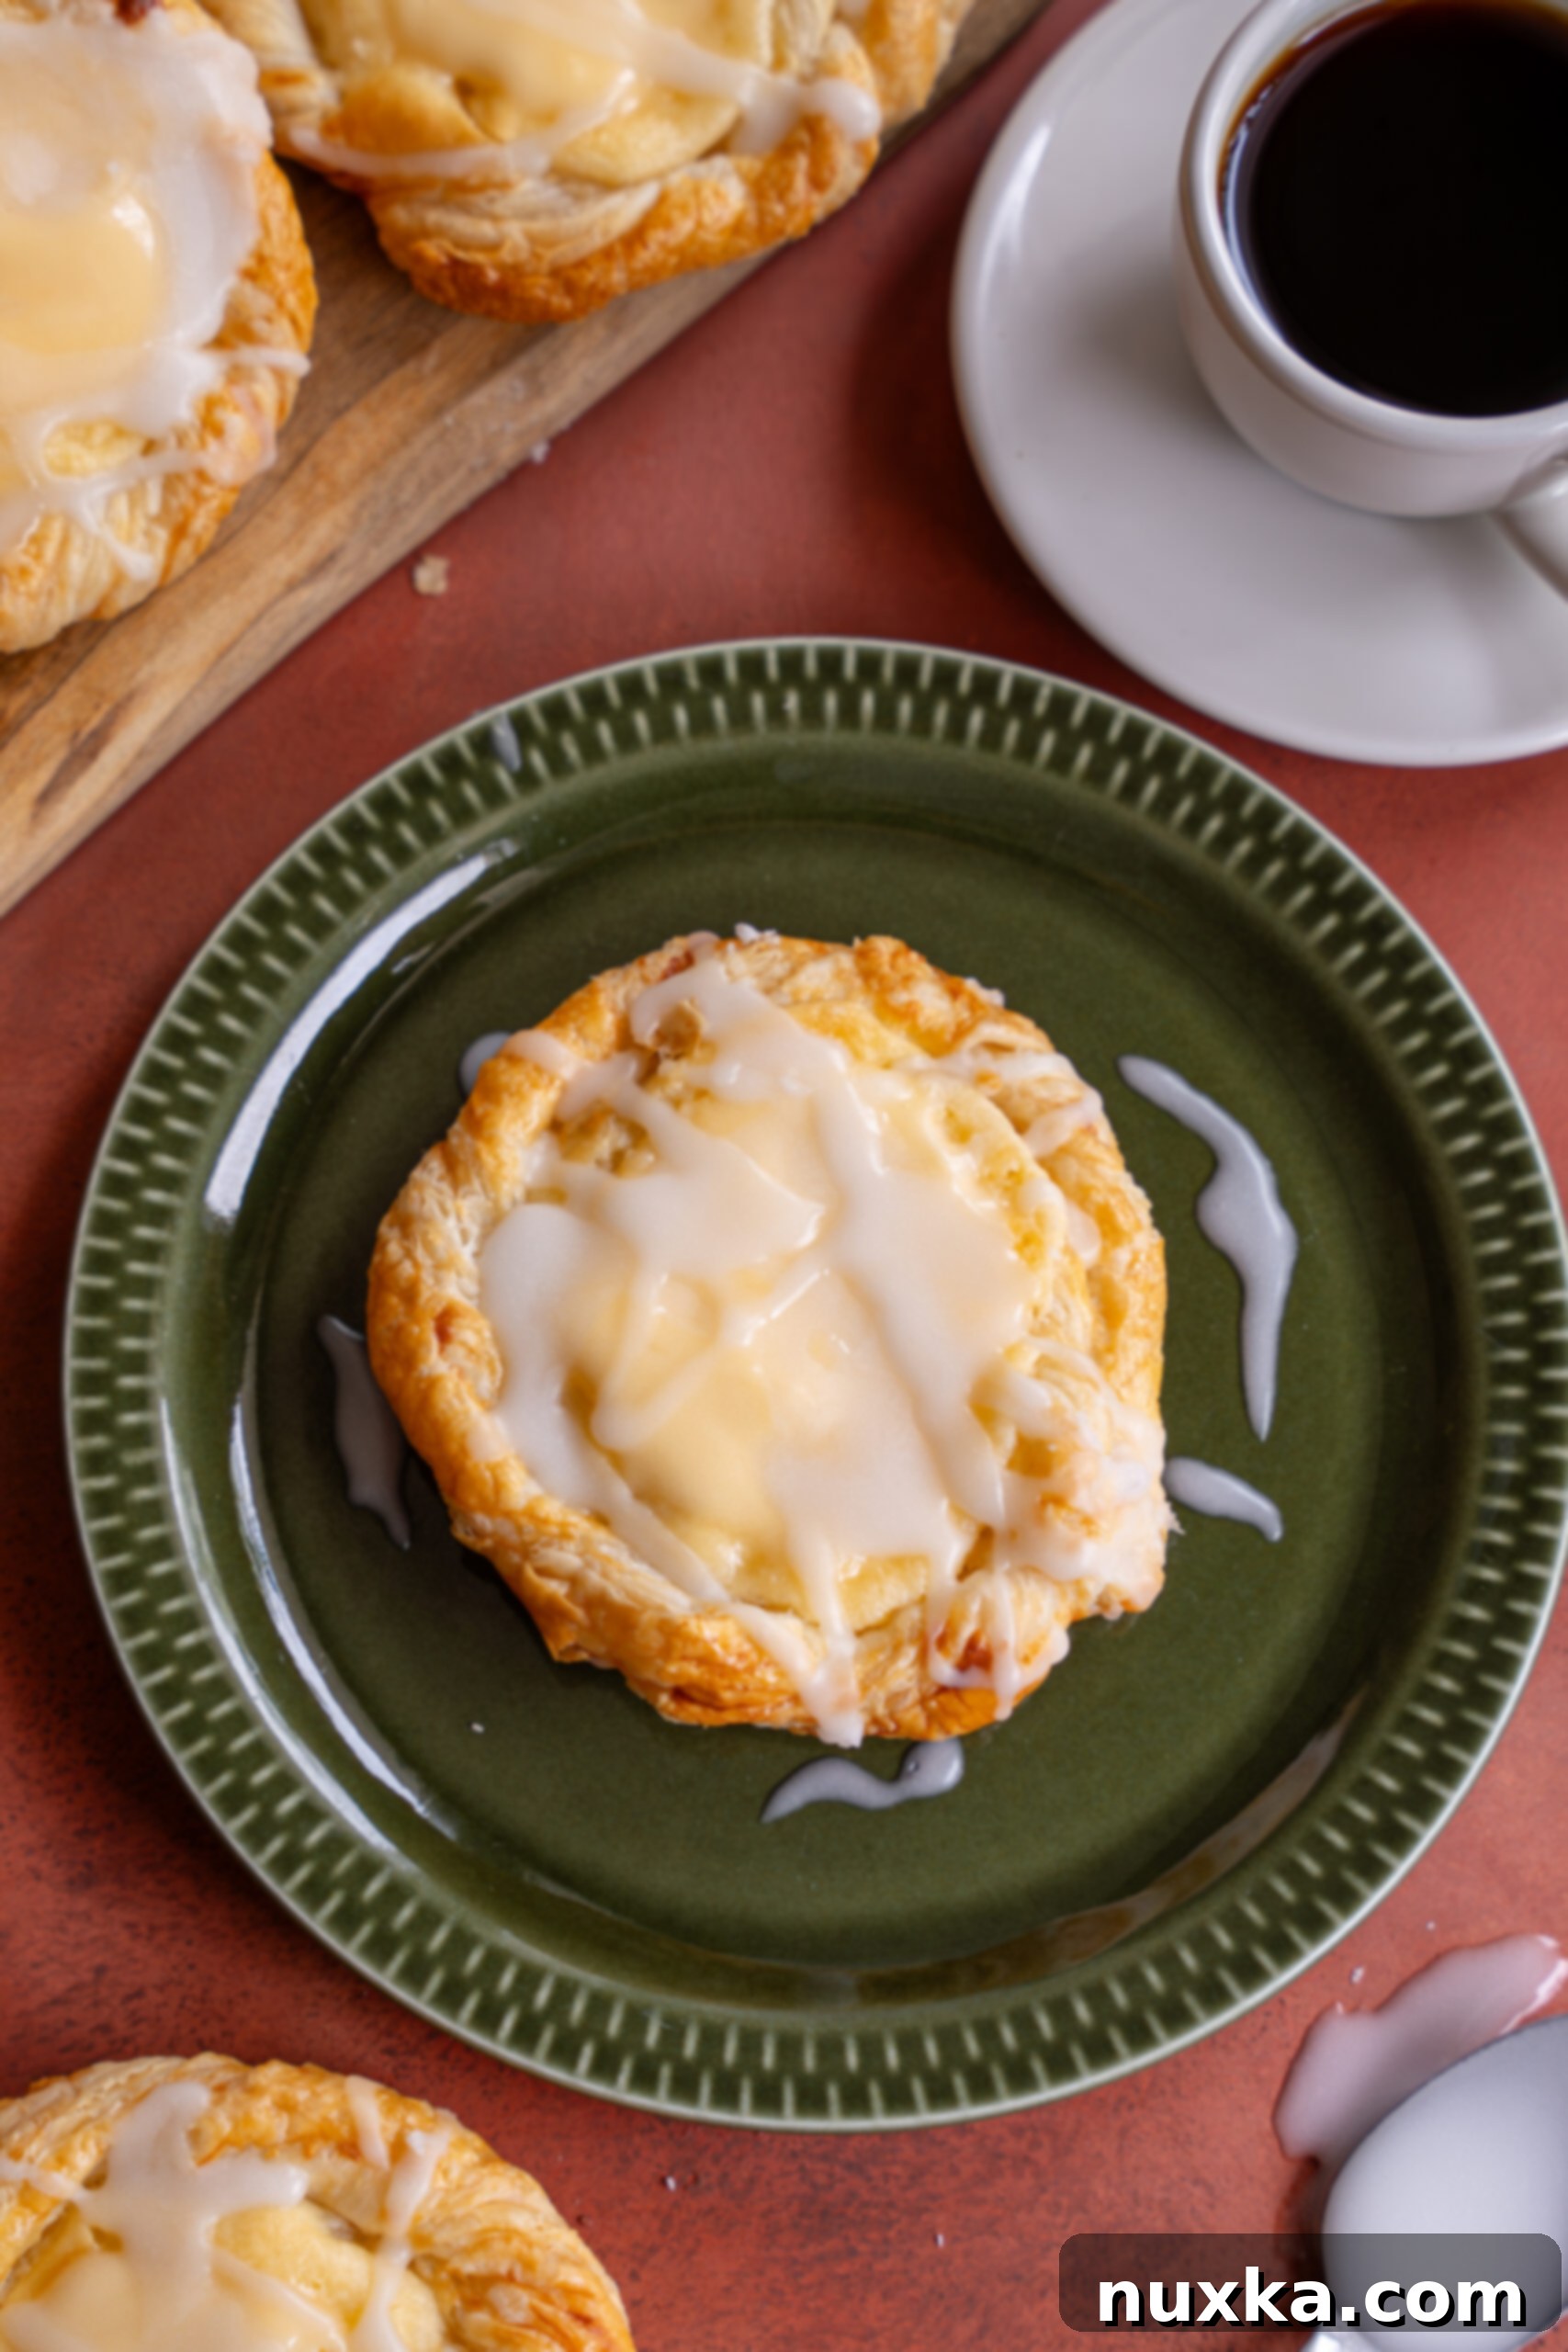
Choosing Your Danish Pastry Base
The secret to an exceptional cheese danish lies in its base. A flaky and crisp **puff pastry** beautifully complements the creamy cheese filling, offering a superior texture compared to denser options like refrigerated crescent roll dough. The layers of butter and dough in puff pastry create a light, airy, and shatteringly crisp foundation that truly elevates the experience of every bite.
While store-bought puff pastry is a fantastic shortcut for this **easy cheese danish recipe**, you can certainly venture into making your own. For a softer danish, consider whipping up Homemade Crescent Roll Dough. Alternatively, if you’re feeling adventurous and want an even crisper, more authentic experience, my Napoleon Cake recipe includes a surprisingly easy homemade puff pastry dough that requires no complicated laminating. This option gives you full control over the richness and flakiness, ensuring a truly gourmet result.
Whether you choose the convenience of frozen puff pastry or the satisfaction of homemade dough, selecting the right base is crucial for achieving that perfect danish texture.

The Ever-Popular Easy Cheese Danish Recipe
This particular **cheese danish recipe** has been a beloved staple on my blog for nearly a decade, long before mainstream coffee shops like Starbucks launched their own versions of the popular Danish. What makes this recipe truly stand out is its ability to deliver a fancy-looking, bakery-quality dessert with minimal effort, largely thanks to the smart use of store-bought puff pastry. While making everything from scratch is always an option for the ambitious baker, this recipe is specifically designed to be an easy shortcut, making it perfect for last-minute brunch ideas, Mother’s Day treats, or a simple yet elegant summer dessert.
The ingenious method of twisting and forming the puff pastry dough creates charming little “nests.” These indentations are specifically designed to cradle the rich, creamy cheese filling, ensuring every danish holds a generous amount of deliciousness. The result? Pastries that look strikingly similar to the beautiful, artisan danishes you’d find at a high-end bakery or even the well-loved Costco Bakery, but achieved with surprisingly little fuss. This clever technique saves time without compromising on presentation or taste, making it an accessible recipe for bakers of all skill levels.
Irresistible Danish Fillings: Beyond Just Cream Cheese
While the classic **homemade cheese danish filling**, whipped up with simple cream cheese, is undeniably my favorite and incredibly easy to prepare, the world of danish fillings offers exciting variations. A refreshing twist can be achieved by adding a hint of lemon zest to your cream cheese mixture, brightening the flavor profile. For those truly short on time or seeking ultimate convenience, many Mennonite stores, and even online retailers, carry Danish Pastry Cheese Filling Pouches. These pre-made pouches are ready to pipe directly into your pastries, making assembly a breeze.
Beyond the traditional cream cheese, fruit fillings are a popular alternative. You can choose from various flavors like strawberry, blueberry, or cherry. Personally, I have a soft spot for the chunky texture of canned cherry pie filling, which adds a delightful burst of fruitiness to the rich pastry. Imagine combining the best of both worlds with a half-cheese, half-fruit danish – the possibilities are endless!
For those interested in exploring advanced techniques and achieving an even richer, flakier danish, I once observed a baker who would fold the puff pastry an extra time and incorporate a layer of buttercream. This innovative approach resulted in an exceptionally decadent pastry with enhanced layers. You can find his comprehensive tutorial, which also includes his homemade Danish dough recipe, here. This demonstrates the versatility of danish pastries, allowing for customization to suit every palate and preference.
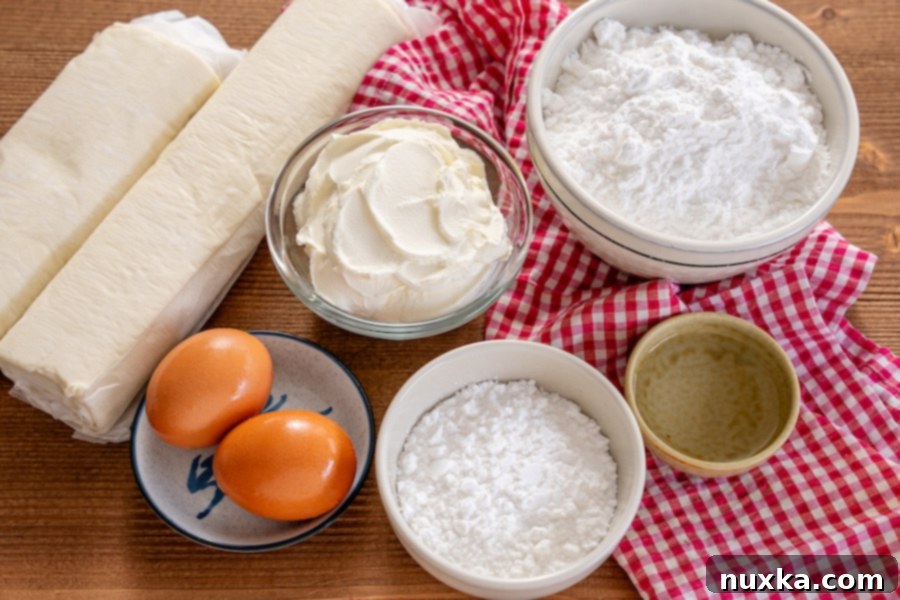
Mise en Place: Gathering Your Tools and Ingredients
Essential Equipment:
- Two large baking sheets lined with parchment paper: Parchment paper is crucial here to prevent sticking and ensure easy cleanup. Having two sheets allows you to bake more danishes at once or avoid overcrowding, which can lead to uneven baking.
- Pastry brush: Essential for applying the egg wash evenly, giving your danishes that beautiful golden sheen.
- Pizza cutter or sharp knife: For precise, clean cuts of the puff pastry, ensuring uniform strips for shaping.
- Rolling pin: To gently roll out the puff pastry to the desired thickness and dimensions.
- Hand Mixer: A hand mixer makes quick work of beating the cream cheese and powdered sugar into a smooth, lump-free filling.
- Tablespoon: For accurately measuring and dispensing the cream cheese filling into each pastry “nest.”
Key Ingredients for Cheese Danish:
- Puff Pastry: You’ll need a one-pound box of frozen puff pastry, which typically contains two sheets. Remember to thaw it completely according to package instructions before use. Properly thawed puff pastry is pliable and easy to work with, preventing cracks and tearing.
- Cream Cheese Filling: This simple yet decadent filling is made from softened cream cheese, sifted powdered sugar, and one egg yolk. For an extra layer of sweetness and aroma, add 1/2 teaspoon of vanilla extract. Using powdered sugar instead of granulated sugar is key here; powdered sugar blends seamlessly into the cream cheese, ensuring a smooth, silky texture without any gritty aftertaste, especially if your cane sugar is coarse.
- Eggs: This recipe cleverly utilizes two eggs. One egg yolk is used for the rich cheese filling, while the reserved egg white is combined with another whole egg and water to create the perfect egg wash. This approach minimizes waste and maximizes flavor and appearance.
- Powdered Sugar Glaze: The final flourish! This easy homemade glaze, made from powdered sugar and water, is essential for a truly sweet and visually appealing cream cheese danish pastry. For a bright, refreshing twist, consider substituting some of the water with lemon juice and adding a bit of lemon zest. Drizzle the glaze generously over the danishes after they’ve baked and slightly cooled.
Note: For an added layer of texture and sweetness, consider sprinkling turbinado sugar or coarse organic cane sugar over the puff pastry after applying the egg wash, particularly around the edges. This creates a delightful crunchy topping that beautifully complements the flaky pastry and creamy filling.
Pro Chef Tip

Pro Tip: For an enhanced flavor profile and a beautiful visual appeal, consider garnishing your finished danishes with fresh berries like sliced strawberries or blueberries. A sprinkle of fresh lemon zest can also add a delightful aromatic and zesty brightness that cuts through the sweetness.
Watch Our Easy Cheese Danish Video:
Storing Your Delicious Cheese Danishes:
Due to the presence of cream cheese, this **cream cheese danish recipe** must be refrigerated once it has cooled completely to room temperature. Dairy products provide an ideal environment for bacterial growth, so it’s crucial not to leave them at room temperature for extended periods—ideally, no more than two hours. Proper storage ensures freshness and prevents spoilage. For best results, place them in an airtight container to maintain their delicious flavor and texture. Source: Allrecipes.com.
How to Make Easy Cheese Danish (Step-by-Step Tutorial):
- Prepare Oven and Baking Sheets: Preheat your oven to 400°F (204°C). Line two large baking sheets with parchment paper. This non-stick surface will prevent your danishes from sticking and ensure even baking. Set them aside while you prepare the pastry.
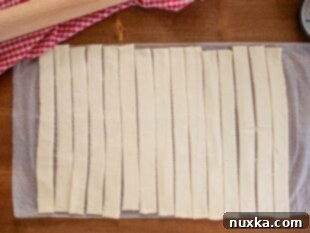
- Roll and Cut Puff Pastry: Carefully unroll your thawed puff pastry sheets. Using a rolling pin, gently roll each sheet into a rectangle approximately 10 inches by 15 inches. Next, with a pizza cutter or a very sharp knife, cut each large sheet into 15 equal one-inch wide strips. Precision here ensures uniform danishes.
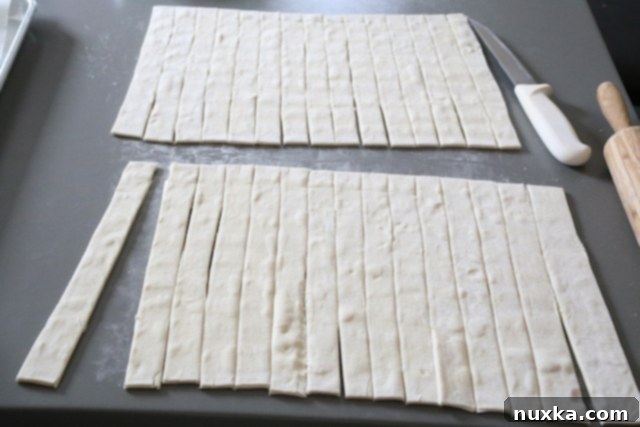
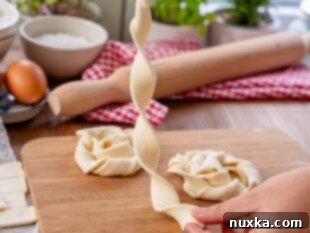
- Form the First Spiral: Take one strip of dough. Hold down one end firmly with one hand. With your other hand, gently swirl and twist the strip to form a spiral. This action creates the initial foundation of your danish.
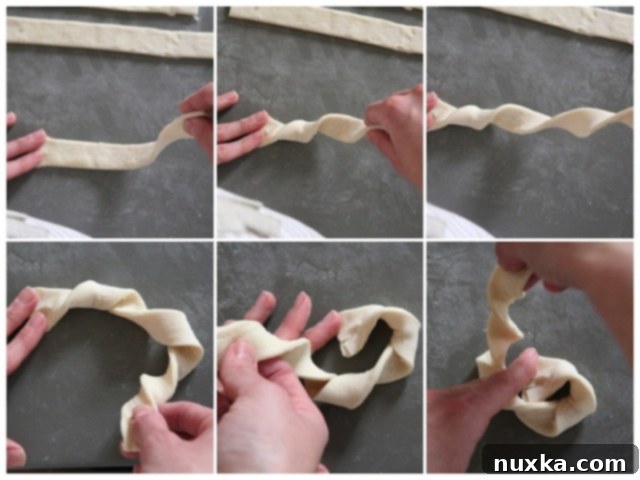
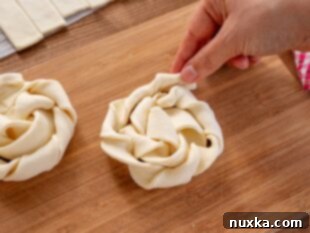
- Create the Round Danish Shape: Once you have a spiral, wrap it around itself clockwise to form a neat, round shape, much like a snail shell. Then, take a second strip of dough and attach it seamlessly to the end of your first spiral. Continue wrapping this second strip around the existing circle, extending the pastry. Gently pinch down the seam end of the dough to secure and seal the swirl, ensuring it holds its shape during baking. This process creates a sturdy “nest” for the filling.
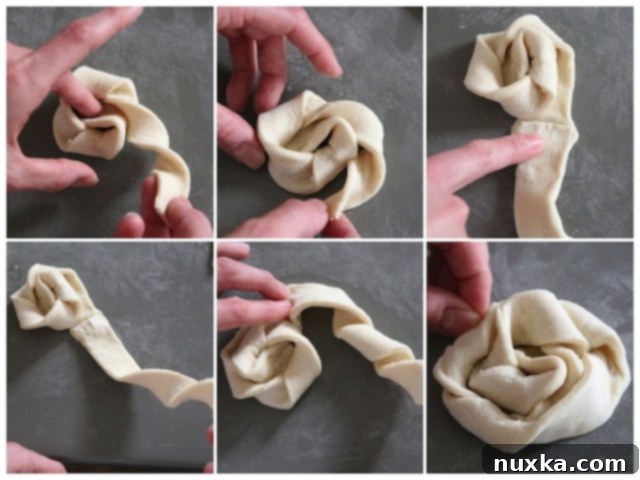
- Arrange on Baking Sheet: Carefully place each formed pastry swirl onto one of your parchment-lined baking sheets, leaving a couple of inches between each for expansion during baking.
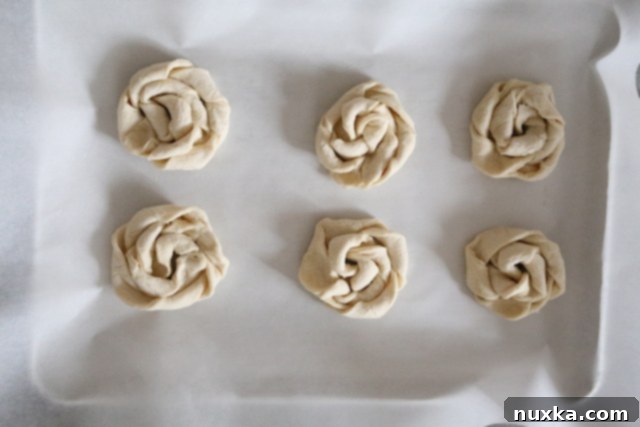
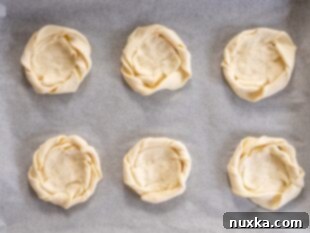
- Create Indents for Filling: Using your fingertips or the back of a spoon, gently flatten the center of each pastry swirl. This creates a clear indentation or “nest” that will perfectly hold your creamy cheese filling, preventing it from overflowing during baking. Set the prepared pastries aside.
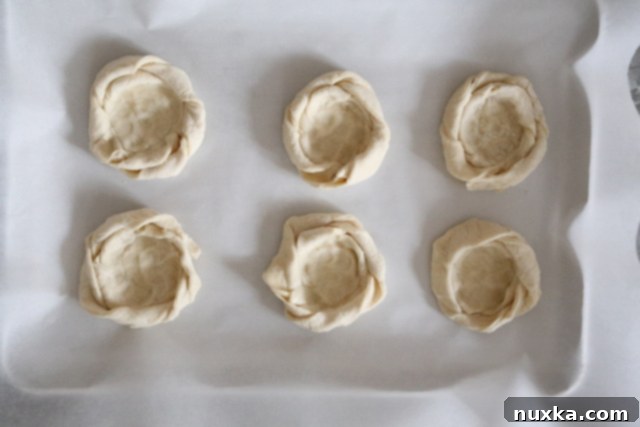
Preparing the Cream Cheese Filling for Danish:
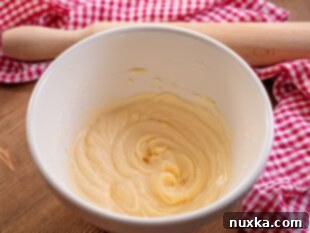
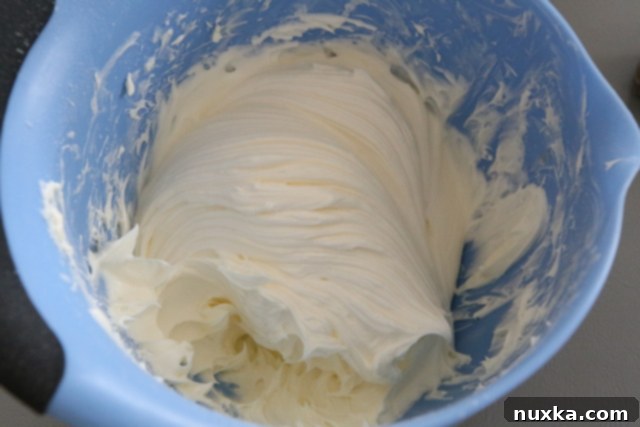
- Mix the Cream Cheese Filling: In a small mixing bowl, beat the softened cream cheese with a hand mixer until it is completely smooth and free of lumps. Then, gradually add the sifted powdered sugar and the egg yolk (remembering to reserve the egg white for the egg wash). Continue to beat the mixture until it is wonderfully smooth, silky, and well combined. If using, mix in your vanilla extract at this stage for added sweetness and aroma.
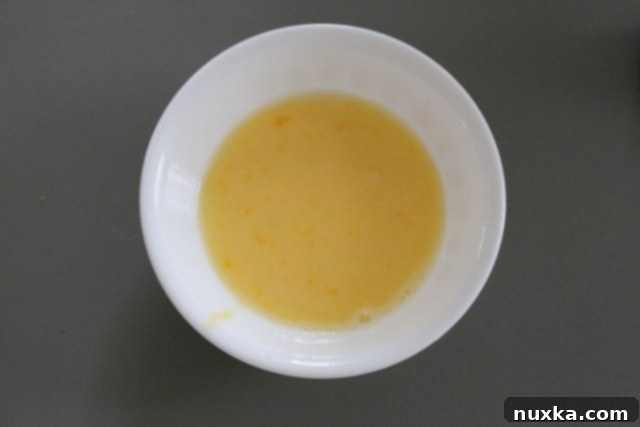
- Prepare the Egg Wash: In a separate small bowl, combine the reserved egg white, one whole egg, and a small amount of water. Whisk these ingredients together thoroughly until well blended. This egg wash will give your danishes a beautiful golden-brown color and a lovely sheen.
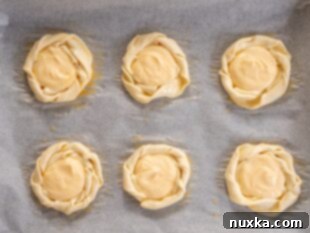
- Brush and Fill: Using your pastry brush, lightly brush the outer edges of each puff pastry “nest” with the prepared egg wash. This helps with browning and creates a crisp crust. Then, carefully spoon about one tablespoon of the creamy cheese filling into the center of each indented pastry. If you’re making fruit danishes, this is when you’d add your cherry pie filling or other fruit-based options. (I tried some with cherry pie filling, and they were delicious too!)
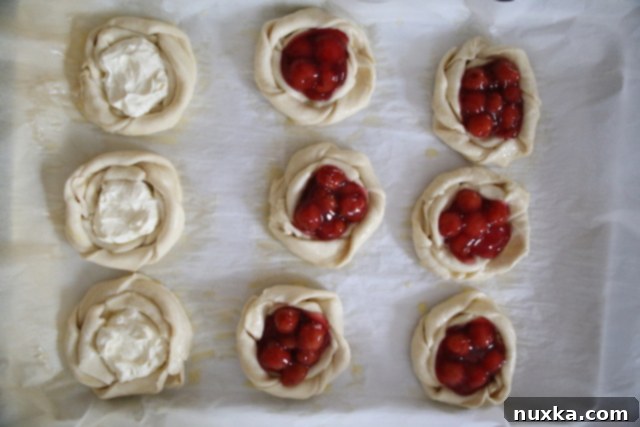
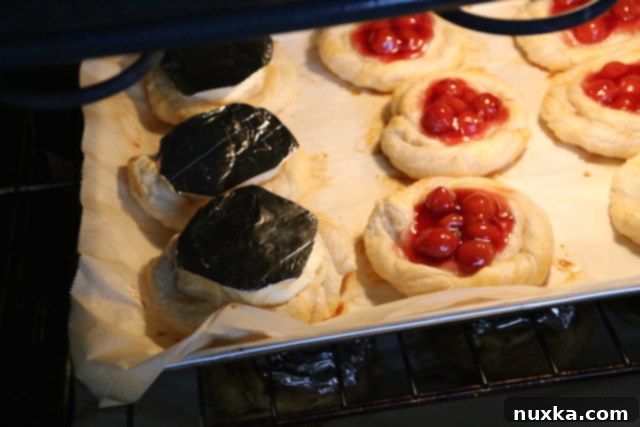
Note: To ensure your cheese filling remains beautifully white and silky on top, fill the **cheese Danishes** with only about 1 tablespoon of filling initially. You can also lightly cover the filling portion with a small piece of foil during baking to prevent excessive browning. Once baked and while still hot, carefully trim off any overly browned surfaces (if necessary) and top with any remaining cream cheese filling. This technique ensures those picture-perfect, un-browned cheese tops, as cream cheese tends to brown easily in the oven.
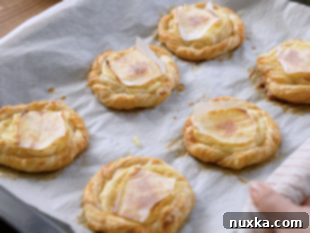
- Bake the Danishes: Carefully transfer your baking sheets to the preheated oven. Bake for approximately 30-45 minutes, or until the puff pastry is puffed, golden brown, and wonderfully flaky. Keep an eye on them towards the end of the baking time, as oven temperatures can vary.
- Prepare the Glaze: While the danishes are baking or cooling slightly, prepare your powdered sugar glaze. In a small bowl, combine the powdered sugar and water. Whisk vigorously until the mixture is completely smooth and has a pourable consistency. If it’s too thick, add water a teaspoon at a time; if too thin, add a bit more powdered sugar.
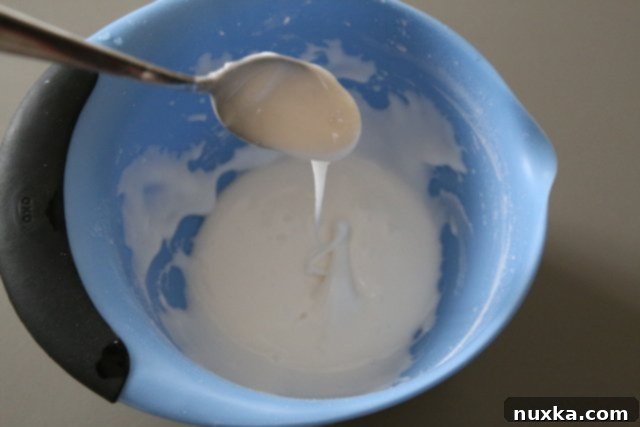
- Glaze and Serve: Once the danishes are baked and have cooled slightly (they can still be warm), generously drizzle the prepared glaze over the top of each one. Allow the glaze to set for a few minutes before serving. Enjoy these warm, flaky, and creamy homemade cheese danishes!
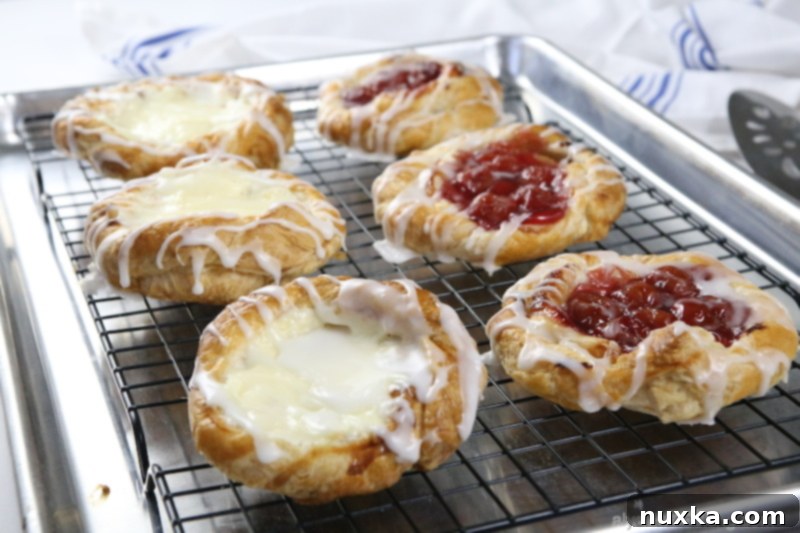
Helpful Tips for Making Perfect Cheese Danishes:
- Thaw Puff Pastry Properly: Always allow your frozen puff pastry to thaw at room temperature for at least 40 minutes, or as instructed on the package. This is crucial for easier handling. If it’s too cold, it will crack; if it’s too warm, it will become sticky and difficult to manage. A properly thawed sheet will be pliable and easy to roll.
- Soften Cream Cheese for Smooth Filling: Ensure your cream cheese is thoroughly softened to room temperature. This is key to achieving a perfectly smooth, lump-free filling that blends beautifully with the powdered sugar and egg yolk. If you’re in a rush, you can remove the wrapper and microwave the cream cheese block for 20-30 seconds, or place the wrapped block in a bowl of hot water for a few minutes.
- Glaze Consistency Matters: If you desire a visible, distinct glaze, reserve about half of it for drizzling over the danishes once they have completely cooled. However, if you prefer a glaze that subtly melts into the crispy pastry, drizzle it over warm danishes. To prevent the glaze from running off completely, make it slightly thicker so it melts nicely without disappearing. Adjust consistency by adding more powdered sugar or a few drops of water.
- No Cream Cheese? No Problem! Try Fruit Danish: Don’t have cream cheese on hand? You can easily pivot to making a delicious fruit danish! Simply use canned pie filling (the kind you’d use for cheesecakes or pies) as your filling instead. Cherry, apple, or blueberry pie fillings are excellent choices that bake beautifully into the pastry nests.
- Quick Cream Cheese Softening Method (No Microwave): If you don’t have a microwave, a quick way to bring cream cheese to room temperature is to submerge the wrapped block in a bowl of hot water for several minutes. This gentle heat will soften it effectively without melting.
- Stretch Servings with “Mini” Danishes: To make your batch go further or for a bite-sized treat, create “mini” versions. Follow all the steps as directed, but use only one strip of puff pastry for each danish. Make a smaller indent and fill with about half a tablespoon (a heaping teaspoon) of the cheese filling. Bake these mini danishes for approximately 20 minutes, or until golden brown.
- Powdered Sugar for Silky Filling: Always opt for powdered sugar when making your cheese filling. Granulated sugar, especially coarse varieties, can leave a slightly gritty texture in the creamy filling. Powdered sugar dissolves effortlessly, ensuring a perfectly smooth and luxurious mouthfeel.
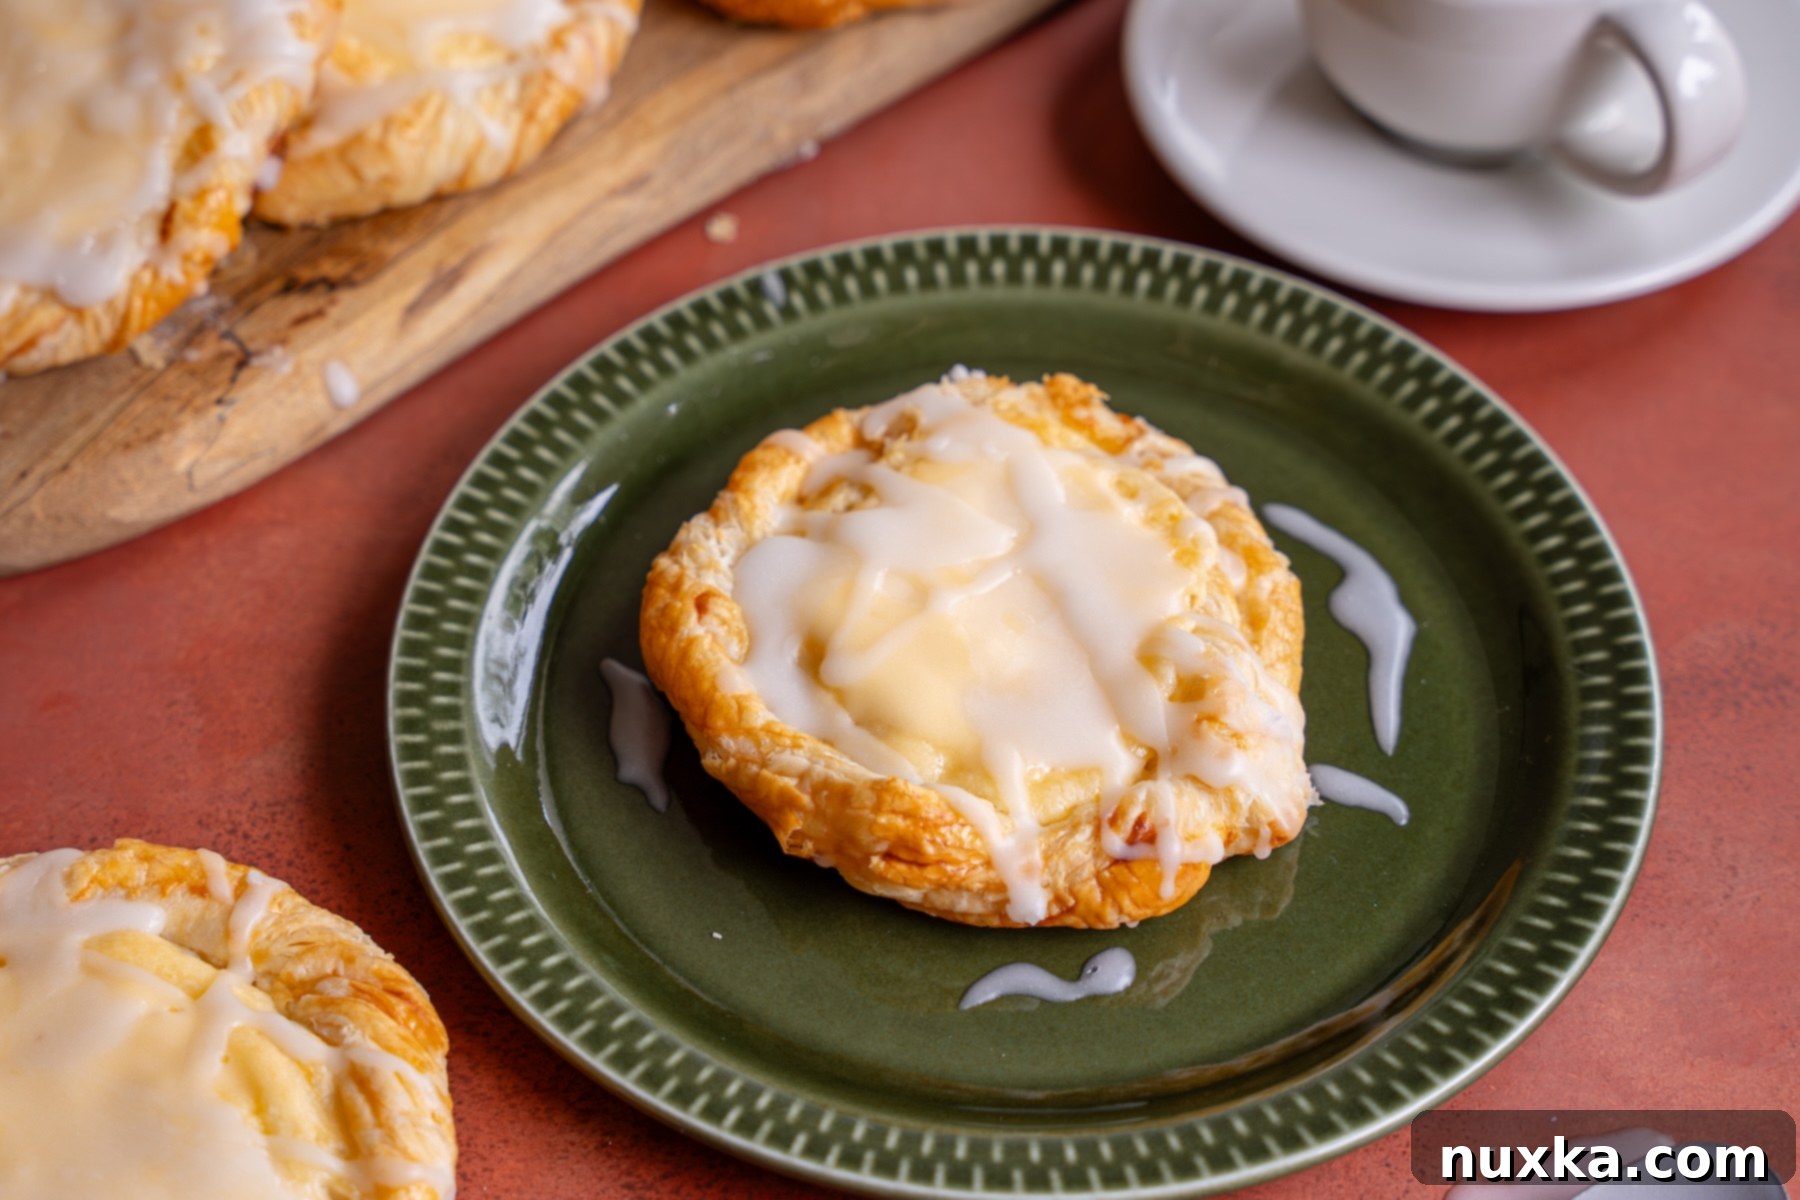
We hope you enjoy making this delightful Easy Cheese Danish recipe as much as we do! The combination of flaky puff pastry, creamy filling, and sweet glaze is simply irresistible. Have you tried this recipe, or do you have a unique way to shape puff pastry dough for your danishes? We’d love to hear your thoughts and creative ideas! Please share your comments below to help fellow bakers and enthusiasts.
Rate
Pin
Easy Cheese Danish Recipe (Video)
Equipment
-
1 electric hand mixer
-
2 large baking sheets (lined with parchment paper)
-
1 Pastry Brush
-
1 rolling pin and Pizza cutter
-
1 Tablespoon measuring spoon (for cheese filling)
Ingredients
Cheese Danish Ingredients:
-
17.3 oz Pkg of Frozen puff pastry (2 sheets, thawed)
-
8 oz Cream Cheese (softened)
-
1/2 cup powdered sugar (sifted)
-
1/2 tsp vanilla extract
-
2 eggs (divided)
Ingredients for Powdered Sugar Glaze:
-
2 cups powdered sugar
-
7 tsp water
Instructions
Directions:
-
 Preheat the oven to 400°F (204°C). Line two baking sheets with parchment paper and set aside. Meanwhile, roll out puff pastry sheets to 10″ by 15″ rectangles. Then, cut each sheet into 15 one-inch strips using a pizza cutter.
 -
 Take one strip of dough, holding down one end; take the other end and swirl the strip to make a spiral.
 -
 Then wrap the spiral around clockwise to form a round shape. Attach another strip of dough to the end and repeat, pinching the seam below the dough to form a “nest” shape.
 -
 Place swirled puff pastry dough onto the prepared pans, then flatten the center of each twisted “nest” using your hands to make indents for the filling. Set aside.
 -
 Make the Cream Cheese Filling: In a small mixing bowl, beat the cream cheese until smooth. Then add one egg yolk and powdered sugar (reserving the white for the egg wash) and beat until creamy.
 -
 Make the Egg Wash: In a small bowl, mix one egg, the reserved egg white, and water. Brush the Danishes with the egg wash.
 -
 Fill each center with a tablespoon of the Cream Cheese filling. Reserve leftover cheese filling for retouching after baking. (See notes).
 -
 Bake in the oven for about 20 minutes or until golden brown and flaky.
 -
 Make the powdered sugar glaze by stirring together the powdered sugar and water until smooth. Drizzle over cheese danishes.
Notes
- We found that baking at a lower oven temperature of 380°F omitted the need to cover the filling when baking. So feel free to add a heaping tablespoon of filling without reapplying afterwards.
- JTVCJTdCJTIydHlwZSUyMiUzQSUyMnBhcmFncmFwaCUyMiUyQyUyMmNoaWxkcmVuJTIyJTNBJTVCJTdCJTIydGV4dCUyMiUzQSUyMkZpbGwlMjB0aGUlMjBjaGVlc2UlMjBkYW5pc2hlcyUyMHdpdGglMjBvbmx5JTIwMSUyMHRic3AlMjBvZiUyMGZpbGxpbmclMjBhbmQlMjBjb3ZlciUyMGR1cmluZyUyMGJha2luZy4lMjBPbmNlJTIwYmFrZWQlMjB0cmltJTIwb2ZmJTIwYW55JTIwYnJvd25lZCUyMHN1cmZhY2VzJTIwYW5kJTIwdG9wJTIwd2l0aCUyMHJlbWFpbmluZyUyMGNoZWVzZSUyMGZpbGxpbmclMkMlMjB3aGlsZSUyMHN0aWxsJTIwaG90JTIwZm9yJTIwd2hpdGUlMjBzaWxreSUyMGNoZWVzZSUyMHRvcHMlMjBhcyUyMHRoZSUyMGNoZWVzZSUyMHRlbmRzJTIwdG8lMjBicm93biUyMGVhc2lseS4lMjIlN0QlNUQlN0QlNUQ=”>If baking at a higher oven temperature of 400°F, fill the cheese Danishes with one tablespoon of filling and cover the filling part with parchment paper during baking. Once baked, fill in any brown spots with the remaining cheese filling while still hot for white silky cheese tops, as the cheese tends to brown easily.
- For shiny Danishes, mix together one part granulated sugar with two parts hot water straight out of the oven for extra shine. This creates that shiny crust you see in Bakery pastries.
- I’ve experimented and sprinkled coarse organic cane sugar over the Danishes after applying the egg wash with delicious results! It adds a little more sweetness and crunch from the sugar.
- To make mini Danishes, swirl one strip of dough and make an indent, then fill with one heaping teaspoon. Bake as directed (about 20 minutes).
Nutrition per serving
