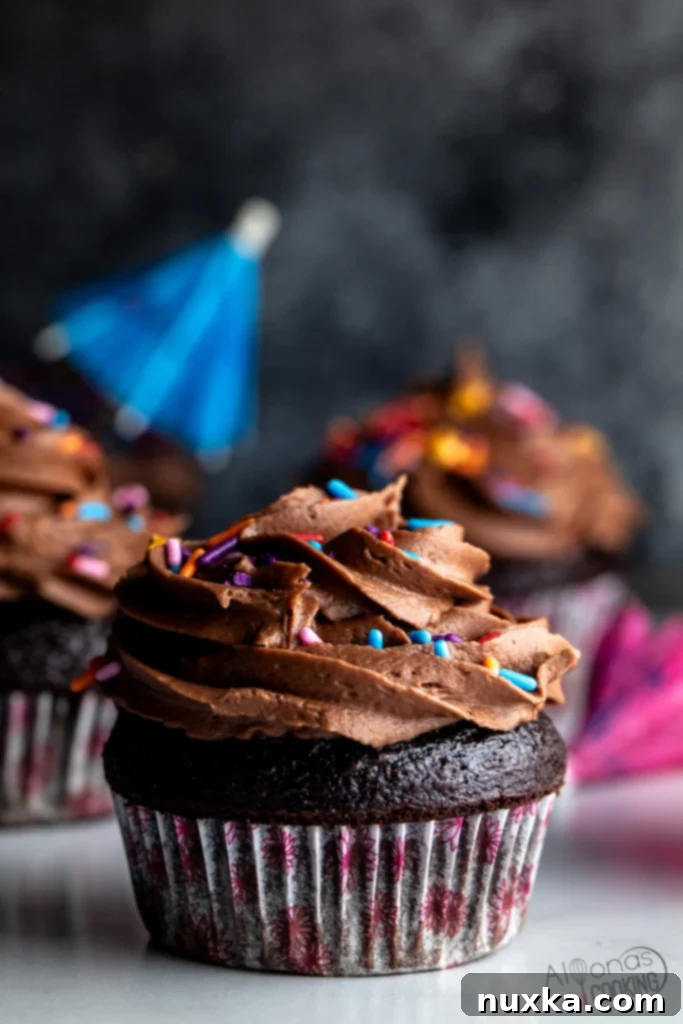
The Ultimate One-Bowl Super Moist Chocolate Cupcake Recipe (Better Than Boxed!)
Prepare to discover your new favorite dessert: the **ultimate super moist chocolate cupcake recipe**! These aren’t just any chocolate cupcakes; they are incredibly moist, wonderfully light, and deliciously fluffy – everything a perfect chocolate cupcake should be. What makes this recipe truly special is its incredible simplicity, requiring just one bowl for the batter and no buttermilk, making it accessible for bakers of all skill levels. Forget those bland, dry cupcakes from a mix; this homemade version blows them out of the water with its rich flavor and tender texture.
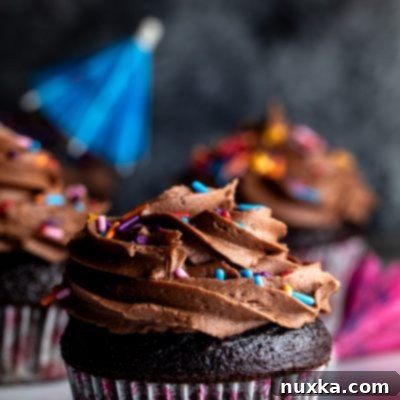
Whether you’re baking for a special occasion, a casual gathering, or simply satisfying a chocolate craving, these cupcakes are guaranteed to impress. They are so straightforward that even my nine-year-old daughter and her friends were able to bake and decorate the beautiful cupcakes you see in the photos! Get ready to enjoy a hassle-free baking experience that yields unbelievably delicious results every single time.
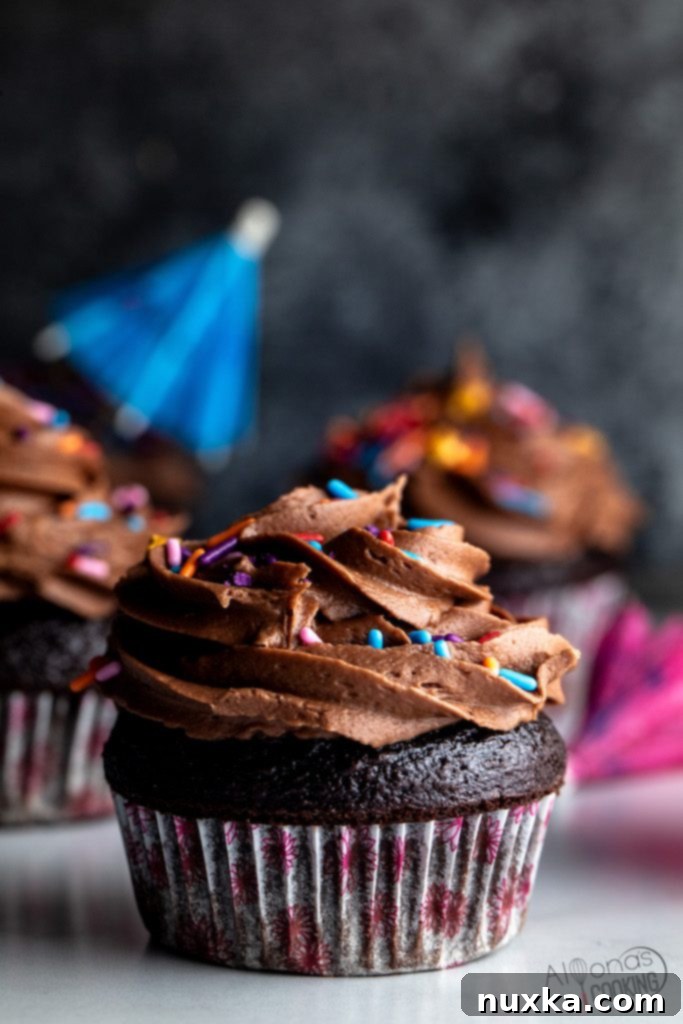
Why This Is the BEST Chocolate Cupcake Recipe You’ll Ever Make
Every element of this chocolate cupcake recipe is meticulously crafted to deliver perfection. From the simplicity of its preparation to the melt-in-your-mouth texture, these cupcakes stand out. They possess a remarkable lightness, akin to the best boxed chocolate cake mixes, yet boast a depth of flavor and moisture that only a truly homemade recipe can achieve. The secret lies in a carefully balanced combination of ingredients and a streamlined, one-bowl process that minimizes fuss and maximizes deliciousness. This recipe truly redefines what an easy and delicious chocolate cupcake can be.
One-Bowl Wonder: Effortless Baking for Everyone
One of the most appealing features of this recipe is the “one-bowl” method. This means significantly less cleanup, less time spent on preparation, and ultimately, less stress in the kitchen. All the dry ingredients are whisked together in a single large bowl, followed by the wet ingredients, and then slowly combined with boiling water. This simple, straightforward sequence ensures that your cupcake batter comes together quickly and smoothly, allowing you to spend more time enjoying the process and less time washing dishes. It’s truly a game-changer for busy individuals and families who love to bake but are short on time, making these the perfect quick chocolate cupcakes for any occasion.
Achieving Super Moist, Light, and Fluffy Perfection
The quest for a truly moist chocolate cupcake often leads to dense, heavy results. Not with this recipe! We achieve an incredibly moist crumb thanks to a blend of oil and milk, which contribute to a tender texture without the need for butter in the cake itself. The judicious combination of baking soda and baking powder, along with a touch of boiling water, creates a wonderfully light and fluffy consistency that makes each bite pure heaven. This careful balance prevents the cupcakes from drying out, even days after baking, ensuring you always enjoy a perfectly tender and soft chocolate cupcake.
No Buttermilk? No Problem! Simple Ingredients for Delicious Results
Many classic chocolate cupcake recipes call for buttermilk, which can sometimes be an inconvenient ingredient to keep on hand or make from scratch. Our recipe cleverly avoids this by using regular milk, making it more accessible and just as delicious. We rely on the natural acidity of cocoa powder combined with baking soda to create the necessary lift and tender crumb, proving that you don’t need fancy ingredients for exceptional results. This means you can whip up these delightful treats anytime, without a special trip to the grocery store for an uncommon ingredient. Simple pantry staples are all you need to create bakery-quality, no buttermilk chocolate cupcakes.
Essential Tools & Supplies for Your Perfect Cupcake Journey
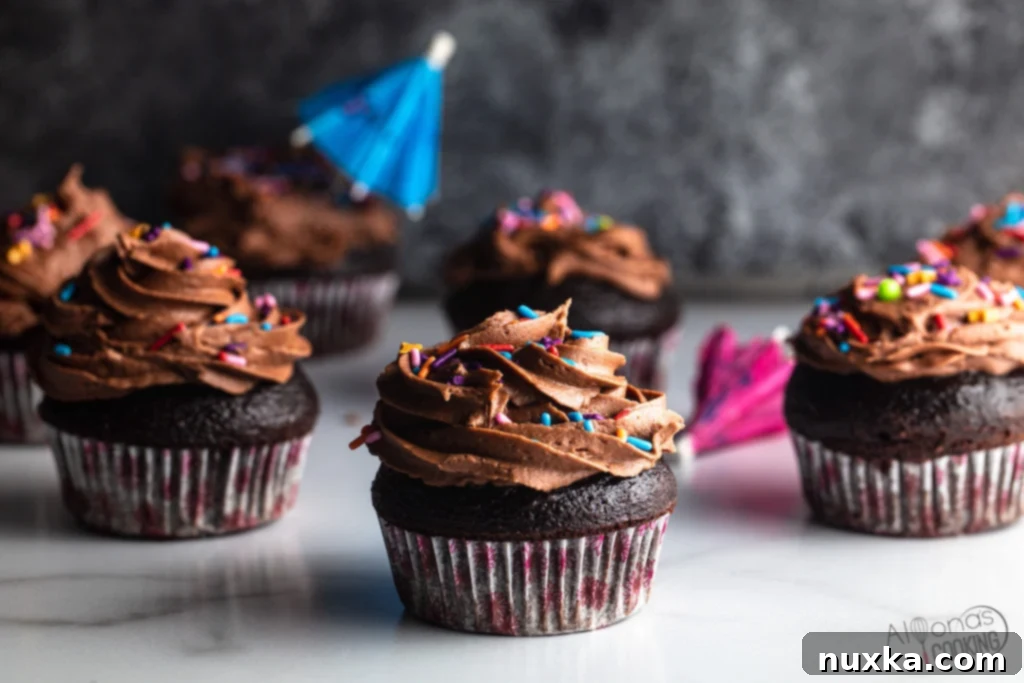
While this super moist chocolate cupcake recipe is incredibly simple, having the right tools can make the baking and decorating process even more enjoyable and professional-looking. Here are a few recommended party and baking supplies that will help you create beautiful and delicious cupcakes, just like the ones pictured, ready for any celebration:
- Party Umbrellas: For that extra festive touch and whimsical decoration, as seen in our delightful photos! These add a fun, playful element to any cupcake.
- Cupcake Liners: Essential for easy cleanup, preventing sticking, and adding a pop of color or pattern to your presentation. Choose fun designs to match your event theme.
- Extra Large Frosting Tips: For achieving professional-looking swirls, impressive rosettes, and generous, beautiful dollops of our incredible chocolate frosting. Bigger tips make decorating much easier and yield stunning results.
- Sprinkle Mix: The perfect way to add color, texture, and a celebratory feel to your finished chocolate cupcakes. There are endless varieties to match any holiday or mood.
Investing in quality baking tools not only simplifies your work but also inspires creativity, turning every baking session into a delightful and rewarding experience. These items will elevate your homemade chocolate cupcakes from delicious to dazzling!
Rate This Recipe
Pin Recipe
Super Moist Chocolate Cupcake Recipe (Better than Boxed!)
Ingredients
For the Super Moist Chocolate Cupcakes (Dry ingredients):
-
3/4 cup + 2 TBSP all-purpose flour
-
1/4 cup + 2 tbsp unsweetened cocoa powder (We recommend Hershey’s unsweetened cocoa, with 2 tbsp of Hershey’s DARK for a richer, deeper chocolate flavor)
-
3/4 tsp baking soda
-
3/4 tsp baking powder
-
1/4 tsp salt
-
1/2 cup packed light brown sugar
-
1/2 cup granulated sugar
For the Super Moist Chocolate Cupcakes (Wet ingredients):
-
1 large egg
-
1/2 cup milk (any kind, whole milk recommended for richness)
-
1/4 cup canola oil (or other neutral oil like vegetable or grapeseed oil)
-
1 tsp pure vanilla extract
-
1/2 cup boiling water
For the BEST Homemade Chocolate Frosting:
-
2/3 cup good quality chocolate chips (semi-sweet or milk chocolate)
-
2 cups powdered sugar (confectioners’ sugar), sifted
-
1/4 cup milk OR heavy cream (Heavy cream makes a richer, thicker frosting with a more luxurious mouthfeel)
-
4 tbsp unsalted butter (softened to room temperature for best creaminess)
-
1/2 tsp pure vanilla extract
-
Dash of salt (a tiny pinch enhances the chocolate flavor and balances sweetness)
Instructions
How to Make Super Moist Chocolate Cupcakes:
-
Preheat your oven to 350°F (175°C). Line a 12-cup muffin tin with paper cupcake liners. This step is crucial for easy removal, prevents sticking, and helps with presentation.
-
In a large mixing bowl, combine all the dry ingredients: flour, cocoa powder, baking soda, baking powder, salt, brown sugar, and granulated sugar. Whisk them together thoroughly for about 30 seconds to ensure they are well combined and there are no lumps. This is the beginning of your “one-bowl” magic!
-
Add the wet ingredients to the dry mixture: egg, milk, canola oil, and vanilla extract. Using a hand mixer (or stand mixer with a paddle attachment), beat on low speed until just combined. Be careful not to overmix the batter; overmixing can develop gluten too much, leading to tough, dense cupcakes. Mix only until no dry streaks remain.
-
Slowly pour in the 1/2 cup of boiling water into the batter while continuing to mix on low speed. The batter will become quite thin, which is perfectly normal and contributes significantly to the super moist texture of these cupcakes. Mix until just incorporated.
-
Scoop approximately 1/4 cup of batter into each prepared muffin cup, filling them about two-thirds to three-quarters full. This leaves enough room for the cupcakes to rise beautifully without overflowing, ensuring a perfect dome.
-
Bake for 20 minutes, or until a wooden skewer or toothpick inserted into the center of a cupcake comes out clean or with a few moist crumbs attached (no wet batter). Baking times may vary slightly depending on your oven, so keep an eye on them after 18 minutes.
-
Remove the cupcakes from the oven and let them cool in the muffin tin for 5 minutes before carefully transferring them to a wire rack to cool completely. Cupcakes must be fully cooled to room temperature before you apply any frosting.
To Make the BEST Homemade Chocolate Frosting:
-
Place the chocolate chips in a microwave-safe bowl. Microwave for 1 minute at 50% power, stirring once halfway through, until smooth and melted. Be careful not to overheat the chocolate, as it can seize. Set aside to cool slightly to room temperature; it should not be hot when added to the butter mixture.
-
In a separate medium bowl, combine the sifted powdered sugar, milk (or heavy cream), softened unsalted butter, vanilla extract, and a dash of salt. Beat with a hand mixer (or stand mixer) on medium-high speed until the mixture is incredibly creamy, light, and smooth, scraping down the sides of the bowl as needed to ensure everything is incorporated.
-
Pour the slightly cooled melted chocolate into the creamy frosting base. Beat again on medium speed until everything is well combined and the frosting is beautifully light, fluffy, and consistently chocolatey. If the frosting is too thick, add more milk or cream a teaspoon at a time; if too thin, add more sifted powdered sugar.
-
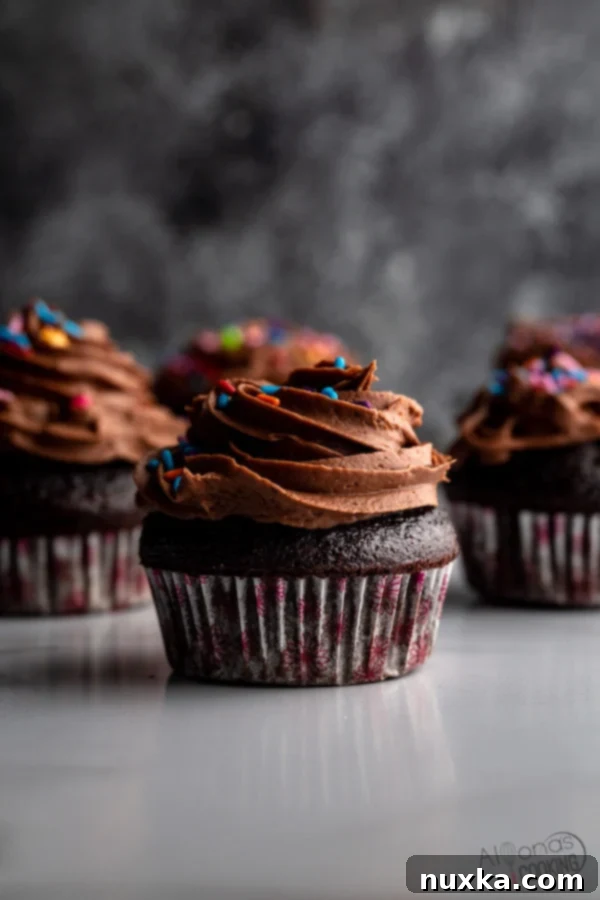
Once the cupcakes are completely cool, frost them generously using a piping bag with your favorite large tip (like a star tip or round tip), or simply use an offset spatula for a rustic look. Decorate with sprinkles, chocolate shavings, or any other desired toppings!
Recipe Notes
Expert Tips for Chocolate Cupcake Success
Achieving bakery-quality super moist chocolate cupcakes at home is easier than you think, especially with these helpful tips and tricks. Follow these guidelines to ensure your cupcakes turn out perfectly every time:
- **Room Temperature is Key (for Serving Frosted Cupcakes):** As noted in the recipe, our delicious homemade chocolate frosting can firm up in the refrigerator. For optimal softness, creaminess, and flavor, always serve your frosted chocolate cupcakes at room temperature. Plan to take them out of the fridge at least 1-2 hours before serving.
- **Sprinkle Smarts:** To ensure your colorful sprinkles adhere beautifully and don’t slide off the frosting, apply them immediately after piping. Once the frosting begins to set and crust over, sprinkles might not stick as well, losing their vibrant appeal.
- **Do Not Overmix the Batter:** This is one of the most crucial tips for light and fluffy cupcakes. Overmixing the cupcake batter develops the gluten in the flour too much, leading to tough and dense cupcakes. Mix only until the ingredients are just combined and no dry streaks of flour remain. A few small lumps are perfectly fine and often indicate a tender crumb.
- **Quality Ingredients Matter:** While this recipe uses simple, accessible ingredients, their quality can significantly impact the final taste. Use good quality unsweetened cocoa powder for a richer, more profound chocolate flavor, and pure vanilla extract for the best aroma and taste. High-quality chocolate chips for the frosting also make a difference.
- **Filling Cupcake Liners Correctly:** For uniform and perfectly domed cupcakes, consistency is key when filling your liners. Aim for about two-thirds to three-quarters full. This allows the batter enough space to rise beautifully without overflowing, preventing messy “mushroom tops” or sunken centers. An ice cream scoop works wonders for consistent portions.
- **Cool Completely Before Frosting:** It’s incredibly tempting to frost warm cupcakes, but resist the urge! Warm cupcakes will melt the delicate frosting, creating a messy, runny result. Ensure your cupcakes are completely cool to the touch (usually 30-60 minutes after coming off the wire rack) before adding any frosting.
- **Accurate Measuring of Flour:** When measuring flour, always spoon it into your measuring cup and then level it off with a straight edge (like the back of a knife). Do not scoop directly from the bag, as this compacts the flour and can result in using too much flour, leading to dry and crumbly cupcakes.
- **Don’t Open the Oven Door Prematurely:** Resist the temptation to open the oven door during baking, especially in the first 15 minutes. This can cause a sudden drop in temperature, which can make the cupcakes fall or sink in the middle. Use your oven light to check on their progress.
- **Testing for Doneness:** A simple toothpick or wooden skewer inserted into the center of a cupcake should come out clean or with a few moist crumbs attached, but never with wet batter. If it comes out wet, bake for a few more minutes.
- **Altitude Adjustments:** If you live at a high altitude, you might need to make slight adjustments to baking time, temperature, or leavening agents. Research high-altitude baking tips specific to your location if you consistently have issues.
Frequently Asked Questions (Q&A) About Chocolate Cupcakes
Can you freeze unfrosted chocolate cupcakes?
Absolutely! Freezing unfrosted chocolate cupcakes is an excellent way to prepare ahead for future events or simply to have a stash of homemade treats. Once completely cooled, place them in a single layer in an airtight freezer-safe container or a freezer-safe zip-top bag. They can be frozen for up to 2 months. To prevent freezer burn and maintain freshness, ensure they are securely wrapped. Thaw them overnight in the refrigerator or at room temperature for a few hours before frosting and serving. This method keeps them incredibly fresh and moist.
Can you make these chocolate cupcakes ahead of time?
Yes, you can certainly make these delicious chocolate cupcakes ahead of time! Baked, unfrosted cupcakes can be stored in an airtight container in the refrigerator for up to 4 days. For optimal softness and flavor, it’s highly recommended to bring them back to room temperature for at least 12 hours before frosting and serving. This allows the crumb to soften and the flavors to fully develop, mirroring the fresh-baked experience. Frost them just before your event for the best presentation.
How full should I fill my cupcake liners for perfect chocolate cupcakes?
For perfectly risen and beautifully domed chocolate cupcakes, aim to fill your cupcake liners approximately three-quarters of the way full. This means they should be almost full, but not completely to the brim. Leaving a little space at the top allows the batter enough room to rise beautifully without spilling over, resulting in a neat, professional-looking, and appealing finished product. Overfilling can cause messy overflows and uneven tops.
What is the best piping tip for frosting chocolate cupcakes?
For decorating chocolate cupcakes and achieving those beautiful, generous swirls of frosting, using large piping tips is highly recommended. I personally love and own multiple sets of Wilton XL piping sets. These sets are incredibly versatile; the large round (1A) and star tips (1M, 2D) are perfect for cupcakes, creating stunning effects with ease. The big flat tip can even be used for piping larger items like Macarons, so investing in a multi-use set like this is a smart choice for any home baker. Smaller piping tips are generally better suited for intricate details like rose petals or fine line work, but for a classic cupcake swirl, go big!
Why do some chocolate cupcake recipes call for buttermilk?
Buttermilk is a common acidic liquid used in baking, particularly when combined with baking soda. The acidity in buttermilk reacts with baking soda to produce carbon dioxide gas, which creates a light and airy texture in baked goods. This chemical reaction also helps neutralize any bitter aftertaste that baking soda might otherwise leave. While many chocolate recipes use buttermilk, our recipe is designed to work beautifully without it. We rely on the natural acidity of cocoa powder combined with baking soda to achieve a tender crumb and excellent rise. This makes our recipe simpler and more accessible, proving you don’t always need buttermilk for delicious, fluffy chocolate cupcakes. You could technically substitute buttermilk for regular milk if desired, along with a slight adjustment to the baking soda, but it is not necessary for this specific formulation.
Even More Expert Baking Tips for Your Chocolate Cupcakes
Beyond the recipe instructions, these additional insights will further elevate your cupcake baking game, ensuring consistently perfect results and making you a true chocolate cupcake master:
- **The Magic of Cocoa Powder:** The type of cocoa powder you use significantly impacts the chocolate flavor of your cupcakes. Natural unsweetened cocoa powder (like Hershey’s regular) creates a classic, slightly acidic chocolate taste, which reacts well with baking soda. Dutch-processed cocoa, on the other hand, is less acidic, yielding a darker color and a milder, less bitter flavor. For a truly deep, rich chocolate experience, a blend of both or using a high-quality dark cocoa (as mentioned in our ingredients suggestion) is fantastic.
- **Creative Toppings Beyond Sprinkles:** While sprinkles are fun, don’t stop there! Consider adding mini chocolate chips (to the batter or on top of the frosting), elegant chocolate shavings, a decadent drizzle of caramel or chocolate sauce, finely chopped nuts, or even fresh raspberries or sliced strawberries for added flair, flavor, and visual appeal.
- **Baking in Batches (If Needed):** If you only have one muffin tin and your recipe yields more than 12 cupcakes, bake in batches. It’s important not to let the remaining batter sit for too long between batches, as the leavening agents will gradually lose their potency, potentially affecting the rise of later batches.
- **Serving Suggestions:** These super moist chocolate cupcakes are perfect on their own, but they also pair wonderfully with a scoop of premium vanilla bean ice cream, a hot cup of coffee or espresso, or a comforting glass of milk. They are excellent for birthday parties, potlucks, or just as an indulgent everyday treat.
- **Clean Edges for Frosting:** For a professional look, once your cupcakes are cool, you can gently trim any slightly uneven tops with a serrated knife to create a flat surface for frosting. This isn’t strictly necessary but helps if you’re aiming for perfection.
- **Store Frosting Correctly:** If you make the frosting ahead of time, store it in an airtight container in the refrigerator for up to 3 days. Before using, let it come to room temperature and re-whip it with a mixer until it’s light and fluffy again. You might need to add a splash more milk or cream if it’s too stiff.
We hope you thoroughly enjoy making and devouring these delightful super moist chocolate cupcakes. They are truly the best way to enjoy a classic treat with minimal effort and maximum flavor, proving that homemade is always better. Happy baking!
