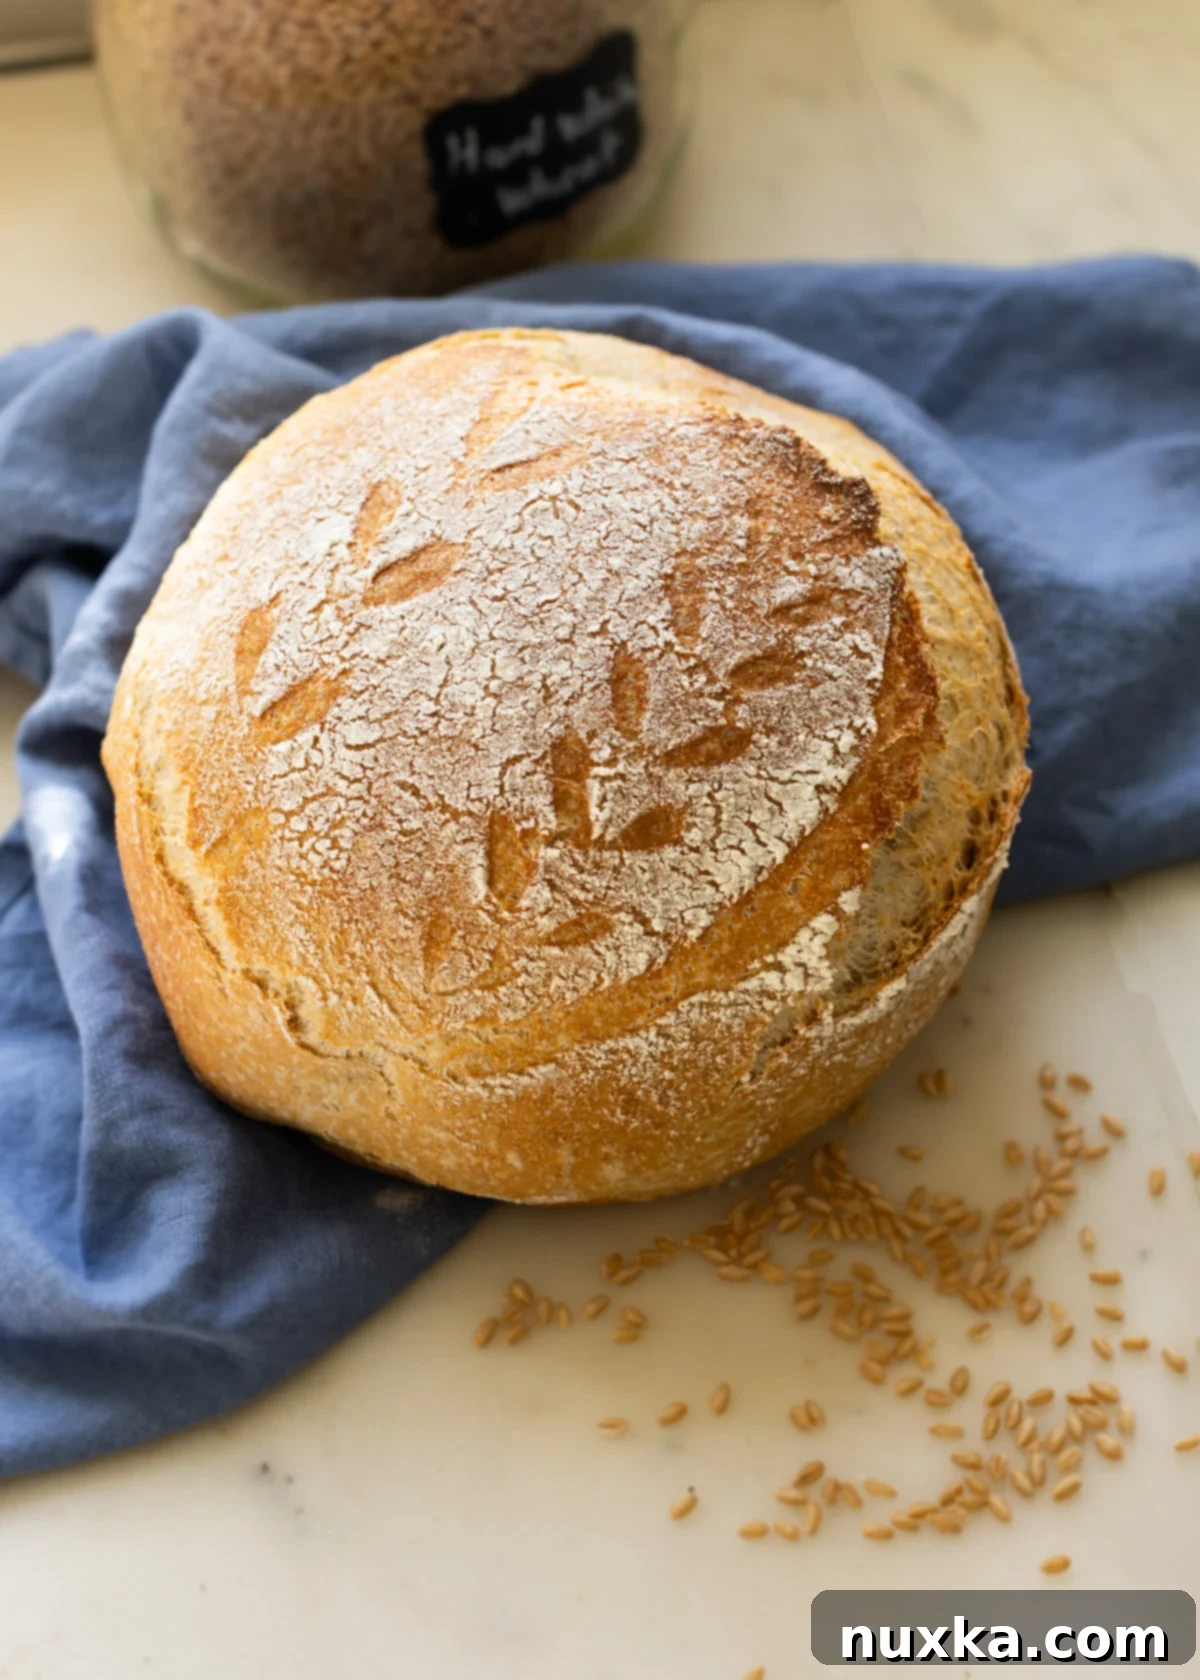
Mastering 100% Whole Wheat Sourdough Bread with Freshly Milled Flour: Your Ultimate Artisan Boule Guide
Embark on a delightful baking journey to create the perfect 100% Whole Wheat Sourdough Bread, utilizing the incredible flavor and nutrition of freshly milled flour. This artisanal loaf, reminiscent of the rustic European boule, is a celebration of whole grains, offering a deeply satisfying taste and texture that store-bought breads simply can’t match. If you’ve been searching for a wholesome, homemade bread recipe that truly nourishes, your quest ends here.
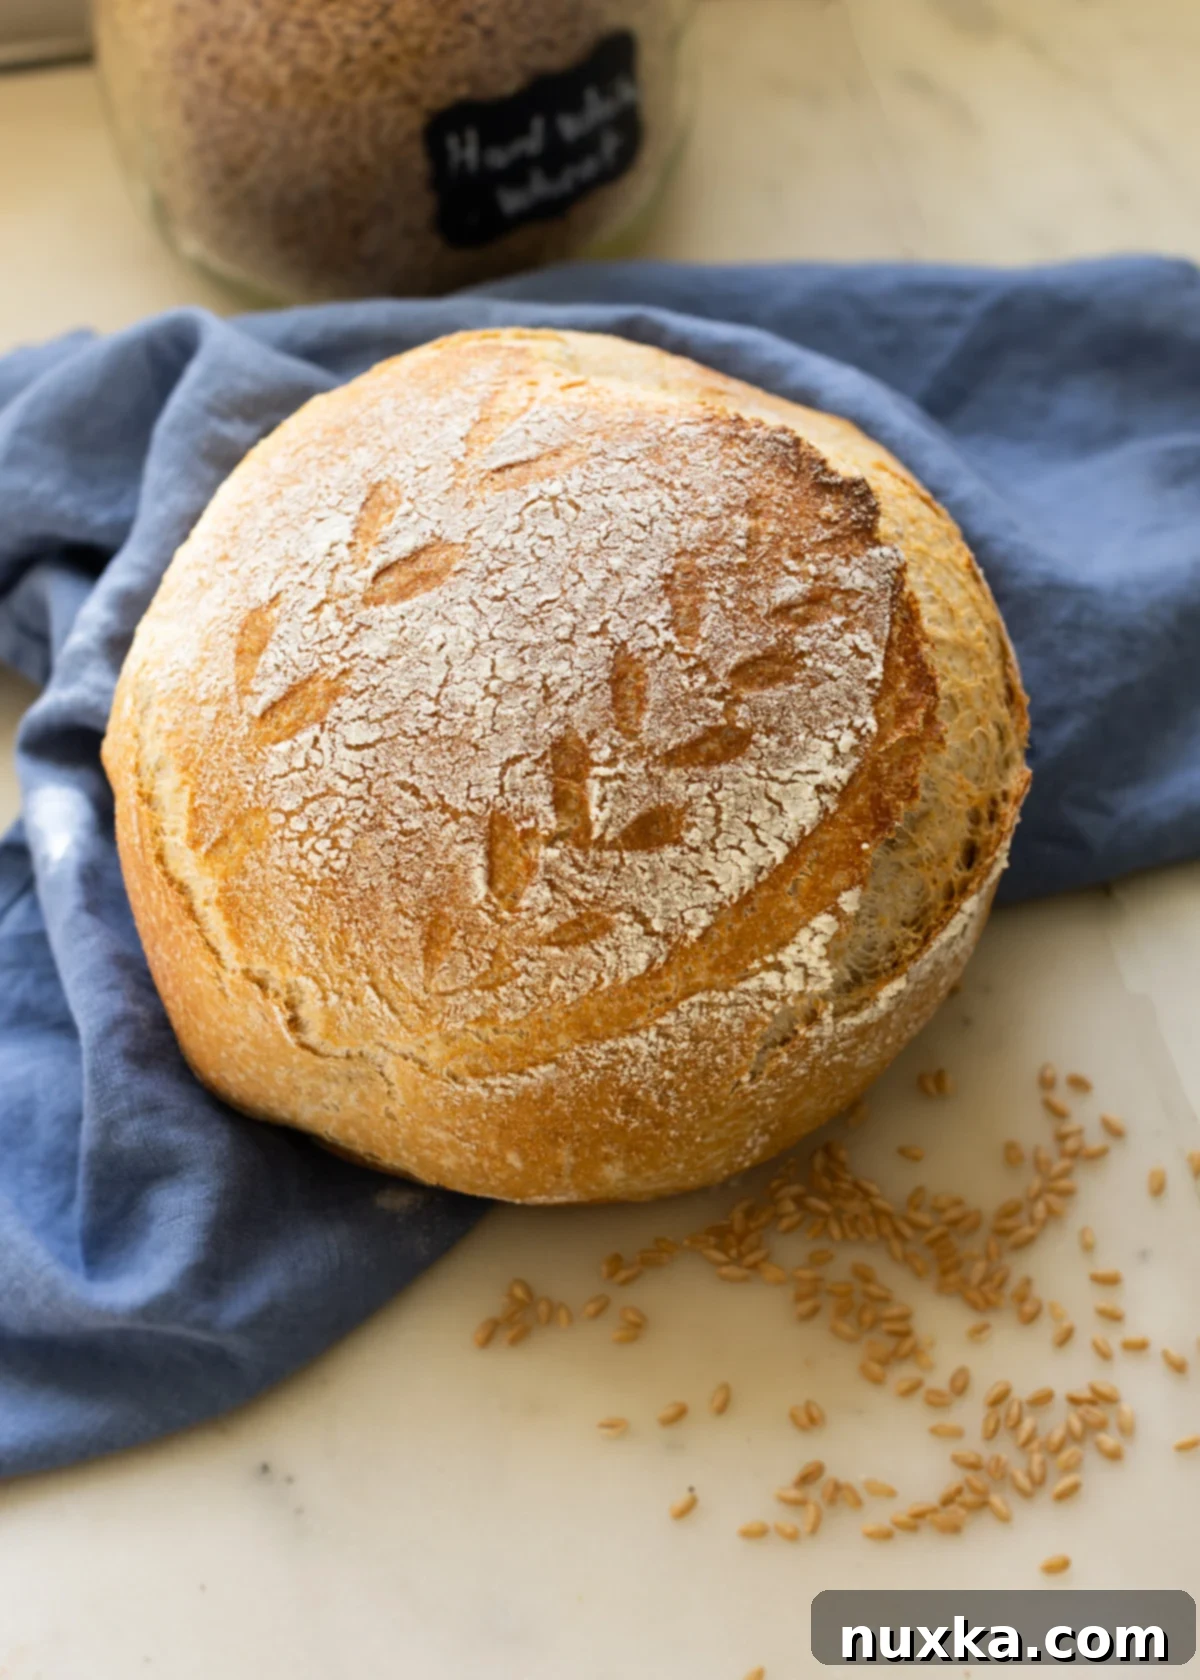
The Magic of Sourdough and Freshly Milled Flour
A vibrant sourdough starter is truly the heart of exceptional bread-making, especially when working with wholesome grains. It acts as a natural leavening agent and a powerful digestive aid, transforming simple flour and water into a complex, gut-friendly food. Initially, I experimented with pre-soaking whole wheat flour overnight with water and then adding a minimal amount of starter the next day. However, through diligent practice, I discovered that incorporating a more generous amount of active sourdough starter allows for a quicker, more efficient fermentation process. This means you can achieve a truly artisanal loaf, ready for baking on the very same day, without compromising on flavor or health benefits.
My personal journey with bread baking has evolved significantly, driven by a desire for optimal health and nutrition. This is precisely why my focus has consistently shifted towards combining the ancient art of sourdough with the unparalleled benefits of freshly milled flour. It’s a powerful duo that unlocks the full potential of whole grains, providing superior flavor, texture, and digestibility.
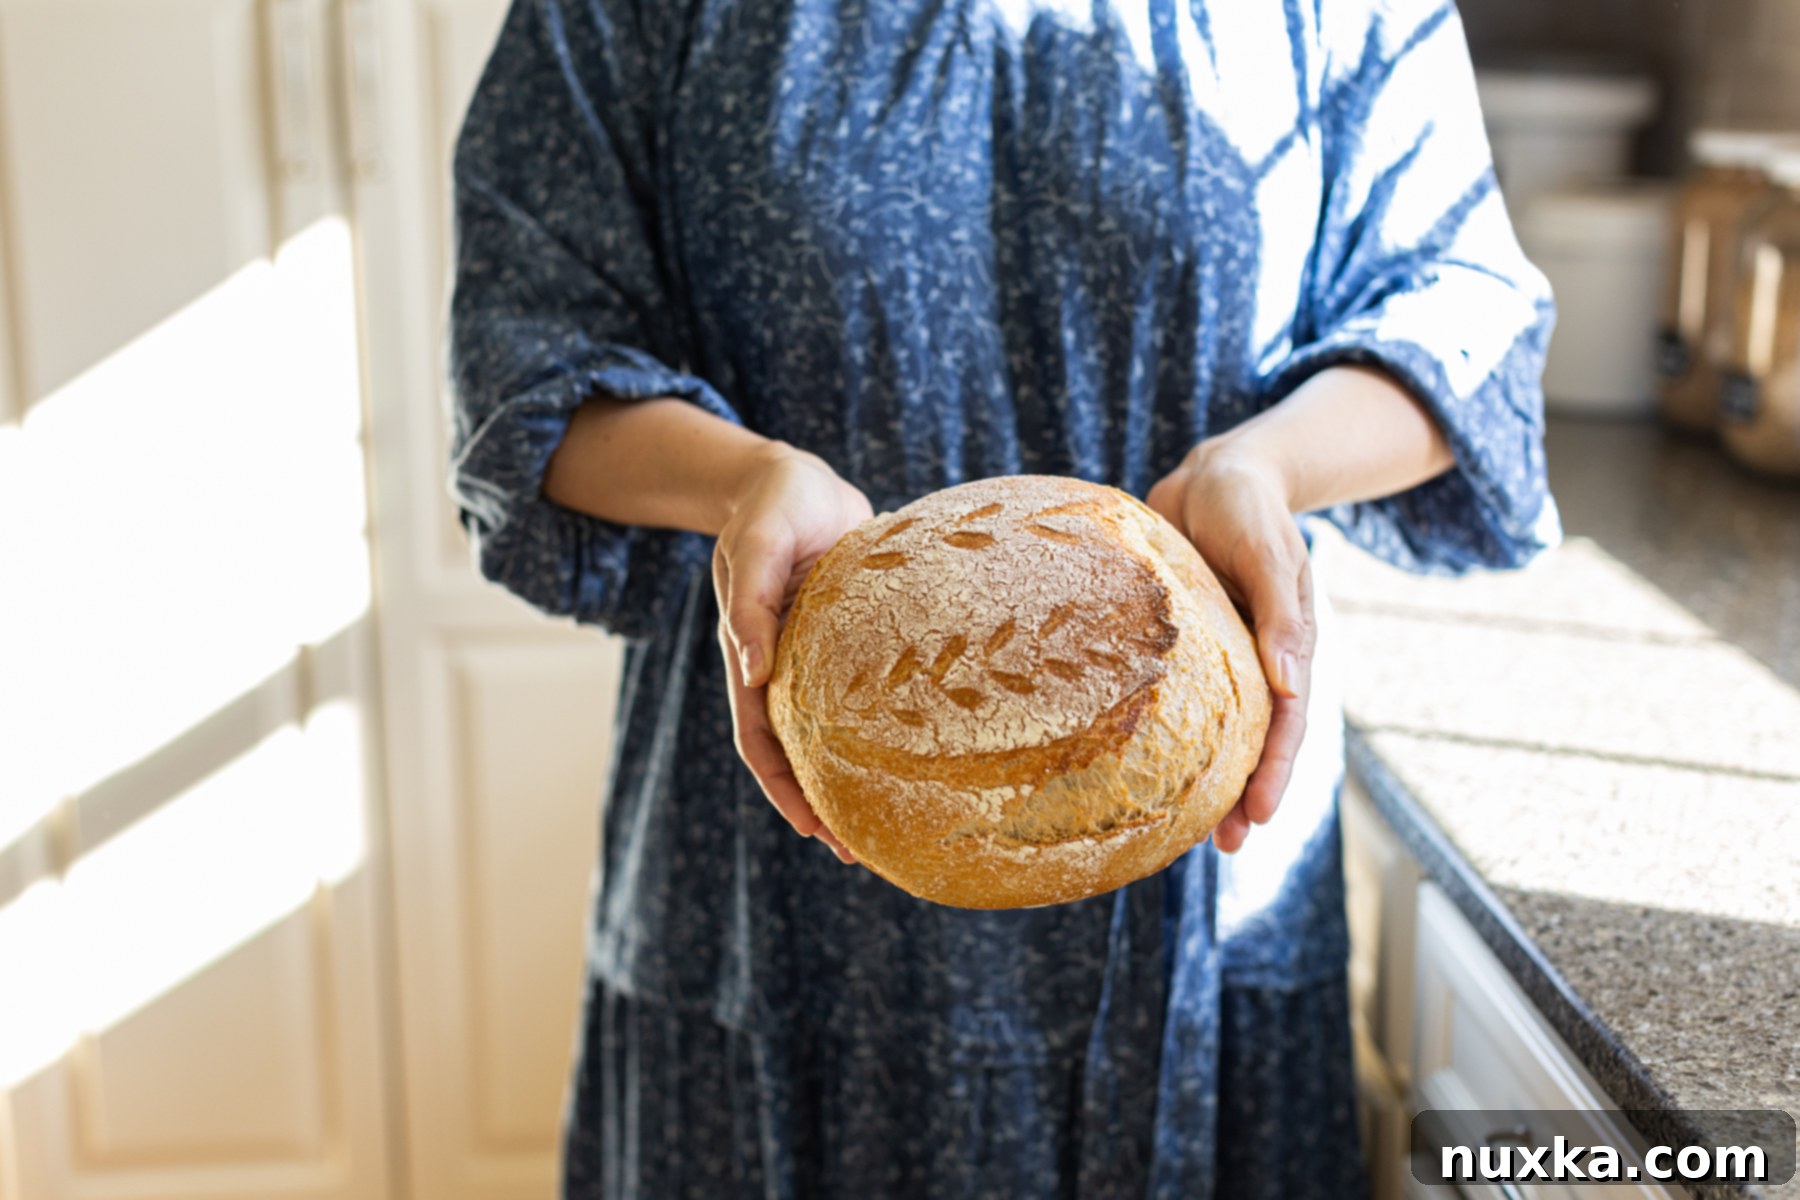
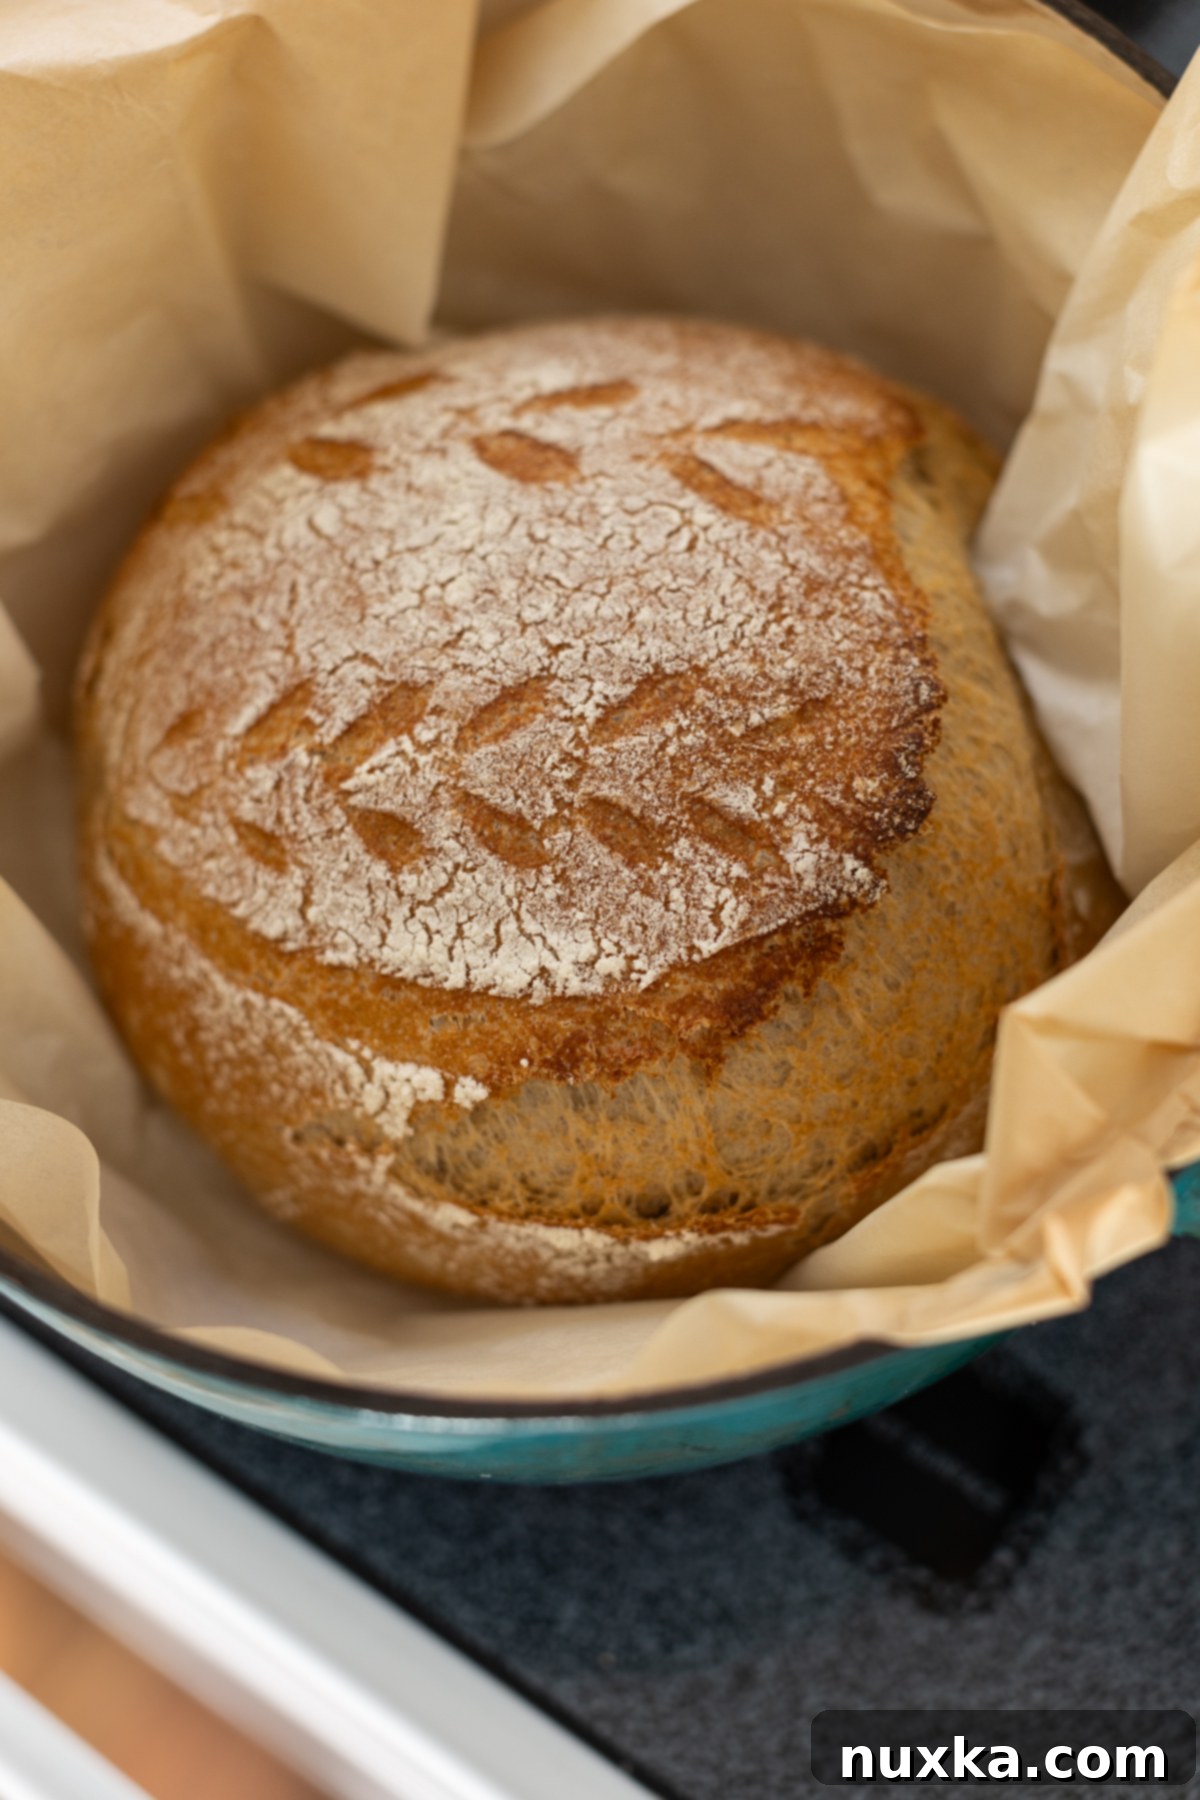
This beginner-friendly sourdough bread typically exhibits a beautiful, lightly golden hue, thanks to the use of lighter-colored grains like hard white wheat. For those craving a deeper, heartier flavor and a more robust appearance, opting for hard red wheat will yield an exceptionally delicious and rustic sourdough boule.
Freshly milled flour refers to whole wheat kernels ground right at home using a grain mill. This process transforms whole grains into whole wheat flour, retaining all the bran, germ, and endosperm – the nutritional powerhouse of the grain. This milling method has become a fundamental and cherished part of my bread-baking routine, ensuring maximum freshness and nutrient content in every loaf.
Whole-grain breads are a beloved staple in our farmhouse kitchen, and I make it a priority to bake new batches of sourdough breads using whole grains every week. You can even watch my Video here to see the process in action. Among my frequently repeated favorites are this versatile Whole Wheat Sourdough Sandwich Bread Recipe and, of course, this incredible Whole Wheat Sourdough Boule.
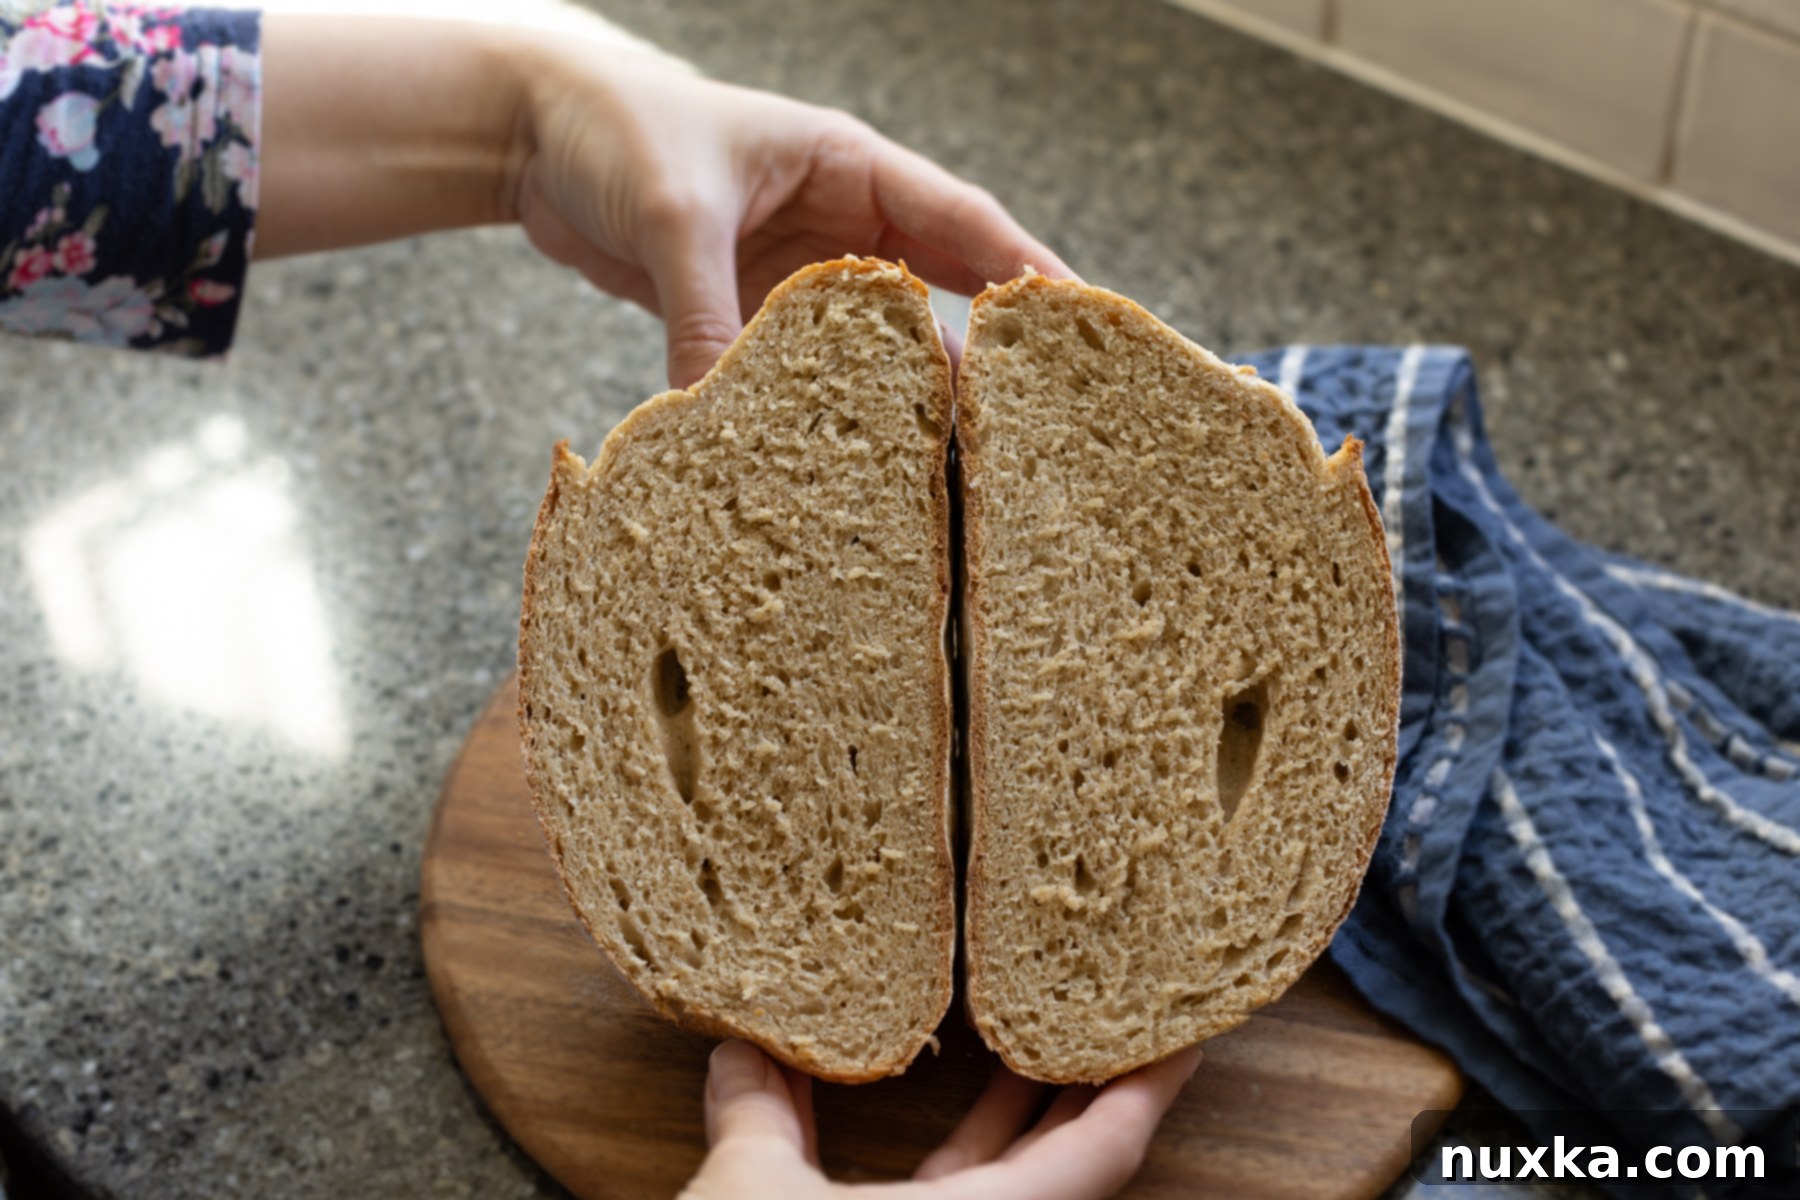
Crafting Your Whole Wheat Sourdough Boule: A Beginner’s Guide
Creating a beautiful, round loaf of crusty sourdough bread at home is more accessible than you might think. The sourdough boule is often considered the ideal beginner’s loaf due to its straightforward method and minimal ingredient list. It was, in fact, one of the very first artisan breads I mastered as a home sourdough baker, and it quickly became a foundational recipe.
To simplify the process, imagine these core steps: source your whole wheat kernels, mill them into fresh flour, hydrate the dough with an active sourdough starter, and finally, incorporate salt. With a little practice, this routine becomes second nature, and you’ll soon memorize the fundamental recipe.
The beauty of homemade bread lies in understanding the interplay of ingredients and techniques. For instance, you’re essentially swapping commercial yeast for wild yeast (your sourdough starter), and often employing gentle folding techniques instead of aggressive kneading. Similarly, you’re choosing nutrient-rich, high-protein whole wheat flour over highly processed white flour. Any home baker can easily adopt these simple yet transformative methods, and before you know it, you’ll be producing professional-quality bread with confidence and flair. This specific whole wheat sourdough recipe is thoughtfully designed for beginners, requiring only a handful of essential ingredients to produce an extraordinary loaf.
The Profound Benefits of Sourdough
Sourdough is far more than just a natural leaven; it’s a living culture that brings remarkable benefits to homemade bread. A thriving sourdough starter is teeming with beneficial bacteria and enzymes. These microorganisms are crucial because they initiate a natural fermentation process that actively breaks down the complex carbohydrates and proteins in wheat flour. This breakdown makes the bread significantly easier to digest and enhances its nutritional value. During this magical fermentation, many essential nutrients become more bio-available to your body, meaning you can absorb and utilize them more effectively.
To ensure a successful bake, begin by feeding your starter with a fresh mixture of flour and water. This “refreshment” ensures it is active and robust enough to properly leaven your dough. This stage, often referred to as the pre-ferment or “feeding,” typically takes anywhere from 4 to 12 hours, depending on the ambient temperature and the vigor of your starter. This particular whole wheat sourdough bread recipe employs a ‘no-knead’ method, which relies on time and gentle handling rather than intensive kneading. As a result, both the bulk fermentation and proofing stages will naturally take longer than a loaf made with commercial baker’s yeast. Plan for at least 5 hours for the bulk fermentation alone to allow the dough to develop its characteristic flavor and structure.
Exploring Wheat Varieties for Your Boule
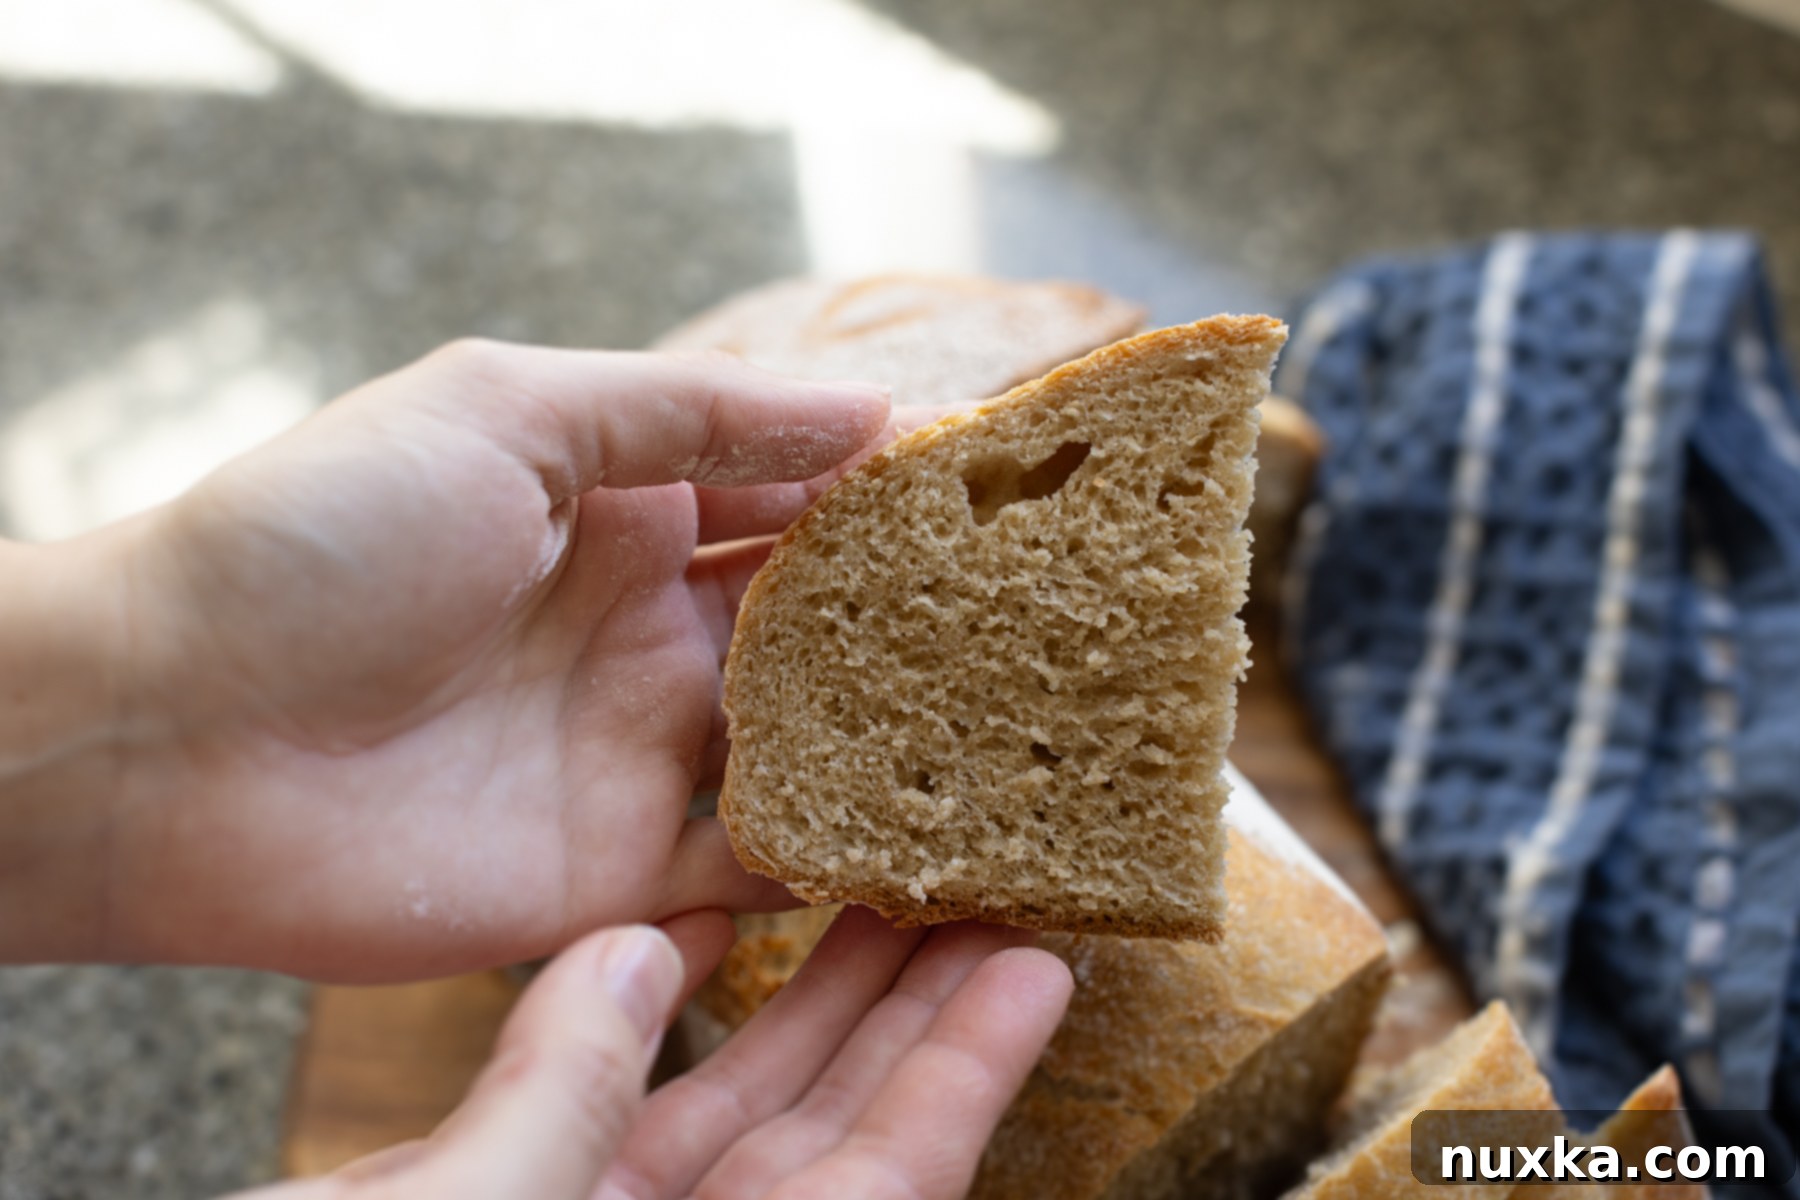
I personally favor using hard white wheat grain. It strikes a perfect balance, sitting happily between the high-gluten content of Hard Red Wheat and lower-gluten varieties such as soft white wheat or Spelt. Hard white wheat also possesses a wonderfully mild flavor, yielding a lighter-colored loaf that often resembles bread made from white flour. Feel empowered to experiment and mix and match different grains in small amounts! However, remember that a higher gluten percentage, typically found in hard wheat varieties, is essential for creating a well-structured loaf with a satisfying chew. For instance, a good rule of thumb is to combine 1 part of any low-gluten grain (like rye flour) with 3 parts of a hard wheat (such as hard white flour) to maintain optimal dough structure and rise.
Vital Wheat Gluten: To Use or Not to Use?
While you certainly have the option to omit the small amount of vital wheat gluten in this whole wheat sourdough recipe, its inclusion serves a distinct purpose. Adding vital wheat gluten to the dough significantly enhances its structure and elasticity. This allows the dough to develop a stronger gluten network, which in turn helps the loaf achieve a better rise, a more open crumb, and a texture that closely resembles bread made from conventional white flour. The recipe calls for a minimal amount, which, in my experience, is a more beneficial approach than substituting with cups of refined white flour. If you choose to leave it out, I highly recommend using a blend that includes hard red wheat to naturally compensate for the additional gluten, ensuring your loaf still achieves excellent structure and rise.
My Essential Grain Mill: The Key to Superior Flour
An electric grain mill grinder, powered by a high-speed motor, is an absolute game-changer for any serious bread baker. It produces exquisitely fine-textured bread flour in mere seconds. As someone deeply passionate about baking, I needed a compact yet powerful machine that could consistently deliver day after day. My go-to, and a tool I wholeheartedly endorse, is the WonderMill grain mill.
Once the whole wheat kernels are ground in such a mill, they are transformed into an exceptionally fine powder. This fine texture is crucial because it allows the flour to absorb water more efficiently and form strong gluten bonds. For any bread dough, particularly sourdough, a robust gluten network is absolutely critical. It provides the elasticity needed for the dough to stretch, expand, and hold its shape without tearing, leading to that coveted open crumb. Therefore, utilizing finely milled flour is a key secret to baking the best possible whole-grain sourdough bread, elevating your results from good to truly extraordinary.
Essential Tools for Sourdough Success
One of the beauties of sourdough bread baking is its minimalist equipment requirement. You don’t need a kitchen full of fancy gadgets; the most crucial “ingredients” are simply wheat flour, salt, water, and your active sourdough starter. However, a few key tools can significantly enhance your baking experience and results.
While I personally prefer baking my sourdough in a cast-iron Dutch oven for that undeniably crusty exterior, my mother achieves similarly fantastic artisan loaves using an Aluminum pot equipped with an oven-safe lid. The aluminum option is notably lighter and just as effective at creating the essential steamy environment within the pot, which is vital for a good oven spring and a blistered crust. Parchment paper serves as an excellent barrier, preventing the bread from sticking directly to the pot. If you don’t have a Dutch oven or a lidded pot, don’t worry! Many creative hacks exist to generate steam in your oven, so feel free to explore options like a tray of hot water or spraying the oven walls. Creativity is often a baker’s best friend!
I’ve also learned that a specialized banneton basket isn’t strictly necessary. In fact, after shaping my loaf, I often store it in a simple glass bowl lined with parchment paper. For longer, cold fermentation periods, it’s a good practice to lightly dust the parchment paper with rice flour. Unlike wheat flour, rice flour doesn’t readily absorb into the dough, effectively preventing any sticking. This ensures your beautifully shaped loaf retains its integrity.
For an added touch of charm and a true home-baking vibe, I love to keep my dough in antique pottery during the bulk fermentation and stretch and fold stages. It looks beautiful on the counter and makes the process even more enjoyable.
Another truly indispensable tool for sourdough baking, particularly with whole grains, is a reliable kitchen scale. This is critical for consistent results because whole wheat flour absorbs liquid differently depending on various factors. Precise measurements, achieved with a scale, eliminate guesswork. You don’t need an expensive model; even an affordable one from a dollar store will do the job perfectly.
For detailed, step-by-step photos accompanying the recipe, please refer to the recipe card located further down the page.
How To Make a Whole Wheat Sourdough Boule: Detailed Steps
- Initial Mix (Autolyse): In a large mixing bowl, combine the warm, filtered, and unchlorinated water, your vibrant active sourdough starter, and the freshly milled wheat flour. If you choose to use vital wheat gluten, add it at this stage. Use your hands or a sturdy wooden spoon to mix everything until just combined. The dough will feel sticky, but don’t worry; it will become much more manageable after it rests and fully hydrates. This initial rest period is known as the Autolyse.
- Salt Incorporation & Hydration: After 20 minutes of autolyse, add the salt to the dough. Mix it thoroughly with your hands, ensuring the salt is evenly distributed. Cover the bowl and let the dough rest for another 30 minutes. During this time, the dough should have absorbed more liquid and developed a slightly thicker, less sticky consistency. It’s important to achieve a dough that isn’t excessively sticky or dense, as this will make the subsequent stretch and folds much easier. Keep in mind that environmental factors, like humidity on a rainy day, can sometimes affect dough consistency, potentially requiring a tiny bit more flour.
- Building Strength (Stretch and Folds): This boule recipe is a “no-knead” method, meaning traditional kneading is not required. Instead, the gluten network is developed through periodic “stretch and folds.” To perform this, gently pull one side of the dough up and fold it over to the opposite side. Rotate the bowl a quarter turn, and repeat this process for the other two sides of the dough. Aim for a total of 3-4 sets of stretch and folds, spaced out over the next hour or so, allowing the dough to rest for 15-20 minutes between each set. This gentle action builds strength and elasticity.
- Bulk Fermentation: Once your stretch and folds are complete, cover the dough securely in its bowl and allow it to bulk ferment for at least 5 hours at room temperature. The exact time can vary depending on the warmth of your room and the activity of your starter. You’re looking for the dough to visibly increase in size, ideally doubling, and become bubbly with a domed top.
- Shaping Your Boule: Lightly dust a clean silicone mat or your countertop with a minimal amount of flour (this prevents sticking without incorporating too much extra flour into your dough). Gently invert your dough onto the prepared surface. Pat it lightly into a rough rectangle. Fold the sides of the rectangle inwards, like folding a letter. Then, starting from the opposite end, gently roll the dough upwards, creating tension. Once rolled, use your hands to gently whirl the dough against the surface, shaping it into a tight, round ball. This surface tension is crucial for achieving a good rise and an appealing round shape.
- Final Proofing (Bench Rest): Place your shaped loaf onto a piece of parchment paper that has been lightly dusted with rice flour. Rice flour is preferred here because it doesn’t absorb into the dough like wheat flour, preventing sticking during proofing. Carefully transfer the loaf and parchment paper into a bowl that is roughly the same size as your loaf. This support prevents the dough from spreading out and losing its shape. Allow it to rest and proof for up to one hour at room temperature.
- Preheating the Oven: While your loaf is in its final proof, preheat your oven to 450°F (232°C) with your cast-iron Dutch oven inside. Preheating the Dutch oven is essential for creating that burst of steam and a crispy crust.
- Baking: Once the oven and Dutch oven are fully preheated, carefully remove the hot Dutch oven. Gently lower the proofed loaf, still on its parchment paper, into the hot pot. Cover with the lid and bake for 35 minutes. After this initial covered bake, remove the lid and continue baking for another 12 minutes to allow the crust to beautifully brown and crisp up. Finally, remove the loaf from the Dutch oven after 5 minutes, and transfer it to a wire cooling rack to cool completely before slicing. This cooling step is vital for the internal structure and flavor to set properly.
My Baking Schedule as a Busy Mom
As a busy mom, efficiency and planning are key to enjoying homemade whole wheat sourdough artisan bread on the same day. My typical schedule involves feeding my sourdough starter early in the morning, usually before the kids wake up or right after. Then, around noon, I mix the dough for my loaf. By late afternoon or early evening, the dough is typically ready to be shaped and baked, allowing us to enjoy a fresh loaf for dinner. The secret to this expedited timeline is using a very bubbly, active, and robust sourdough starter. Just like proofing commercial yeast, starting with a lively, well-fed starter is paramount for successful and timely results.
However, the true beauty of sourdough, and particularly cold fermentation, offers incredible flexibility. If your day doesn’t allow for same-day baking after the bulk fermentation, you can simply shape your dough and refrigerate it overnight. After shaping, place the loaf seam-up onto parchment paper dusted with rice flour and then into a bowl that supports its shape. Cover the bowl tightly with plastic wrap to prevent a dry crust and refrigerate for up to 36 hours. The longer the cold fermentation, the more pronounced and complex the sour and tangy flavors of your bread will become.
When you’re ready to bake after cold fermentation, simply remove the loaf from the fridge, invert it (so the seam is now on the bottom), lightly rub the top with flour, and score a design into the crust with a sharp blade. Place it back onto the parchment paper and proceed with baking as per the recipe instructions. No need to wait for it to come to room temperature!
Storing Your Wholesome Whole Wheat Sourdough Bread
Proper storage ensures your delicious whole wheat sourdough bread remains fresh and enjoyable. At room temperature, a homemade sourdough loaf can be stored for up to five days. To keep it at its best, place it in a breathable bread bag, a clean linen bag, or even a large Ziploc bag, ensuring as much air is removed as possible to prevent it from drying out.
For optimal freshness and to preserve that “just-baked” taste, I highly recommend freezing the loaf on the same day it’s baked, as soon as it has completely cooled. Slice the loaf first if you prefer, then wrap individual slices or halves tightly in plastic wrap and then foil, before placing them in a freezer-safe bag. This method allows you to enjoy fresh-tasting bread whenever you desire, simply by thawing and lightly toasting. Fermented whole-grain bread inherently lasts longer than regular yeast bread, as the fermentation process naturally improves its keeping qualities. This is why sourdough products often stay fresh for an extended period compared to other types of bread. A common misconception is to store sourdough bread in the refrigerator; however, this can actually accelerate the staling process and dry out your bread quickly, so it’s best avoided unless you plan to toast it.
Creative Ways To Enjoy Leftover Whole Wheat Sourdough Bread
Even if your delicious loaf becomes a few days old, it’s far from losing its culinary appeal. Sourdough bread, especially whole wheat sourdough, takes on new life in various delightful preparations:
- Transform day-old sourdough bread into flavorful homemade bread crumbs or crispy croutons, perfect for salads or soups.
- Leftover slices make an excellent base for hearty toast alongside scrambled eggs or as the star of a decadent French toast.
- Revive 2-day-old bread by making open-faced sandwich melts. The slightly firmer texture holds up beautifully under a broiler.
- For a quick and delicious side, spread garlic butter over slices of sourdough bread and toast them in the oven, serving alongside your favorite pasta dish.
- We particularly enjoy robust slices of this artisan bread with a comforting bowl of soup, often enhanced with a savory horseradish spread.
Q&A: Common Sourdough Queries
Do You Need to Knead the Dough?
A Whole Wheat Sourdough Boule, especially with this recipe, does not require traditional kneading in a mixer or by hand to develop its gluten structure. Instead, the gluten strands are effectively formed and strengthened through a series of gentle “stretch and folds” performed periodically during the dough’s bulk fermentation. This method is highly effective, particularly when using whole wheat flour that is naturally high in gluten, allowing for a hands-off approach that still yields a beautifully structured loaf.
Can You Partially Bake and Freeze Sourdough Bread?
Yes, you absolutely can partially bake and freeze this Whole Wheat Sourdough loaf for convenience. If you plan to finish baking it at a later time, par-bake the loaf for approximately half the recommended baking duration. Once par-baked, remove it from the oven, allow it to cool completely, and then freeze it securely in a large, airtight freezer bag. When you’re ready to enjoy it, remove the loaf from the freezer, let it thaw fully at room temperature, and then bake it again at a high temperature (e.g., 450°F) until it achieves a beautiful golden-brown crust and is thoroughly cooked through.
Expert Tips For Making Exceptional Whole Wheat Sourdough Bread:
- Freshly Milled Flour: For maximum nutrient content and vibrant flavor, mill your wheat flour right before you begin mixing the dough. This ensures all the beneficial vitamins and minerals are present and active.
- Warm Water: Use warm, but not hot, water in your dough. This helps to kickstart the fermentation process and encourages your sourdough starter to become active more quickly.
- Sharp Scoring Blade: When scoring your loaf before baking, always use a razor blade (lame) or a very sharp knife. A dull blade can drag the dough, resulting in an uneven cut and less impressive “oven spring.”
- Rice Flour for Non-Stick: Rice flour is an invaluable tool for preventing sticking. Unlike wheat flour, rice flour does not readily absorb into the dough. Run any white rice through a grain mill to easily make your own rice flour. Dusting your parchment paper or banneton with rice flour will ensure your loaf releases cleanly.
- Gluten Structure Without Vital Wheat Gluten: If you choose to omit vital wheat gluten, compensate by using a combination of Hard White and Hard Red wheat berries. The higher gluten content in Hard Red wheat will naturally contribute to a better gluten structure and a stronger loaf.
- Avoid Over-Fermentation: Aim to bake your dough within approximately 7 hours from the time you first mix it. Over-fermented dough can lead to a dense, flat loaf. If you plan an overnight fermentation, transfer the dough to the refrigerator after about 4 hours of bulk fermentation at room temperature.
- Achieving a Blistered Crust: Baking at a high temperature and creating a steamy environment in your oven are key to achieving an ideal loaf with a beautiful, blistered crust. Utilizing a preheated cast-iron Dutch oven or a baking stone effectively helps create this texture. A blistered crust is often more pronounced and complex after a longer, cold fermentation period in the fridge.
- Starter Flour Quality: When feeding your sourdough starter, opt for unbleached, unbromated bread flour. These flours contain more active microorganisms, which are beneficial for a vigorous and healthy starter.
- Unchlorinated Water: Always use unchlorinated (filtered) water when feeding your starter cultures and mixing your dough. Sourdough fermentation relies on sensitive microorganisms that can be inhibited or killed by chlorine present in tap water.
- Nutrient-Rich Whole Wheat: Embrace whole wheat flour! Containing the bran, germ, and endosperm, it provides the greatest variety of beneficial organisms and essential minerals, contributing to both flavor and nutrition.
- Maintain Your Starter: Always reserve a small portion of your active sourdough starter for your next batch of dough. Older, established starters tend to be more stable, more predictable, and produce loaves with deeper, more complex flavors.
More Sourdough Recipes Using Whole Grains:
Whether you’re looking for more delicious freshly milled recipes or inspiring sourdough bread creations, we have something to delight every baker!
-
Whole Wheat Sourdough Sandwich Bread with Freshly Milled Flour
-
Whole Wheat Sourdough Bagels with Freshly Milled Flour
-
Sourdough Focaccia Pizza with Freshly Milled Flour
-
Sourdough Biscuits with Freshly Milled Flour
-
Jalapeno Cheddar Sourdough Bagels with Freshly Milled Flour
-
Crusty Sourdough Rolls with Freshly Milled Flour
-
Whole Wheat Sourdough Dinner Rolls
-
Sourdough English Muffins
Rate
Pin
Whole Wheat Sourdough Bread
Equipment
-
1 mixing bowl
-
1 5-quart dutch-oven pot with a lid
-
1 sheet of parchment paper
Ingredients
Ingredients:
-
1 1/2 cups warm water (filtered and unchlorinated)
-
1 1/4 cups active sourdough starter (258 grams)
-
488 grams hard white wheat (freshly milled)
-
2 Tbsp vital wheat gluten (optional* see notes)
-
1 tsp salt
Instructions
Directions:
-
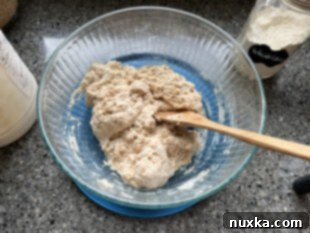 Combine the water, active starter, and freshly ground flour in a large bowl using your hands or a wooden spoon. Let it rest for 20 minutes.
 -
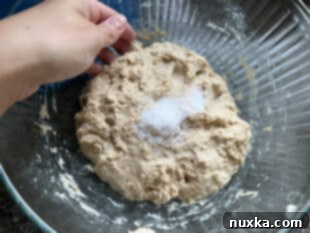 Add the salt and mix well with your hands. Let it rest for 1 hour.
 -
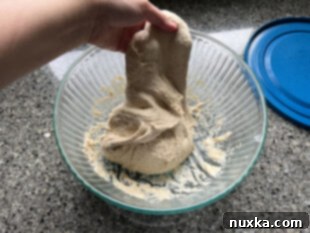 Perform the first stretch and fold by pulling up one side of the dough over the top of the dough. Turn the bowl, and repeat this process for the other two sides of the dough. Do a total of 3-4 stretch-and-folds for the next hour.
 -
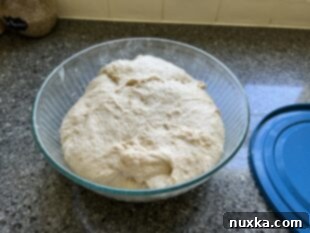 Allow the dough to bulk ferment for 4-5 hours.
 -
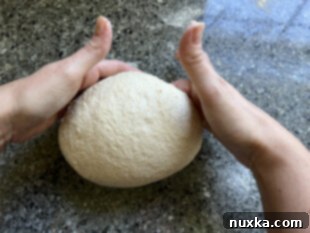 Transfer the dough onto a silicone mat or counter. Pat it into a rectangle shape and fold in the sides to make a letter. Then, on the opposite side, roll it up to form a ball and pinch together the seams. Whirl the dough into a ball.
 -
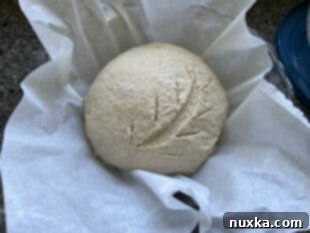 Place the dough onto parchment paper lined with white bread or rice flour*. Rub the top with rice flour and score the top. Put the loaf with the paper into a bowl to rise for up to 1 hour.
 -
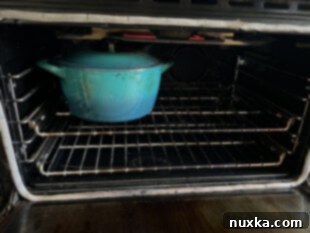 Preheat the oven to 450°F with the cast-iron Dutch. Once preheated, place the loaf inside and cover. Bake for 35 minutes covered, then uncover and bake for 12 more minutes.
Notes
- Feed your sourdough starter 4-12 hours before beginning.
- *Rice flour should be used if fermenting overnight in the fridge as it doesn’t absorb into the dough like wheat flour.
Nutrition per serving
