Mastering Authentic Homemade Polish Pierogi: The Ultimate Potato Dumpling Recipe
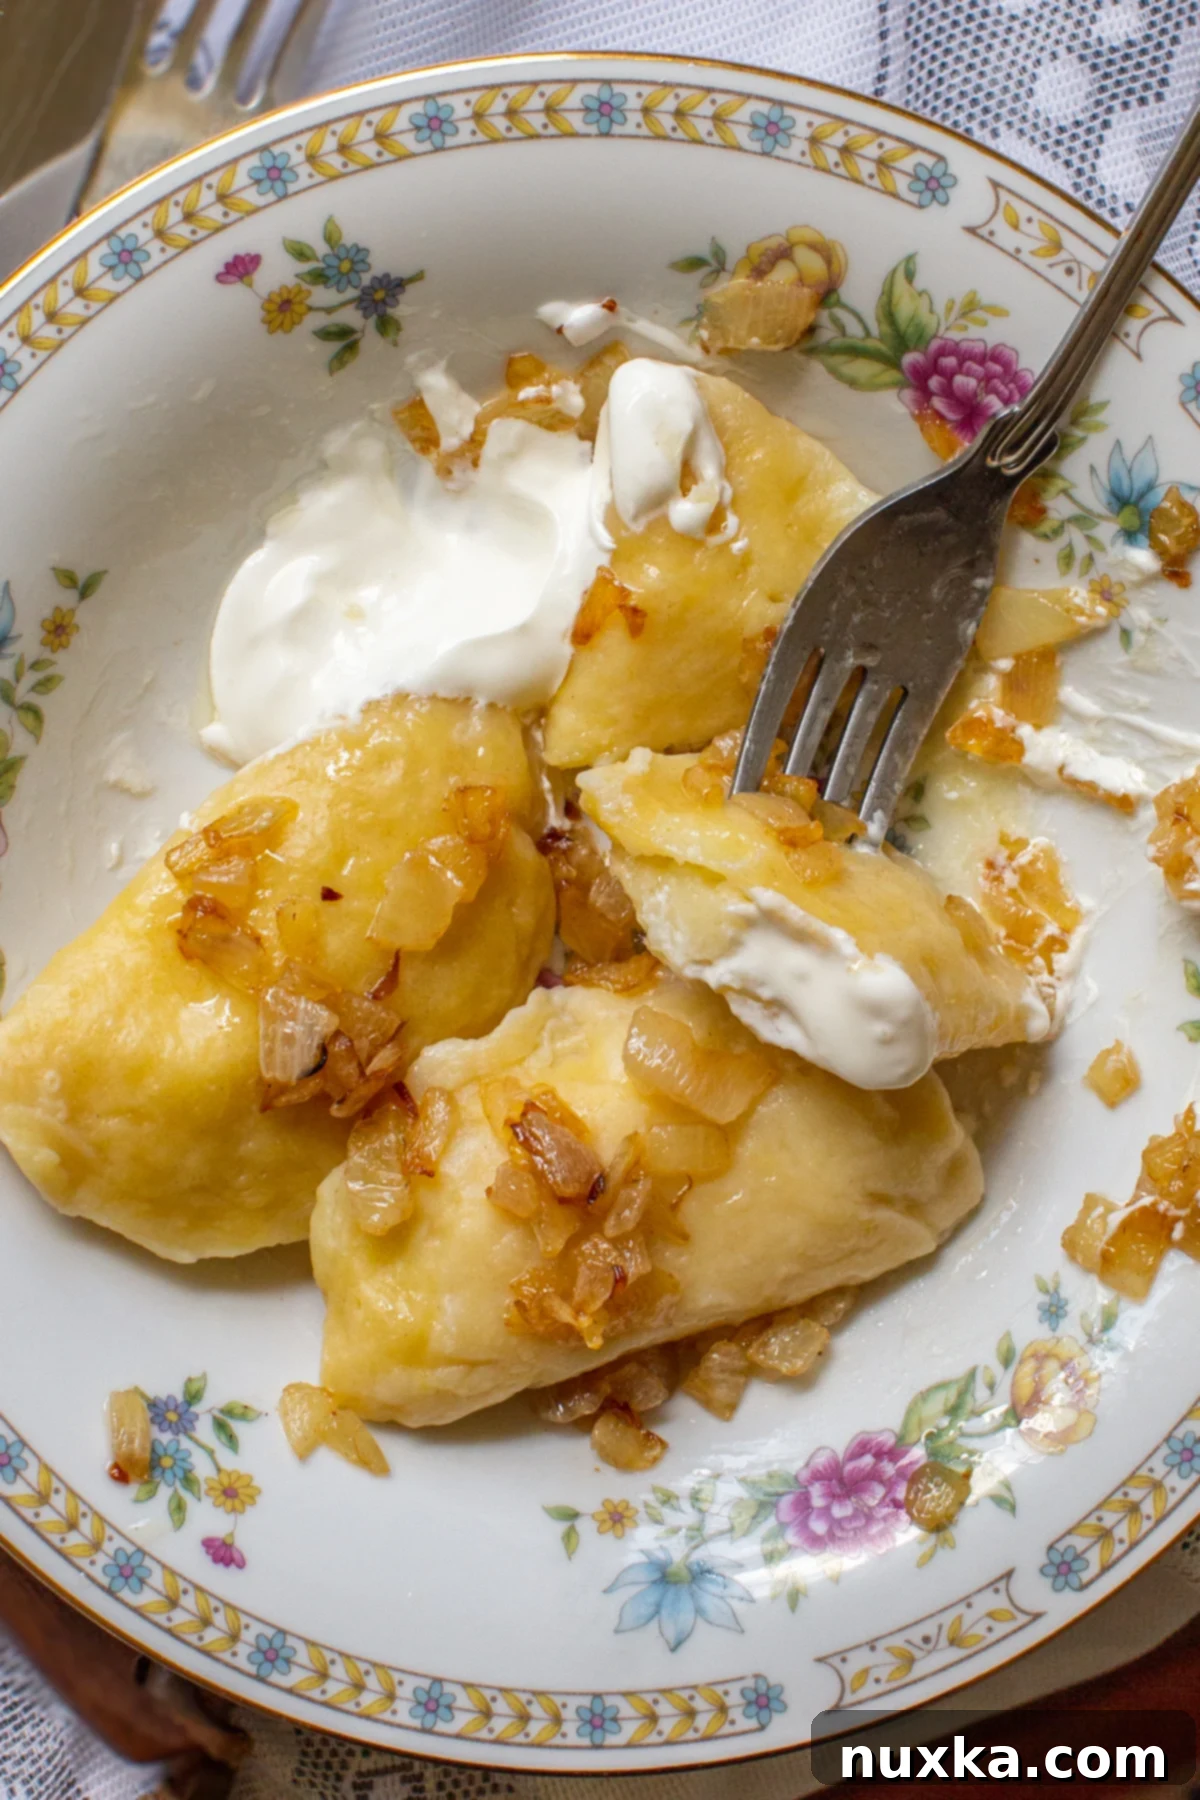
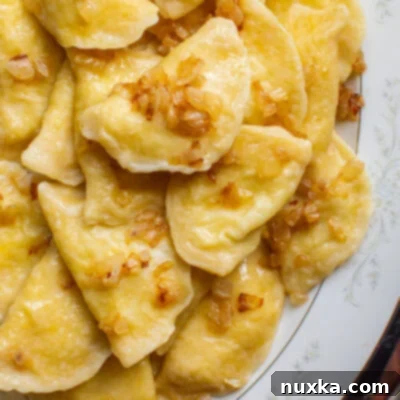
Embark on a culinary journey to Poland right from your kitchen! This comprehensive guide will teach you how to make authentic Polish pierogi with a creamy potato filling from scratch. These beloved potato dumplings, often generously topped with golden sautéed onions and a dollop of cool sour cream, are a staple of Eastern European cuisine and a true comfort food masterpiece. Forget the store-bought versions; homemade pierogi offer an unparalleled taste and texture that will impress family and friends alike. Get ready to discover your new favorite dish!

What Exactly Are Pierogi? A Culinary Delve into Polish Dumplings
Often referred to as the national dish of Poland, pierogi are delicious boiled dumplings made from an unleavened dough, traditionally filled with a variety of savory or sweet ingredients. It’s crucial not to confuse pierogi with pyrohy, which are typically fried Eastern European yeast buns – a common misconception! Pierogi are much more akin to Ukrainian varenyky, known for their soft, chewy dough and satisfying fillings.
While many in North America are familiar with mass-produced frozen pierogi (like the Mrs. T’s brand), nothing compares to the fresh, vibrant flavors and tender texture of homemade pierogi. This recipe guides you through creating a remarkably easy-to-work-with dough that yields superior results every time, far surpassing any frozen alternative you might find.

Pierogi are incredibly versatile and can be served as a hearty main course due to their filling nature. While this recipe focuses on savory potato pierogi, the dough can be adapted for sweet fillings too. If you’re craving sweet dumplings, explore my Varenyky recipe for delightful fruit or farmer’s cheese-filled options. For those who prefer a more robust savory experience, my Cabbage-Filled Pierogies are another fantastic choice.
Choosing the Best Potatoes for Fluffy Pierogi Filling
The secret to a light and fluffy pierogi filling lies in selecting the right type of potato. For optimal results, Russet potatoes are highly recommended. Their high starch content makes them ideal for mashing, yielding a dry, airy texture that is perfect for pierogi. Other excellent choices include red-skinned potatoes (ensure they are thoroughly peeled) or Chef’s potatoes, which also mash beautifully.
When preparing your potatoes, remember to cut them into thick 1/2-inch slices rather than small cubes. This technique ensures more even cooking, preventing some pieces from becoming mushy while others remain undercooked. Always use your favorite “mashing” potato to guarantee a delicious and well-textured filling.
Key Components: The Three Pillars of Perfect Pierogi
Crafting delicious savory homemade pierogi involves three essential elements: the flavorful filling, the supple dough, and the aromatic onion butter sauce. While pierogi can be filled in countless ways, our family favorites include a hearty potato filling or a savory mix of sauerkraut and fried cabbage.
- Pierogi Filling: This recipe primarily focuses on a creamy potato filling, which is surprisingly versatile. You can even use leftover mashed potatoes, making it an excellent way to repurpose ingredients. The recipe card below provides a specific mashed potato recipe tailored for this dumpling dough quantity, but feel free to adapt it with your preferred whipped potato recipe. Mashed potatoes are a staple in Eastern European cuisine, so it’s a natural progression for them to become a delicious filling for dumplings or croquettes. Consider adding a touch of cheddar cheese for a popular potato and cheese pierogi variation!
- Dumpling Dough: The secret to a tender and pliable pierogi dough lies in the addition of sour cream. Sour cream not only enhances the flavor but also contributes to a lighter, more elastic dough that is a joy to work with. I incorporate it into my Pelmeni dough (meat dumplings) as well, ensuring a consistently easy-to-handle and delicious result. This dough recipe will make your pierogi creation process smooth and enjoyable.
- Onion Butter Sauce: This savory topping is absolutely indispensable! While simple melted butter is good, infusing it with beautifully fried, caramelized onions elevates the flavor profile dramatically. The sweet and savory notes of the onions perfectly complement the potato pierogi. Even with this rich sauce, don’t forget to serve your pierogi with a generous dollop of sour cream for that classic, tangy finish.
Step-by-Step Guide: How to Make Authentic Homemade Pierogi
Making pierogi might seem daunting at first, but with a clear plan, it’s a truly rewarding experience. I prefer to make the dough by hand, as using bread flour significantly reduces kneading time. Traditionally, pierogi dough might combine all-purpose and semolina flours for a high-protein, elastic result, but all bread flour works wonderfully for elasticity and ease.
Cook’s Tip: For a quick shortcut, consider using store-bought refrigerated biscuit dough! It’s a fantastic hack for making quick dumplings that boil beautifully.
- Prepare the Filling First: Begin by cooking the Russet potatoes for your filling. Cut them into 1/2-inch slices and boil them in salted water until tender. Once cooked, drain thoroughly and mash them until smooth, incorporating cream cheese, butter, onion salt, and black pepper. To speed up the cooling process, spread the mashed potato mixture into a shallow square baking dish and refrigerate until firm. A well-chilled, firm filling is much easier to work with when stuffing the pierogi. While the potatoes cool, you can start preparing and resting your dough.
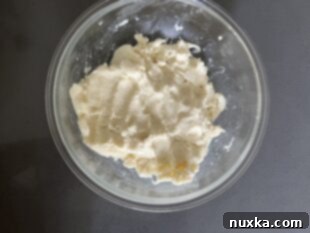
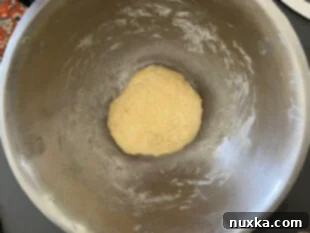
- Craft the Pierogi Dough: In a large mixing bowl, whisk together the dry ingredients: bread flour, baking powder, and salt. Then, create a well in the center and add the wet ingredients: sour cream and eggs. Mix initially with a spoon, then turn it out onto a lightly floured surface and knead by hand. Knead for about 5-8 minutes until the dough becomes smooth, elastic, and no longer sticks to your hands. You may add an additional 1-2 tablespoons of flour if the dough is too sticky. Cover the dough with plastic wrap or a damp cloth and let it rest for at least 20 minutes. This resting period is crucial for developing gluten and making the dough easier to roll out.
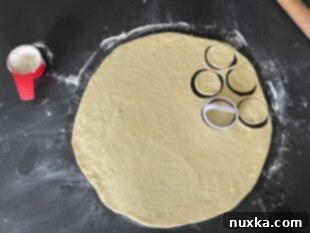
- Roll and Cut the Dough: On a lightly floured surface, roll out the rested dough into a large circle, approximately 18 inches in diameter and about 1/8-inch thick. The goal is an even thickness for consistent cooking. Use a 3-inch biscuit cutter or the rim of a glass to cut out uniform circles. Gather any dough scraps, gently knead them back together, re-cover, let them rest for 5-10 minutes, and then re-roll to cut out additional dumplings, maximizing your yield.
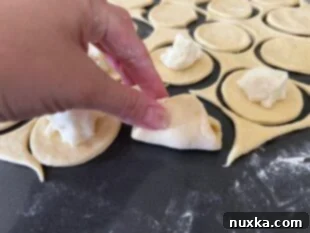
- Fill and Seal the Pierogi: Take one dough circle and place about 1 tablespoon of the chilled potato filling directly in the center. Fold the dough over the filling to create a half-moon shape. Gently press the edges together to seal, working from one end to the other, ensuring no air is trapped inside. This dough is wonderfully pliable, often requiring no water to seal, and crimps easily. For an extra secure and decorative seal, you can gently crimp the edges with a fork.
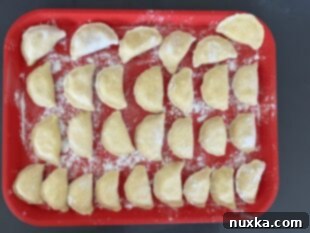
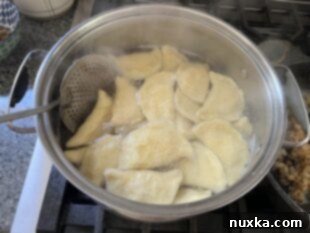
- Cook Your Pierogi: Place the newly formed pierogi on a lightly floured tray to prevent sticking while you finish preparing the rest. To cook, bring a large pot (about 6-7 quarts) of generously salted water (around 3 liters with 1 tablespoon of salt) to a rolling boil. Carefully drop 10-12 pierogi into the boiling water at a time, avoiding overcrowding the pot. Cook for exactly 5 minutes. They will typically float to the top within a minute or two, but continue boiling for the full 5 minutes to ensure the dough is thoroughly cooked. Remove the pierogi with a slotted spoon and transfer them to a serving dish or a large mixing bowl.
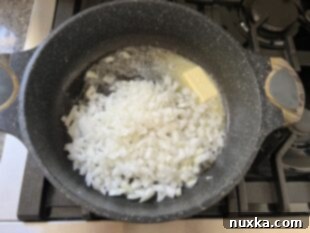
- Prepare the Onion Butter Sauce: While the pierogi are boiling, melt the butter in a skillet over medium-high heat. Add the diced onion and sauté until translucent and deeply golden brown, about 5-8 minutes. The caramelization of the onions is key to developing rich flavor.
- Serve and Enjoy: Once all pierogi are cooked, gently toss them in the prepared onion butter sauce to coat evenly. Serve immediately, garnished with a generous dollop of fresh sour cream.
Mastering the Art of Filling and Sealing Pierogi
Properly filling and sealing pierogi is crucial to ensure the delicious filling stays contained during boiling. The process is simpler than it seems:
Start by placing a small, rounded tablespoon of your potato filling right in the middle of a cut-out dough circle. Be careful not to overfill, as this can make sealing difficult. Gently fold the dough in half, creating a perfect half-circle around the filling. Begin pinching the seams tightly together from one end to the other, ensuring a firm seal. As you work your way across, give the pierogi a final, solid pinch along the entire seam to create a secure closure. You can also use the tines of a fork to create a decorative and extra-secure crimped edge. With this forgiving dough, you’ll find that the edges seal effortlessly, often without needing a water wash.
Freezing Homemade Pierogi for Later Enjoyment
Absolutely! Homemade pierogi freeze exceptionally well, making them perfect for meal prep or enjoying a taste of Poland anytime. To freeze pierogi:
- After filling and sealing each pierogi, place them in a single layer on a well-floured baking tray. Ensure they are not touching each other to prevent them from sticking together.
- Place the entire tray into the freezer and “flash freeze” until the pierogi are completely solid (this usually takes 1-2 hours).
- Once solid, transfer all the frozen pierogi into a large gallon-sized freezer bag or an airtight container. This flash freezing prevents them from clumping together in the bag.
- Label the bag with the date. Frozen pierogi can be stored for up to 6 months without significant loss of quality.
When you’re ready to cook them, simply boil them from frozen, adding an extra 3 minutes to the cooking time.
Optimal Cooking and Reheating Times for Pierogi
How Long to Cook Fresh Pierogi?
A good rule of thumb for cooking fresh pierogi is to boil them in salted water for exactly 5 minutes after they have floated to the top. While floating indicates they are nearly done, the extra time ensures the dough is perfectly cooked through and tender. If cooking frozen pierogi, add an additional 3 minutes, bringing the total boiling time to around 8 minutes from the moment they float.
Reheating Leftover Pierogi
Leftover pierogi are arguably just as delicious, if not more so, when reheated, especially if fried. To reheat:
- Melt a couple of tablespoons of butter in a skillet over medium-low heat.
- Add the cold, leftover pierogi to the skillet in a single layer. Avoid overcrowding.
- Fry for about 7-8 minutes, turning occasionally, until they are beautifully golden brown and lightly crisp on both sides.
- For an extra layer of flavor, consider adding some fresh diced onions to the butter at the start of the frying process, allowing them to caramelize alongside the pierogi.
This method yields a delightful crispy exterior with a soft, warm interior.
Expert Pierogi Tips for Success:
- Season Your Water: Always salt your boiling water generously. This seasons the pierogi dough as it cooks, adding an important layer of savory flavor.
- Efficient Draining: Use a slotted spoon or spider strainer to easily transfer cooked pierogi from the boiling water to a bowl or frying pan. A colander can be used to drain larger batches quickly.
- Don’t Overcrowd the Pot: When boiling, cook no more than 10-12 pierogi at a time to maintain water temperature and ensure even cooking. Overcrowding can lead to soggy, undercooked dumplings.
- Best for Reheating: The best way to reheat cooked pierogi is by frying them in a skillet with butter until golden and crispy.
- Dough Elasticity: If your dough springs back too much when rolling, cover it and let it rest for an additional 10-20 minutes. This allows the gluten to relax, making the dough more elastic and easier to work with.
- Coating the Pierogi: After boiling, transfer all pierogi to a large mixing bowl. Pour the warm onion butter sauce over the top and gently toss to ensure every dumpling is coated. Then, transfer to a serving dish.
- Restaurant-Style Serving: For a more refined presentation, arrange 5-6 pierogi per plate and drizzle each serving individually with the onion butter sauce.
- Kneading Progress: Don’t be alarmed if your dough looks rough and shaggy at the beginning of kneading. It will gradually smooth out and become uniform the longer you knead it.
- Pure Onion Butter Sauce: Resist the urge to add water to your onion butter sauce. The butter is crucial for flavor and also helps prevent the pierogi from sticking together, so keep it pure.
- Make Ahead Option: Prepare and freeze pierogi for quick meals later. They can be boiled directly from frozen; typically, 8 minutes of boiling will achieve perfectly al dente dumplings.
- Boiling Water Ratio: Use approximately 3 liters of boiling water with 1 tablespoon of salt for every batch. A 7-quart pot filled halfway is usually ideal.
- Resting Dough Scraps: Always save dough scraps, gather them into a ball, cover them with plastic wrap, and let them rest while you seal other dumplings. This relaxation helps the dough become pliable again for re-rolling.
- Customize Your Filling: Feel free to experiment with your potato filling! Add a pinch of nutmeg, some fresh chives, or a different cheese (like ricotta or aged cheddar) for varied flavors.
- Storage of Cooked Pierogi: Cooked pierogi can be stored in an airtight container in the refrigerator for 3-4 days. For best results, reheat by frying.
Explore More Delicious Dumpling Recipes!
Our passion for dumplings runs deep! If you’ve enjoyed making these authentic Polish pierogi, we invite you to explore more of our favorite Eastern European and international dumpling recipes:
-
Pelmeni (Meat Dumplings)
-
Whole Wheat Pelmeni
-
Vareniki Dough Recipe (Blueberry or Cheese Filling)
-
Pelmeni Soup (Russian Dumplings Soup)
-
Blueberry Steamed Dumplings
-
Chicken and Dumpling Soup Recipe
-
Crab Rangoon Recipe
-
Chinese Egg Roll Recipe
Rate
Pin
Pierogi Recipe (Polish Dumplings)
45 minutes
20 minutes
20 minutes
1 hour 25 minutes
39 dumplings
Equipment
-
Large mixing bowl (for kneading the dough by hand or with a stand mixer)
-
1 (1.22 oz) ice cream scoop for portioning the filling consistently
-
1 3-inch dough cutter (or a round glass with a 3-inch rim)
-
1 large 6-7 quart pot (for boiling dumplings)
-
1 Skillet (for preparing the onion butter sauce)
-
1 colander and slotted spoon/skimmer
Ingredients
For the Pierogi Dough:
-
2 3/4 cups bread flour (plus 2-3 extra tablespoons for kneading and dusting)
-
1 tsp baking powder
-
1/2 tsp fine sea salt
-
1 cup full-fat sour cream (at room temperature, I recommend Daisy Brand)
-
2 large eggs
For the Creamy Potato Filling:
-
1 lb Russet potatoes (peeled and sliced into 1/2-inch thick pieces for even cooking)
-
6 oz cream cheese (softened)
-
3 Tbsp unsalted butter (melted)
-
1/2 tsp onion salt
-
1/2 tsp freshly ground black pepper
For the Savory Onion Butter Sauce:
-
6 Tbsp unsalted butter
-
1 large yellow onion (finely diced)
Instructions
Step-by-Step Directions:
-
 1. Prepare the Potato Filling: Begin by making the potato filling so it has ample time to cool and firm up. Place the peeled and sliced Russet potatoes in a large pot, cover them with about an inch of water, and season with 1 tablespoon of salt. Bring to a boil and cook until fork-tender. Drain the potatoes thoroughly, then return them to the pot. Beat in the softened cream cheese, melted butter, onion salt, and black pepper until smooth and creamy. Transfer the mashed potato mixture to a shallow, large dish (like a baking dish) and spread it out evenly to encourage quicker cooling. Cover and refrigerate until the filling is firm and cold.
 -
 2. Make the Pierogi Dough: In a large mixing bowl, thoroughly whisk together the bread flour, baking powder, and salt. Create a well in the center of the dry ingredients. Add the sour cream and eggs to the well. Mix with a fork until a shaggy dough forms, then transfer it to a lightly floured surface. Knead the dough vigorously for 5-8 minutes until it becomes smooth, elastic, and no longer sticky. Add a little extra flour (1-2 tablespoons) if needed. Once smooth, form the dough into a ball, cover it tightly with plastic wrap or a damp kitchen towel, and let it rest at room temperature for at least 20 minutes (or up to 30 minutes if using all-purpose flour). This resting period is crucial for a tender, easy-to-roll dough.
 -
 3. Shaping the Dough Circles: Lightly flour a clean work surface. Take a portion of the rested dough and roll it out evenly to an 18-inch circle, approximately 1/8-inch thick. Ensure the thickness is consistent to guarantee even cooking. Using a 3-inch biscuit cutter or a drinking glass, cut out as many circles as possible. Gather the dough scraps, form them into a ball, cover, and let them rest for 5-10 minutes before re-rolling and cutting out more circles.
 -
 4. Filling and Sealing: Place about 1 tablespoon of the firm, chilled potato filling into the middle of each dough circle. Fold the dough over the filling to create a half-moon shape. Firmly pinch the edges together, starting from one end and moving to the other, to create a secure seal. This dough is very cooperative and usually seals without needing water. For an extra secure and decorative edge, you can gently crimp the sealed edges with the tines of a fork.
 -
 5. Organize and Continue: As you form each pierogi, place them on a lightly floured tray to prevent sticking. Continue this process, rolling out remaining dough and using any scraps, until all the dough and filling are used up. You can either cook them immediately or proceed to freeze them for later.
 -
 6. Prepare the Onion Butter Sauce: While your pierogi are being formed or are boiling, melt the 6 tablespoons of unsalted butter in a medium skillet over medium-high heat. Add the diced onion and sauté, stirring occasionally, until the onions are beautifully translucent and caramelized to a golden-brown hue. This process typically takes about 5-8 minutes. Keep warm until ready to serve.
 -
 7. Boil and Serve: Bring 3 liters of water to a rolling boil in a large 6-7 quart pot. Add 1 tablespoon of salt. Carefully add 10-12 pierogi at a time, ensuring the pot is not overcrowded. Cook for exactly 5 minutes; the pierogi will float to the top as they cook. Remove the cooked pierogi with a slotted spoon and place them directly into a serving dish. Drizzle generously with the warm onion butter sauce, tossing gently to coat. Serve immediately with extra sour cream on the side for a truly authentic experience!
Notes
- Recipe Inspiration: This recipe is primarily adapted from a recipe by America’s Test Kitchen, which offers excellent insights into crafting authentic homemade pierogi.
- Flour Choice: If you opt for all-purpose flour instead of bread flour, you’ll need to knead the dough a bit longer (around 8-10 minutes) and allow it to rest for at least 30 minutes before rolling it out to achieve optimal elasticity.
- Using a Stand Mixer: For convenience, you can use a Kitchen-Aid stand mixer with a dough hook attachment to knead the dough. Knead on medium speed for 5-8 minutes until smooth and elastic.
- Dough Resistance: If the dough consistently springs back when you try to roll it out, it means the gluten needs more time to relax. Simply cover the dough again and let it rest for an additional 10-15 minutes before attempting to roll it out.
- Advance Preparation: The potato filling can be prepared a day or two in advance and stored in the refrigerator. Using leftover mashed potatoes also works wonderfully, just ensure they are well-seasoned.
- Serving Suggestions: Beyond sour cream and onions, consider topping your pierogi with crispy bacon bits, fresh dill, or a sprinkle of paprika for added flavor and color.
- Troubleshooting Sticky Dough: If your dough becomes too sticky during rolling, lightly dust your work surface and rolling pin with additional flour, but avoid adding too much, as this can make the pierogi tough.
Nutrition per serving
Calories: 96kcal
Carbohydrates: 9g
Protein: 2g
Fat: 6g
Saturated Fat: 3g
Polyunsaturated Fat: 0.3g
Monounsaturated Fat: 1g
Trans Fat: 0.1g
Cholesterol: 23mg
Sodium: 80mg
Potassium: 91mg
Fiber: 0.4g
Sugar: 1g
Vitamin A: 189IU
Vitamin C: 1mg
Calcium: 21mg
Iron: 0.2mg

