How to Make Thick & Creamy Homemade Mayonnaise (Hellmann’s Copycat Recipe)
Mastering the art of making mayonnaise from scratch is a fundamental skill taught in culinary schools, and for good reason. It’s surprisingly simple, yet yields a product far superior to most store-bought versions. The key to achieving that perfect, thick, and creamy consistency lies in understanding a few essential tips and techniques. Once you learn these, you’ll be whipping up luscious homemade mayo that rivals even your favorite brands, like Hellmann’s, every single time.
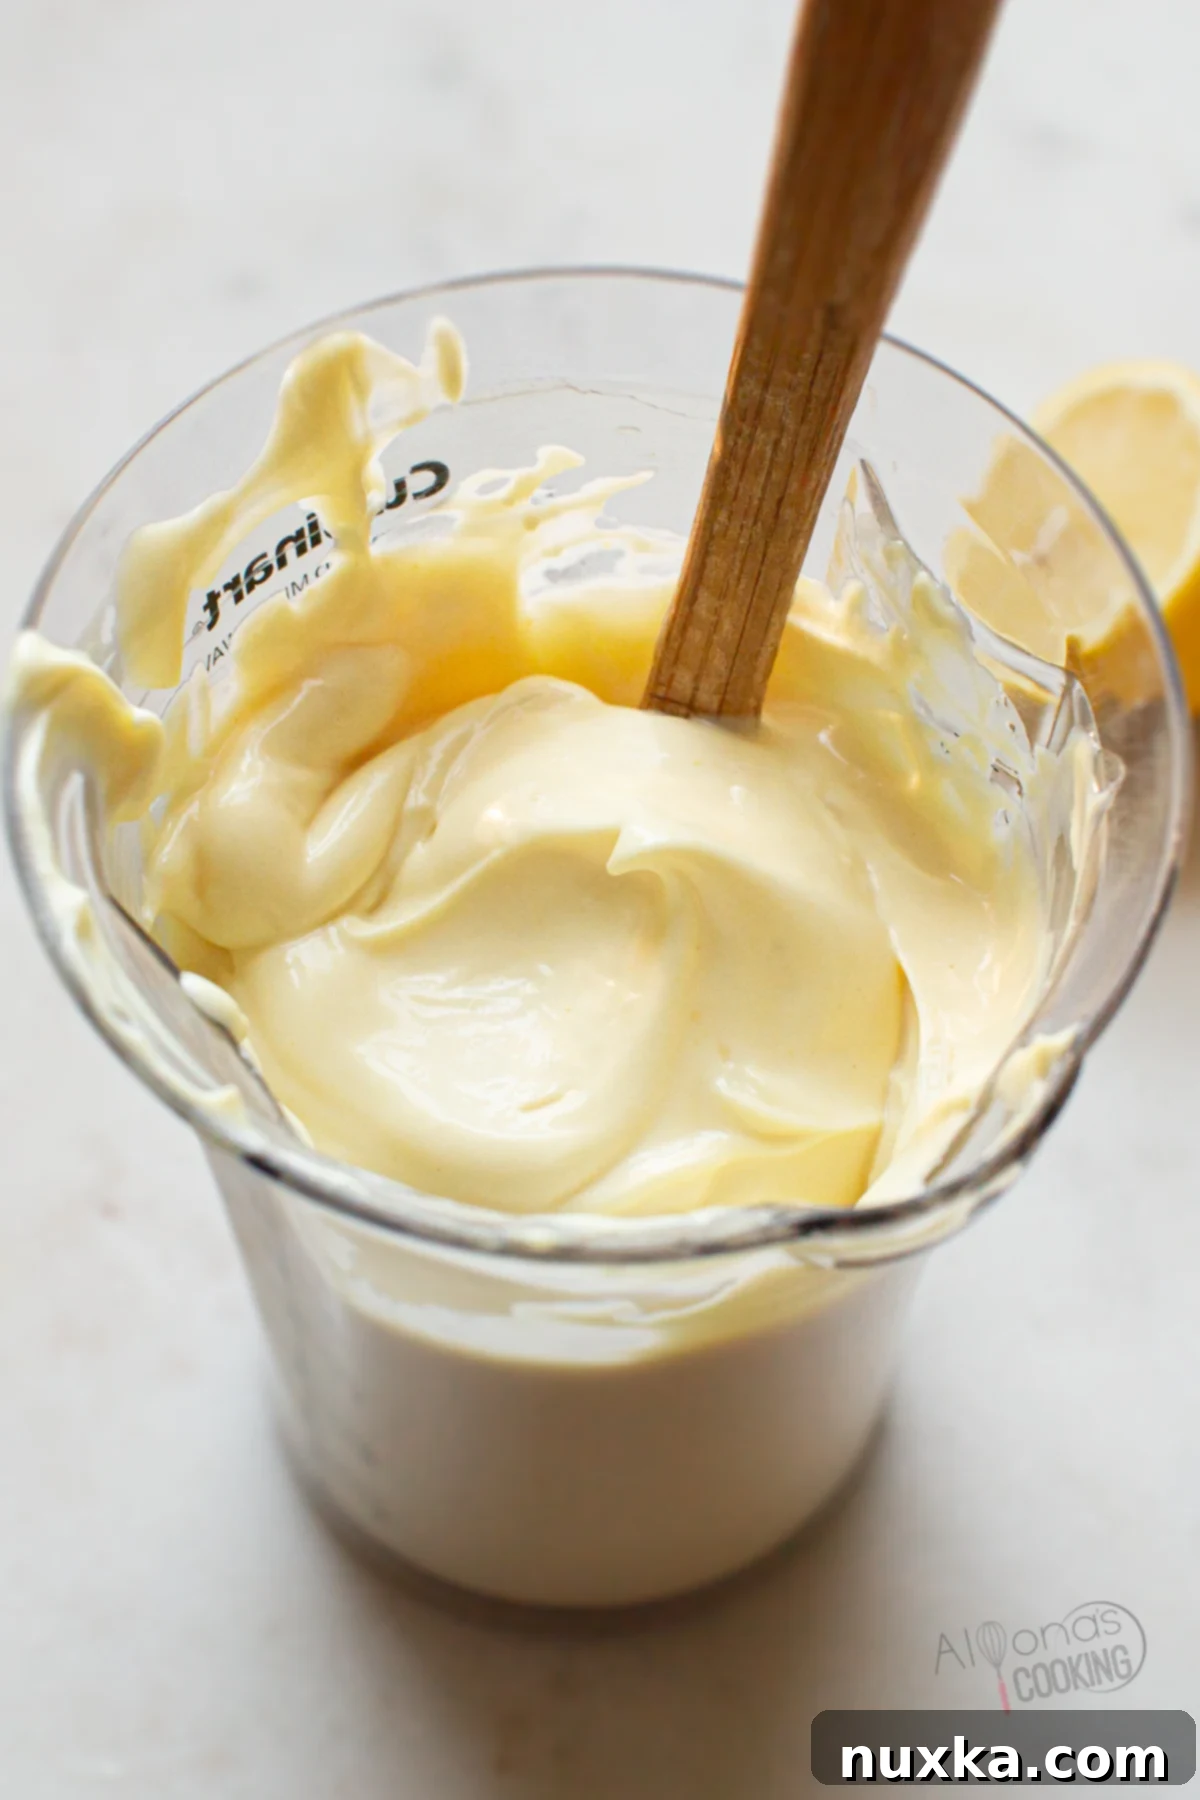
Learning how to make Mayonnaise from scratch with this easy recipe will be a game-changer in your kitchen! I’ve personally used this homemade mayonnaise recipe to replace my favorite store-bought brand – yes, I’m a big Hellmann’s fan, but I haven’t purchased mayonnaise in over a year now. This recipe consistently delivers a super creamy, perfectly tart, and full-of-tangy-flavor condiment that takes mere seconds to make, especially when utilizing the magic of an immersion blender. Its stability and long-lasting nature (thanks to the acidic ingredients) make it my go-to staple for crafting countless other creamy dressings and sauces at home.
Why Choose Homemade Mayonnaise? A Healthier, Tastier Alternative
One of my primary motivations for making mayonnaise at home was to move away from soybean oils, which are prevalent in many commercial brands. Finding a worthy replacement was crucial, and this Hellmann’s copycat recipe exceeded all my expectations. The taste is remarkably authentic – don’t just take my word for it, read the highly-rated five-star reviews! Even my sisters, who are staunch Hellmann’s users, were convinced by its spot-on flavor and texture. Beyond avoiding certain oils, homemade mayonnaise offers unparalleled freshness and the ability to control every ingredient, ensuring a pure, wholesome condiment for your family.
Our household goes through dressings and sauces incredibly quickly! Mayonnaise is far more than just a sandwich spread in my kitchen. It serves as the foundational base for a variety of creamy dressings like Caesar dressing, Ranch Dressing, and Honey Mustard, to name just a few. Its rich, emulsified texture provides the perfect canvas for countless flavor combinations, making it an indispensable component of everyday cooking and entertaining.
Mayonnaise: A Global Culinary Staple
Creamy dressings, and mayonnaise in particular, have transcended culinary boundaries to become a worldwide staple. From the delicate, slightly sweet versions found in Asian cuisine, often made with rice wine vinegar, to the robust, essential role it plays in Ukrainian kitchens for their famous Potato Salad (Olivye) and layered Beet Salad, known as Shuba, mayonnaise is incredibly versatile. It’s not just a condiment; it’s a foundational ingredient that adds richness, creaminess, and a tangy depth to a myriad of dishes across different cultures. Its adaptability makes it a true powerhouse in any kitchen, big or small.
The Science of Emulsification: Understanding the Mayonnaise Ratio
In culinary school, we were taught that the components of a creamy base like mayonnaise are typically combined in a specific ratio to achieve optimal emulsification and stability. This guideline serves as an excellent starting point for any aspiring chef or home cook:
- 10% flavorings and aromatics: These are the elements that provide the distinctive taste, such as mustard, salt, and sugar.
- 60% creamy base (oil content to emulsify): The oil forms the majority of the emulsion, contributing to its richness and texture.
- 30% acidic liquid: Acids like vinegar or lemon juice are crucial for both flavor balance and, importantly, as a natural preservative.
While this ratio is a valuable guideline, every creamy dressing requires careful testing and tasting to achieve the perfect balance of flavor and texture, according to individual preferences and the chef’s expertise. My homemade mayonnaise recipe adheres closely to this criteria, boasting an acidic component of approximately 17%. This significant acid content is key to its impressive shelf life, acting as a natural preservative. For those interested in a probiotic-infused mayonnaise, the acid can be substituted with whey or the tangy juice from homemade Sauerkraut, adding another layer of depth and health benefits.
Watch How To Make Mayonnaise:
Mise en Place: Gathering Your Tools & Ingredients for Perfect Mayonnaise
Before you begin, gathering and preparing all your ingredients and tools (mise en place) is essential for a smooth and successful mayonnaise-making process. For optimal results, especially when using an immersion blender, you will need a narrow jar or the tall container that typically comes with your Immersion blender. If you prefer to make mayonnaise by hand, a sturdy bowl and a good quality wire whisk will be your best friends. Ensure you have your measuring spoons, measuring cup, and a suitable storage container close by.
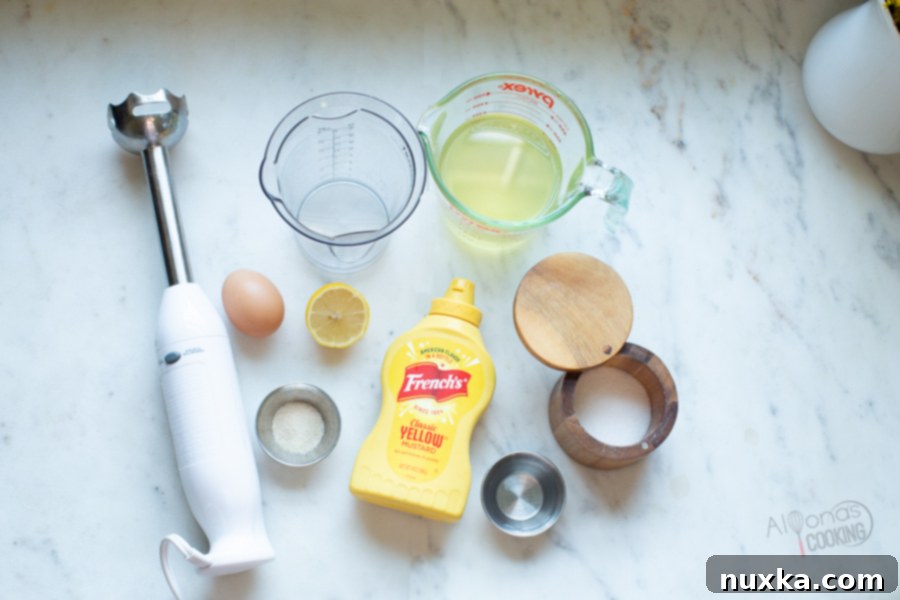
Here’s a breakdown of the key ingredients and their roles:
- Acid: Essential for both flavor and preservation. Freshly squeezed lemon juice provides brightness, while white distilled vinegar adds a sharp tang. You can also experiment with apple cider vinegar for sweeter notes.
- Prepared Yellow Mustard: More than just a flavoring, mustard acts as a crucial emulsifier. It helps bind the oil and egg yolk together, preventing separation. You can use classic prepared yellow mustard, dry mustard powder, or even Dijon mustard for a different flavor profile.
- Neutral Flavored Oil: The backbone of your mayonnaise. It’s vital to use an oil with a light, neutral flavor that won’t overpower the other ingredients. Sunflower oil and avocado oil are excellent choices. Avoid strong-flavored oils like extra virgin olive oil, which can make your mayonnaise bitter.
- Seasonings: Simple yet impactful. Salt enhances all the flavors, while a touch of sugar balances the acidity and adds a subtle sweetness, contributing to that classic store-bought taste.
- Whole Egg: The primary emulsifying agent. The lecithin in the egg yolk is key to creating a stable and creamy emulsion. Using a whole egg ensures proper binding and richness.
Chef Pro Tip: Always allow your eggs and acidic ingredients (lemon juice, vinegar) to come to room temperature before beginning. If your mixture is too cold or too hot during preparation, the emulsion can become unstable and break, resulting in runny or separated mayonnaise.
How To Make Mayonnaise: The Immersion Blender Method
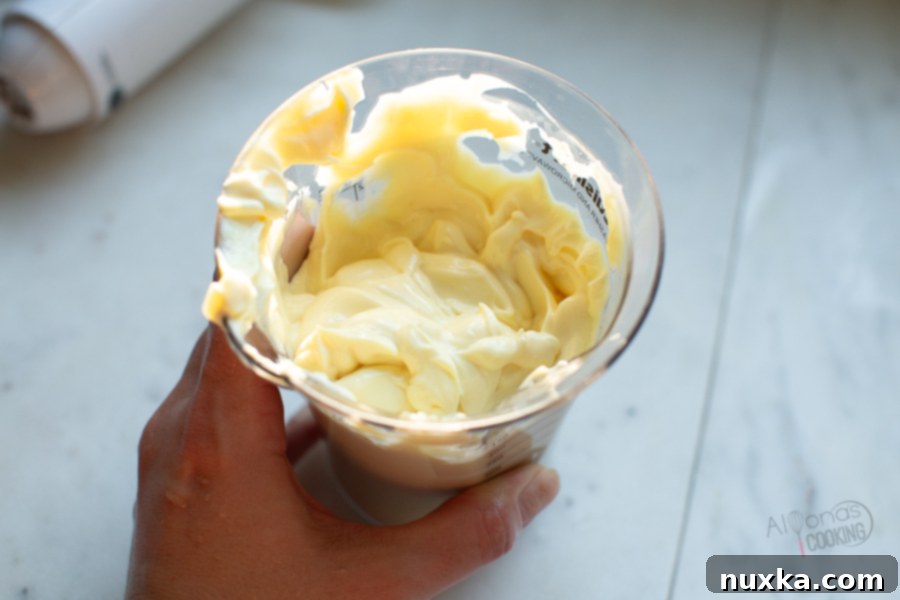
This detailed process is specifically for using an immersion blender, which I find to be the most foolproof method. For instructions on using a food processor, a Vitamix blender, or the traditional “by hand” technique, please refer to the comprehensive recipe card below.
- Layer the Ingredients: Start by carefully placing the whole egg and all your acidic components (lemon juice and vinegar) into a narrow container. The cup that often accompanies your immersion blender or a wide-mouth mason jar works perfectly. Follow with the seasonings like salt and sugar (this is an ideal time to add coarse salt like Celtic salt, if desired). Finally, pour the oil gently over the top. The most critical step here is: DO NOT STIR. Allow the ingredients to settle into distinct layers.
- Initiate Emulsification: Plunge the immersion blender directly to the very bottom of the container. Turn the blender on and keep it completely still at the bottom for a continuous 30-60 seconds. During this initial phase, the bottom half of the mixture will begin to emulsify and become very thick, forming the base of your mayonnaise. Resist the urge to move the blender upward too soon, as this is a common mistake that can result in a runny mayo. For larger batches, you may need to hold the blender at the bottom for a full minute or longer until a very thick base forms.
- Complete the Emulsion: Once a thick, stable emulsion has formed at the bottom, slowly and steadily move your immersion blender upwards through the remaining oil, inch by inch, in small increments. This allows the un-emulsified oil to be gradually incorporated into the thick base. As you near the top and most of the oil is combined, you can then gently move the blender up and down a few times to ensure everything is thoroughly mixed and all the oil on the surface is fully emulsified. Don’t rush this process; patience is key to achieving a smooth, thick, and stable mayonnaise.
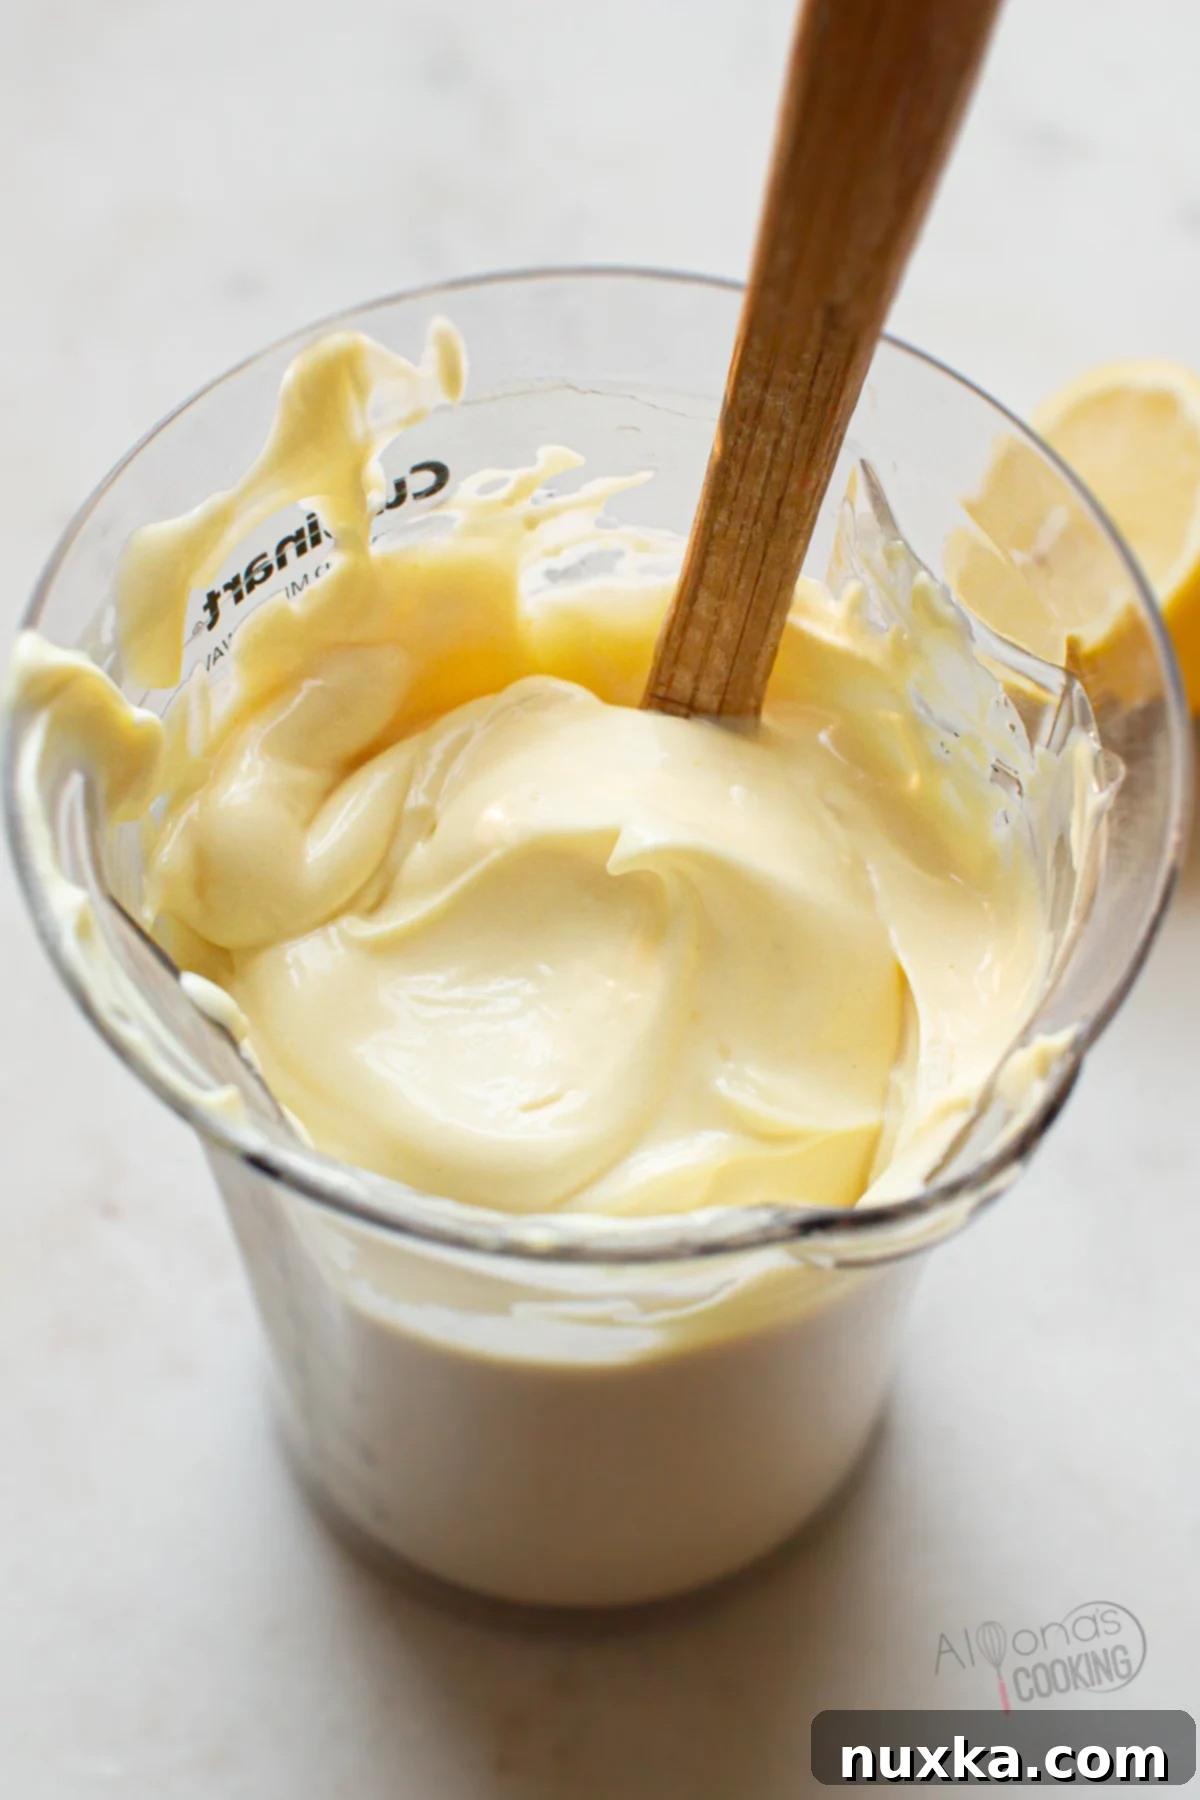
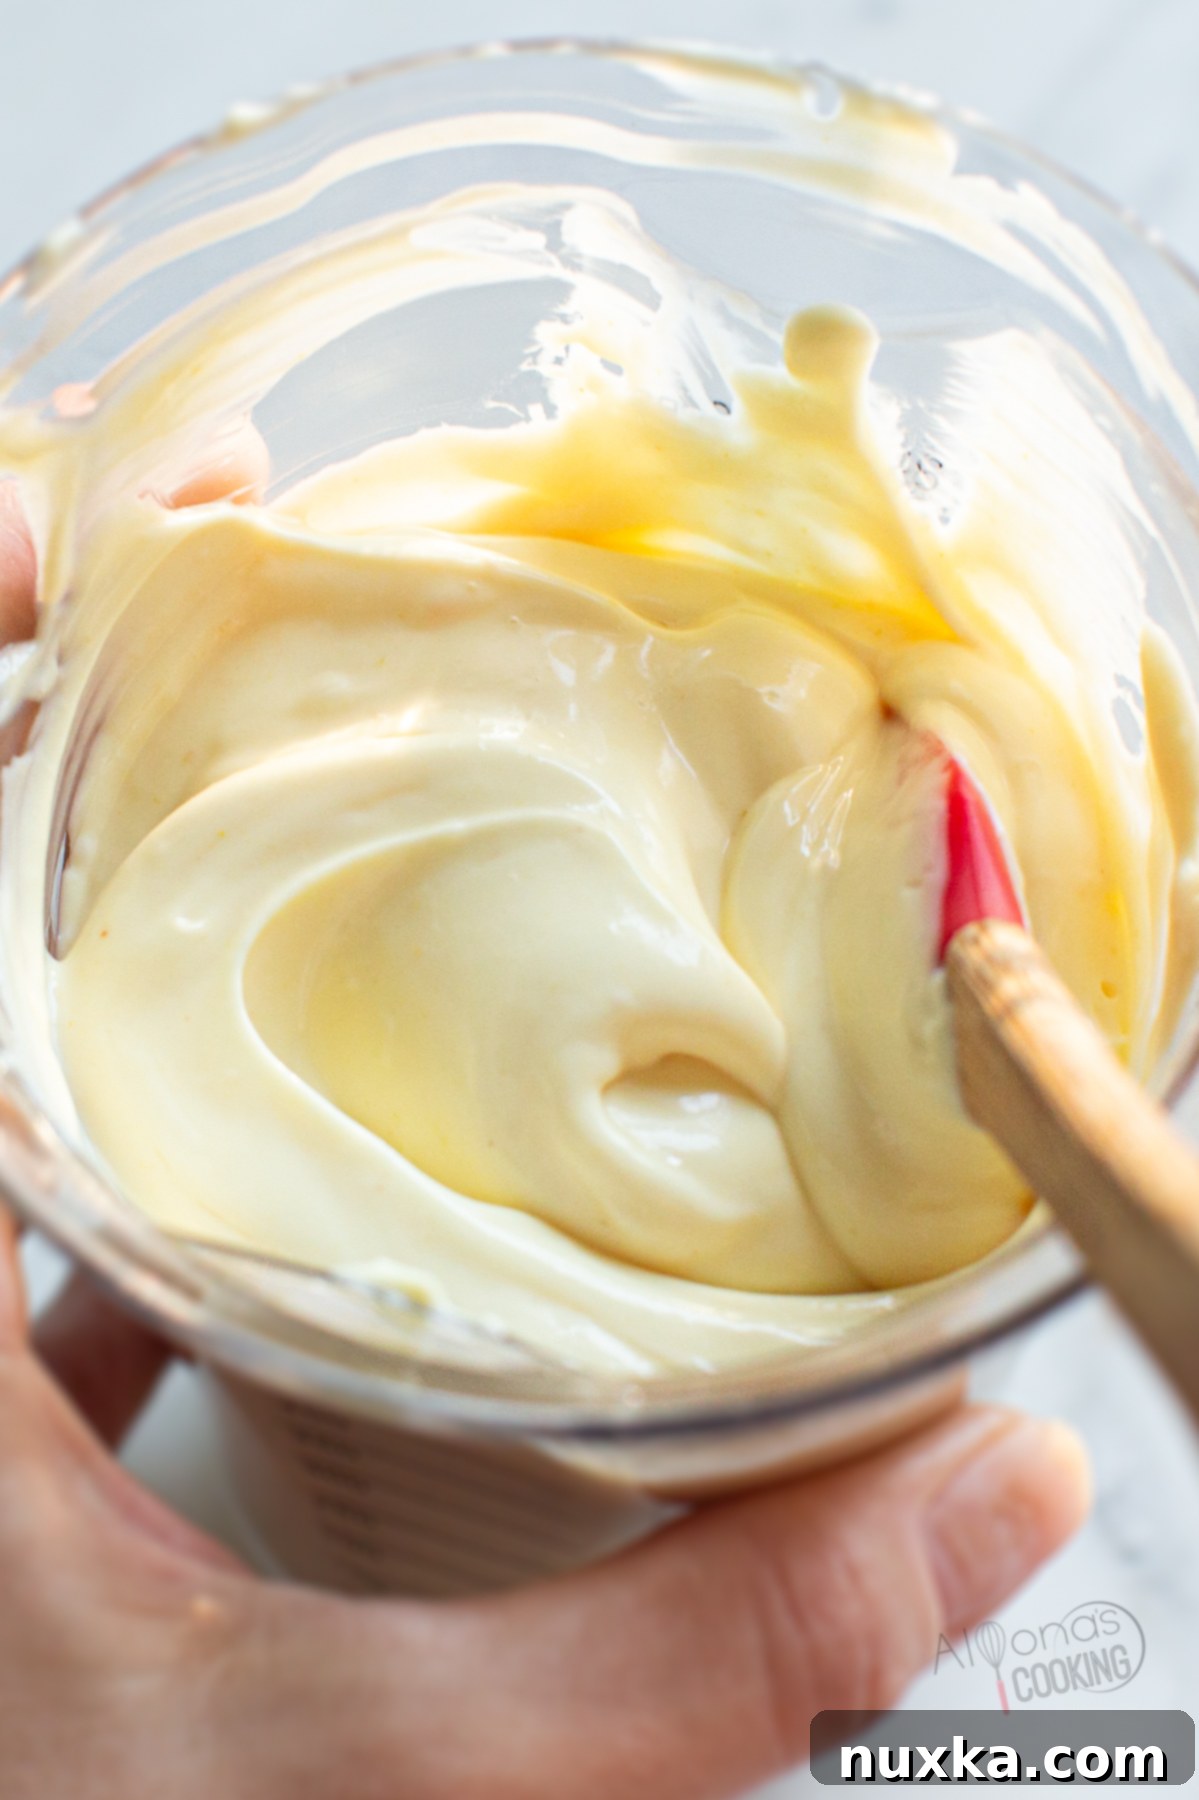
- Final Check: By this stage, your mayonnaise should be incredibly thick, creamy, and difficult to blend further. Give it one final, thorough stir with the blender to ensure perfect consistency. You’ll notice it has transformed from separated liquids into a homogenous, velvety smooth dressing.
Assessing the Quality: The Hallmarks of Perfect Mayonnaise
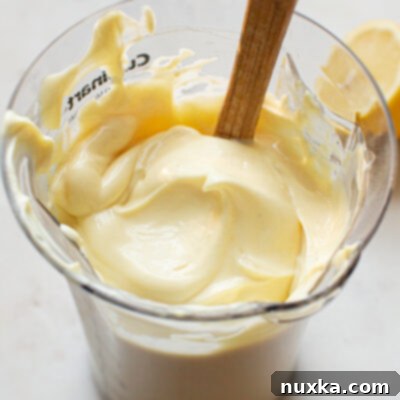
A correctly made homemade mayonnaise boasts several distinct characteristics. It should possess a mild, balanced, and pleasantly tangy flavor – never overly acidic or bland. Its texture should be thick, luxuriously creamy, and consistently smooth throughout, with no visible separation or graininess. In terms of appearance, it will be a lovely white or slightly off-white color, steering clear of any greenish or overly yellow hues, which can indicate issues with ingredients or oxidation.
Troubleshooting Common Mayonnaise Mistakes:
If your mayonnaise emulsion breaks, don’t despair! This is a common occurrence, especially for beginners, and it’s usually fixable. A broken emulsion often results in a thin, oily, and separated mixture. The primary culprits are typically:
- Adding oil too quickly: If you’re making mayonnaise by hand or with a food processor where you slowly pour in the oil, adding it too rapidly can overwhelm the emulsifying agents (egg yolk and mustard).
- Temperature issues: Ingredients that are too cold or too warm during preparation can prevent proper emulsification. Remember the chef pro tip about room temperature ingredients!
How to Fix Broken Mayonnaise:
Reviving a broken mayonnaise emulsion is surprisingly straightforward:
- Method 1 (Whole Egg): In a clean, new container or wide-mouth jar, place another whole egg. Slowly, gradually, drizzle the broken mayonnaise into this new egg while blending with an immersion blender (or whisking vigorously by hand). The fresh egg will help re-emulsify the mixture.
- Method 2 (Egg Yolk & Water): Alternatively, combine one fresh egg yolk with a teaspoon of cold water in a clean bowl. Whisk these together until they become light and foamy. Then, very slowly, add the broken mayonnaise, whisking constantly and vigorously until the mixture becomes smooth, creamy, and emulsified once again. The water helps create a looser base for the emulsion to form properly.
Mayonnaise Add-ins: Customizing Your Condiment
The beauty of homemade mayonnaise lies in its versatility and endless customization possibilities. After your mayonnaise has been fully emulsified (at step four in the immersion blender instructions), it becomes a perfect base for creating a vast array of new dressings, sauces, and flavored mayos. This is where your culinary creativity can truly shine:
- Herb-Infused Mayonnaise: Blend in fresh herbs like spinach, watercress, parsley, tarragon, chives, or cilantro to create vibrant, fresh flavors. This is the foundation for a classic green goddess dressing.
- Spicy Mayonnaise: For a kick, add chipotle peppers (canned in adobo sauce), sriracha, a pinch of cayenne pepper, or a dash of hot sauce.
- Garlic & Roasted Flavors: Incorporate mashed roasted garlic for a rich aioli, or a touch of smoked paprika for a smoky depth.
- Vegetable Boost: Blend in a mashed avocado for a creamy avocado mayo, or finely chopped sun-dried tomatoes for a Mediterranean twist.
- Sweet & Savory: A touch of honey or maple syrup can balance the tang, especially when paired with a hint of garlic or herbs.
- Truffle Aioli: For a gourmet touch, add a drop or two of high-quality truffle oil. It’s truly amazing as a dip for sweet potato fries!
Experiment with different combinations to discover your favorite unique flavor profiles. The possibilities are truly limitless, turning a simple condiment into a gourmet sauce tailored to your taste.
Storing Homemade Mayonnaise for Optimal Freshness and Shelf Life
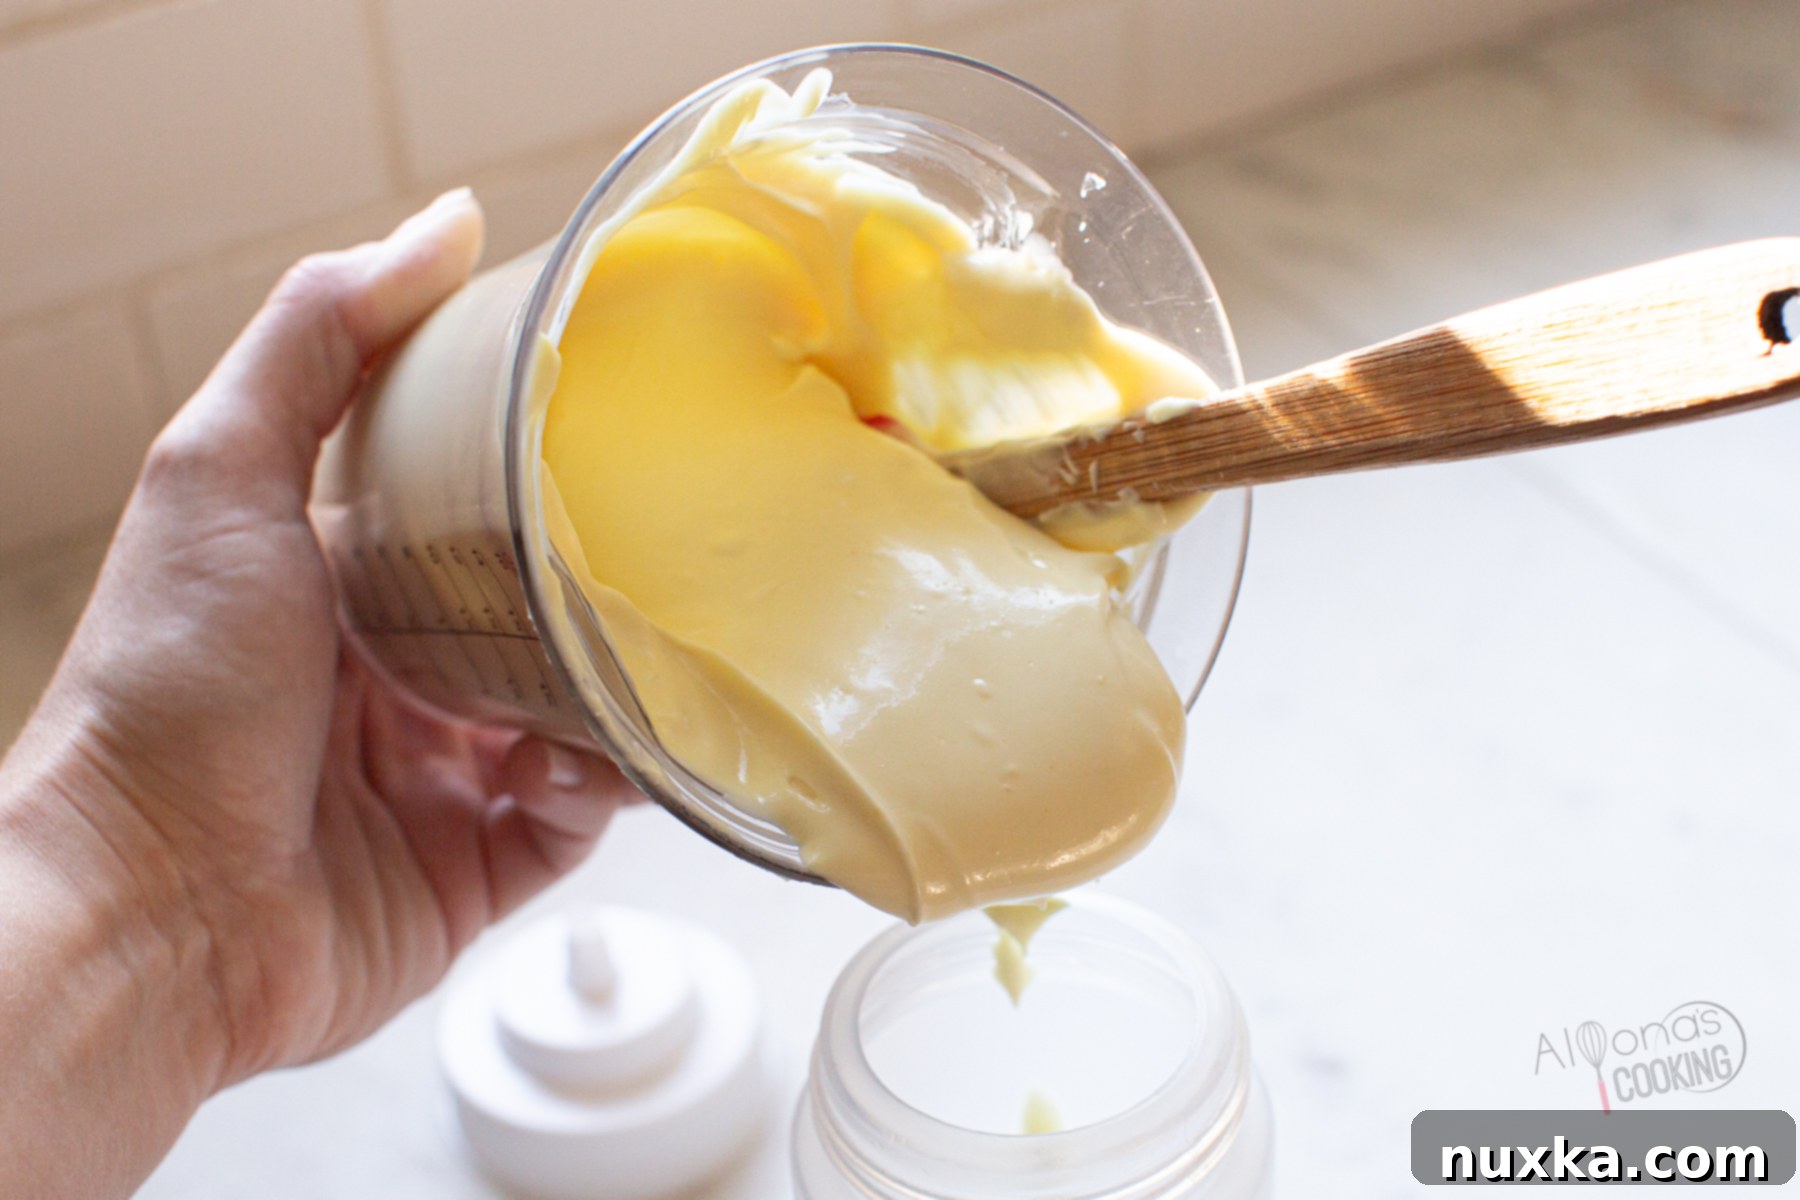
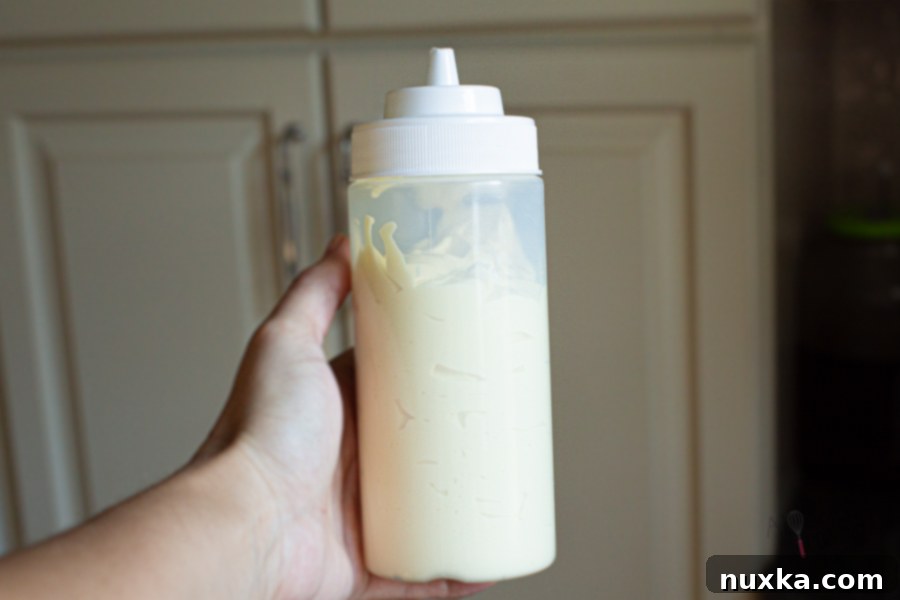
One of the great advantages of making mayonnaise at home is its excellent storage capability, especially when prepared correctly with sufficient acidic components. To ensure maximum freshness and extend its shelf life, always transfer your freshly made mayonnaise to a clean, airtight container immediately after preparation. A wide-mouth mason jar is ideal, or a squeeze bottle for convenience, particularly if you tend to use it for quick sandwiches or drizzling.
Refrigeration is crucial for homemade mayonnaise. When stored properly in the refrigerator, your mayonnaise will typically last for 3-4 weeks. This impressive longevity is primarily thanks to the acidic ingredients (lemon juice, vinegar) in the recipe, which act as natural preservatives, inhibiting bacterial growth. My recipe, with its robust 17% or more acidic component, is designed for this extended shelf life. To prevent discoloration, oxidation, and the development of rancid flavors, always ensure the container is tightly sealed, minimizing exposure to air.
In culinary school, we learned that smooth, homogenized mixtures like emulsified dressings tend to last longer than simpler vinaigrettes. This is due to their unique composition of amphipathic compounds. These compounds possess both polar sections (derived from acidic ingredients like vinegar) and non-polar sections (from the oil), which are blended into a stable, smooth consistency. This inherent stability, combined with the preservative qualities of acid, contributes significantly to the extended freshness of homemade mayonnaise.
Expert Tips for Making Perfect Mayonnaise Every Time:
- Embrace the Immersion Blender: For truly foolproof mayonnaise, an immersion blender is your secret weapon. This technique virtually guarantees a successful emulsion, and I’ve personally never had a batch fail using it. Plus, it’s incredibly easy to clean compared to larger kitchen appliances.
- Consider Pasteurized Eggs: If you have concerns about using raw eggs, opt for pasteurized eggs. When selecting eggs, choose Grade AA as they are the freshest, ensuring firm yolks which are best for stable emulsions in dressings.
- Adjust Consistency: If your finished mayonnaise is too stiff for your liking, don’t worry. Simply add a small splash of water, lemon juice, or vinegar, one teaspoon at a time, and stir until you reach your desired creamy consistency.
- Elevate with Gourmet Flavors: To create a luxurious truffle aioli, add a single drop of high-quality truffle oil to your finished mayonnaise. It’s an exquisite dip, especially with sweet potato fries!
- Mustard Substitute: Ran out of prepared mustard? You can substitute one tablespoon of prepared mustard with one teaspoon of dry ground mustard powder.
- Experiment with Acid: While white distilled vinegar is classic, try apple cider vinegar for a mayonnaise with subtly sweeter, fruitier notes that can complement different dishes.
- Squeeze Bottle Convenience: For effortless serving and storage, snip a small tip off your squeeze bottle. This allows the thick, creamy mayonnaise to flow out smoothly without clumping.
- Crucial Emulsifiers: Always include both a whole egg and mustard. These ingredients contain key emulsifiers that are vital for creating a thick, stable, and visually appealing mixture that also significantly impacts the taste and mouthfeel.
- Batch Size Matters: If you’re doubling or tripling the recipe for a larger batch, you’ll need to emulsify the mixture for a longer duration. For instance, hold the immersion blender at the bottom for a good minute or more before slowly lifting, ensuring a super thick and stable mayonnaise.
- Proper Refrigeration for Stability: Refrigeration is essential as it significantly slows down the natural tendency for acids and oils to separate in emulsified creamy dressings. Always keep your homemade mayonnaise covered in an airtight container in the fridge to prevent oxidation and maintain its fresh flavor and texture.
More Homemade Sauces To Make:
Creamy dressings are viscous, rich, and incredibly delicious!
-
Easy Hollandaise Sauce
-
Creamy Caesar Dressing Recipe
-
Kefir Ranch Dressing Recipe
-
Thousand Island Dressing Recipe
Rate
Pin
How To Make Mayonnaise
Equipment
-
1 immersion blender (and cup attachment)
-
1 storage container (16 oz plastic squeeze bottle or wide-mouth mason jar)
Ingredients
Ingredients:
-
1 whole egg
-
1 Tbsp prepared yellow mustard
-
1 tsp sea salt
-
1 tsp granulated cane sugar
-
2 tsp lemon juice (juice from 1/2 small lemon)
-
2 Tbsp white distilled vinegar
-
11/4 cup sunflower oil (I like avocado oil or use any neutral flavored oil)
Instructions
Directions:
-
 Place all the ingredients in the exact order given (egg, yellow mustard, lemon juice, vinegar, salt, sugar, and oil) into the cup that your immersion blender comes with, ensuring the oil is added last. It’s crucial not to stir the ingredients at this stage.
 -
 Plunge the stick blender all the way to the bottom of the cup. Turn the blender on and keep it stationary at the bottom until the mixture at the lower half starts to emulsify and becomes very thick (this usually takes about 30-60 seconds). *Refer to notes below for bigger batches.
 -
 Once the mayonnaise at the bottom starts to visibly thicken and emulsify, slowly and carefully move the stick blender upwards, a little at a time, to continue incorporating and emulsifying the remaining ingredients. When almost all the ingredients are combined, you can then gently move your hand blender up and down to ensure any oil floating on the surface is fully integrated.
 -
 At this stage, your mayonnaise should be visibly thick, creamy, and quite firm to blend. Give it one final, thorough stir with the immersion blender to ensure a perfectly smooth and uniform consistency.
 -
 Transfer your freshly made mayonnaise to a clean, airtight container or a convenient squeeze bottle. Store it in the fridge, where it will remain fresh and delicious for up to 1 month.
Notes
- Container Flexibility: You are not limited to the blender cup; a wide-mouth mason jar works just as well for making mayonnaise with an immersion blender. Simply layer the ingredients directly into the jar.
- Scaling the Recipe: If you are preparing a larger batch, such as a triple recipe, it’s crucial to emulsify the mixture for a longer duration. I recommend holding the immersion blender at the very bottom for a good minute or even longer before you start to slowly lift it to finish emulsifying. This extended initial blending ensures a super thick and stable mayonnaise. Moving the stick blender up and down too early or too quickly will likely result in a runnier mayonnaise.
- Alternative Methods (Hand or Food Processor): If you’re making mayonnaise by hand with a whisk or in a food processor like a Vitamix blender, the technique differs. First, you will need to thoroughly mix the eggs with the acidic components (lemon juice, vinegar, mustard) either by hand using a whisk or by blending. Then, the critical step is to slowly add the oil in a very thin, steady stream while continuously whisking or beating vigorously. This gradual addition of oil, combined with constant agitation, is necessary to form a stable emulsion. Once emulsified, you can then add the seasonings to taste.
- Reviving Broken Mayonnaise: Should your mayonnaise emulsion break, don’t discard it! You can often fix it. Place a fresh whole egg into a clean container or wide-mouth jar. You can add a small splash of lemon juice or water to this new egg. Then, gradually add the broken mayonnaise mixture to the new egg while blending as instructed for fresh mayonnaise, until it becomes smooth, creamy, and emulsified again.
- Custom Flavor Add-ins: At step 4, after the mayonnaise has fully emulsified, is the perfect time to incorporate other flavorings and ingredients to create unique dressings and sauces. Simply blend in additions like mashed avocados, fresh spinach, roasted garlic, or finely minced chipotle peppers for distinct and delicious flavor profiles.
Nutrition per serving
