The Ultimate Guide to Home Canning Meat: Preserving Flavor, Enhancing Preparedness, and Maximizing Convenience
Canning meat at home is an incredibly effective and rewarding method for preserving a variety of proteins, offering unparalleled convenience and long-term storage without the worry of freezer burn or the need for thawing. Imagine having perfectly tender, flavorful meat ready to use at a moment’s notice! This time-honored technique ensures your pantry is stocked with versatile ingredients, from lean venison to succulent beef, chicken, or pork.
For those who hunt, processing a whole deer often leads to an abundance of meat. Canning venison is a fantastic way to utilize this bounty; it shares a similar texture to beef but is naturally much leaner. Once you master the art of canning meat, a world of culinary possibilities opens up. This comprehensive guide will walk you through everything you need to know about safely canning meat and inspire you with countless ways to incorporate it into your daily meals.
Home canning might seem daunting at first, but it’s much simpler and more accessible than you think! Beyond meats, preserving other foods like pickled tomatoes, sweet strawberry jam, or crisp Polish dill pickles can be incredibly rewarding. These types of recipes typically use a water bath canner, which heats the jars to create a vacuum seal and eliminate spoilage organisms. However, for low-acid foods like meat, a pressure canner is absolutely essential to ensure safety and long-term stability. If you’re looking for simple, non-canned food storage methods, consider our popular sauerkraut recipe or pickled cabbage.
Understanding Canned Meat: Safety and Process
At its core, canned meat involves safely sealing raw or lightly cooked meat into glass jars and then processing them in a specialized pressure canner. This method of home preservation is not only safe but also an ingenious way to extend the shelf life of meat without refrigeration. The critical factor for safe meat preservation is reaching a specific high temperature under pressure – typically 240°F (116°C) – within each jar. This intense heat is necessary to destroy harmful bacteria, including the spores that cause botulism, and to create a robust vacuum seal for shelf-stable storage.
When you follow a reliable canned meat recipe, such as this guide for venison, the fundamental process remains consistent for all low-acid meats that are cut into cubes. Whether you’re canning beef, pork, chicken, or wild game, the pressure canning steps ensure that the required temperature is achieved throughout the product in every jar, guaranteeing safety and a long shelf life. This makes canned meat an invaluable asset for emergency preparedness, busy weeknights, or simply enjoying the fruits of your labor long after processing.
Choosing the Best Meat for Canning
While various meats can be canned, certain types excel in this preservation method. Dark red meats, often referred to as stew meat, are highly recommended because they are composed of muscle fibers that tenderize beautifully under pressure. This includes popular choices like beef, bison, and, of course, venison (deer). When canning leaner meats like venison, I often recommend adding a little extra fat to each jar. This helps prevent the meat from drying out during the canning process and contributes to a more succulent finished product.
For white meats such as chicken or pork, incorporating some fat into each jar is also beneficial for maintaining moisture and tenderness. Wild game, particularly deer, makes for fantastic canned venison. Given its lean nature compared to beef, I typically add palm fruit shortening (or lard) to each quart-sized jar to ensure the meat emerges incredibly tender, much like slow-cooked stew meat. If you’re wondering where to buy venison or other wild game meats, reputable online stores like Broken Arrow Ranch or Azure Standard are excellent sources.
Pressure Canning with an Electric Pressure Cooker (Instant Pot)
A common question among home canners is whether an electric pressure cooker, like an Instant Pot, can be safely used for canning meat. The good news is, yes, it can! An Instant Pot on its high-pressure setting typically reaches temperatures up to 244°F (118°C), which exceeds the 240°F (116°C) required for safe pressure canning of low-acid foods. This makes it a viable and safe option for small-batch canning.
I have successfully used an Instant Pot for pressure canning multiple times, achieving reliable seals. However, there are a few important considerations. The main limitation is capacity: an Instant Pot will typically only accommodate 2-quart jars or 3-4 pint jars at a time, making it less efficient for large batches compared to a dedicated pressure canner. When using any electric pressure cooker for canning, always consult your owner’s manual to confirm the maximum temperature reached at high pressure. Crucially, always adhere to the same canning times specified for traditional pressure canners, as the high-pressure setting on an Instant Pot is equivalent to the 10 pounds of pressure required for safe canning in a standard pressure canner.
Step-by-Step Guide: How To Can Meat Safely at Home
Pressure canning meat is a straightforward process once you understand the essential steps. Using a dedicated pressure canner or an electric pressure cooker, you can create shelf-stable meat ready for any meal. I personally use a 23-quart pressure canner, which comfortably fits up to 8 quart jars. For proper pressure buildup and steam generation, always add a specific amount of water to the bottom of your canner – typically a few inches thick is ideal. This ensures correct pressure is achieved quickly, maintained, and then allowed to reduce naturally. Always allow the canner to depressurize completely on its own before attempting to open the lid.
- Prepare Meat and Jars: Start with fresh or completely thawed meat. Wash your canning jars, lids, and bands thoroughly with hot, soapy water. Rinse them well. Cut the meat into uniform 1 to 1.5-inch cubes.
- Season the Meat: In a large bowl, combine the cubed meat with a generous amount of fresh minced garlic, black pepper, and high-quality sea salt. A good-quality salt is crucial for both flavor and safe canning. Mix everything thoroughly with your hands to ensure the seasoning is evenly distributed.
- Add Fat (Optional but Recommended for Lean Meats): For leaner meats like venison, dollop approximately 1/4 cup of palm fruit shortening (or lard) into the bottom of each quart-sized jar. This fat will render during canning, keeping the meat moist and tender.
- Pack the Jars: Tightly pack the seasoned meat into the clean glass jars, leaving adequate headspace (about 1 inch from the rim). Use a wooden spoon or a canning funnel to press the meat down gently, removing any air pockets. Wipe the rims clean with a damp cloth to ensure a perfect seal.
- Secure Lids and Bands: Place new, clean lids onto the jars, followed by the bands. Screw the bands on finger-tight; do not overtighten, as this can prevent proper air venting during processing.
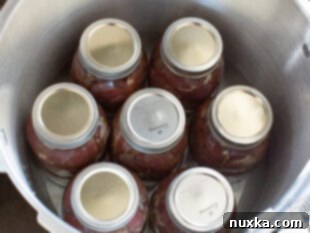
- Pressure Canning Process: Pour about 3 quarts of water into the bottom of your 23-quart pressure canner. Carefully place the prepared jars onto the rack inside the canner, ensuring they are not touching. Secure the pressure canner lid, aligning it according to your canner’s instructions. Begin heating the canner on high. Once steam starts to escape steadily from the vent pipe, allow it to vent for 10 minutes (this is crucial for removing air and achieving a true vacuum). Then, place the weighted gauge (or close the vent according to your canner type) and wait for the pressure to build to 10 pounds (psi). Maintain this pressure consistently for 1 hour and 30 minutes for quart jars (or 75 minutes for pint jars).
- Cool Down: Once the processing time is complete, turn off the heat. Do NOT remove the weighted gauge or open the canner lid. Allow the pressure canner to depressurize completely and naturally cool down on its own. This can take anywhere from 30 minutes to an hour or more, depending on the canner size. The pressure gauge must return to zero before proceeding.
- Remove and Cool Jars: Once depressurized, carefully open the canner lid away from your face to avoid steam burns. Using a jar lifter, carefully remove the hot jars and place them on a kitchen towel or a cooling rack in a draft-free area. Do not tighten the bands further. Let them cool undisturbed for 24 hours.
- Check Seals: After 24 hours, check each jar for a proper seal. The center of the lid should be concave and should not “give” or click when pressed. If a lid yields to pressure, the jar is not sealed and must be refrigerated and consumed within a few days, or reprocessed immediately (within 24 hours) with a new lid.
Delicious Ways to Utilize Your Canned Meat
Congratulations, you’ve successfully raw-packed and canned your venison or other meat! Now comes the exciting part: turning your shelf-stable meat into delicious meals. Canned meat is incredibly versatile, saving you significant cooking time as it’s already tender and flavorful. Here are some fantastic dinner recipes and tasty meal ideas to make with your canned meat:
- Hearty Soups and Stews: Canned meat is a perfect addition to classics like Borscht or any homemade soup and stew. Since the meat is already tender, your soups will be ready much faster, delivering deep, rich flavor without lengthy simmering.
- Tacos and Burritos: Transform canned meat into flavorful shredded taco meat. Simply drain, shred, and season it with your favorite taco seasoning or Mexican spice rubs, then heat and serve in tortillas or burrito bowls.
- Enriched Gravies and Sauces: Stir a jar of canned meat into gravies, pasta sauces, or even a classic beef stroganoff for an instant protein boost and robust flavor. It can easily substitute ground beef in many recipes.
- Comforting Pasta Dishes: Mix a jar of canned meat into mac and cheese, spaghetti, or lasagna for a hearty and satisfying meal that comes together quickly.
- Pulled BBQ Sandwiches: Shred the tender canned meat, mix it with your favorite BBQ sauce, and heat for delicious, easy pulled BBQ sandwiches.
- Versatile Toppings: Spoon it over fresh salads, fluffy rice, creamy mashed potatoes, or savory boiled potatoes for a complete and effortless meal.
- Quick Lunches: Use it in lunch sandwiches with your favorite bread, or enjoy it with old-fashioned homemade bread for a simple, nourishing meal.
The culinary possibilities for canned venison and other meats are truly endless! Feel free to share your own creative recipes and ideas for using canned meat in the comments below.
Ensuring a Proper Seal: How to Check Your Canned Meat Jars
After all your hard work, confirming that your jars have properly sealed is a critical step for food safety and long-term storage. The best approach is patience: allow the jars to cool completely, ideally for at least 12 to 24 hours, before performing any seal checks. Resist the urge to press down on the lids during the cooling process, as this can create a false seal or interfere with the natural vacuum formation.
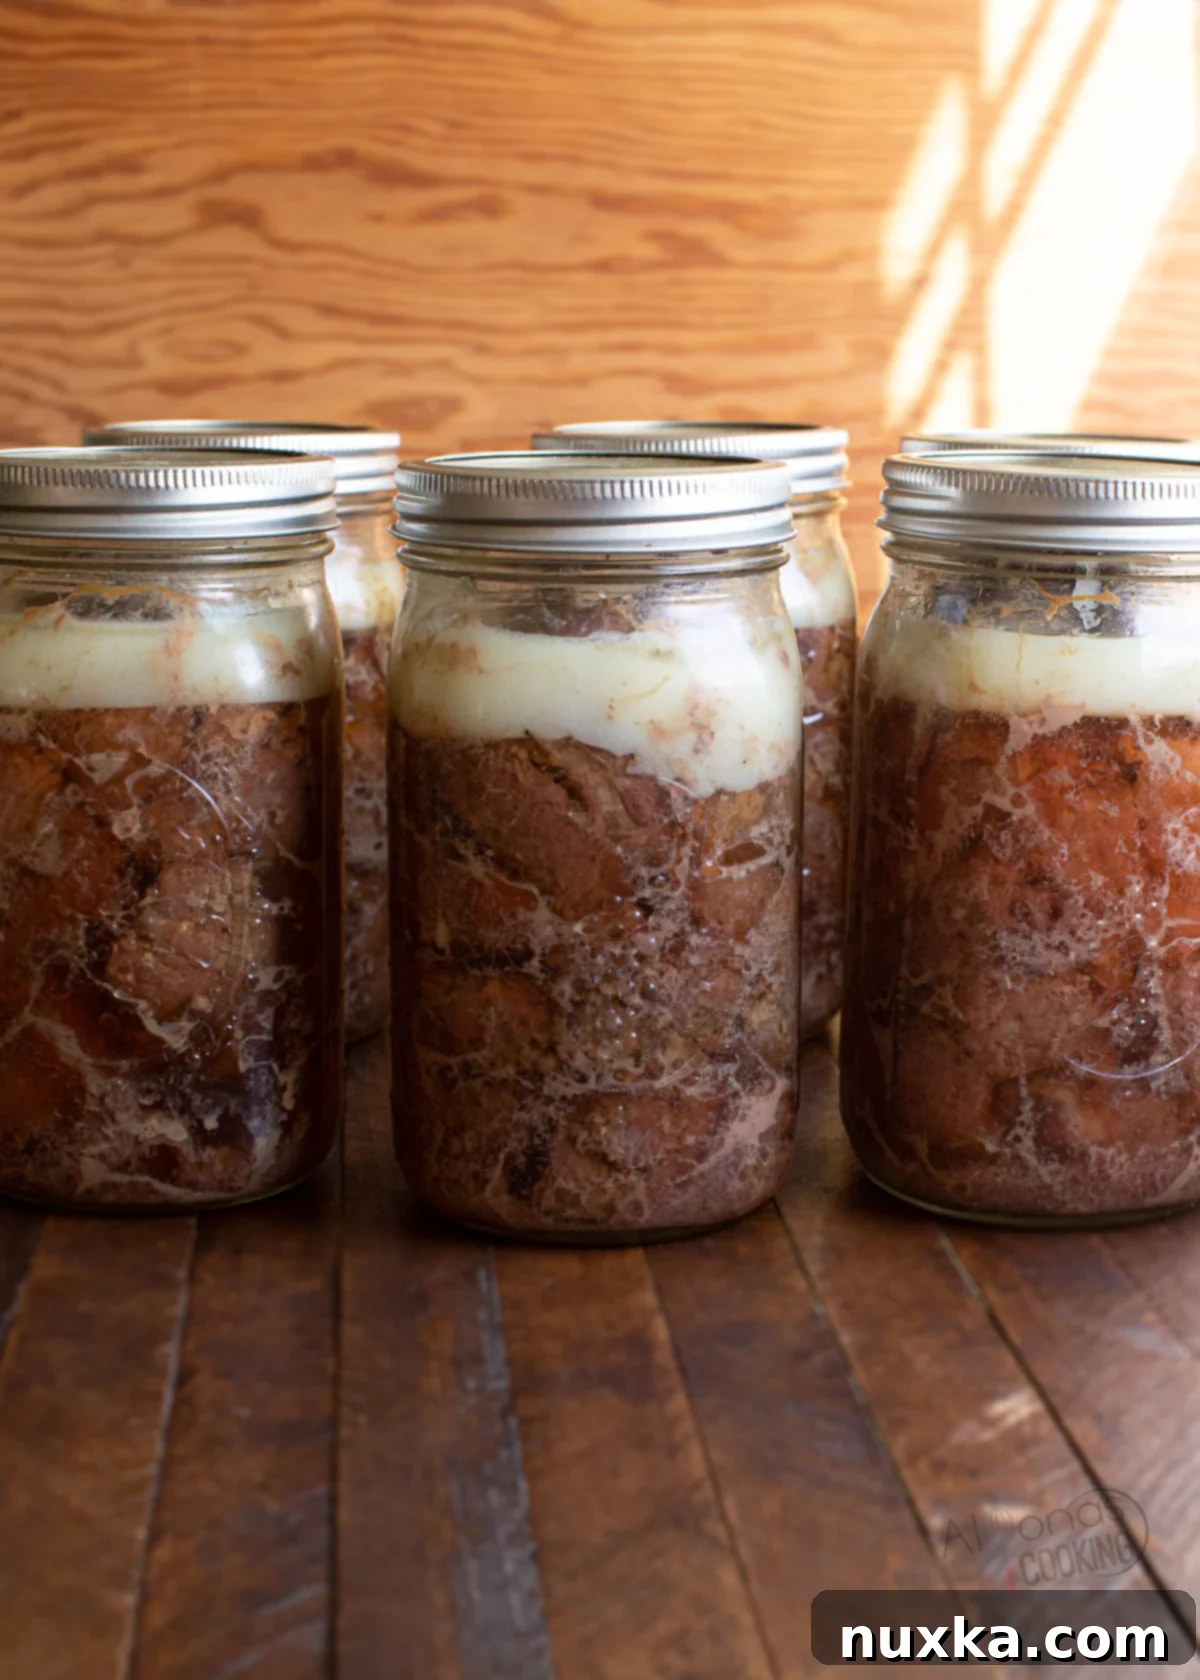
Once fully cooled, gently press down on the center of each jar lid. A properly sealed lid will be concave (curved inwards) and will not make any clicking sound when pressed. If the lid flexes or makes a “ping” or “click” sound, it indicates that the jar has not sealed correctly. Jars with unsealed lids should not be stored on the shelf; instead, they should be refrigerated and consumed within a few days, or you can reprocess them immediately with a fresh lid, provided less than 24 hours have passed since the initial canning.
Shelf Life of Canned Meat: How Long Does It Last?
Properly canned venison or any other meat, when processed correctly using a pressure canner and achieving a good seal, can last for an impressive 2 to 5 years (or even longer, according to some experts) when stored in optimal conditions. These shelf-stable foods are a fantastic addition to any pantry for long-term food security and convenience. To maximize the shelf life and quality of your canned goods, always store them in a cool, dark, and dry place. Basements, cool pantry shelves, or root cellars are ideal. Regularly inspect your stored jars to ensure the lids remain vacuum-sealed and that there are no signs of spoilage, such as bulging lids or unusual odors, before consumption.
FAQ: Your Questions About Canning Meat Answered
Can I Use Frozen Meat for Canning?
Yes, you can absolutely use frozen meat for canning! If you have a large amount of meat to process or have stocked up, you can store meat in a deep freezer for up to 6 months before canning. Even if you purchase meat frozen, it’s safe to refreeze it until you’re ready to use it. However, it’s crucial that the meat is completely thawed before you begin the canning process. Once thawed, keep the meat refrigerated and aim to process it within 2-4 days. To ensure safety and quality, it’s best to complete the entire canning recipe from start to finish on the same day, avoiding leaving the meat at room temperature for extended periods.
How to Can Meat in an Electric Pressure Cooker (Instant Pot)?
If you’re new to pressure canning and find a traditional stovetop canner intimidating, an electric pressure canner (like an Instant Pot) can be a great entry point for canning meat in smaller batches. To safely can meat in an Instant Pot, use the high-pressure setting for the same recommended processing times as a standard pressure canner. For pint-sized jars, process at high pressure for 75 minutes. For quart-sized jars, process at high pressure for 90 minutes. It is vital to confirm that your specific electric pressure cooker reaches at least 240°F (116°C) at high pressure for safe canning. Most Instant Pot models reach up to 244°F (118°C) at high pressure, which is equivalent to 10 pounds of pressure in a conventional pressure canner.
How Long to Pressure Can Venison (or Any Meat)?
For safe and effective home canning of venison or any other type of low-acid meat, the processing time and pressure are standard. For quart-sized jars, the meat should be processed at 10 pounds of pressure for 90 minutes. If you are using pint-sized jars, the processing time is reduced to 75 minutes at 10 pounds of pressure. This specific recipe and these times are suitable for any cubed meat you choose to can, ensuring proper sterilization and long-term storage.
Expert Tips for Successful Meat Canning:
- Choose the Right Equipment: Always use a reliable pressure canner for safely preserving meat. While an Instant Pot works for small batches, an oval stovetop pressure canner will accommodate more jars, increasing efficiency. Remember to add the correct amount of water (typically 3 cups for an Instant Pot) when processing.
- Refrigeration After Opening: Once a jar of canned venison or any other meat is opened, it becomes perishable. Store any unused portion in the refrigerator and consume it within a week for best quality and safety. Avoid leaving opened meat at room temperature for extended periods.
- Batch Processing Flexibility: You can can various types of meat—venison, pork, beef, or chicken—all at the same time in the same canner, as long as they are prepared uniformly. The only variable affecting processing time is the size of the jars (pint vs. quart).
- Water Management Between Batches: If you are canning multiple batches, partially remove some of the hot water from the canner after a batch and replace it with fresh, cold water. For example, if you have 3 quarts of water, remove 1 quart and add 1 quart of cold water. This helps prevent shocking the new, cooler jars with excessively hot liquid and allows the canner to come to pressure more effectively for the next batch.
- Spotless Jar Rims: Always wipe and thoroughly dry the rims of your jars before placing the lids and bands. Even tiny food particles or grease can prevent a proper vacuum seal from forming.
- Inspect Jars Carefully: Before filling, always inspect your jars for any chips, cracks, or imperfections, especially around the mouth or rim. Compromised jars can break during processing or fail to seal properly, posing a safety risk.
- Adjust for Altitude: Pressure canning times and pressures must be adjusted based on your altitude. Consult reliable canning charts (e.g., USDA guidelines) to modify the pressure settings for your specific elevation to ensure food safety.
- Optimal Water Level in Canner: Never overfill your pressure canner with water. Maintain only a few inches of water at the bottom to generate steam and build proper pressure. Too much water will take longer to boil and could potentially overflow during the canning process.
- Maximizing Leftovers: If you have cooked canned meat leftovers after opening a jar, you can freeze them in airtight containers for future use in dishes. This prevents waste and offers even more meal prep convenience.
- Use Quality Jars: Mason jars are specifically designed for home canning. Their thicker walls and consistent quality make them ideal for withstanding the high temperatures and pressures of the canning process.
- Tighten Bands Securely: Ensure the bands are screwed on finger-tight before pressure canning. Bands that are too loose can allow too much liquid to escape during processing, while overly tight bands can prevent proper venting and sealing.
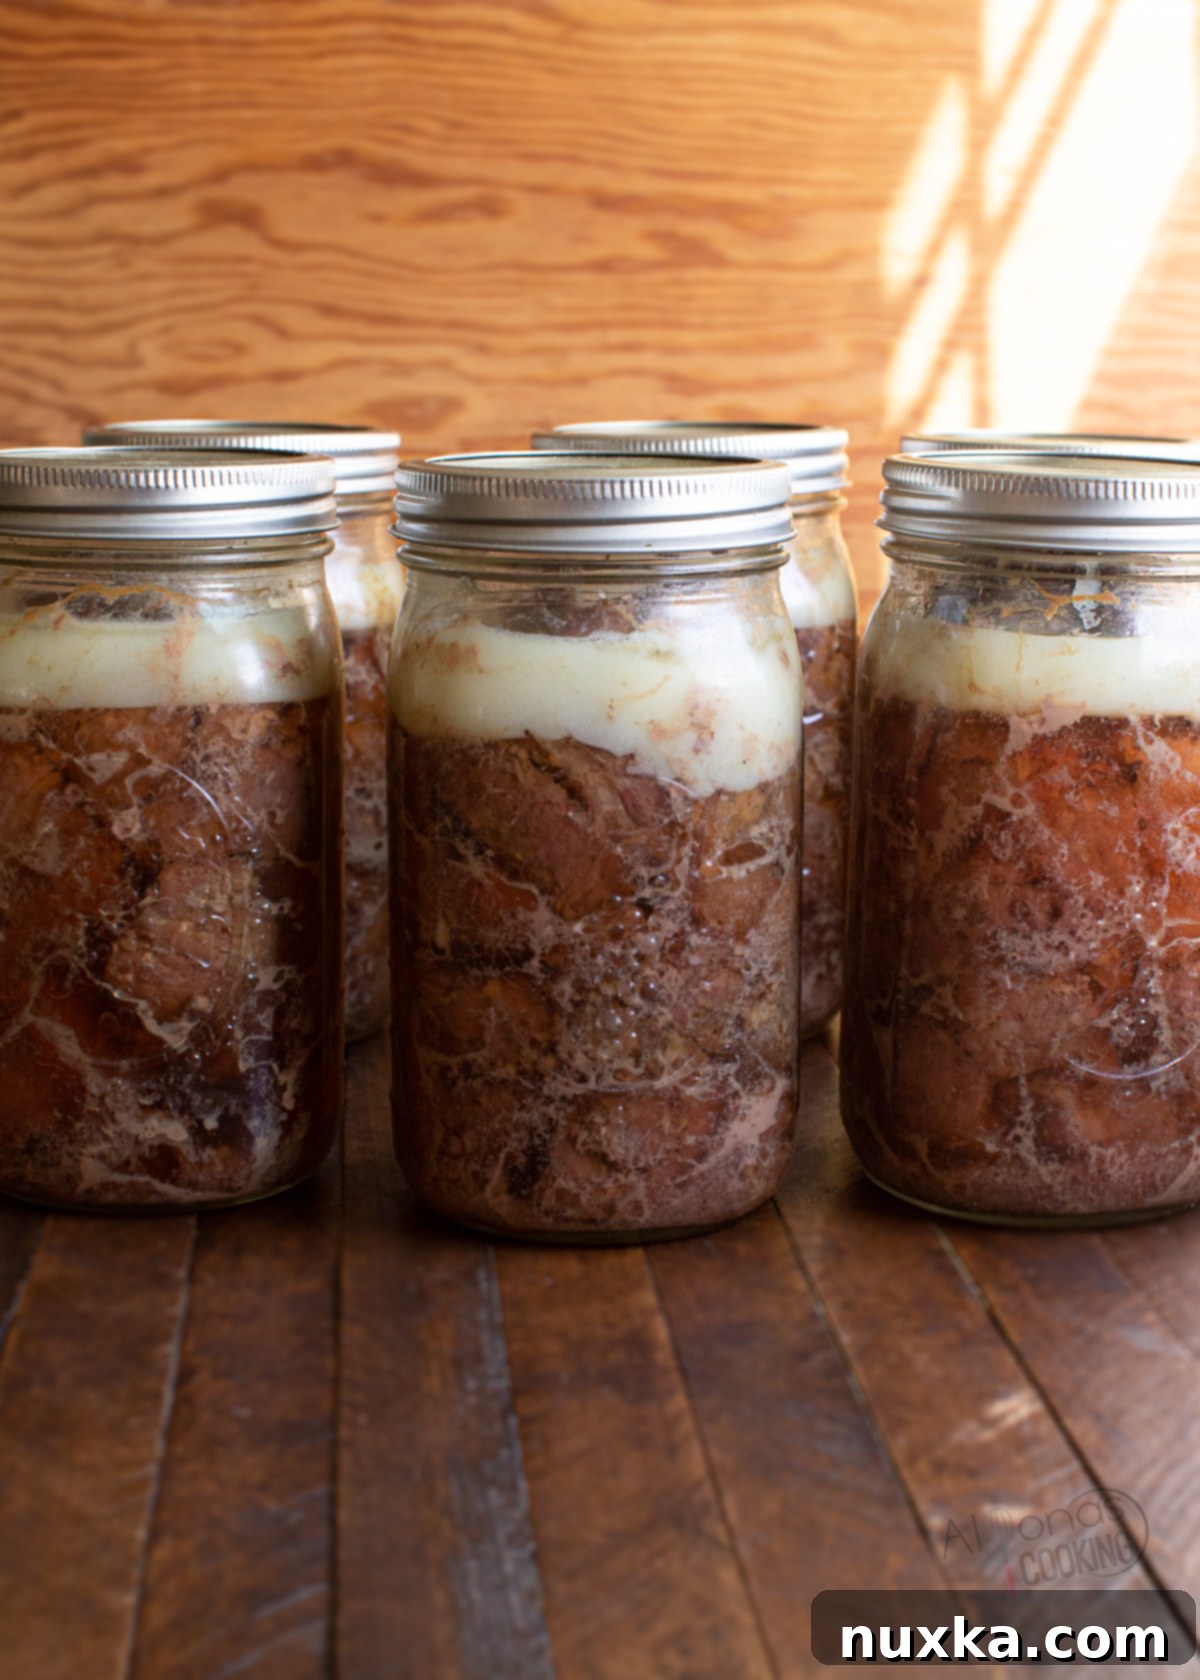
- Normal Fat Solidification: It is entirely normal for any fat present in the canned meat to solidify after cooling. This is a natural process and does not affect the safety or quality of your preserved meat.
More Delicious Meat Recipes to Explore:
- Easy Meatloaf Recipe
- Ultimate Burger Recipe with homemade hamburger buns
- Korean Beef Bulgogi
- Chicken Salad Sandwich
- Venison Burger Recipe
- Pigs In A Blanket (with Homemade Crescent Rolls)
Rate
Pin
Home Canned Meat (Venison)
Equipment
-
7 Quart-sized jars (with new lids and bands)
-
1 23-quart pressure canner (such as Presto brand)
-
1 Jar lifter (for safe handling of hot jars)
-
1 kitchen towel (for wiping jars and cooling)
Ingredients
Ingredients for 7 Quart Jars:
-
13 pounds Beef or Venison** (cut into 1.5-inch chunks)
-
3 heads Garlic (peeled cloves, crushed or minced)
-
4 1/2 Tbsp Sea salt
-
2 Tbsp Black pepper
-
1 3/4 cup Palm fruit shortening (divided into 1/4 cup portions, or lard)
Instructions
Directions for Home Canning Meat:
-
 Wash and thoroughly clean your canning jars with warm, soapy water. Rinse them well. If using lean meat, dollop 1/4 cup of shortening (palm fruit shortening or lard) into each clean quart-sized jar and set aside.
 -
 In a large bowl, season the cubed meat generously with crushed garlic, sea salt, and black pepper. Mix thoroughly with your hands to ensure all pieces are well-coated.
 -
 Pack the seasoned meat tightly into the jars, leaving a 1-inch headspace (space between the meat and the rim). Use the end of a wooden spoon to push down the meat, releasing any trapped air pockets. Wipe jar rims clean. Place new lids and screw bands on finger-tight.
 -
 Pour 3 quarts of water into a 23-quart pressure canner. Carefully place the packed jars into the canner. Seal the canner lid. Heat on high until a steady stream of steam vents for 10 minutes. Then, apply the weighted gauge and allow pressure to build to 10 pounds. Process for 90 minutes.
 -
 Turn off the heat and allow the pressure canner to depressurize naturally until the gauge reads zero. Open the canner and carefully remove the jars with a jar lifter. Place them on a kitchen towel and let cool undisturbed for 24 hours. Check seals before storing.
Notes for Home Canning Meat:
- Fat Alternatives: Palm fruit shortening can be substituted with lard or any other type of solid shortening. This step is especially beneficial for leaner meats like venison and can be omitted for fattier cuts of beef or pork if desired.
- Meat Types: This canning method and processing times are suitable for beef, venison, chicken, or pork. The critical factor is following the correct processing time based on jar size.
- Pint Jars: For pint-sized jars, pressure can at 10 pounds of pressure for 75 minutes.
- Instant Pot Canning: An Instant Pot (or similar electric pressure cooker) can be used for canning meat. Pressure cook at high pressure for 75 minutes for pints and 90 minutes for quarts. Ensure your Instant Pot reaches 240°F (116°C) at high pressure (most reach up to 244°F, equivalent to 10 pounds of pressure in a standard canner).
Nutrition per serving (Approximate values)
