Delicious Mountain Pies: Your Ultimate Guide to Campfire Hot Sandwiches & Pie Iron Recipes
Mountain pies, often affectionately called campfire hot sandwiches or pie iron sandwiches, are a beloved tradition for many families enjoying the great outdoors. These delightful creations are made using a specialized cast-iron cooker, known as a mountain pie maker or pie iron, that allows you to toast and seal delicious fillings between slices of bread directly over a campfire. They are incredibly versatile, perfect for feeding a crowd, and can be adapted for any meal of the day – from hearty breakfast sandwiches to savory pizza pies and classic ham and cheese melts. In this comprehensive guide, we’ll dive into the world of mountain pies, showing you how to craft three popular variations and sharing essential tips to ensure your sandwiches are perfectly cooked and never stick!
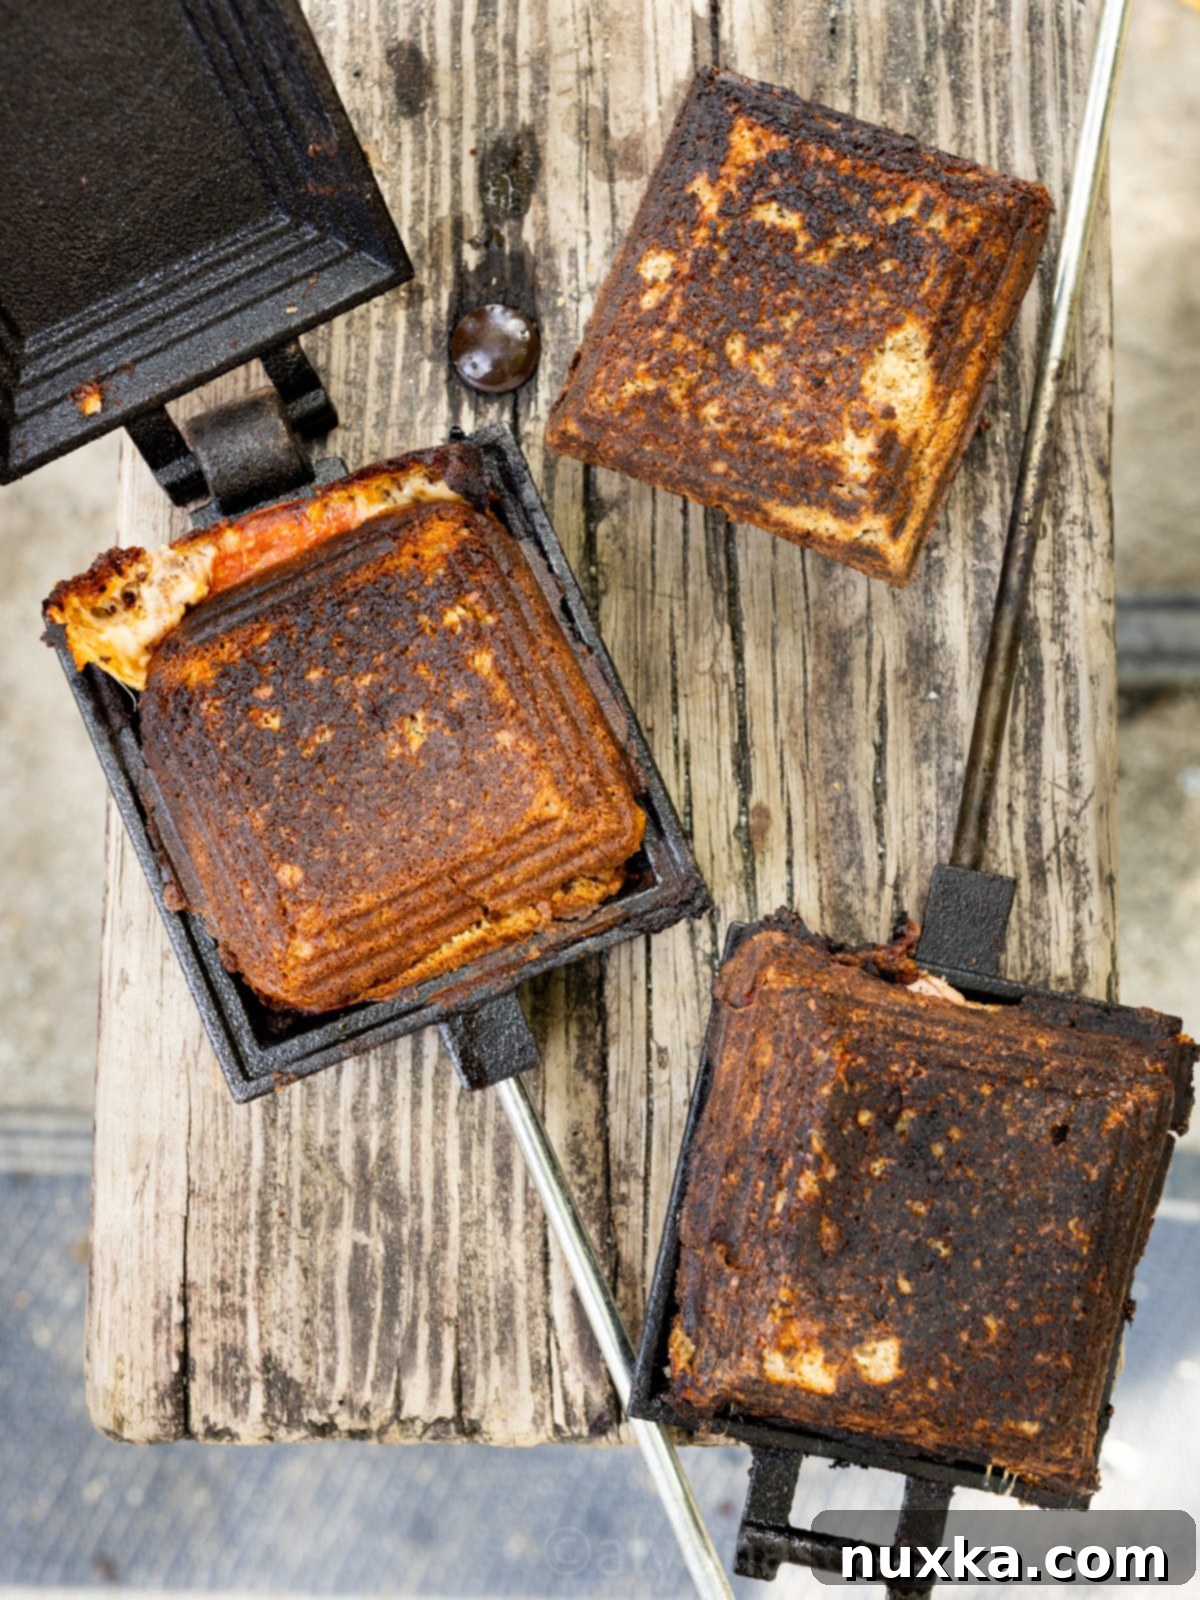
When it comes to camping, simplicity and deliciousness are key. That’s why we rely on a few trusted campfire recipes that consistently deliver with minimal fuss. Alongside mountain pies, our other family-favorite campfire recipes include the fun Woof’em Sticks, flavorful Pork Shish Kabobs, comforting Camping Breakfast Potatoes, and classic Campfire Baked Potatoes. These recipes perfectly complement the relaxed and joyful atmosphere of a camping trip, creating lasting memories around the fire.
What Are Mountain Pies and Why Are They Perfect for Camping?
My first introduction to mountain pies was a truly memorable experience, courtesy of our wonderful Mennonite friends. They invited us to a summer evening celebration for their daughter’s birthday, where a table laden with sandwich toppings was set up by a crackling campfire. It was an instant hit!
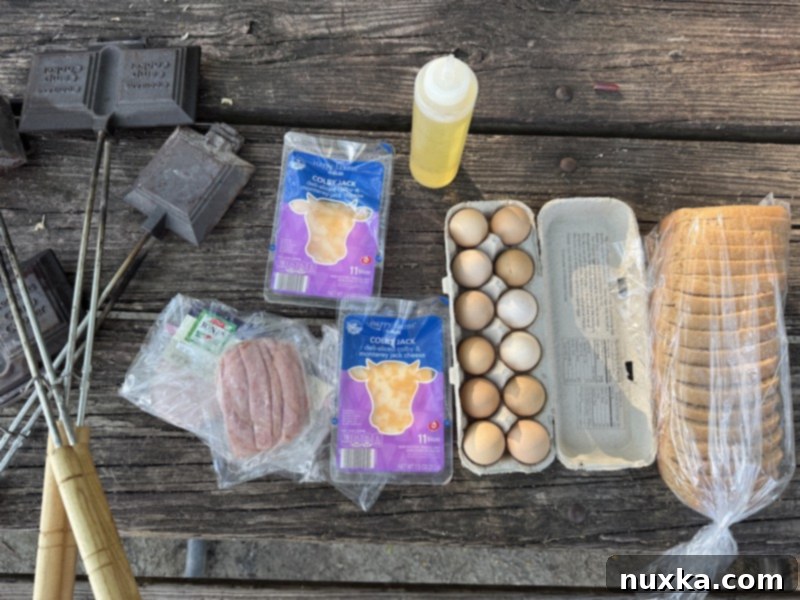
The spread included fresh sandwich bread, an array of luncheon meats, eggs, various cheeses, rich pizza sauce, and savory pepperoni. Everyone was encouraged to create their own personalized mountain pie, allowing for endless customization and catering to every taste preference. This communal, hands-on approach to meal preparation is one of the many reasons mountain pies are so fantastic for groups and camping trips.
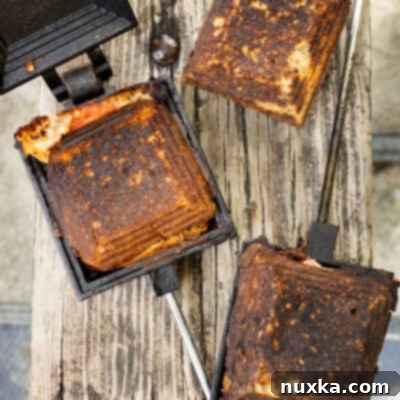
The basic concept is delightfully simple: you coat both sides of your mountain pie maker with cooking spray or oil, place a slice of bread on one half, load it with your desired fillings, and then top it with a second slice of bread. After carefully closing the mold, you cook it over the campfire for about 10 minutes until it’s golden brown and crispy. The result is a sealed, hot, and incredibly satisfying sandwich that tastes like pure outdoor magic.
What makes these hot sandwiches truly ideal for camping is their minimal prep and cleanup. All you need to do beforehand is gather your ingredients and set them out. Guests can then assemble their own creations, making mealtime an interactive and enjoyable activity rather than a chore. This “assemble-your-own” style is a lifesaver when you’re roughing it, ensuring everyone is happy without extensive effort from the designated camp cook.
Choosing and Buying Your Mountain Pie Maker
A good mountain pie maker is the heart of this camping culinary experience. These cast-iron (or sometimes aluminum) campfire sandwich irons are widely available. You can typically find them at large retailers like Walmart, specialized country sporting goods stores, or even traditional Mennonite stores such as Goodsstores.com, which often carry a great selection of cast-iron cookers perfect for camping adventures.
When selecting your pie iron, you’ll encounter both single and double versions. We personally love our double pie irons, as they allow you to cook two sandwiches simultaneously – perfect for quickly satisfying hungry campers, whether it’s one for yourself and another for a little one, or just doubling up on your own delicious creation.
While cast iron is the traditional choice due to its durability and excellent heat retention (which contributes to that perfectly crispy exterior), aluminum pie irons are also available and often feature a non-stick coating. If you prefer less maintenance, aluminum might be a good option. However, for that authentic campfire taste and superior heat distribution, many seasoned campers swear by cast iron. Regardless of your choice, ensuring your pie maker is well-maintained is crucial for consistent, non-stick results.
How Long To Cook a Mountain Pie for Perfect Crispy Goodness
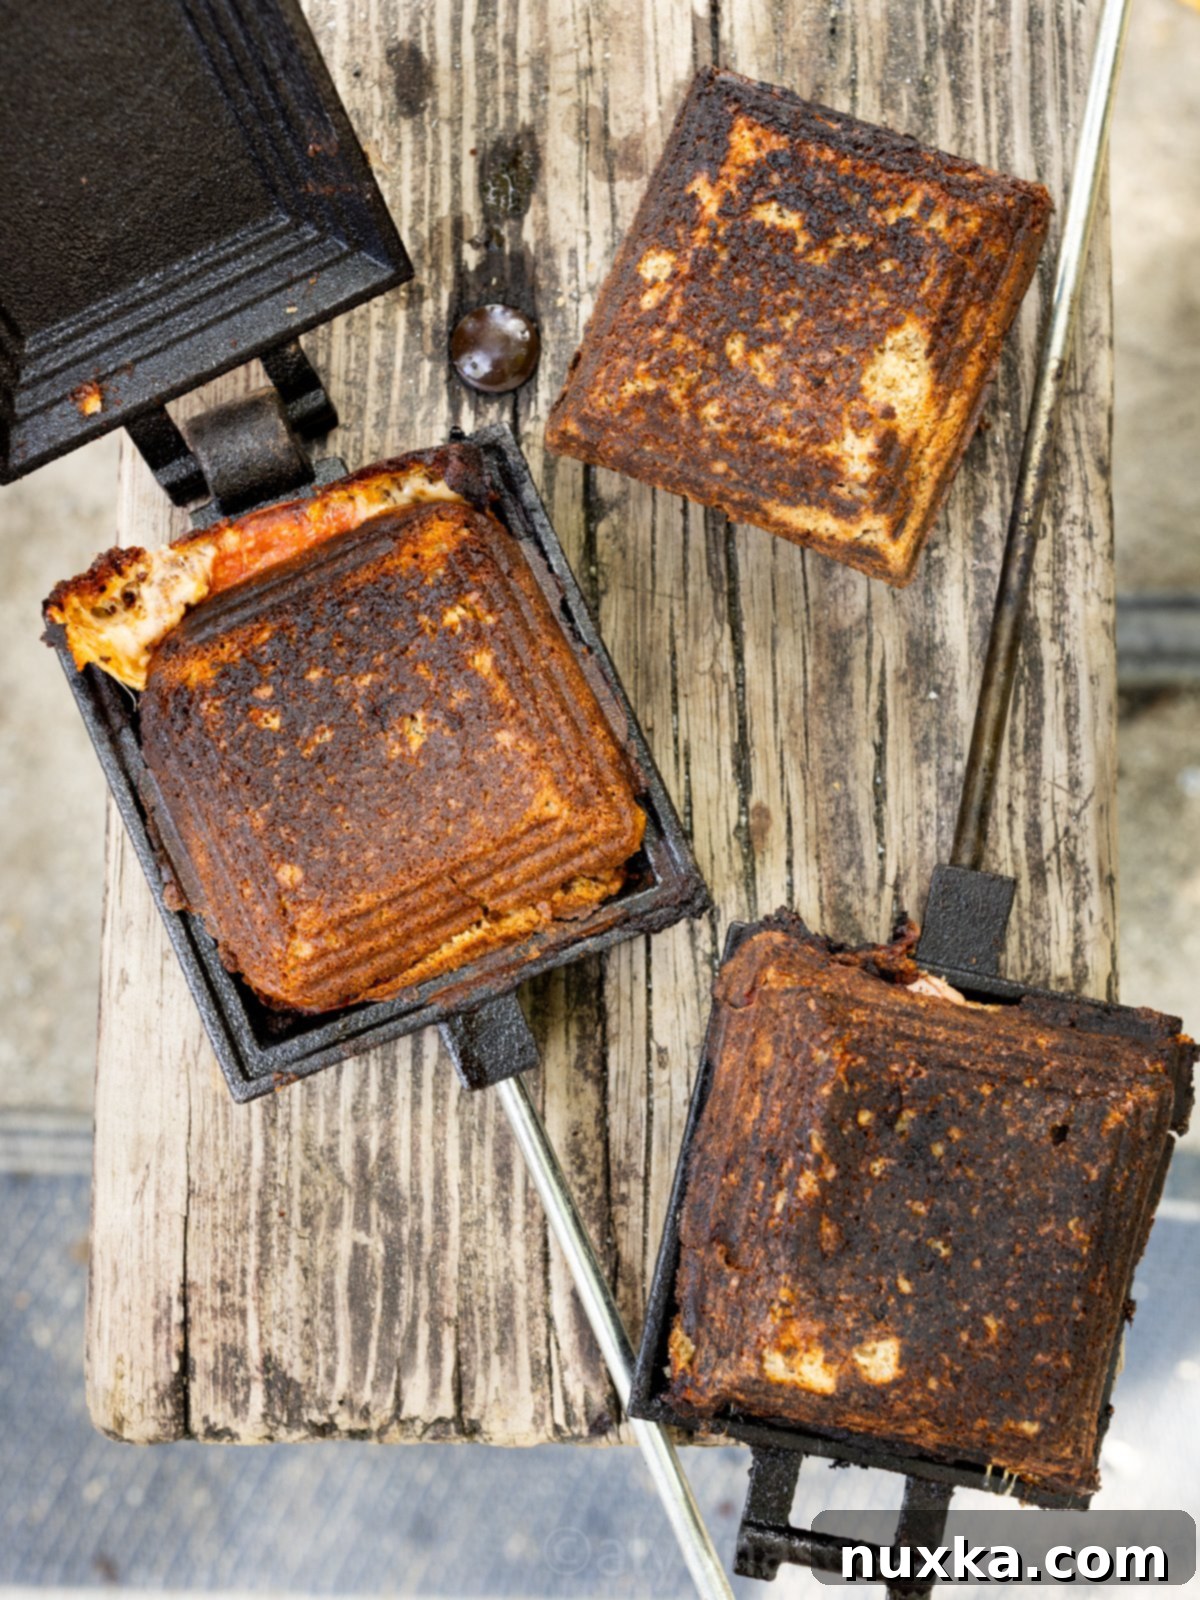
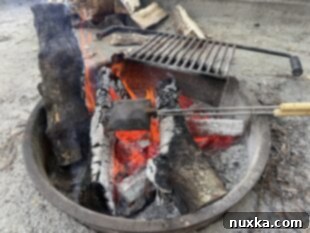
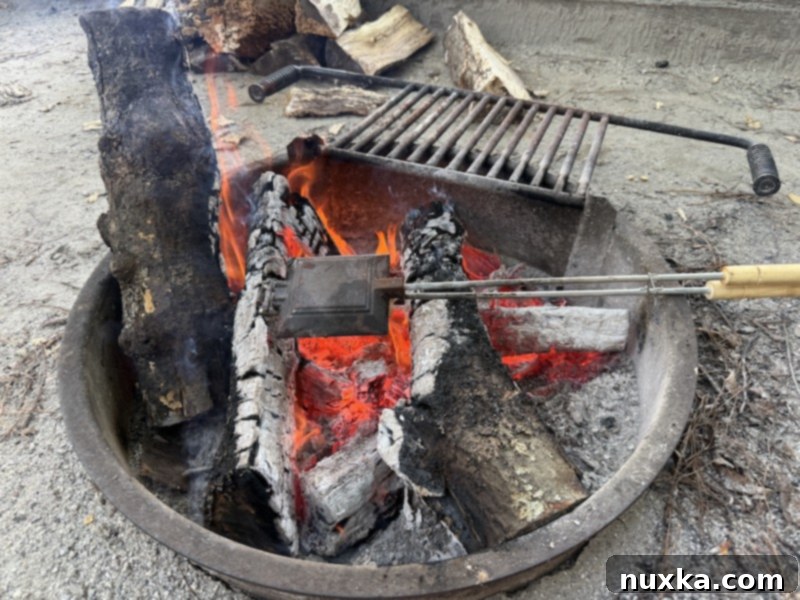
Achieving the perfect mountain pie requires understanding heat. Through trial and error, we’ve learned that the secret to easily releasing a mountain pie from its mold and getting that desirable golden-brown crispness lies in cooking it longer over a low, steady heat. The ideal cooking environment is over embers (glowing wood) rather than direct, roaring flames. Direct flames tend to burn the bread quickly before the fillings have a chance to heat through and the pie develops its structural integrity.
The key is a well-greased mold combined with consistent, indirect low heat. Depending on the intensity of your campfire’s embers, a well-done mountain pie typically takes about 10 minutes to cook. If you’re cooking directly over flames, your bread might char quickly. For optimal results, nestle your pie maker into the glowing embers and set a timer for 10 minutes. After this time, gently check if the pie releases easily from the form. If it’s still sticking or tearing, it likely needs a few more minutes to crisp up and firm. Patience is a virtue when it comes to perfect mountain pies!
How To Clean and Season a Cast-Iron Mountain Pie Maker: The Key to Non-Stick Pies
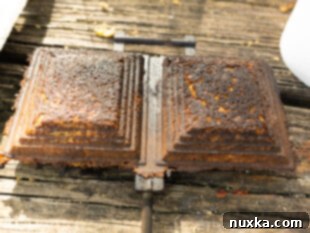
Because we use our mountain pies exclusively for camping, they often face harsh conditions and can become quite rusty between trips. Proper cleaning and seasoning are essential for their longevity and performance. A well-seasoned cast-iron pie iron is naturally non-stick, making for effortless cooking and removal.
The best way to clean and re-season your cast-iron pie maker is to first place it directly on the campfire to get it thoroughly hot. This high heat helps to burn off any stubborn food residues or rust. Once hot, carefully remove it from the fire and place it on a stable surface like a picnic table. Then, using a high smoke point oil (such as vegetable oil, grapeseed oil, or flaxseed oil), squirt or brush the oil evenly over both halves of the mold. You want enough oil to create a thin, even coating, not so much that it’s drenched. Ensure all surfaces are covered.
Immediately place the greased pie maker back on the fire and let it “bake” for about an hour. This process allows the oil to polymerize, creating a durable, non-stick layer. After seasoning, allow the pie maker to cool completely before handling to prevent serious burns. This ritual not only cleans but also seasons your iron, preparing it perfectly for your next camping adventure and ensuring your mountain pies come out beautifully every time.
Mise en Place: Essential Equipment and Ingredients for Mountain Pies
Equipment You’ll Need:
- Cast-Iron Mountain Pie Maker (double or single): A good quality pie iron is indispensable. We recommend cast iron for its durability and even heating, but aluminum versions are also available.
- Sharp Knife or fork: Useful for trimming excess bread and gently releasing the cooked pies from the mold if they’re a bit stubborn.
- Cooking Spray or High Smoke Point Oil: Essential for greasing the pie iron and preventing sticking. Make sure to pack enough for multiple pies!
- Heat-resistant gloves or a kitchen towel: For safe handling of hot pie irons.
Ingredients for Classic Mountain Pie Variations:
While the beauty of mountain pies lies in their customizability, here are the core ingredients for our favorite breakfast, ham & cheese, and pizza versions. For this particular morning, we focused on breakfast mountain pies, but simply omitting the eggs transforms them into delicious hot ham and cheese sandwiches.
- Sandwich Bread: The foundation of your mountain pie. I prefer to make my own whole wheat sandwich bread loaves the day before a camping trip. Using an electric knife makes slicing easy, and storing them in a bread bag keeps them fresh until you’re ready to cook. Any sturdy sandwich bread works well, but a slightly thicker slice holds up better to the fillings and heat.
- Ham Lunch Meat: A camping staple! We often opt for honey ham, bought in bulk from places like Costco, for its convenience and delicious flavor. Feel free to use turkey, roast beef, or any other preferred luncheon meat.
- Cheese Slices: Colby Jack or American slices are popular choices for their meltability. Don’t be afraid to experiment with other varieties like baby Swiss, cheddar, provolone, or even a spicy pepper jack for an extra kick.
- Eggs: Crucial if you’re making breakfast mountain pies. You can use whole AA-grade eggs cracked directly onto the bread, or for quicker cooking, bring pre-scrambled eggs or even leftover cooked eggs.
- Butter or Margarine (Optional): For an extra rich, golden-brown crust, some like to spread a thin layer of butter on the outside of the bread before placing it in the pie iron.
For specific instructions and mouth-watering images for the Mountain Pie Pizza, continue reading below!
Step-by-Step Guide: How To Make Perfect Mountain Pies
For detailed, printable instructions, please refer to the recipe card further down the page. However, here’s an expanded overview to ensure your mountain pies are a resounding success:
- Prepare Your Pie Iron: Before embarking on your mountain pie adventure, ensure your pie maker is thoroughly cleaned and seasoned, especially if it’s cast iron. Refer to our “How To Clean and Season” section for best practices. Once seasoned, generously grease the insides of your mountain pie maker with cooking spray or oil before each use. This crucial step is your first line of defense against sticking.
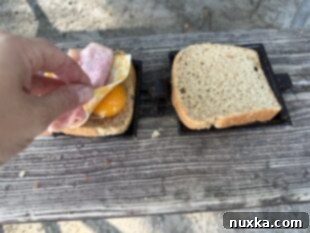
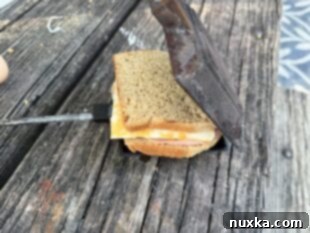
- Assemble Your Breakfast Mountain Pie: Lay one slice of bread onto each half of the greased pie iron. For a delicious breakfast sandwich, carefully crack an egg directly onto one slice of bread. This method often allows the egg to cook more evenly than if it’s placed already cooked and nestled deep within the sandwich. Top the egg with two slices of ham and a slice of your chosen cheese. Finally, cover the filling with the second slice of bread.
- Seal and Trim: Gently close the two halves of the pie iron, ensuring the bread and fillings are securely contained. You’ll notice excess bread around the edges. Carefully trim this excess bread using a sharp knife. Trimming helps to seal the edges of the sandwich, creating a neat, pocket-like “Pop-Tart” appearance and preventing fillings from oozing out. It also aids in easier removal.
- Cook Over Embers: Latch the cooker securely. Place the closed pie iron over glowing embers or a very low, steady flame. Avoid direct, high flames as this will burn the bread before the inside is cooked. Cook for approximately 10 minutes, flipping the pie iron every few minutes to ensure even toasting on both sides until it reaches a beautiful golden-brown color. A darker brown often indicates easier release.
- Release with Care: Once cooked, carefully remove the hot pie maker from the fire. Before opening, gently bang the closed pie maker against a hard surface, like a picnic table. This light impact often helps to loosen the sandwich from the mold. Using a kitchen towel or heat-resistant glove (a bath towel worked for us when camping by the lake!), carefully unlatch and open the cooker.
- Troubleshooting Sticking: If your mountain pie is sticking or tearing, it’s a sign it needs more cooking time. Close the iron and return it to the embers for an additional 3-4 minutes. A fully cooked pie will typically release much more easily. If persistent sticking occurs, a sharp knife might be needed to gently pry it out. Remember, the darker and crispier they cook, the easier they tend to come out.
Pro Chef Tip: Mastering the Heat

Pro-tip: Generously grease your mountain pie makers with oil or cooking spray before *each* use. Most importantly, always cook your mountain pies over glowing embers (low, steady heat from burning wood) rather than direct flames. Cooking over direct flames will quickly burn the exterior of the sandwich, leaving the fillings uncooked or only partially heated. Embers provide consistent, gentle heat for a perfectly toasted and thoroughly cooked mountain pie.
Craving Pizza? Make Mountain Pie Pizzas!
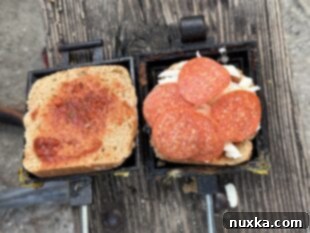
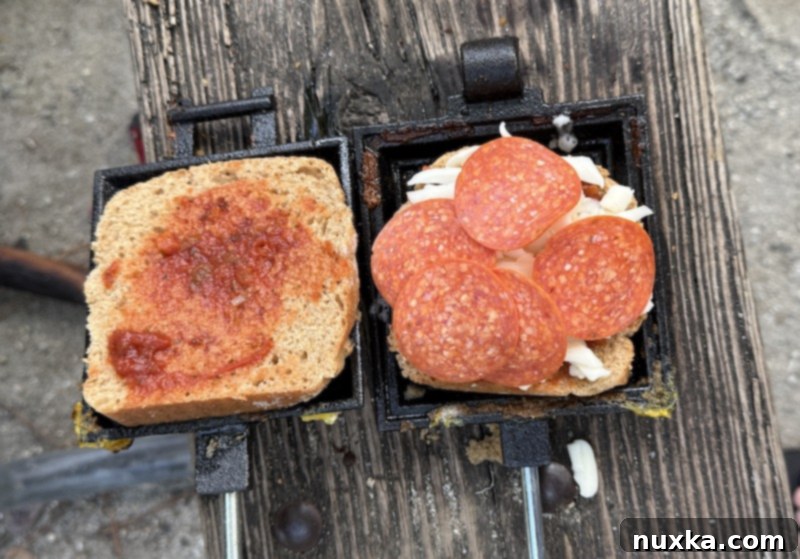
One of the most exciting variations of mountain pies is the pizza pie, a guaranteed crowd-pleaser! To create these savory delights, gather a loaf of your favorite sandwich bread, a pint of good quality pizza sauce (or even your preferred pasta sauce for a twist), plenty of mozzarella cheese, and slices of pepperoni.
Set out your ingredients on your picnic table, encouraging everyone to build their own custom pizza mountain pie. Beyond the basics, consider adding other favorite pizza toppings like thinly sliced bell peppers, black olives, finely chopped onions, or for those who enjoy a little heat, jalapeños or a sprinkle of red pepper chili flakes. Follow the general cooking instructions provided above, ensuring your pie gets golden brown and crispy for that perfect pizza crust texture. The melted cheese and warm sauce inside a toasted bread shell make for an unforgettable campfire meal!
Other Tasty Variations: Beyond the Sandwich
The beauty of the mountain pie maker is its incredible versatility. While hot sandwiches are a classic, you can get truly creative and make both savory and sweet loaded pies. The possibilities are endless!
- Gourmet Grilled Cheese: Elevate the classic grilled cheese by using a double slice of high-quality cheese like Gouda, sharp cheddar, or a blend of your favorites. Add a smear of mustard or a sprinkle of garlic powder for extra flavor. Follow the basic cooking instructions for a perfectly melted, golden-brown grilled cheese pocket.
- Hearty Meat Pies: For a more substantial meal, use rolled pie dough or even puff pastry instead of bread. Fill with pre-cooked ground beef, pork, or lamb seasoned with herbs and spices. You can also add cooked potato slices, diced onions, or mixed vegetables. Always season your filling to taste. Cook for 6-8 minutes, checking for a golden crust.
- Reheated Casserole Mountain Pies: This is a fantastic way to enjoy leftovers! Simply spoon leftover Shepherd’s pie, noodle casseroles, or even chili directly into the pie iron. Cook for about 3 minutes per side, or until thoroughly heated through and crispy on the outside.
- Sweet Fruit Pies: Transform your pie iron into a dessert maker! Use pastry dough, phyllo dough, or even biscuit dough as your base. Fill with any canned pie filling – cherry, apple, peach, or pear fillings are all delightful. Sprinkle with a touch of cinnamon or nutmeg for extra warmth. Cook until the crust is golden and the filling is bubbling.
- Spicy Taco Mountain Pies: Get inspired by our Woof’em Sticks! Use homemade biscuit dough or even a flattened tortilla spread into the pie iron. Fill with seasoned ground beef or chicken, cheese, salsa, and all your favorite taco toppings. Cook for 8-10 minutes. The result is a crispy, satisfying creation reminiscent of a chalupa or fry bread.
- Breakfast Burrito Pies: Use a large tortilla or biscuit dough. Fill with scrambled eggs, cooked sausage or bacon, cheese, and a spoonful of salsa. Cook until golden brown.
- Sausage & Pepper Pies: A savory delight with cooked Italian sausage, bell peppers, and onions, all held together with a bit of provolone cheese inside the bread.
Don’t be afraid to experiment with your favorite ingredients. The mountain pie maker is a canvas for culinary creativity around the campfire!
Successful Tips For Making Mountain Pies: Your Troubleshooting Guide
- Start with a Well-Seasoned Pie Iron: For cast iron, ensure it’s properly seasoned before use. Aluminum pie irons usually come with a non-stick coating, which requires less maintenance but can still benefit from a light greasing. A good foundation prevents sticking.
- Master Heat Management: Always cook mountain pies over embers or a low, steady flame, not direct, high flames. High heat will quickly burn the bread, leaving the interior undercooked and causing the pie to stick or tear when removed. Patience with low heat is key for an even, golden crust and perfectly melted fillings.
- Generously Grease Every Time: Before each and every pie, spray or brush the inside of both halves of your mountain pie molds generously with cooking spray or oil. Even a well-seasoned or non-stick iron needs this barrier to ensure smooth release.
- Troubleshooting Persistent Sticking: If your mountain pies consistently stick despite greasing, don’t despair. First, scrape out any stuck bread or particles as best you can with a knife. Then, generously oil the iron and place it over the fire for about 3 minutes to heat the oil. Remove it, let it cool slightly, and then try making another pie. Ensure you fully cook your pies for the recommended 10 minutes; undercooked pies are more prone to tearing.
- Trim Excess Bread for a Perfect Seal: Once you’ve placed the bread and fillings, close the pie iron and trim off any excess bread that extends beyond the mold’s edges. This creates a neat seal, preventing fillings from oozing out and making a mess, and helps the sandwich form a compact, pocket-like shape that releases more easily.
- Utilize Fire Pit Racks: If your fire pit has a sturdy rack, you can often rest your heavy cast-iron molds directly on it. This provides a stable platform and helps maintain consistent heat.
- Mind the Ember Distance: Ensure your pie iron is at least 6 inches away from the hottest part of the embers. The ideal distance can vary based on the type of wood you’re burning; hardwoods generally produce hotter, longer-lasting embers than softwoods. Adjust your distance for optimal, gentle cooking.
- Safety First: Always use heat-resistant gloves or a thick kitchen towel when handling the hot pie iron, especially when opening the latch or flipping the cooker.
- Don’t Rush the Release: A common mistake is trying to remove the pie too soon. If it’s tearing, it needs more time. The pies tend to release cleanly when they are well-browned and crispy. If they’re still stubbornly stuck after sufficient cooking, a gentle tap against a table can sometimes help.
Rate
Pin
Mountain Pies (Campfire Hot Sandwiches)
Equipment
-
5 campfire sandwich irons (we own two double and 3 single irons)
-
1 sharp knife (to pop the mountain pies out)
Ingredients
Ingredients:
-
1 loaf whole wheat sandwich bread (2-pound loaf sliced)
-
1 pound honey ham slices
-
7.5 oz Colby Jack cheese (sliced)
-
1 dozen eggs (if making breakfast sandwiches)
-
**For mountain pie pizzas see notes below
Instructions
Instructions:
-
 Get the fire going in your fire pit. Season the irons if needed**. Once there are some embers, you can begin making mountain pies. Spray the insides of your mountain pie maker with cooking spray.* Place a piece of bread onto each half.
 -
 Add sandwich toppings. For breakfast, build your sandwich with an egg (cracked directly onto the bread), a slice of cheese, and two slices of ham.
 -
 For Mountain Pie Pizza, spread 1 Tablespoon of pasta sauce, 1/4 cup of mozzarella cheese, and 5 pepperonis.
 -
 For Ham and cheese sandwiches and a slice of Colby cheese on each piece of bread, and 3 slices of ham.
 -
 Close the mountain pie maker, and trim any excess bread (this seals the sandwich). Close the iron shut and latch on the cooker and place over hot embers or a low flame. Cook sandwiches for about 10 minutes flipping once in-between.
 -
 Remove the mountain pies and carefully open the pie iron. If they are stuck to the iron, close it shut and cook for another 3-4 minutes over a low flame or embers. Gently bang against a picnic table before opening, so they release from the mold easily.
 -
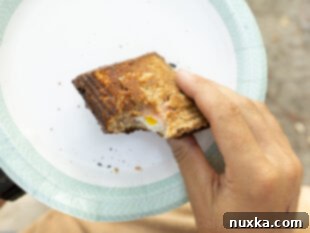
 Transfer your hot sandwich over to a disposable plate and enjoy with your favorite condiments or sauces.
Notes
- Season*: To quickly season mountain pie makers, place the irons over an open flame for a few minutes. Then remove and grease well and place it back over the fire for 3-5 minutes. Make a mountain pie.
- *Cooking spray can be switched with cooking oil.
- Be sure that your cast-iron Mountain pie maker is well seasoned before using.
- Grease pie irons very well before each use so the sandwiches don’t stick.
- Use a knife to pop the mountain pies out if needed.
- Open mountain pie makers with caution; the latch can be very hot, so use a kitchen glove or towel when opening.
- We have found that mountain pies release out of the molds easier, when they have fully cooked (at least 10 minutes). Any sooner and they tend to tear.
- Cook mountain pies over a steady low heat, like a low flame or glowing embers. Cooking them over a high flame can burn the outside.
- If you are dealing with mountain pies that stick no matter what. Let them rest for a few minutes before removing them. Briefly season them before another use.
- You can season mountain pie makers after each use so they work easily on your next camping trip.
Nutrition per serving
