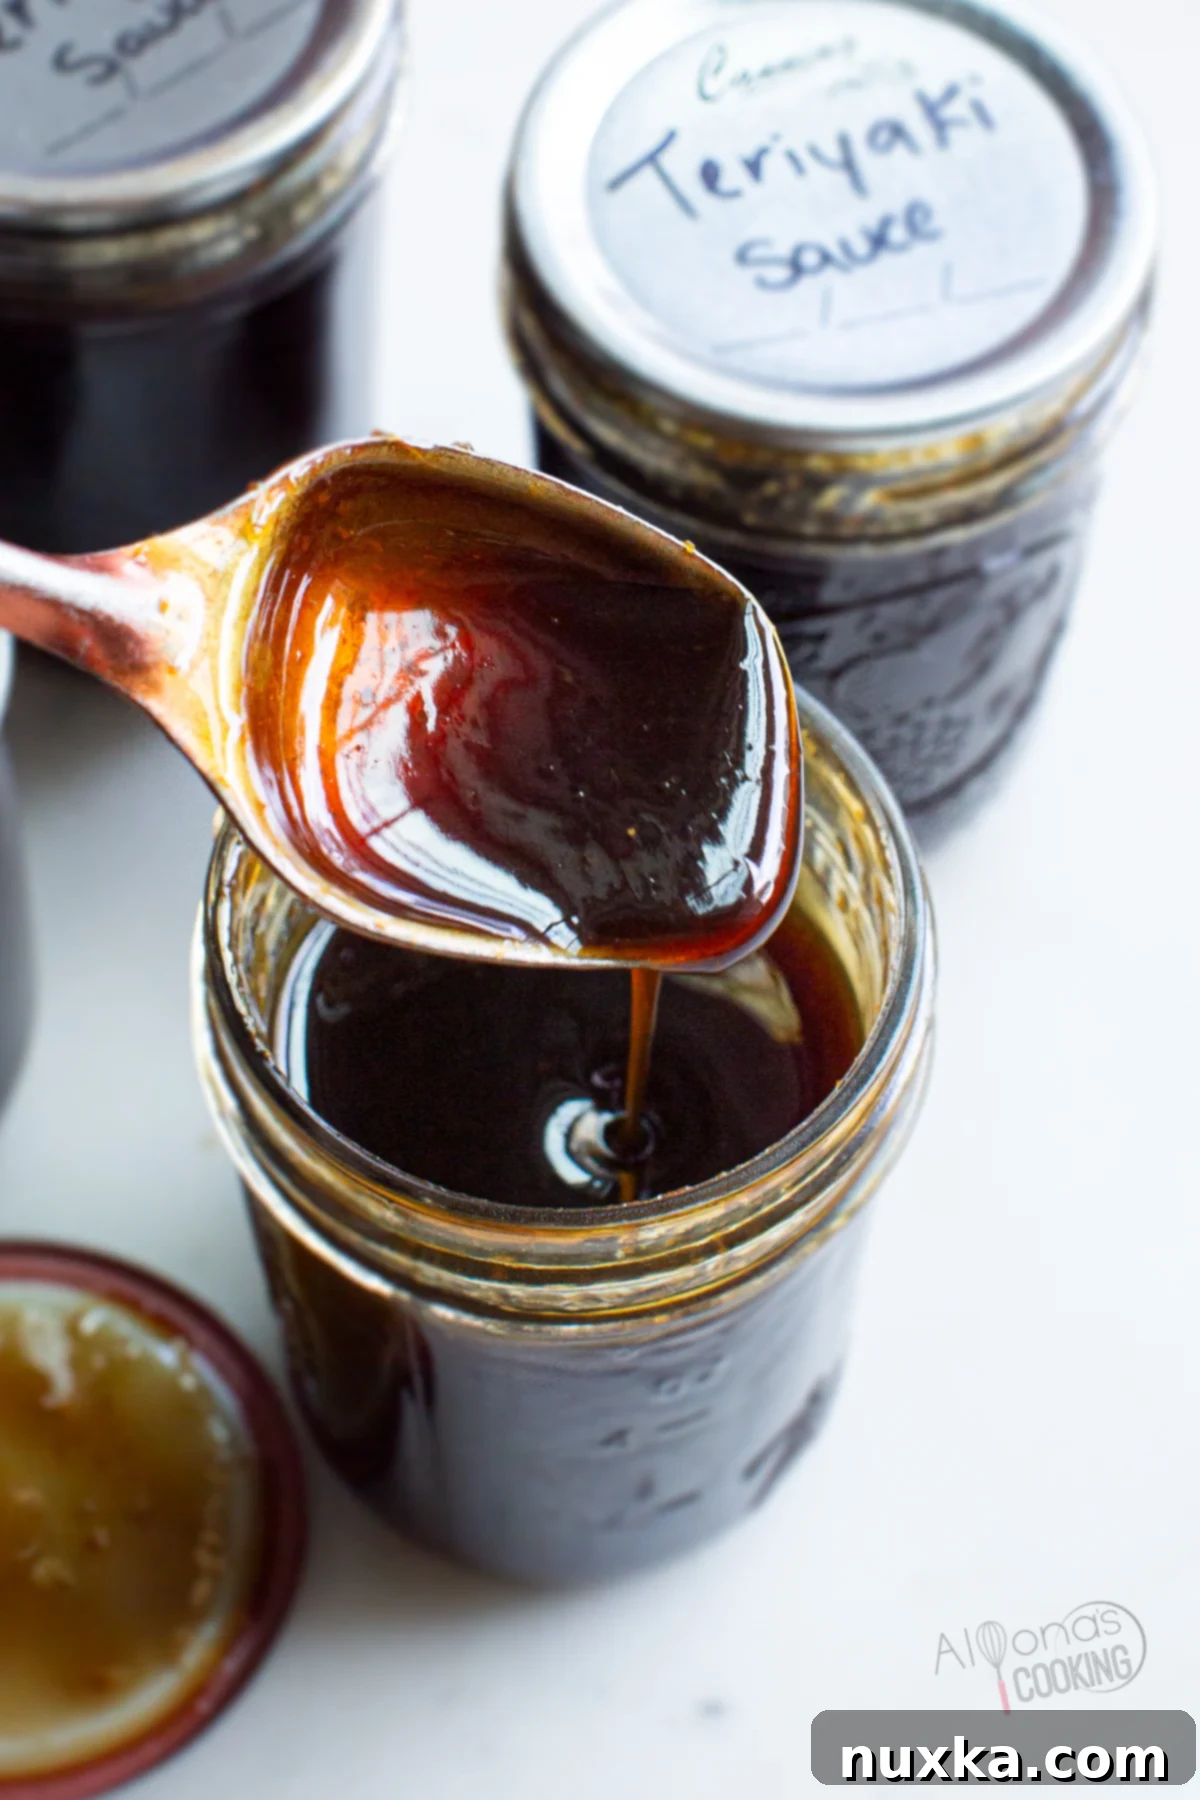
Homemade Shelf-Stable Canned Teriyaki Sauce (Gluten-Free & Delicious!)
Imagine having a vibrant, flavorful teriyaki sauce ready to use whenever the craving for Japanese-style cuisine strikes, without the need for refrigeration until opened. This incredible recipe for Canned Teriyaki Sauce makes that dream a reality! It’s a simple yet amazing homemade condiment that you can safely store on your shelf, bringing authentic taste and unparalleled convenience to your kitchen. Say goodbye to bland, store-bought versions filled with questionable ingredients and embrace the fresh, tangy, and sweet goodness of your own creation.
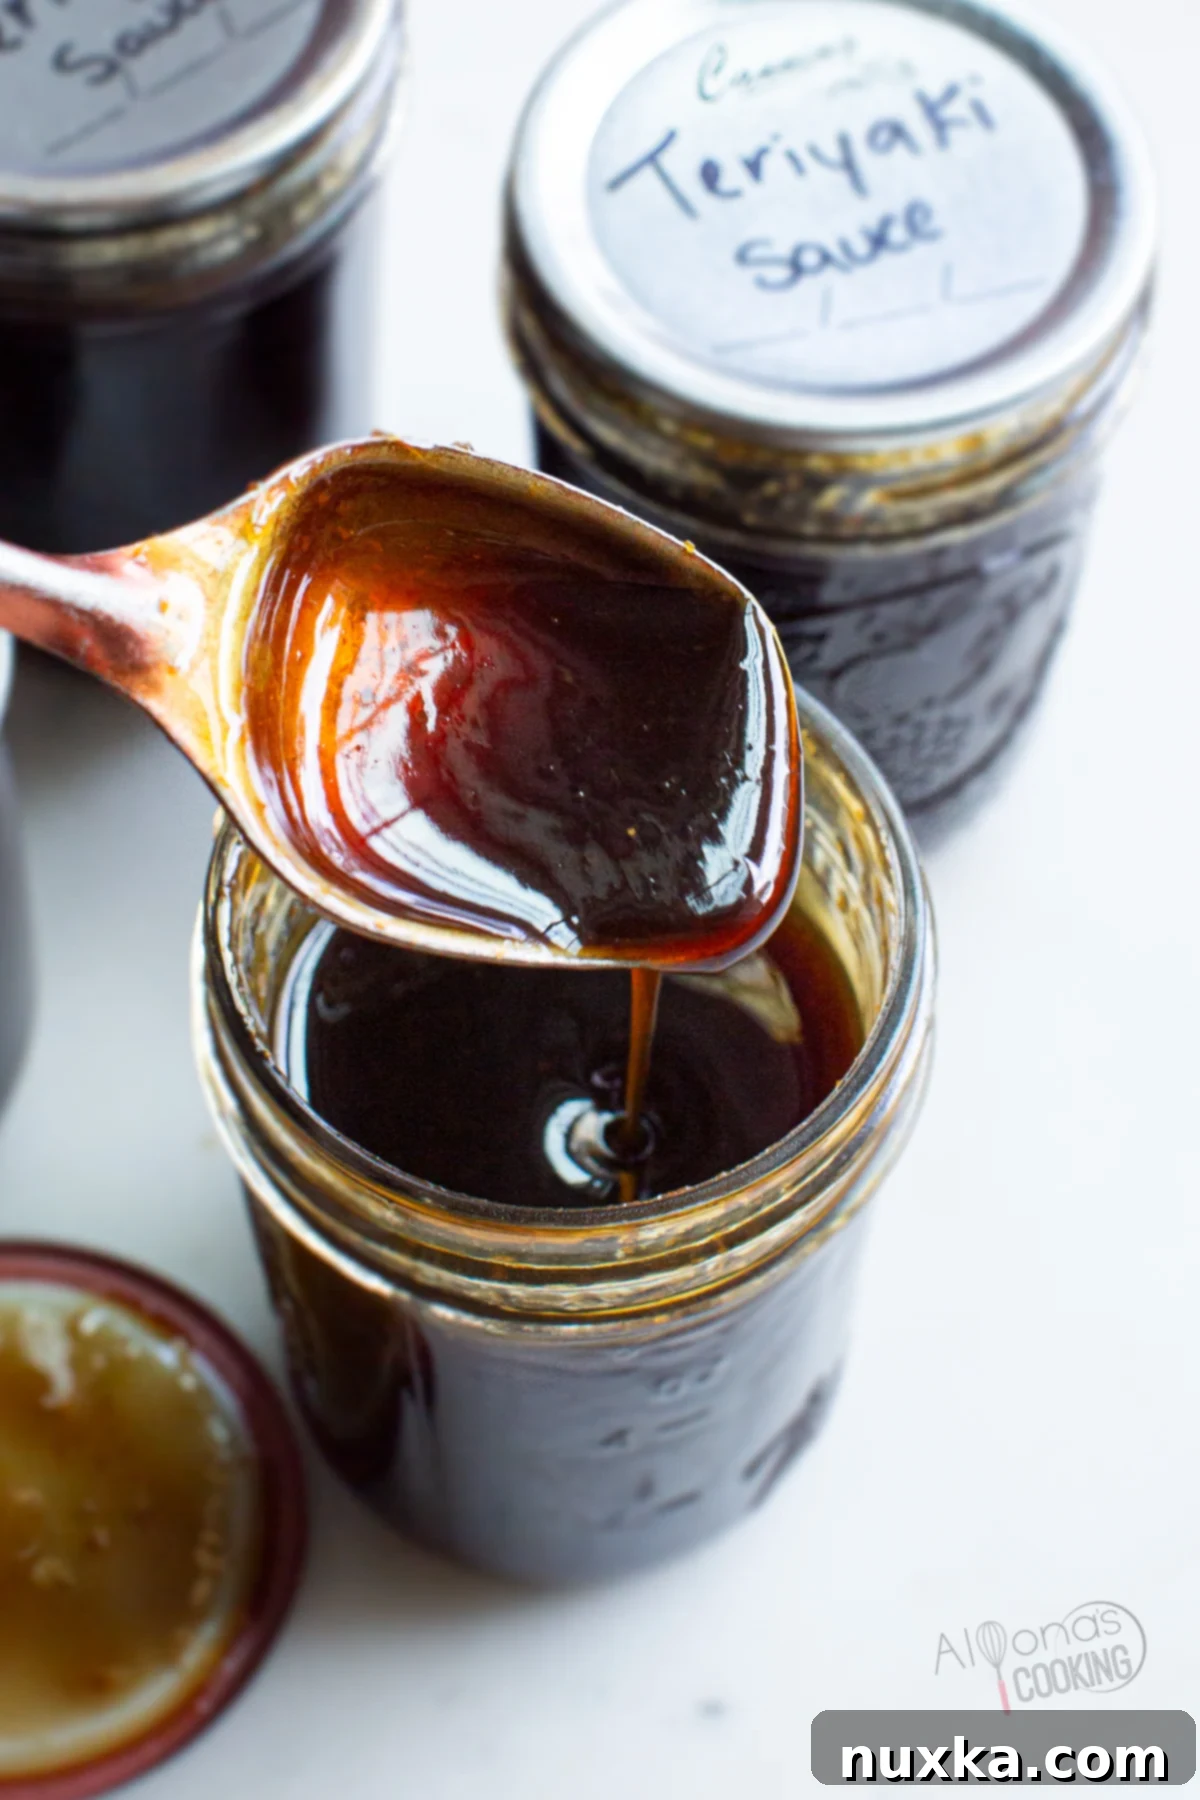
This homemade teriyaki sauce elevates any meal. It’s fantastic in fried rice, an unbeatable marinade for succulent salmon or chicken, or a quick addition to your favorite stir-fry. What makes this recipe truly special is its thoughtfully chosen ingredients: a simple yet powerful blend of coconut aminos (a fantastic soy sauce substitute), tangy vinegar, bright fresh ginger, and just the right amount of sugar. It’s not only incredibly easy to make but is also rigorously tested and proven to be a safe recipe for water-bath canning, ensuring peace of mind with every jar.
Why Choose Homemade Canned Teriyaki Sauce?
Opting to make your own teriyaki sauce and canning it at home offers a multitude of benefits that you simply won’t find in store-bought bottles. This shelf-stable homemade teriyaki provides unmatched convenience, superior flavor, and allows you complete control over the ingredients. Once you experience the ease and deliciousness of having this staple sauce readily available, you’ll wonder why you didn’t start canning it sooner!
- Unbeatable Flavor: Our homemade teriyaki sauce is incredibly tangy, rich, and sweet, with a depth of flavor that far surpasses most commercial brands. The fresh ingredients truly shine through.
- Healthier Choice: By using coconut aminos instead of traditional soy sauce, this recipe is naturally gluten-free and lower in sodium. We also avoid corn syrup and other artificial ingredients often found in bottled sauces, making it a cleaner and healthier option for your family.
- Ultimate Convenience: With jars of teriyaki sauce waiting on your pantry shelf, meal prep becomes a breeze. Quickly marinate meats, whip up a stir-fry, or add a burst of flavor to rice and vegetables in minutes. It’s a true game-changer for busy weeknights.
- Cost-Effective: Making your own condiments is often more economical in the long run. Buying ingredients in bulk and canning them saves money compared to repeatedly purchasing small bottles of specialty sauces.
- Empowering Process: Don’t let water-bath canning intimidate you! It’s a surprisingly straightforward process, mostly hands-off, and incredibly rewarding. Simply combine your pantry ingredients, simmer them, and then process in half-pint jars for long-term storage.
Watch How to Make Teriyaki Sauce:
Understanding Teriyaki Sauce: A Versatile Japanese Condiment
Teriyaki sauce is a beloved sweet and tangy Japanese condiment known for its incredible versatility and signature “glossy sear.” The name “teriyaki” itself is derived from “teri,” referring to the shine or luster imparted by the sugar in the sauce, and “yaki,” which means grilling or broiling. Its semi-thick consistency makes it perfect for basting meats, creating a beautiful glaze, serving as a dipping sauce, or integrating into stir-fries with meat and fish.
Traditionally, teriyaki sauce uses soy sauce, mirin, sake, and sugar. However, our recipe offers a delicious and healthier twist by utilizing coconut aminos, making it completely gluten-free and a fantastic option for those avoiding soy. This adaptation doesn’t compromise on flavor; in fact, many find it even more packed with umami. Its rich, savory profile allows it to be easily interchanged with or even replace other Asian sauces like oyster or hoisin sauce in many dishes.
This gluten-free teriyaki sauce is incredibly adaptable. Beyond the classic fried rice, it serves as an excellent base for an Asian BBQ sauce when mixed with a little ketchup and sriracha for a spicy kick. Use it to marinate steak, chicken, or salmon, drizzle over noodles, or as a dipping sauce for dumplings and shrimp. Canning this sauce ensures that this kitchen powerhouse is always at your fingertips, making quick, flavorful meals a reality. You’re getting a healthier, homemade sauce without the corn syrup or unpronounceable ingredients often found in store-bought bottles.
The secret to achieving a great-tasting teriyaki sauce without soy lies in the choice of coconut aminos. We specifically recommend Bragg’s Coconut Aminos. Unlike some other brands, Bragg’s incorporates apple cider vinegar and sea salt into its organic coconut blossom nectar, which contributes significantly to its umami depth and ensures a balanced, not-too-sweet profile that perfectly mimics traditional soy sauce.
Key Ingredients for Your Homemade Teriyaki
One of the beauties of this canned teriyaki sauce recipe is its reliance on readily available, basic ingredients. Each component plays a crucial role in creating the perfect balance of sweet, tangy, and savory flavors, while also ensuring the sauce is safe for canning. Gather these simple items, and you’ll be well on your way to a pantry stocked with delicious homemade teriyaki!
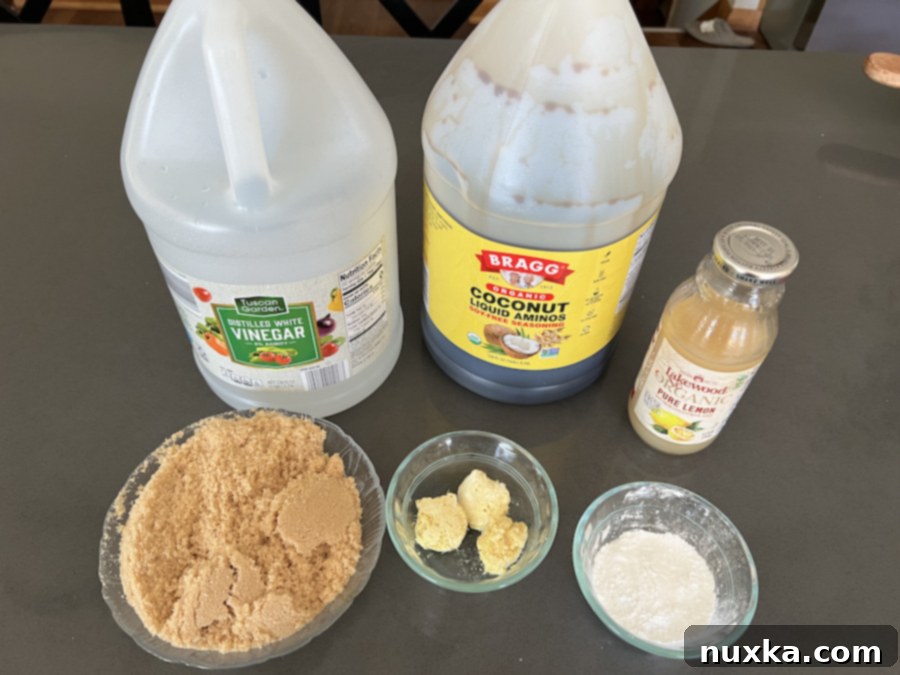
- Freshly Grated Ginger: This is a non-negotiable ingredient that provides an unparalleled fresh, zesty, and delicious flavor. Do not substitute with dried ginger, as the taste profile will be significantly different. If you find yourself with a large piece of ginger root, peel and finely grate it using a zester. Any excess can be divided into 1/2 tablespoon portions, flash-frozen on parchment paper, and then transferred to a freezer bag for future use. Remember to label with portion sizes for easy reference!
- Coconut Liquid Aminos: Specifically, the Bragg’s brand is crucial for this recipe’s success. Bragg’s is one of the few brands that includes apple cider vinegar and sea salt in its organic coconut blossom nectar, which creates a more complex umami flavor and aids in achieving the correct pH levels necessary for safe canning. Other brands may be too sweet or lack the acidity needed. This ingredient is your perfect soy sauce substitute, delivering depth without the gluten or soy.
- Light Brown Sugar: This provides the classic sweetness and helps achieve that desirable “glossy sear” texture in teriyaki. Ensure you pack it tightly when measuring to get the correct amount.
- White Distilled Vinegar: Essential for balancing the sweetness and adding a sharp, tangy note. Its higher acidity is also vital for the safety of water-bath canning. Do not substitute with apple cider vinegar, as it is sweeter and its acidity can vary, potentially affecting the pH balance for canning (Bragg’s coconut aminos already contain ACV, so adding more would throw off the balance).
- Bottled Lemon Juice: For canning recipes, using bottled lemon juice is USDA-recommended over fresh lemon juice. Bottled lemon juice offers a consistent acidity level, which is critical for food safety during the canning process. I recommend purchasing organic bottled lemon juice for the best quality.
- ThermFlo: This specialized starch is safe for canning and is used as a thickener, without affecting the flavor or clarity of your sauce. It can be easily interchanged with cook-type Clear Jel. It is critical not to use Instant Clear Jel or cornstarch for this canning recipe, as they do not hold up to the high temperatures and extended processing times required for safe canning. ThermFlo ensures a stable, properly thickened sauce that remains safe on the shelf.
Using half-pint jars for canning teriyaki sauce is highly practical, as most recipes only call for a few tablespoons at a time, such as in fried rice or when marinating chicken thighs. This size minimizes waste and ensures freshness.
Step-by-Step Guide: How To Make and Can Teriyaki Sauce
Canning teriyaki sauce might sound daunting, but it’s a straightforward process that’s mostly hands-off. Follow these detailed steps to create a safe, shelf-stable, and delicious homemade condiment that will elevate your meals.
- Prepare the Canning Jars and Equipment: Begin by sterilizing your canning jars. You can achieve this by washing them thoroughly in very hot tap water or running them through a dishwasher on a hot cycle. Ensure all lids, rings, and your canner (or large stock pot) are clean and ready. A properly sterilized environment is crucial for safe canning.
- Combine and Cook the Sauce: In a 3-quart saucepan, combine all teriyaki sauce ingredients: freshly grated ginger, coconut liquid aminos, light brown sugar, white distilled vinegar, and bottled lemon juice. Bring this mixture to a rolling boil over medium-high heat.
- Simmer and Reserve for Thickening: Once boiling, reduce the heat to low. Carefully scoop out 1/4 cup of the sauce and set it aside in a separate bowl; this portion will be used later for thickening. Partially cover the saucepan with a lid and continue to simmer the remaining sauce gently for 20 minutes. This simmering period allows the flavors to meld and develop beautifully.
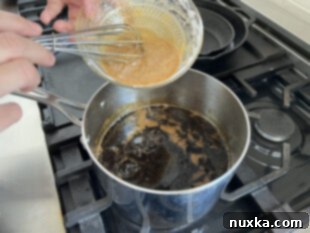
- Thicken the Teriyaki Sauce: During the last few minutes of the 20-minute simmer, prepare your thickening agent. Add the ThermFlo (or cook-type Clear Jel) to the 1/4 cup of reserved sauce and whisk vigorously until all lumps are gone and you have a smooth slurry. Slowly pour this slurry back into the simmering pot of teriyaki sauce, continuously whisking to ensure even distribution and prevent clumping. Bring the sauce back to a gentle boil, stirring constantly, and cook until it slightly thickens to your desired consistency. Once thickened, remove the saucepan from the heat.
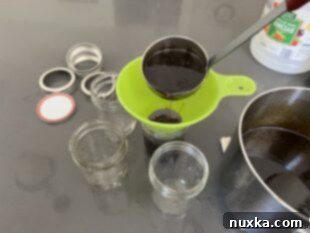
- Fill the Jars: Using a canning funnel (this helps prevent spills and keeps jar rims clean), carefully ladle the hot teriyaki sauce into each prepared half-pint jar. Leave a precise 1/4-inch headspace from the rim of the jar. Proper headspace is essential for a good seal.
- Clean Rims and Secure Lids: Dip a clean rag in hot water and wipe the rims of each jar thoroughly to remove any sauce residue. Then, wipe clean with a dry towel. Any residue can prevent a proper seal. Place a clean lid on each jar, followed by a band. Twist the bands “finger-tight” – this means screwing them on until you feel resistance, then giving a slight extra turn, but not overtightening.
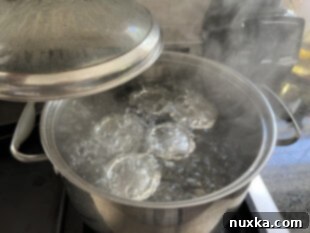
- Process in a Water Bath: Carefully place the filled and sealed jars into your canner or large stock pot. Ensure the jars are not touching each other. Cover the jars with at least 2 inches of hot tap water. Bring the water in the pot to a rolling boil. Once the water is boiling vigorously, set a timer for 20 minutes and continue boiling over medium heat, keeping the pot covered. This processing time ensures the jars are properly sterilized and sealed for shelf-stability.
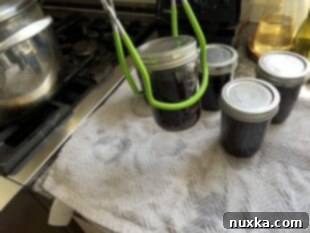
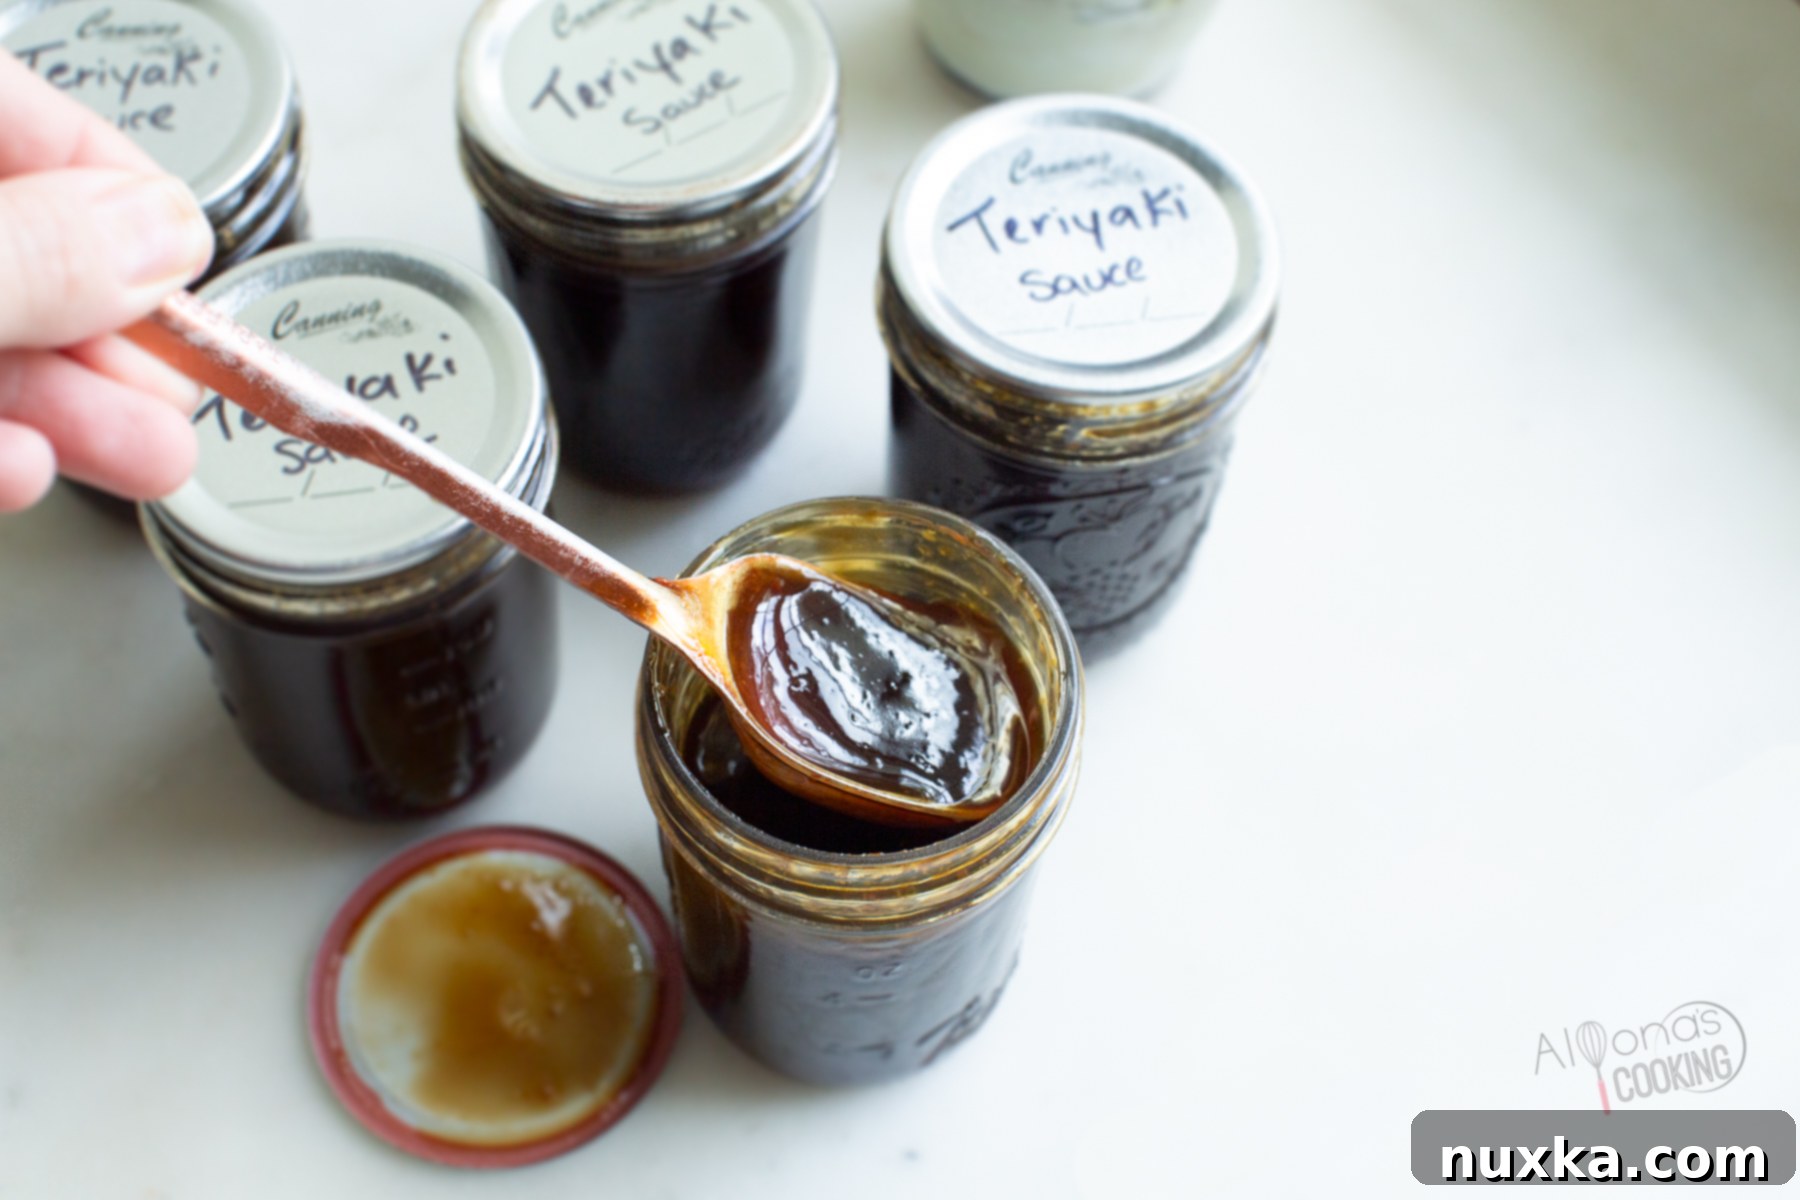
- Cool and Check Seals: After 20 minutes, turn off the heat and carefully remove the jars from the canner using a jar lifter. Place them on a kitchen towel on your counter, ensuring they are not touching. At this point, gently twist and shut any bands that may have loosened from the water bath (but do not touch or press down on the lids). Allow the jars to cool undisturbed for a minimum of 12 hours, or ideally overnight (12-24 hours). You should hear a characteristic “ping” or popping sound as the lids get sucked in and seal properly. The next morning, check the seals by pressing down on the center of each lid; if it doesn’t flex or “click,” the jar is properly sealed.
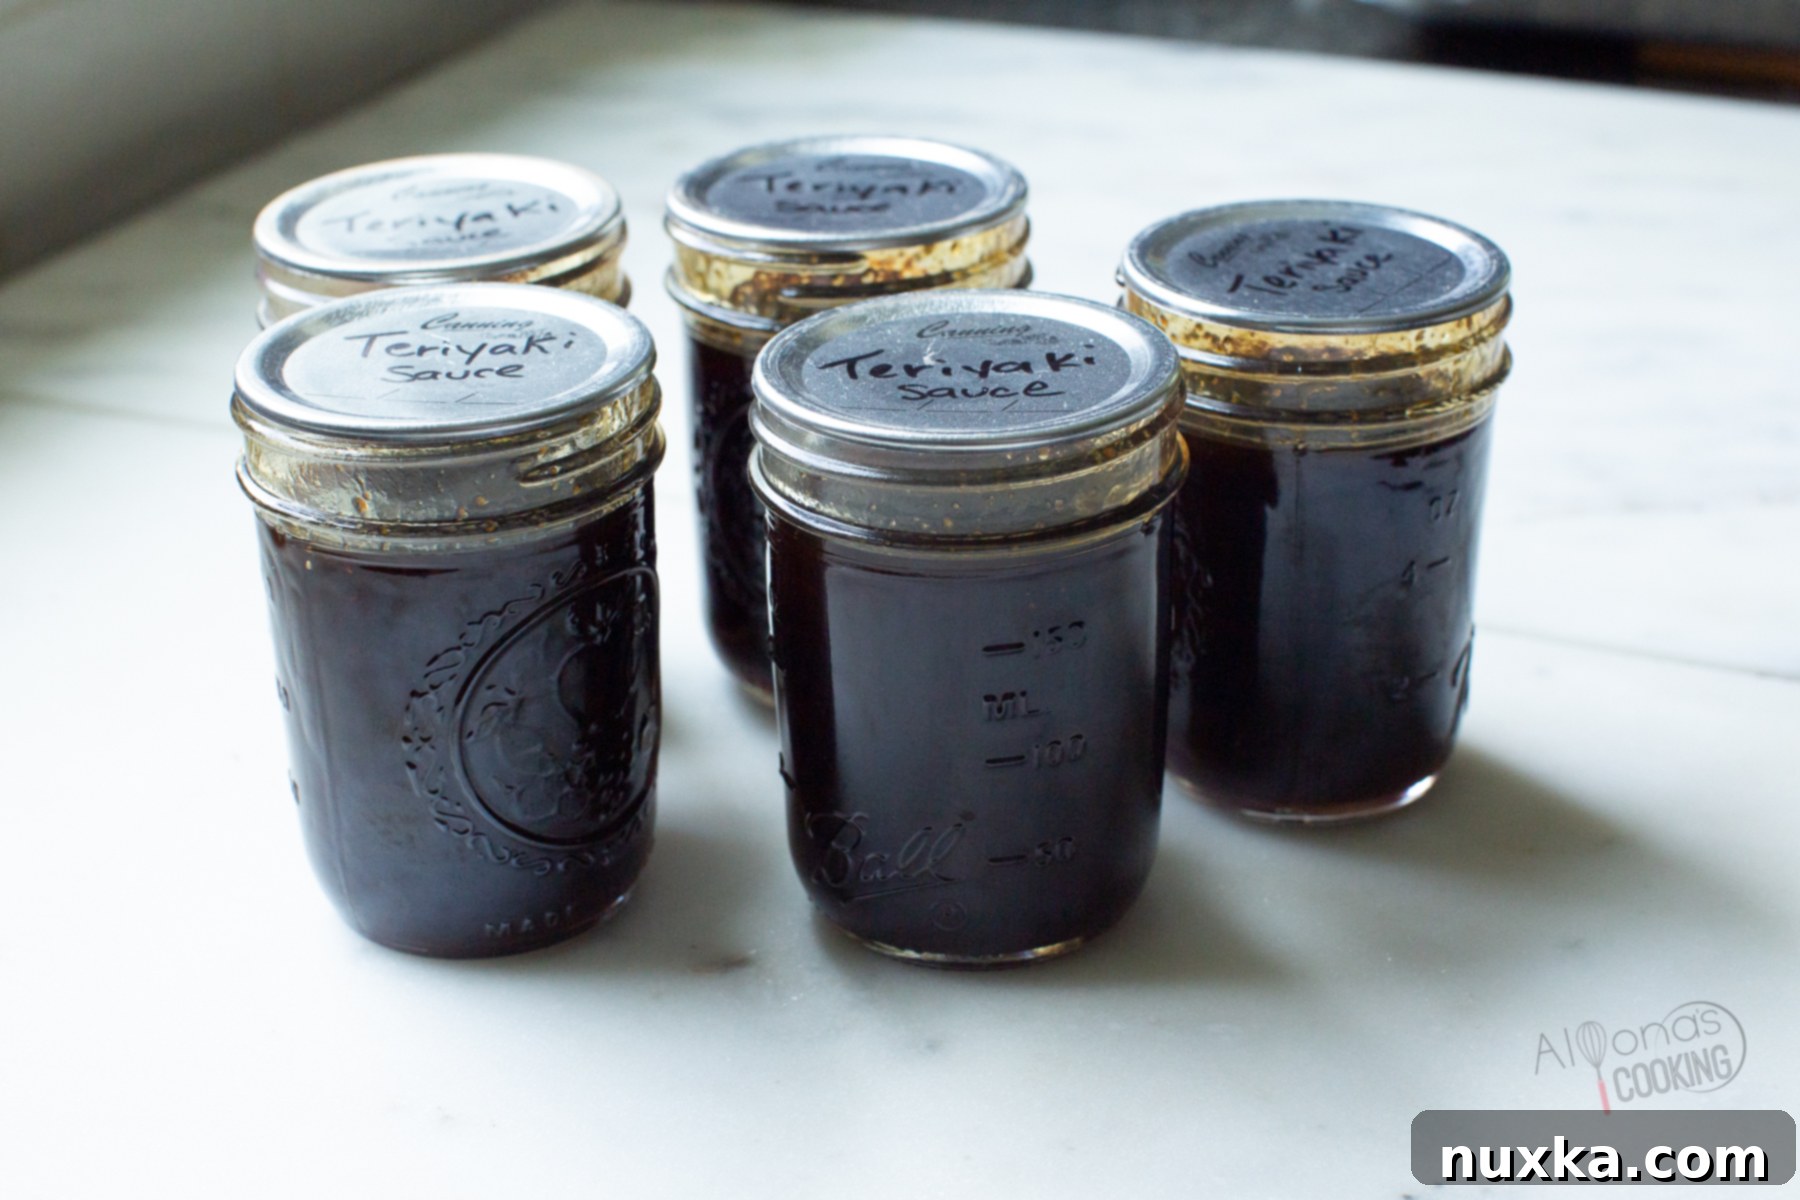
- Label and Store: Once the jars are completely cool and sealed, remove the bands (they can be reused for future canning, but should not be stored on sealed jars long-term as they can harbor moisture and rust). Label each jar with a marker, including the date of canning. Store your homemade canned teriyaki sauce in a cool, dark place, such as a pantry or cupboard, until you’re ready to use it. When properly canned, this recipe is shelf-stable and will provide delicious flavor for months to come.
Troubleshooting & Storage for Your Teriyaki Sauce
Can You Freeze Teriyaki Sauce?
Yes, teriyaki sauce can be frozen, which is an excellent alternative storage method if a jar doesn’t properly seal during the canning process. Simply transfer the unsealed sauce to a freezer-safe container or jar (leaving adequate headspace for expansion) and freeze for up to 3 months. Always ensure glass jars are completely cool before placing them into a freezer to prevent cracking due to drastic temperature changes – a lesson many home canners learn the hard way!
Once you open a sealed jar of canned teriyaki sauce, it should be treated like any other refrigerated condiment. Store it in the fridge, where it will maintain its quality for up to a month.
Can I Use Cornstarch to Thicken Teriyaki Sauce for Canning?
No, cornstarch is generally not recommended for thickening sauces intended for canning, especially water-bath canning. Cornstarch breaks down under the prolonged heat and acidity of the canning process, often resulting in a thin, watery sauce and an unappealing texture. For safely canned teriyaki sauce, it is crucial to use a canning-safe thickener like ThermFlo or cook-type Clear Jel. These starches are specially formulated to withstand the canning temperatures and maintain their thickening properties, ensuring a stable and safe product. If you’re making teriyaki sauce that you plan to freeze or store in the refrigerator (not can), then cornstarch can be used as a thickener, just like you would use ThermFlo or Clear Jel.
Q&A
Can You Make Teriyaki Sauce Spicy?
For safety and flavor control, I highly recommend adding hot chili pepper flakes or sriracha to your teriyaki sauce *after* opening a jar, rather than incorporating them into the recipe before canning. Adding spices can sometimes alter the pH balance of the sauce, which is a critical factor for canning safety. By adding heat when you’re ready to use it, you can easily adjust the spice level to your liking without risking any canning issues.
Is Water Bath Canning Safe for Teriyaki Sauce?
Yes, water bath canning is safe for this teriyaki sauce recipe because it has a sufficiently high acid content, primarily from the white distilled vinegar and bottled lemon juice. Acidity is key in water bath canning to prevent the growth of harmful bacteria. Always follow the recipe’s exact measurements for acidic ingredients like vinegar and lemon juice, and do not make substitutions that could lower the acidity.
Can I Substitute Dark Brown Sugar for Light Brown Sugar?
While dark brown sugar can be used in some recipes, for canning teriyaki sauce, it’s best to stick to light brown sugar as specified. Dark brown sugar has a higher molasses content, which can subtly alter the pH of the sauce and its overall flavor profile. For the precise balance of acidity and sweetness required for safe and delicious canned teriyaki, consistency in ingredients is key.
Expert Tips for Perfect Homemade Canned Teriyaki Sauce:
- Gentle Simmering: When cooking your teriyaki sauce, maintain a low simmer. This prevents excessive evaporation and reduction, ensuring you end up with the correct volume and consistency for canning.
- Accurate Ginger Measurement: For the best flavor, precisely measure the freshly grated ginger. In US measuring spoons, ensure you tightly pack the tablespoon to get the correct amount (approximately 15ml per tablespoon).
- Bragg’s Coconut Liquid Aminos is Key: This recipe is formulated specifically with Bragg’s Coconut Liquid Aminos in mind. Its unique blend, including apple cider vinegar, contributes to the crucial pH levels and robust flavor profile. Other brands may vary in acidity and sweetness, potentially impacting canning safety and taste.
- Understanding “Finger-Tight”: When securing the bands on your canning jars, screw them on until you meet gentle resistance, then turn slightly further – this is “finger-tight.” Overtightening can prevent air from escaping during processing, leading to seal failure, while too loose will also prevent a proper seal.
- Essential Headspace: Always fill your jars just below the band part, leaving a consistent 1/4-inch headspace. This space is vital during processing to allow for liquid expansion, preventing liquid from oozing out and lids from bulging.
- Patience During Cooling for Sealing: After processing, resist the urge to press down on the lids. Allow the jars to cool completely and undisturbed for 12-24 hours on a kitchen towel. You’ll hear distinct “pings” as the vacuum seals form. Check for proper seals the next morning by ensuring the lid is concave and doesn’t flex when pressed.
- Alternative to a Dedicated Canner: If you don’t own a specialized water bath canner, a large stock pot that is deep enough to completely submerge your jars under at least 2 inches of water will work perfectly. Ensure it has a rack at the bottom to keep jars off the pot base.
- Easy Water Filling: Use a large pitcher to efficiently fill your canner or pot with hot tap water around the jars. This minimizes splashing and makes the process smoother.
- Adjust for Altitude: If you live at a higher altitude (above 1,000 feet), you will need to adjust your processing time. Refer to official USDA canning guidelines for specific altitude adjustments to ensure food safety.
- Always Use Fresh, Quality Ingredients: For the best flavor and safest product, always use fresh, high-quality ingredients as specified in the recipe.
More Canned Recipes To Make:
Whether you need to grab a jar of marinara sauce or ketchup off the shelf, we have canning recipes for you to try!
-
Canned Ketchup Recipe (Heinz Copycat)
-
Salsa Recipe for Canning
-
Peach Mango Salsa
-
Canned Marinara Sauce
-
BBQ Sauce Recipe
-
Canned Meat
-
Canned Dill Pickles Recipe
-
Olive Garden Marinara Sauce
Rate
Pin
Canned Teriyaki Sauce
Equipment
-
1 canner (for water bath or use a large pot)
-
5 half-pint jars (with lids and bands)
-
1 medium saucepan (any 3-quart pot)
Ingredients
Teriyaki Sauce Ingredients:
-
1 1/2 Tbsp freshly grated ginger
-
2 cups Coconut Liquid Aminos (Bragg’s Brand)
-
2 cups light brown sugar
-
1 cup white distilled vinegar
-
2 Tbsp bottled lemon juice
For thickening:
-
3 Tbsp Therm Flo
Instructions
Directions:
-
 Prep: Sterilize the jars and prepare all lids, rings, and canner.
 -
 In a medium saucepan combine all the teriyaki sauce ingredients (ginger, Liquid Aminos, brown sugar, vinegar, and lemon juice) and bring to a boil.
 -
 Reduce the heat to low and scoop out 1/4 cup for thickening later. Continue to simmer the rest of the sauce for 20 minutes, partially covered.
 -
 During the last few minutes of cooking add the Therm Flo to the reserved liquid and whisk together until lumps are gone. Slowly whisk the mixture into the simmering pot of teriyaki sauce and cook until slightly thickened.
 -
 Ladle the hot teriyaki sauce into the prepared jars, leaving 1/4-inch headspace. Wipe clean rims and shut each jar finger tight, then place them into the canner (or large pot).
 -
 Cover the jars with 2 inches of hot tap water and bring to a boil. Once the water comes to a boil set the timer for 20 minutes.
 -
 Remove jars using a jar lifter and place them on a kitchen towel. Carefully twist each band tightly shut to ensure they seal, only don’t press down on the lids. Cool for 12-24 hours on the towel before checking for seals.
 -
 Label and store the jars in a cool dark place on the shelf.
Notes
- Peel and finely grate fresh ginger using a zester. Tightly packed when measuring in the US measuring spoons to get the correct amount.
- It is not USDA-recommended to use fresh lemon juice or cornstarch for canning.
Nutrition per serving
