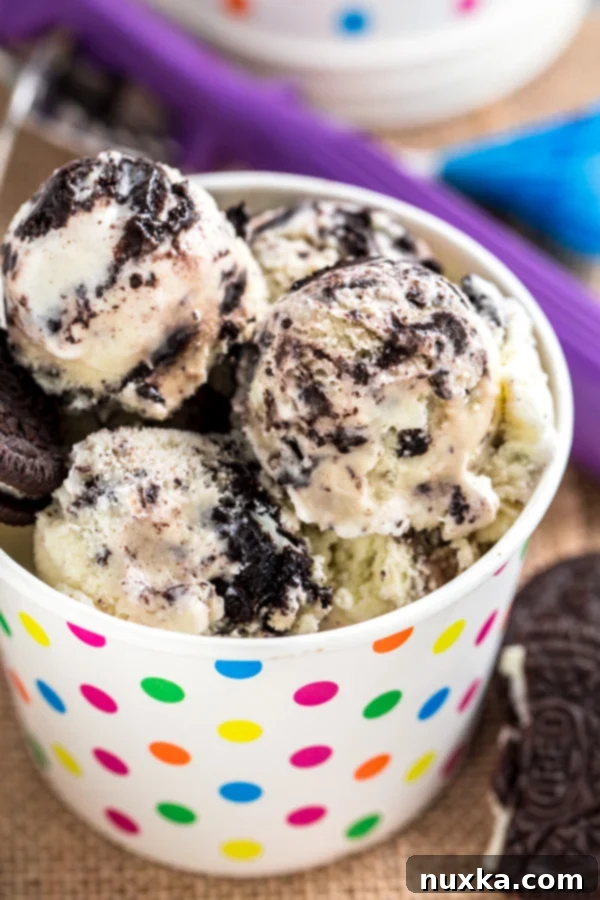
Ultimate No-Cook Cookies and Cream Ice Cream: Your Homemade Dream Dessert
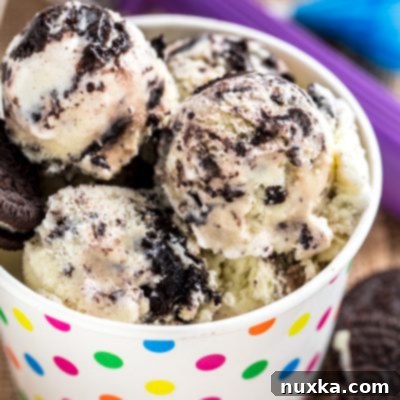
Prepare to embark on a delightful culinary journey with this **Cookies and Cream Ice Cream Recipe** – a homemade treat that’s far easier than you might ever imagine! This incredible recipe stands out because it incorporates eggs for unparalleled richness and body, yet requires absolutely no cooking or tempering. How do we achieve this magical feat? The eggs are simply beaten until they reach a wonderfully creamy consistency, creating the perfect base for our all-time favorite ice cream flavor: cookies and cream! Get ready for a dessert experience that’s both simple to make and utterly irresistible.
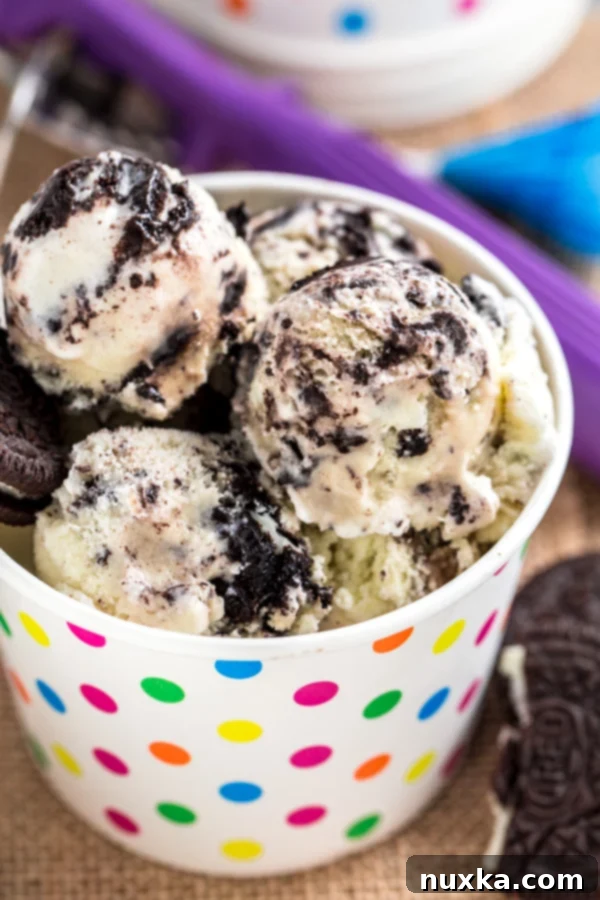
There’s an undeniable magic that happens when classic chocolate sandwich cookies meet luxuriously homemade vanilla ice cream. This Cookies and Cream Ice Cream recipe isn’t just a recipe; it’s a revelation! It’s incredibly straightforward to prepare, far surpassing the taste and texture of any store-bought alternative. Say goodbye to overly sweet, icy versions and embrace the rich, smooth, and intensely flavorful experience of making your own.
At its heart, a spectacular Cookies and Cream ice cream relies on an exceptional vanilla base. If you have a tried-and-true vanilla ice cream recipe, adding perfectly crushed chocolate sandwich cookies simply elevates it to legendary status. I’m absolutely captivated by this combination, and it consistently proves to be a crowd-pleaser, especially when entertaining guests, as it’s often the most requested flavor. I wholeheartedly encourage you to give my vanilla ice cream recipe a try. It truly is the best, not only because it incorporates eggs for that signature richness without the fuss of cooking or tempering a custard, but also because this “no-custard” approach saves significant time and effort. The strategic inclusion of eggs undoubtedly makes a remarkable difference in the final texture and flavor, and avoiding the complex custard process makes this an absolute winner!
Why This Homemade Cookies and Cream Ice Cream Recipe Is Your New Favorite
It’s easy to make, boasts authentic homemade flavor, and delivers an irresistible taste experience! What’s not to adore about a dessert this perfect?
Creating your own ice cream from scratch might sound daunting, but this recipe simplifies the process dramatically. Unlike many traditional ice cream recipes that demand heating eggs into a custard, this method requires only a few minutes of beating, blending, and chilling. The result is a velvety-smooth ice cream base, ready to be churned into frozen perfection. This streamlined approach ensures that even novice ice cream makers can achieve professional-level results right in their own kitchens. The ability to control the quality of ingredients also means a superior flavor and texture that mass-produced ice creams simply cannot match.
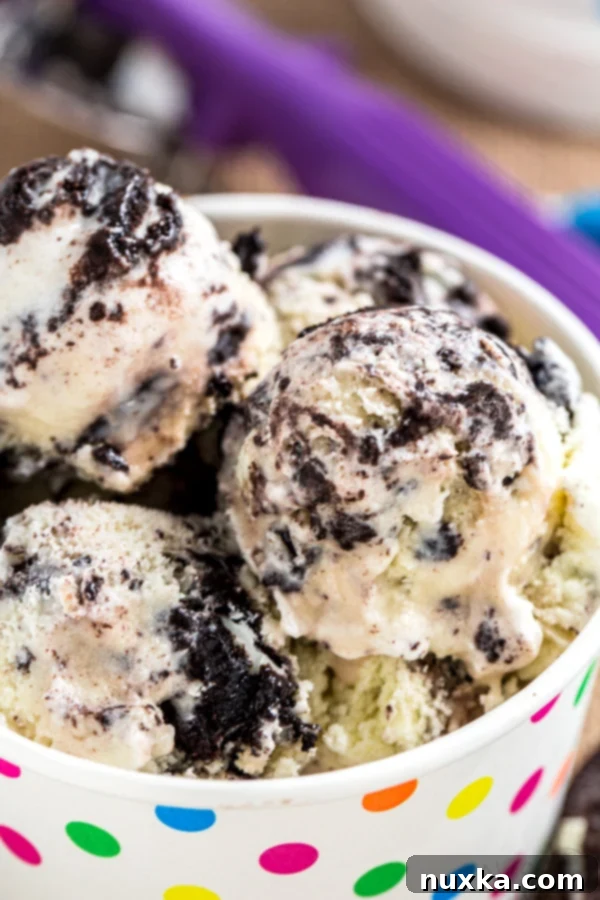
Can I Make Cookies and Cream Ice Cream Without an Ice Cream Maker?
While you certainly can attempt a “no-churn” ice cream recipe, such as the cookies ‘n’ cream version often found, it’s important to set realistic expectations: the final product will not taste or feel the same as traditionally churned ice cream. No-churn recipes, which typically rely on condensed milk and whipped cream, create a delicious frozen dessert, but they fundamentally lack the characteristic texture you recognize in premium store-bought or artisanal ice creams. The smooth, airy, yet dense mouthfeel of ice cream is developed through the continuous agitation and incorporation of air that occurs during the churning process in an ice cream maker. This process creates very small ice crystals and distributes fat evenly, leading to that signature creamy texture. Unfortunately, there’s no direct substitute for this mechanical process, and simply freezing a mixture will result in a denser, often icier, consistency compared to its churned counterpart. For the authentic, luxurious cookies and cream experience, an ice cream maker is highly recommended.
What Cookies Can Be Used for Cookies and Cream Ice Cream?
For the quintessential cookies and cream experience, any chocolate wafer sandwich cookies will work wonderfully. The most popular choice, of course, is the iconic Oreo brand. Their distinct chocolatey flavor and crumbly texture are precisely what gives this ice cream its beloved character. However, feel free to explore generic store brands, which often offer a very similar taste at a more budget-friendly price. Beyond the classic, you can also experiment with different Oreo flavors if you’re feeling adventurous – perhaps a “mint” Oreo for a festive twist, or “double-stuffed” for an extra creamy cookie crunch. The key is to crush them adequately, creating a mix of fine crumbs and small chunks to ensure every bite delivers that perfect cookie burst.
Is It Safe to Eat Raw Eggs in Ice Cream?
The safety of consuming raw eggs is a common concern, and it’s important to address it responsibly. In this specific recipe, where the ice cream base is ultimately frozen, the risk is generally considered low. Freezing does not eliminate bacteria like Salmonella, but the cold environment can inhibit bacterial growth. However, if you are pregnant, elderly, very young, or have a compromised immune system, or simply prefer to be extra cautious, pasteurized eggs are an excellent alternative. Pasteurized eggs have been gently heated to a temperature that kills potential bacteria without cooking the egg, making them safe for raw consumption. You can usually find them in the egg section of most grocery stores. Alternatively, if you’re using conventional eggs and are uncertain about their safety, you can pasteurize them at home using a sous vide method or a careful stovetop technique, then cool them completely before proceeding with the recipe. Always ensure your eggs are fresh and stored properly.
What Is the Best Ice Cream Maker for Homemade Treats?
The quest for the perfect ice cream maker often leads to a dizzying array of choices. I was once on that very hunt, considering excellent options like the Cuisinart ice cream maker, which is a fantastic standalone unit known for its reliability. However, my personal preference leaned towards minimizing kitchen clutter, so I ultimately opted for the KitchenAid ice cream attachment. Since I already owned a KitchenAid stand mixer, this attachment proved to be a smart investment. It simply consists of a specialized bowl that attaches to the mixer, eliminating the need for an additional bulky appliance taking up precious counter space. The bowl itself is designed to be stored in the freezer, always ready for impromptu ice cream sessions. This means no extra machinery to store and more clear counter space for me – a true win-win! I’ve found this attachment to be incredibly efficient and effective, consistently producing deliciously creamy ice cream. It was definitely a wise decision for anyone who already owns a KitchenAid mixer and values convenience and space-saving solutions.
When choosing an ice cream maker, consider these factors:
- Freezer Bowl Machines: These are popular and affordable. The bowl needs to be pre-frozen for at least 12-24 hours. Great for occasional use.
- Compressor Machines: More expensive, but they have a built-in freezer, so no pre-freezing is required. You can make multiple batches back-to-back. Ideal for frequent ice cream makers.
- Stand Mixer Attachments: Like the KitchenAid one, these are great if you already own the compatible stand mixer. They save counter space and work similarly to freezer bowl machines.
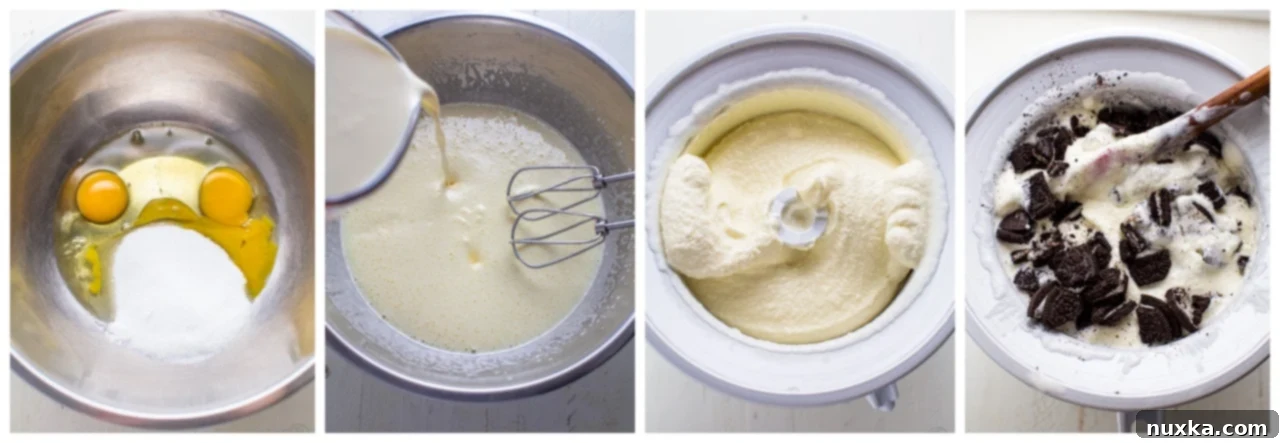
The Simple Steps to Perfect Cookies and Cream Ice Cream
Making this delightful ice cream is surprisingly simple, especially with our no-cook egg method. You’ll start by creating the rich and creamy base, which is then thoroughly chilled to ensure optimal churning. Once the base is perfectly cold, it goes into your ice cream maker to transform into that familiar soft-serve consistency. Finally, the star of the show – the crushed cookies – are folded in, ensuring every spoonful is bursting with flavor and texture. For detailed measurements and step-by-step instructions, please refer to the comprehensive recipe card below.
Do I Have to Chill the Ice Cream Batter Before Churning?
Absolutely! Chilling your ice cream batter is not just recommended, it’s absolutely crucial for achieving the perfect texture. I’ve personally observed a significant difference in the consistency of my ice cream when this step is either rushed or skipped. When the batter isn’t properly chilled, it tends to be a melty mess during the churning process, and unfortunately, this isn’t something that improves after freezing. Melted ice cream, once it re-freezes, never quite regains its original smooth, creamy texture; it often becomes icier and less enjoyable. The reason behind this is thermodynamic: a colder base means the ice cream maker has to work less to bring the mixture to freezing point, resulting in smaller ice crystals and a much smoother, creamier final product. Aim for at least 4 hours, or ideally overnight, for chilling to ensure your base is as cold as possible.
How Long Should I Churn Ice Cream in My Ice Cream Maker?
Provided your ice cream equipment is properly prepared (e.g., your freezer bowl is adequately frozen) and your batter is thoroughly chilled, a churning time of no longer than 30 minutes is generally recommended. This timeframe allows the mixture to reach a soft-serve consistency, where it’s firm enough to hold its shape but still pliable. Churning for longer than 30 minutes can actually be detrimental; the continuous friction can generate heat, causing your batter to start melting. Furthermore, the freezer bowl or chilling mechanism of your ice cream maker will begin to lose its cold state, diminishing its effectiveness. Over-churning can also lead to an overly dense or greasy texture as the fat globules become too tightly packed. If your ice cream isn’t setting up within this timeframe, it usually indicates that either your bowl wasn’t cold enough, or your batter wasn’t adequately chilled.
How Do I Make My Ice Cream Less or More Creamy?
The formula for controlling the creaminess of your homemade ice cream is quite simple and primarily revolves around the ratio of heavy cream to whole milk.
- More Cream = More Creamy Consistency: Heavy whipping cream has a higher fat content than milk. A higher proportion of cream introduces more butterfat into your mixture, which helps to create smaller ice crystals and a richer, smoother, and more luxurious texture. This results in a truly decadent ice cream.
- Less Cream (More Milk) = Less Creamy and Lighter Tasting: Conversely, increasing the proportion of whole milk and reducing heavy cream will lower the overall fat content. This will yield an ice cream that is lighter in texture, often feeling less dense and having a cleaner, less rich taste. While still delicious, it might lean slightly more towards an icy consistency if the fat content is significantly reduced. You can adjust this ratio to perfectly suit your preference for richness and mouthfeel.
Other Frozen Desserts to Try:
- BEST Vanilla Ice Cream
- Chocolate Ice Cream
Handy Ice Cream Equipment:
- Good Ice Cream Scoops
- Ice Cream Glasses
- Disposable Ice Cream Cups
Rate
Pin
Cookies and Cream Ice Cream Recipe
Equipment
-
KitchenAid ice cream attachment bowl (or preferred ice cream maker)
Ingredients
Ice Cream Batter
-
3 large eggs
-
¾ cup granulated sugar
-
3 cups heavy whipping cream
-
1 cup whole milk
-
1 tsp pure vanilla extract
-
26 Oreo cookies finely chopped or crushed
Instructions
How to Make Cookies and Cream Ice Cream
-
In a large bowl, beat the eggs and granulated sugar together for approximately 5 minutes, until the mixture becomes pale in color and noticeably thick and creamy.
-
Gently mix in the heavy whipping cream, whole milk, and vanilla extract until well combined. Cover the bowl and chill the ice cream batter in the refrigerator for a minimum of 4 hours, or ideally overnight, to ensure it is thoroughly cold.
-
Pour the chilled batter into your ice cream maker and churn according to the manufacturer’s instructions, typically for about 30 minutes, or until it reaches a soft-serve consistency. At this stage, the ice cream may appear somewhat gritty. Once churning is complete, gently fold in the crushed Oreo cookies.
-
Transfer the freshly churned ice cream into an airtight container and freeze for several hours until it becomes firm. Alternatively, you can enjoy it immediately as a delicious soft-serve ice cream.
Notes
Nutrition per serving
Storing Your Homemade Cookies and Cream Ice Cream
Proper storage is essential to maintain the quality and texture of your homemade ice cream. Once churned and before it completely hardens, transfer your cookies and cream ice cream to an airtight container. This is crucial for preventing freezer burn, which can lead to ice crystals forming and a grainy texture. Press a piece of parchment paper or plastic wrap directly onto the surface of the ice cream before sealing the lid. This creates an extra barrier against air exposure. Store it in the coldest part of your freezer, usually towards the back, where temperatures are most consistent. Homemade ice cream is best enjoyed within 1-2 weeks, as it doesn’t contain the stabilizers found in commercial ice creams and its texture can degrade over time.
Serving Suggestions for Your Delicious Treat
While this Cookies and Cream Ice Cream is utterly fantastic on its own, there are many ways to elevate the experience!
- Classic Scoop: Simply serve a generous scoop (or two!) in a bowl or cone for a timeless dessert.
- Sundae Extravaganza: Create an epic sundae with hot fudge, whipped cream, a sprinkle of extra crushed cookies, and a cherry on top.
- Milkshake Magic: Blend with a splash of milk for a thick and creamy cookies and cream milkshake.
- Coffee Companion: Add a scoop to a shot of espresso for a delightful affogato.
- Dessert Pairing: Serve alongside a warm brownie, a slice of apple pie, or a fruit crisp for a contrasting texture and temperature experience.
With this easy, no-cook recipe, you’re not just making ice cream; you’re crafting a memorable dessert that will impress family and friends alike. The rich, creamy base combined with those delightful chocolate cookie crumbles creates a symphony of flavors and textures that truly makes homemade best. So go ahead, dust off that ice cream maker, gather your ingredients, and prepare for a cookies and cream experience that’s second to none!
