Homemade Bisquick Mix: Your Ultimate Guide to an All-Purpose Baking Staple

Imagine never having to rush to the store when a sudden craving for pancakes strikes or when your favorite casserole recipe calls for an ingredient you’re all out of. With a batch of homemade Bisquick mix, that convenience becomes a reality! This incredible all-purpose baking mix is not only easy to prepare but also acts as the perfect substitute for store-bought versions. Whether you’ve run out or simply prefer the wholesome goodness of a DIY approach, making your own Bisquick is a game-changer for any home cook or baker.
Bisquick is renowned for its versatility, extending far beyond just fluffy pancakes, light biscuits, and crispy waffles. This foundational mix can be transformed into a myriad of delicious dishes. Think savory dumplings simmering in a stew, the crispiest breading for country-fried chicken, moist coffee cakes for brunch, delicate quiche pies, and classic strawberry shortcakes. The possibilities truly are endless! Some of our favorite ways to use this fantastic mix include a hearty Cheesy Egg Bake and flavorful Asian Chicken Fingers. There’s an undeniable satisfaction in using a homemade staple to create these culinary delights, making it a perfect copycat of the store-bought classic but with the added touch of your own kitchen.
Why Choose Homemade Bisquick? The Benefits of DIY Baking
While store-bought Bisquick is undeniably convenient, crafting your own homemade Bisquick mix offers several compelling advantages that make the minimal effort well worth it. Firstly, you gain complete control over the ingredients. This means you can avoid certain preservatives or artificial additives often found in commercial products, making it a healthier choice for your family. For those with dietary concerns, making your own allows for easy substitutions, such as using a gluten-free flour blend or a vegan shortening.
Secondly, it’s often more cost-effective. Buying individual ingredients like flour, baking powder, and shortening in bulk is typically cheaper than regularly purchasing pre-made mixes. You can whip up a large batch that lasts for weeks, ensuring you always have this essential baking ingredient on hand without last-minute grocery runs. Lastly, there’s a unique sense of accomplishment and freshness that comes with using a homemade product. The simple, wholesome ingredients combine to create a mix that performs just as well, if not better, than its store-bought counterpart, delivering consistently delicious results in all your favorite recipes.
Understanding the Core Ingredients of Your All-Purpose Baking Mix
To truly appreciate the magic of homemade Bisquick, it’s helpful to understand the role each ingredient plays. This simple blend of pantry staples comes together to create a versatile base for countless dishes.
All-Purpose Flour: The Foundation
As the primary ingredient, all-purpose flour provides the structure for your baked goods. It’s the bulk of the mix, and its protein content is ideal for a wide range of recipes, from light pancakes to sturdy biscuits. Using a good quality, unbleached all-purpose flour will give you the best results.
Baking Powder: The Leavening Power
Baking powder is a crucial leavening agent that makes your baked goods rise, giving them that desirable fluffy and airy texture. It’s a mixture of an acid and an alkali, which react when wet and heated, producing carbon dioxide bubbles that lift the batter. Ensure your baking powder is fresh for optimal leavening power.
Salt: The Flavor Enhancer
A small amount of salt goes a long way in enhancing the overall flavor of your Bisquick mix and, by extension, the dishes you create with it. It balances the sweetness in desserts and brings out the savory notes in other recipes, preventing your baked goods from tasting bland.
Shortening: For Tender, Flaky Results
Shortening is the fat component of Bisquick, and it’s essential for achieving tender and flaky textures. Unlike butter, shortening has a higher melting point and 100% fat content, which helps create steam pockets during baking, resulting in a lighter and more tender crumb. Solid vegetable shortening is the most common choice, but you can also experiment with butter-flavored shortening for an extra layer of taste.
Dry Milk Powder: Richness and Browning (Optional)
Dry milk powder contributes to a richer flavor, a more tender crumb, and promotes better browning in your baked goods. It also slightly extends the shelf life of the mix. However, if you prefer to omit it due to dietary restrictions or simply don’t have it on hand, your homemade Bisquick will still work wonderfully. As a note mentioned in the recipe, if you do omit the dry milk, adding 1/2 cup of sugar is recommended but entirely optional to balance the flavors.
Crafting Your Own Bisquick Mix: A Simple How-To
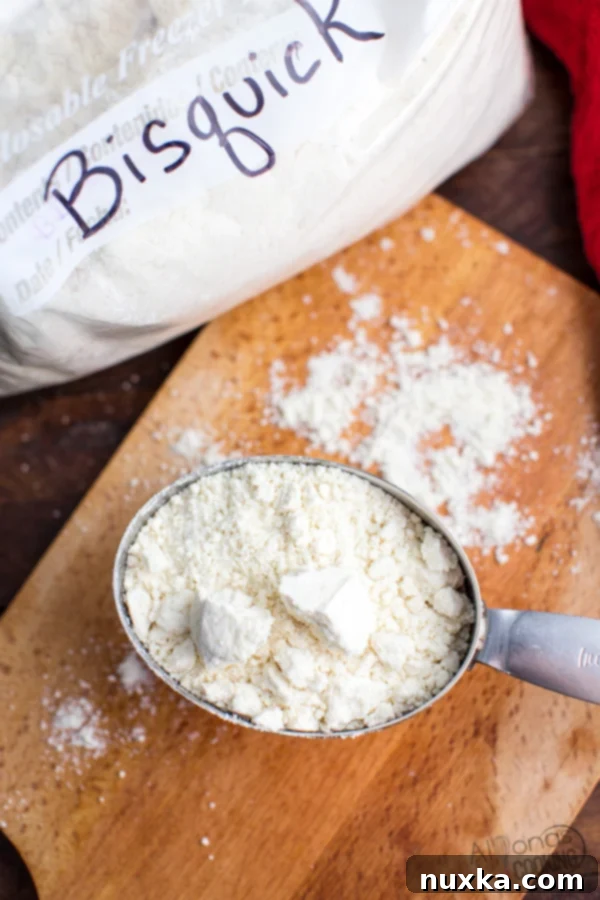
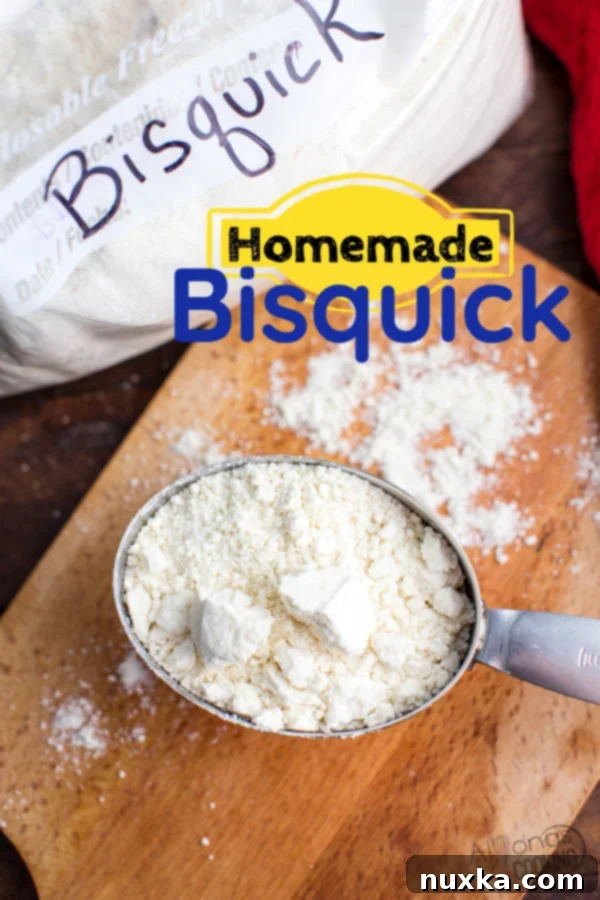
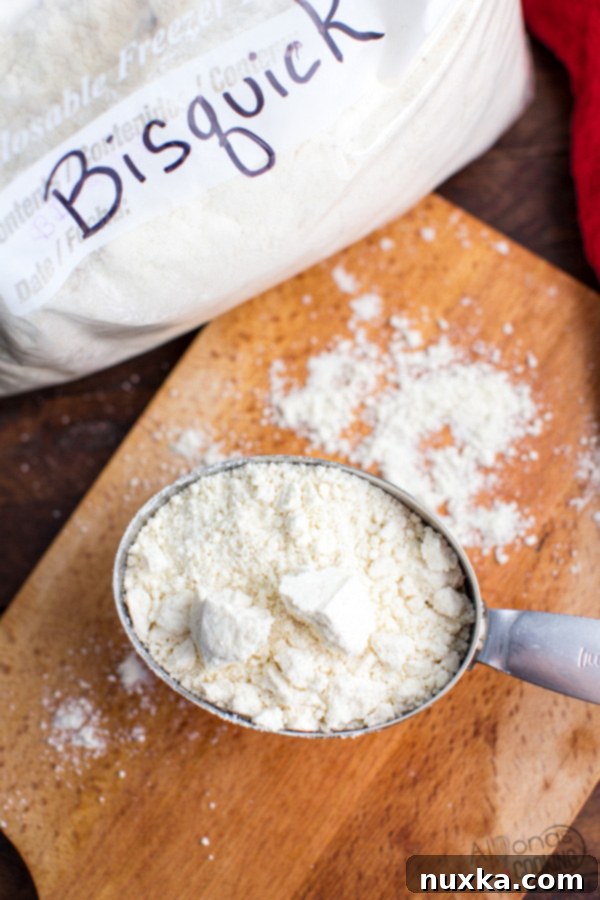
Making your homemade Bisquick mix is surprisingly quick and straightforward, requiring minimal effort for maximum reward. The key is to thoroughly combine the ingredients so that the fat is evenly distributed throughout the flour mixture, creating those signature “crumbs” that make Bisquick so effective.
How to Make Homemade Bisquick Mix:
- Gather Your Ingredients: Ensure you have all-purpose flour, dry milk powder (if using), baking powder, salt, and shortening ready.
- Combine Dry Ingredients: In a large mixing bowl, whisk together the flour, dry milk powder, baking powder, and salt until they are well combined. This ensures even distribution of the leavening agent and salt.
- Cut in the Shortening: Add the shortening to the dry mixture. Using a pastry blender, two knives, or even your fingertips, cut the shortening into the flour mixture. Work quickly to prevent the shortening from melting from the heat of your hands. Continue until the mixture resembles coarse crumbs, similar to what you’d see when making pie crust. There should be no large chunks of shortening remaining.
- Final Mix: Once crumbly, give the entire mixture a final stir to ensure everything is evenly incorporated.
- Store Properly: Transfer your homemade Bisquick mix to an airtight container or a heavy-duty zip-top bag. Store it in a cool, dry place like your pantry. This mix does not require refrigeration.
Expert Tips and FAQs for Your Homemade Bisquick
To ensure your homemade Bisquick mix is always at its best and to answer common questions, here are some helpful tips and frequently asked questions.
Storage and Shelf Life
Proper storage is essential for extending the life of your homemade mix. Keep it in an airtight container to prevent moisture absorption and keep it away from direct sunlight and heat. Stored in a cool, dry place, homemade Bisquick can last for several weeks, or even a couple of months. While it doesn’t strictly require refrigeration, some prefer to store it in the fridge for even longer freshness, especially in warmer climates or if using butter instead of shortening. However, if using traditional vegetable shortening, a pantry shelf is perfectly fine.
Do I have to refrigerate a homemade Bisquick mix?
No refrigeration is required for this baking mix when made with vegetable shortening. Just combine the ingredients and store it in an airtight container or zip-loc bag in a cool, dry place. The stable nature of shortening and dry ingredients means it will stay fresh at room temperature.
Can I substitute for the dry milk or leave it out?
Yes, you can completely leave out the dry milk powder from the mix if preferred. If you choose to omit it, adding 1/2 cup of sugar is recommended (but totally optional) to help balance the flavor profile and assist with browning in some recipes. If you’re out of dry milk or have dietary restrictions, don’t hesitate to skip it!
What kind of shortening should I use?
Solid vegetable shortening is the most common and recommended type for homemade Bisquick due to its neutral flavor and high fat content, which yields tender and flaky results. You can find regular or butter-flavored vegetable shortening, depending on your preference. While some recipes suggest using butter, it generally shortens the shelf life of the mix and requires refrigeration.
Unleash the Versatility: Recipes Using Homemade Bisquick
The true beauty of homemade Bisquick lies in its incredible versatility. Once you have a batch ready, a world of quick and delicious meals and treats opens up. It’s perfect for whipping up breakfast, lunch, dinner, and even dessert!
Classic Bisquick Recipes
Start with the classics that made Bisquick a household name:
- Fluffy Pancakes: Simply combine 1 cup of your homemade mix with 1/2 cup milk and one egg for a stack of perfect pancakes. Adjust milk for desired consistency.
- Tender Biscuits: For quick and easy biscuits, mix 2 cups of homemade Bisquick with 2/3 cup milk. Stir until just combined, then drop onto a baking sheet and bake until golden. Check out our Southern Buttermilk Biscuit recipe for more inspiration.
- Crispy Waffles: Whisk 1 cup of mix with 3/4 cup milk, 1 egg, and 2 tablespoons of vegetable oil. Pour into a preheated waffle iron and cook until golden brown.
Beyond Breakfast: Innovative Uses
Don’t stop at breakfast! Your homemade Bisquick mix is a fantastic base for:
- Savory Dishes: Use it to make light and fluffy dumplings for stews, create a quick crust for quiches and pot pies, or prepare a crispy breading for chicken or fish. Our Cheesy Egg Bake is a prime example of its savory potential.
- Sweet Treats: Beyond shortcakes, you can make delicious coffee cakes, fruit cobblers, quick bread loaves, and even simple muffins. Just add sugar, fruit, or spices!
- Casseroles and Bakes: Many savory casseroles, like our cheesy egg bake, benefit from Bisquick’s ability to create a light, cohesive crust or base. It binds ingredients together beautifully.
- Unique Applications: Get creative! We’ve even found it makes a fantastic breading for dishes like Asian Chicken Fingers, proving its adaptability in the kitchen.
With this versatile mix in your pantry, you’re always just a few steps away from a delicious meal or treat. Experiment with different recipes and discover new family favorites!
Ready to Get Baking?
Creating your own homemade Bisquick mix is a simple step that can significantly enhance your baking repertoire and streamline your time in the kitchen. It’s not just about replicating a store-bought product; it’s about embracing convenience, controlling ingredients, and unlocking endless culinary possibilities with a staple you made yourself. So, gather your ingredients, follow these easy steps, and prepare to enjoy the immense versatility of your very own all-purpose baking mix!

Rate This Recipe
Pin Recipe
Homemade Bisquick Mix
Ingredients
Bisquick Ingredients
-
8 cups all-purpose flour
-
1 cup dry milk powder
-
1/3 cup baking powder
-
2 teaspoons salt
-
1 cup shortening
Instructions
How to Make Bisquick Mix
-
Place all dry ingredients (flour, dry milk powder, baking powder, and salt) into a large bowl and whisk well. Add the shortening and use a pastry blender or your fingertips to crumble the mixture until it resembles coarse crumbs and is evenly incorporated.
-
Store your homemade Bisquick mix in an air-tight container or a sturdy zip-loc bag and keep it in a cool, dry place like your pantry.
Notes
Nutrition per serving

