Mastering Easy Ukrainian Crepes (Nalesniki): A Foolproof, Lump-Free Recipe
Ukrainian cuisine holds a special place for crepes, known as Nalesniki. They are a beloved staple, enjoyed for breakfast, dessert, or as a hearty main course when filled with savory ingredients. Crafting the perfect, delicate crepe can seem daunting, but with a truly fail-proof recipe, anyone can achieve delicious results. This treasured recipe, passed down through my family, has been my go-to for countless events, from elegant weddings and lively engagement parties to cherished family meals. I’m excited to share my mom’s easy crepes recipe, designed to help you create a smooth, lump-free batter effortlessly, even without a blender. Get ready to master the art of thin, perfectly cooked crepes with our comprehensive guide and step-by-step photos!
The Secret to Effortlessly Delicious Crepes
This easy crepes recipe stands out for its simplicity and the use of common pantry ingredients. You won’t need any specialized or fancy kitchen equipment to achieve professional-level results. The true magic lies in my tried and tested technique for creating a perfectly lump-free batter – a secret passed down from my mother, ensuring that this recipe carries generations of culinary wisdom. If a recipe comes from a family line, you know it’s genuinely good, reliable, and deeply loved. What I adore most about these crepes is their ideal texture: incredibly thin, wonderfully stretchy, and resilient enough to handle a variety of fillings without tearing. Throughout this guide, I’ll share all the essential tips, from achieving that coveted lump-free batter to preventing common issues like tearing, so you can confidently make perfect crepes every time.

How to Make Easy Crepes: Step-by-Step Guide
Making delicious, thin crepes doesn’t have to be complicated. Our detailed recipe card below provides all the measurements and instructions you need. Follow these simple steps to prepare a batch of perfect crepes that are sure to impress. Whether you’re a beginner or an experienced cook, you’ll find this method straightforward and rewarding. Remember, the key to success lies in the right batter consistency and proper cooking technique, both of which we cover thoroughly.
Rate
Pin
Easy Crepes Recipe
Equipment
-
11-inch non-stick skillet
-
Kitchen-Aid Flex spatula
Ingredients
Easy Crepes
-
5 eggs
-
1 1/4 cups all-purpose flour
-
2 cups milk
-
2 tsp Canola oil
-
2 Tbsp granulated sugar
-
3/4 tsp salt
Instructions
How to make easy crepes:
-
 Pre-heat an 11-inch non-stick skillet over low heat. In a large bowl, beat together the eggs and flour until a thick, smooth paste forms. This crucial first step helps prevent lumps.
 -
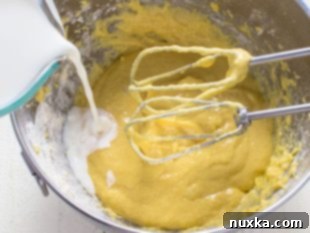
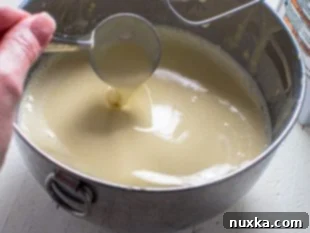
 Gradually add milk to the thick paste, beating continuously over low speed (or whisking by hand) until the mixture completely smooths out. Once smooth, beat in the remaining ingredients: canola oil, granulated sugar, and salt. Ensure everything is well combined into a thin, pourable batter.
 -
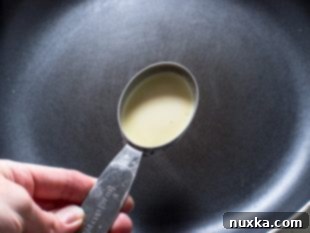
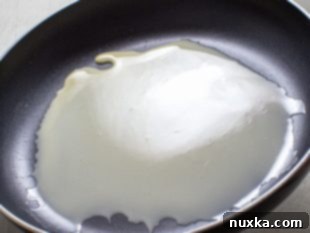
 Once your skillet is pre-heated, pour approximately 1/4 cup of batter into the center. Immediately and quickly tilt and shake the pan side to side in a circular motion to allow the batter to spread evenly across the entire surface, forming a very thin layer. This fast motion is key for thin crepes.
 -
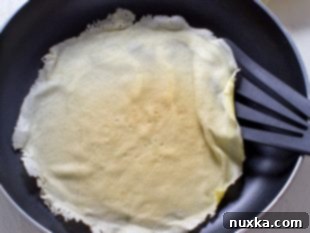
 Cook the crepe for about 1-2 minutes, or until the edges begin to slightly crisp and pull away from the pan, and the surface looks set. Carefully slide your spatula under the crepe and flip it over. Cook for an additional 30-45 seconds on the second side until lightly golden, then remove from the pan.
 -
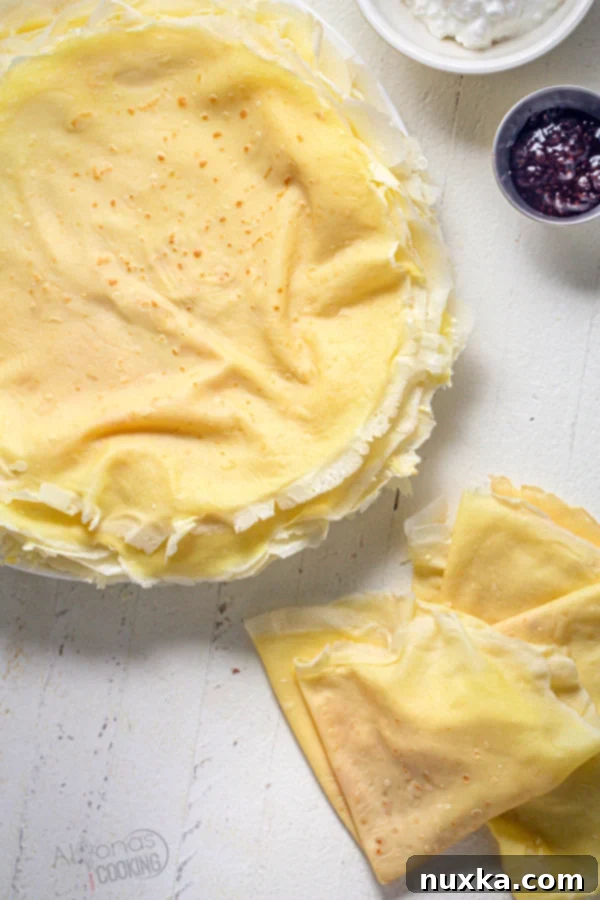
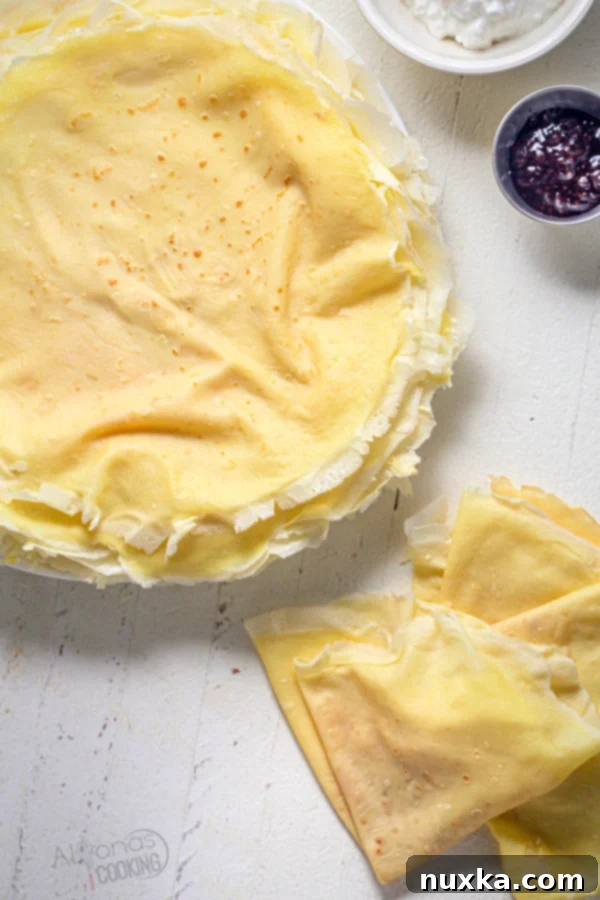
 Stack the finished crepes on a plate to keep them warm. Repeat the process with the remaining batter. These crepes are delicious served plain, or filled with your favorite sweet or savory ingredients. This recipe yields approximately 22 perfect crepes.
Notes for Perfect Crepes
Using a Blender: While our recipe focuses on a no-blender method, you can certainly use one for convenience. Simply combine all the ingredients in your blender in any order and blend until the mixture is completely smooth. This is especially quick for single batches.
Batch Size: This recipe is incredibly versatile. It can easily be doubled, tripled, or even quadrupled to cater to a large crowd, a family gathering, or a banquet. Just ensure you have enough skillet space to cook efficiently.
To Freeze Crepes: Freezing crepes is a fantastic way to prepare ahead! To prevent them from sticking together, roll or fold each individual crepe into fours. Store them in freezer-safe zip-top bags. For an even more convenient option, I often fill my crepes with cheese, layer them between parchment paper or butter, and then freeze them in disposable foil pans, ready for baking straight from the freezer.
Nutrition per serving
Recommended Tools for Perfect Crepes
Having the right tools can make all the difference in your crepe-making journey. While this recipe is designed to be accessible with basic kitchen items, these specific tools are ones I personally own and use regularly to achieve consistent, high-quality results with minimal effort. They truly enhance the experience and speed up the process.
- 11-inch Non-Stick Skillet: This is arguably the most important tool. I highly recommend investing in a good quality non-stick skillet. I’ve owned my favorite skillet for years, dedicating one specifically for crepe making. Using two skillets simultaneously is an excellent way to significantly speed up the cooking process when making larger batches, making it a much more efficient task.
- Kitchen Aid Flex Spatula: A thin, flexible spatula is a game-changer when it comes to flipping delicate crepes without tearing them. This specific Kitchen Aid flex spatula was a thoughtful gift from my mom, and it has since become my absolute favorite for its ability to effortlessly slide under the thin edges of crepes.
- Hand Mixer: While not strictly necessary for this recipe’s lump-free technique, a hand mixer can be very helpful for quickly combining ingredients and ensuring a super smooth batter. The one I use is older, but any similar model will do the trick.
Crepe Q&A: Your Top Questions Answered
Can you freeze crepes?
Absolutely! Freezing crepes is a fantastic way to save time and enjoy them later. To prevent them from sticking together in the freezer, it’s best to either roll each individual crepe or fold them into quarters. Once folded, place them in freezer-safe zip-top bags, making sure to remove as much air as possible before sealing. They can last for up to 2-3 months. For an added layer of convenience, I often pre-fill my crepes with cheese or other stable fillings, layer them with parchment paper (or a thin layer of butter between each to prevent freezer burn and sticking), and then freeze them in disposable foil pans. This way, they’re ready to be baked directly from the freezer, making for a super quick meal or dessert.
How do you store crepes?
Plain, unfilled crepes are best stored stacked at room temperature. Wrap them tightly in plastic wrap or place them in an airtight bag to prevent them from drying out. They will remain fresh for up to 24 hours this way. It’s crucial not to refrigerate plain crepes, as they tend to become stiff and stick together, making them difficult to separate without tearing. However, if your crepes are already filled or individually rolled and wrapped, then it is perfectly safe (and recommended) to refrigerate them. This distinction is important for maintaining their delicate texture and preventing spoilage of fillings.
How do you prevent lumps in crepes?
After making hundreds of crepes over the years, I’ve perfected a tried-and-true technique for achieving a lump-free batter without the need for a blender. The secret lies in the order of mixing. Always begin by combining your eggs and flour first, beating them thoroughly until they form a thick, smooth paste. This initial paste ensures that the flour is fully hydrated and all lumps are broken down before more liquid is introduced. Then, gradually add the milk while continuing to beat or whisk on low speed. Once the milk is fully incorporated and the mixture is smooth, you can add the remaining ingredients. This method works wonders, yielding a consistently silky-smooth batter every time.
How to make thin crepes?
The key to exceptionally thin crepes is a delicate balance: a smooth, runny batter combined with the correct proportions of milk, flour, and eggs, alongside a specific cooking technique. The batter needs just enough strengthening ingredients to hold its shape without being too thick. If your batter is too dense, it won’t spread quickly or evenly in the skillet, resulting in thick, heavy, and often “eggy” crepes. Conversely, if your batter lacks sufficient binding ingredients, it will tear easily and won’t set properly during cooking. This specific crepe batter recipe is perfectly balanced, offering excellent consistency that’s easy to work with. Additionally, mastering the quick tilting and shaking motion of your pan as soon as the batter is poured is an equally crucial tip for achieving that signature thinness and even spread.
What’s the difference between Savory or Sweet crepes?
The primary difference between savory and sweet crepes lies in the batter’s sugar content and, naturally, their fillings. Savory crepes are designed to complement hearty fillings like cooked meats (e.g., ground beef, chicken), sautéed vegetables (mushrooms, cabbage), or various cheeses (like cottage cheese or farmer’s cheese). For savory crepes, you simply omit the sugar from the batter, creating a neutral base. Sweet crepes, on the other hand, have sugar added to the batter and are typically filled with sweet ingredients such such as fresh fruit, chocolate hazelnut spread (Nutella), jams, whipped cream, or sweet cheese fillings (like sweetened cottage cheese). The slight sweetness in the crepe batter enhances the overall dessert experience.
How do you prevent crepes from sticking or tearing?
Preventing crepes from sticking or tearing is crucial for successful crepe making. Crepes can easily tear if they are flipped over too soon, before they have fully set, or if the batter itself is imbalanced, lacking sufficient binding ingredients like flour or eggs. It’s important to always cook crepes over low to medium-low heat to ensure they cook through gently without browning too quickly or becoming brittle. Wait patiently until the edges of the crepe begin to crisp slightly and gently pull away from the pan. At this point, carefully run your spatula around the entire circumference of the crepe to loosen it completely, then confidently lift and flip it over. A well-seasoned or good quality non-stick skillet also plays a significant role in preventing sticking.
Do you have to oil the pan for making crepes?
If you’re using a high-quality non-stick skillet, then generally, no, you do not need to oil the pan for every single crepe. The canola oil in the batter itself, combined with the non-stick surface, usually provides enough lubrication. However, it is absolutely crucial to properly pre-heat your skillet before adding the first batch of batter. If the pan isn’t hot enough, your crepe might dry out prematurely before you can effectively spread and flip it, leading to sticking. I personally dedicate specific non-stick skillets for crepe making, and I strongly recommend using black-coated non-stick pans for the best results, as this is the only type I use and trust for consistent performance.
Can I use a blender?
Yes, a blender can certainly be used to make crepe batter, and it’s particularly convenient for ensuring a super smooth, lump-free consistency with minimal effort. However, if you’re making large quantities of crepes – which is often my situation when preparing for events – you’d likely have to blend the ingredients in multiple batches. This can sometimes be more of a hassle than simply mixing by hand with my specific technique. But for a single batch or if you prioritize speed and convenience above all else, a blender is undoubtedly the easiest and fastest way to achieve a perfect batter.
What can crepes be filled with?
Oh, the possibilities with stuffed crepes are truly endless! Crepes are incredibly versatile and can accommodate a vast array of sweet or savory fillings, making them perfect for any meal or occasion. From breakfast to dinner, a well-filled crepe is always a delight. Here is a list of some delicious stuffed crepe ideas, including some of my personal favorites, to inspire your culinary creations:
- Sweet Cottage Cheese Crepes: A classic Ukrainian filling, often sweetened with sugar and a touch of vanilla or lemon zest.
- Savory Cabbage and Mushroom Crepes: A hearty and flavorful option, perfect for a satisfying lunch or light dinner.
- Stuffed Chicken Crepes: Creamy chicken fillings, often mixed with herbs or vegetables, for a more substantial meal.
- Cream Cheese Filled Crepes: A rich and tangy sweet filling, often enhanced with berries or fruit preserves.
- Fresh Fruit and Whipped Cream: A light and refreshing dessert, especially with seasonal berries.
- Nutella and Banana: A decadent and popular combination for a sweet treat.
- Ham and Cheese: A simple yet satisfying savory option for breakfast or brunch.
- Spinach and Feta: A Mediterranean-inspired savory filling that’s both healthy and delicious.
Expert Tips for Crepe Making Success
- Quick Dessert Hack: For an incredibly easy and delicious dessert, simply dollop a spoonful of Nutella (or any chocolate-hazelnut spread) into the center of each warm crepe. Fold it into fours, and you have a quick, satisfying treat that everyone will love!
- Savory Creations: Don’t limit yourself to sweet! Transform these crepes into savory masterpieces by omitting the sugar from the batter. Then, fill them with hearty options like a rich cabbage and mushroom mix or a savory creamy chicken filling for a delightful meal.
- Optimal Storage: To maintain their delicate texture, always store plain, uncooked crepes at room temperature. Wrap them tightly in an airtight bag or plastic wrap. Remember, do NOT refrigerate plain crepes, as they will stick together and become difficult to separate.
- Batch Cooking Efficiency: If you’re preparing a large quantity of crepes for a gathering or meal prep, stick to my recommended lump-free batter technique (mixing eggs and flour first). While a blender is great for small batches, for large portions, blending in multiple rounds can actually be more time-consuming than the traditional whisking method.
- Perfect Pan Temperature: Achieving the right pan temperature is vital. Too cold, and your crepes will take too long to cook and become tough. Too hot, and they’ll burn before you can spread the batter. Aim for low to medium-low heat and give your pan ample time to preheat evenly.
- Batter Rest Time: While not strictly necessary for this recipe, allowing your batter to rest for 15-30 minutes at room temperature can improve the crepe’s texture by giving the flour time to fully hydrate and the gluten to relax, resulting in even more tender crepes.
