Mastering Traditional Homemade Sauerkraut: Your Ultimate Guide to Fermented Cabbage
Unlock the secrets to crafting delicious, probiotic-rich sauerkraut right in your own kitchen! This comprehensive guide walks you through the traditional method of making sauerkraut using only two simple ingredients: fresh cabbage and salt. We’ll provide a detailed, step-by-step tutorial, complete with insights into the entire fermentation process and everything you need to know about creating perfect homemade sauerkraut. Making your own fermented cabbage is not only incredibly easy and cost-effective but also ensures a healthy, tangy, and crunchy side dish is always at your fingertips, packed with beneficial gut-friendly bacteria.
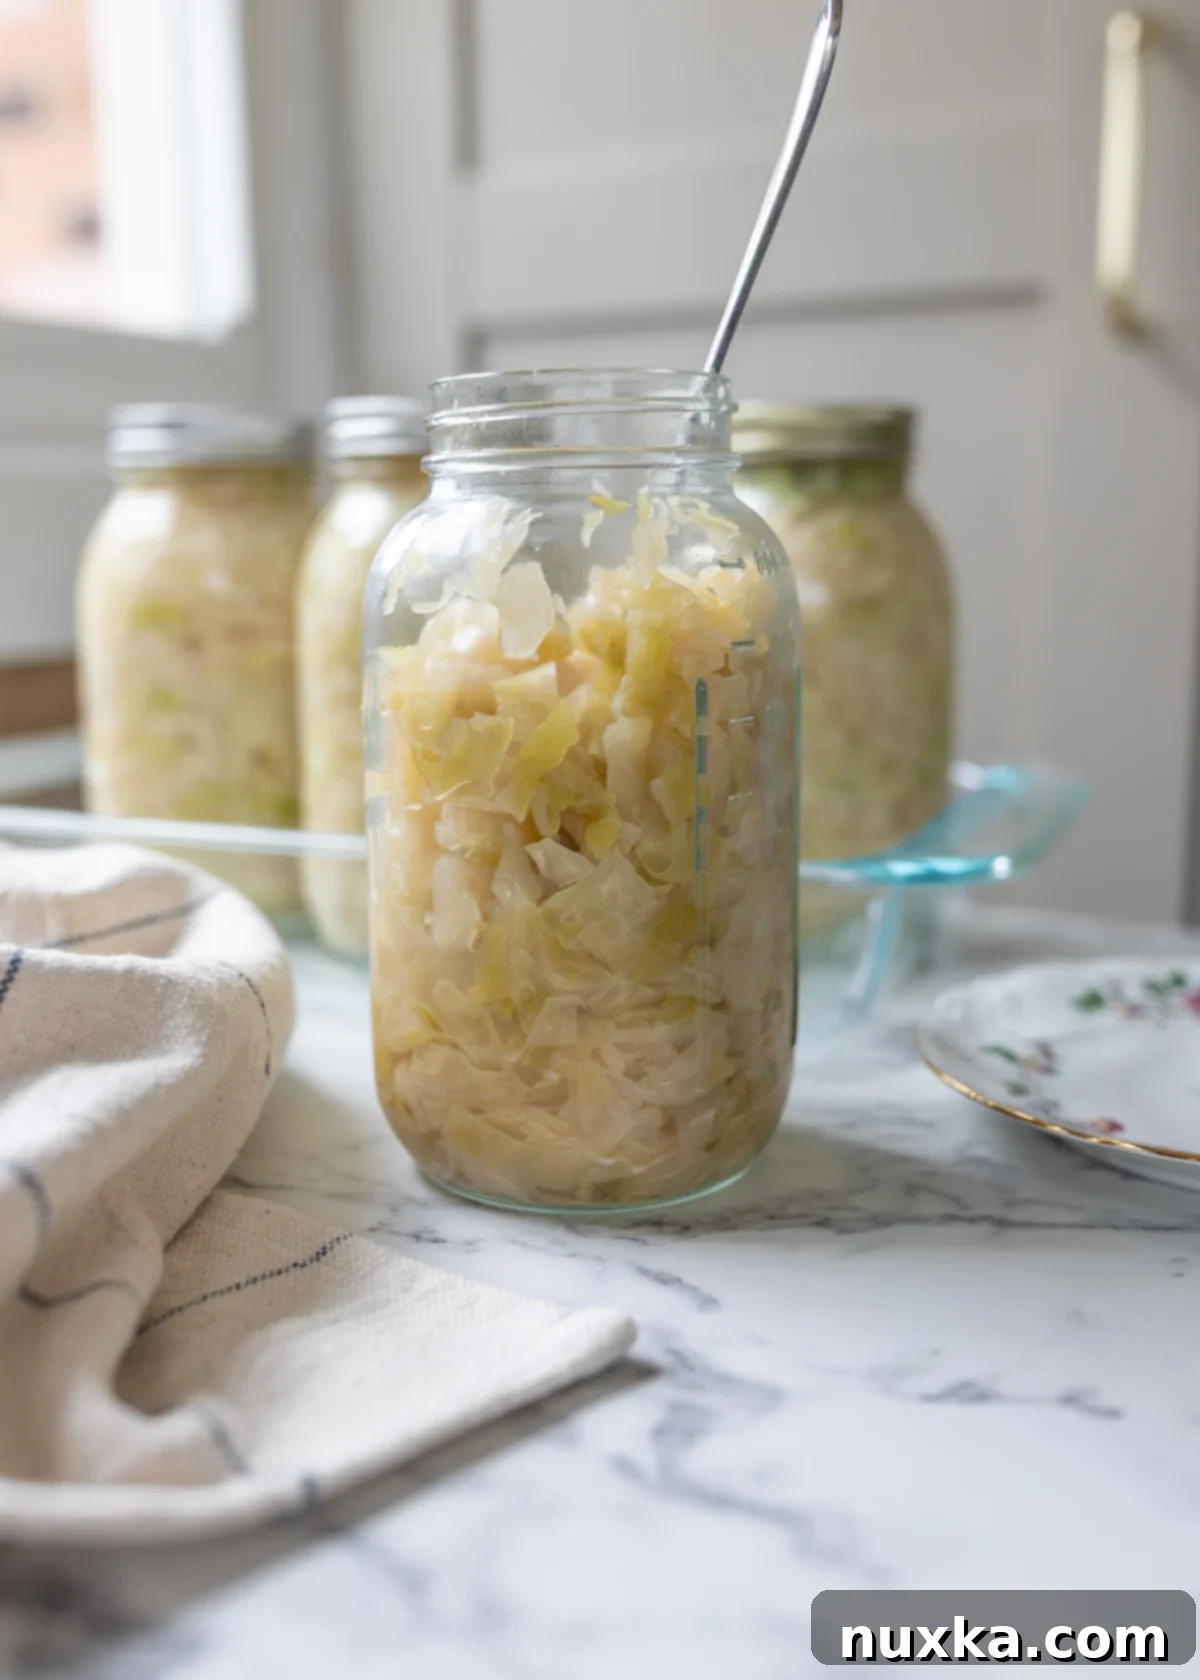
As homesteaders, fermented foods hold a revered place in our farmhouse kitchen. It’s not just about flavor; it’s an incredibly efficient and time-honored way to preserve the bounty of our garden, especially the generous heads of homegrown cabbage we cultivate each season. The practice of fermenting vegetables connects us to generations past, particularly my Ukrainian grandmother, who expertly preserved enough sauerkraut to last through the harsh winter months. Her methods, though rooted in instinct, were a testament to the power of traditional food preservation. For a deeper dive into her Ukrainian sauerkraut traditions, you can explore more here.
Finding a truly reliable sauerkraut recipe can be surprisingly challenging. Many recipes leave too much room for guesswork, particularly when it comes to the crucial salt proportions. While some cooks might “wing it,” the variability in cabbage head weights means that even a slight miscalculation can drastically alter the final product. I recall my own early attempts at replicating my Ukrainian grandma’s traditional sauerkraut; they often failed. Looking back, I now understand that this was likely due to insufficient salt. Many old-world recipes, passed down through generations, relied heavily on the cook’s experienced eye and intuition, which can be difficult to translate into precise, repeatable instructions for modern home fermenters. This understanding led me on a quest for a truly foolproof method.
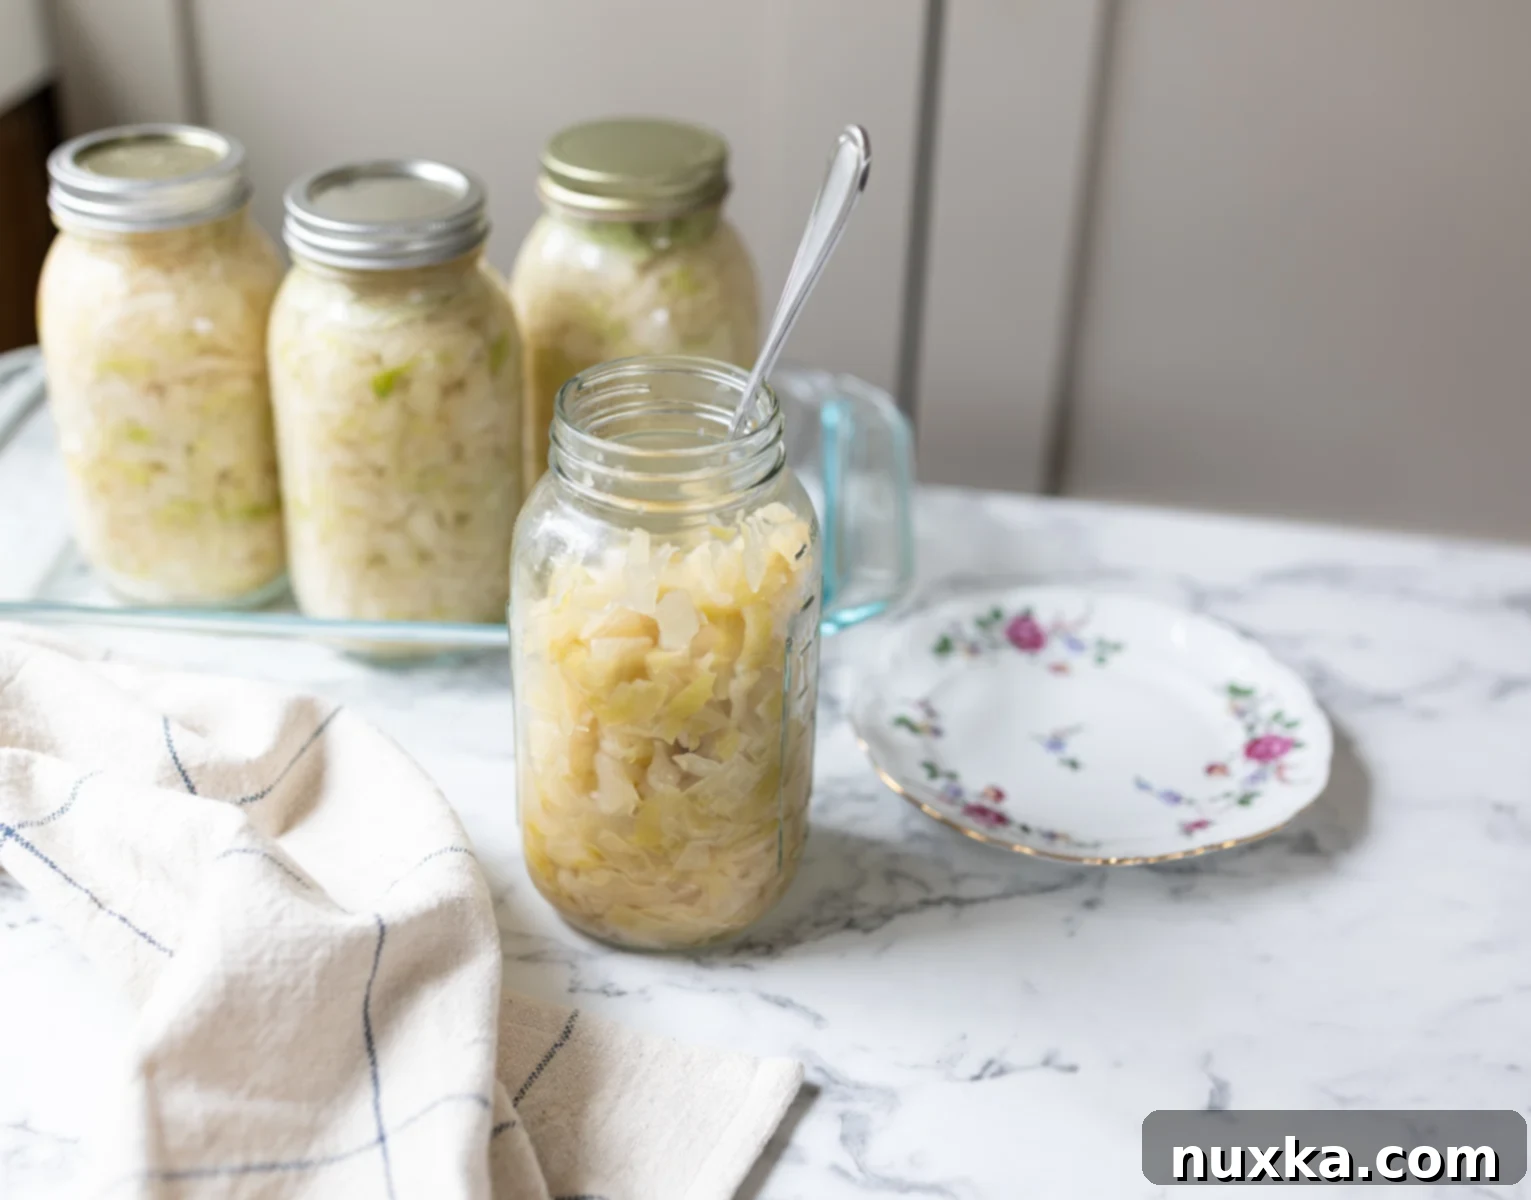
For a time, I found a decent compromise with a Ukrainian sauerkraut recipe from my aunt, which included an addition of water. It worked well enough, providing a satisfactory, albeit not truly traditional, fermented cabbage. However, my quest for the absolute best, most authentic, and robustly flavorful sauerkraut continued. Then, everything changed with a serendipitous encounter.
The Ultimate Sauerkraut Recipe: A Story of Discovery
The journey to this exceptional sauerkraut recipe began when a Mennonite friend visited our farm to pick up some milk kefir grains. As a thoughtful gesture, she brought along a jar of her homemade sauerkraut. What truly piqued my interest was her casual mention that she stored it in her basement, completely unrefrigerated. As someone deeply committed to health-minded practices and traditional food preservation, this detail was incredibly intriguing.
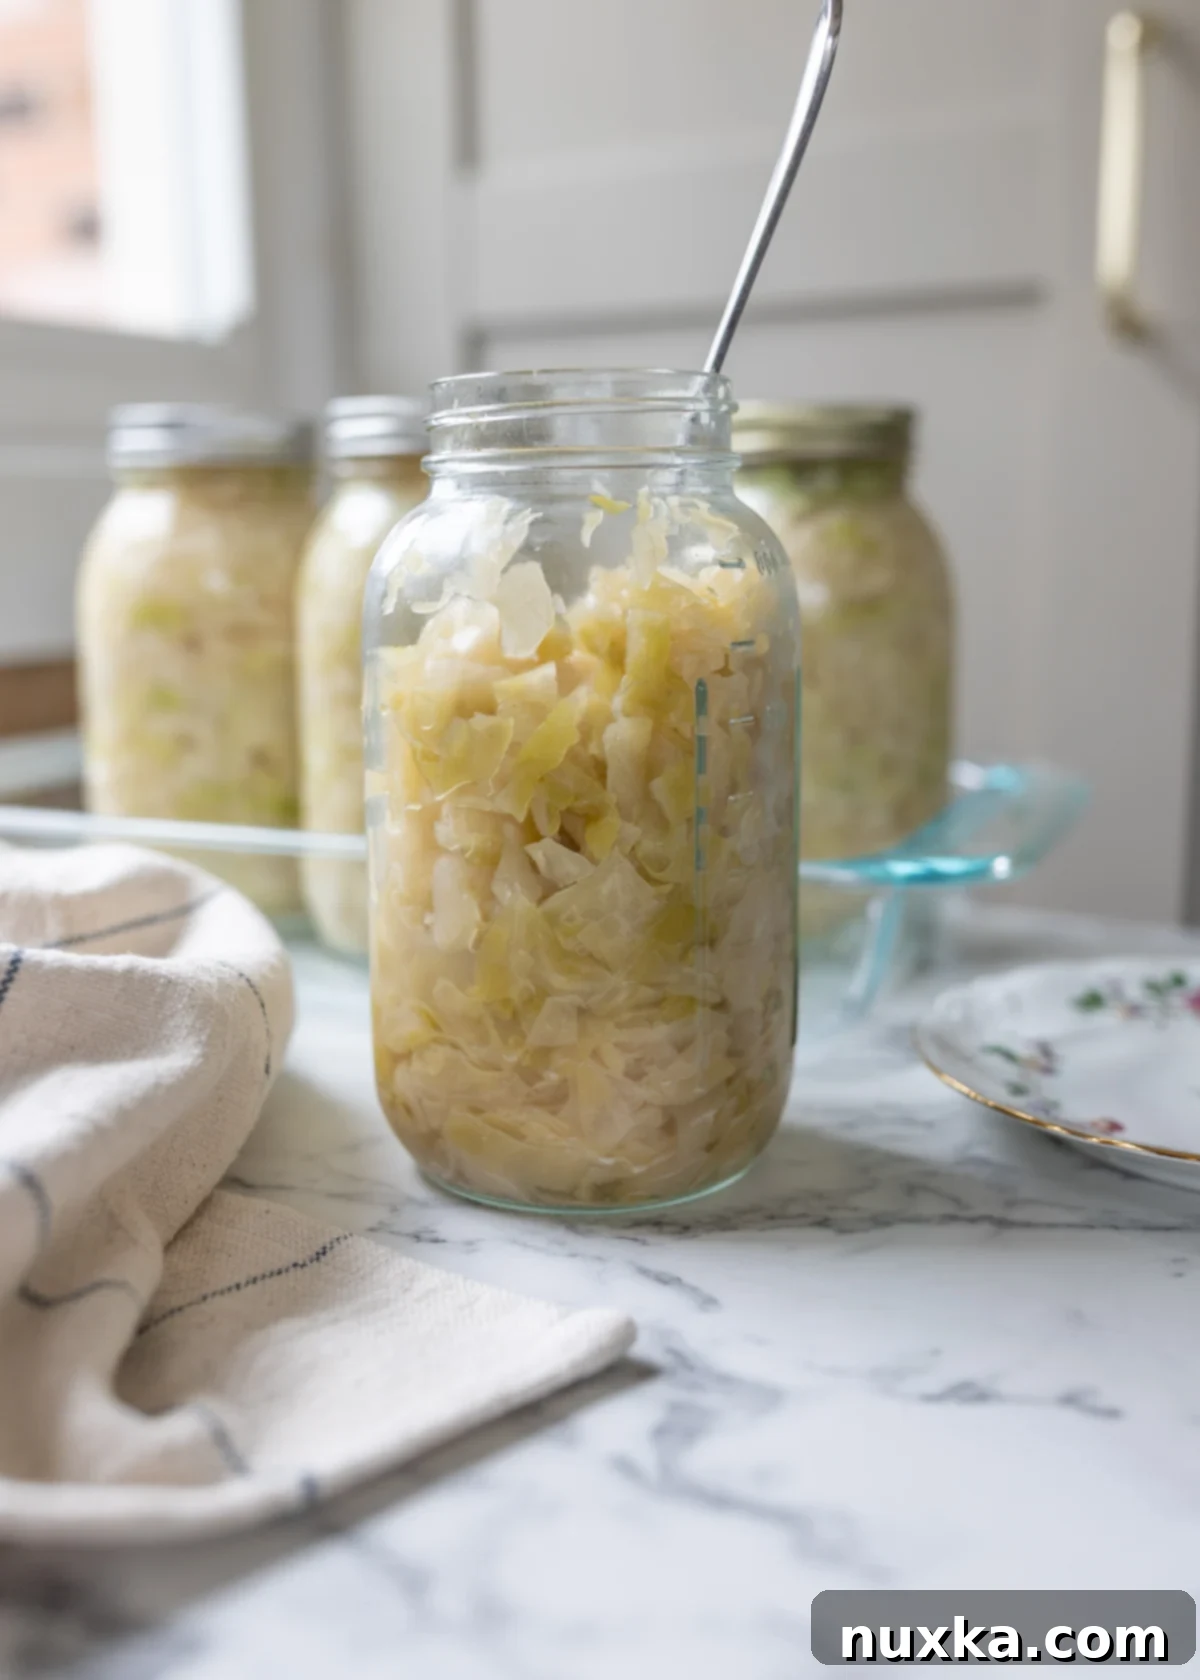
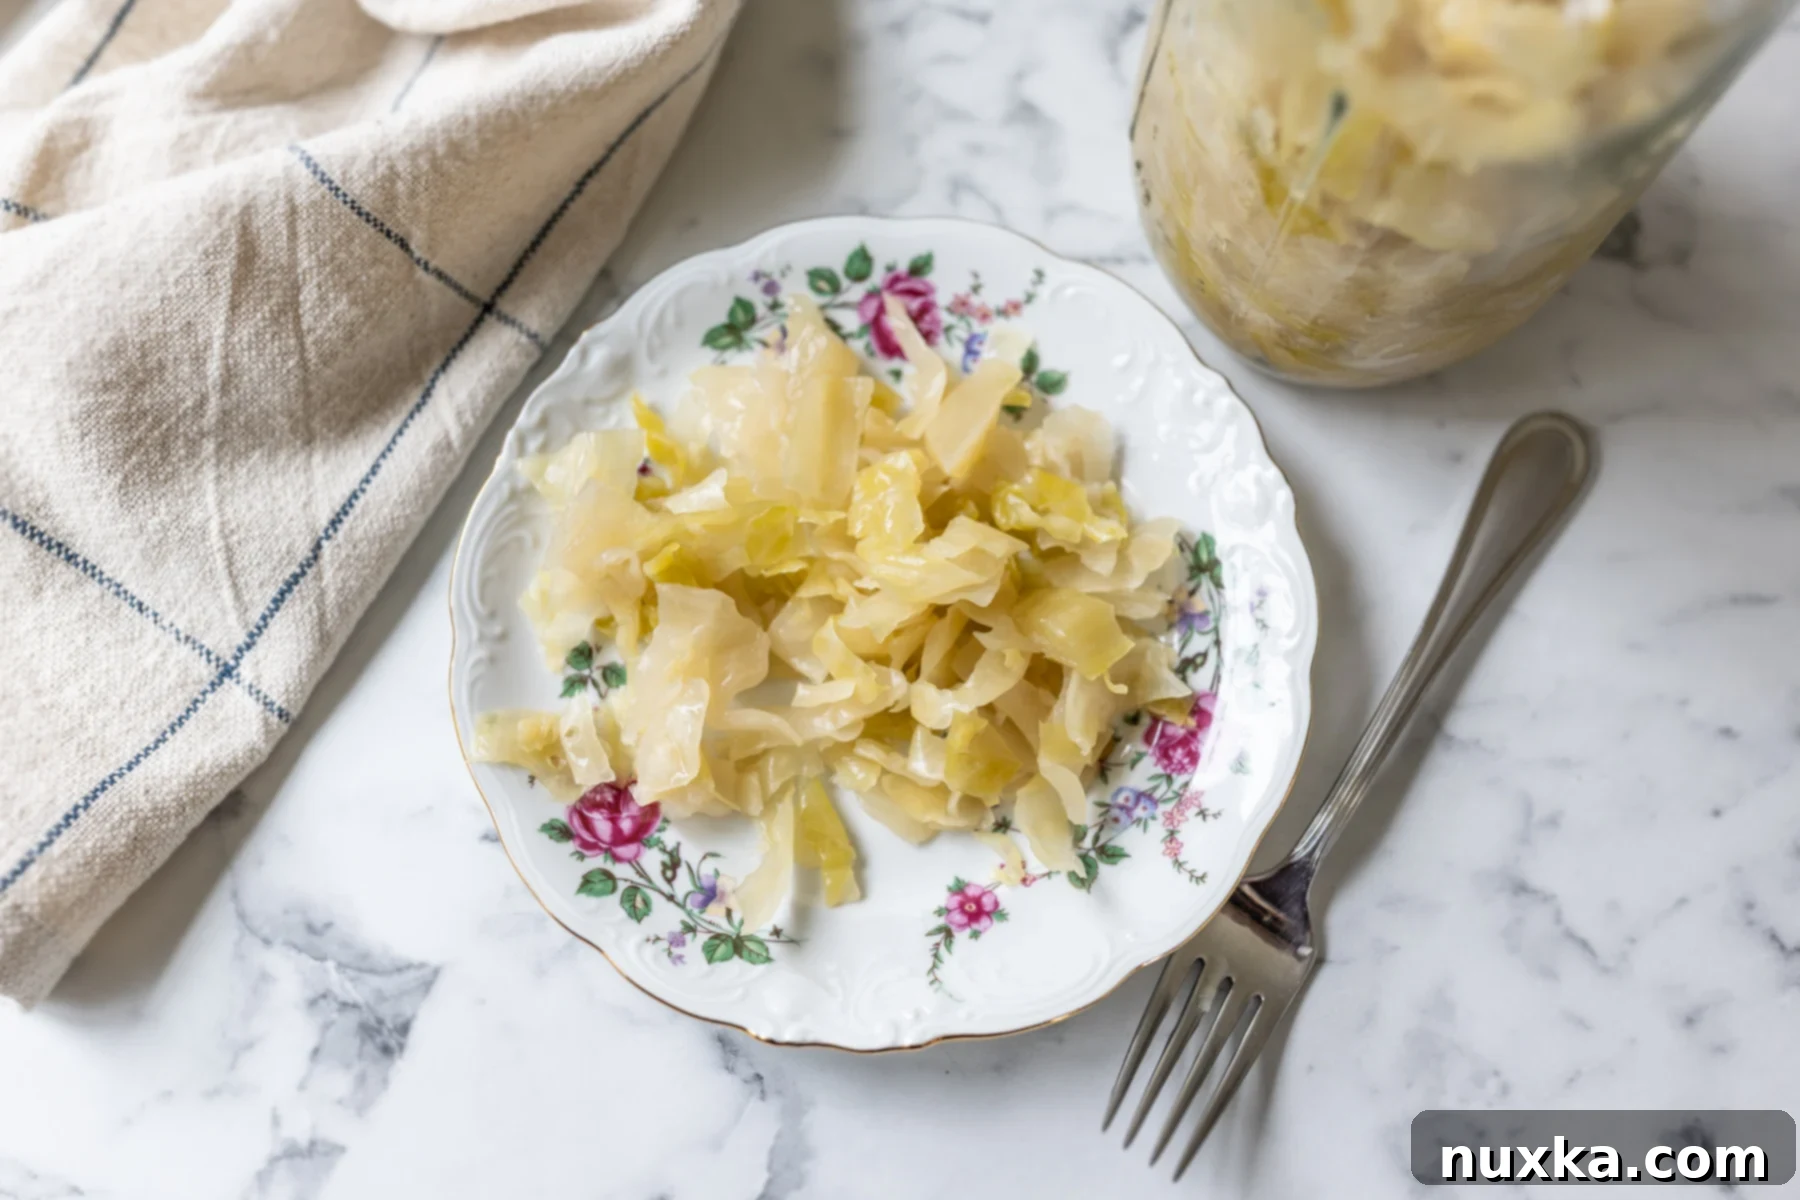
I eagerly opened the jar and discovered translucent, golden-pale green sauerkraut. Upon tasting it, I was astonished. It was, without a doubt, the most delicious homemade sauerkraut I had ever encountered! Perfectly tart, wonderfully tangy, and exceptionally crunchy – it embodied every quality one could desire in fermented cabbage. I immediately knew I had to learn her secret. I eagerly asked for her recipe, and today, I am thrilled to share it with you, along with all the valuable sauerkraut-making tips and observations I’ve gathered over the years to ensure your success.
The Incredible Health Benefits of Homemade Sauerkraut
Sauerkraut is more than just a delicious side; it’s a cornerstone of Ukrainian cuisine and a superfood in its own right. We incorporate it into countless dishes, from hearty bratwurst and sauerkraut sandwiches (a nod to the vibrant Ukrainian flea markets) to comforting soups. We also love frying it with fresh cabbage to create flavorful braised cabbage, which then becomes a delicious filling for traditional dumplings and fried dough. The versatility of sauerkraut is truly remarkable, but its advantages extend far beyond culinary applications, offering a wealth of health benefits that make it a powerhouse addition to any diet.
This naturally fermented food is renowned for being incredibly probiotic-rich, promoting a healthy gut microbiome essential for digestion, nutrient absorption, and a robust immune system. The fermentation process itself makes the nutrients in cabbage more bioavailable, increasing levels of vitamins like C and K, and beneficial compounds. Regular consumption of sauerkraut can aid in digestion, reduce inflammation, and even contribute to overall well-being. Its robust, tangy flavor not only enhances meals but also delivers a potent dose of live beneficial bacteria with every bite.
Choosing the Best Cabbage for Perfect Sauerkraut
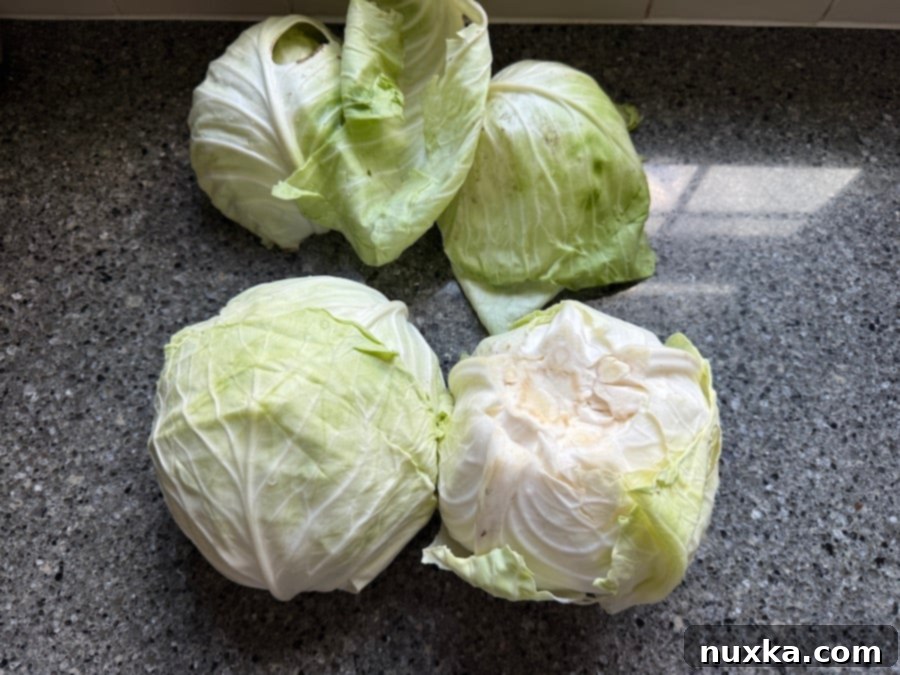
The foundation of great sauerkraut begins with the right cabbage. On our homestead, we swear by ‘Stonehead’ cabbage. This variety is exceptionally easy to grow, boasting natural resistance to many common diseases. Its heads grow impressively large, featuring dense, tightly packed, pale white flesh that’s ideal for fermentation. When selecting cabbage for sauerkraut, look for any winter cabbage variety that forms compact, heavy heads. The denser and whiter the cabbage, the better, as these characteristics indicate high sugar content and sturdy leaves, both crucial for a successful fermentation.
Why sturdy leaves? Because the fermentation process involves significant massaging, pounding, and packing to extract the natural juices. Delicate leaves would simply wilt and break down too quickly, resulting in a mushy, undesirable texture. If you’re not growing your own, we highly recommend trying organic green cabbage varieties from trusted sources like Azure Standard. Don’t be intimidated by raw fermented foods; sauerkraut is one of the most accessible and rewarding projects for beginners. Its simplicity belies the incredible flavor and health benefits it delivers.
Now, let’s dive into my proven method for making perfect homemade sauerkraut!
Mise en Place: Gathering Your Essentials
Essential Equipment for Sauerkraut Making:
While this traditional sauerkraut recipe can be made with minimal equipment – primarily your hands – a few additional tools can make the process even smoother and more efficient. For a bare-bones approach, you’ll mostly rely on your own strength. However, for those looking to be better equipped and ensure optimal results, consider these items:
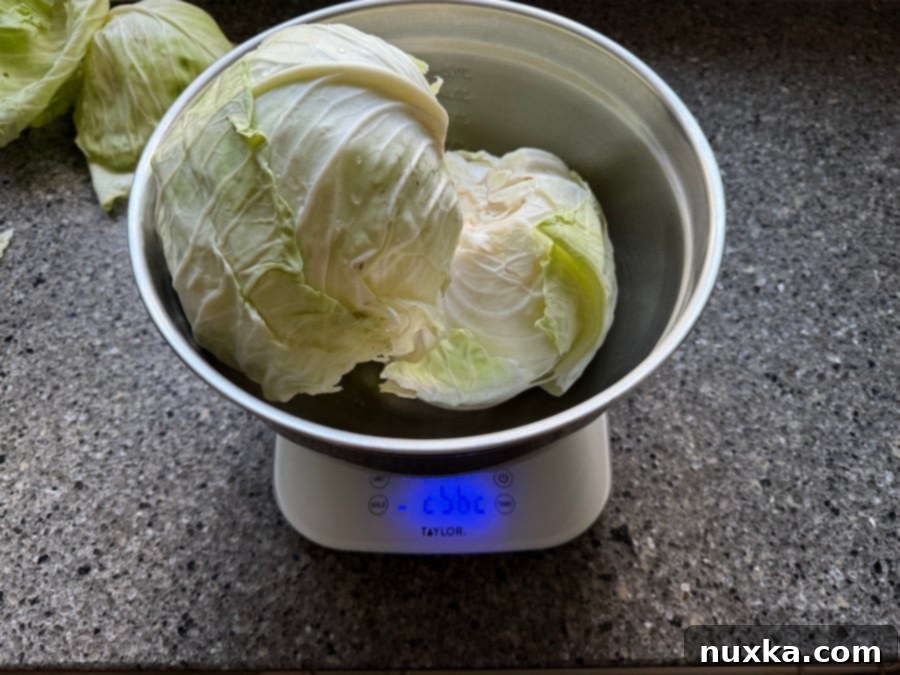
- A reliable kitchen scale is absolutely crucial for accurately measuring your cabbage and salt, ensuring the correct ratio for safe and successful fermentation.
- An extra-large mixing bowl is essential for comfortably massaging the cabbage and salt without making a mess.
- You’ll need three or four quart-sized mason jars along with their respective lids and bands for packing and fermenting your sauerkraut.
- A Pyrex baking dish or any shallow container is useful to place under your fermenting jars to catch any liquid that might seep out during the active fermentation phase.
- For those who prefer a more hands-off approach to pressing the cabbage, a fermentation weight or a pounder/tamper can be very helpful.
- And for advanced fermenters, air-lock lids can provide an anaerobic environment, minimizing exposure to oxygen and reducing the risk of mold, though they are not strictly necessary for this recipe.
Key Ingredients: Simplicity at Its Best
- Redmond Real Salt or any high-quality, natural mineral salt. It is absolutely crucial to use non-iodized salt, as the iodine and anti-caking agents found in regular table salt can interfere with the beneficial bacteria responsible for fermentation, leading to undesirable results. Kosher salt or sea salt are also excellent choices.
- Winter Cabbage Variety: As mentioned, choose dense, tightly compact heads. The whiter the cabbage, the better, as this often correlates with higher sugar content for fermentation and a crispier texture.
Pro Fermentation Tip for Sauerkraut Storage

Pro-Tip: When preparing homemade sauerkraut, opt for smaller quart-sized jars. This strategy allows you to consume a batch more quickly once opened, preventing potential waste. Furthermore, I find that narrower, regular-mouth canning jars are particularly effective. Their design helps to keep the cabbage submerged beneath the brine more consistently, especially when using a reserved cabbage leaf as a natural weight, ensuring proper fermentation and preventing spoilage.
One of the most critical factors for successful sauerkraut is mastering the precise salt-to-cabbage ratio. For every 800 grams of cabbage (after removing the core and outer leaves), you will need 1 tablespoon of high-quality, non-iodized salt. If your cabbage weight falls between these 800-gram increments, it’s always safer to round up on the salt measurement. For instance, if your two heads of cabbage weigh 2,983 grams, you would round up to 3,200 grams (800g x 4), thus requiring 4 tablespoons of salt. This exact ratio is essential because the salt plays a dual role: it draws out the natural juices from the cabbage when massaged, creating the brine, and it acts as a preservative, guiding the lactic acid fermentation process while inhibiting undesirable bacteria.
Once the salt ratio is understood, the rest of the process is straightforward and incredibly rewarding: you simply chop the cabbage, sprinkle it with the calculated amount of salt, and massage it thoroughly until it releases its abundant juices. Finally, you pack this vibrant mixture tightly into jars, ensuring it remains submerged under its self-created brine, setting the stage for the magic of fermentation to begin.
Step-by-Step: How to Make Sauerkraut That Always Works
-
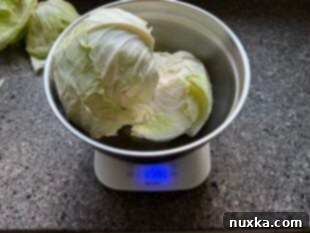
Prepare the Cabbage: Begin by trimming off the tough core from each cabbage head. Remove any outer leaves that are bruised, damaged, or spotted. These pristine outer leaves can be saved for later use as a “lid” to hold down the fermenting cabbage. After preparing, accurately weigh the remaining cabbage. This weight is crucial for calculating the precise amount of salt needed. Remember: 1 tablespoon of salt for every 800 grams of trimmed cabbage. If your total weight is, say, 1500 grams, you’d calculate for 1600 grams (2 tablespoons of salt).

-
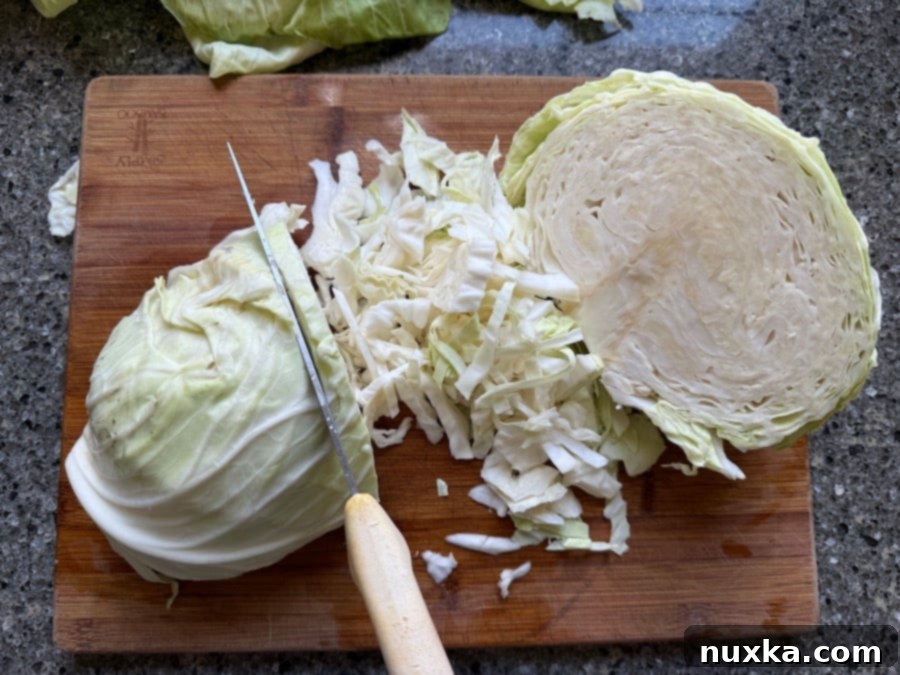
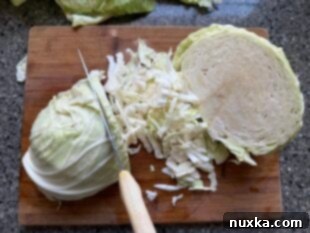
Chop the Cabbage: Wash the cabbage heads thoroughly after trimming. Cut each head in half to make handling easier. Then, proceed to chop the cabbage. I prefer a coarser, chunkier chop, about 1/4 to 1/2-inch thick, as this helps the sauerkraut retain a satisfying crunch even after a long fermentation period, preventing it from becoming overly soft. If you prefer a finer texture, a mandoline slicer can achieve uniform, thin shreds quickly. The key is consistency for even fermentation.

-
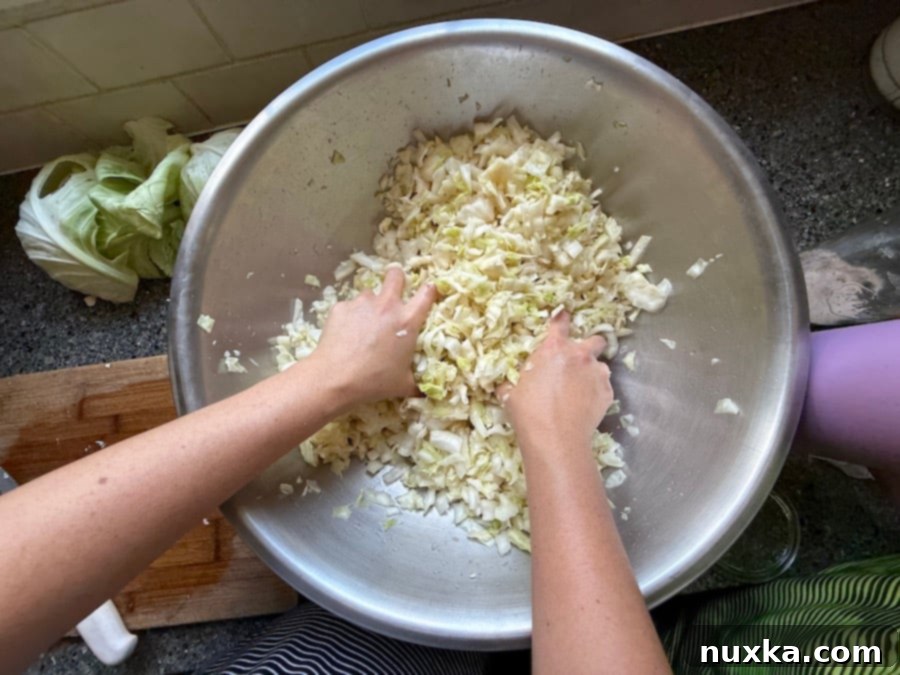
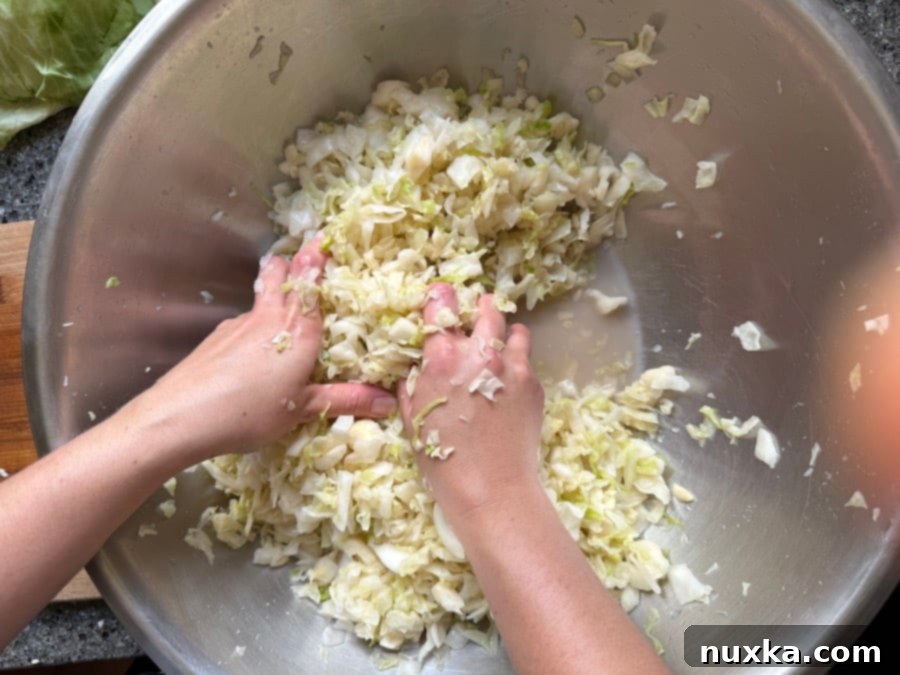
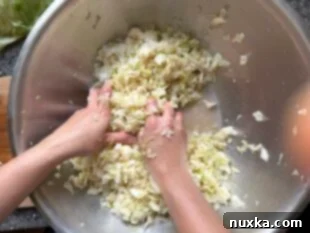
Salt and Massage: Transfer the chopped cabbage into your extra-large mixing bowl. Sprinkle the calculated amount of non-iodized salt evenly over the cabbage. Now, begin the crucial massaging process. With clean hands, vigorously massage and squeeze the cabbage for about 13-15 minutes. This physical action breaks down the cell walls of the cabbage, encouraging it to release its natural juices. You’ll know it’s ready when a significant pool of liquid forms at the bottom of the bowl, and when you squeeze a handful of cabbage, brine readily drips out.


-
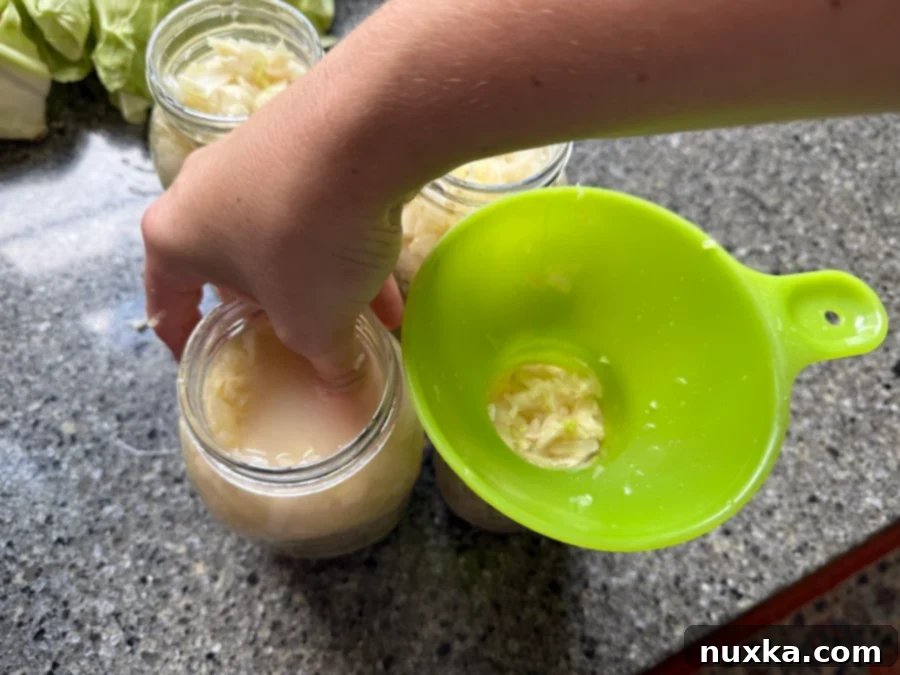
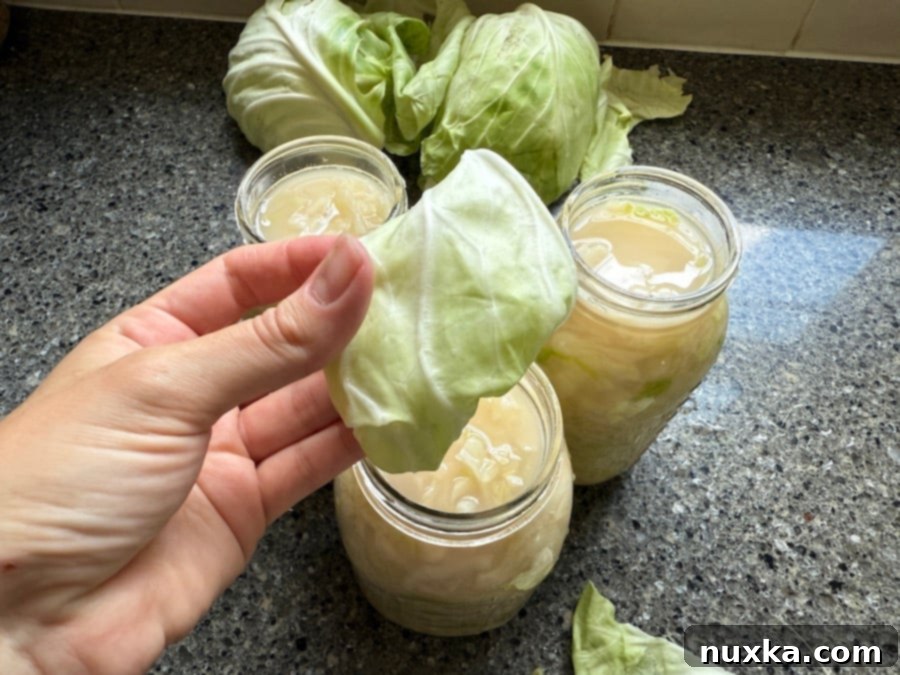
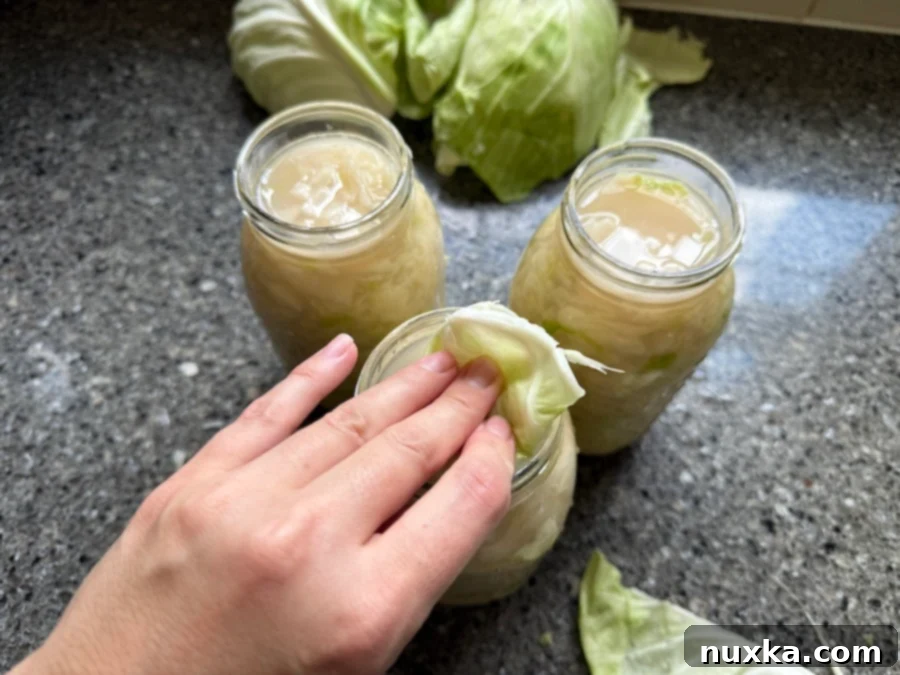
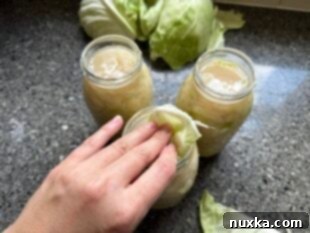
Pack into Jars: Begin tightly packing the massaged cabbage into your clean, quart-sized mason jars. Use a tamper or your fist to press the cabbage down firmly, eliminating air pockets and forcing the liquid to rise. It’s crucial that the cabbage remains submerged under the brine. Pour any excess liquid remaining in your mixing bowl over the packed cabbage in the jars. Then, take one of the reserved outer cabbage leaves, fold it into thirds, and place it on top of the packed cabbage to act as a natural weight, ensuring all the shredded cabbage stays below the brine level.


-
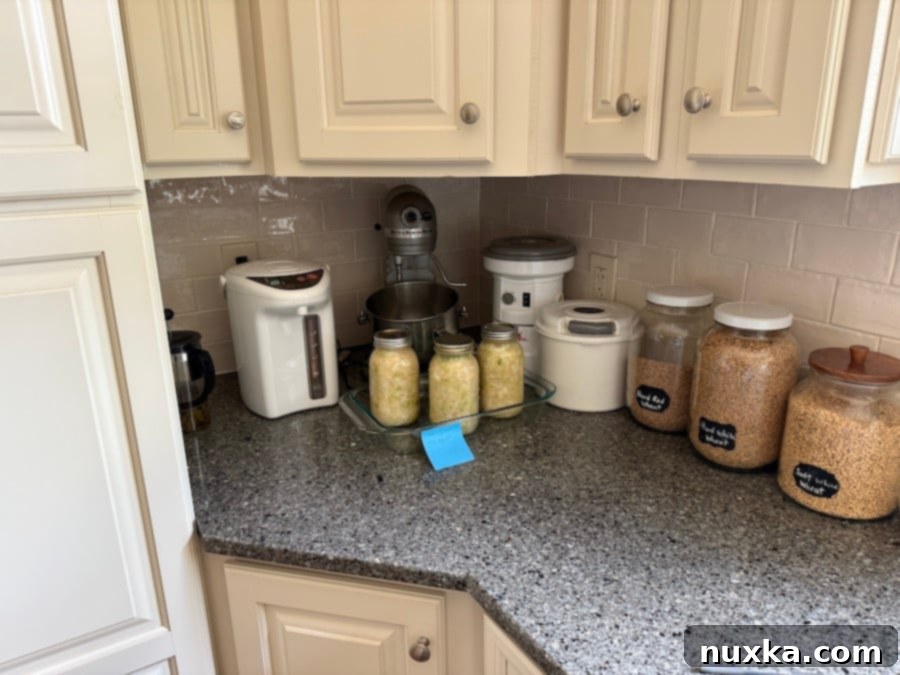
Ferment and Wait: Secure the jars with regular canning lids, tightening them “finger-tight” – just enough to create a seal but allowing gas to escape. Place the jars on your Pyrex baking dish in a dark, cool corner of your counter, away from direct sunlight. This dish will catch any overflow of brine during active fermentation. Allow the sauerkraut to ferment for 1 to 2 weeks at room temperature. We recommend two full weeks for optimal flavor development and probiotic activity. During this time, beneficial lactic acid bacteria will transform the cabbage, creating its characteristic tangy flavor and potent health benefits. You might see bubbles, which is a good sign of fermentation at work!

-
Store for Longevity: After the initial fermentation period of two weeks, carefully wipe down the jars to remove any dried brine. Transfer them to a cool, dark place for long-term storage. This could be a pantry, a cool basement, or even a root cellar. The cooler temperature slows down the fermentation process, allowing the flavors to deepen and mature beautifully over time. Properly stored homemade sauerkraut can keep for 3-4 months, or even much longer in ideal conditions – mine often lasts well over a year. The flavors continue to develop and become more complex with extended aging.

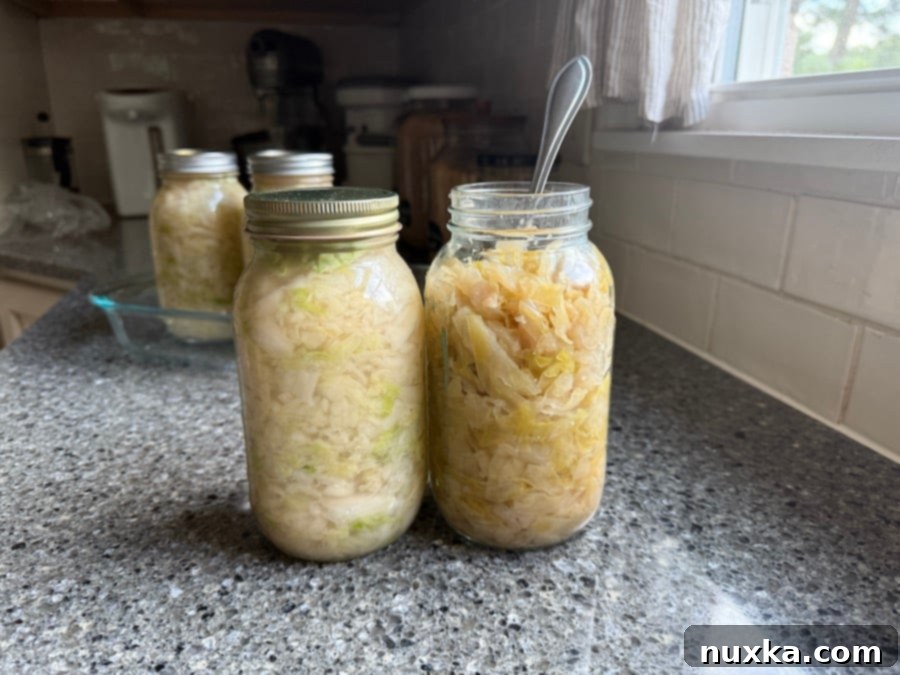
Witness the transformation: Freshly made sauerkraut is pictured on the left, while a jar of 7-month-old fermented sauerkraut, rich in flavor and probiotics, is on the right.
Pro Fermentation Tip for Tracking Your Batch

Pro-Tip: To keep track of your batches and ensure optimal fermentation times, use a sticky note or a label. Clearly mark the date you started fermenting the sauerkraut and the exact date when it will be ready for longer-term storage (typically two weeks later). This simple practice ensures you ferment for the ideal duration and prevents any confusion, leading to consistently perfect sauerkraut.
Expand Your Fermentation Knowledge: Additional Resources
For those eager to delve deeper into the world of traditional foods and fermentation, I highly recommend Nourishing Traditions. This invaluable guide covers everything from fermenting vegetables to making homemade broths, sourdough, and so much more! It’s an essential read for anyone embarking on a journey towards healthier eating habits, offering a wealth of information, scientific explanations, and traditional recipes. Investing in a book that not only provides recipes but also explains the fundamental “why” behind these ancient food preparation methods will empower you to embrace simple, wholesome eating with confidence.
Sauerkraut Shelf Life: How Long Does Homemade Sauerkraut Last?
Once properly made and sealed, homemade sauerkraut is remarkably shelf-stable and can keep for many, many months in a cool, dark environment. My Mennonite friend, whose recipe inspired this guide, stores her sauerkraut in her basement without refrigeration after the initial counter fermentation. Similarly, I store my jars on a pantry shelf alongside my other canned goods, where they remain perfectly preserved. Historically, my grandmother kept massive quantities of sauerkraut in large wooden vessels within her root cellar, a testament to its incredible longevity. If you’re concerned about maintaining a consistent cool environment, storing your sauerkraut in the refrigerator is always a safe bet to ensure its maximum lifespan and preserve its potent probiotic benefits. In my experience, this sauerkraut recipe easily lasts over 6 months, with its flavor only growing richer and more complex with extended aging.
Can You Freeze Sauerkraut? (And Why You Shouldn’t)
While technically you *can* freeze sauerkraut, I strongly advise against freezing raw, naturally fermented sauerkraut. The freezing process, particularly the formation of ice crystals, will unfortunately destroy the delicate structures of the beneficial bacteria and probiotics that developed so beautifully during fermentation. This means you’ll lose the very health advantages that make sauerkraut such a powerhouse food. Since naturally fermented sauerkraut boasts an exceptionally long shelf life when stored correctly, there’s rarely a need to freeze it. If you need to prolong its freshness beyond ambient storage, simply transfer it to the refrigerator. This will significantly slow down the fermentation process without killing off the invaluable live cultures, allowing you to enjoy all the advantages of this wonderful fermented food for months to come.
Fermentation Timeline: How Long Does it Take to Ferment Sauerkraut?
For homemade sauerkraut made with just cabbage and salt, a minimum fermentation period of two weeks is essential. This duration allows the lactic acid bacteria to thoroughly transform the cabbage, developing its characteristic tangy flavor and potent probiotic profile. After these two weeks, you’ll notice that the sauerkraut has significantly softened and released most of its juices, with less liquid weeping out. This is the ideal time to wipe down your jars and transfer them to a colder environment for long-term storage, such as a cool pantry, basement, or refrigerator. Even in cooler temperatures, the fermentation process continues slowly, further enhancing the flavor and complexity of your sauerkraut over time. The optimal temperature for active fermentation is around 70°F (21°C), providing the perfect balance for beneficial bacteria to thrive.
Recognizing Good Sauerkraut: Does Sauerkraut Go Bad?
With this reliable sauerkraut recipe, I have personally never experienced a batch going bad. My Mennonite friend, who generously shared this method, did mention one instance where a jar didn’t seal correctly and spoiled, but this is a rare occurrence. I genuinely believe in the efficacy of this particular recipe. However, like any homemade food, it’s always wise to use your senses. If you ever observe mold (beyond a thin, harmless layer of Kahm yeast, which can be scraped off), or if the sauerkraut emits an off-putting, foul smell, or tastes distinctly “wrong,” it’s best to err on the side of caution and discard it. Properly fermented homemade sauerkraut should have a distinct, appealing aroma that is tangy, sour, and reminiscent of pickles. It should smell fresh and vibrant, the kind of aroma that truly whets your appetite and makes you eager to dig in!
Delicious Ways to Enjoy Your Homemade Sauerkraut: More Recipes!
Once you’ve mastered the art of making homemade sauerkraut, you’ll find countless delicious ways to incorporate this tangy, crunchy ferment into your daily meals. Here are some of our favorite ideas to utilize your freshly made, probiotic-rich sauerkraut:
- Craft a Zesty Sauerkraut Salad: For a simple yet incredibly flavorful side, combine half a quart of your fermented sauerkraut in a bowl with one thinly sliced onion. Drizzle generously with good quality sunflower oil and season with fresh black pepper to taste. This vibrant salad is absolutely divine when served alongside boiled new potatoes harvested straight from the garden.
- Whip up a Hearty Sauerkraut Soup: Transform your sauerkraut into a comforting soup! Add a couple of generous handfuls into a pot of boiling potatoes and a classic mirepoix (sautéed onions, carrots, and celery). I love to enrich the broth with a can of tomato sauce and flavorful seasonings like our homemade Vegeta seasoning for an authentic, savory depth.
- Indulge in Bratwurst and Sauerkraut Sandwiches: Elevate your sandwich game with the incredible combination of savory bratwurst and tangy sauerkraut. These Bratwurst and Sauerkraut sandwiches are truly yummy and a hearty meal in themselves!
- Savor Braised Cabbage (Tushenaya Kapusta): While traditionally a cooked dish, braising sauerkraut yields an incredibly flavorful and tender result, almost like caramelized onions. Our Braised Cabbage recipe is perfect for this. This cooked sauerkraut mixture makes an exceptional filling for traditional Belyashi (savory fried buns) or classic Pierogies (dumplings).
More Fermented & Traditional Foods To Explore:
-
Homemade Velveeta Cheese Recipe
-
How To Make Milk Kefir with Grains
-
Kefir Ranch Dressing Recipe
-
Strawberry Blueberry Kefir Smoothie Recipe
-
Homemade Kefir Cream Cheese
-
Whole Wheat Sourdough Sandwich Bread with Freshly Milled Flour
-
Selyodka Recipe (European Pickled Fish)
-
Homemade Pickled Banana Peppers
This traditional sauerkraut recipe has consistently delivered perfect results for me, and I’m confident it will for you too! I’d love to hear about your experience and thoughts in the comments section below. Happy fermenting!
Rate Recipe
Pin Recipe
How To Make Traditional Homemade Sauerkraut
Equipment
-
1 Large Kitchen Scale
-
1 Extra Large Mixing Bowl
-
3-4 Quart-sized Regular Mouth Canning Jars with Bands and Lids
-
1 Pyrex Glass Baking Dish (or any shallow dish to catch potential liquid overflow)
-
Optional: Pounder/Tamper or Fermentation Weights
-
Optional: Fermentation Airlock Lids
Ingredients
For 3-4 Quarts of Sauerkraut:
-
Calculated amount of High-Quality Non-Iodized Salt (1 Tbsp salt per 800 grams of trimmed cabbage. Redmond Real Salt, Kosher, or Sea Salt recommended.)
-
Approx. 3-4 large heads of Fresh Green Cabbage (Look for dense, tightly packed winter varieties like Stonehead. The whiter the cabbage, the better for brine production and crunch.)
Instructions
Making Homemade Sauerkraut:
-
 Prepare & Weigh Cabbage: Remove the cabbage core and any damaged or spotted outer leaves. Wash the cabbage thoroughly. Accurately weigh the trimmed cabbage on a kitchen scale. For every 800 grams of cabbage, measure out 1 tablespoon of non-iodized salt. Always round up on the salt if your weight falls between increments (e.g., 1500g requires 2 Tbsp salt). Reserve a few large, clean outer leaves for later.
 -
 Chop the Cabbage: Cut the cabbage in half for easier handling. Using a sharp knife, chop the cabbage into 1/4 to 1/2-inch thick pieces. A coarser chop helps maintain crunchiness after fermentation. Alternatively, use a mandoline slicer for thinner, uniform shreds if preferred.
 -
 Salt and Massage: Transfer the chopped cabbage into an extra-large mixing bowl. Sprinkle the measured salt evenly over the cabbage. With clean hands, vigorously massage and squeeze the cabbage for 13-15 minutes until a significant amount of liquid (brine) is released at the bottom of the bowl. The cabbage should appear wet and limp.
 -
 Pack into Jars: Tightly pack the massaged cabbage into clean, quart-sized mason jars, pressing down firmly to remove air bubbles and bring the brine to the surface. Pour any remaining liquid from the mixing bowl over the packed cabbage. Fold a reserved outer cabbage leaf into thirds and place it on top as a natural weight to keep all shredded cabbage submerged under the brine.
 -
 Ferment on the Counter: Secure the jars with regular canning lids, tightening them finger-tight (allowing gas release). Place the jars on a Pyrex dish in a dark, cool corner (around 70°F/21°C) for 1-2 weeks. After this period, wipe the jars clean.
 -
 Store for Longevity: Transfer the jars to a cool, dark place (like a pantry or basement) for long-term storage. Homemade sauerkraut can last well over 8 months, with flavor improving over time. Once a jar is opened, refrigerate it to maintain freshness.
Notes & Pro Tips
- Texture Tip: For wonderfully crunchy sauerkraut, always opt for a thicker chop. Finer shreds tend to become softer more quickly.
- Salt Quality is Key: Use only high-quality, non-iodized salt (such as Redmond Real Salt, sea salt, or kosher salt) for proper fermentation. Iodized salt and anti-caking agents can inhibit beneficial bacterial growth.
- Cabbage Choice: We achieved excellent results with homegrown Stonehead Cabbage (Zone 8). Any dense, tightly packed winter cabbage with white flesh is ideal as it produces more brine and a crispier result.
- Tracking Your Batch: A simple sticky note on each jar, detailing the start date and the “ready for storage” date (2 weeks later), is incredibly helpful for consistent results.
- Jar Size Matters: Smaller quart-sized jars are practical for homemade sauerkraut. They allow you to go through a batch quicker once opened, minimizing waste. Regular-mouth jars are often better than wide-mouth for keeping the cabbage submerged.
- Natural Weights: If you don’t have dedicated fermentation weights, a folded outer cabbage leaf (as described in the instructions) works perfectly to keep the cabbage under the brine.
- No Special Equipment Needed: While modern tools can be convenient, remember that generations past made excellent sauerkraut with only basic kitchen tools and their hands. Don’t let lack of special equipment deter you!
- Storage Best Practices: For long-term storage, keep unopened jars in a cool, dark place like a pantry, basement, or root cellar. Once opened, always transfer sauerkraut to the refrigerator to preserve its quality and probiotic benefits. Discard the top cabbage leaf when opening. Opened sauerkraut will last for months in the fridge.
Nutrition per serving (Estimated)
