Master the Art of Fluffy Homemade Pita Bread: Your Essential Recipe for Gyros, Dips & More
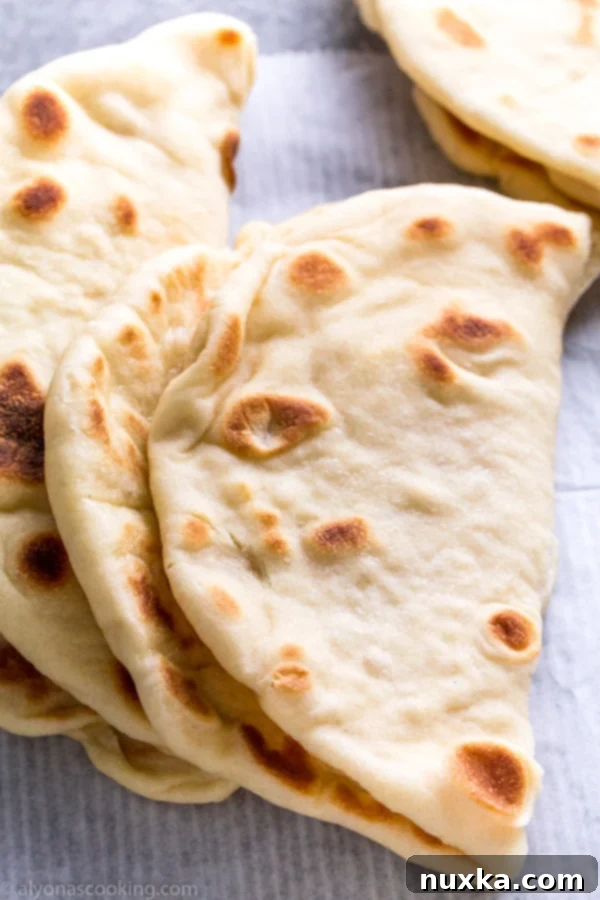
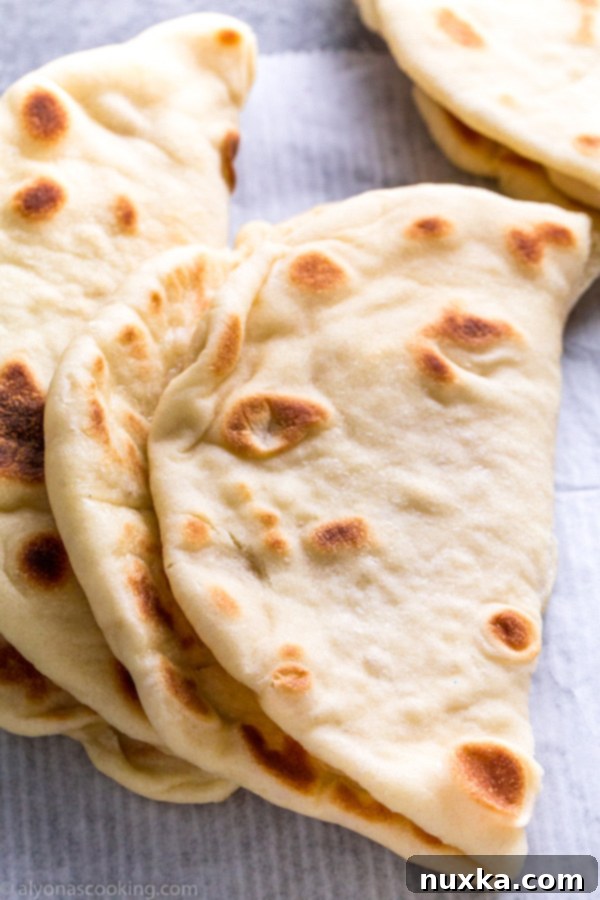
There’s nothing quite like the taste and texture of freshly baked bread, and homemade pita is no exception. This incredibly fluffy pita bread recipe is an absolute game-changer, whether you’re planning a Mediterranean feast, a casual family dinner, or simply looking for a versatile flatbread. Designed to yield perfect, soft, and slightly chewy pocket-less pitas, it’s ideal for cradling savory gyros, scooping up your favorite dips, building hearty sandwiches, creating individual pizzas, or serving as a delightful side to any meal. The moment you pull these warm, fragrant pitas from the skillet, you’ll understand why this recipe is a must-try for any home cook.
My journey to crafting this particular pita recipe began with a craving for authentic gyros. I needed a pita that was more substantial and tender than the typical pocket variety, one that could truly complement the rich flavors of marinated meat and creamy tzatziki. What sets this recipe apart is the clever addition of baking powder alongside traditional yeast. This dynamic duo works wonders, giving the dough an extraordinary lift and an unparalleled, melt-in-your-mouth fluffiness without becoming overly airy. The amazing aroma that fills your kitchen as these pitas cook is simply divine, promising a truly satisfying culinary experience.
If you’ve ever hesitated to make your own pita bread or flatbread, let this be the recipe that changes your mind. It’s surprisingly simple, incredibly rewarding, and produces results far superior to anything store-bought. Don’t be shy – consider doubling the recipe! These pitas freeze beautifully, making it easy to have a stash on hand for future meals, unexpected guests, or whenever a craving strikes. They are wonderfully adaptable and pair perfectly with a vast array of dishes.
The Unbeatable Advantages of Homemade Pita Bread
While store-bought pita bread offers convenience, making your own at home elevates your culinary experience significantly. The difference in taste, texture, and freshness is truly incomparable. When you bake pita from scratch, you’re in control of every ingredient, ensuring a product free from preservatives or artificial additives. The warmth and soft chewiness of a freshly cooked pita, straight off the skillet, is a simple pleasure that a packaged version simply cannot replicate. Furthermore, it’s often more economical to make a batch of pita at home, especially if you plan to enjoy it regularly. Plus, the process itself is wonderfully therapeutic, from watching the yeast activate to seeing the dough rise and finally transform into golden, fluffy discs.
Recipes to Try with This Versatile Pita Bread
The beauty of this fluffy pita bread lies in its incredible versatility. While it’s absolutely essential for a classic Gyro, its uses extend far beyond. Think of it as your blank canvas for a myriad of delicious meals and snacks. Its soft yet sturdy texture makes it perfect for scooping, wrapping, and holding a variety of fillings. Here are some fantastic recipes from Alyona’s Cooking that pair exquisitely with your homemade pita:
- EASY Grilled Chicken Kabobs Recipe: Serve your succulent, perfectly seasoned chicken kabobs with warm pita bread. The pita is excellent for wrapping the chicken and vegetables, or simply for soaking up all those delicious marinade juices.
- Easy Salmon Burgers: Forget the traditional bun! These homemade salmon burgers are elevated when served on a soft, pillowy pita. It adds a fresh, Mediterranean twist to your burger night.
- Pomegranate Salad With a Creamy Garlic Dressing: This vibrant and flavorful salad makes an excellent accompaniment to pita. You can tear the pita into pieces for dipping into the creamy garlic dressing, or serve the salad alongside as a refreshing counterpoint to the bread.
- Tilapia (With Mango Salsa): For a light yet satisfying meal, enjoy flaky tilapia topped with a zesty mango salsa, all wrapped up in a warm pita. The sweetness of the salsa beautifully complements the mild fish and the soft bread.
Beyond these specific recipes, consider using your pita for homemade hummus or tzatziki, as mini pizza bases for a quick weeknight dinner, or even lightly toasted and sprinkled with za’atar for a simple, savory snack.
What is the Difference Between Pita Bread, Naan, and Flatbread? Unraveling the Flatbread Family
The world of flatbreads is rich and diverse, with many cultures boasting their own unique versions. Pita bread, naan, and flatbread are often used interchangeably, but there are distinct characteristics that set them apart. Understanding these differences can enhance your appreciation for each type and guide you in choosing the perfect bread for your meal.
At its core, “flatbread” is a broad category encompassing any bread made from flattened dough, typically cooked without the use of a rising agent (unleavened) or with a leavening agent (leavened). Both pita and naan fall under the umbrella of leavened flatbreads, meaning they use yeast or other agents to help them rise and achieve a softer, airier texture.
The primary distinction between Naan and Pita Bread often comes down to their ingredients and cooking methods, which significantly impact their final texture and flavor profile. Naan, originating from Central and South Asia, traditionally features dairy products like yogurt or milk, and sometimes eggs, in its dough. These additions contribute to naan’s signature rich, soft, and slightly chewy texture. It’s often cooked in a tandoor (a clay oven), which gives it its characteristic slightly charred, bubbly surface and a distinct smoky flavor. Naan is frequently brushed with ghee or butter and topped with herbs like cilantro, making it a flavorful accompaniment to curries and stews.
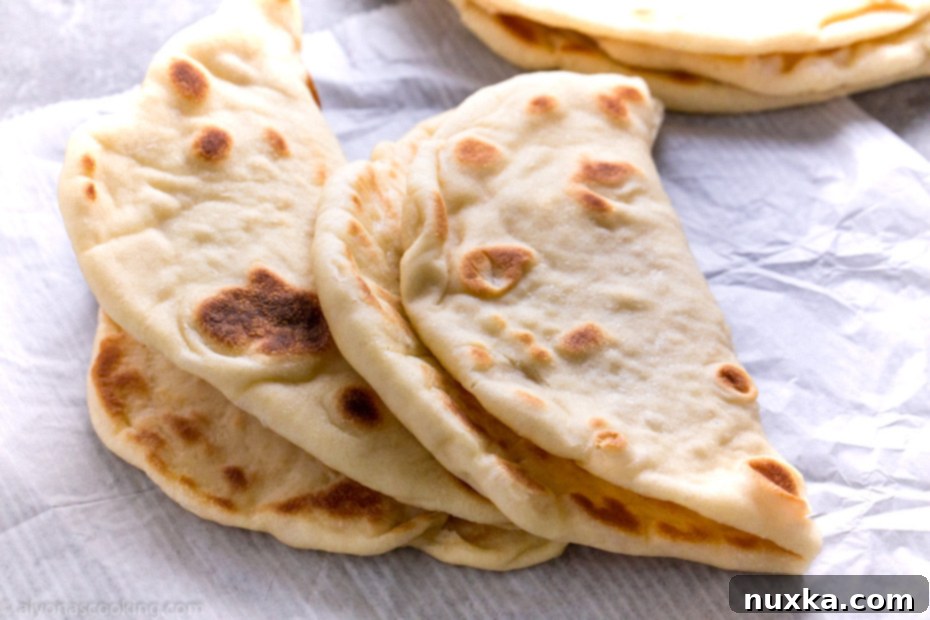
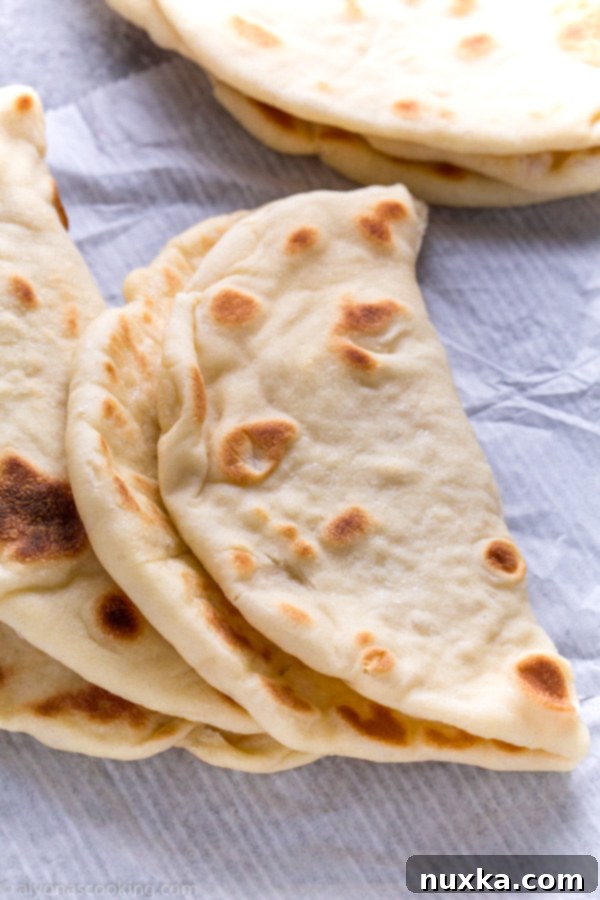
Pita bread, on the other hand, is a staple of Mediterranean and Middle Eastern cuisines. While it can also use milk, as in this recipe, water is a more common liquid base. The most famous characteristic of traditional pita is its internal pocket, formed when steam puffs up the dough during high-heat baking. This recipe, however, is designed to create a pocket-less, fluffier pita, more akin to a thicker, softer flatbread, perfect for wraps and dipping rather than stuffing. The inclusion of both milk and water, combined with yeast and baking powder, as detailed in this recipe, contributes to an exceptionally tender and elastic dough, yielding results that are truly delightful for a variety of uses.
In essence, while all three are delicious, flatbread is the general term, naan is a specific type with dairy and often tandoor-baked, and pita is another distinct type, known for its pocket but also adaptable to a softer, more substantial form like the one presented here. This recipe bridges the gap, offering a pita that has the comforting tenderness often associated with naan, yet retaining the simplicity and versatility of classic pita, making it an ideal choice for a wide range of dishes.
How to Properly Freeze and Store Your Homemade Pita Bread
One of the many benefits of making a larger batch of this delicious pita bread is the ability to freeze it for later use. Proper freezing ensures your pitas retain their incredible flavor and fluffy texture, allowing you to enjoy fresh-tasting bread whenever you desire. Follow these simple steps for optimal storage:
- Cool Completely: Before freezing, it is absolutely crucial that your pitas are cooled to room temperature. Stacking or bagging warm pitas will create condensation, leading to soggy bread and potential freezer burn. Lay them out individually on a wire rack until completely cool.
- Prepare for Freezing: Once cool, stack the pitas, placing a small piece of parchment paper or wax paper between each one. This prevents them from sticking together, making it easier to pull out just one or two at a time without thawing the entire stack.
- Package Securely: Place the stacked pitas into a gallon-sized freezer-safe Ziploc bag or a vacuum-seal bag. If using a Ziploc, press out as much air as possible before sealing. Removing excess air is key to preventing freezer burn and maintaining freshness. For even longer storage, you can double-bag them or wrap the stack tightly in plastic wrap before placing it in the freezer bag.
- Label and Freeze: Label the bag with the date. Pita bread can be stored in the freezer for up to 2-3 months without a significant loss in quality.
- Defrost and Reheat: When you’re ready to enjoy your frozen pitas, simply remove the desired number from the freezer. You can defrost them at room temperature for an hour or two, or for a quicker method, place them directly into a preheated oven (around 350°F / 175°C) for a few minutes until warmed through and soft. Alternatively, a microwave can quickly soften them, but be careful not to overheat, as this can make them tough. A quick pan-fry in a dry skillet over medium heat also works wonders, bringing back that fresh-baked texture.
Having a stash of homemade pita in your freezer means you’re always just minutes away from a delicious meal or snack!
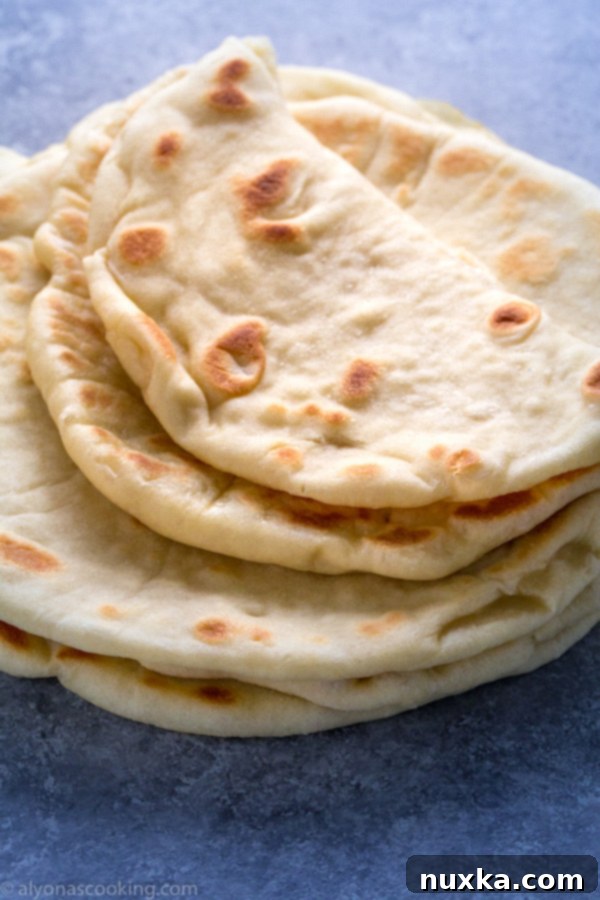
Essential Ingredients for Your Fluffy Pita Bread
Crafting these wonderfully fluffy pitas requires a few basic pantry staples, combined in just the right way to achieve that perfect texture. The secret, as mentioned, lies in the harmonious blend of active dry yeast for flavor and rise, and baking powder for an extra boost of lightness and tenderness. Ensure your water and milk are warm (not hot!) to properly activate the yeast without killing it. Good quality olive oil also adds a lovely subtle flavor and helps keep the dough pliable.
- 2/3 cup warm water
- 2 tsp dry yeast
- 1 tsp sugar
- 1/2 cup warm milk
- 1 Tbsp olive oil
- 1/2 tsp salt
- 3 cups all-purpose flour
- 4 1/2 tsp baking powder
Step-by-Step Guide: How to Make Irresistibly Fluffy Pita Bread
Follow these detailed instructions to create beautiful, soft, and delicious pita bread from scratch. The process is straightforward, and the results are incredibly rewarding.
- Activate the Yeast: In the bowl of a stand mixer (or a large mixing bowl if kneading by hand), combine the warm water, dry yeast, and sugar. Stir gently and let it sit for about 5-10 minutes. You’ll know the yeast is active when a foamy layer develops on the surface – this indicates your yeast is alive and ready to work its magic!
- Combine Wet and Dry Ingredients: Once the yeast is foamy, stir in the warm milk, olive oil, salt, and baking powder. Gradually add 2 cups of the all-purpose flour.
- Knead the Dough: Turn your stand mixer to a low speed, using the dough hook attachment. Gradually add the remaining cup of flour, a little at a time, until the dough comes together, pulls away from the sides of the bowl, and is no longer sticky. Increase the speed to medium-low and continue kneading for 5 minutes. If kneading by hand, turn the dough out onto a lightly floured surface and knead for about 8-10 minutes until it’s smooth and elastic.
- First Rise: Lightly grease the mixing bowl with a little olive oil, place the dough back in, and turn it once to coat. Cover the bowl tightly with plastic wrap or a clean kitchen towel. Place it in a warm, draft-free place for 1 hour, or until the dough has roughly doubled in size. A slightly warm oven (turned off, but warmed by the pilot light or briefly preheated to its lowest setting and then turned off) is an ideal spot.
- Prepare for Cooking: While the dough is rising, preheat a medium-sized skillet or cast iron pan over medium-low heat. It’s crucial for the pan to be at the right temperature – not too hot to burn, not too cold to prevent even cooking.
- Divide and Shape: Once risen, gently punch down the dough to release the air. Turn it out onto a lightly floured surface and divide it into 8 equal-sized pieces. Form each piece into a smooth ball.
- Roll Out the Pitas: Take one dough ball at a time, keeping the others covered to prevent drying. Using a rolling pin, roll each ball out into a roughly 7-inch circle. Aim for an even thickness, about 1/4 inch, to ensure uniform cooking and fluffiness.
- Cook the Pita: Place one rolled pita into the preheated dry skillet. Cook for 2-3 minutes on the first side, or until you see small bubbles forming on the surface and golden brown spots appearing on the underside. Flip the pita and cook for another 2-3 minutes on the second side, until it’s cooked thoroughly and develops more golden spots. The pita should look soft, slightly puffed, and inviting.
- Serve and Enjoy: Remove the cooked pita from the skillet and place it in a bread basket lined with a clean kitchen towel to keep it warm while you cook the remaining pitas. Serve warm and savor the fresh, fluffy goodness!

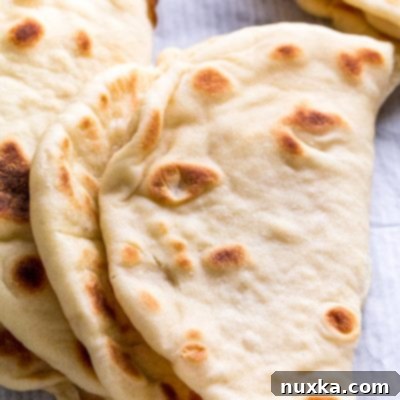
Rate
Pin
Pita Bread Recipe
Ingredients
-
2/3 cup warm water
-
2 tsp dry yeast
-
1 tsp sugar
-
1/2 cup warm milk
-
1 Tbsp olive oil
-
1/2 tsp salt
-
3 cups all-purpose flour
-
4 1/2 tsp baking powder
Instructions
-
In the bowl of a stand mixer, dissolve yeast and sugar in warm water until foam develops. Stir in the milk, oil, salt, baking powder and 2 cups of flour. Turn mixer on low and knead in the remaining cup of flour gradually until dough comes together and no longer sticks to the sides. Knead 5 minutes.
-
Cover bowl and let the dough rise for 1 hour in a warm place.
-
Preheat a medium sized skillet or cast iron to medium-low heat. Divide dough into 8 equal sized pieces and form into balls. Roll each ball out to a 7-inch circle.
-
Cook each side for 2-3 minutes or until golden brown spotting and cooked thoroughly.
