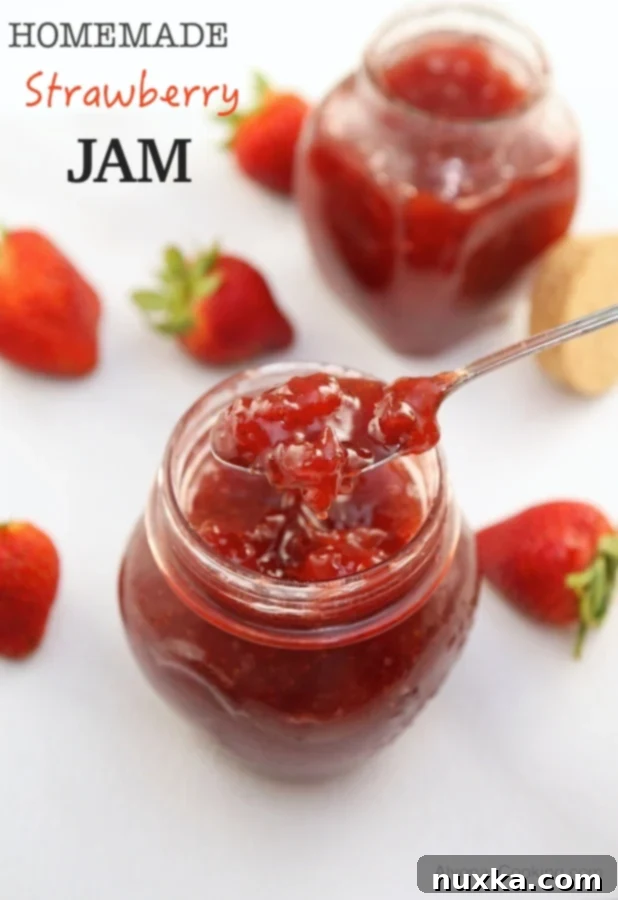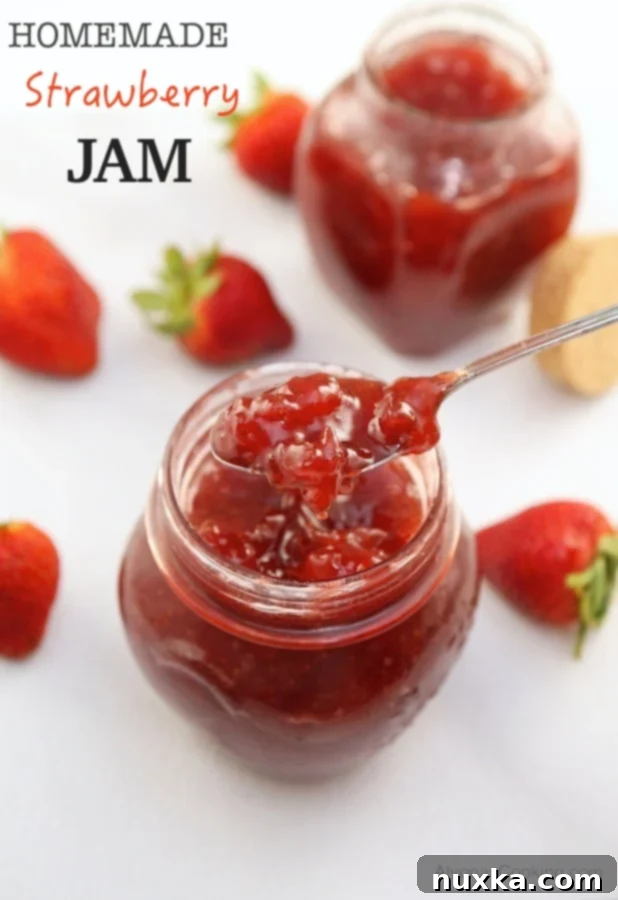
Easy Homemade Strawberry Jam Recipe (No Pectin Needed!) – Thick & Delicious
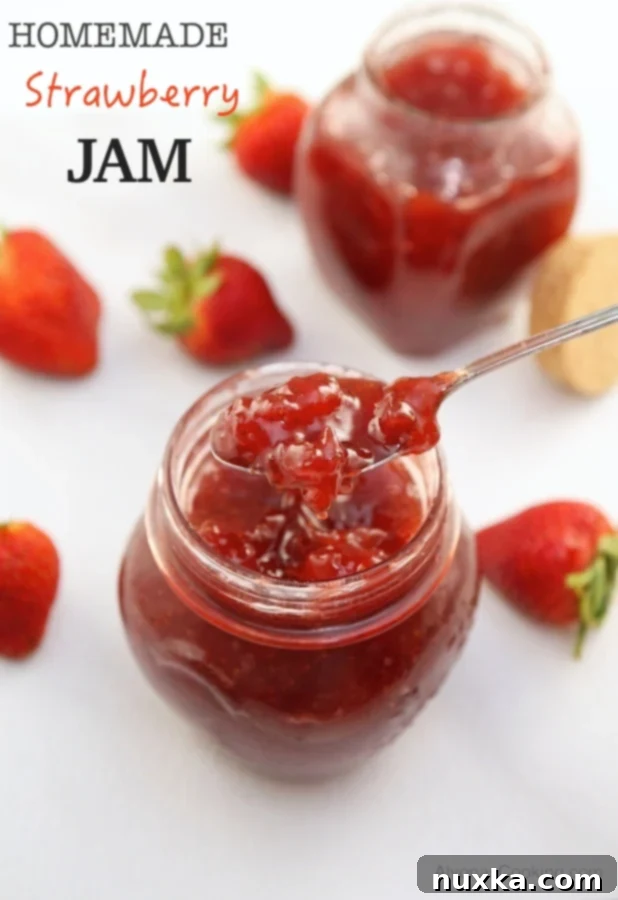
Imagine spreading a dollop of vibrant, fruit-filled goodness on your morning toast – a taste of pure summer, made right in your own kitchen. That’s the magic of homemade strawberry jam! While many jam recipes call for added pectin to achieve that perfect set, this traditional method proves you don’t always need it. With just three simple ingredients and a little patience, you can create a wonderfully thick, naturally set, and incredibly flavorful strawberry jam that will impress everyone.
This recipe brings back the charm of old-fashioned jam making, relying on the inherent properties of fresh strawberries, sugar, and a touch of lemon juice to create a luscious preserve. There’s a unique satisfaction in transforming a bounty of fresh berries into glistening jars of jam, knowing exactly what went into every spoonful. Get ready to embark on a delightful culinary journey that culminates in the most delicious pectin-free strawberry jam you’ve ever tasted!
The Secret to Thick Jam Without Added Pectin
Many home cooks might wonder, “How can jam get thick without pectin?” The answer lies in a beautiful synergy between sugar, fruit’s natural pectin, and acidity. While strawberries are not considered “high-pectin” fruits, they do contain enough natural pectin to set, especially when combined with the right amount of sugar and acid.
Here’s how it works:
- Sugar’s Dual Role: Granulated sugar is not just for sweetness; it’s a critical component for thickening and preserving jam. As the mixture cooks, sugar draws out water from the fruit through osmosis. The heat causes this water to evaporate, increasing the sugar concentration in the mixture. When the sugar content reaches a certain level (around 60-65%), the jam thickens as it cools.
- Natural Pectin Activation: All fruits contain some level of natural pectin, a soluble fiber that forms a gel when heated with sugar and acid. Even though strawberries aren’t rich in it, the pectin they do have becomes active when exposed to acid.
- Lemon Juice: The Catalyst: This is where lemon juice plays its vital role. The acidity from the lemon juice helps to extract and activate the natural pectin present in the strawberries, making it easier for the jam to set. It also brightens the flavor, balancing the sweetness of the sugar and preventing the jam from tasting flat.
By cooking the fruit, sugar, and lemon juice for the right duration, you allow the water to evaporate, concentrate the sugars, and activate the natural pectin, resulting in a naturally thick and spreadable jam. This method truly allows the pure flavor of the strawberries to shine through!
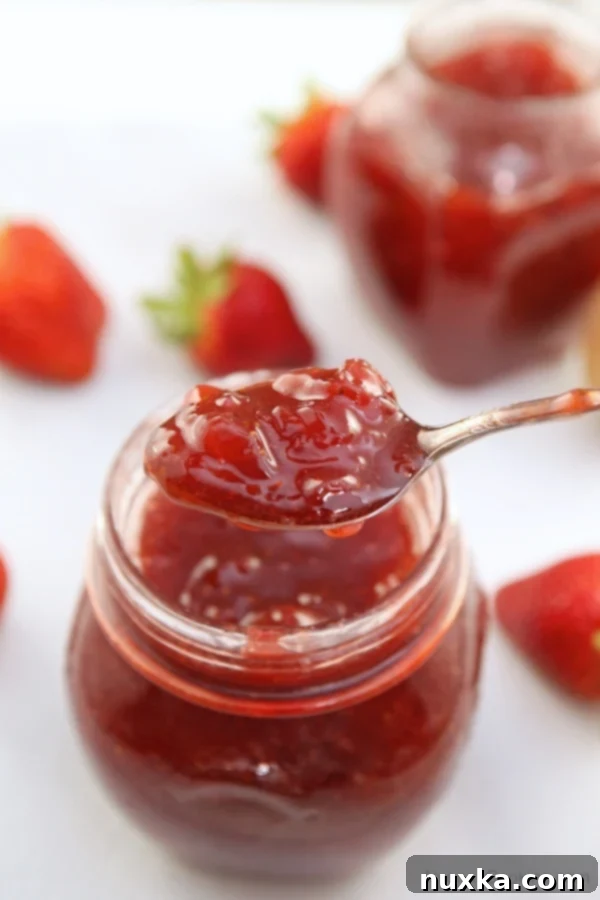
Ingredients for Your Naturally Thick Strawberry Jam
This recipe keeps it wonderfully simple with only three core ingredients. Quality matters, so choose the best you can find!
1. Fresh, Ripe Strawberries
- Quantity: 4 lbs (approximately 8-10 cups once hulled and mashed).
- Selection: The soul of your jam! Opt for bright red, fragrant, and firm strawberries. Avoid any soft spots, mold, or green patches, as these can affect both flavor and the jam’s ability to set. Peak season berries will yield the best results.
- Preparation: Gently wash the strawberries under cool running water. Remove the green caps (hulls) and stems. Depending on your preference for chunkiness, you can leave them whole, halve them, or quarter them before mashing.
2. Granulated Sugar
- Quantity: 8 cups.
- Essential for Setting: This is the natural thickener and crucial preservative for pectin-free jam. Its high concentration creates the necessary environment for the jam to gel.
- The Golden Ratio: For pectin-free jams, a general rule of thumb is an equal weight ratio of sugar to prepared fruit. For 4 lbs of strawberries, you’ll need 4 lbs of sugar. Since 1 pound of sugar equals approximately 2 cups, 4 lbs translates to 8 cups. Do not significantly reduce the sugar amount, as this will compromise the jam’s texture and shelf life without pectin.
3. Fresh Lemon Juice
- Quantity: Juice of 1 medium-sized lemon (about 2-3 tablespoons).
- Flavor & Function: Lemon juice brightens the overall flavor of the jam, cutting through the sweetness and adding a pleasant tartness. More importantly, the acidity helps activate the natural pectin in the strawberries, ensuring a proper set.

Step-by-Step Guide: Crafting Your Homemade Strawberry Jam
Making jam is a rewarding process. Follow these steps carefully for the best results.
Preparation: Setting the Stage for Deliciousness
- Prepare the Strawberries: After washing and hulling your 4 lbs of strawberries, transfer them to a large, heavy-bottomed pot. Using a potato masher or the back of a sturdy spoon, coarsely mash the berries. You want some chunks for texture, so don’t mash them into a complete puree.
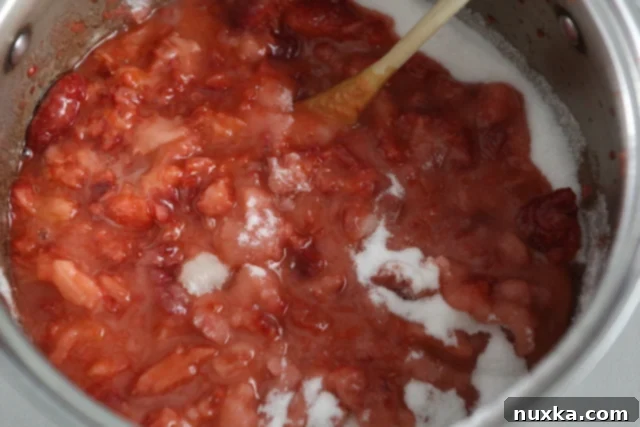
- Combine Ingredients and Bloom: Add the 8 cups of granulated sugar and the freshly squeezed juice of 1 lemon to the mashed strawberries. Stir gently but thoroughly until the sugar is mostly dissolved and evenly distributed. Let the mixture sit at room temperature for about 15-30 minutes. This “blooming” phase allows the sugar to draw out more liquid from the fruit, which helps prevent scorching when you begin to cook.
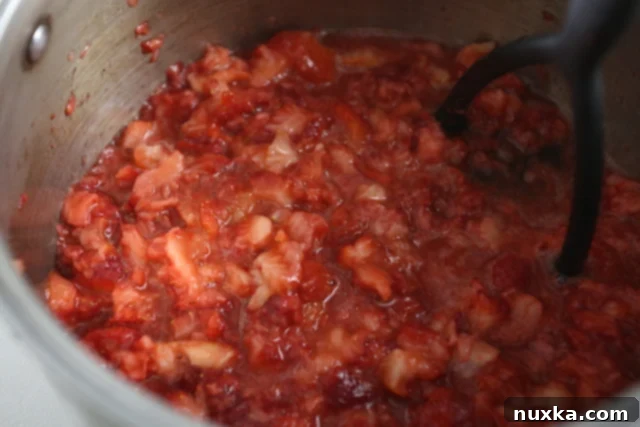
The Cooking Process: From Fruit to Jam
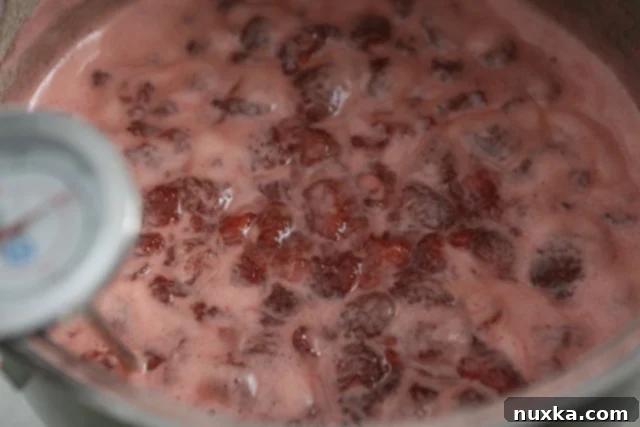
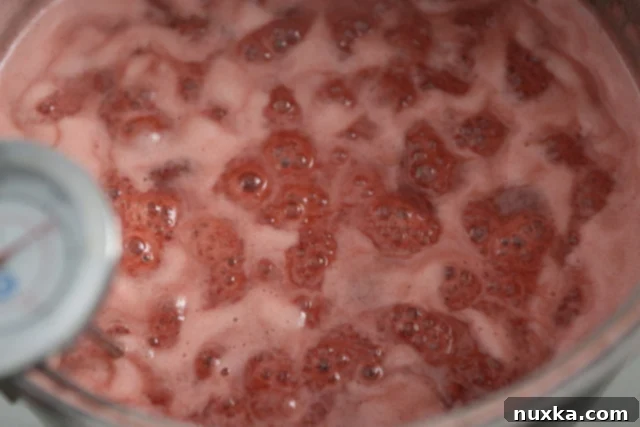
- Bring to a Rolling Boil: Place the pot over medium-high heat. Stir constantly with a heat-proof spatula or wooden spoon to prevent the sugar from sticking and burning at the bottom. Bring the mixture to a full, rolling boil. This means the bubbles are breaking the entire surface vigorously and cannot be stirred down. Continue this strong boil for about 10 minutes, stirring frequently.
- Simmer and Thicken: After the initial 10-minute hard boil, reduce the heat to low. The jam should continue to simmer gently, with slower, thicker bubbles. Let it simmer for another 20 minutes, stirring occasionally to prevent it from sticking to the bottom. During this phase, the jam will continue to reduce in volume and visibly thicken as water evaporates.
- Test for Doneness (The Set Point): This is the most crucial step for achieving a perfect pectin-free jam. The jam is generally ready when it reaches a temperature of 220°F (104°C) on a candy thermometer. However, temperature is not the only indicator. Perform a “cold plate test” for accuracy:
- Place a small ceramic plate in the freezer before you begin cooking your jam.
- When you suspect the jam is ready, remove the cold plate and spoon a small amount of hot jam onto it.
- Allow it to sit for about 30-60 seconds to cool slightly.
- Gently push the jam with your fingertip. If it wrinkles and holds its shape, your jam is ready! If it’s still watery and blends back together, continue cooking for another 5-10 minutes and repeat the test.
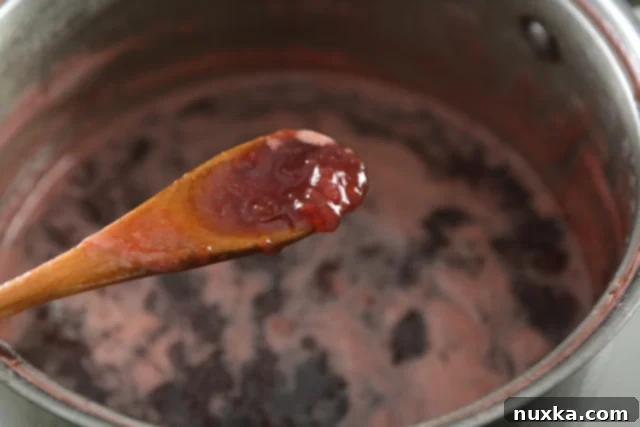
- Another indicator is the “sticky spoon” test: when you lift your wooden spoon, the jam should cling to it, forming a thick, syrupy coating.
Jarring and Storage: Preserving Your Delicious Creation
- Prepare Jars: While the jam is cooking, wash several pint-sized or half-pint sized canning jars and their lids thoroughly with hot, soapy water. For refrigerator storage, simply ensuring they are clean and dry is sufficient. If you plan to hot water bath can for shelf-stability (which is beyond this quick guide but recommended for longer storage), sterilize your jars by boiling them for 10 minutes or running them through a hot cycle in your dishwasher. Keep them hot until you’re ready to fill.
- Fill Jars: Carefully ladle the hot jam into the clean, warm jars, leaving approximately 1/4 inch of headspace from the rim. Wipe the rims of the jars clean with a damp cloth to ensure a proper seal. Place the lids on top and screw on the bands until finger-tight.
- Cool and Store: Allow the filled jars to cool completely at room temperature on your countertop. You may hear a “pop” sound as the jars cool and a vacuum seal forms – this is a good sign! Once cooled, store the sealed jars in the refrigerator. Unopened, they will keep for several weeks. Once opened, consume within 2-3 weeks for the best quality and freshness.
Tips for Jam-Making Success (Pectin-Free Edition)
- Choose the Right Pot: A wide, heavy-bottomed pot is ideal. The wide surface area allows for quicker evaporation, which means less cooking time and better retention of the fruit’s fresh color and flavor. The heavy bottom prevents scorching.
- Don’t Rush the Set: Jam continues to thicken as it cools. If it seems a little loose right off the stove, don’t panic. Give it a full 24 hours in the refrigerator before assessing its final consistency.
- Foam Skimming: A bit of foam may form on top during cooking. You can skim it off with a spoon if you prefer a clearer jam, though it’s harmless if left.
- Small Batches are Best: For pectin-free jams, making smaller batches (like this 4lb recipe) often yields better results. Larger batches take much longer to cook down, which can darken the jam and diminish the fresh fruit flavor.
- Cleanliness is Next to Godliness: Ensure all your equipment – pots, mashers, ladles, jars – are sparkling clean to prevent spoilage.
Troubleshooting Your Homemade Jam
- My Jam Didn’t Set! (Too Runny): This is the most common issue. It usually means the jam didn’t reach the proper temperature or cooked long enough to reduce sufficiently. Don’t throw it out! You can re-cook it. Pour the jam back into a clean, heavy-bottomed pot, bring it back to a boil, and simmer until it reaches 220°F (104°C) and passes the cold plate test. If it still doesn’t set, it can still be delicious as a syrup for pancakes, ice cream, or yogurt.
- My Jam is Too Thick! (Like Candy): This typically means it was cooked too long or to too high a temperature. You can try gently reheating it with a tablespoon or two of hot water per jar, stirring until it reaches a more spreadable consistency.
Delicious Ways to Enjoy Your Homemade Strawberry Jam
Once you’ve tasted the pure, concentrated goodness of your homemade strawberry jam, you’ll want to put it on everything!
- Classic Breakfast: Slather it generously on warm toast, fluffy pancakes, waffles, or fresh-baked scones.
- Yogurt & Oatmeal: Stir a spoonful into your morning yogurt, overnight oats, or hot oatmeal for a burst of fruity sweetness.
- Dessert Enhancer: Serve it over vanilla ice cream, cheesecake, panna cotta, or as a filling for tarts and turnovers.
- Savory Pairings: A dollop of strawberry jam pairs surprisingly well with a cheese board, especially with soft, creamy cheeses like brie or goat cheese. It also makes a fantastic glaze for roasted meats.
- Elevated PB&J: Transform a simple peanut butter and jelly sandwich into a gourmet delight with your homemade creation.
Frequently Asked Questions About Pectin-Free Jam
- Can I use frozen strawberries for this recipe?
- Absolutely! Thaw them completely before use and drain any excess liquid to avoid adding too much water to the jam. The cooking time might be slightly longer due to the extra moisture content in frozen fruit.
- Is it possible to reduce the sugar in this recipe?
- For this specific pectin-free method, significantly reducing the sugar is not recommended. The sugar is crucial for the jam’s texture, setting, and preservation. If you desire a lower-sugar jam, you would typically need to use a commercial pectin product specifically formulated for low-sugar recipes, as the science of setting changes.
- How long will this homemade jam last?
- When stored in clean, sealed jars in the refrigerator, your homemade strawberry jam will typically last for 3-4 weeks unopened. Once opened, consume it within 2-3 weeks. For longer shelf stability (up to a year), you would need to use a proper boiling water bath canning process, which involves additional steps to create a vacuum seal for pantry storage.
- Can I use other types of berries with this method?
- Yes! This pectin-free method works wonderfully with other berry fruits such as raspberries, blackberries, or even a mixed berry blend. Just remember to maintain the proper sugar-to-fruit ratio by weight for best results.
Rate This Recipe |
Pin It
Homemade Strawberry Jam Recipe
Cook Time: 30 minutes
Total Time: 40 minutes
Yields: Approximately 9 cups
Author: Alyona’s Cooking
This classic homemade strawberry jam recipe thickens beautifully without any added pectin, relying on just 3 simple ingredients for a naturally delicious and perfectly set spread.
Ingredients
For Homemade Strawberry Jam:
- 4 lbs (approx. 8-10 cups) fresh strawberries, washed and stems removed
- 8 cups granulated sugar
- 1 lemon, juiced (approx. 2-3 tablespoons)
Instructions
How to Make Homemade Strawberry Jam without Pectin:
- Prepare & Combine: In a large, heavy-bottomed pot, coarsely mash the washed and stemmed strawberries. Stir in the granulated sugar and fresh lemon juice until well combined. Let it sit for 15-30 minutes to allow juices to release.
- Boil & Simmer: Place the pot over medium-high heat and bring the mixture to a full, rolling boil, stirring frequently. Boil vigorously for 10 minutes. Then, reduce the heat to low and allow it to simmer gently for an additional 20 minutes, stirring occasionally.
- Check for Set: The jam is ready when it reaches 220°F (104°C) on a candy thermometer or passes the cold plate test (a small spoonful wrinkles when pushed on a chilled plate).
- Jar & Store: Carefully ladle the hot jam into clean jars, leaving 1/4 inch headspace. Seal tightly with lids. Let jars cool completely at room temperature, then store in the refrigerator.
- Expert Tip: Always maintain an equal ratio of sugar to prepared berries by weight for the perfect pectin-free set. (E.g., 1 lb strawberries = 1 lb sugar or 2 cups sugar).
Discover More Delicious Strawberry Recipes:
- Easy Strawberry Strudels Recipe
- Strawberry Tiramisu Cake Recipe
- Deep-Fried Cheesecake (Cheesecake Chimichangas)
