The Essential Guide to Canning Chicken Broth: Delicious, Nutritious, and Shelf-Stable
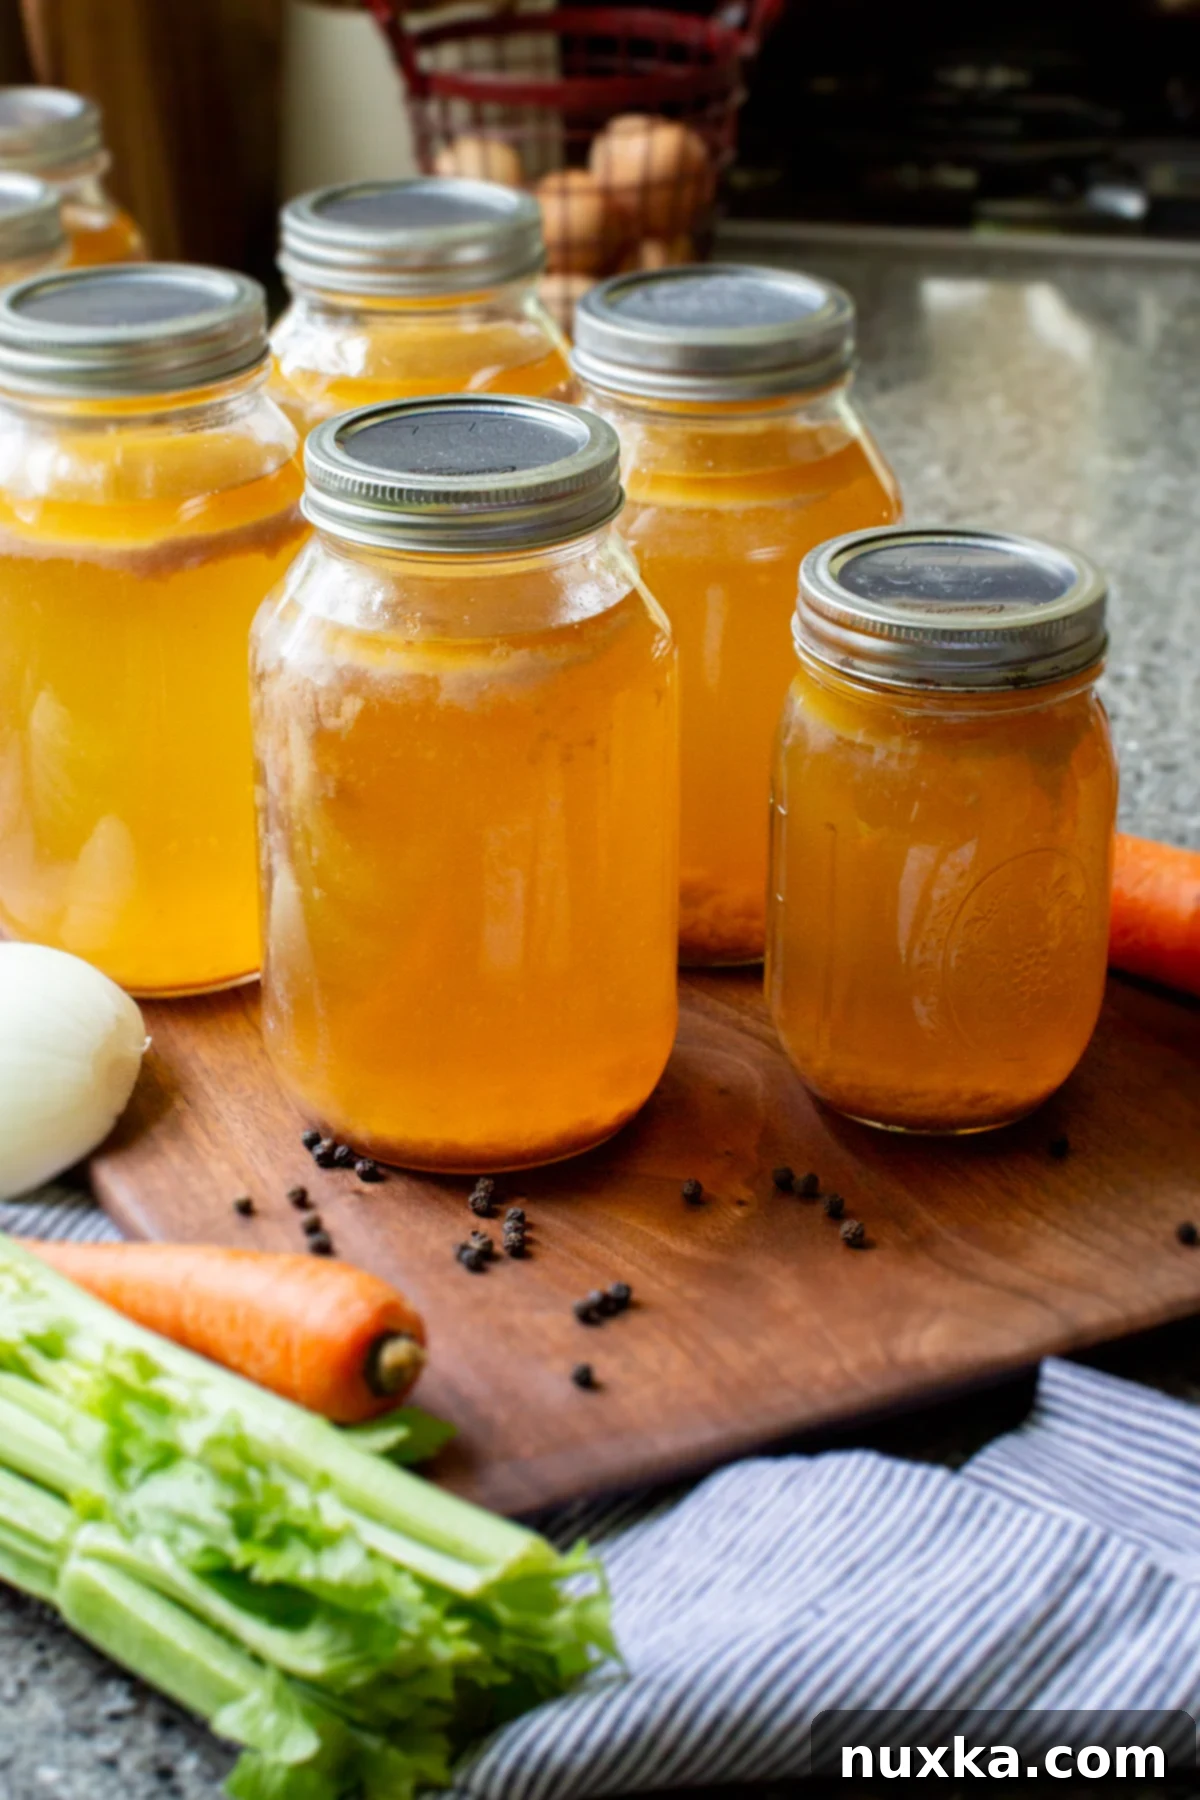
Imagine having a constant supply of rich, flavorful chicken broth at your fingertips, ready to elevate any meal. Homemade canned chicken broth is precisely that – a culinary cornerstone that bridges the gap between simple chicken stock and deeply restorative bone broth. Packed with the goodness of chicken bones, fresh vegetables, and pure water, this “liquid gold” is a fundamental staple in our home. What makes it truly exceptional is its safety and the remarkably hands-off process, especially when using modern canning techniques.
Canning homemade chicken broth allows you to transform a large batch of nutrient-dense liquid into a shelf-stable pantry item. Cook once, preserve efficiently, and then simply grab a jar whenever you need it for a comforting soup, a perfectly cooked rice dish, or a rich, savory gravy. It’s an incredibly rewarding way to ensure you always have a high-quality base for countless recipes, far superior to store-bought options.
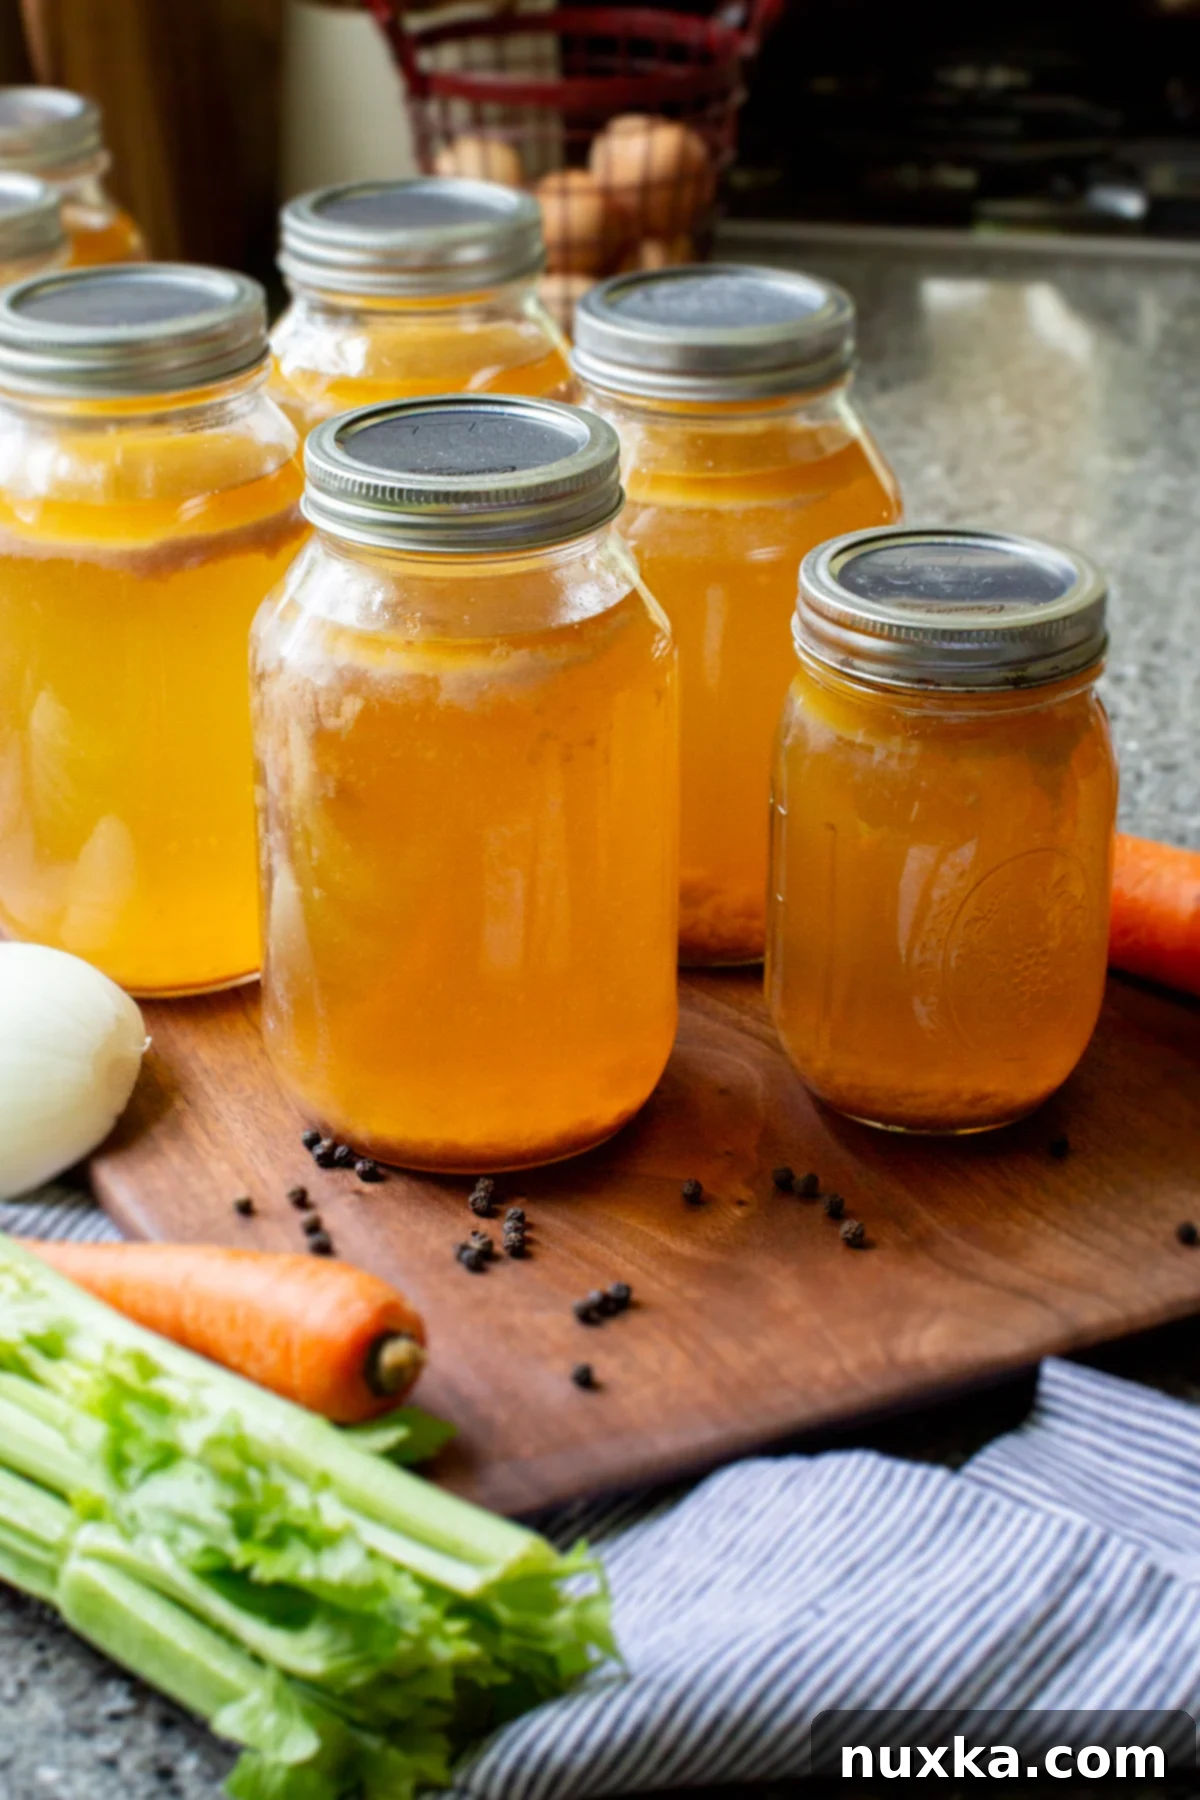
Mastering the art of canning homemade chicken broth might seem daunting at first, but with a few extra steps, the long-term rewards are immense. If you already enjoy canning, this recipe will quickly become one of your favorite pantry staples. My easy guide and step-by-step tutorial will walk you through everything you need to know to make and preserve chicken broth from scratch. I’ve been pressure canning chicken bone broth for years, especially since we started processing our own meat, and I wholeheartedly recommend it to anyone keen on improving their gut health and overall well-being.
Chicken Broth vs. Chicken Stock: Understanding the Differences
The terms “broth,” “stock,” and “bone broth” are often used interchangeably in home kitchens, and for good reason—they all yield a savory liquid fundamental to cooking. However, there are traditional distinctions worth noting. Broth is typically a savory liquid made by simmering meat (or meat scraps) and vegetables in water for a shorter period, often just a few hours. It tends to be lighter in body and can be seasoned and enjoyed on its own as a restorative drink.
Chicken stock, on the other hand, is traditionally made with roasted bones, some meat, and vegetables, simmered for a longer duration (typically 4-6 hours). This longer cooking time extracts more gelatin from the bones, giving stock a richer mouthfeel and a thicker texture when chilled. Bone broth, the most recent culinary darling, is essentially a stock that has been simmered for an extended period—often 12-24 hours or even longer. This prolonged cooking time is believed to extract maximum collagen, minerals, and amino acids from the bones and connective tissues, making it particularly prized for its purported health benefits, especially for gut health.
While these definitions exist, in practice, the line between them can be blurry. Many home cooks use “broth” and “stock” synonymously, and the key difference often boils down to how long you choose to simmer your mixture and the proportion of bones to meat. Ultimately, you’re the cook, and you have the freedom to decide the depth of flavor and nutritional richness you desire from your “broth,” “stock,” or “bone broth.” This guide focuses on creating a robust, nutrient-dense liquid that leans heavily into the benefits associated with bone broth, made perfect for canning.
Watch How To Make Canned Chicken Broth: A Visual Guide
For those who prefer a visual learning experience, this step-by-step video demonstrates the entire process of making and canning chicken broth at home. Follow along to see how simple and rewarding it can be to create your own shelf-stable supply of this incredibly versatile ingredient. From preparing the ingredients to the final pressure canning, every detail is covered to ensure your success.
Homemade Broth for Canning: A Deep Dive into its Benefits
Homemade chicken broth is far more than just a flavorful liquid; it’s a powerhouse of nutrients that can significantly contribute to your overall health. When cooked properly, it’s rich in minerals, collagen, and amino acids, providing a comforting and nourishing foundation for any meal. The hard outer layer of chicken bones contains essential minerals like calcium, magnesium, and phosphorus, which are vital for building and maintaining strong bones and teeth. These minerals are leached into the broth during the long simmering process, making them easily absorbable by your body.
Inside the bones, you’ll find marrow, a soft, fatty tissue celebrated for its beneficial fats and stem cells, which are excellent for brain health and organ function. Furthermore, the rubbery joints and connective tissues on the bones are a rich source of gelatin. Gelatin, which breaks down into collagen, is incredibly beneficial for gut health. It helps to seal and heal the gut lining, reduces inflammation, and aids in the digestion and absorption of nutrients from all the food you eat. This makes homemade chicken broth a fantastic addition to any diet, especially for those focusing on gut health and overall vitality.
Canning chicken bone broth is arguably the best method to preserve this nutrient-dense food. It allows you to make a substantial batch and store it safely for months, or even over a year, without refrigeration. The canning process, particularly with an electric pressure canner, is largely hands-off, simplifying your preserving efforts. To ensure the highest quality broth, don’t discard any part of the chicken—keep the skins, feet, necks, and all bone scraps. These elements contribute significantly to the broth’s flavor and gelatin content, transforming otherwise discarded pieces into liquid gold.
Beyond its nutritional prowess, homemade chicken broth offers immense comfort. When my daughter feels unwell, a warm mug of chicken broth is her go-to remedy—it’s easy to drink and incredibly soothing. There’s a profound truth to the old saying, “chicken soup is like Jewish penicillin”; the restorative qualities are undeniably comforting. I frequently use my canned chicken broth as a base for recipes like Broccoli Cheddar Soup, Borscht with Canned Meat, and any dish requiring a flavorful liquid. The convenience of having it readily available and the satisfaction of knowing it’s homemade and good for you is truly unmatched. You can always enhance its flavor with a good quality chicken bouillon powder or your favorite spices if a recipe calls for a specific flavor profile. It’s a truly versatile and essential ingredient for any home cook.
Sourcing the Best Bones for Your Broth
The quality of your chicken bones directly impacts the nutritional value and flavor of your homemade broth. Virtually any chicken bones or bone-in cuts will work, but for the most nutrient-dense broth, consider your sources carefully. While a pack of chicken drumsticks or a whole chicken carcass from the grocery store will yield a decent broth, opting for higher-quality bones can make a significant difference. Many home cooks, myself included, prefer to use the carcasses of chickens we process ourselves, ensuring we know exactly how the birds were raised.
A carcass refers to the bones left after deboning the primary cuts of a chicken. These often include the spine, rib cage, and sometimes the neck, all of which are excellent for broth. For those who prioritize ethical sourcing and superior nutrition, using bones from homegrown chickens or pasture-raised chickens is ideal. These birds typically have stronger bones and connective tissues, leading to a richer, more gelatinous broth. You can often purchase chicken frames specifically for bone broth from suppliers like Azure Standard. These options are perfect if you’re particular about how chickens are raised, allowing you to choose pasture-raised birds fed without corn or soy, further enhancing the health benefits of your broth.
Don’t forget to include chicken feet if you can find them! They are loaded with collagen and will give your broth an incredibly rich, gelatinous texture. Even bones from a leftover roasted chicken can be used; just be aware that pre-roasted bones will impart a darker color and a slightly different flavor to your broth.
Main Ingredients for a Rich Chicken Bone Broth
Creating a truly exceptional chicken bone broth for canning requires a thoughtful selection of ingredients. While the bones are the star, the supporting cast of vegetables, herbs, and seasonings plays a crucial role in developing a complex and appealing flavor profile. Here are the essential components:
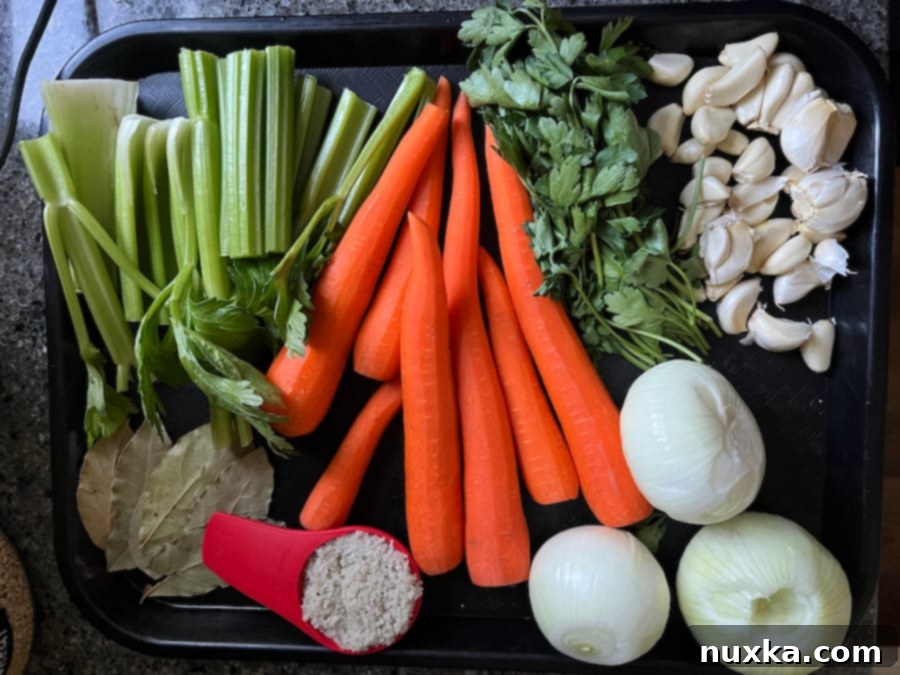
- Chicken Bones and Scraps: For this substantial recipe, I used approximately 15 pounds of chicken bones. This might include carcasses, backs, necks, wings, or any bone-in cuts. The more bones, especially those with cartilage and connective tissue, the richer your broth will be in gelatin and minerals. If you’re scaling down to a single portion, start with 3-4 pounds of bones. Don’t be shy about adding chicken feet for extra gelatin!
- Filtered Water: The quality of your water matters. Filtered water ensures a clean-tasting broth free from chlorine or other impurities that can affect flavor.
- White Distilled Vinegar: A small amount of vinegar is crucial. Its acidity helps to break down the bones and extract more minerals and collagen into the liquid, boosting the nutritional value of your broth.
- Aromatic Vegetables (Mirepoix): These are the classic flavor base.
- Onion: Adds sweetness and depth. Peel them, but you can leave them whole or roughly chopped.
- Carrots: Contribute natural sweetness and color.
- Celery: Provides a subtle savory and earthy note.
- Herbs and Spices: These infuse the broth with aromatic complexity.
- Fresh Parsley: Offers a fresh, green, and slightly peppery flavor.
- Salt: Essential for seasoning; Celtic sea salt is a great choice for its mineral content. Adjust to your preference.
- Bay Leaves: Impart a subtle, earthy, and floral aroma.
- Garlic: Adds a pungent, savory depth. You can use whole cloves, peeled or unpeeled.
- Peppercorns (Optional): While black peppercorns add a lovely warmth, I often omit them in the initial broth-making to avoid having to pick them out. Instead, I prefer to add freshly ground pepper to individual recipes when using the broth.
Storing Your Canned Chicken Broth
Properly canned chicken broth is incredibly shelf-stable, making it a true asset for any pantry. When pressure canned correctly and sealed, it will remain safe and delicious for over a year, often maintaining its quality far beyond that. The beauty of canning is the long-term, ambient storage it provides, freeing up valuable refrigerator and freezer space.
Once you open a jar of canned chicken broth, it becomes a perishable item, just like any freshly made broth. After opening, store the remaining broth in the refrigerator and aim to use it within 5-7 days for best quality and safety. Always check the lid for a proper seal before opening – it should be concave and not flex when pressed. If a lid is bulging or unsealed, discard the contents.
Repurposing the Meat Off the Bones: Zero Waste Cooking
One of the fantastic benefits of making a large batch of chicken broth is the tender, cooked chicken meat left on the bones. Never throw this away! It’s perfectly cooked and full of flavor, offering another opportunity for a delicious, quick meal. From the large batch of broth described here, I was able to pressure can 4 quarts packed with this savory meat.
According to my trusted Ball Blue Book Guide to Preserving, you can easily preserve this cooked poultry. Simply pack the deboned chicken meat into hot, sterilized canning jars, leaving a 1-inch headspace. Reheat any leftover broth (or use boiling water if you’ve used all your broth for canning) to a rolling boil and pour it over the chicken, again ensuring a 1-inch headspace. Wipe the rims clean, adjust the caps and rings finger-tight, and process pints for 75 minutes or quarts for 1 hour and 30 minutes at 10 pounds pressure in your pressure canner. This not only prevents food waste but also creates another convenient, shelf-stable meal component for future use.
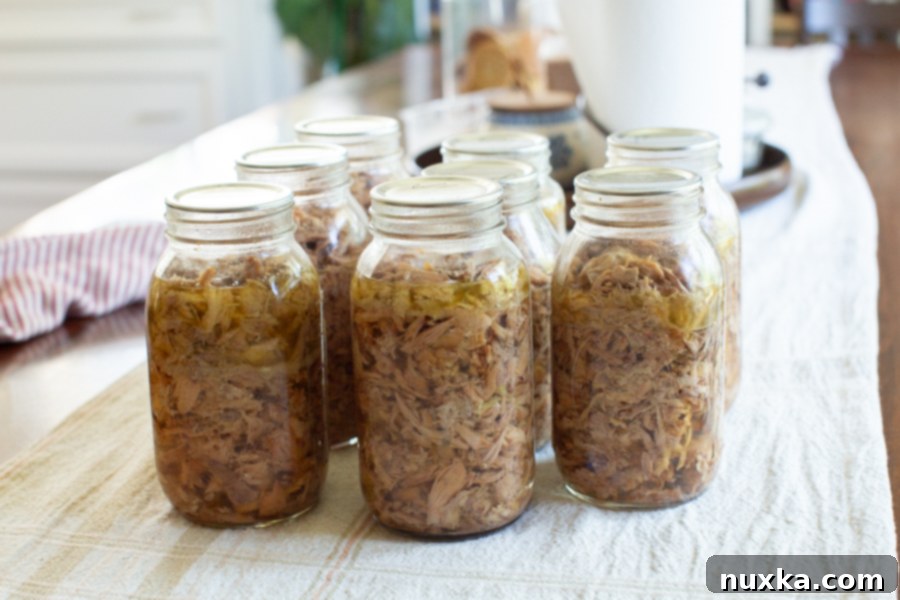
This canned chicken meat is incredibly versatile. Use it to quickly assemble dishes like Chicken Pot Pie Casserole, pulled BBQ sandwiches, creamy gravies, or hearty soups. It’s another testament to the efficiency and resourcefulness of home canning.
Handy Tips for Making the Best Chicken Bone Broth:
- Add a Splash of Vinegar: As mentioned, a small amount of white distilled vinegar (about 1 tablespoon per gallon of water) added to the cooking water helps to draw out vital minerals and collagen from the bones, making your broth even more nutritious.
- Don’t Waste That Carcass: Leftover bones from a roasted or baked chicken are perfect for making broth! Instead of discarding that rotisserie chicken carcass, toss it into a pot with water and your aromatics. Baked bones tend to yield a darker, richer-colored broth.
- Low and Slow is the Way to Go: The secret to a deeply flavorful and nutrient-dense broth is a long, gentle simmer. Avoid vigorous boiling. The longer you cook it at a low temperature, the more flavor and goodness will be extracted from the bones and vegetables. Remember, it’s the bones, especially those with cartilage, that provide the most flavor and gelatin, so prioritize bones over meat in your ratio.
- Gelatin is Your Goal: You’ll know your broth has cooked long enough when it thickens and jiggles like jelly after refrigeration. This indicates a high gelatin content, a sign of a truly nourishing bone broth. If it doesn’t gel, it’s still good, but you may want to simmer longer next time.
- Skim for Clarity: As the broth comes to a boil, foam and impurities will rise to the surface. Skim these off and discard them. This step isn’t strictly necessary for flavor, but it results in a much clearer, more appealing broth.
- Strategic Vegetable Addition: Add your vegetables (carrots, celery, onion, garlic) *after* the bones have come to a boil and you’ve skimmed off the initial impurities. This method, I’ve found, results in a clearer and more vibrant-colored broth.
- Consistent Heat is Key: Using a roaster oven or a slow cooker for simmering creates consistent, gentle heat, leading to a richer color and flavor without the need for constant stirring or monitoring that can sometimes cloud the broth.
- Batch Size Flexibility: While this recipe is for a large batch perfect for canning, you can easily scale it down to fit an Instant Pot, a regular pot on the stovetop, or a smaller slow cooker. Smaller batches are great for immediate use and can be stored in the fridge for a week or frozen for a few months without requiring pressure canning.
- Thorough Straining: Once cooked, strain the broth through a fine-mesh sieve, or even a cheesecloth-lined sieve, to remove all solids and extract as much liquid as possible. This ensures a smooth, clear broth.
- Don’t Forget the Scraps: After straining, discard the cooked bones and vegetables (they’ve given all their goodness to the broth). We compost ours and our chickens enjoy them! Debone any remaining meat pieces for use in other recipes, as mentioned above.
Frequently Asked Questions About Canning Chicken Broth
Do I Need to Adjust for High Altitude Canning?
Yes, absolutely. Altitude significantly affects boiling points and pressure requirements in canning. For safe pressure canning of chicken broth, it is crucial to adjust the pressure pounds as indicated by your specific altitude. Please consult a reliable resource like the Ball Mason Jars High-Altitude Pressure Canning Guide or your local extension office for precise adjustments to ensure the safety and longevity of your canned goods.
Can I Use Chicken Broth Instead of Beef Broth in Recipes?
Yes, you can often substitute chicken broth for beef broth in many recipes, especially if the “beefy” flavor isn’t the absolute dominant component of the dish. However, if a recipe specifically calls for beef broth for its distinct flavor profile, you might want to enhance your chicken broth. A simple trick is to flavor your chicken broth with beef bouillon cubes or a good quality beef base to achieve that desired savory, beefy taste. This makes your canned chicken broth even more versatile.
Can You Freeze Chicken Broth Instead of Canning It?
Absolutely! If pressure canning isn’t an option for you, or if you prefer smaller, ready-to-use portions, freezing chicken broth is an excellent alternative. You can freeze broth in canning jars (just be sure to leave a generous 2-inch headspace to account for expansion, and use freezer-safe jars), repurposed yogurt containers, or even freezer bags laid flat for efficient storage. Always cool the broth completely before freezing. A critical safety note: never add hot broth to frozen jars, as the sudden temperature change can cause the glass to crack or burst.
How Long Do I Pressure Can Chicken Broth?
For quart jars of chicken broth, the standard processing time I’ve used successfully for years is 90 minutes at 10 pounds pressure. For pint jars, the recommended time is 75 minutes at 10 pounds pressure. This timing ensures proper sterilization for a shelf-stable product. My Mennonite friend, who is a wealth of canning knowledge, guided me when I first started, and this method has consistently yielded perfectly sealed jars. Always refer to your pressure canner’s manual and current canning guidelines for the most accurate and safe processing times and pressures.
Can I Use an Instant Pot for Pressure Canning Chicken Broth?
While many love their Instant Pots for cooking, it’s crucial to understand their limitations for pressure canning. Most Instant Pots and other multi-cookers are not approved for safe pressure canning by USDA standards because they cannot consistently maintain the precise temperature and pressure required for low-acid foods like broth. A standard Presto pressure canner, for instance, reaches 240°F at 10 pounds pressure, while an Instant Pot on its high-pressure setting typically reaches around 243°F at 11.5 psi. However, the crucial factor is the ability to sustain these conditions and vent properly, which consumer-grade electric pressure cookers often lack for canning purposes.
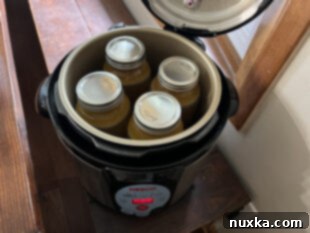
If you’re looking for an electric, hands-off canning solution, consider a dedicated electric pressure canner. I personally love using my Nesco 9.5-quart electric canner, which conveniently fits 4 quarts at a time. These specialized electric canners are a game-changer because they accurately control temperature and pressure, eliminating the need for constant monitoring of gauges and stovetop adjustments. They truly make the canning process almost entirely hands-off!
How Do I Scale Down the Recipe to Get One Portion?
Scaling down this recipe is simple if you just need a smaller batch for immediate use or freezing. A good rule of thumb for making a single batch of bone broth is to use the bones and scraps from one whole chicken (roughly 3-4 pounds of bones). Combine these with about 3 liters (approximately 12-13 cups) of filtered water, 1 tablespoon of white distilled vinegar, half an onion, 1-2 stalks of celery, 2 small carrots, several sprigs of fresh parsley, 6-8 cloves of garlic, 1 tablespoon of salt, and 1 bay leaf. This is essentially a quarter of the large batch recipe, perfectly suited for a standard stovetop pot or a smaller slow cooker.
How To Can Chicken Broth: Step-by-Step Instructions
Using a large roaster oven makes the broth-making process incredibly easy and consistent, with minimal hands-on effort. I often prepare all the ingredients in the evening, set the roaster to a low simmer overnight, and wake up to perfectly cooked, flavorful broth. The next morning, I proceed with canning all the liquid and packing any jars with the delicious leftover meat pieces. These jars become invaluable for making quick meals like Chicken Pot Pie Casserole, pulled BBQ sandwiches, rich gravies, and comforting soups. And let me tell you about my electric pressure canner – it’s a total game-changer, no more babysitting the stovetop! With tools like these, there’s truly no excuse not to make your own nourishing chicken broth!
- Place the chicken bones and scraps into your large 22-quart roaster oven.
- Add the filtered water and white distilled vinegar, ensuring the water fully covers the bones.
- Set your roaster oven to 400°F (or high) and heat until the water comes to a gentle simmer (this usually takes about 1 hour). As it simmers, use a skimmer to remove any foam or impurities that rise to the top and discard them.
- Once the initial skimming is done, add all the remaining vegetables and spices: carrots, celery, bay leaves, garlic, whole onions, salt, and fresh parsley.
- Cover the roaster with its lid and allow the mixture to return to a simmer. Once simmering again, reduce the heat setting on your roaster oven to 300°F (or low) and let it continue to simmer gently for a minimum of 12 hours, or even overnight, keeping it covered. This long, slow simmer is key to extracting maximum flavor and nutrients.
- After the simmering time, carefully remove all the bones, vegetables, and other solids from the broth using a slotted spoon or a fine-mesh sieve. Place these solids into a separate bowl.
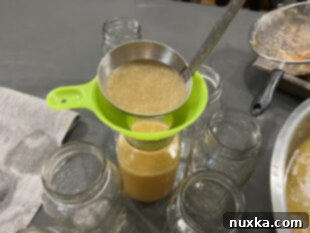
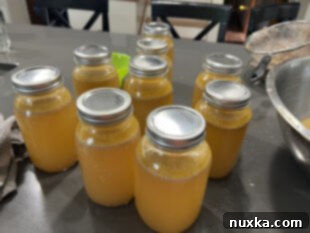
- Strain the broth through a fine-mesh sieve (and optionally through cheesecloth for an even clearer broth) into a clean pot. Bring the strained broth back to a simmer. Ladle the hot bone broth into sterilized* canning jars, leaving a 1-inch headspace at the top.
- Wipe the jar rims clean to ensure a good seal. Place new, clean lids on the jars and screw the bands on finger-tight.
- Carefully place the jars into your prepared pressure canner. For quart jars, pressure can at 10 pounds pressure for 1 hour and 30 minutes (90 minutes). For pint jars, process for 75 minutes at 10 pounds pressure. Always follow your pressure canner’s manual instructions, especially regarding specific pressure settings for your altitude.
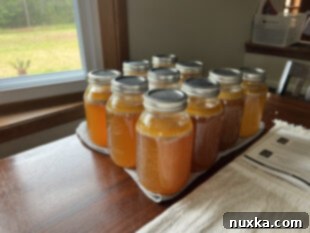
- Once the canning process is complete and the pressure has naturally returned to zero, carefully remove the jars from the canner using a jar lifter. Place them on a towel-lined counter, spaced apart, to cool undisturbed for 24 hours. After cooling, check the seals (lids should be concave and not move when pressed) before storing your shelf-stable “liquid gold.”
More Canning Recipes: Expand Your Pantry!
Canning is a skill that’s easier to master than you might think, and it opens up a world of homemade pantry staples. Once you’ve successfully canned chicken broth, you might be inspired to try more preserving projects. Check out some of our other favorite canning recipes:
-
Canned Dill Pickles Recipe
-
Canned Ketchup Recipe (Heinz Copycat)
-
Canned Meat
-
Canned Teriyaki Sauce (Video)
Rate
Pin
Canning Chicken Broth
Equipment
-
1 electric pressure canner (Nesco brand or similar is recommended for ease of use)
-
12 quart canning jars (or equivalent in pint jars)
-
1 funnel and jar lifter
-
22-quart roaster oven (or a very large stockpot for stovetop)
-
Fine-mesh sieve or colander lined with cheesecloth
Ingredients
Ingredients for Bone Broth:
-
15 pounds chicken bones and scraps (carcasses, backs, necks, wings, or any bone-in cuts; chicken feet optional for extra gelatin)
-
3 gallons filtered water
-
12 Tbsp white distilled vinegar
-
7 carrots (peeled and roughly chopped)
-
5 stalks celery (cut into thirds)
-
8 bay leaves
-
3 heads garlic (peeled or unpeeled)
-
3 whole onions (peeled and halved)
-
1 bunch fresh parsley
-
1/4 cup Celtic sea salt
Instructions
Directions:
-
 Put the chicken bones and scraps in a 22-quart roaster. Set the roaster to 400°F and add the filtered water and white distilled vinegar. Heat until the water comes to a gentle boil (approximately 1 hour). Skim off any foam and impurities from the top using a skimmer.
 -
 Add the remaining ingredients: carrots, celery, bay leaves, garlic, whole onions, Celtic sea salt, and fresh parsley. Cover the roaster with a lid and allow it to return to a simmer. Once simmering, reduce the roaster temperature to 300°F (or a low setting) and let it simmer gently for 12 hours or overnight, keeping it covered.
 -
 After 12 hours of simmering, carefully strain off the liquid broth into a clean pot. Put all the cooked bones and solids into a separate pan or bowl to cool; you can de-bone any meat for later use (see “Repurposing the Meat Off the Bones” section above).
 -
 Bring the strained broth back to a boil. Ladle the hot broth into sterilized* jars, leaving a 1-inch headspace.
 -
 Adjust the caps by screwing bands finger-tight.
 -
 Place jars into your pressure canner. Process quart jars for 1 hour and 30 minutes (90 minutes) at 10 pounds pressure, or pint jars for 75 minutes at 10 pounds pressure, following your canner’s specific manual instructions for venting and processing.
 -
 Once processed, remove jars from the canner and cool for 24 hours on a protected surface before checking lids for a proper seal. Store in a cool, dark place.
Notes
- *Sterilized jars means preparing your jars to be free of harmful bacteria. You can achieve this by submerging glass jars into boiling water for at least 10 minutes, running them through a heavy-duty sanitize cycle in your dishwasher, or simply washing them thoroughly with very hot tap water (my preferred method when working with hot foods like broth). Ensure jars are hot when filling to prevent thermal shock.
- My Nesco electric canner requires 2 quarts of hot water in its insert before placing the jars in, always check your canner’s manual.
- After processing each batch of chicken broth, if you’re doing multiple batches, remove the jars and add about 1/2 cup of cold water to the canner’s insert before adding the next batch of jars. This small amount of cold water helps to prevent thermal shock to the next set of jars, minimizing the risk of cracking.
Nutrition per serving
